Week- 5 - Solid meshing
For the given Rear view mirror component, check for the geometrical errors and mesh the Surfaces with the given 2D element Quality criterias given below.
|
S.No |
Quality Criteria |
Value |
|
1 |
Target/Average length |
1 |
|
2 |
Minimum Length |
0.5 |
|
3 |
Maximum Length |
2 |
Use tetra elements to mesh the Volumes defined in the model and check for the below quality after Volume meshing.
|
S.No |
Quality Criteria |
Value |
|
1 |
Tet collapse |
0.2 |
OBJECTIVE:-
- Check for the geometrical errors.
- Mesh the Surfaces with the given 2D element Quality criteria’s
- Use tetra elements to mesh the Volumes defined in the model and check for the quality after Volume meshing, for the given Rear view mirror component,
- Procedure
- Open the hood rear view mirror from the files and it must be carried out for several operations.
- Check the geometry of the model from the 'checks' and execute the operation by selecting required check parameters.
- Fix the geometry manually or by means of auto fix (geometry clean up).
- Measure the thickness of the component by measure command.
- Give a proper Orientation to the model using Orient auto.
- Go to classic mesh > length > give appropriate perimeter/ macros.
- Geometry without TOPO
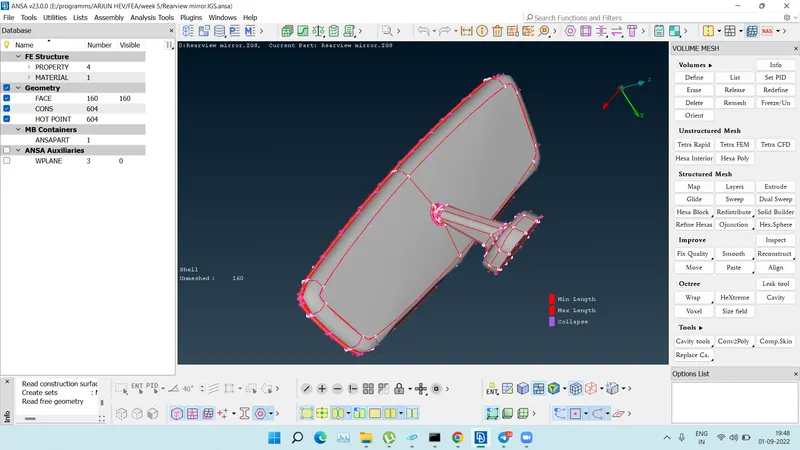
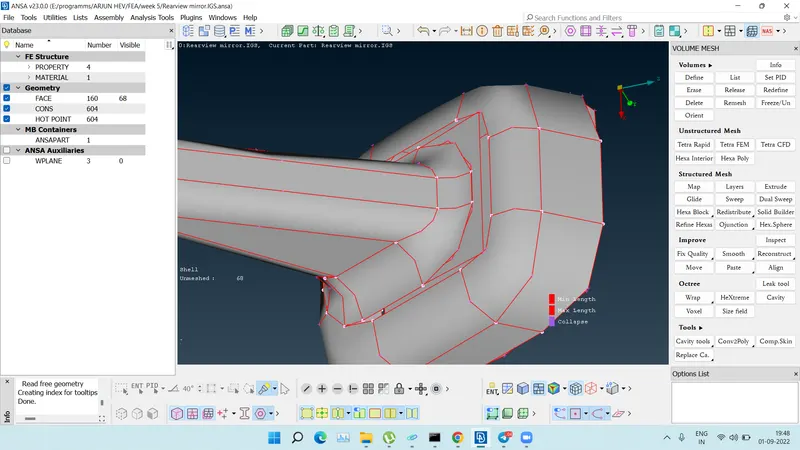
Here the cons are released as you can see the red coons.this is the geometry without topo so we are going to topo the geometry now and the image is provided below.
- After TOPO
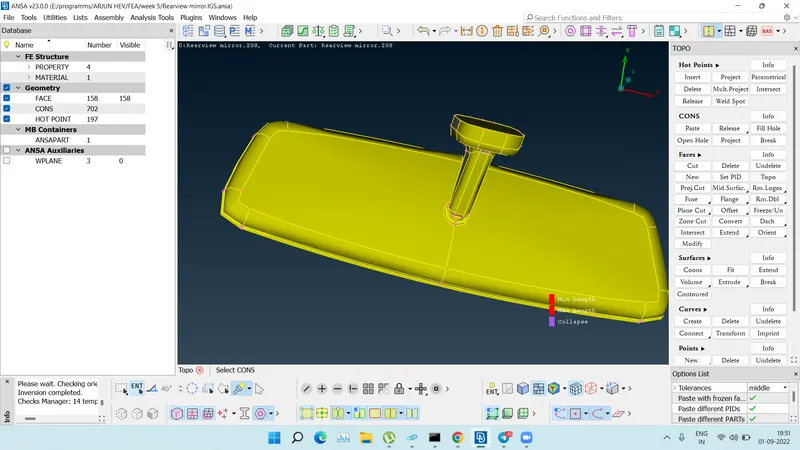
Afteer giving topo all the cuts in the geometry are gone.
- Geometry check
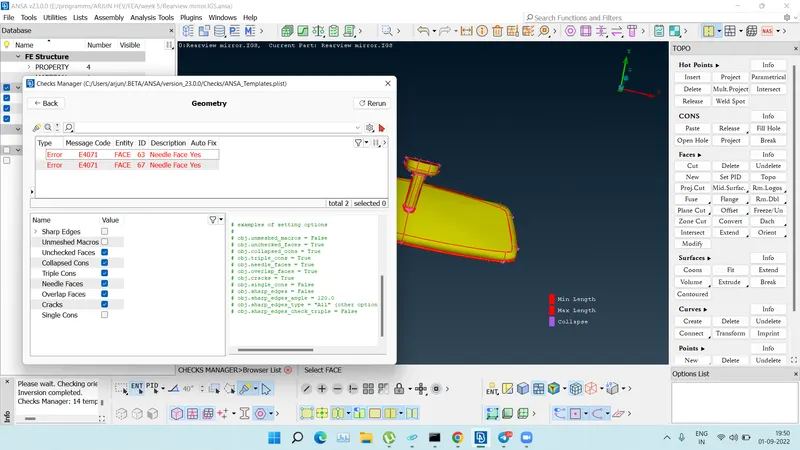
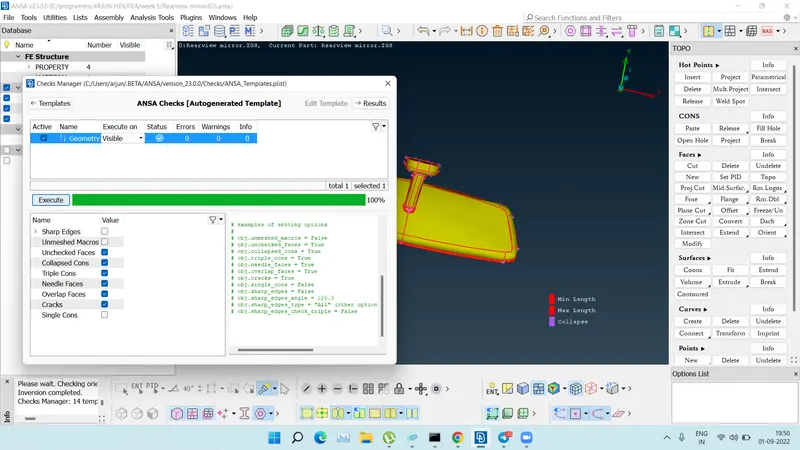
After geometry checks all the errors which were occuring were resolved.
- Orientation
All parts of the geometry were in differnet orientatioin so we kept it in single orientation.
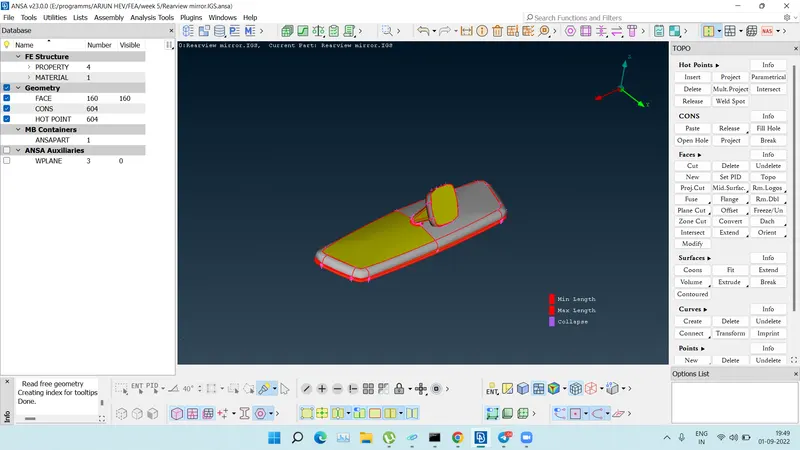
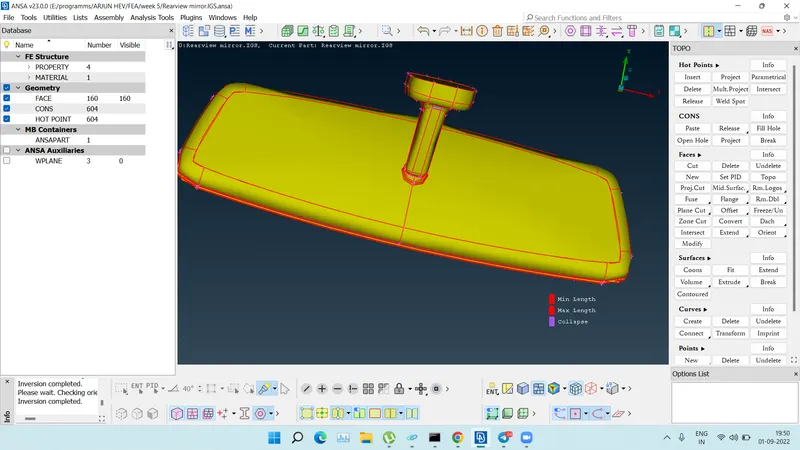
- Mesh parameters
- Now give proper given quality criteria to the model.
- Give the minimum length of 0.5 and maximum length of 2.
- Give the mesh parameters as per the given criteria.
- Give average target length and minimum length in Mesh Parameters tab & set ‘Ortho Tria’.
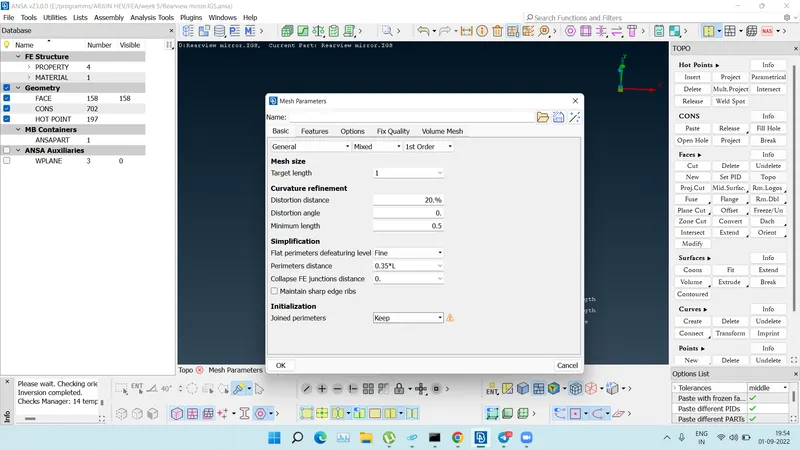
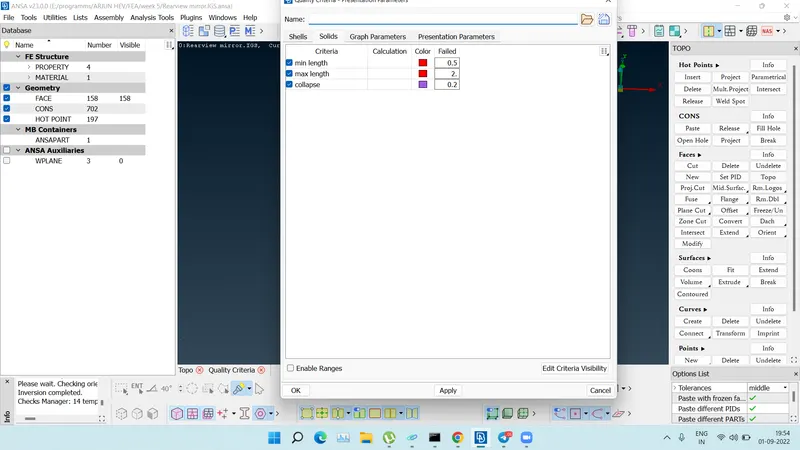
- Shell Meshing
This is the mesh parametre for the shell mesh and here you can see we have given as ortho tria,1st order.
So now we will proceed for the meshing.
Here we have a option of automatic meshing with batch mesh and a manual mesh but i go through the manual,one by one we open the parts from all the 4 parts and mesh it so i will show you the component after the shell meshing how it look and also go for quality check.
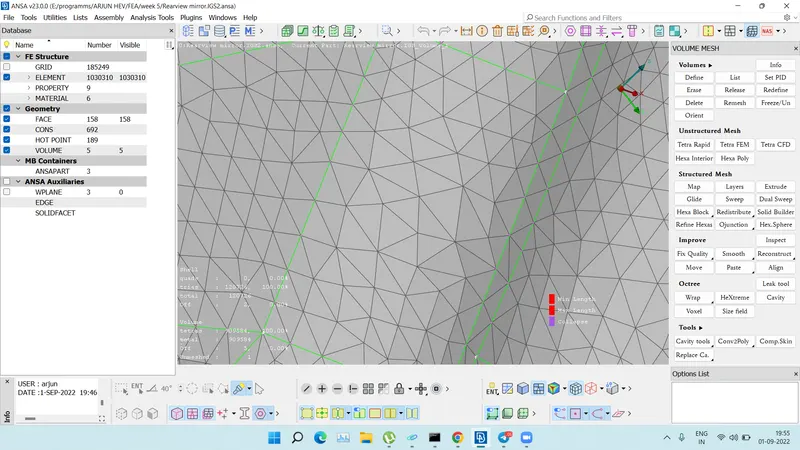
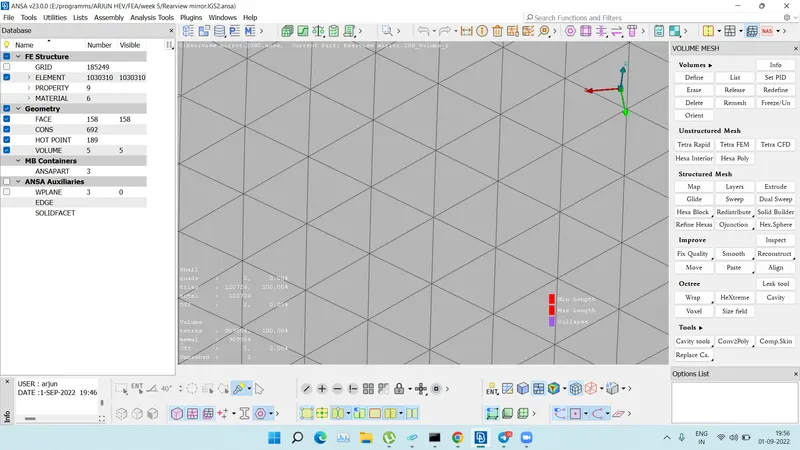
You can see here in the quality area for the shell mesh we don't of any off element so the quality of the mesh is good with 0 off element.
Now after that we will proceed with for the solid meshing or volume mesh.
Now before going for that we have to conform that the component is completly closed volume that means there is no cracks or single cons found.in my model it is closed volume.
And we have to define the volume for the component on which the solid meshing is to happen.So i defined it for all the for component as shown in below image.
We will define the volume from the V.Mesh deck>Volumes>Define>Manual. as the image shown below.
- Volume meshing
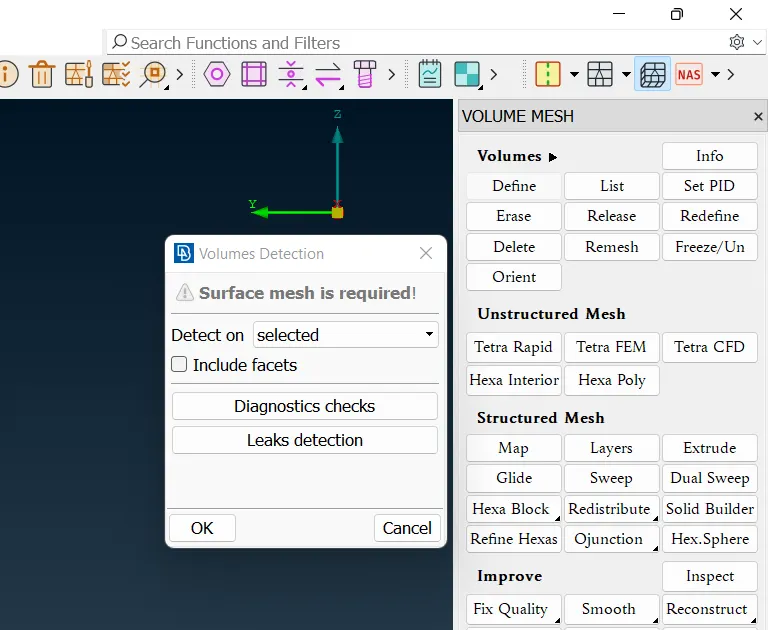
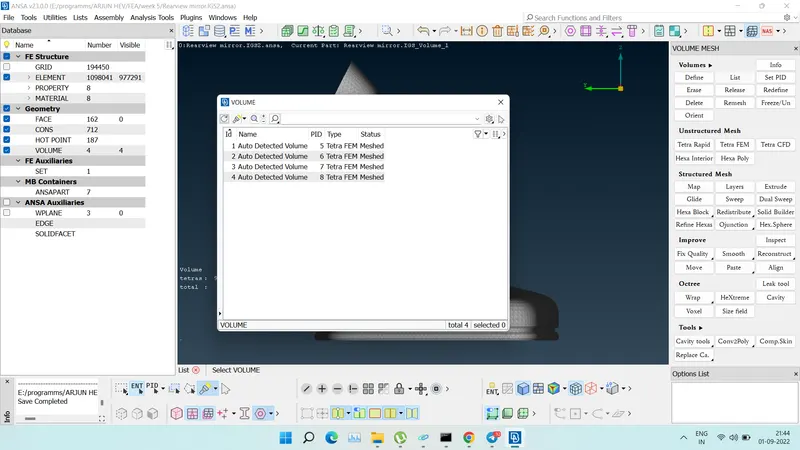
After defining the volume we will proceed for the meshing and here i am going with the Tetra FEM meshing here we will find it in V.Mesh deck>Unstructured Mesh>Tetra FEM.
close volume is created after applying this options now the volume mesh generated.
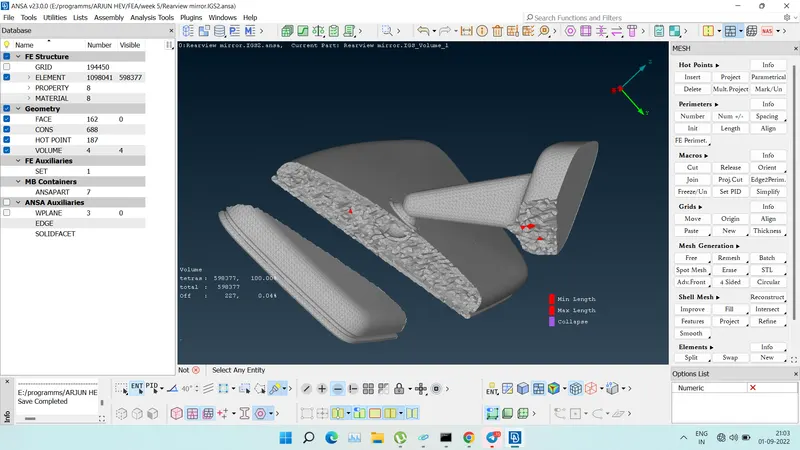
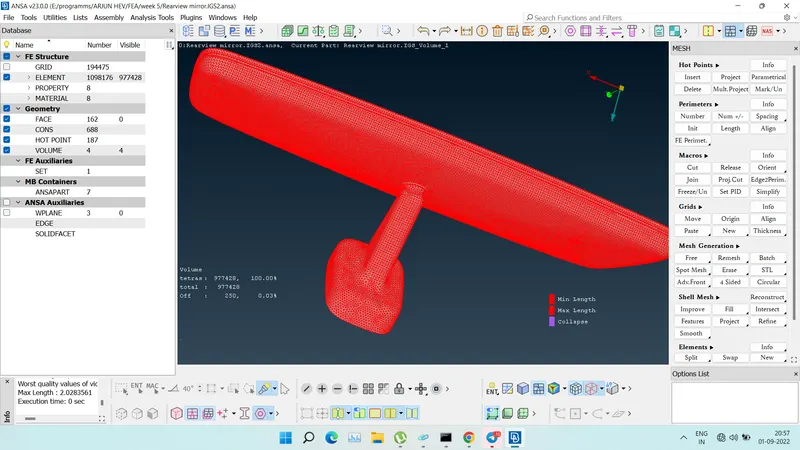
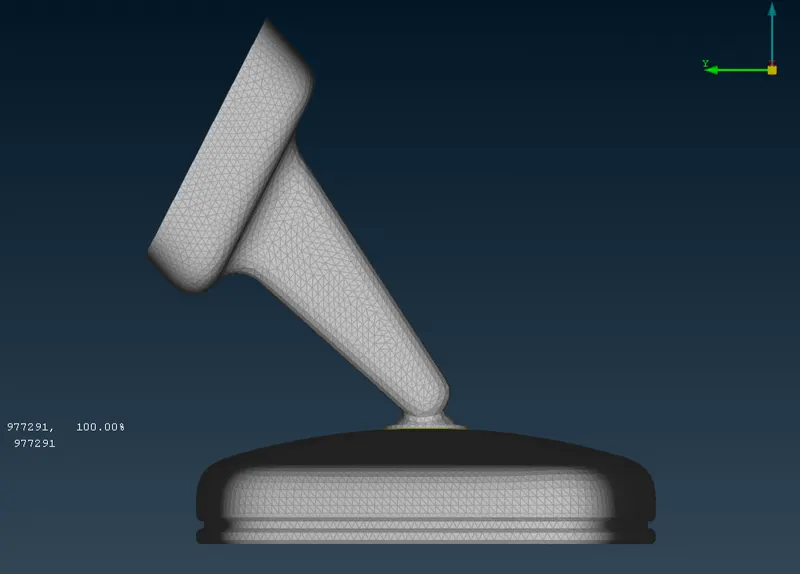
Thhis is how the volume mesh looks like the solid one from the cross section i made a cut to show the internal mesh how the solid mesh looks .
>Also check property for shell and volume properties.
- Clear all the off elements generated by improve/fix quality from V mesh.
- Clear all the kinks, raised edges and other errors. (We can use origin, grid moves option for clear off elements manually).
- Off elements
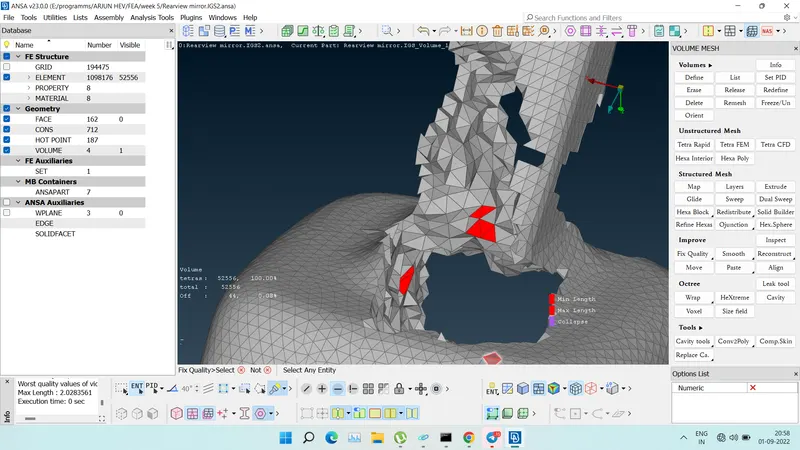
- Kinks and raised
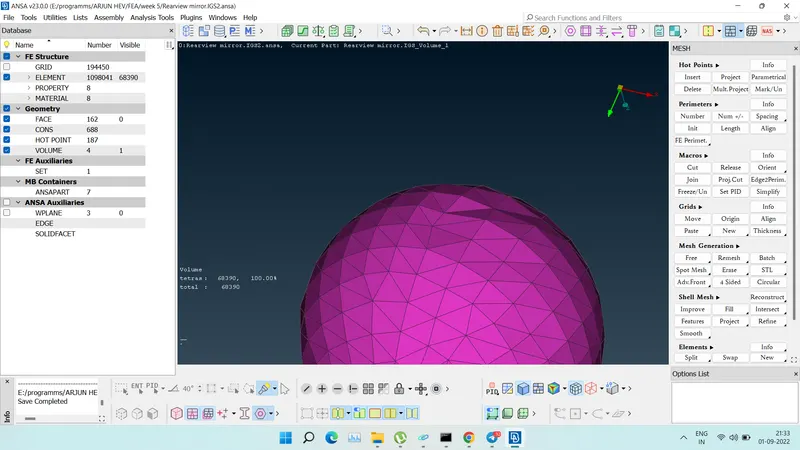
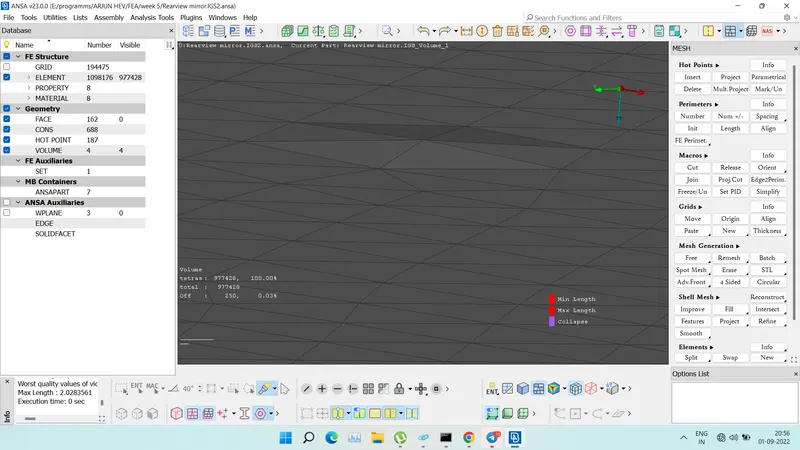
- This raise and kinks needs to be removed .We can do this by using origine option.
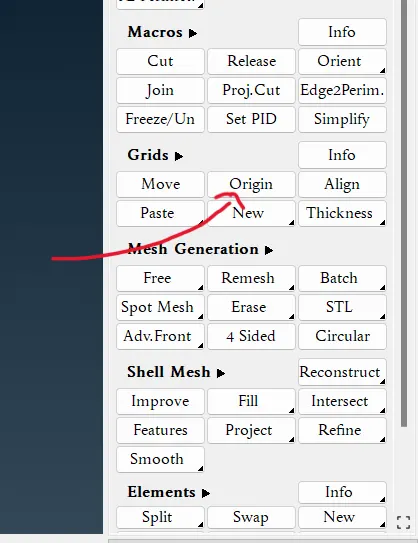
after using this option erros are getting removed.
- LEARNING OUTCOMES:-
we have learned to do tetra mesh by using ortho tria and tria by giving proper quality criteria for solid meshing.
V mesh > spot mesh > ortho tria > enter for curved surfaces
V mesh > spot mesh > tria > enter for flat surfaces.
for defining the volume, V mesh > define > enter and meshed the volume with Tetra FEM.
Ramesh the all un meshed volume by right clicking.
For quality improving V mesh/improve/fix quality.
Smooth / reconstruct/ move options can be used as the need.
CONCLUSIONs :-
Performed the tetra Solid meshing for the rear-view mirror as per given quality criteria by using ANSA and learned lot about the new commands in solid meshing.