Week - 5 - Modelling Spotwelds
*Model name:-
Modelloing spotwelds
*Aim:-
-Simulate the modelling spotwelds using the LS-DYNA software & understand the concepts of how the conditions are produce after the heating car & it spotwelds to any particular steady object(Rigid wall).
Objective:-
-In this simulation we requests for the given delivers:-
*Procedure:-
1 Material creation
2 Section creation
3 Assigning material & section to their respective parts
4 Material & section creation for a beam elements & solide elements
5 Assigning material & section to beam elements & solid elements
6 Rigidwall creation
7 Definding boundary conditions & specifying initial velocity to the two parts.
8 Creating the contact definition.
9 Binary_D3plot & ASCII_opction define
10 Model check
11 Post processing
*Unit system:-
-in the question given that, unit system is:- gm,mm,ms.
-First of all start LSPP software & open the FEM which name is spotweld-assignment.k
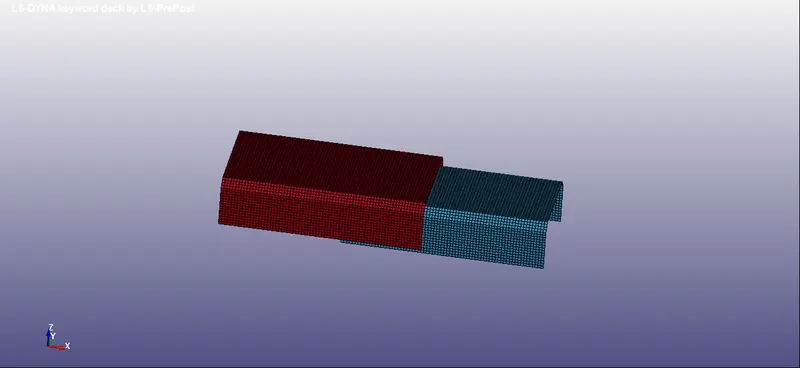
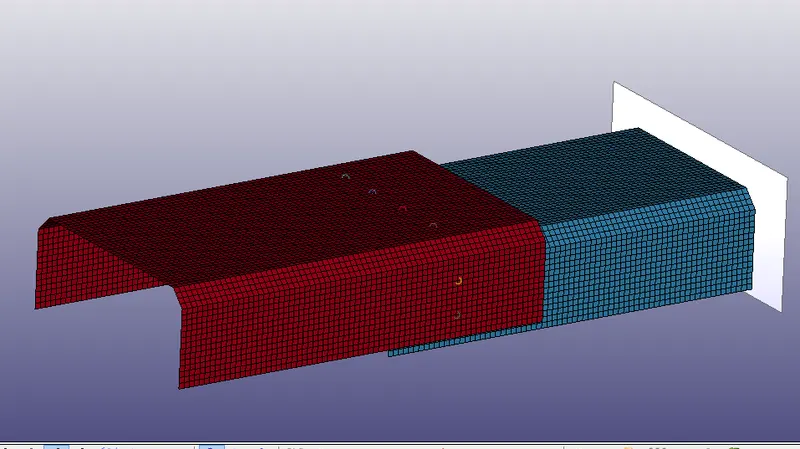
-Here we seen that model consist of two parts, first one is upper part & second one is lower part.
1) Material:-
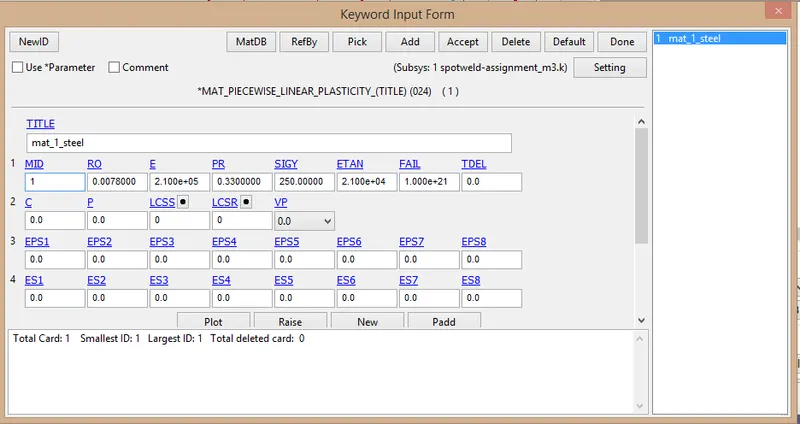
-Here we seen that shell elements are available in the box, so we create a material card for shell.
-We choose the material card is Piecewise_linear_plasticity(024)
-We use the material is steel for the made of this box.
-We provide the values are:-
*unit conversion:-
*Density:-
`ρ=7850 (Kg)/m^3`
`ρ=7850 *10^3/10^9 (gm)/(cm^3)`
`ρ=7.850×10^(-3) (gm)/(cm^3)`
*Young modulus:-
`E=210Gpa`
`E=210×10^9 pa`
`E=210×10^9 N/m^2`
`E=2.1×10^5 N/(mm^2)`
*Poisson ratio is:- 0.33
2) Section creation:-
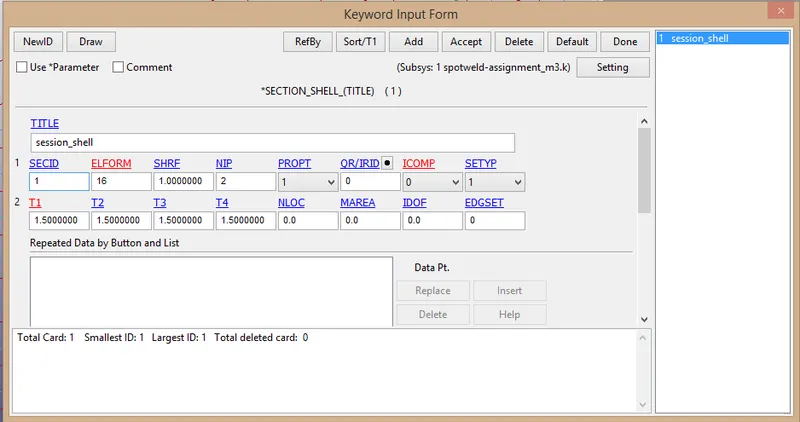
-Session shell is taken for the two parts.
-For that we go to Model & part>keyword manager>all>section
-Here provide the element formulation is 16 & thickness is 1.5 mm.
3) Assigning material & section to their respective parts:-
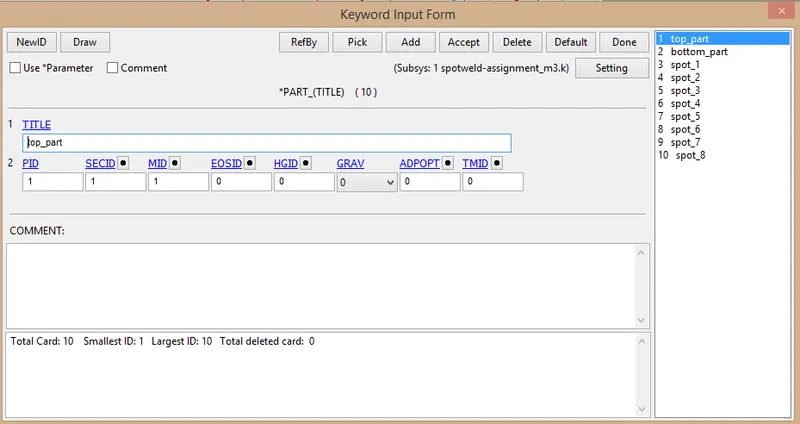
-After the creation of material & session , next step is create the part.
-Here there is two parts available. provide the material id and section id for them.
4) Material & section creation for a beam elements & solid elements:-
-After the creation of material & section for part, now create the material & section for the beam element.
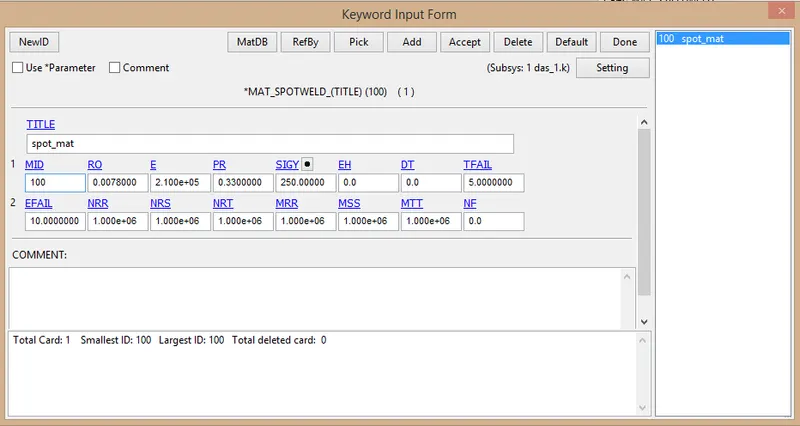
-Here, we use MAT_100 card for assign the material.
-Another thing, we use time base failure. It means fail the beam at 5 ms.
*For Beam elements & solid elements:-
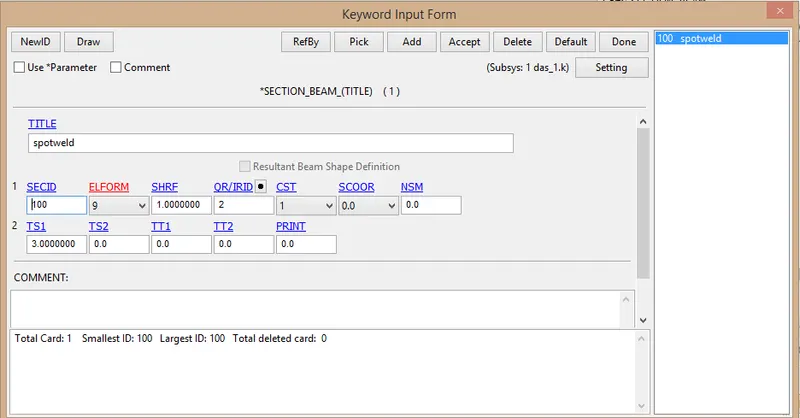
-Here, we use section_beam card for the assign the section for beam.
-Provide the variuos values:-
ELFORM=9 (Element formulation)
CST=1
TS1=3 (Thickness)
*For Beam elements:-
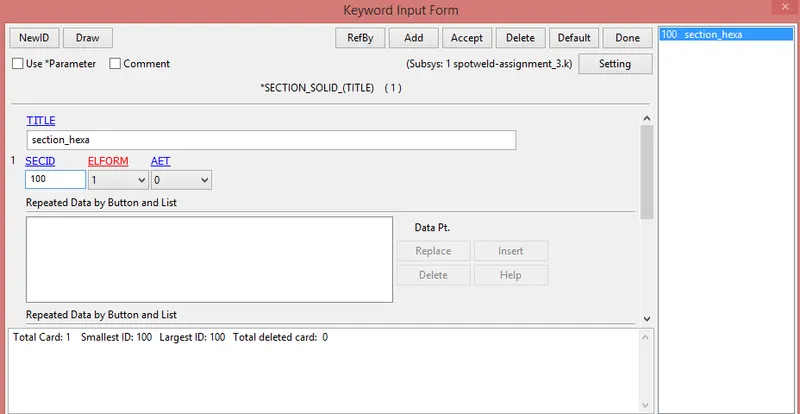
*For solid elements:-
-Here, provide ELFORM=1
5) Assigning material & section to beam elements & solid elements:-
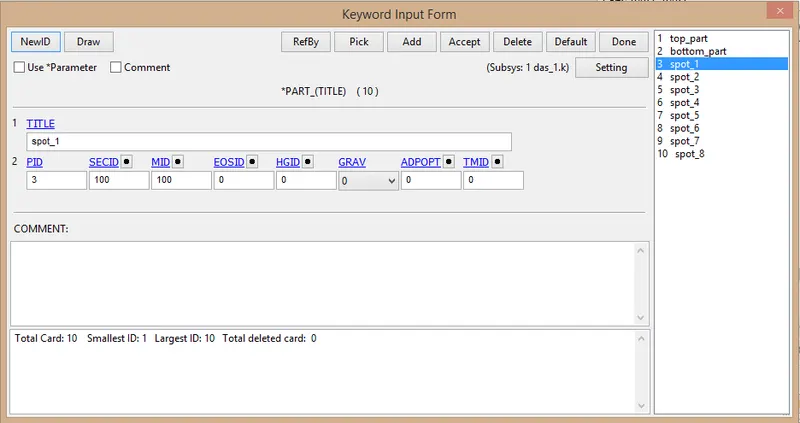
-After the creation of material & section card for the beam element, now assign that for every beam element.
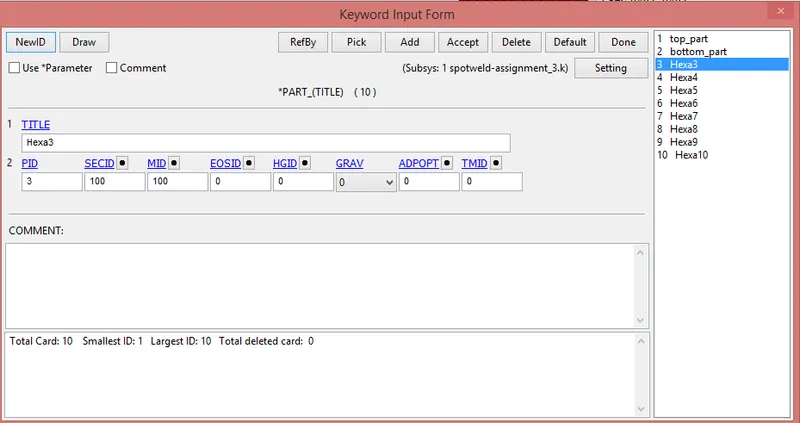
-Here I create 8 beam elements.
*For Beam elements:-
*For solid elements:-
6) Rigidwall creation:-
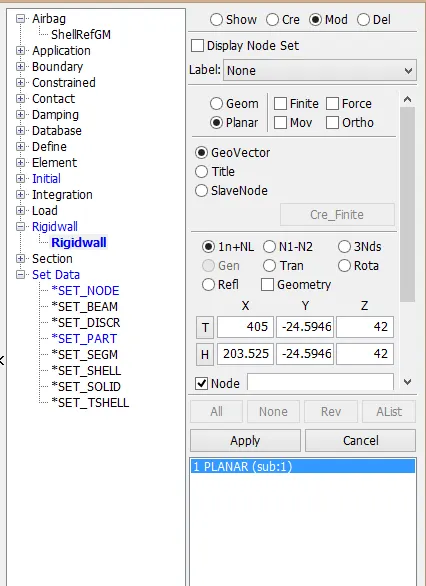
-Now we create the rigid wall. '
-For that first of all create new node set.
-For that go to model & part>create> Set data> set node
-Here we select all nodes of the two parts.
-After that create planar rigid wall.
7) Definding boundary conditions & specifying initial velocity to the two parts:-
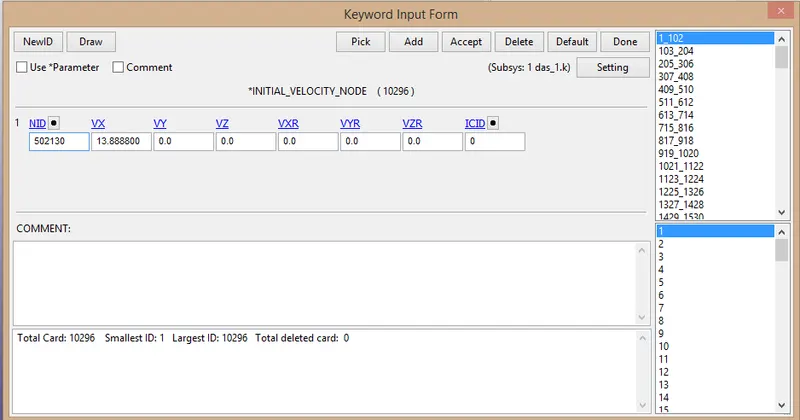
-Now we provide the velocity to the box.
-In the question velocity given is 50 kmph.
-`v=50 (Km)/(hr)`
`v=50 *10^6/(3600*10^3 ) (mm)/(ms)`
`v=0.01388*10^3 (mm)/(ms)`
`v=13.88 (mm)/(ms)`
8) Creating the contact definition:-
-We create the self contact for a two parts.
-For that go to the Model & part>keyword manager>all>contact
-Choose Automatic_single_surface type.
-Here we select the slave type is 4 & only select the slave id, don't select the master id.
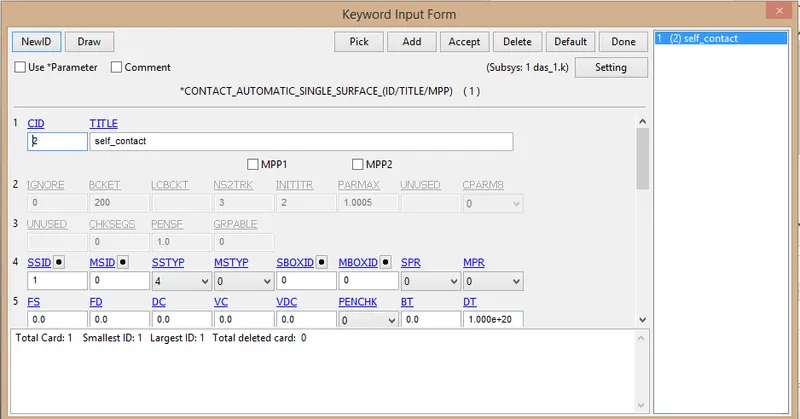
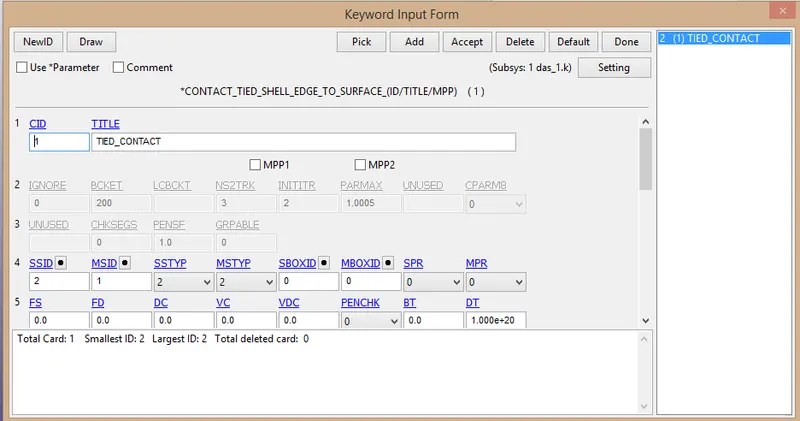
-Now create contact between beam & two parts.
-We create CONTACT_TIED_SHELL_EDGE_TO_SURFACE card.
-choose SSTYP & MSTYP are 2.
-Here, provide beam as a slave id & parts as a master id.
8) Creating the contact definition:-
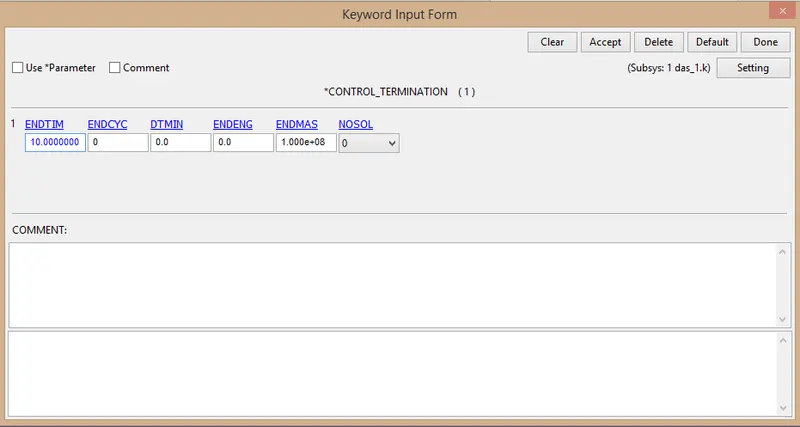
-Now we create control termination card.
-Control_termination keyword is crated for the end time provide. we provide end time is 10 ms.
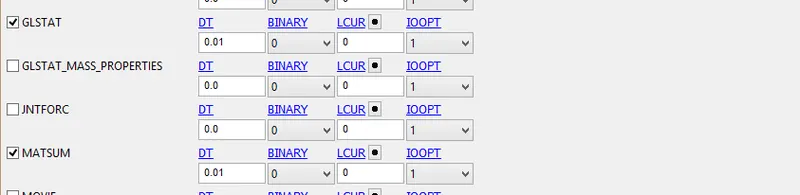
9) Binary_D3plot & ASCII_opction define:-
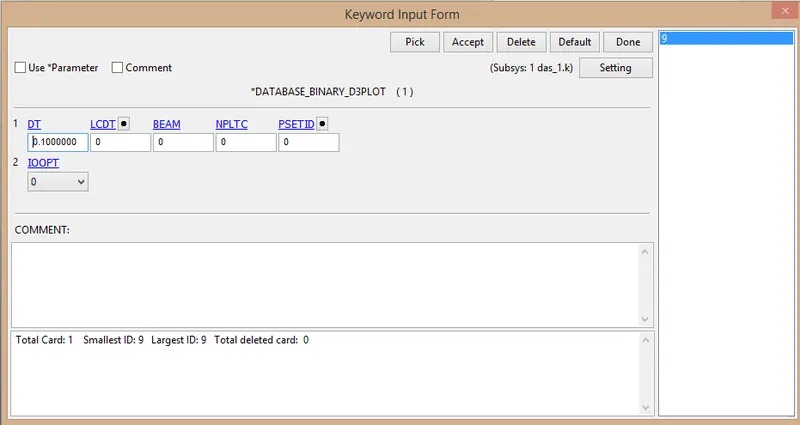
*BINARY_D3PLOT:-
In this keyword the frequency with which the animation is to be crated will be given and is set to 0.1 ms.
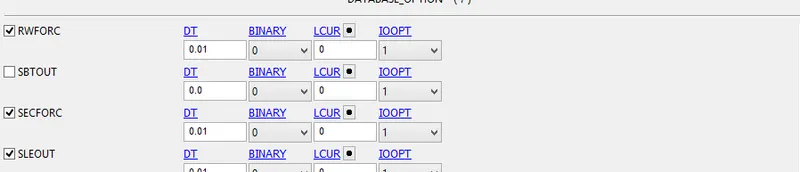
*ASCII_OPCTION KEYWORD:-
-in this keyword
1)GLSTAT-Global data
2)MATSUM-Material energies
3)NODOUT
4)RCFORC
5)RWFORC
6)SECFORC
7)SLEOUT
-


10)Model check:-
-After assigning all the keyword check the model using the model checker and make sure that the file is error file.
-After that save the file as a".k" format.
-Run the file in the solver. if it's end as a normal termination then model is correct.
11) Post processing:-
-The D3 file open in LSPP using opction File>open>LS-DYNA binary plot
*von-mises stress:-
*Beam:- *Solid:-
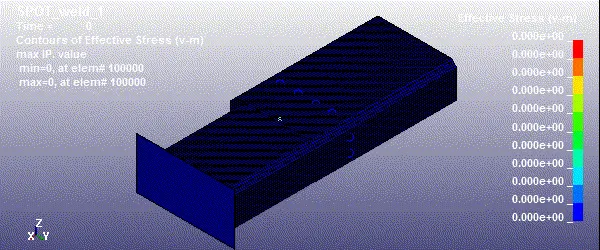
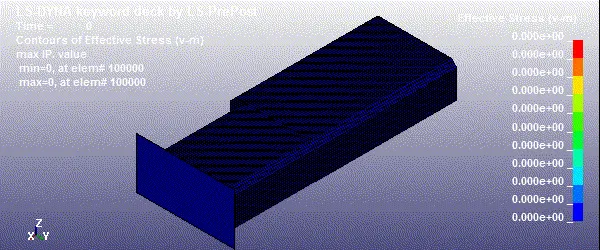
-From this two cases we conclude that there are more stress concentration present near the spotweld region in case 2.
-This is becuse of the greater stiffness of spotweld modeled using solid elements.
*Effective plastic strain:-
*Beam:- *Solid:-
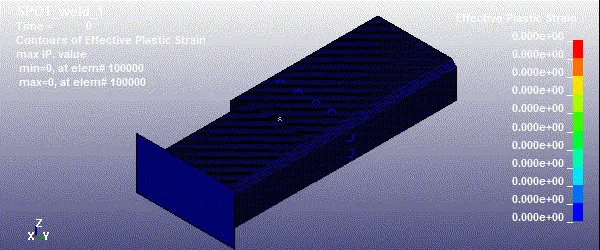
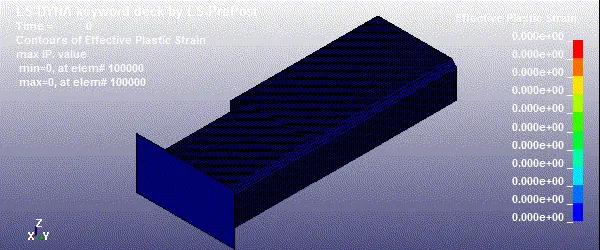
-The maximum strain produce 0.01559 in case 1 & 0.0517 in case 2.
*Von-mises stress:-
-Here, we plotting the von mises stress vs time diagram for elements number 101781 for both cases.
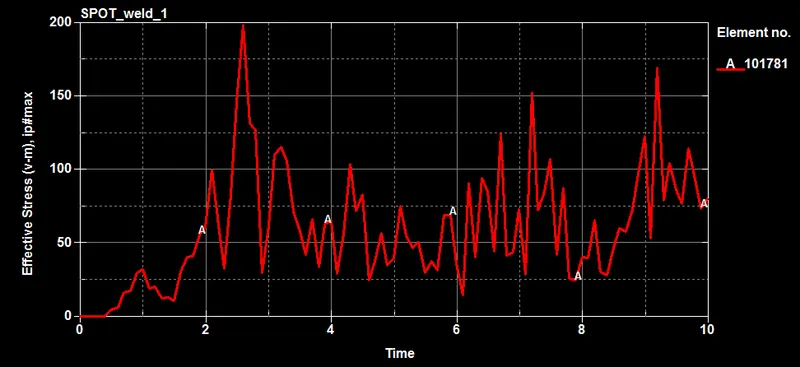
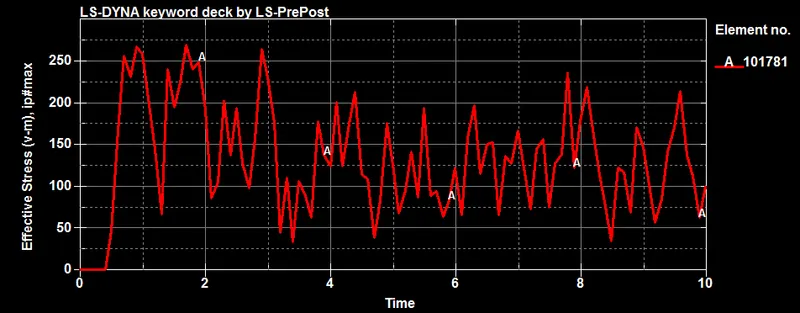
-we seen that higher amount of stress recorded in case 2 compare to case 1.
-The maximum stress is 199 Mpa in case 1 & in 269 Mpa case 2.
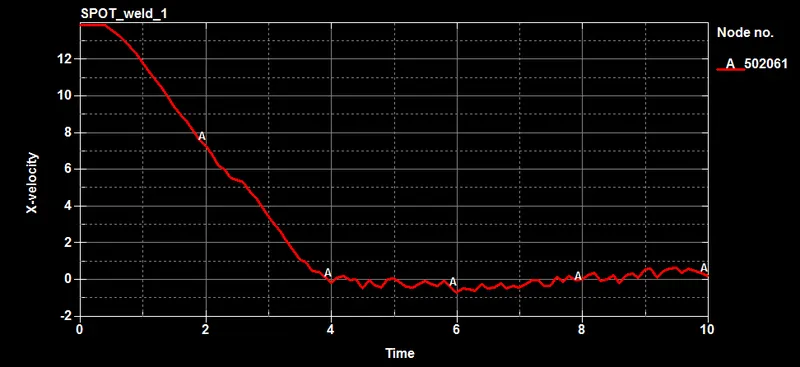
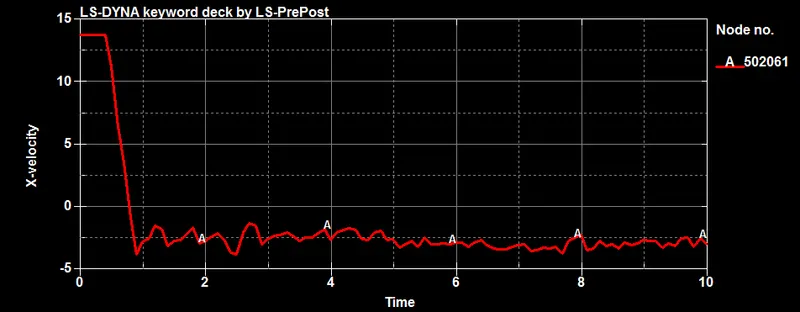
*x-velocity:-
*Beam:- *Solid:-
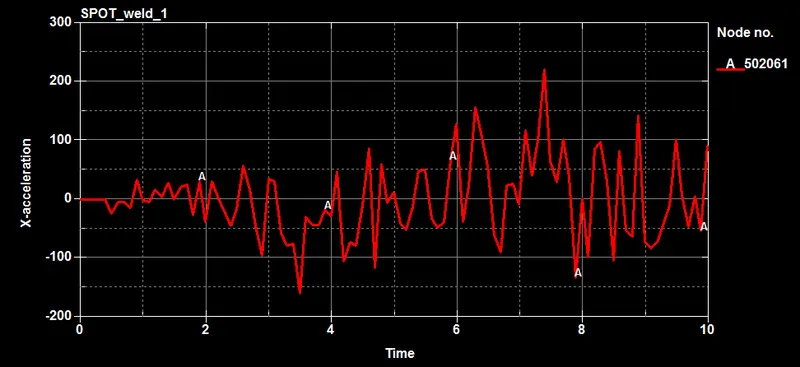
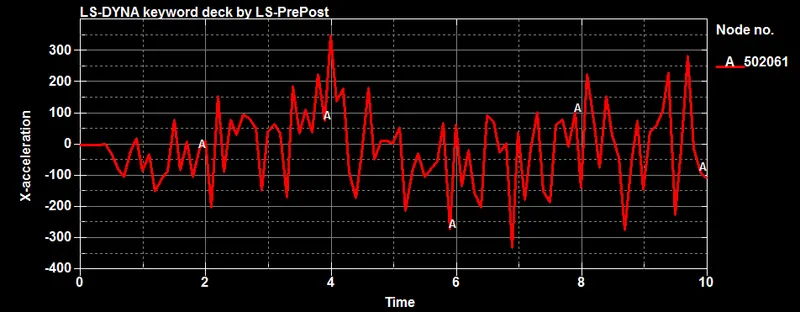
*x-acceleration:-
-The acceleration data were generated from historical data of node number 502061 in both cases.
*Beam:- *Solid:-
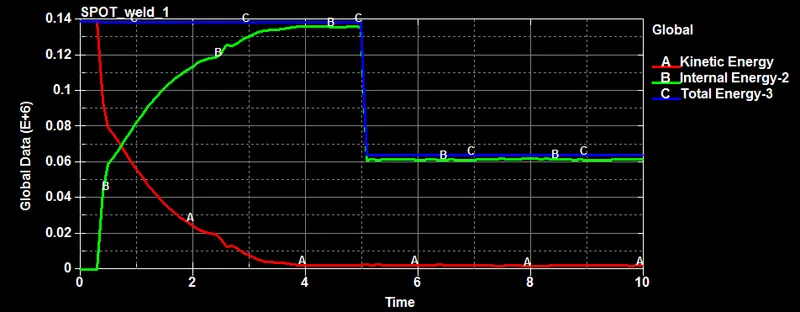
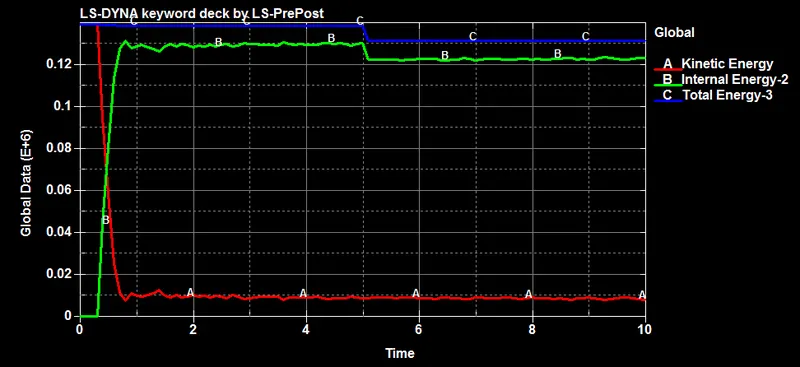
*Global data:-
*Beam:- *Solid:-
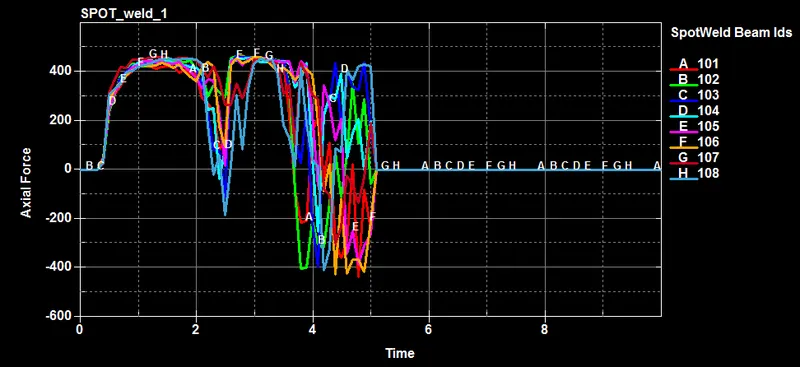
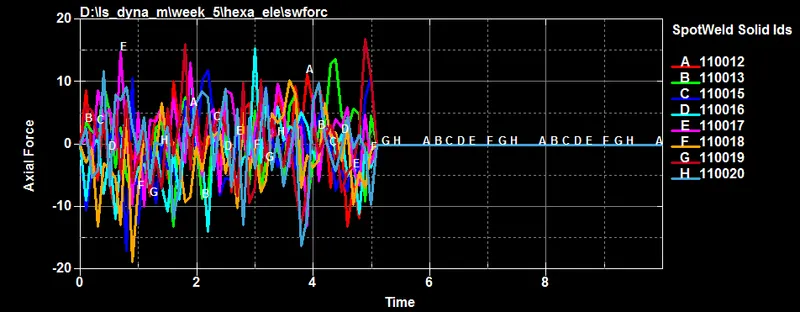
*spotweld axial force:-
*Beam:- *Solid:-
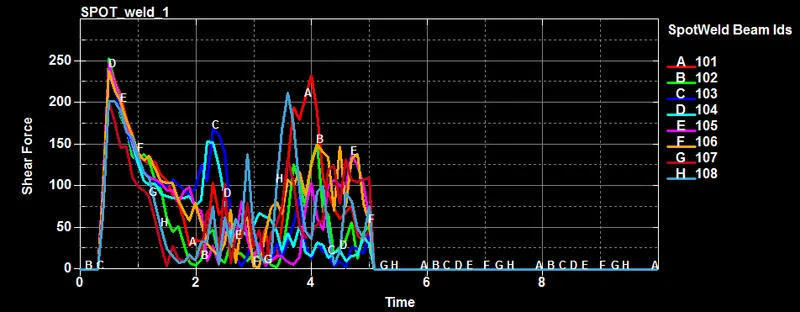
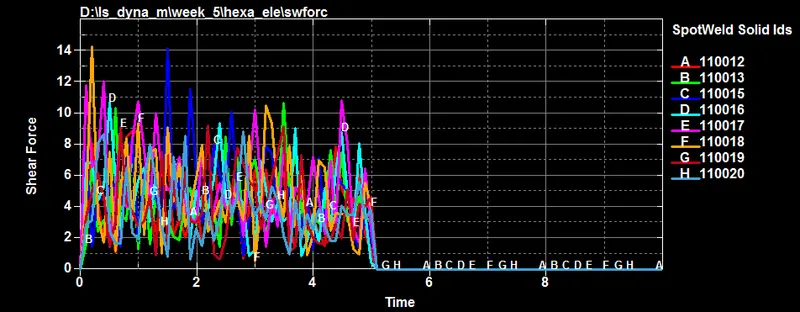
*spotweld shear force:-
*Beam:- *Solid:-
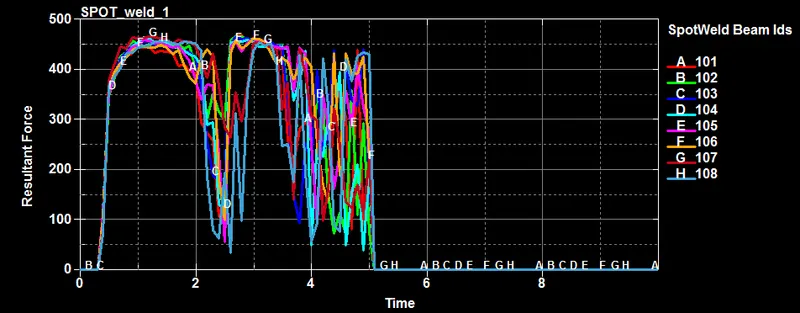
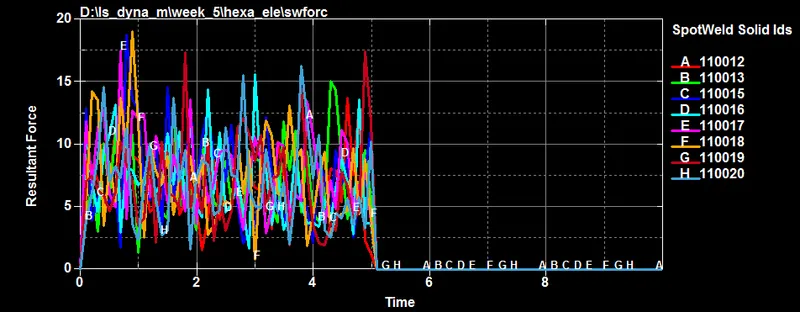
*spotweld resultant force:-
*Beam:- *Solid:-
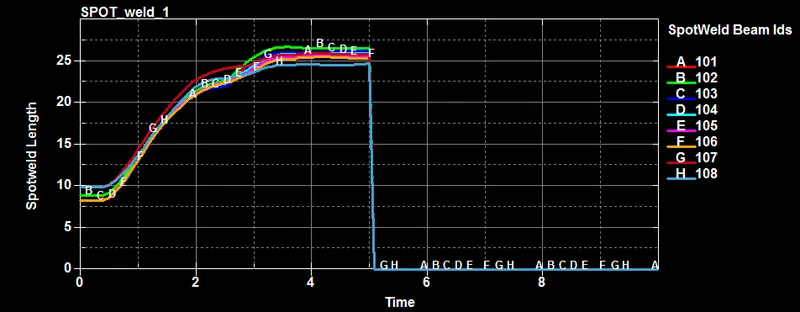
*spotweld length:-
*Beam:- *Solid:-
*Conclusion:-
-Spotwelds were modelling using both Beam elements as well as Hexa elements.
-The spotweld modelled using the Hexa elements transfered more forces across the joining parts as a result of its higher stiffness.
-The simulation run succesfully. Post processing of the simulation had done using D3PLOT & ASCII results file.