Week 5 Challenge : Surface wrap on Automotive Assembly
GENERATION A SURFACE WRAP ON AUTOMATIVE ASSEMBLY USING ANSA
INTRODUCTION
A surface wrap is a process of meshing the outer surface of the model on a thin surface. This surface conforms to the original geometry's shape, and the conformed geometry's precision will depend on the element size.
The process is used when an analysis is needed to be performed on the external surface, but the geometry is so intricated that a surface mesh having a very small element size needs to capture all the features of the model. For generating such a complex mesh, the time required to mesh the geometry will be very high. in this case, a surface wrap can be used, which gives a solution of lower accuracy. however, the time required will be very small compared to generating a standard surface mesh.
PROCEDURE
In this project, we have 3 geometry(the engine, the transmission, and the gearbox). In the first step we have to do some topo cleanup, in the 2nd one, merge the 3 geometry and the final step will be the surface wrap.
PART-1(Topo cleanup)
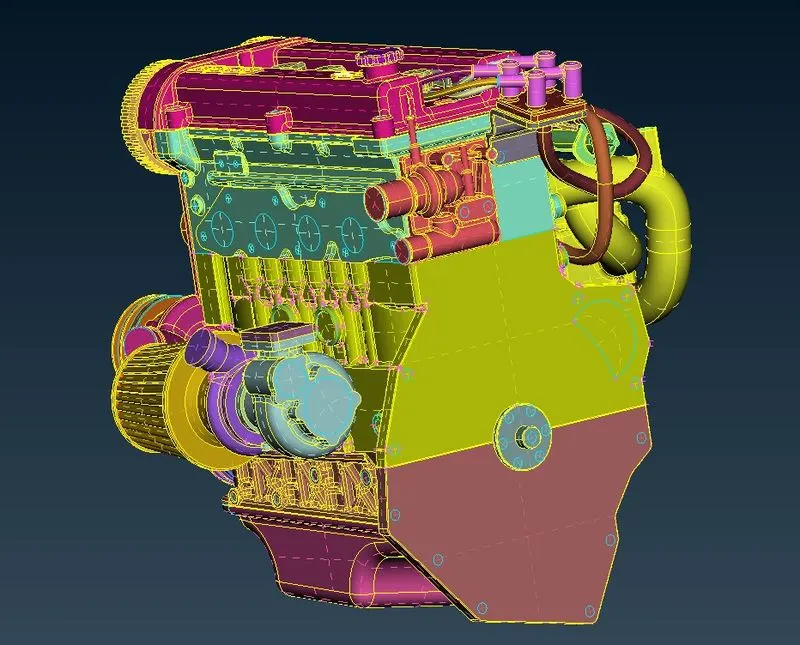
To do surface wrap, we have to clean the outer surface only. In this geometry, there are some unwanted donut-like surfaces, overlapping surfaces, and some unwanted surfaces so we have to clean the geometry first using the delete surface tool.
As we discussed, a surface wrap is done with a closed surface so we need to close all the outer surfaces.
This is essential because as we perform a surface wrap, the algorithm will try to accommodate the orifices present in the geometry to a certain extent, which is not desirable as it can distort the geometry and generates the skewed element.
Engine geometry with unwanted surfaces
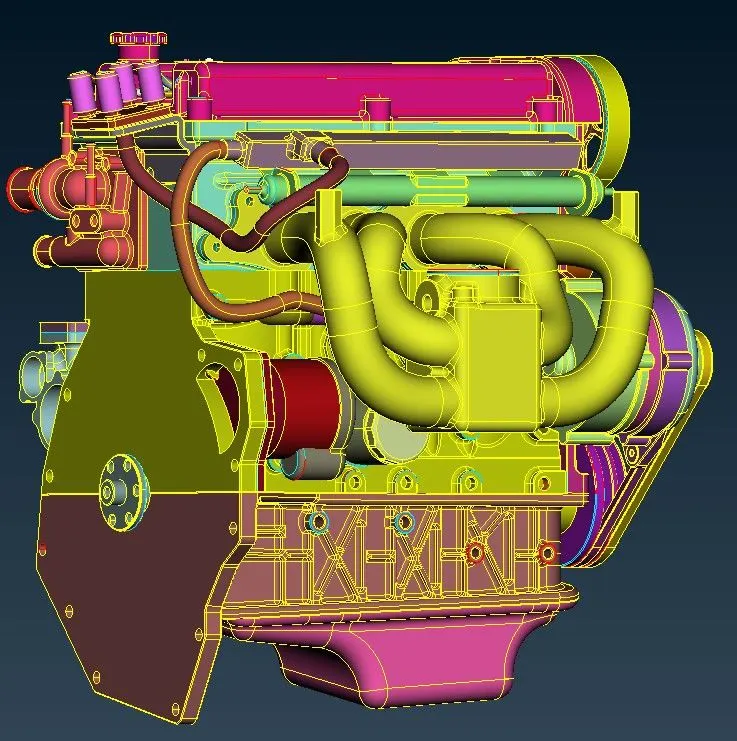
Engine geometry after clean up
Transmission geometry with unwanted surfaces
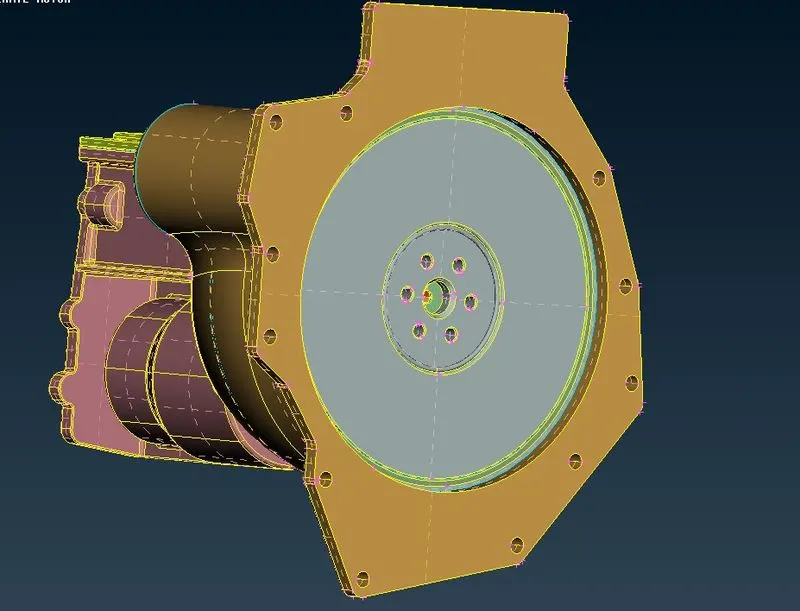
Engine geometry after clean up
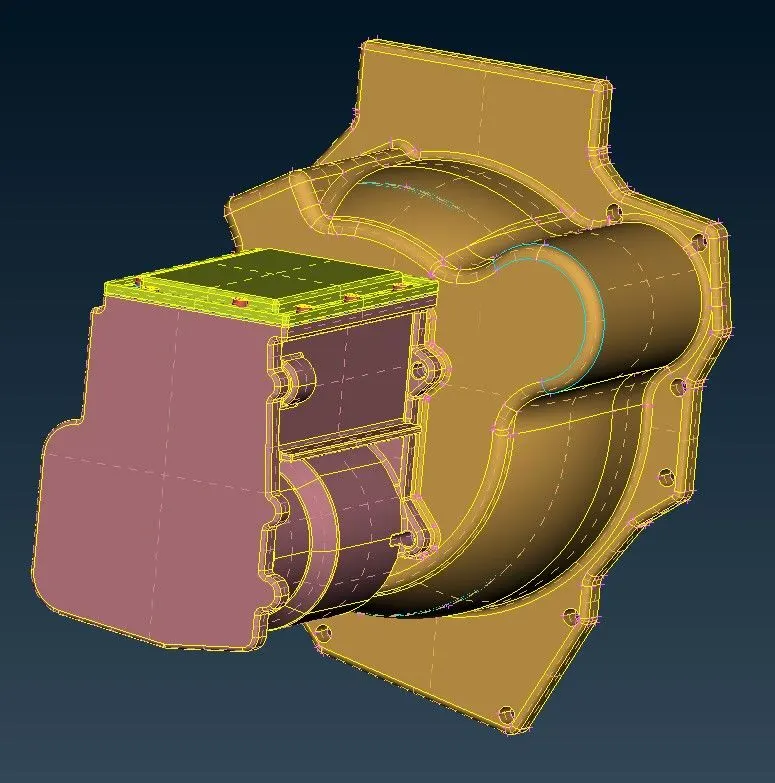
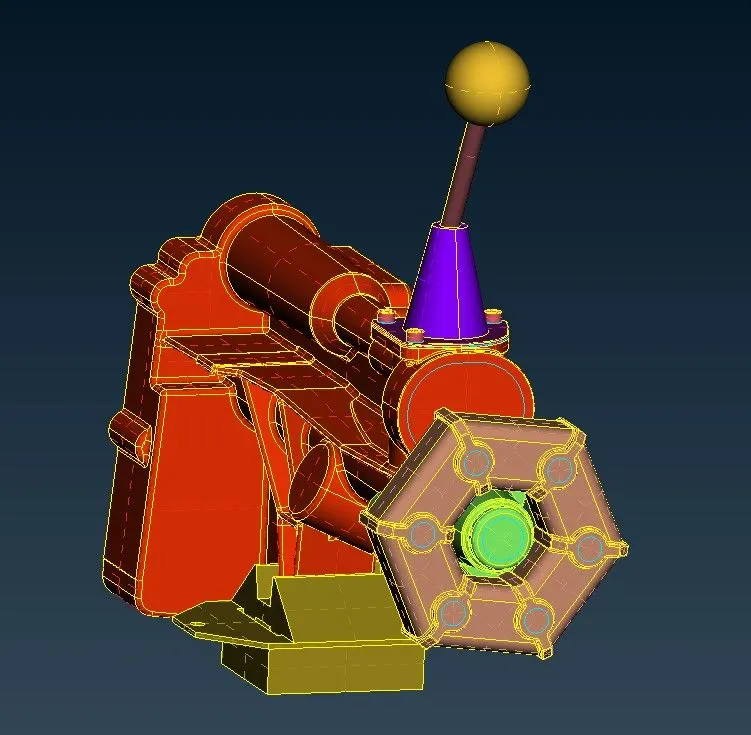
Gearbox geometry with unwanted surfaces
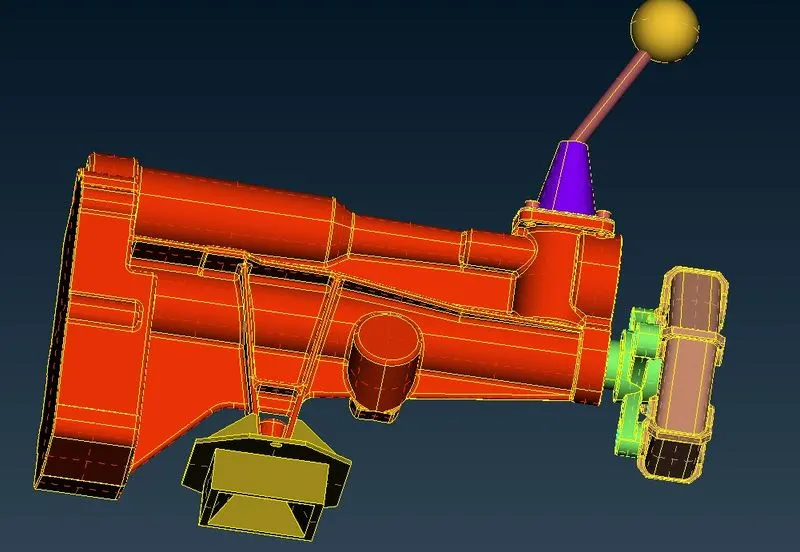
Gearbox geometry after clean up
PART-2(Merging the geometry)
In this part we merged all components, it can be done by selecting the merge option under file and then choosing the 3 components. Merge will be based on the global coordinate set by the designer hence it will be automatically placed on their respective surfaces
PART-3(Surface wrapping)
This part will come after Merging all three components, here we need to delete the unwanted surface PIDs and it can be done by using the compress tool, and only required PIDs should be kept.
Steps performed while surface Wrap
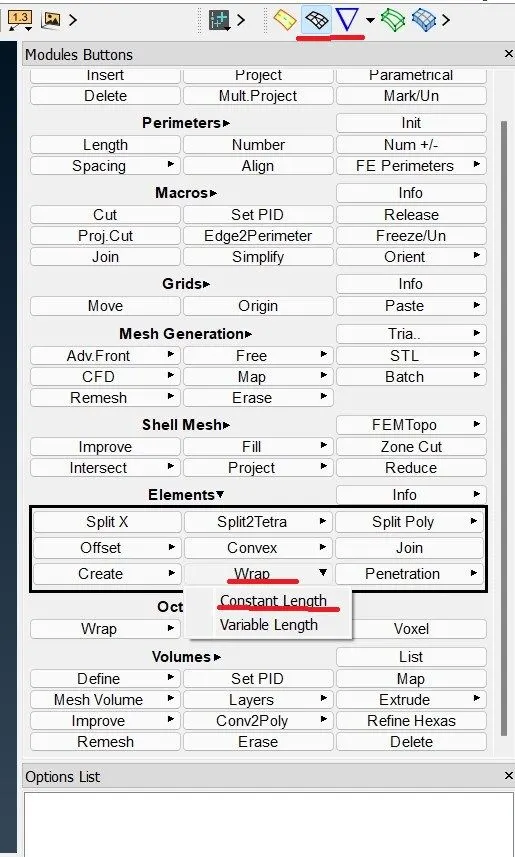
I-Mesh>Mesh generaation>Element>Wrap>Constant Wrap
2- Then a pop-up window appears, where we can set our mesh parameter.
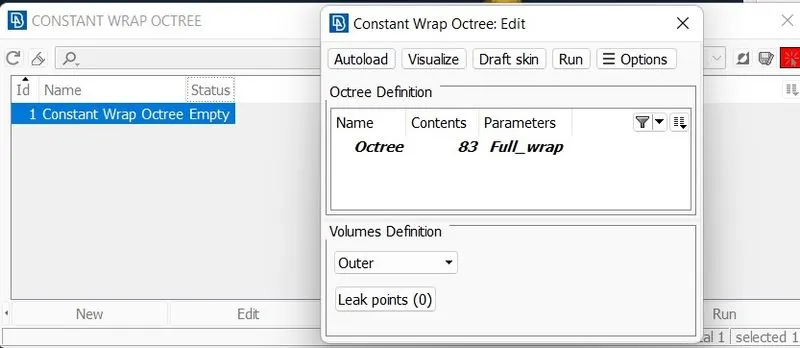
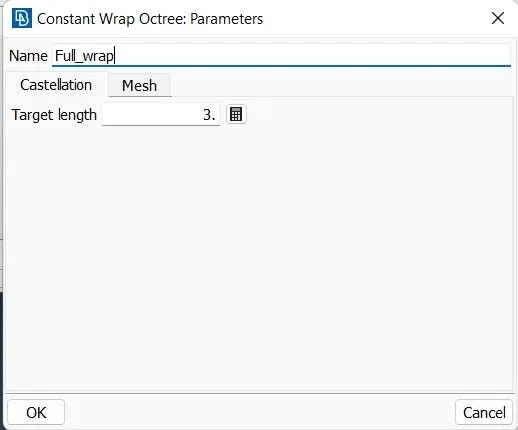
3-Swap the required PIDs to the selected box.
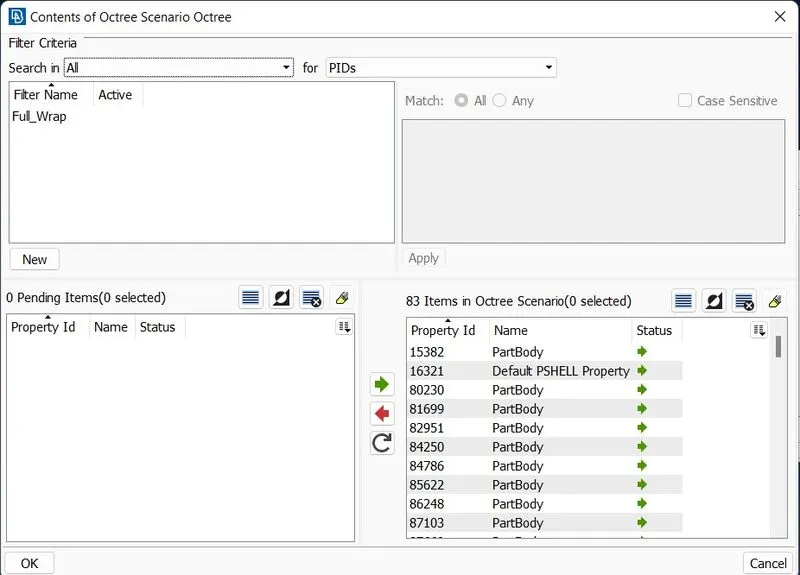
4-Then click on run to perform surface wrap on selected ones.
RESULTS
wrapped mesh
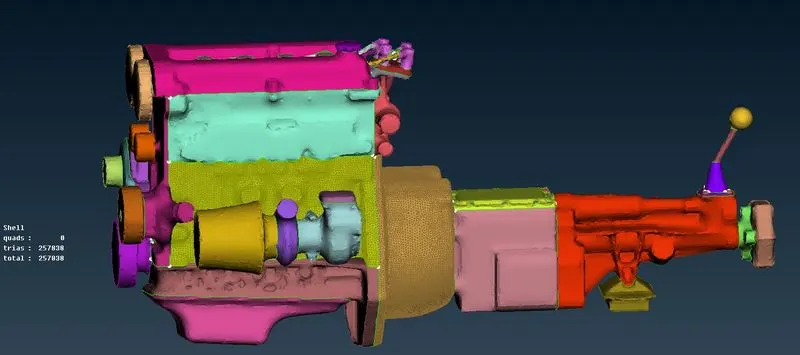
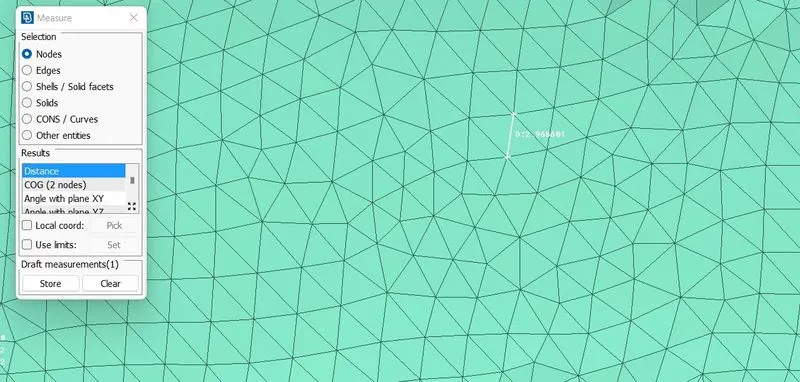
CONCLUSION
To archive the surface wrap, it took us 5 min. The surface is easier to perform since it does not require the quality of each material.
-The effective surfaced wrap is achieved on the given body for a given mesh length of 3mm.