Week 5 Challenge : Surface wrap on Automotive Assembly
CHALLENGE 5 : surface wrap on Automotive assembly (Engine,Gearbox and transmission model)
AIM : To cleanup and merge the given geometry and perform surface wrap
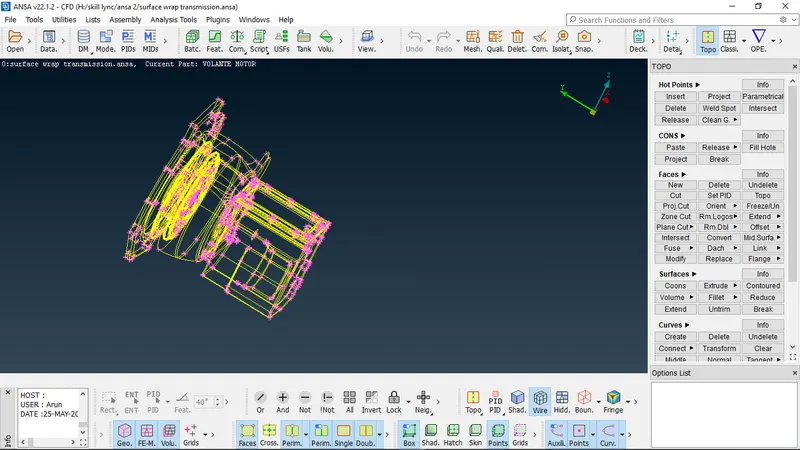
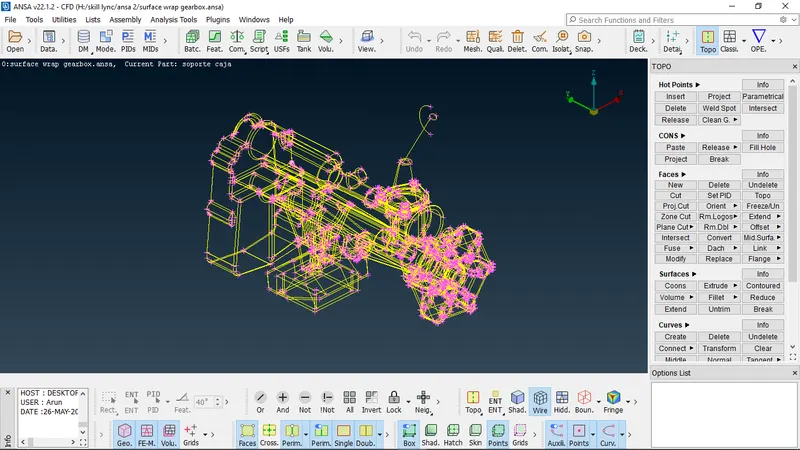
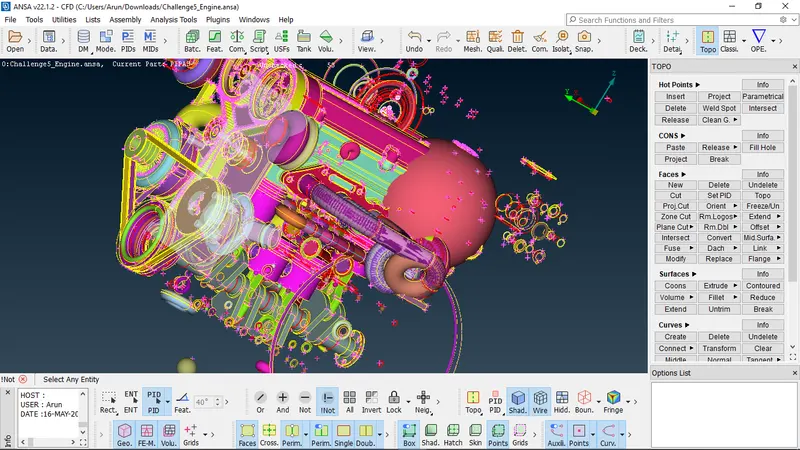
1 : Import and view the model in the ANSA, which by default will be in wireframe view. using the shadow option it enables the 3D view of the model
this step is followed for the rest of the models too, ie the engine, transmission and the gearbox model.
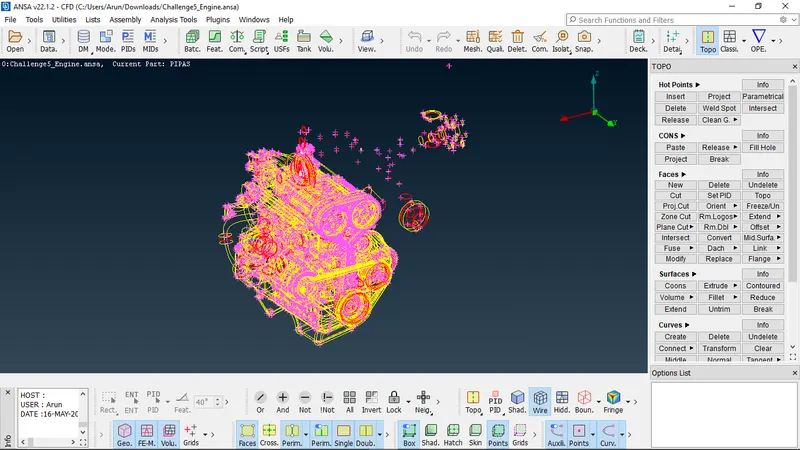
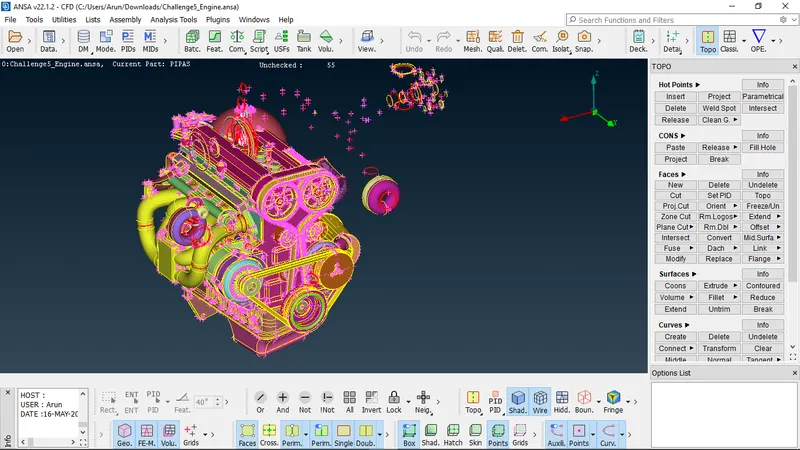
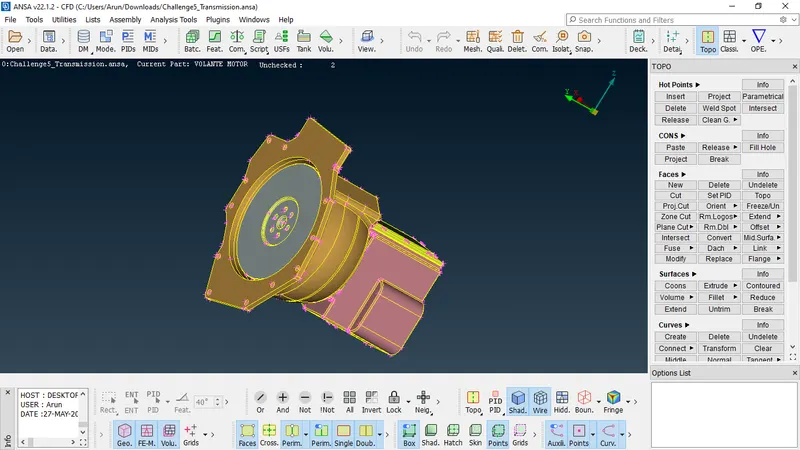
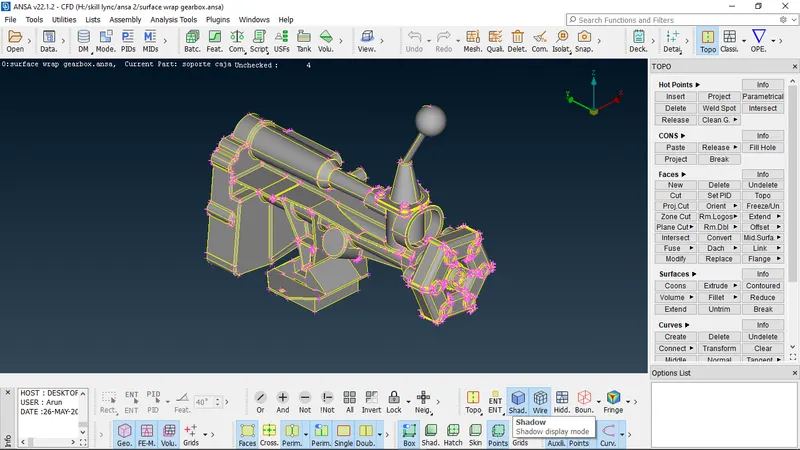
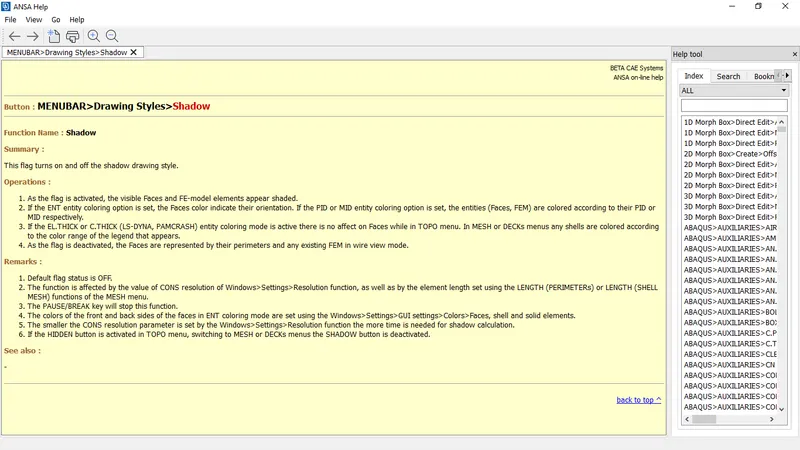
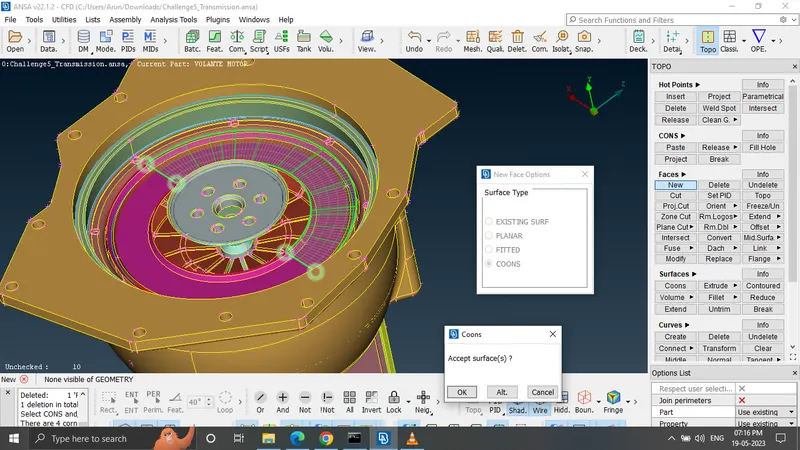
2. The unwanted surfaces and errors engine geometry needed to be deleted. the external bodies are mixed or interlinked and penetrated into the body of the
engine. one way to eliminate the unwanted bodies is that using inot command select the surfaces which are the parts of the engine. by this command it
seperates the selected surfaces and views it in a another drawwing window, thus hiding the unselected bodies and surfaces
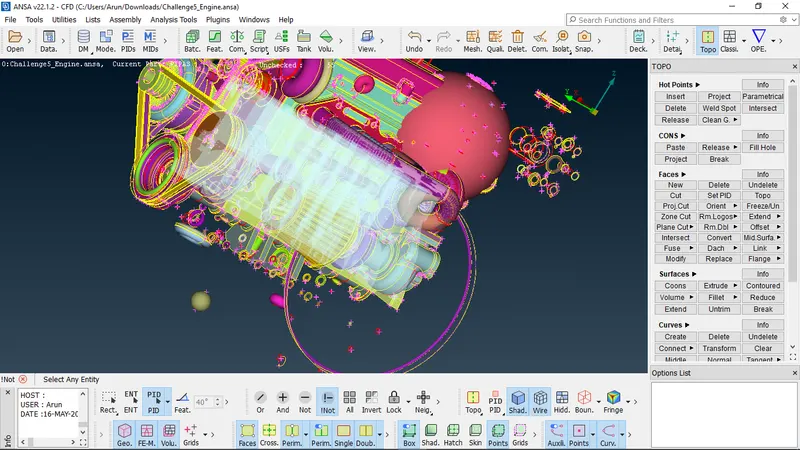
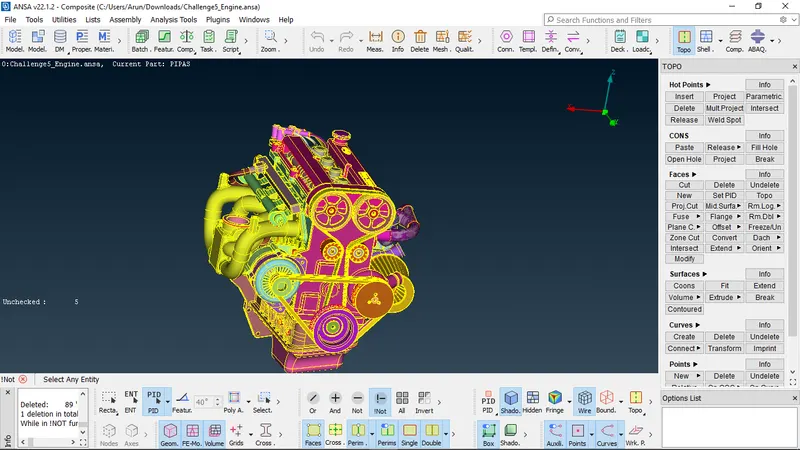
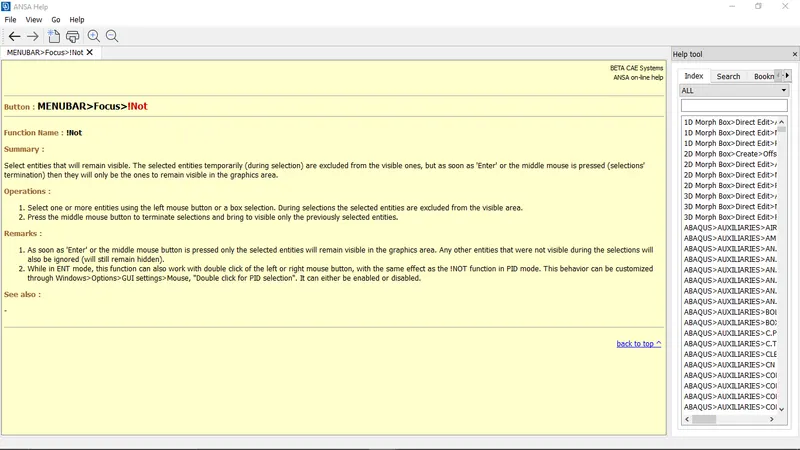
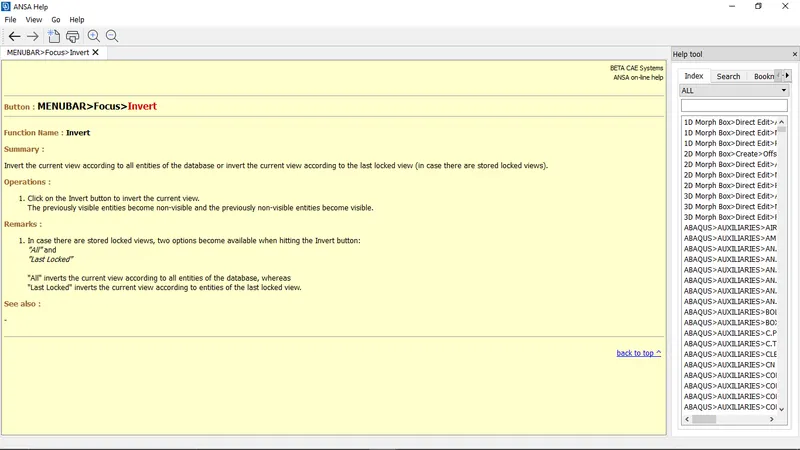
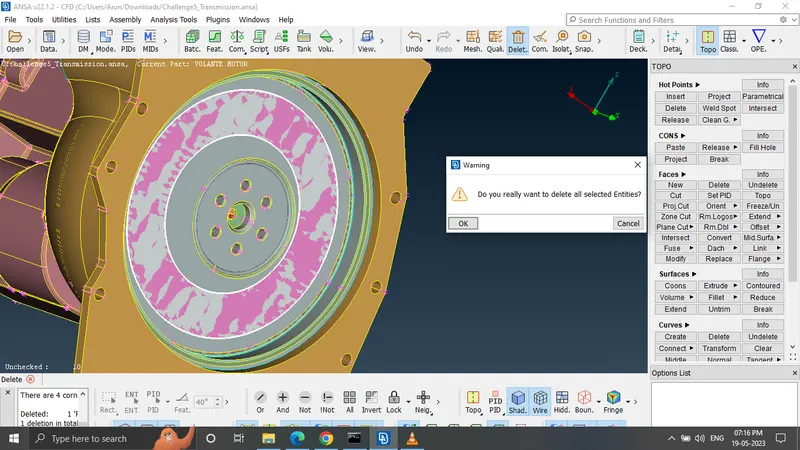
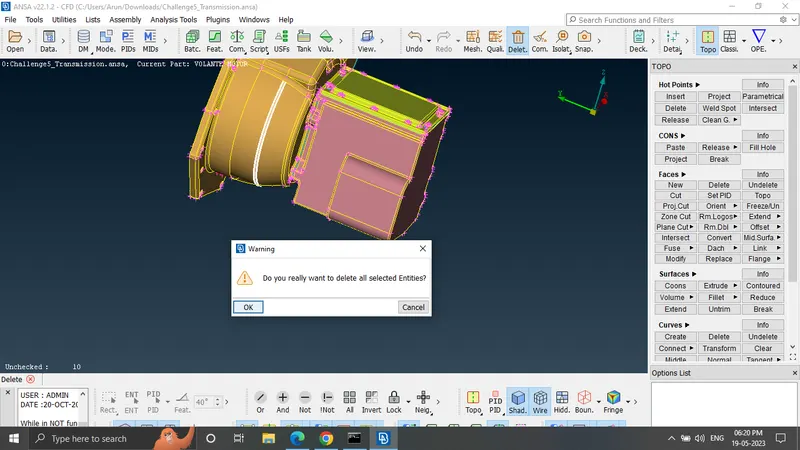
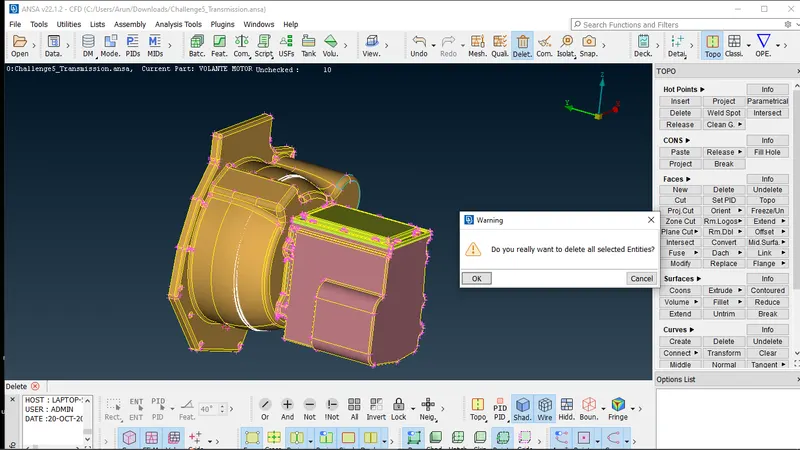
3 . using the invert comand we can display the components which weren't selected before its invert/opposite of the currently viewing window is displayed in the
drawing area, ie the unwanted bodies. using the delete option it can be deleted leaving with the needed engine components
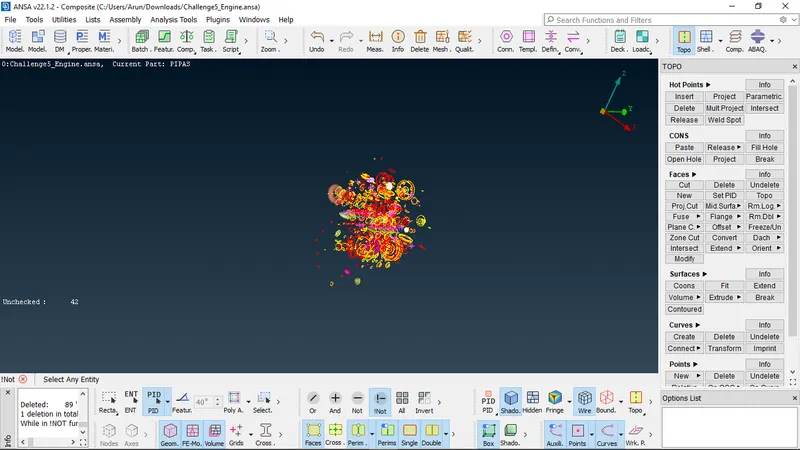
4 . The remaining errors and irregularities in the engine components needs to be resolved. as we only need to perform a surface wrap, the geometrical errors, voids and
penetrations in the outer surface in the parts of the engine are only needed to be fixed. the errors in the inner parts of the engine components aren't important in the
wrapping process. some intersection and penetrations can be clearled by deleting the unwanted surfaces, in some scenarios reconstructing some surfaces and stiching
would be needed. the goal of this process is that the surface of the geometry to be wrapped is to be free from errors, voids and should be water tight too
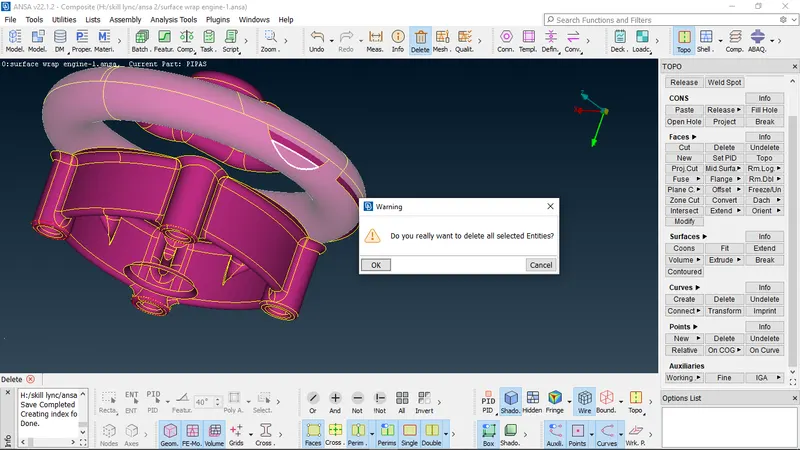
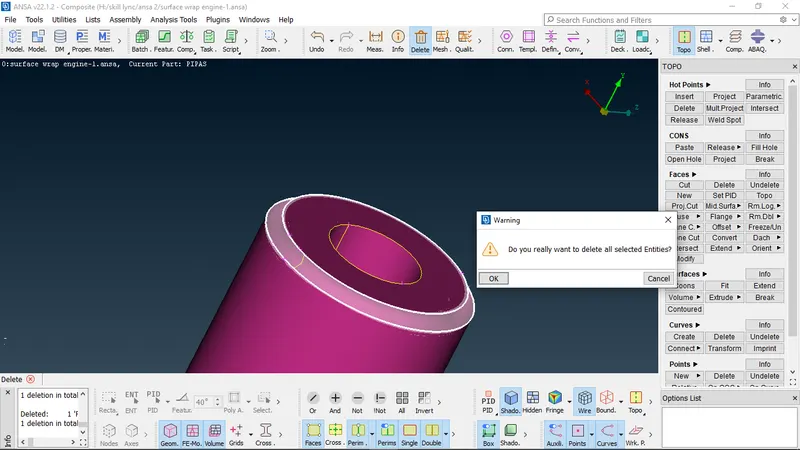
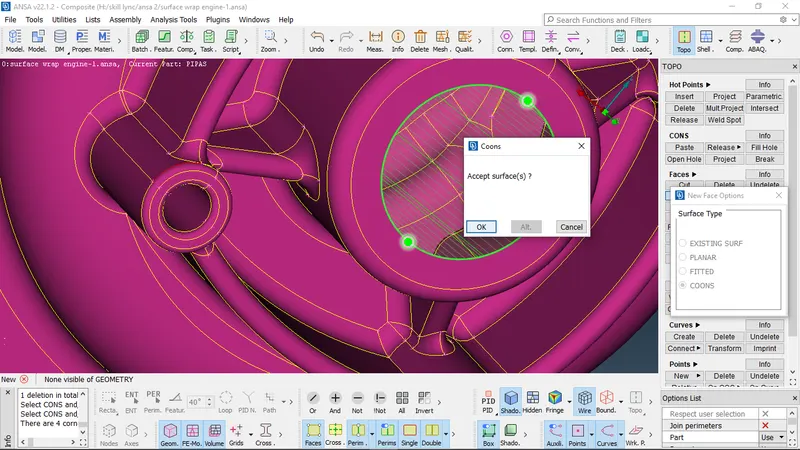
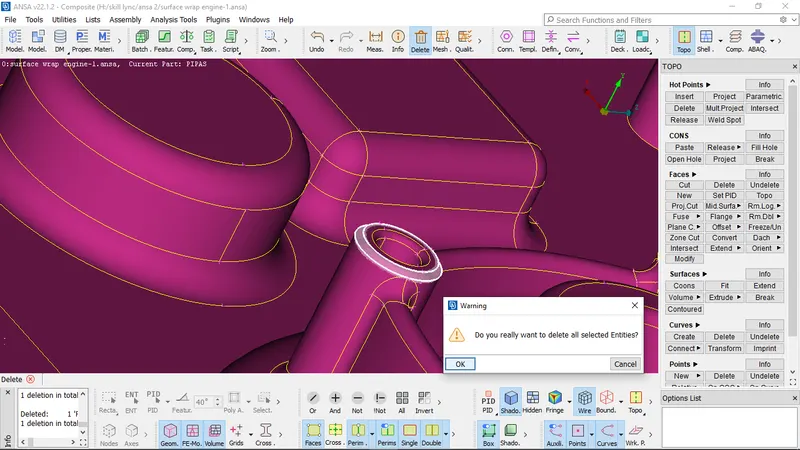
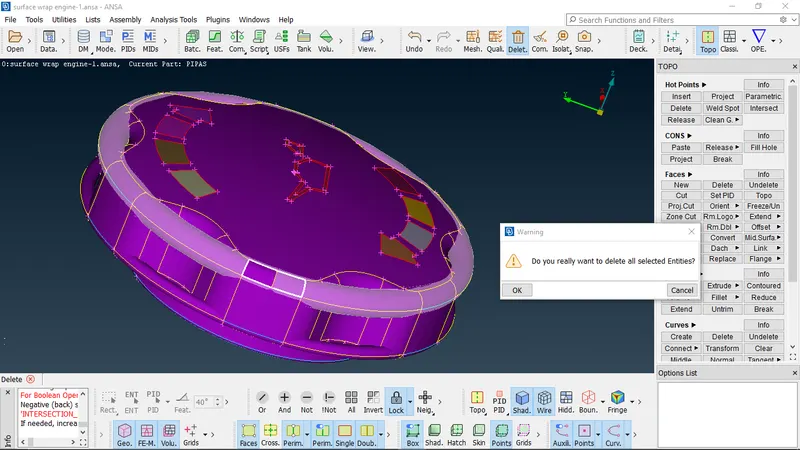
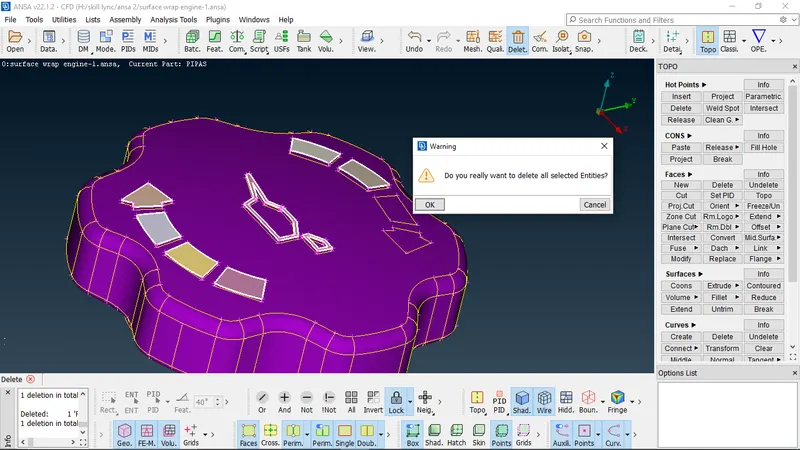
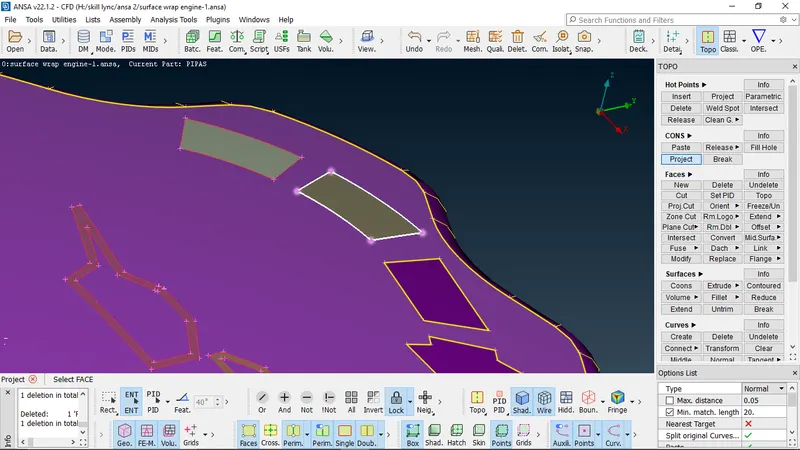
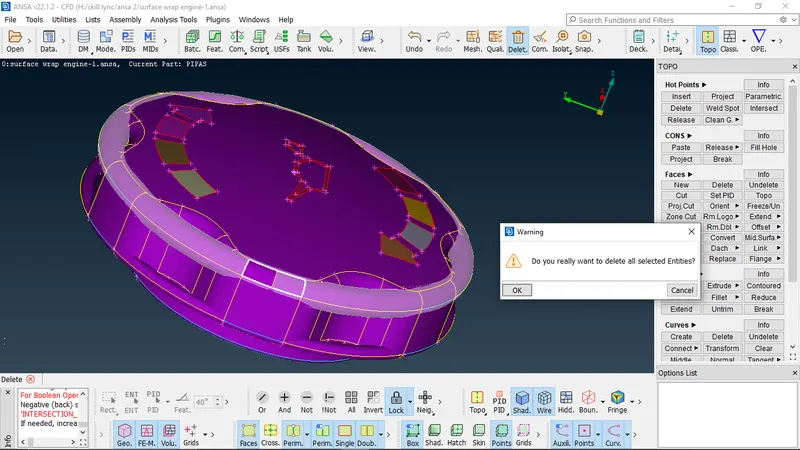
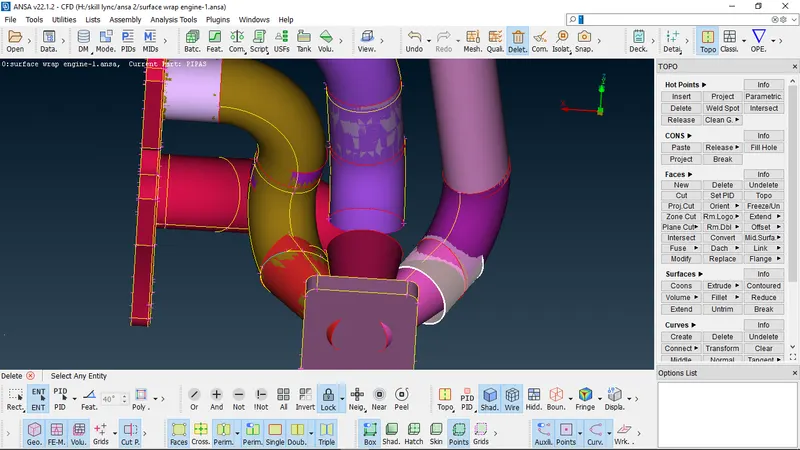
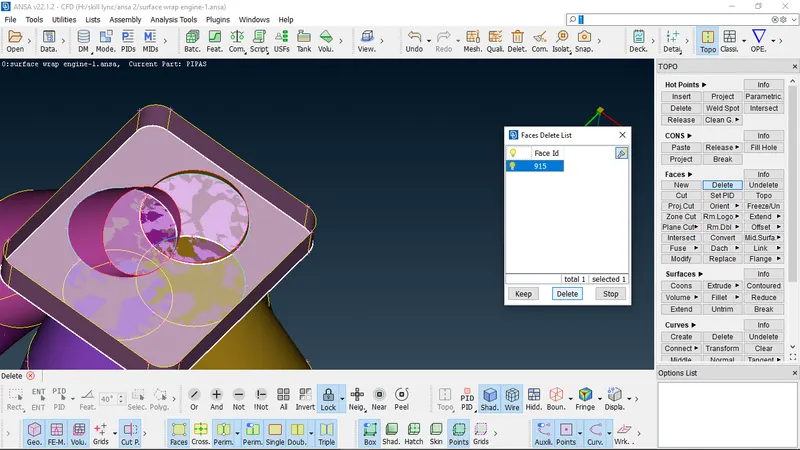
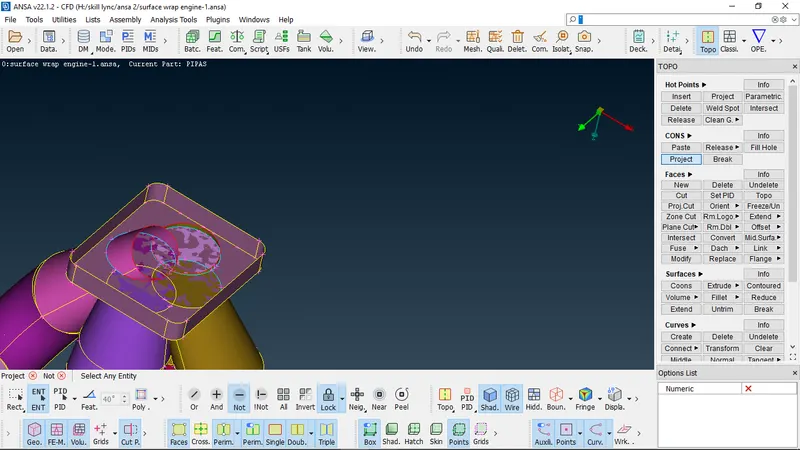
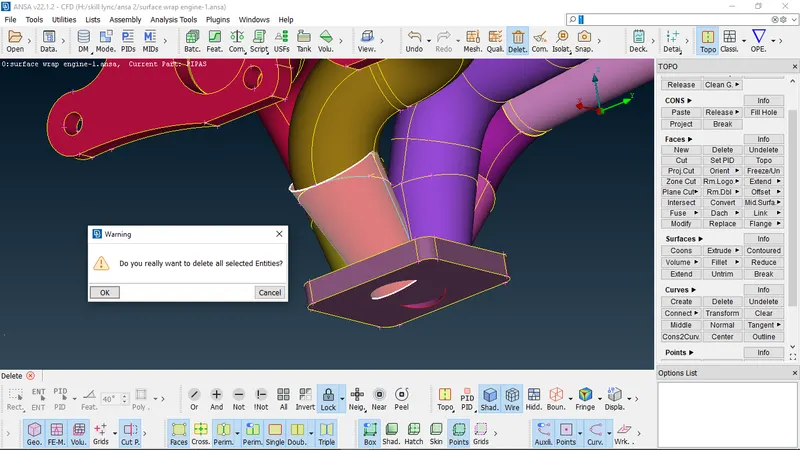
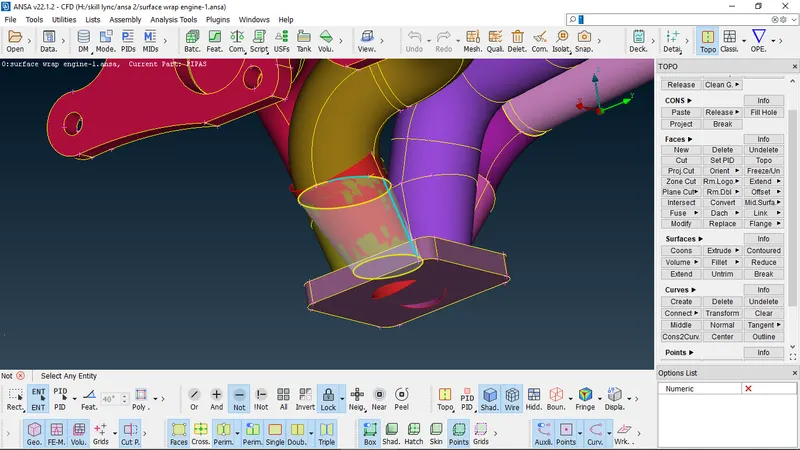
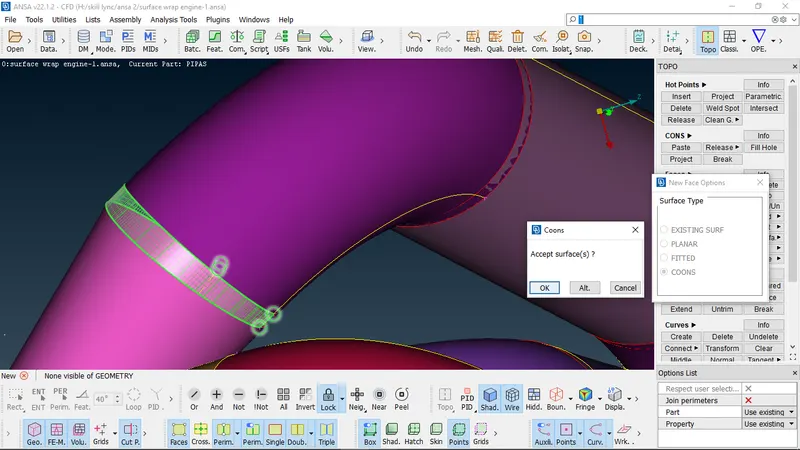
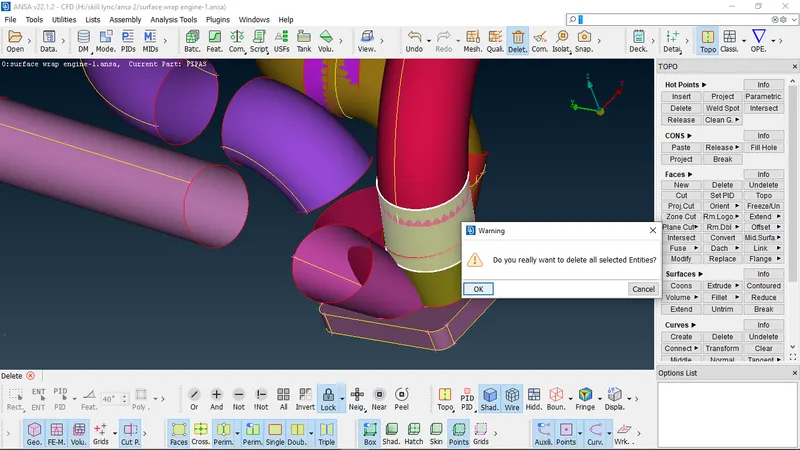
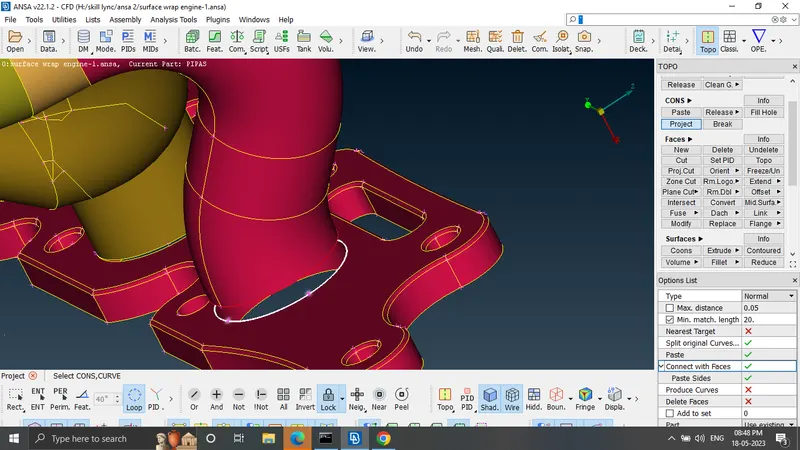
like wise for the rest of the components in the engine untill the external surface of the engine to be wrapped is free from errors, after then the parts are identified and
labelled using PID feature
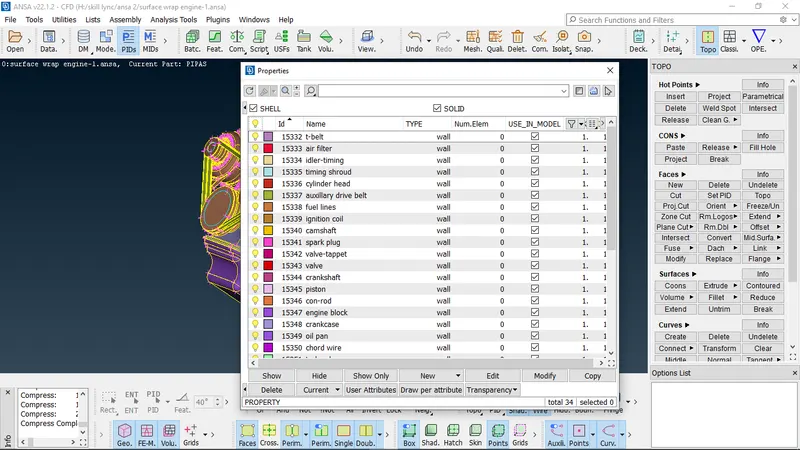
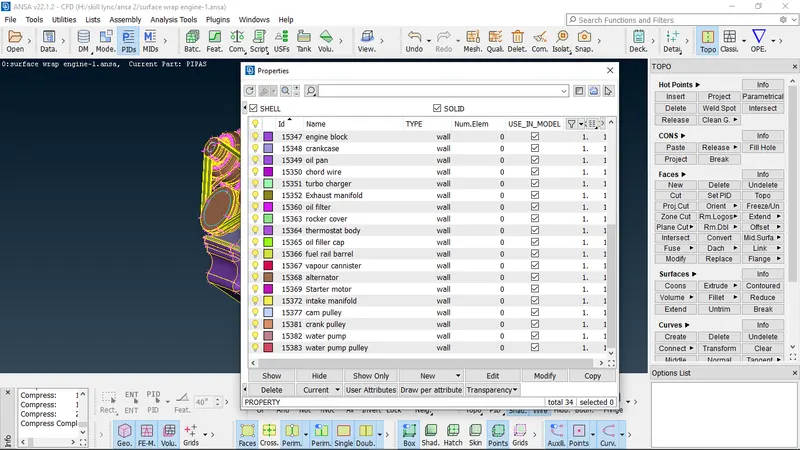
. The above mentioned steps goes for the rest of the models (gearbox and transmission)
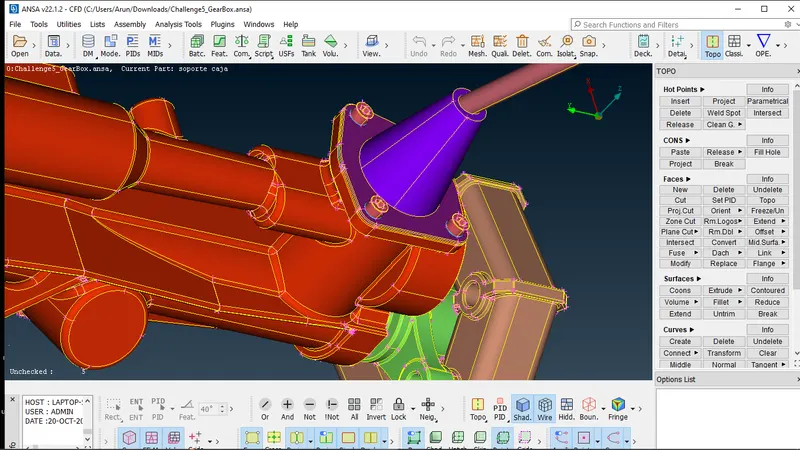
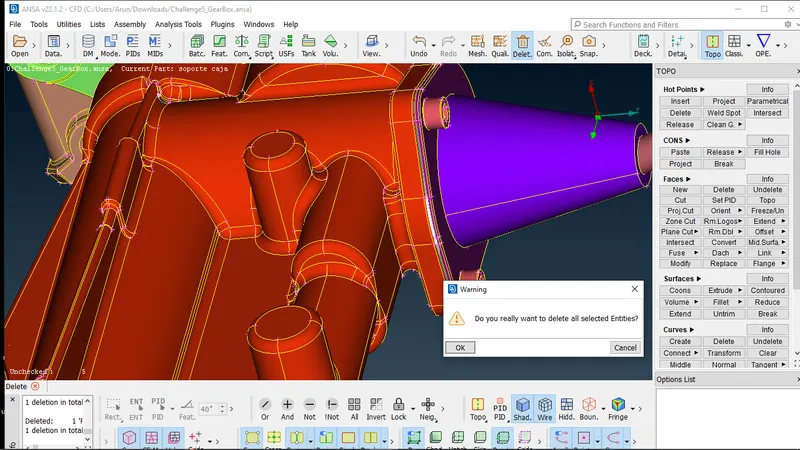
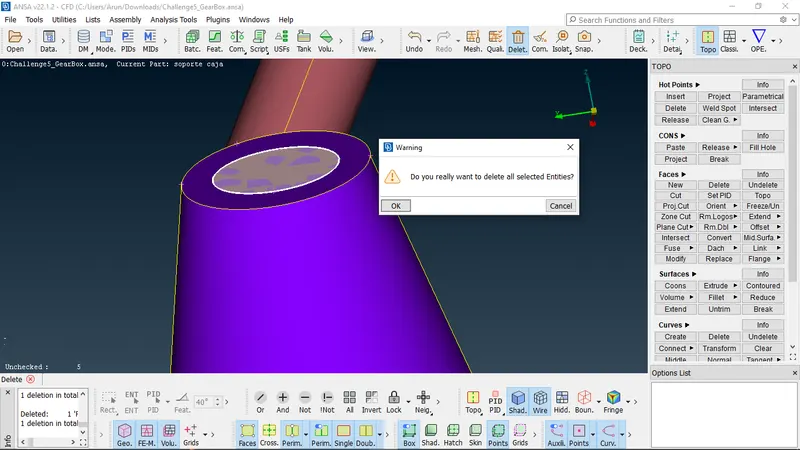
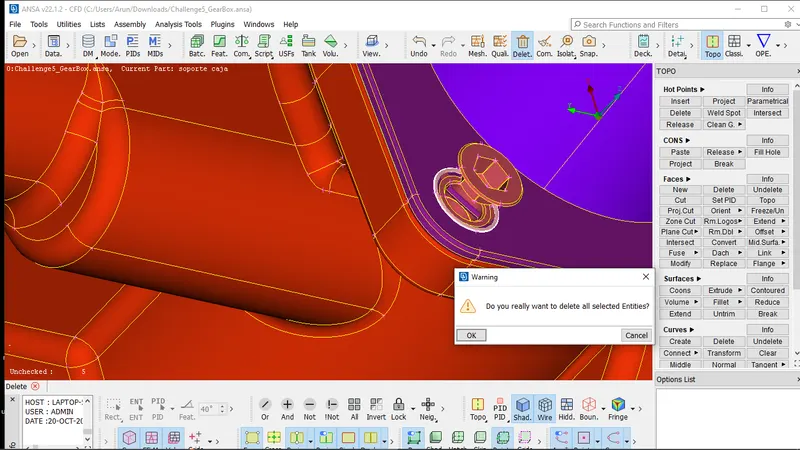
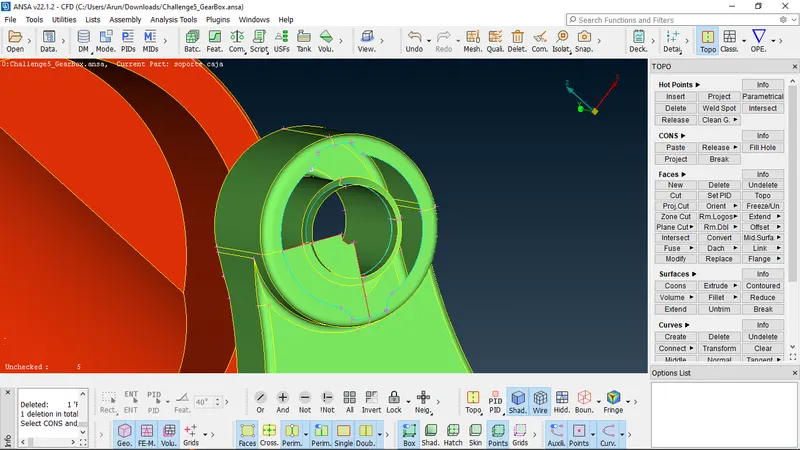
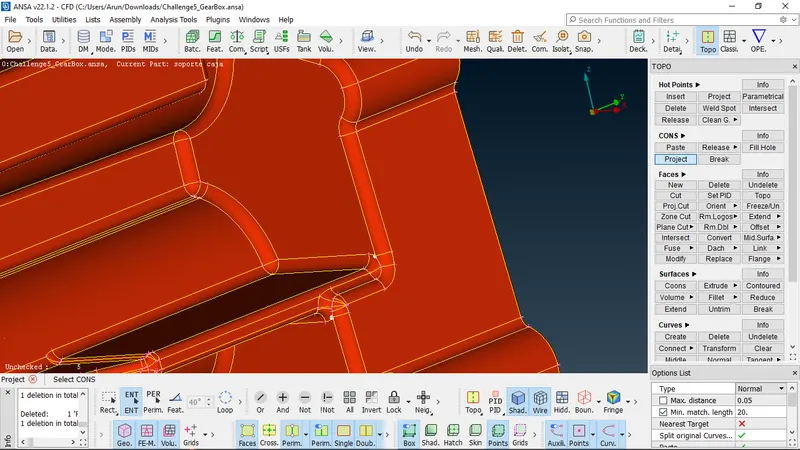
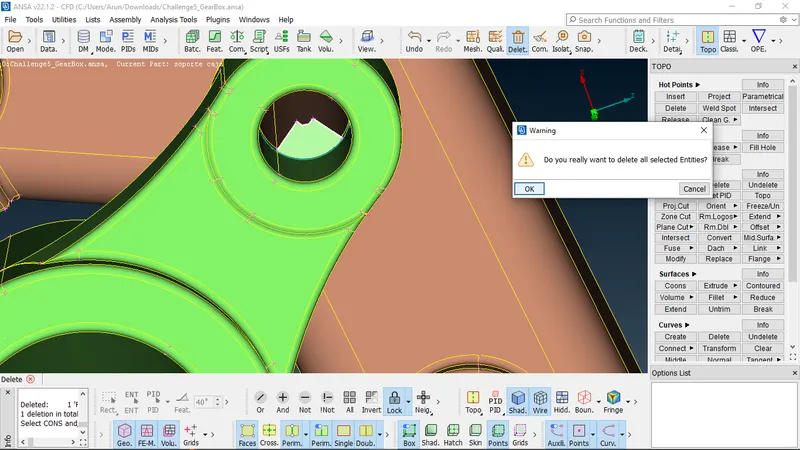
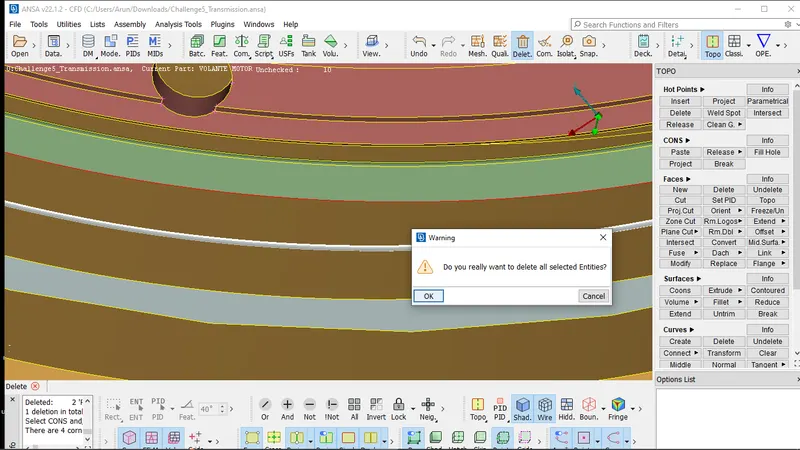
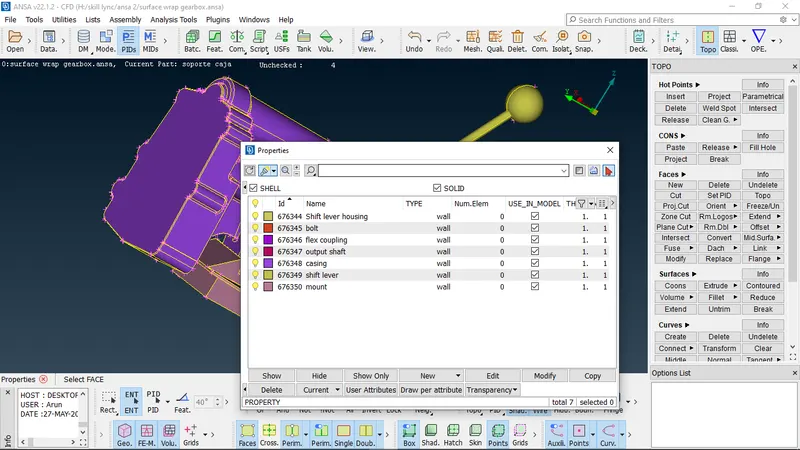
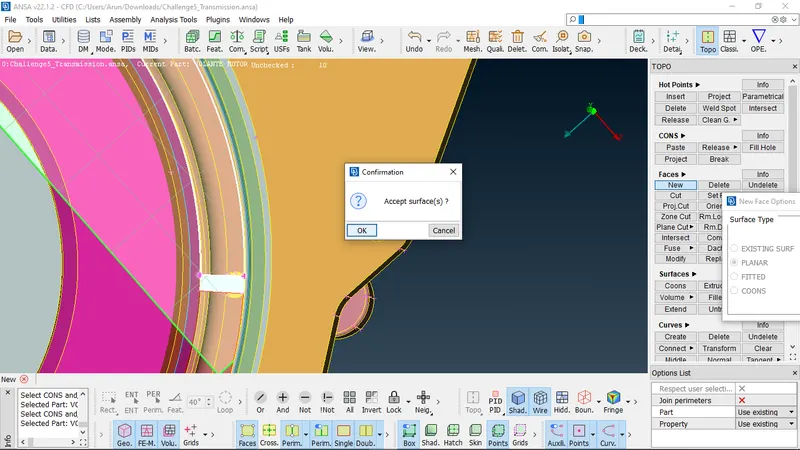
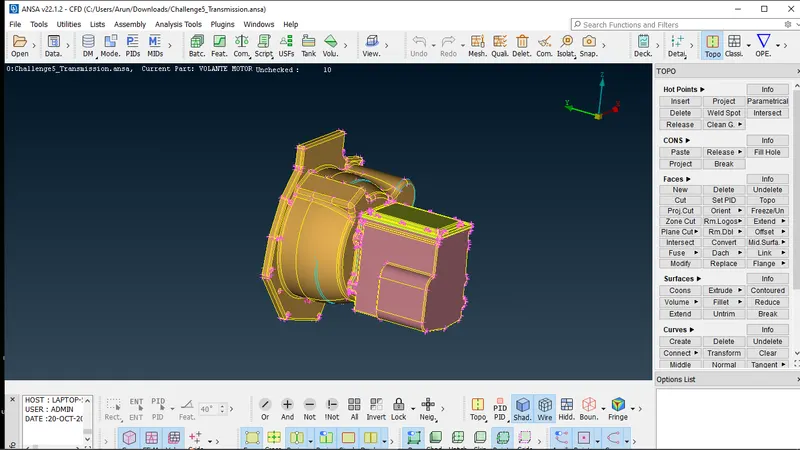
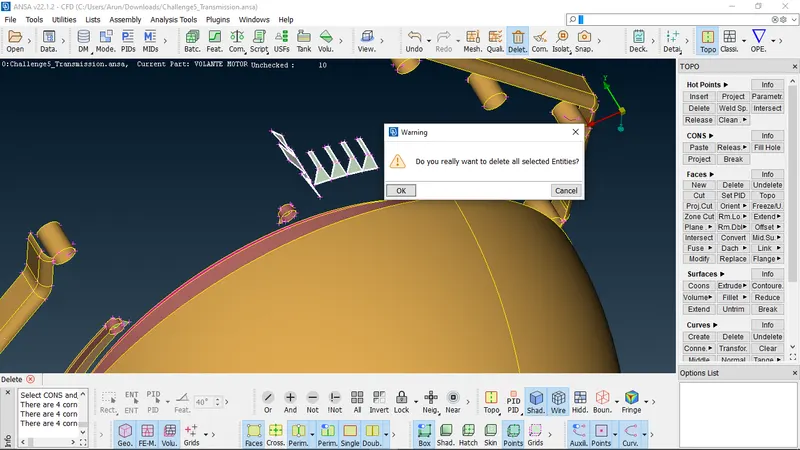
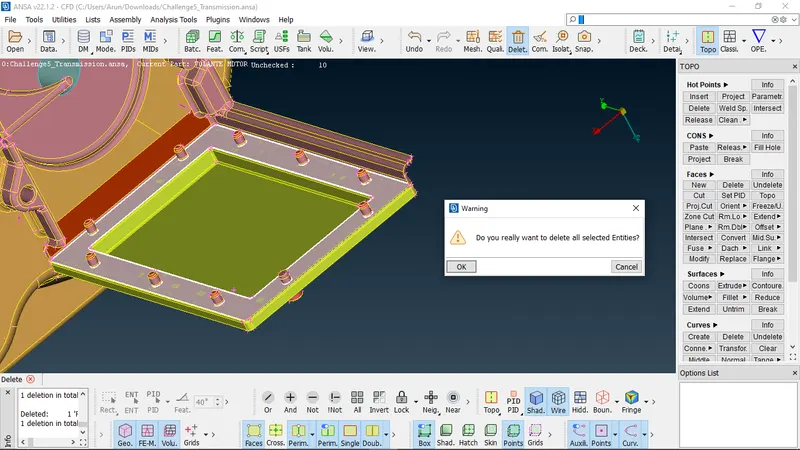
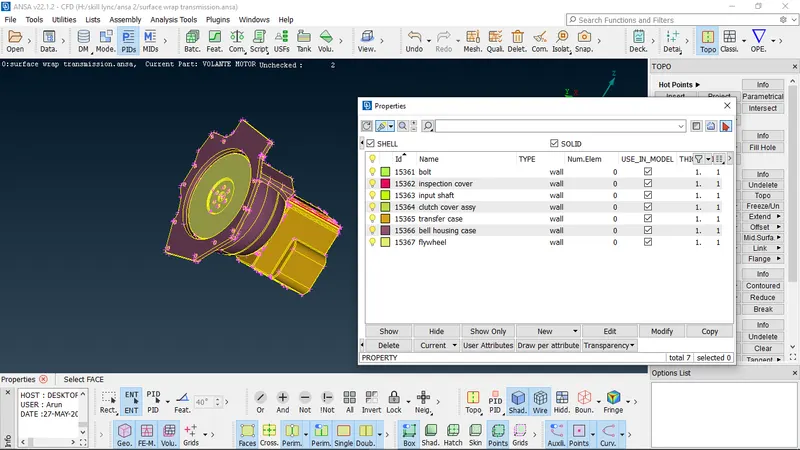
. After preparing the surfaces of the all of the given models, all of them are to be merged to form as a single unit
as the engine transmission and gearbox works in combination for any vehicle to make it move, as these three are mostly collectievely called as the powertrain unit
of any vehicle that generates and transmits the power to propell.
using the merge option the three models are combined together to form a single body. this option attaches the geometries selected together
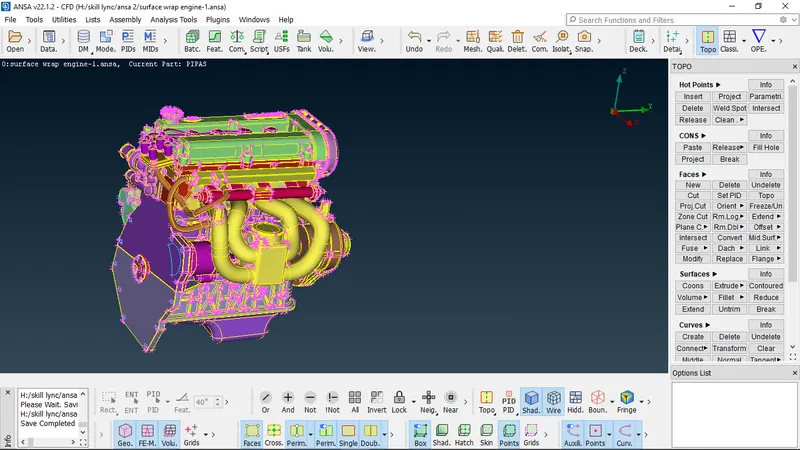
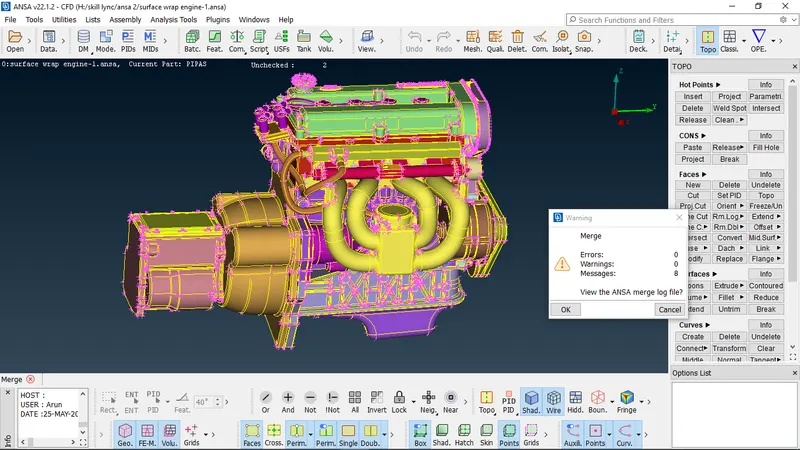
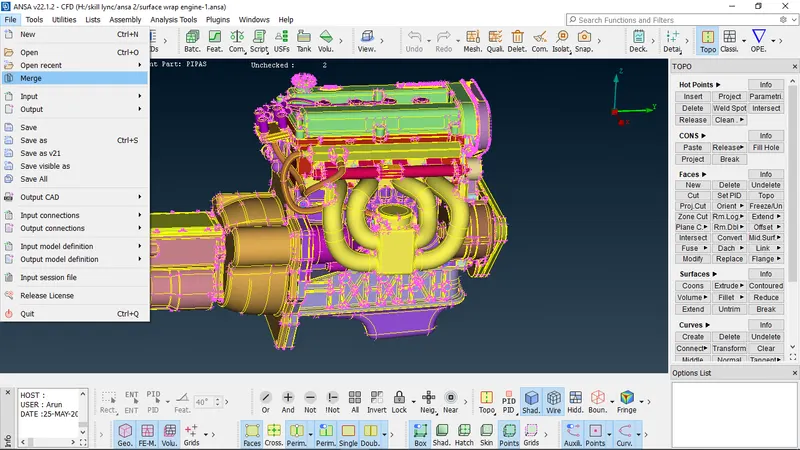
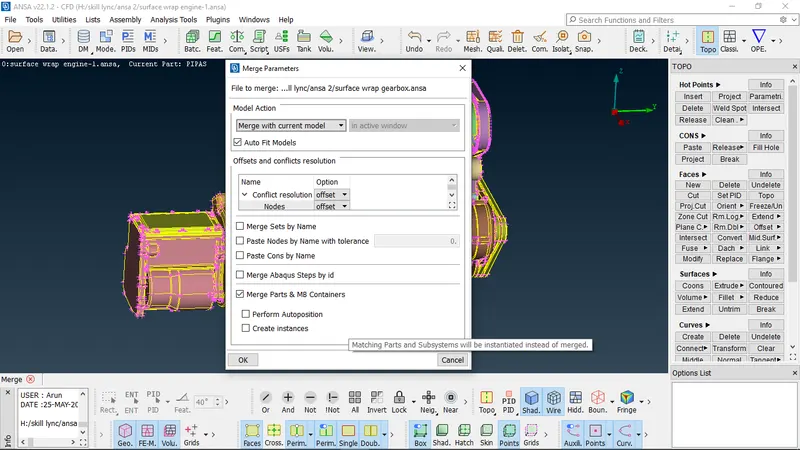
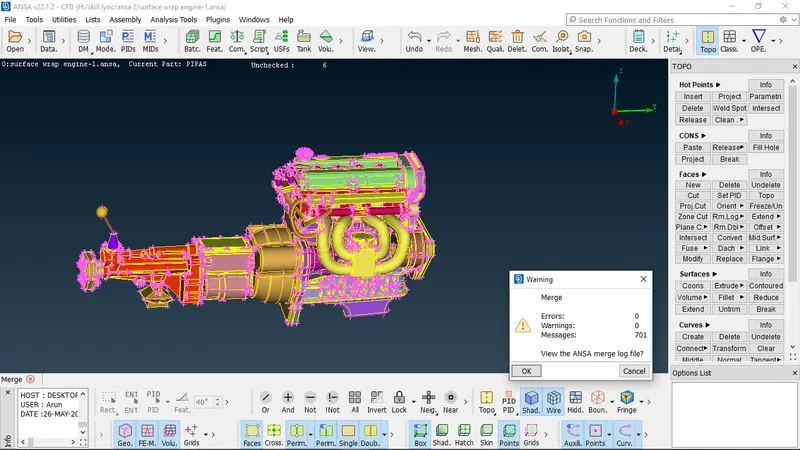
. once all the items have merged inspect further into the model for any open voids or spaces that would prevent the model from being water tight
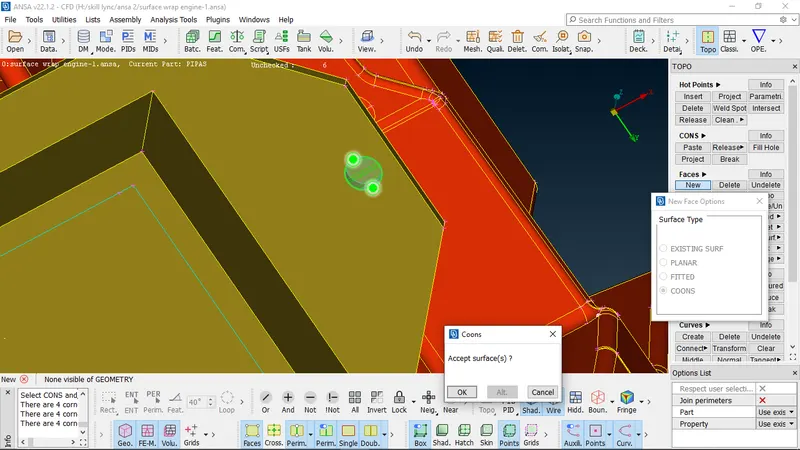
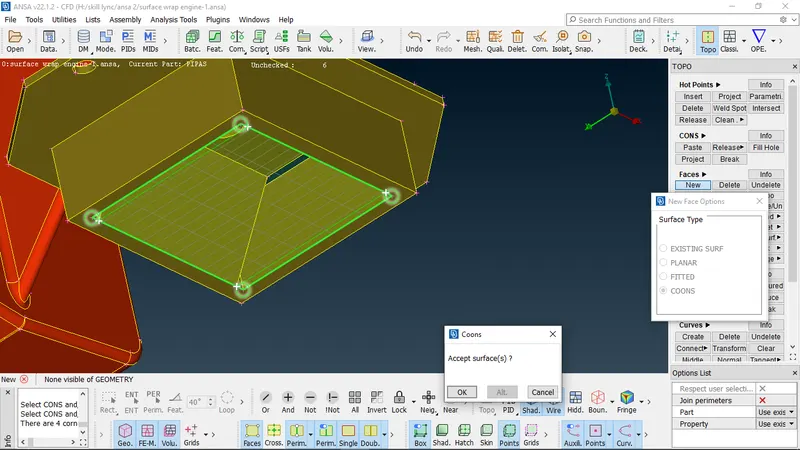
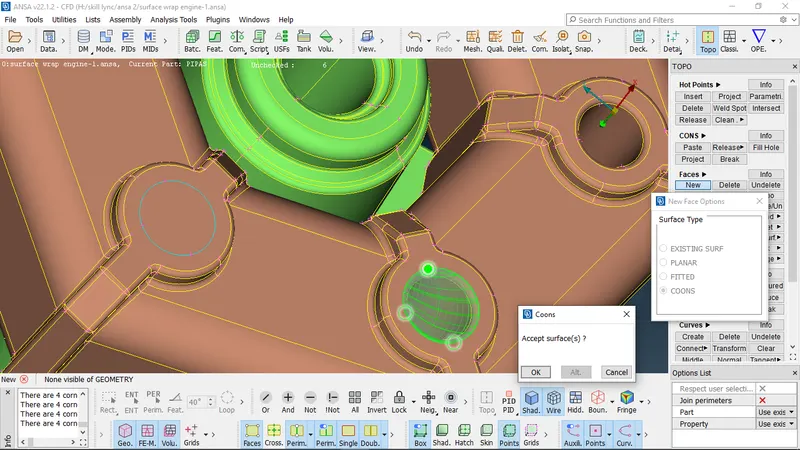
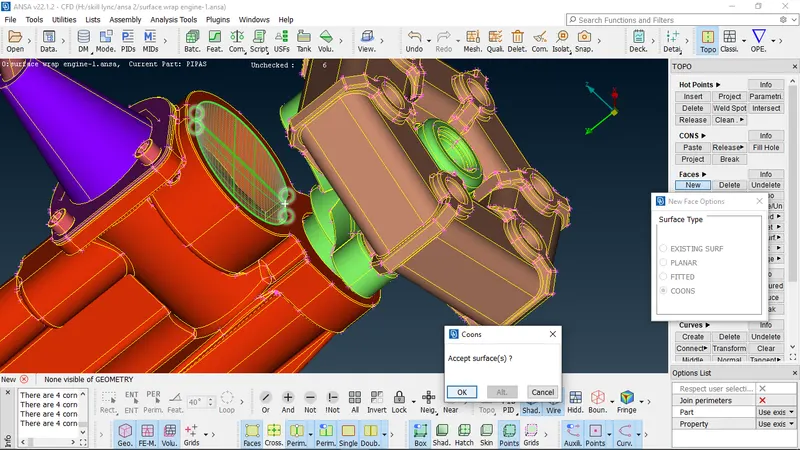
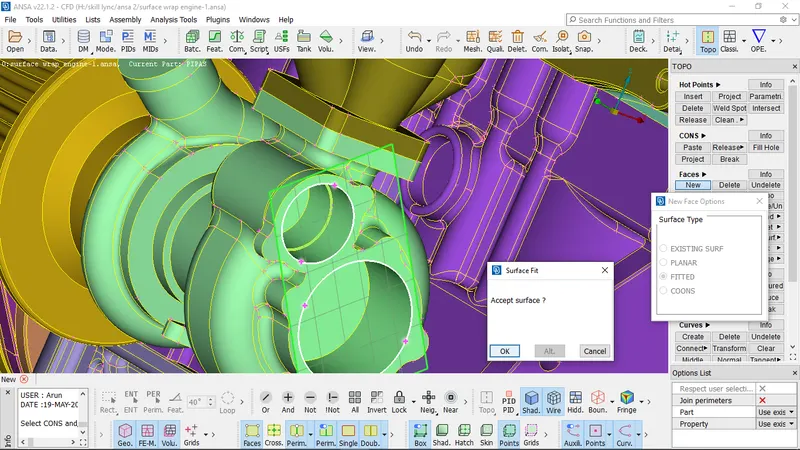
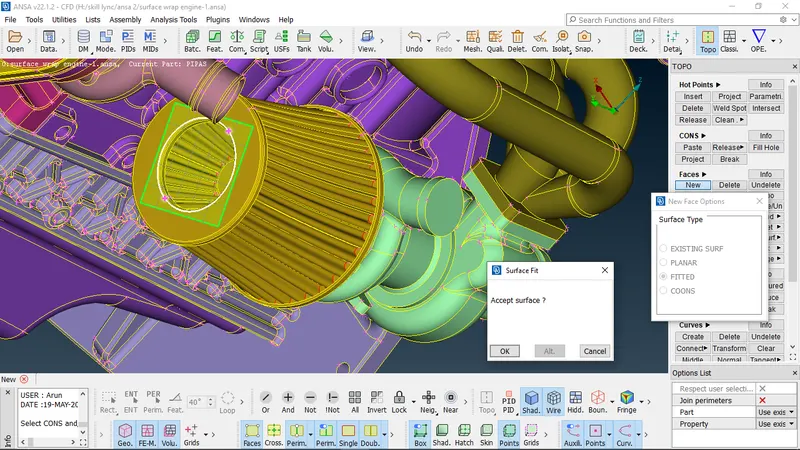
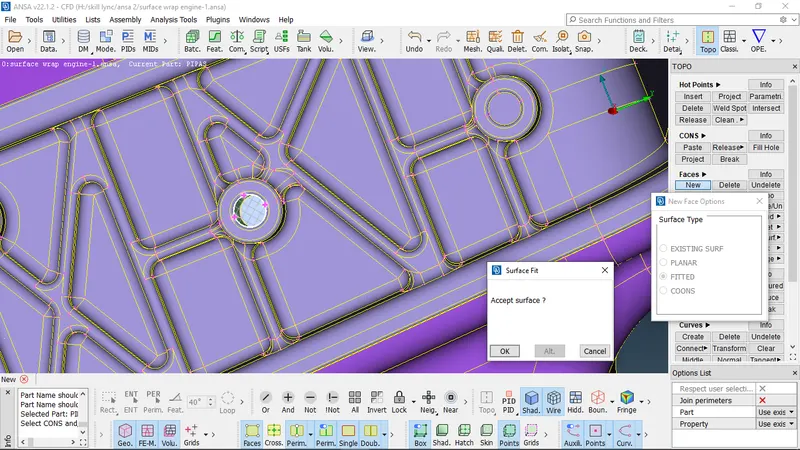
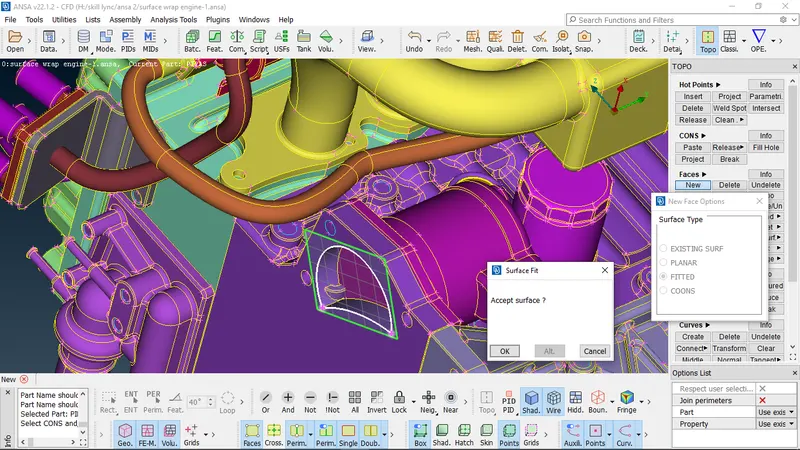
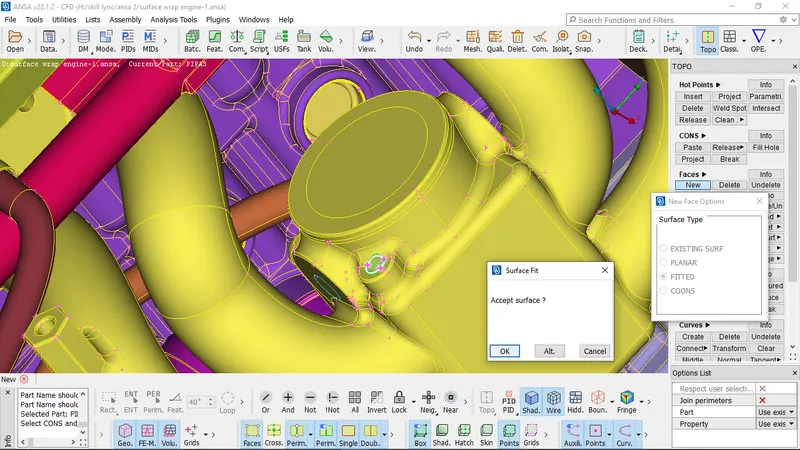
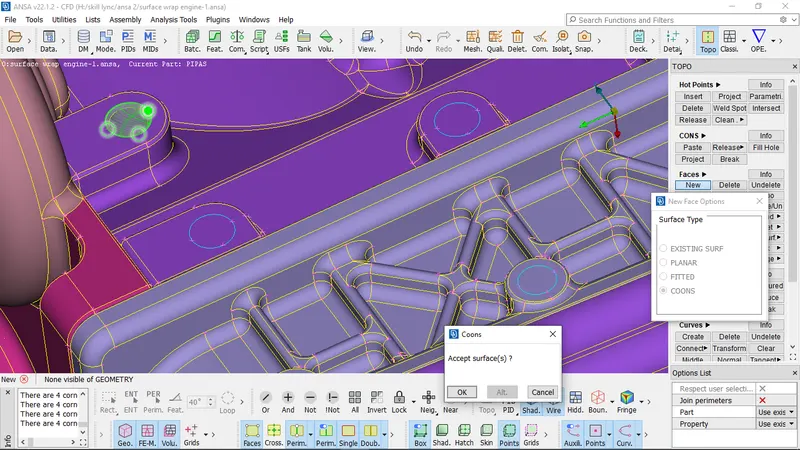
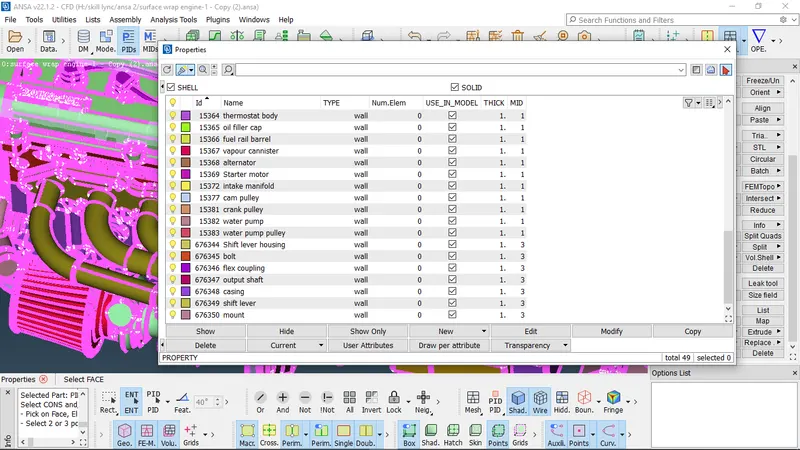
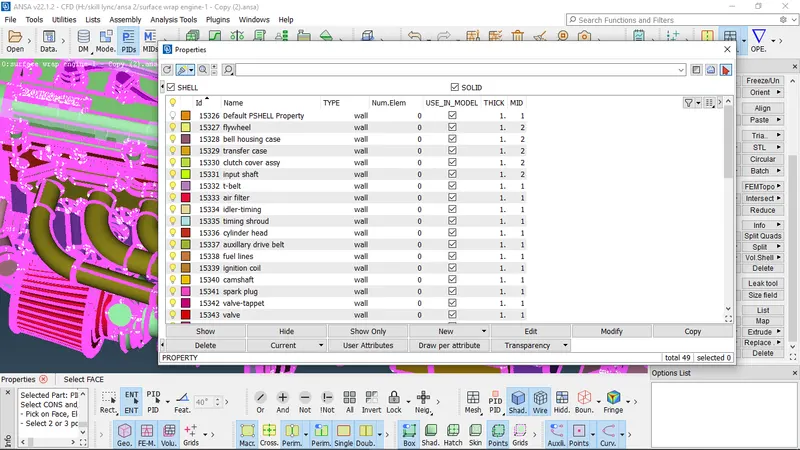
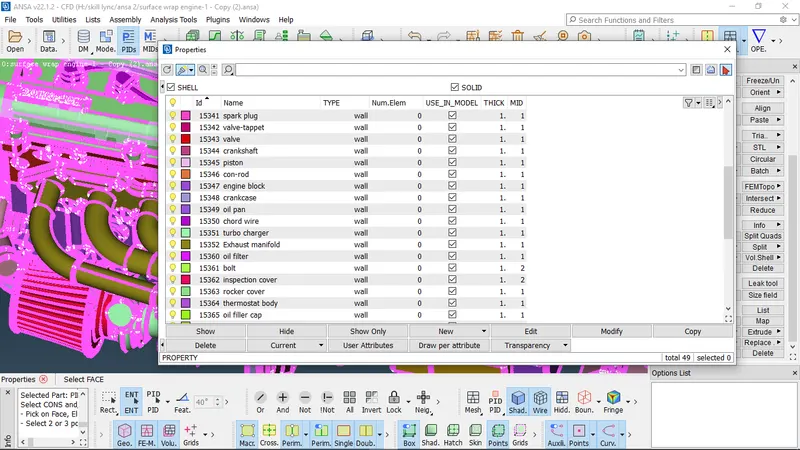
. once the model is merged and made water tight, we can perform the surface wrap
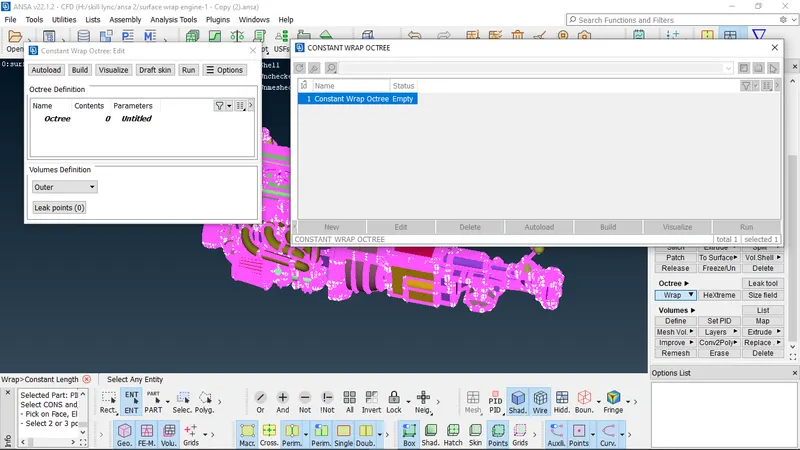
wrap command is found in mesh function menu ,in the octree option tab
surface wrap is performed when the external surface is the area of interest during the simulation process, the external flow of the fluid over the surface of the body
which is taken into account for simulation. ideally for the wind tunnel type models or external flow analysis
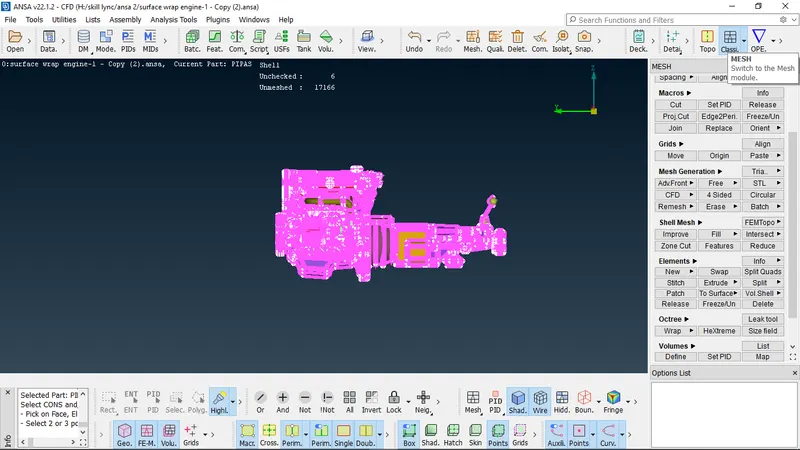
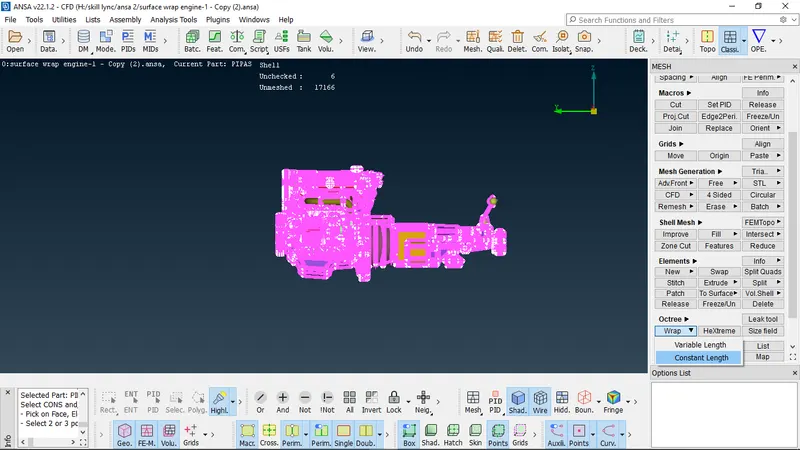
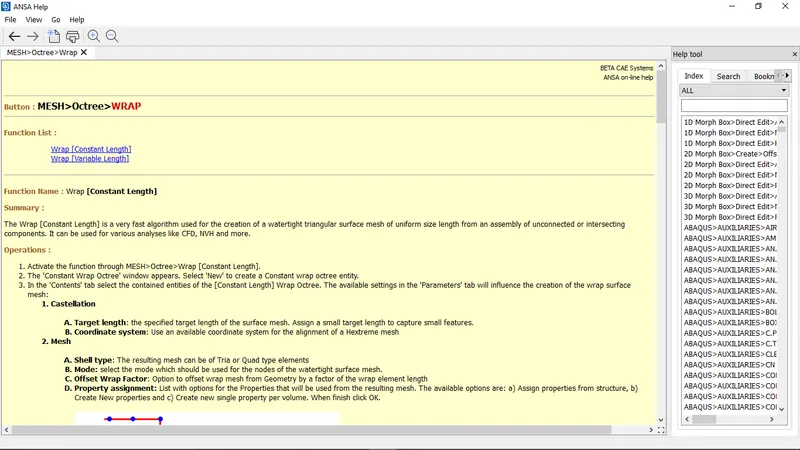
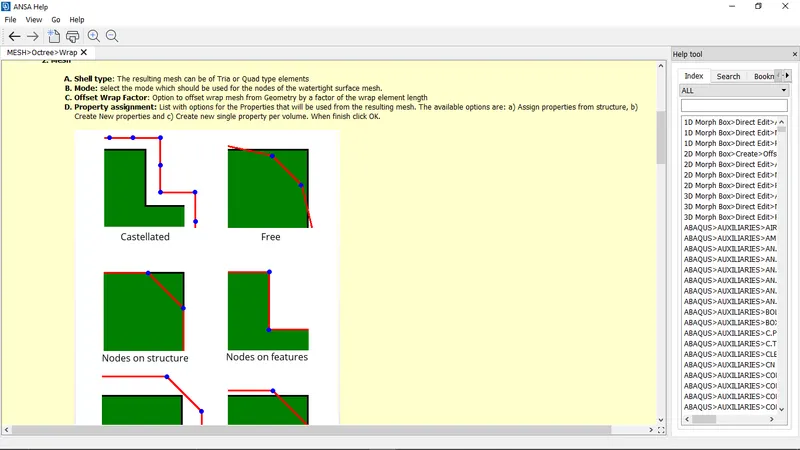
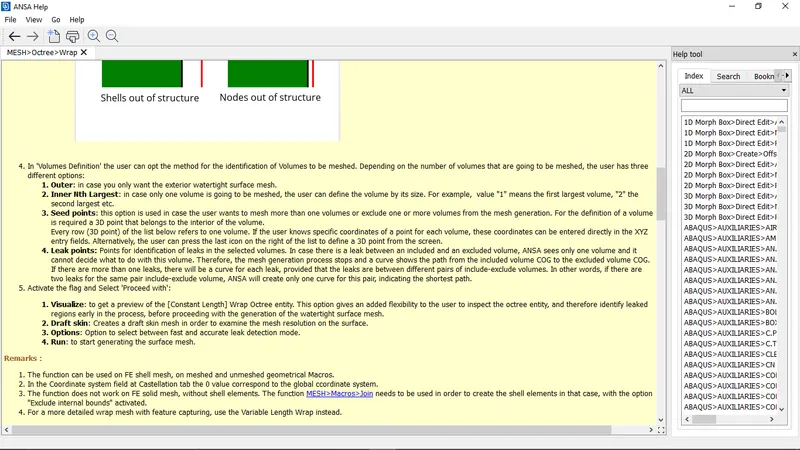
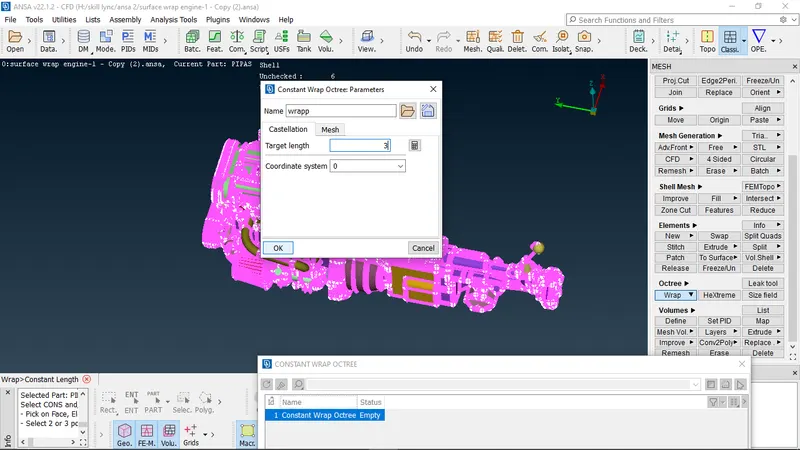
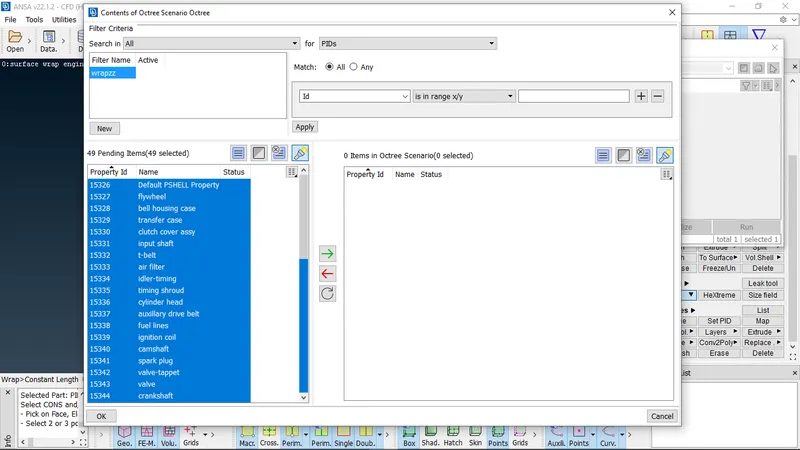
. in the tab displayed we can set the parameters and select the pid's which are to be wrapped.
we are setting the target length of the mesh as 3mm
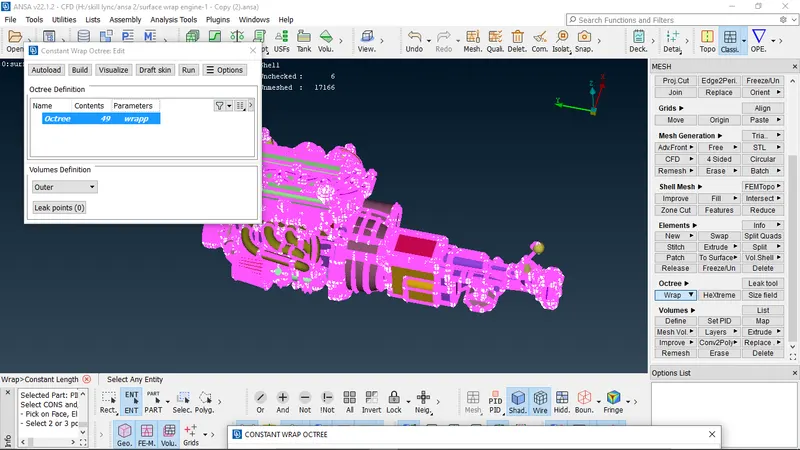
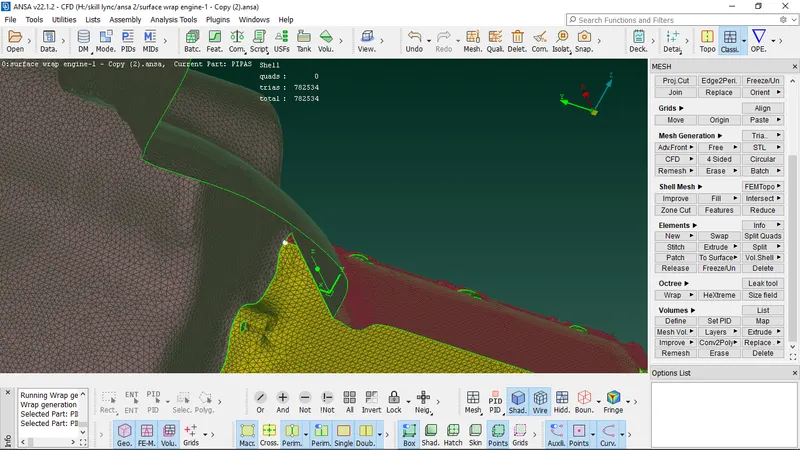
. the surface wrap has been created
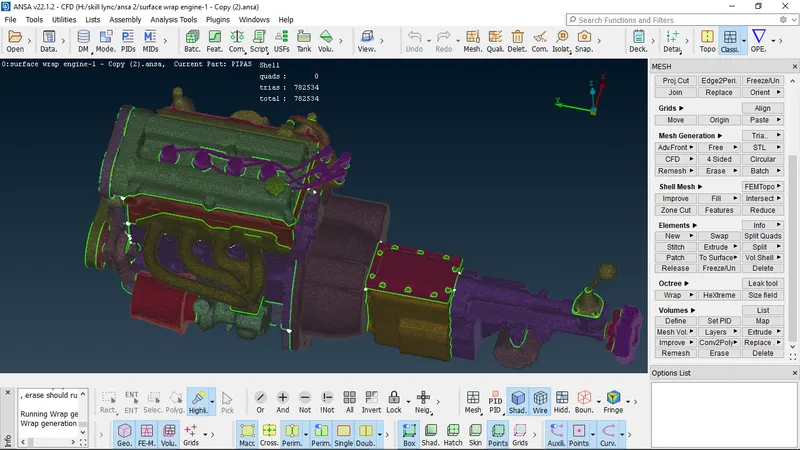
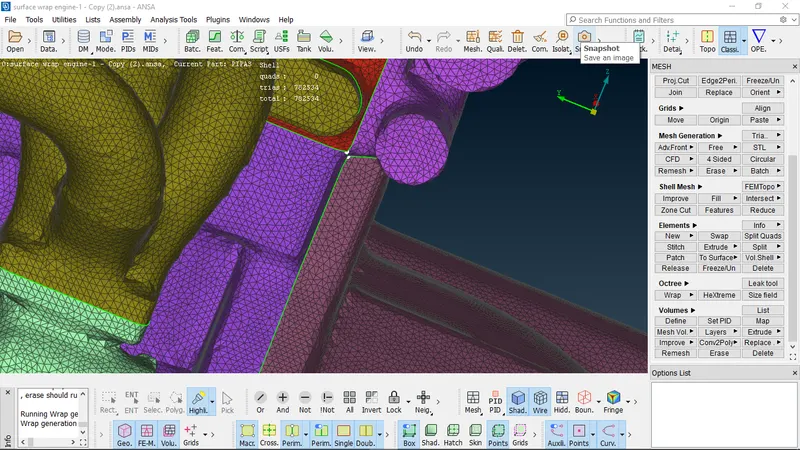
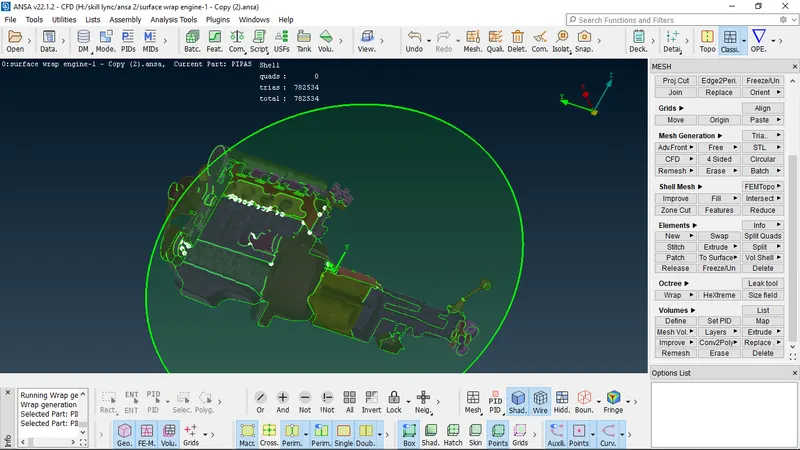
. as its seen that all the mesh elements are of the constant mesh as expected while performing a constant length wrap
Link to download the model : https://drive.google.com/file/d/1abMpQrvsjwh90lGNeJzYwUWrVOihdXFc/view?usp=share_link