Week 5 Challenge : Surface wrap on Automotive Assembly
Aim: Given models have to clean from geometrical error, and surface wrap has to be performed with the target length of 3mm.
Procedure:
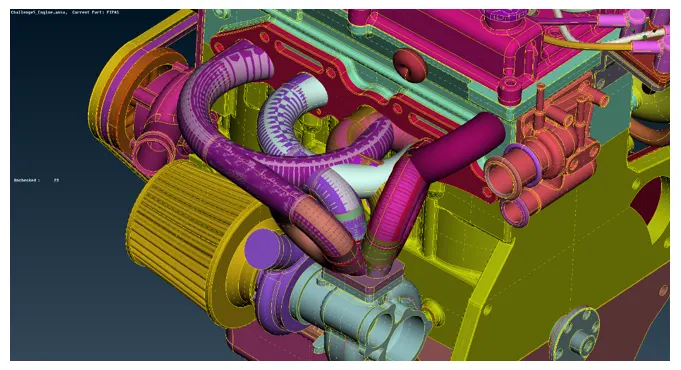
Import the given engine geometry, and try to analyze the possible errors, by orienting in different views there are lot of isolated surfaces, overlapping surface and ring-like surface which have to be removed.
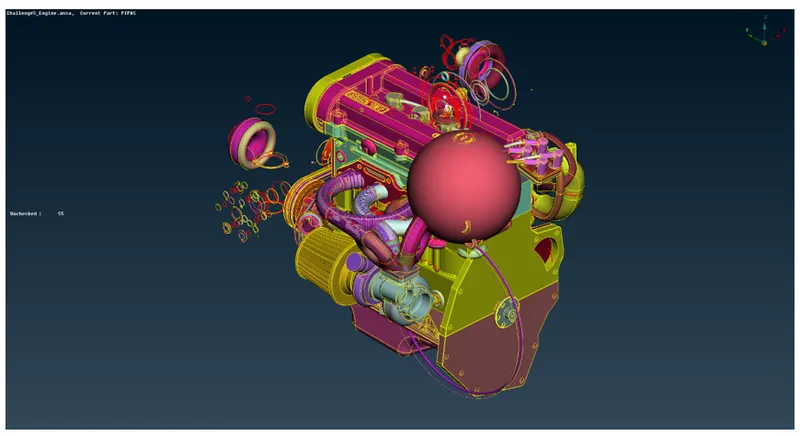
2. Start deleting the isolated surface which is hanging in the air. After deleting the surface look as shown below
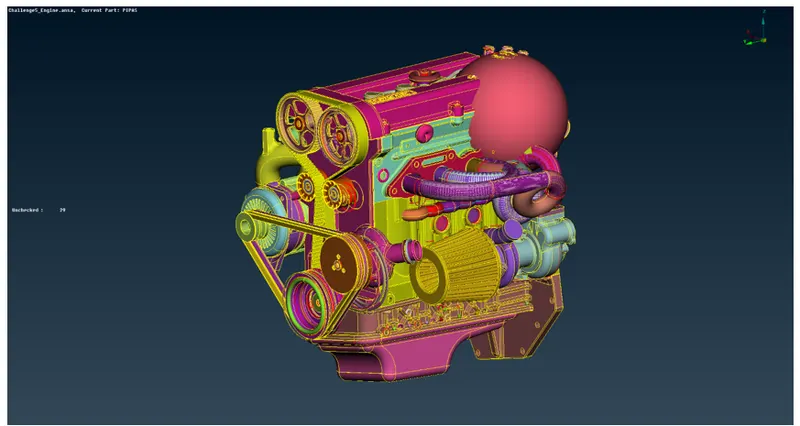
3. Start deleting the ring-like surface which are not actually a part of the main geometry, starts from one side, and use not option to hide the surface which is not important, it will allow for proper selection of unwanted surface
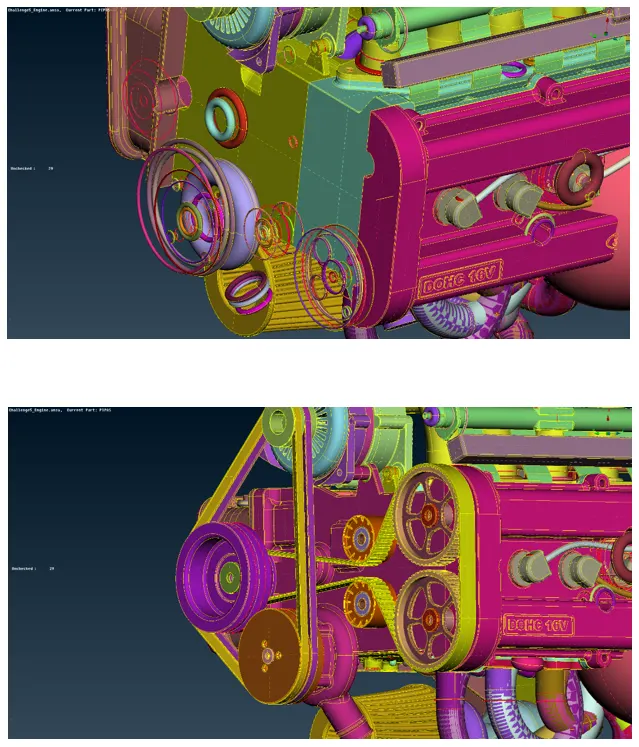
4. Hide all the important surface which are part of actual required model, and display the only sphere and ring-like geometry, start deleting the surface carefully which are not required.
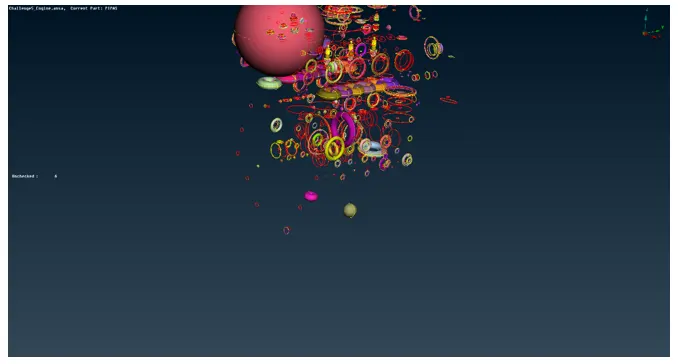
5. After deleting all the unnecessary surfaces start deleting the overlap surface which is shown by glitch surfaces.
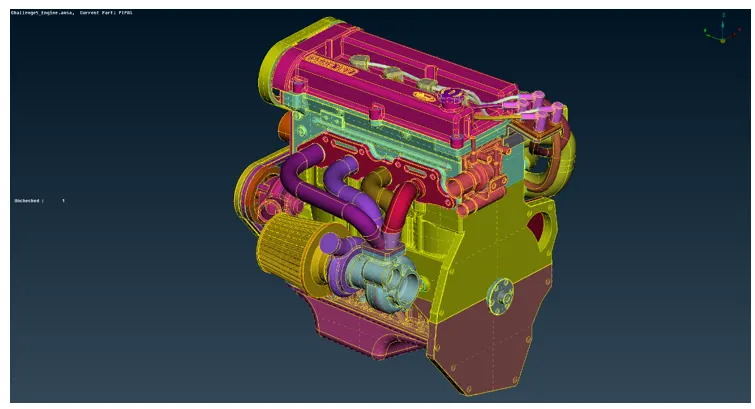
6. After finishing with the engine model let’s start the cleanup of the gearbox model. Import the provided model and look for triple cons.
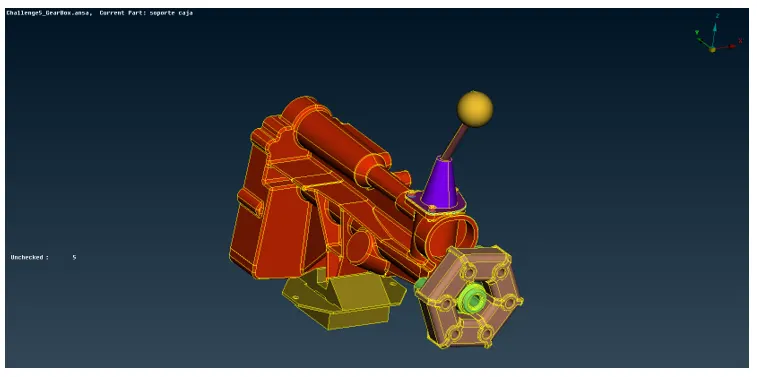
There are not much of the geometrical error present in this model, so we will proceed with the other model.
7. Open the transmission component and start looking for the possible sources of error.
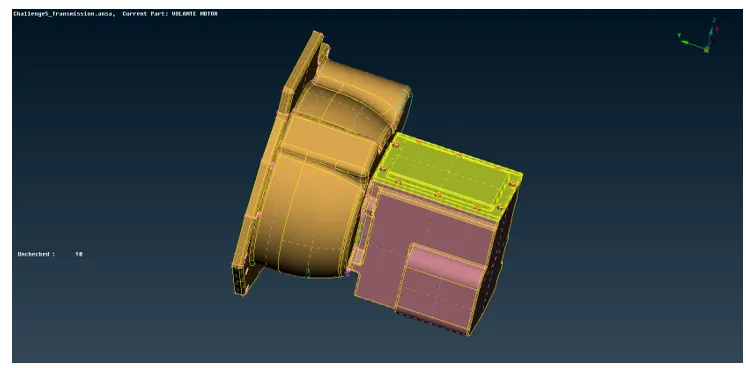
8. At the bolt location there are some triple cons present. So try deleting the extra surface.
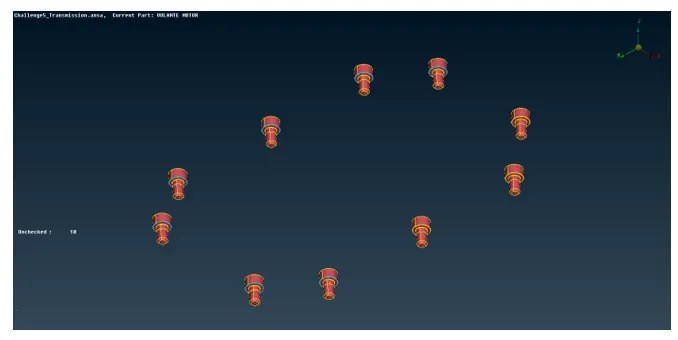
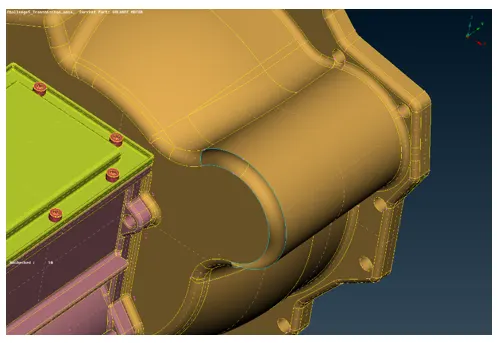
9. There are some unwanted surfaces in the geometry as shown which also have to be deleted.
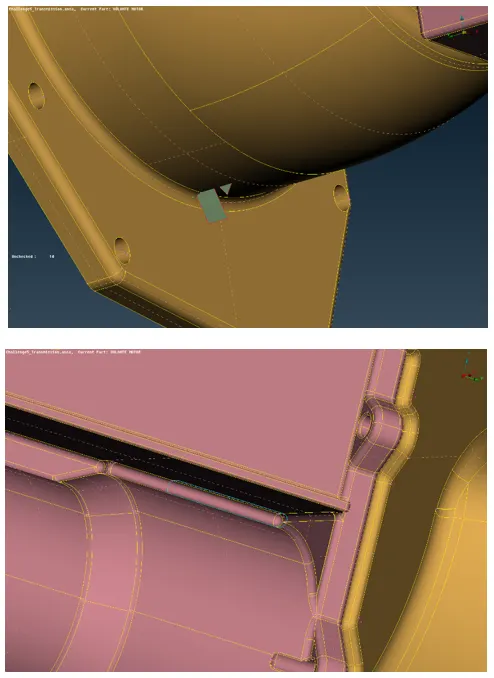
10. There are some free surface present in the model have to be deleted as well.
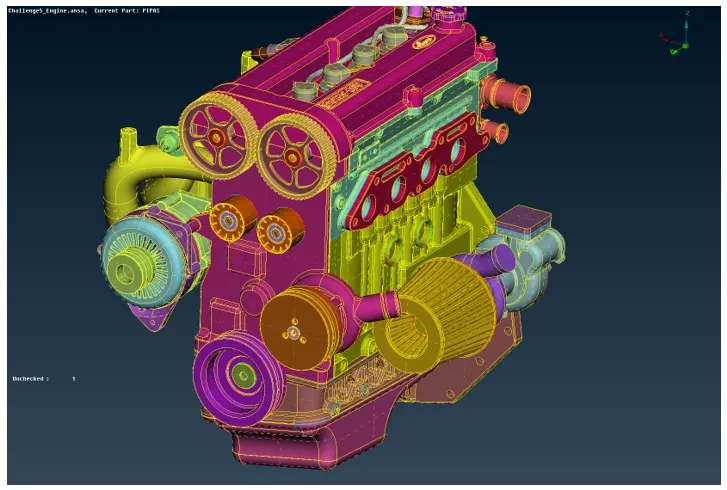
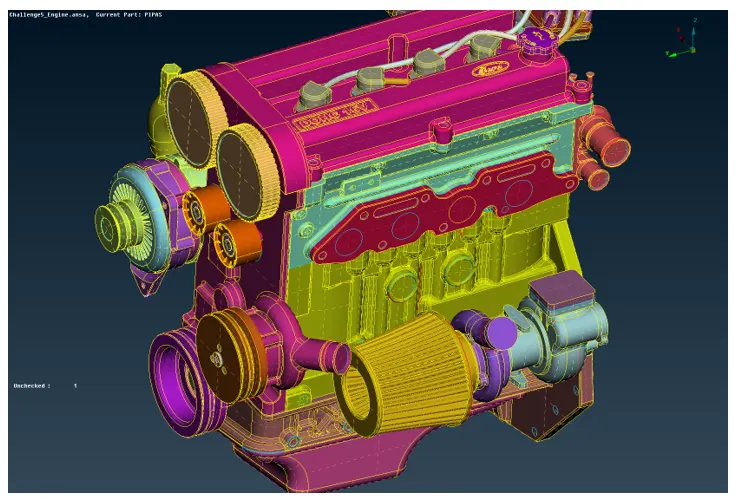
11. After doing the topological clean-up, now we can proceed with the surface wrap option. Open the engine model. Delete the intake runner and the belts as shown in the video. Fill all the small holes as it's going to create problems while doing the surface wrapping.
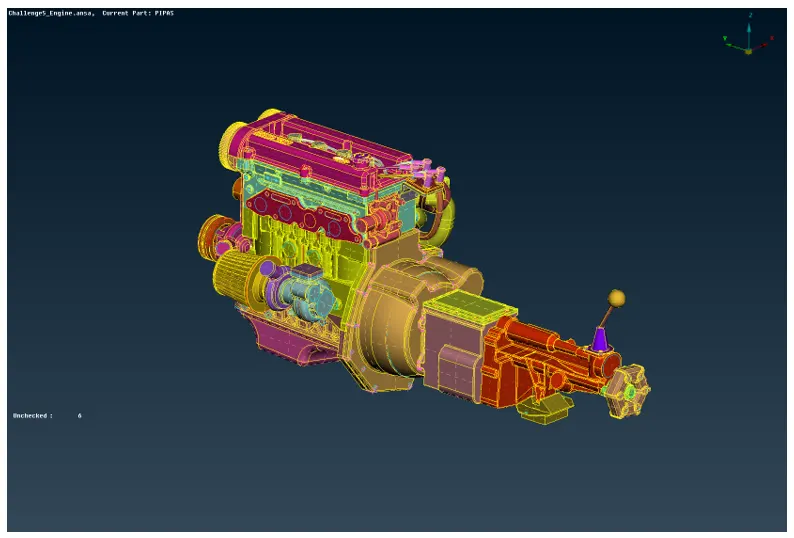
12. Now import the transmission and gearbox model using the merge option. Try filling all the possible holes as shown in the video.
13. Now after filling all the holes, geometry is ready for surface wrapping. Go to mesh tab and select wrap option for constant length and it will pop up a window as shown. Double click on untitled under parameter and define target length as 3 mm, under mesh define smoothing factor as 0.5 mm and click ok. This will define the parameter.
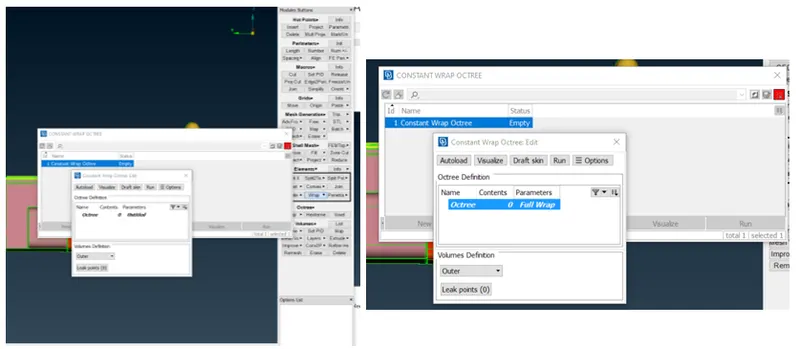
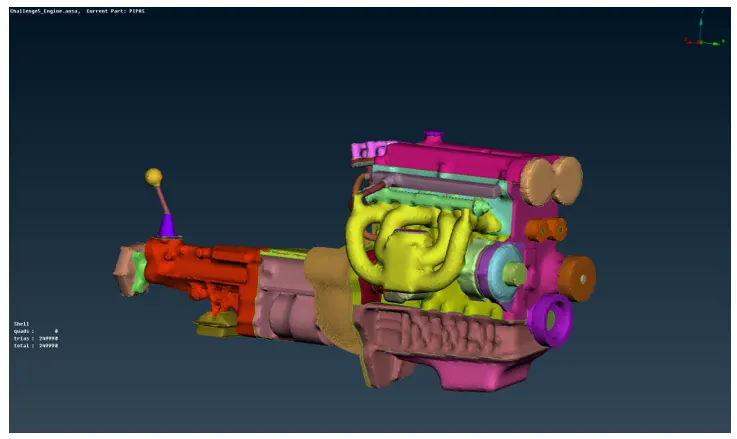
14. After this double click on the content, in the popup window define the name full wrap, and select all the PIDs in the Octree (after deleting all the unnecessary PIDs using the compress option). Click ok and click the run option. It will execute the surface wrap.
Learnings :
- Learn the topo cleanup of the entire assembly file, for surface wrapping, it is important to get rid of all the error present outside not the interior of the geometry
- It is recommended to fill all the small holes as it is not going to capture well while doing surface mesh.
- Learned how to do the surface warping and create a single volume.
Result and conclusions:
- All the three assembly file is imported and clean up well before doing the surface wrapping.
- The smaller target length of surface wrap takes more time.
- Generated surface mesh with a 3 mm target length capture the given geometry well enough.