Week 5 Challenge : Surface wrap on Automotive Assembly
SURAFACE WRAP ON AUTOMOTIVE ASSEMBLY
AIM: Clear the geometry and merge all 3 models and perform surface wrap.
OBJECTIVES: Perform surface wrap merged geometry.
Target length for Wrap = 3 mm
INTRODUCTION:
Surface wrap is the process of meshing where the designer is only interested in the outside surface of the assembly. In other words the component inside the volume will be kept as it is and the simulation perform on external/outer surface for flow simulation.
Steps to process:
Import geometry (3 components each time separate window) --- Topo cleanup --- Ring shape surface cleanup --- merge components --- eliminate PID’s --- surface wrap --- end.
PROCEDURE/STEPS TOWARD SURFACE WRAP ON MODEL:
We have three components/geometry to perform the surface wrap. We need to clear the unwanted surfaces coz those are negligible in surface wrap. We imported the engine geometry for TOPO/ Unwanted surface cleanup.
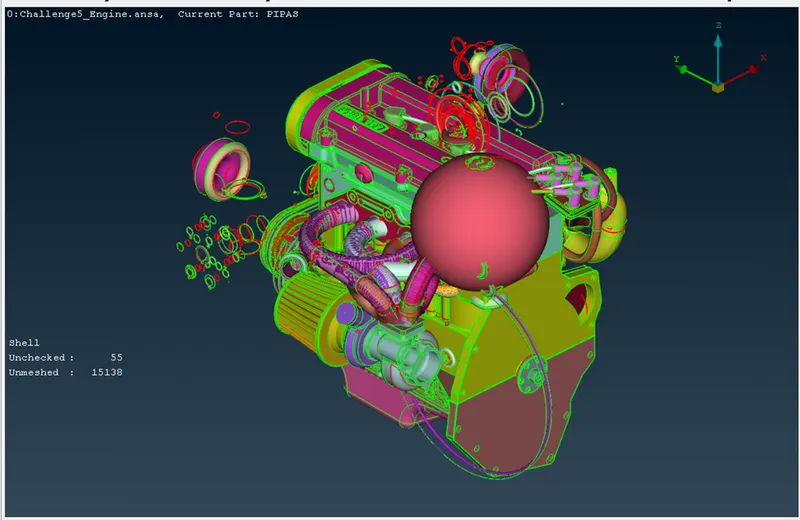
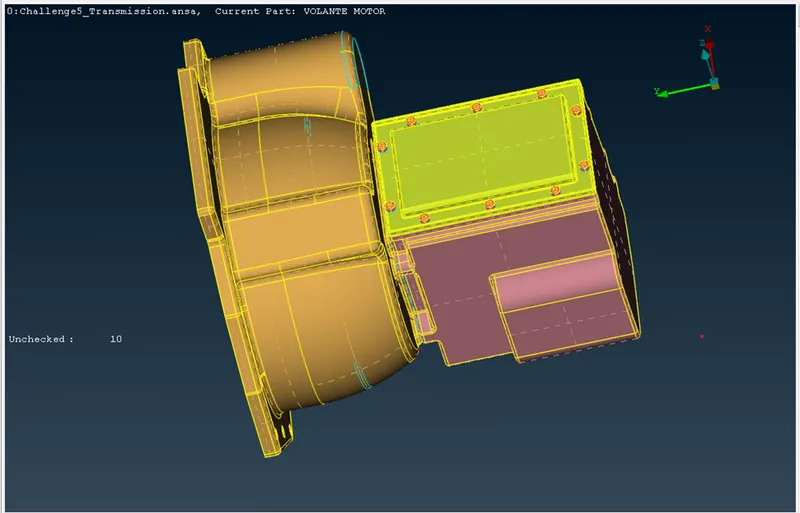
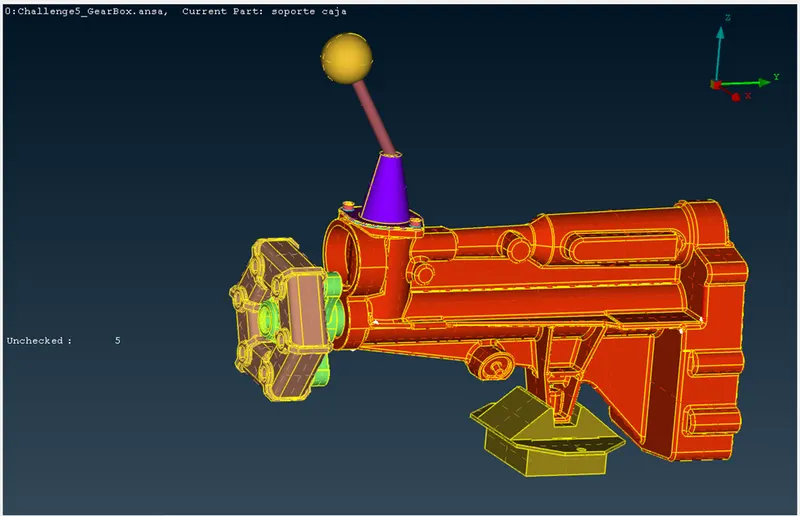
The below image carries the Imported geometry of Engine, Transmission and Gear box.
Imported Geometry of Engine component:
Imported Geometry of Transmission component:
Imported Geometry of Gear box component:
In above images we need to eliminate the unwanted surfaces and overlapped surfaces which are disturbs outer surface of component.
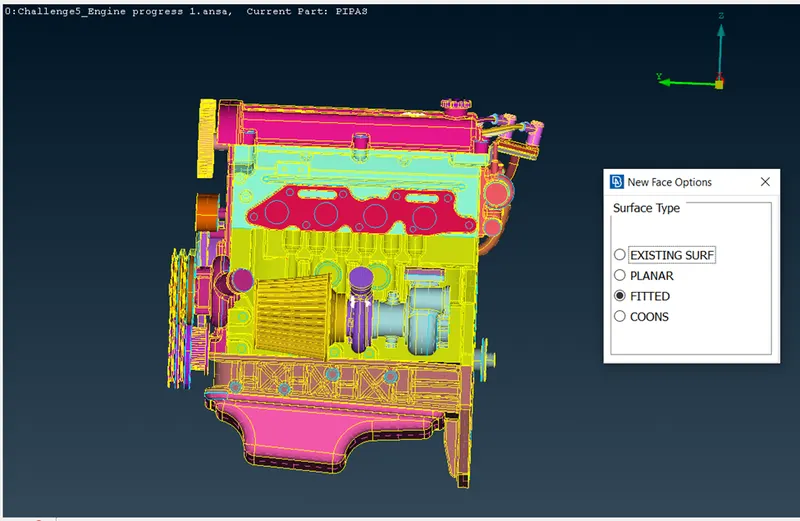
To clear the unwanted surfaces we used some tool of NOT, New (create the surface), Compress (to eliminate PID’s), merge, wrap (to build the mesh).
Unwanted surface cleared component of engine:
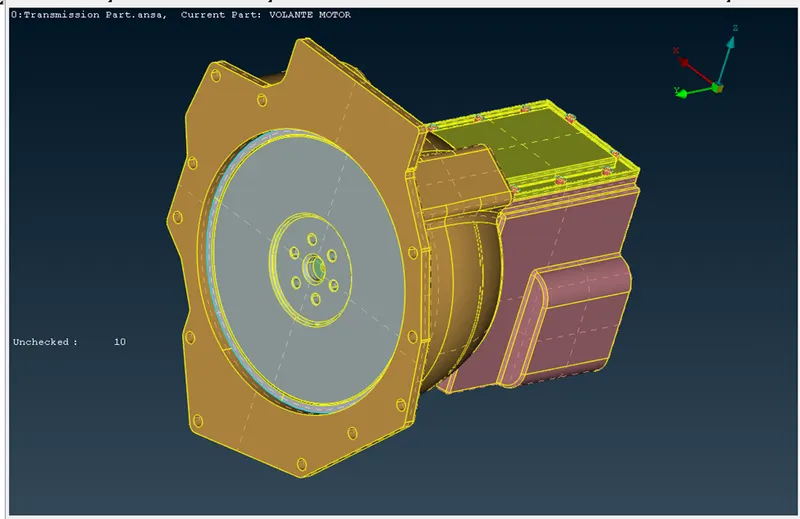
Topo cleaned Transmission component:
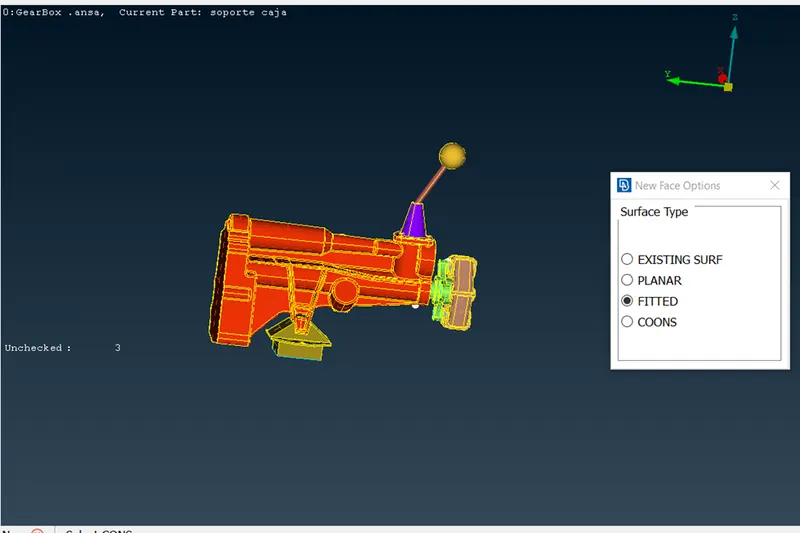
Topo cleaned Gear box component:
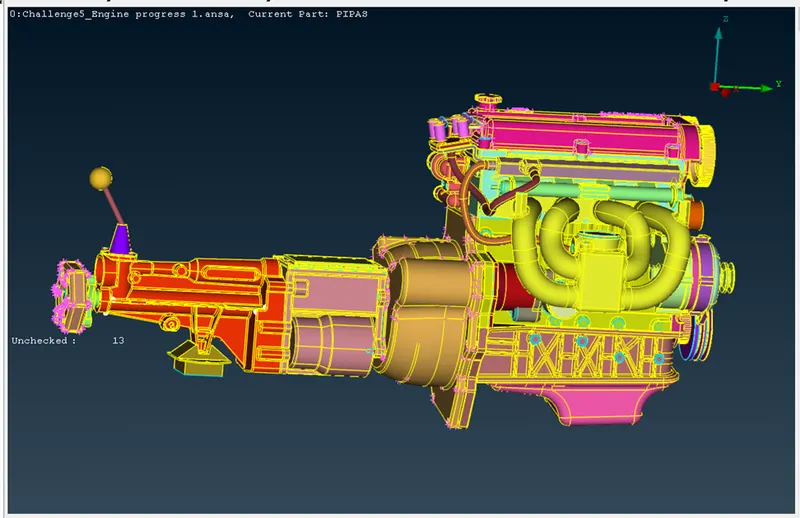
After clearing the unwanted surfaces, we need to merge the 3 components in one manner, which are fit in automatic mode. Considering the merged components as one elements of component.
We need to fill the gap/holes located on the component to get the surface wrap in correct formation and smooth at outer surface.
The below image agrees the merged components in one component.
Automotive Assembly:
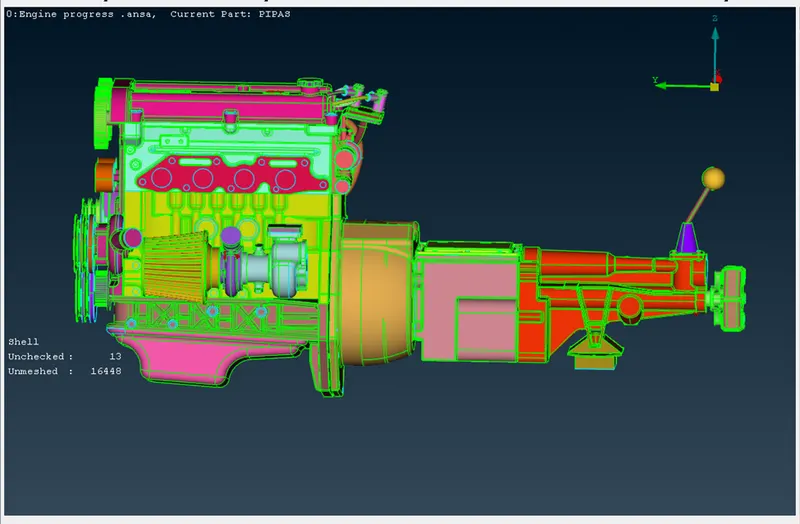
Extra pipes eliminated to avoid the crack/flow of surface wrap and eliminate the extra PID’s using the compress tool.
Complete PID eliminated automotive assembly:
Move towards classic mesh to perform the surface wrap, to wrap we used the tool of Wrap --- constant wrap octree --- set target length (3mm) --- new filter ( select the PID’s) --- transfer to current list --- run for wrap.
The below image shows the surface wrapped model:
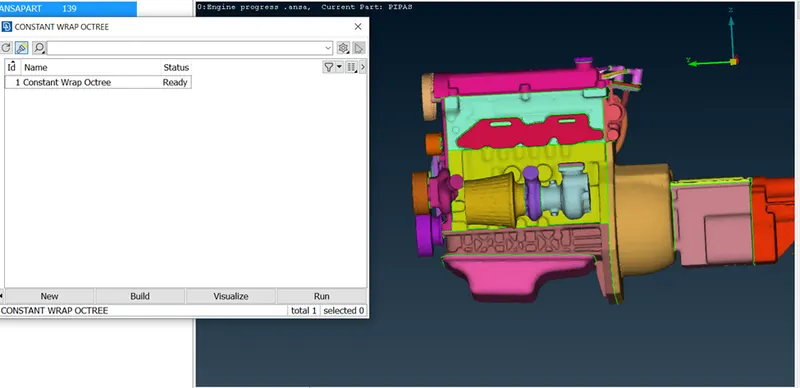
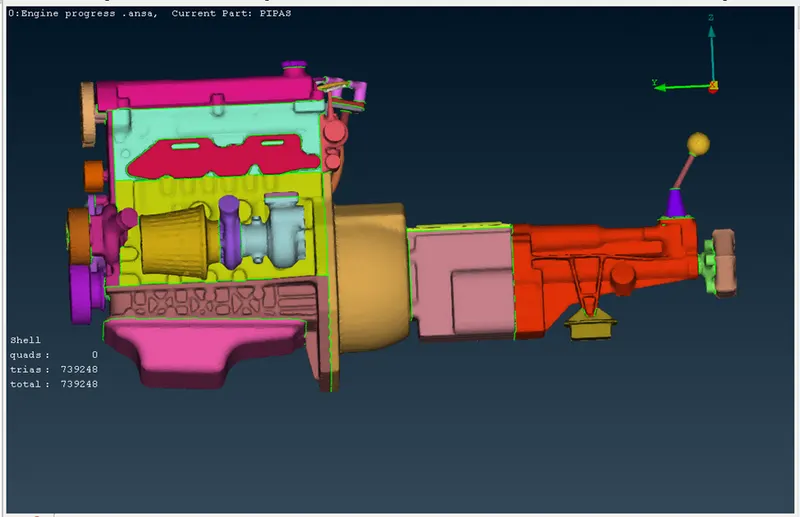
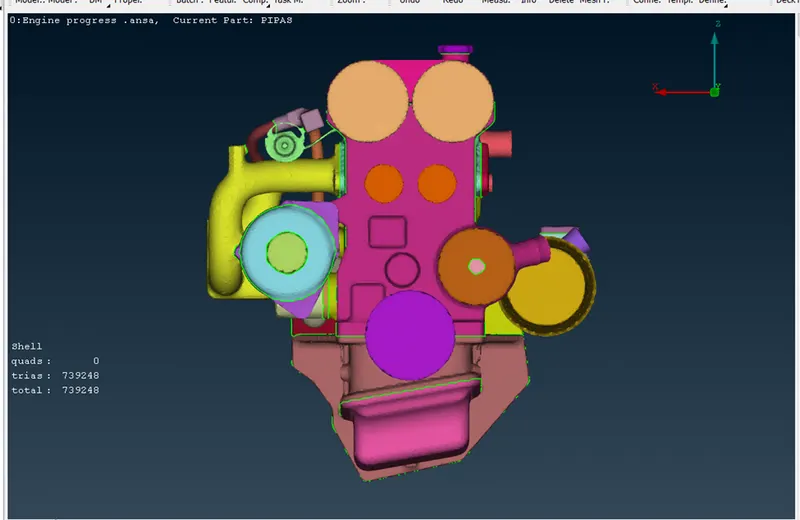
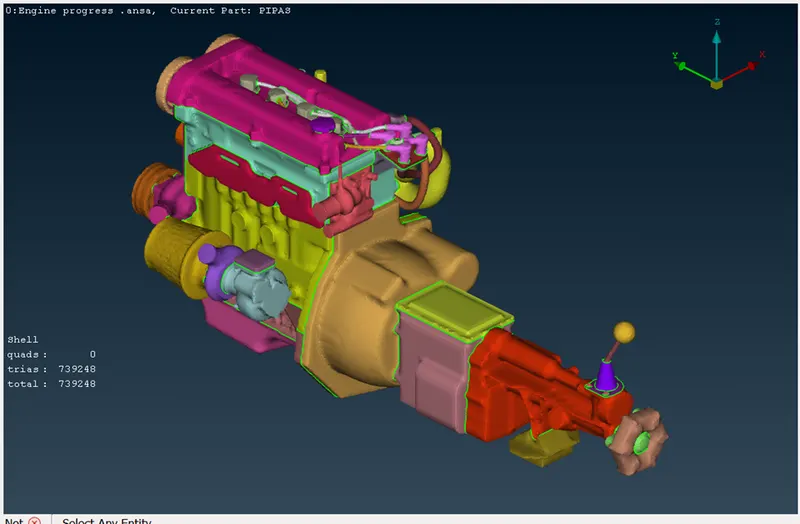
The model is performed by surface wrap and got the elements of 739248.
Surface wrap performed automotive assembly:
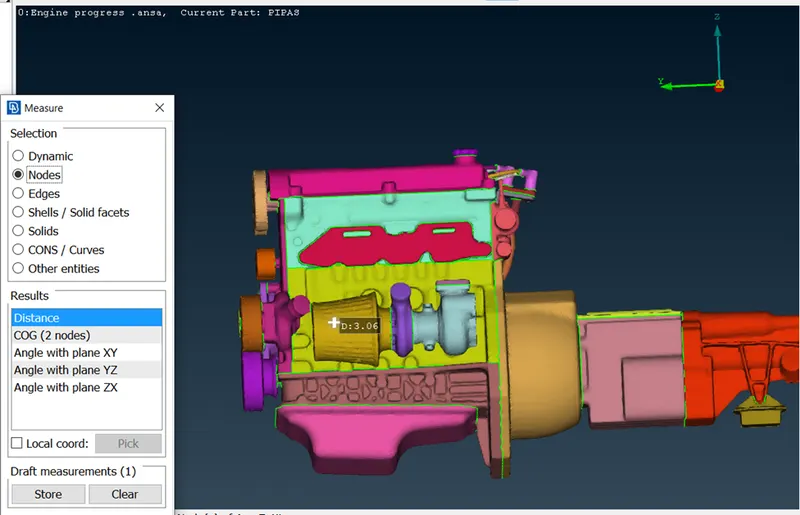
Mesh length of surface wrap:
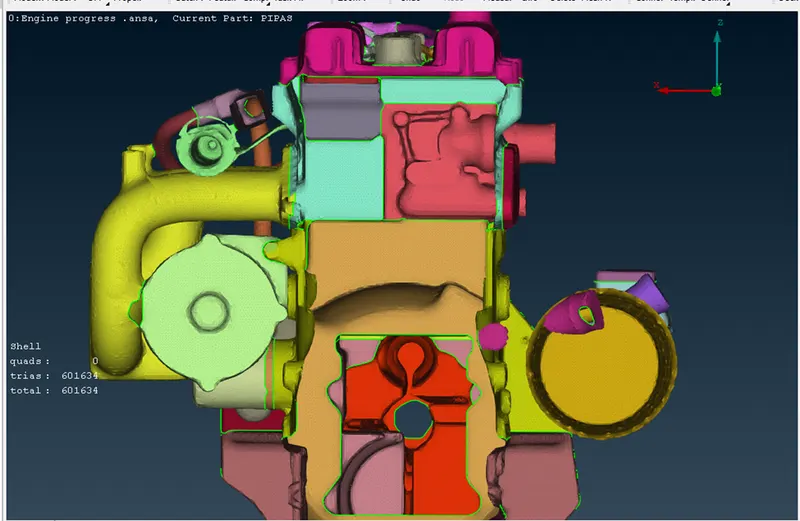
We can see that the Through n through of complete model from one end to another end.
If we are able to see the other side without disturbance with one complete volume then the surface is performed well in process.
One volume of model and view can say that the wrap is good:
Side view of automotive assembly:
Isometric view of automotive assembly with surface wrap:
LEARNING OUTCOMES:
From this case study we learnt the surface wrap process, element elimination, merging the components.
RESULTS AND OBSERVATIONS:
From the above images and results we observe that the volume of automotive assembly is in one component/volume condition and the surface wrap is preformed well on outer surface of model.
CONCLUSION:
From the above observation and images we conclude that the surface wrap is built on outer surface of model and the volume of automotive assembly is in correct manner with one component. The length of mesh is formed approximately 3mm.