Week 5 Challenge : Surface wrap on Automotive Assembly
Notice:- After the surface wrap the size of the file is more, but in the challenge submission time it is not supported because of its large so I am sharing the google drive link please download from the link.
Link: https://drive.google.com/file/d/1EgEXM8T047EV7d5O6qMDZ7NrccrJ14qe/view?usp=sharing
Aim
Check the geometrical error and delete the unwanted surface also fix the error, and wrap the surface after assembling the 3 models with the given wrap length.
Procedure
In our assignment, we have 3 models these are engine, gearbox and transmission system with some errors and unwanted surfaces in all the models. We have to fix all the errors and have to delete the unwanted surfaces. In these models, we can see some surfaces are missing and some surfaces are overlapped, some are not intersected these are separate from the model, have to fix all the errors. For the surface wrap, we use here two modules TOPO module and the surface mesh module.
Use of TOPO module
In this module we use some operations like insert hot point, project hot point, create a new surface as our requirement, topo, release and past the cons to remove the single cons and triple cons. For the surface wrap, the most important operation is to close the holes present in the upper surface of the model.
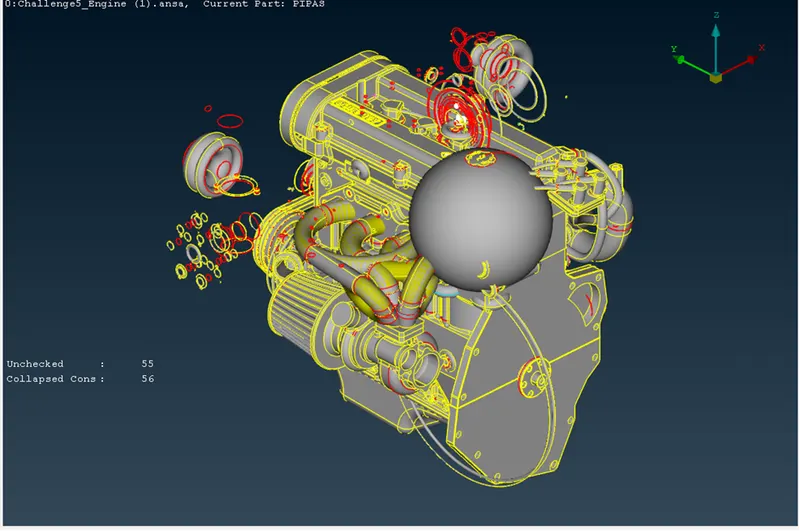
(Before fixing error)
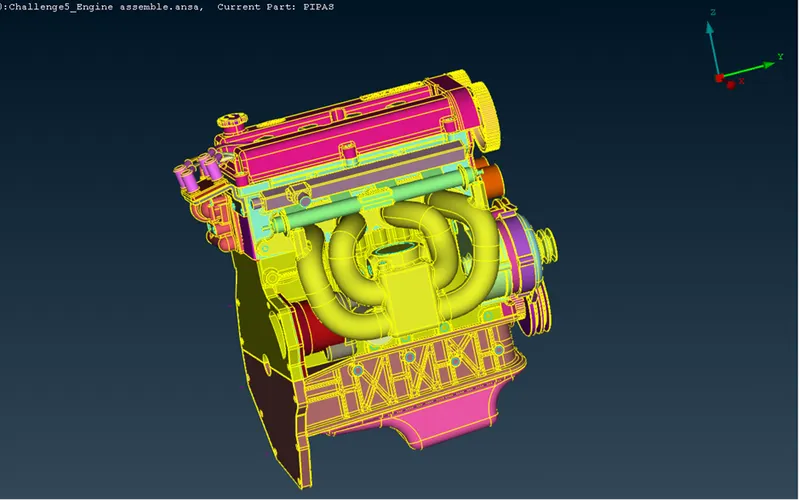
(After fix the errors in engine)
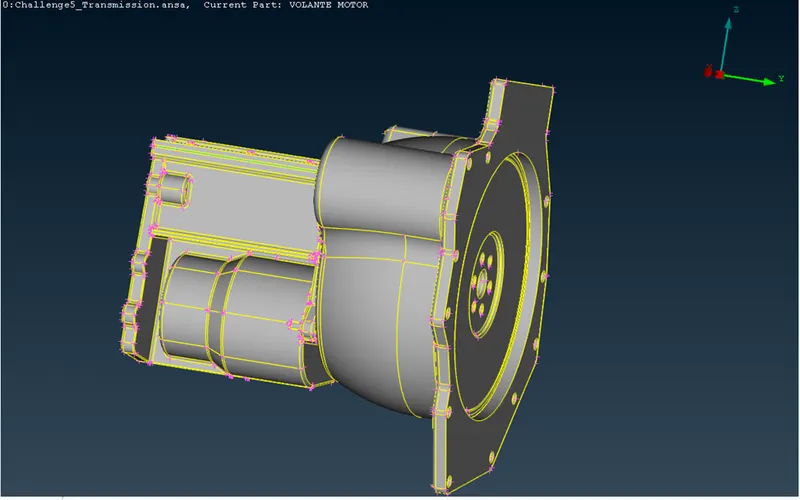
(After fixing error transmission)
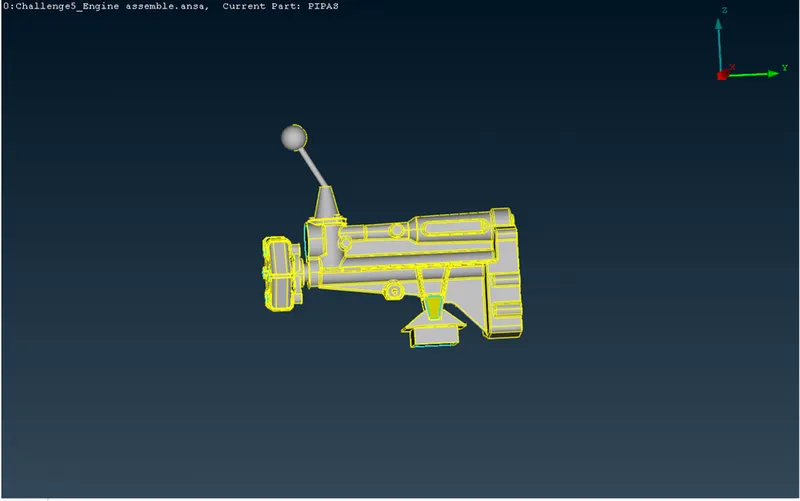
(After fixing errors of gearbox)
After fixing all the errors in these 3 models, we can assemble in the merge option. After merge has to check the presence of holes in the upper surface of the assembled model. Here we have default PIDs after correction of the errors we have deleted many PIDs so now we have to delete unwanted PIDs.
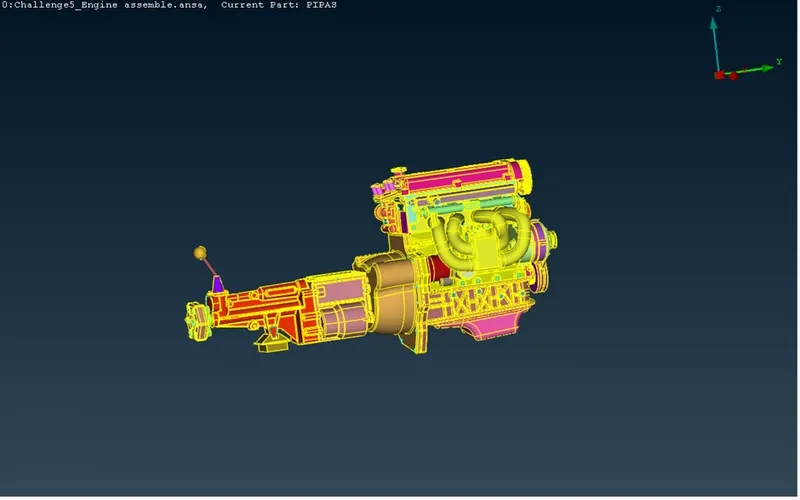
(After merge models)
Use of mesh module for surface wrap
In the surface mesh module, we can get an option of wrap, we use wrap with a constant value of 3mm. After assigning mesh length with tria element type we can run for surface wrap.
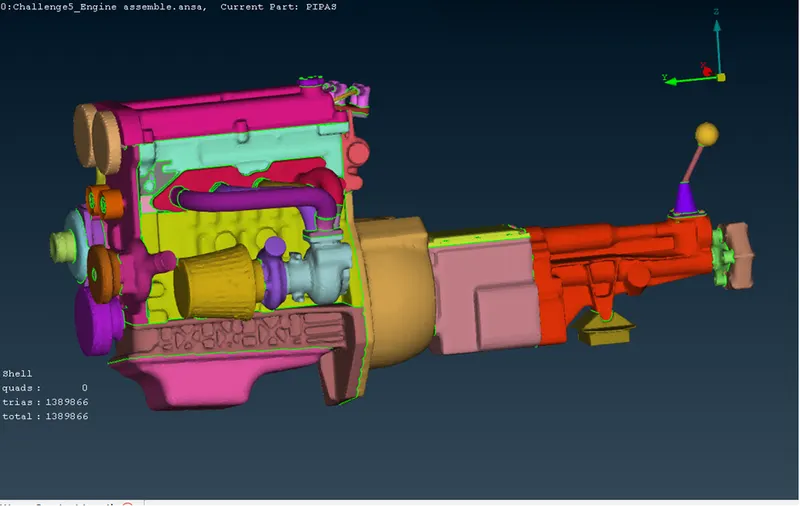
(Surface wrap)
Result
After doing surface wrap we get a single volume of an assembled model with the surface mesh of 3mm target length. After that, we can do a volumetric mesh of the model and can do the flow analysis. In the below image w can see the surface wrap create a single volume.
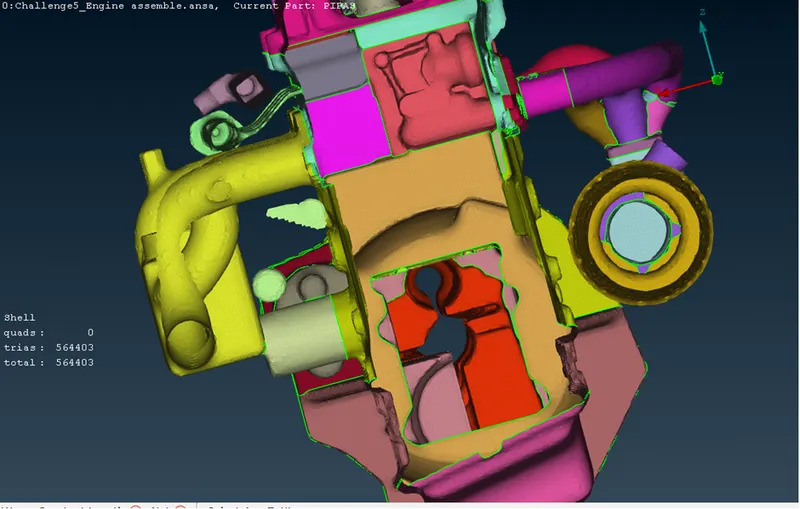
(Cut view of surface wrap)
Conclusion
in this assignment, we can assemble the models and can create a single volume from the upper surface for the next simulation. After the surface wrap, we can do the volumetric mesh and can do the flow analysis.
Notice:- After the surface wrap the size of the file is more, but in the challenge submission time it is not supported because of its large so I am sharing the google drive link please download from the link.
Link: https://drive.google.com/file/d/1EgEXM8T047EV7d5O6qMDZ7NrccrJ14qe/view?usp=sharing