Week 5 Challenge : Surface wrap on Automotive Assembly
Title :- Surface wrap on Automotive Assembly
Aim/Objective:- For the given models, we have to check for the geometrical errors and delete surfaces which are unwanted for surface wrap. After clearing geometry, we need to Merge all 3 models and perform surface wrap.
Before going further , first see what is surface wrap and why it is the advantages of surface wrap :
Surface Wrap : The goal is to clean the surface geometry by deleting the unwanted surfaces which is present at the outside of the object ( Like - hot points, small rings, small bell, small surfaces ) to avoid errors and create a surface wrap that accurately captures the input domain geometry with high-quality cells so as to make subsequent calculations intractable. In surface wrapping we need to close all the surfaces in order to get uniq volume for full geometry.
Advantages of Surface wrap :- 1. In surface wrap we need not to worry about the errors which is present inside the geometry.
2. We can save more time here.
3. In surface wrap we only deal with the external surfaces .
4. In order to get the approximate result quickly surface mesh is more helpful compare to surface mesh.
Target length for Wrap = 3 mm
Required tools to import the object in ANSA:-
1. Function Name : Open
Summary :
This function activates the File Manager and enables the input of data from a neutral format file or an ANSA database file. The neutral CAD formats currently supported are the VDA_FS, the IGES and the STEP format.
Then we can enable the shadow mode to .
2.Function Name :Shadow
Summary :
This flag turns on and off the shadow drawing style.
Required tools for topo cleanup -
1. Summary:
This function defines a new surface by selecting its boundary curves and creates a corresponding face that covers the new surface. The calculated surface appears as a net.
Function List :
New [COONS]
New [EXISTING SURF]
New [PLANAR]
New [FITTED]
2. Function Name : Cut
Summary :
This function cuts (splits) an existing Face or joins faces if inverse operation is applied (right mouse button).
3. Function Name : Project
Summary :
This function projects, as CONS or 3D Curves, a number of selected 3D-curves, CONS, element edges, line elements or Hexa Box edges on a number of selected Faces, WPLANEs and CROSS_SECTIONs, in a user controlled direction.
5. Function Name : Topo
Summary :
This function automatically creates topological conditions between selected adjacent CONS.
6. Function Name : Fill Hole
Summary :
This function fills holes on Faces.
9. To delete the unwanted PIDs
Function Name : Compress
Summary :
This function is used to compress an ANSA database.
10. To delete the unwanted and overlapping surface we can use ..
Function Name : Delete
Summary :
The Delete function of the Geometry Group can be used to delete various ANSA entities (Curves, Faces, FE-Model entities etc.).
11.Function Name :Undelete
Summary :
This function recovers a Face that was previously deleted, provided that the COMPRESS command was not used since the Face was deleted. As the Faces>Undelete function is activated, all deleted Faces still in the database become highlighted and can be selected for recovery.
13.Function Name :Intersect
Summary :
This function defines the intersection between two groups of Faces and/or FE elements that penetrate each other. Topology can be applied automatically if required. In case that the two groups can define a closed volume between them, Boolean operations can be applied.
Required tools to merge the object :-
1.Function Name :Merge
Summary :This function activates the file manager in order to merge ANSA files or neutral format files to the currently loaded file in ANSA.
Required tools for surface wrapping :-
Function List :
Wrap [Constant Length]
Wrap [Variable Length]
Function Name : Wrap [Constant Length]
Summary :
Constant Length Wrap is a very fast algorithm that can create a watertight triangular surface mesh of uniform size from an assembly of unconnected and intersecting components. It can be used for various analyses like CFD, NVH and more.
As target length for all the PIDs are same 3 mm so in our case we can go ahead with Constant length in Wrap.
Procedure to perform topo :-
1. As we want to perform surface wrap on the given model so we need not to worry about the errors like single cons, triple cons, overlapping surfaces, concave cons, intersections erros which are present inside the geometry.
2. Here we want to create a watertight surface mesh around the assembly.
3. We only have to focus on the outer surface .
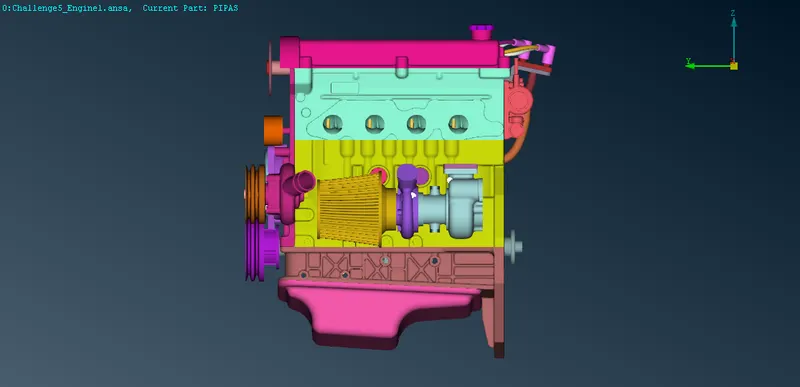
4. First after importing the object Engine , in order to delete the unwanted surfaces we hide the required surfaces using Not option and deleted the unwanted surfaces using universal delete option.
5. Then using All we got back the required model and we crear the unwanted triple cons, single cons, intersection erros which were present on the outside of the Engine.
6. We also do the same for all the three given model Engine, Gear box and Transmission.
Engine -
Gear box-
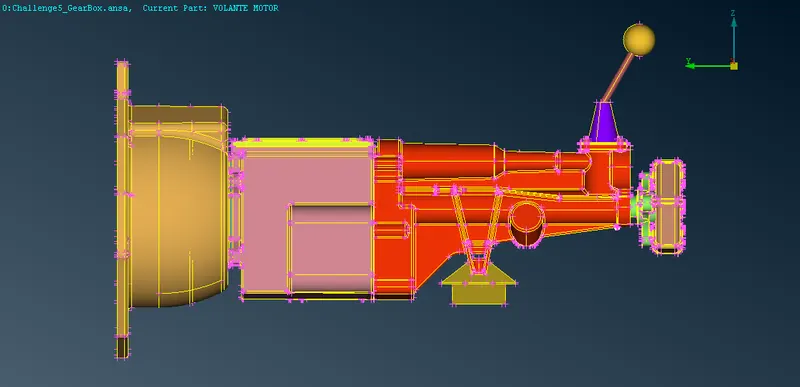
Transmission-
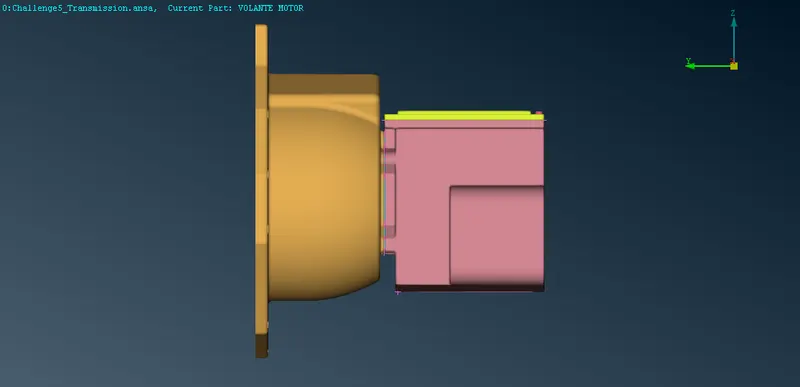
Then in order to do merge this theree model there is a option in Menubar called Merge and then bt selecting the other two model we have merged this three together.
After merging -
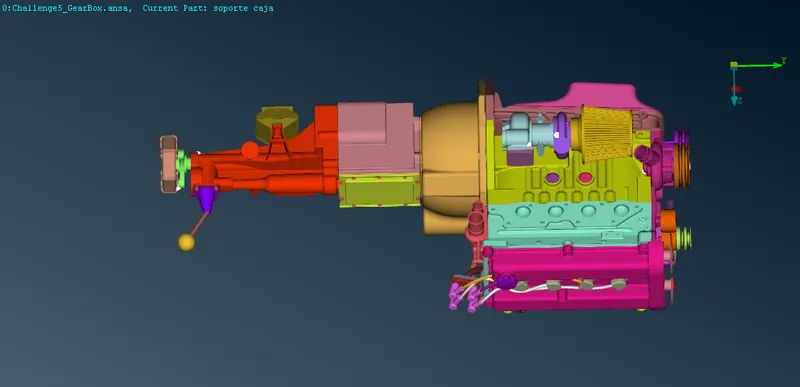
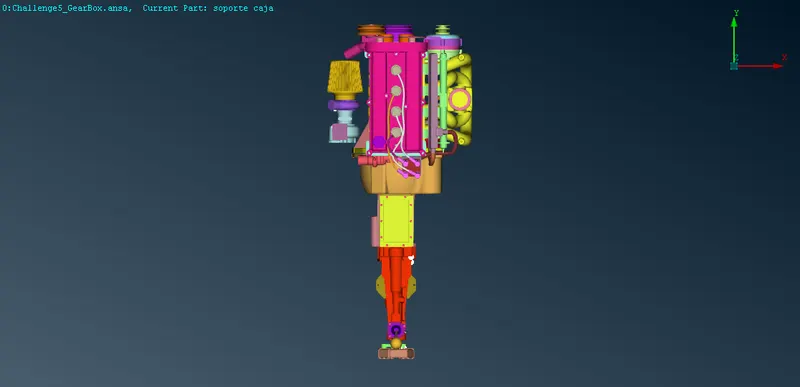
Now we have patched all the surfaces using Cons, Fitted in New and closed the model in order to get the watertight surface mesh aroung the assembly.
After filling all the surfaces -
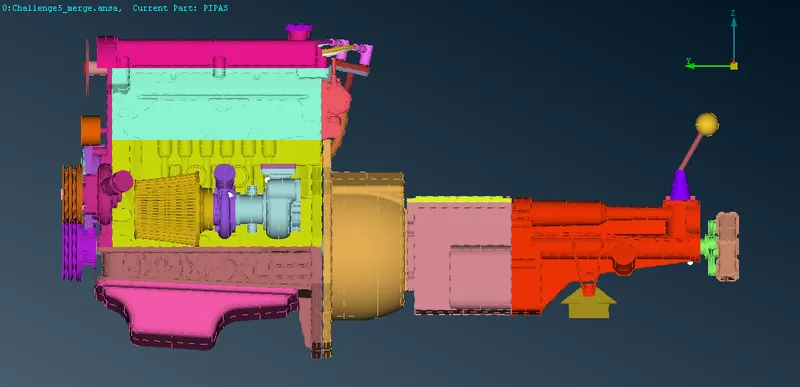
Here we have disabled the cross hatches and Perims to see the surfaces clearly.
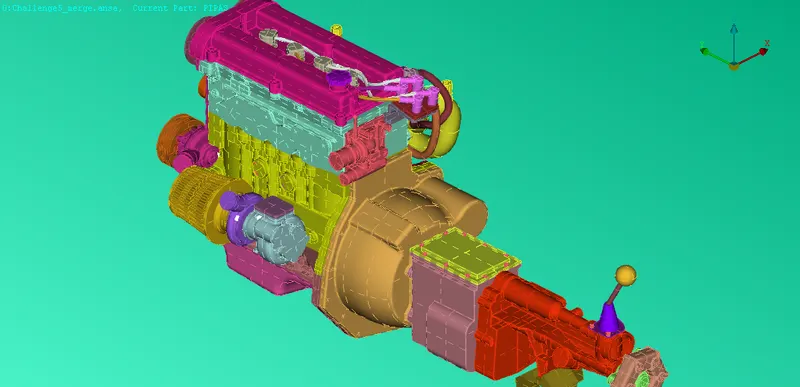
Procedure for surface wraping :-
1. Now after closing all the surfaces we can go ahead with surface wrap.
2. At first there were many unnecessary PIDs . So using Compress we deleted all the unwanted PIDs.
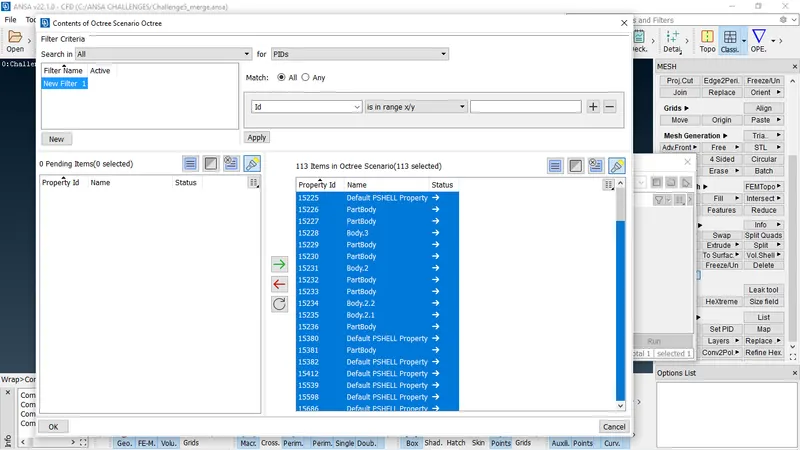
3. Then go to Wrap tool in Elements option. Here for surface wrapping we have given same target length for all the PIDs 3 mm as mentioned in the question. Then we go to the Octree and gave the target length and select all the PIDs and by clicking ob the Run option we finished our task.
After finishing the Surface wrap -
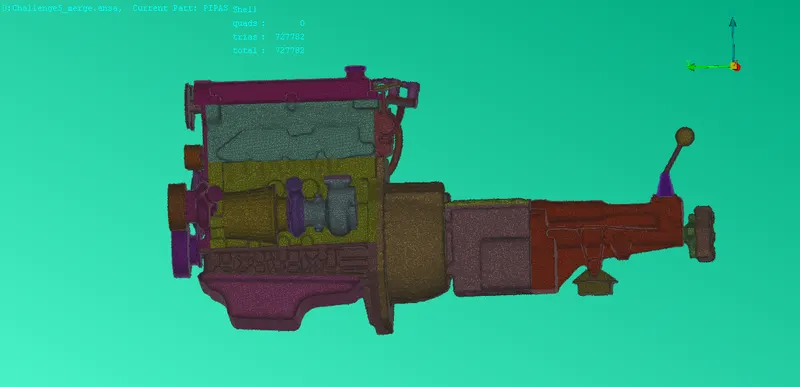
Using measure tool we have measured the distance between the two edges -
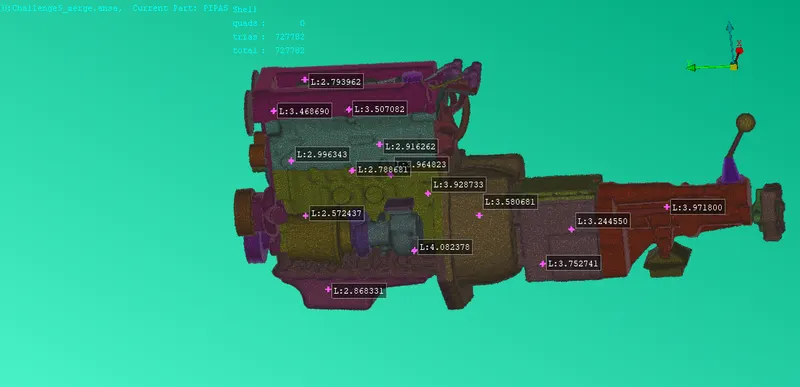
It is almost 3 mm as I have given 3 mm for target length.
Observation -
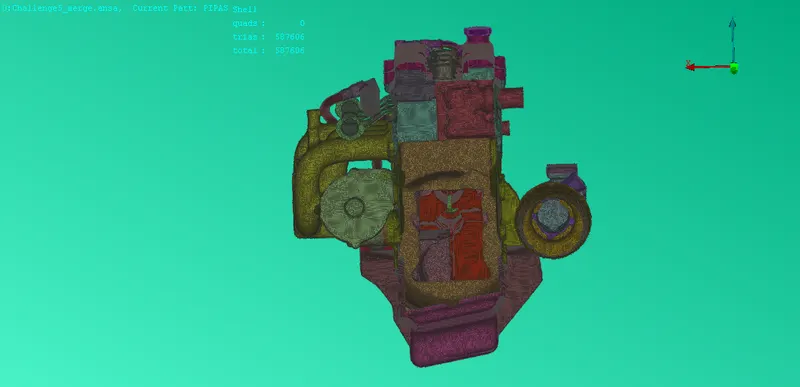
After wrapping we can see that it has created a common volume around the assembly. And it is very time saving and fast. We dont have to resolve the errors which are present inside the geometry as surface wrap is all about to external surfaces.
Link of the wrapping model :-
https://drive.google.com/file/d/1OtNlhaUlHDCCVe0gceIvkvHTOjPELOyA/view?usp=sharing