Week 4 Challenge : CFD Meshing for BMW car
AIM:- The aim of this project is to mesh a BMW car model which is given here.
OBJECTIVE:-
The aim of this challenge is to perform geometry clean up on a BMW car
perform surface meshing with the following parameters
Body - 3 mm
Lights - 4 mm
Grills - 1 mm
Rims and Tyres - 2 mm
Optical Rearview mirror - 2 mm
Window - 2 mm
Silencer - 3 mm
Logo - 1 mm
and to create a wind tunnel for CFD analysis using ANSA software
PROCEDURE:-
1. IMPORT
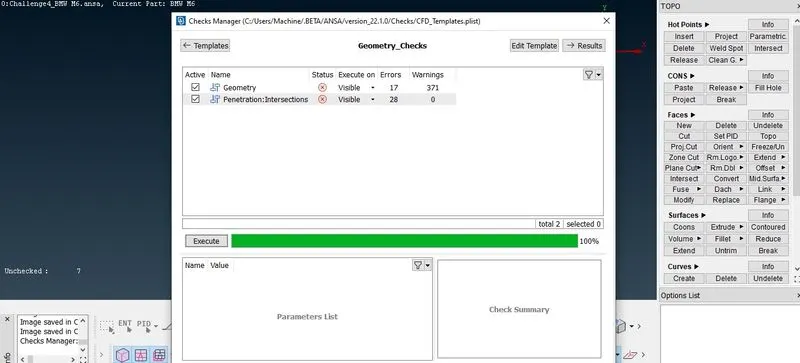
2. GEOMETRY CLEAN UP
3. ASSIGNING RELEVANT PID's
4. SURFACE MESHING
5. PERFORM SYMMETRY
6. CREATION OF WIND TUNNEL
Tools Used:-
Faces>New
Coons>project
Curves>New
Hotpoints>project
Faces>plane Cut
Points> relative
permeter>length
perimeter>spacing>auto cfd
Mesh Generation>spot mesh
Mesh Generation>cfd Mesh
shell mesh>reconstruct
faces>offset
volume>define
Mesh perimeter
Quality criteria
Topo
Refine
etc...
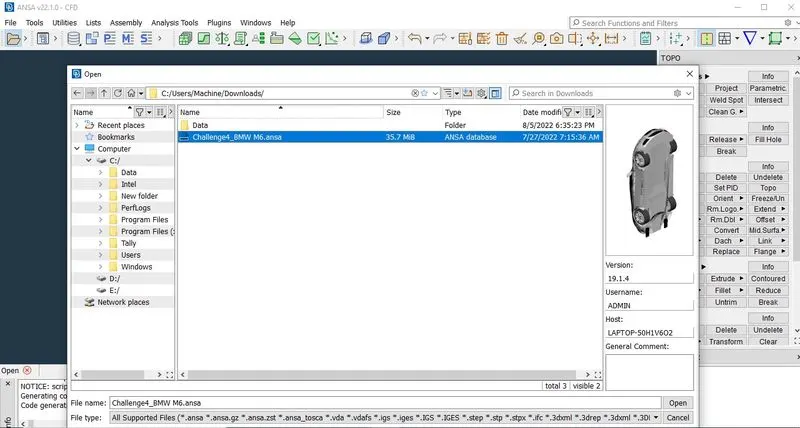
Import the ANSA file which is given in the challange.
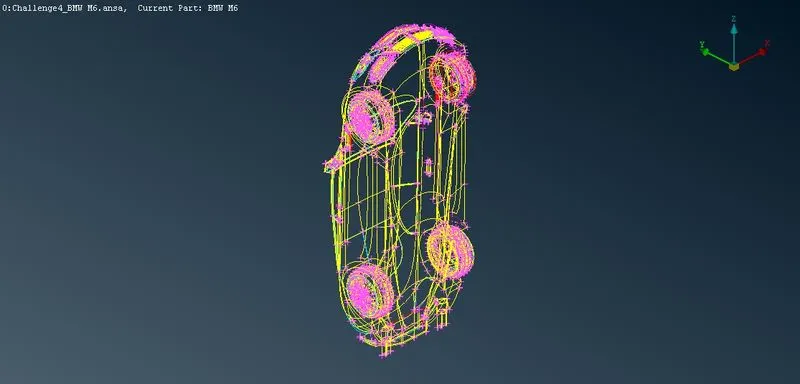
Wireframe Model :-
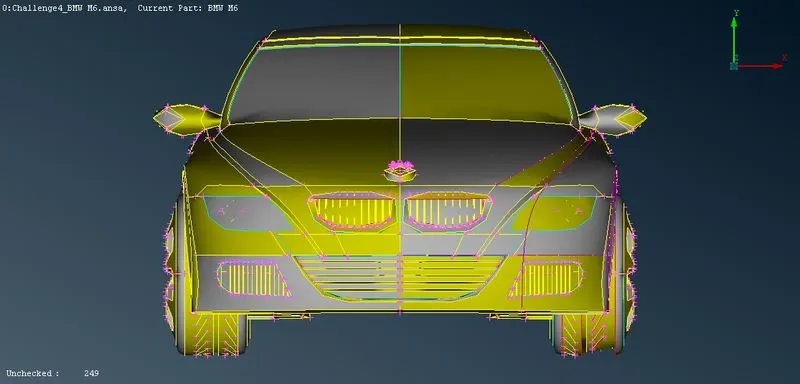
shadow model
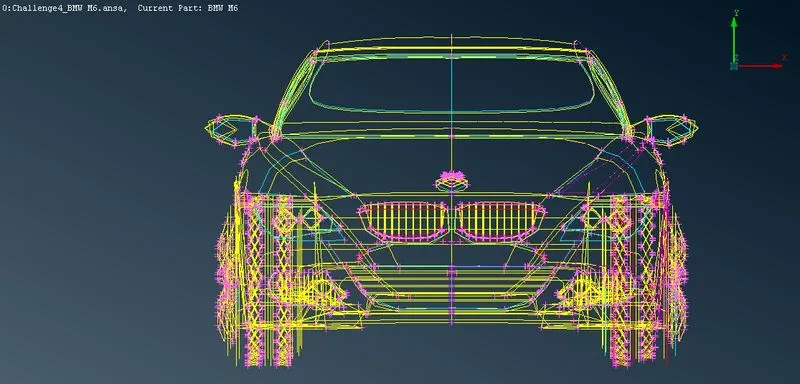
After observing carefully, right part of the car has a lot of geometrical errors, so deleting the right half part of the car (except Logo).
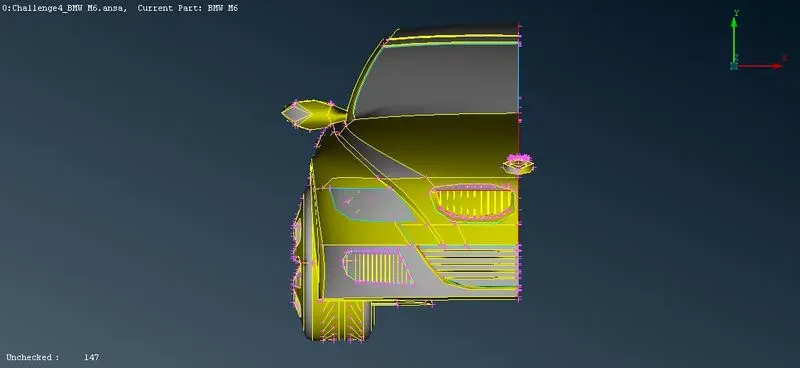
For finer look
to smoothen the sharp curves of the car and give it a fine look.
Go to mesh deck
perimters> length>perimeter>select whole geometry>enter 1 mm
perimters> length>macro>select whole geometry>enter 1 mm
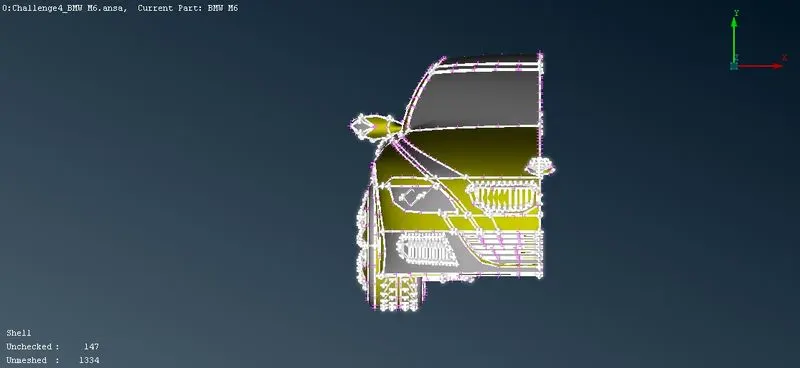
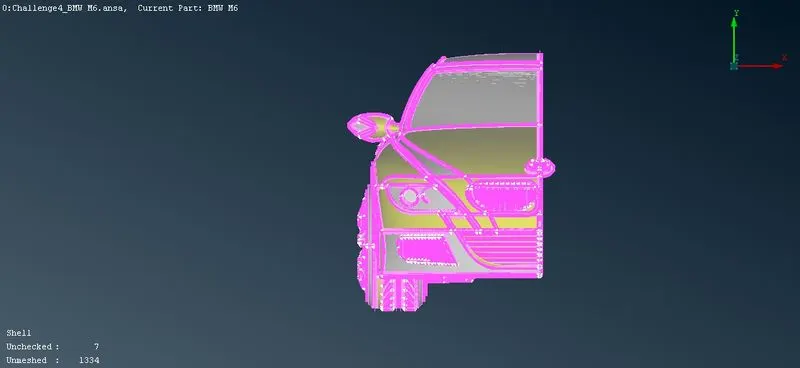
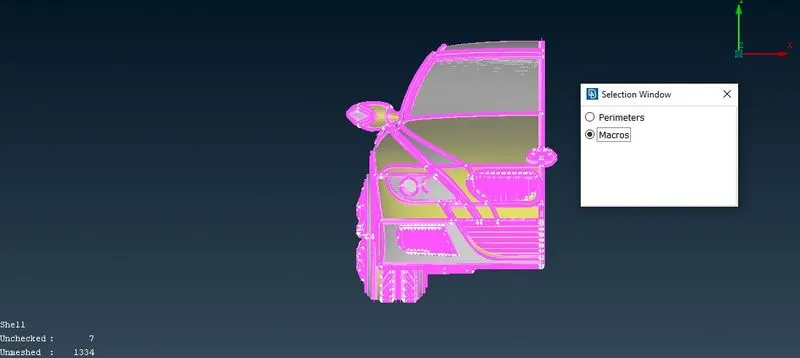
Finer Look
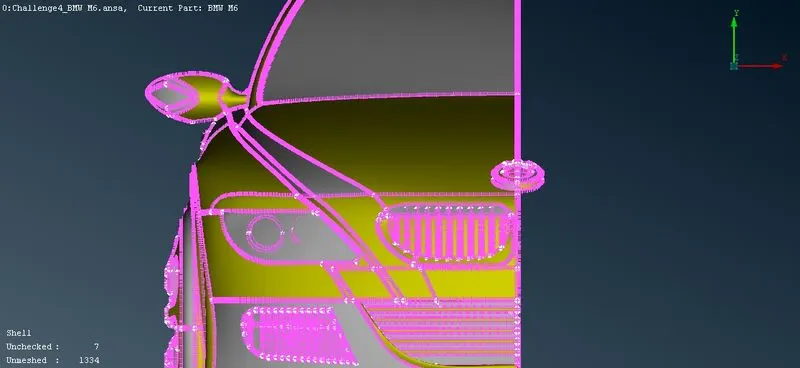
2. GEOMETRY CLEAN UP
Before geometry Clean up
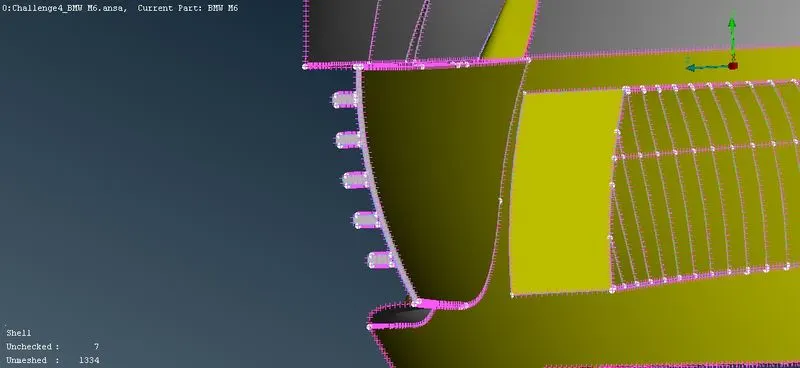
Bottom Grill part before geometry clean up
Middle Grill part before geometry clean up
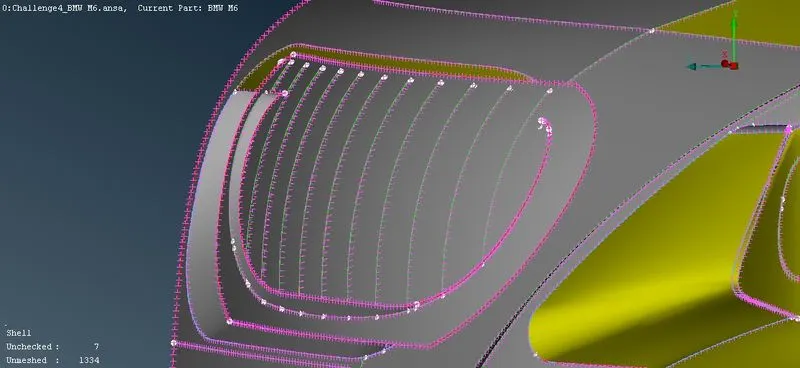
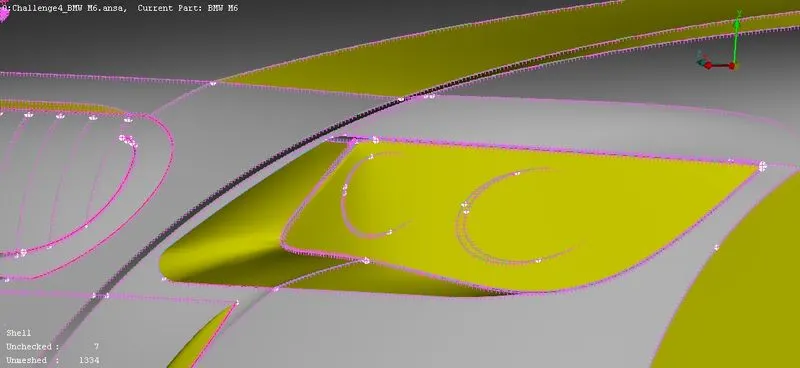
Headlight before geometry clean up
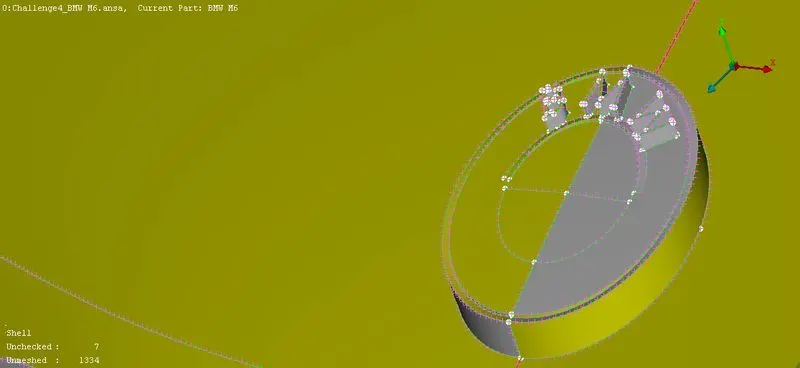
Logo before geometry clean up
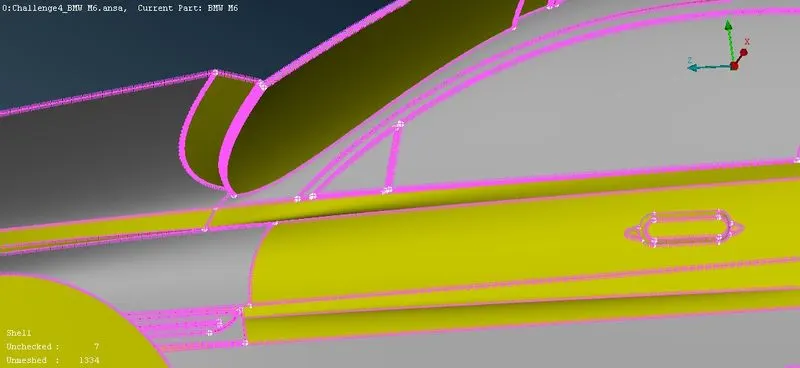
optical rear view mirror before geometry clean up
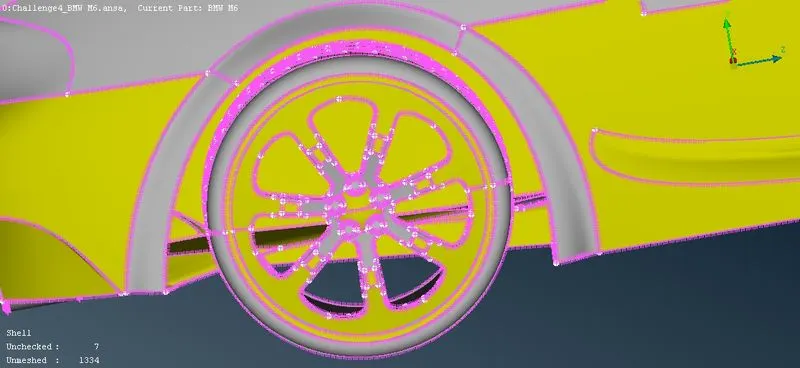
Rims and tyres before geometry clean up
Base before geometry clean up
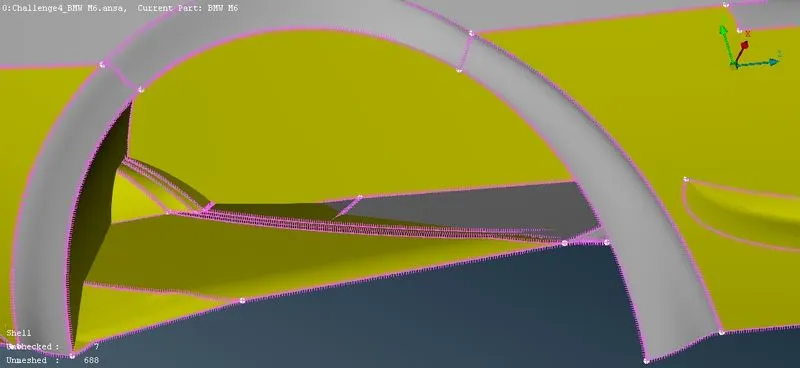
Lights before geometry clean up
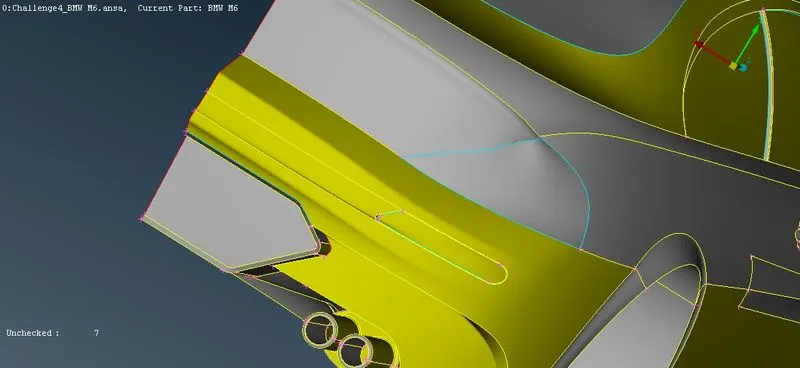
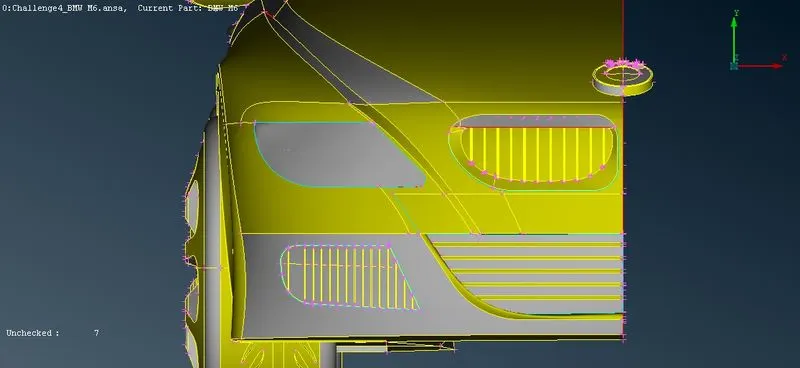
Base before geometry clean up
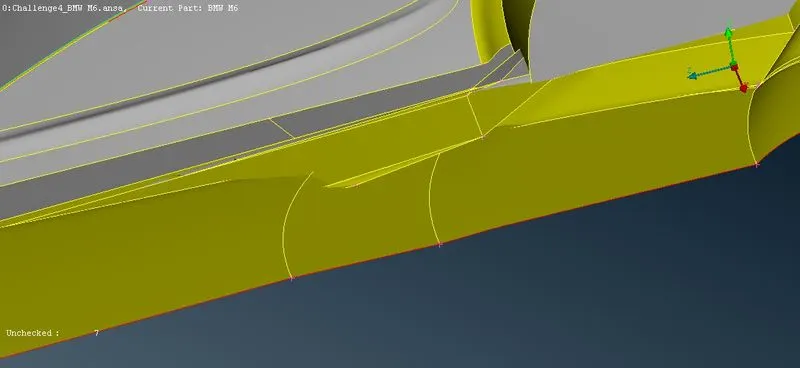
Side Indicator/design feature before geometry clean up
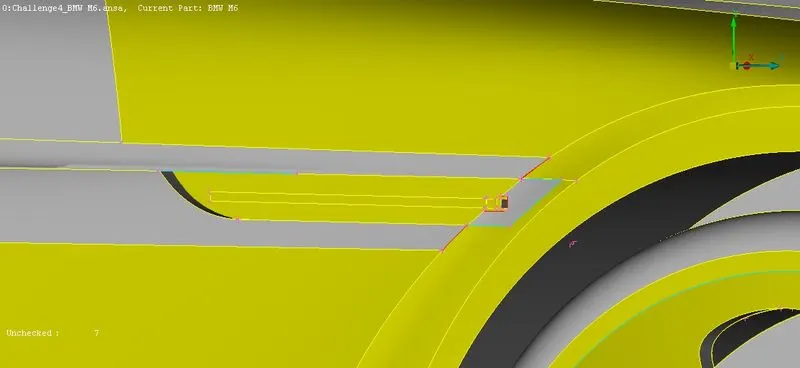
After geometry clean up
Side grill part
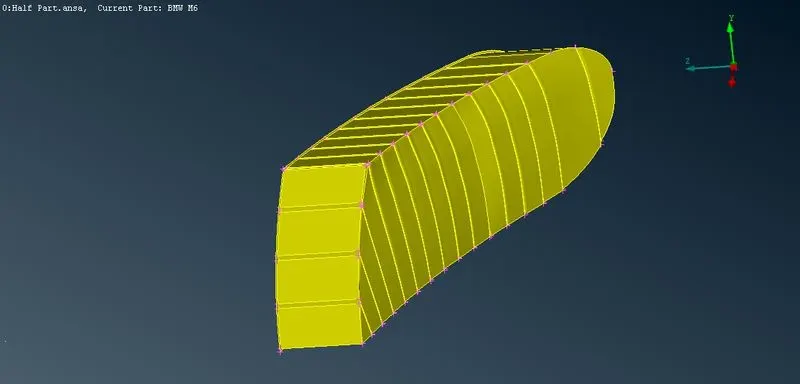
Bottom_Grill Part
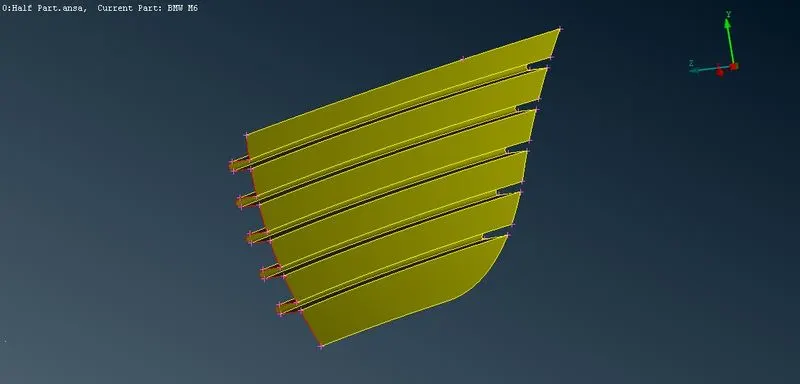
Middle Grill part
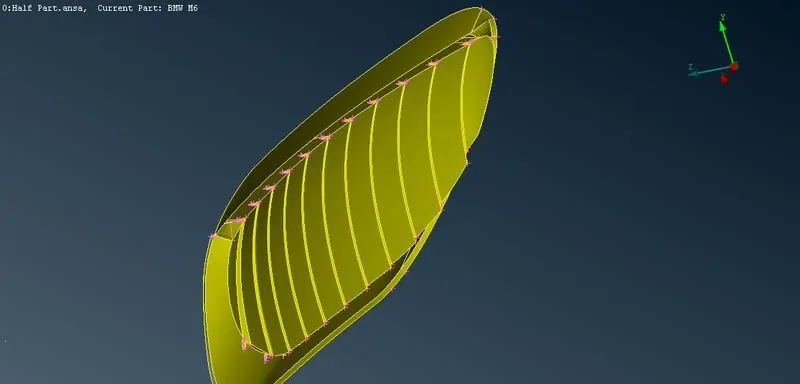
Headlight
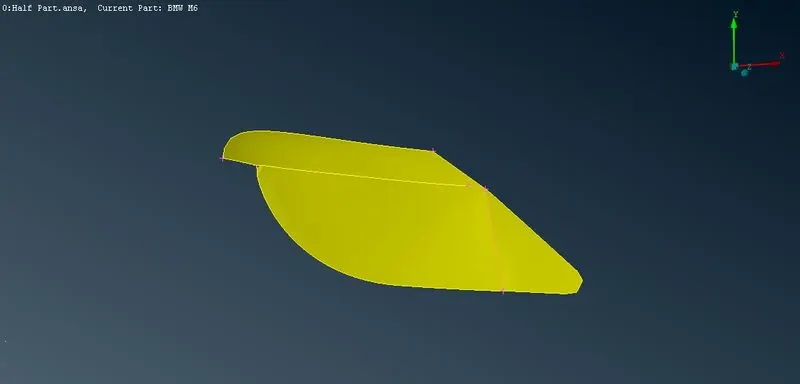
Logo
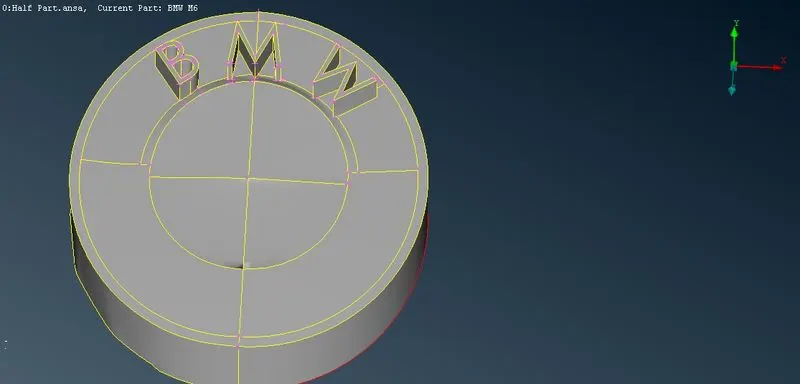
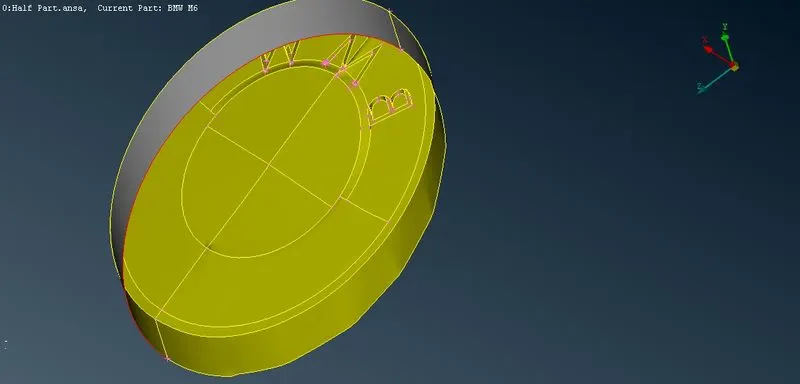
optical rear view mirror
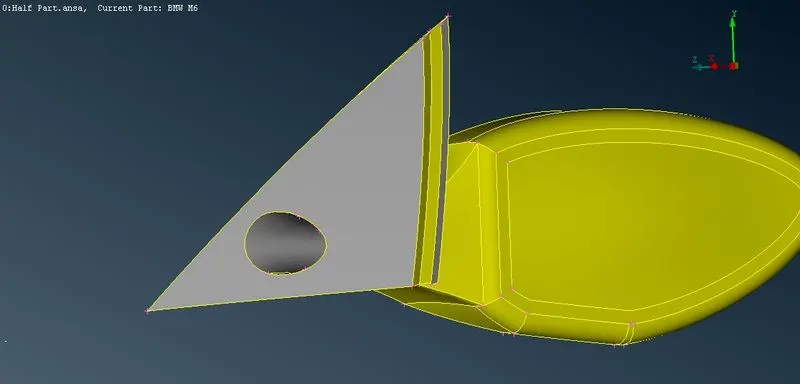
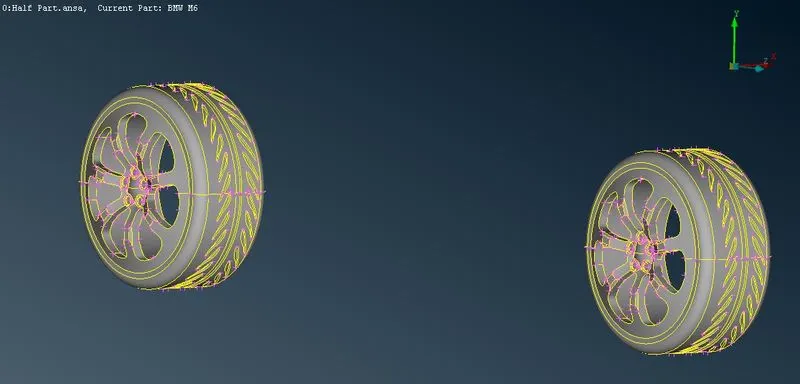
Rims and tyres
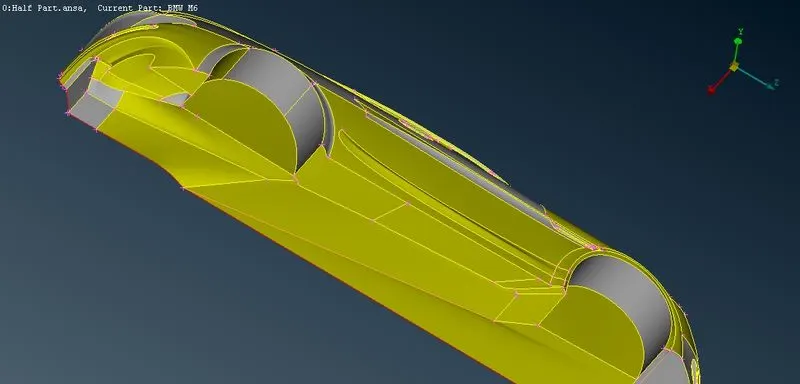
Base
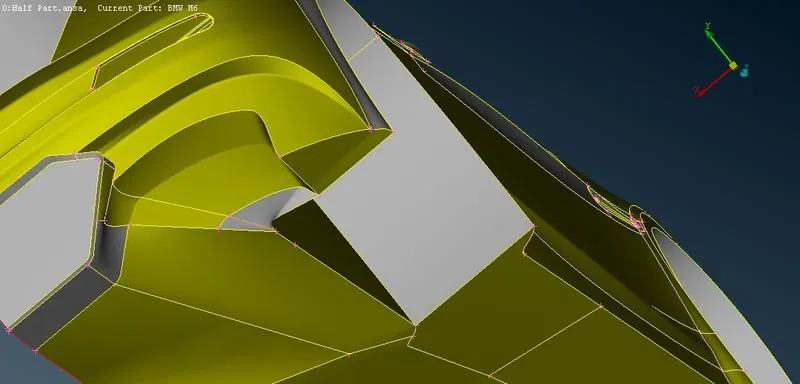
Lights
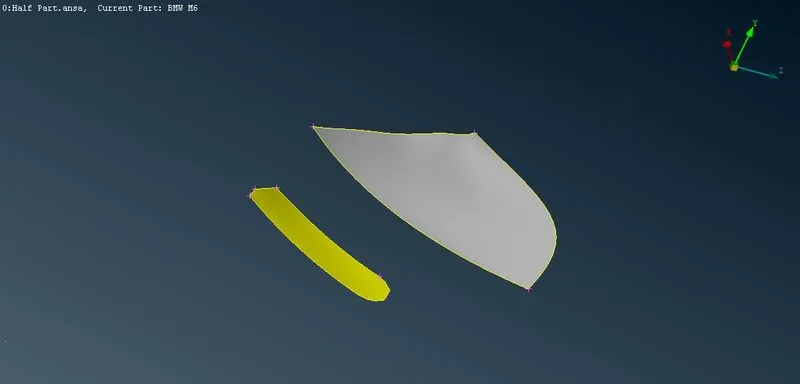
Side Indicator/design feature
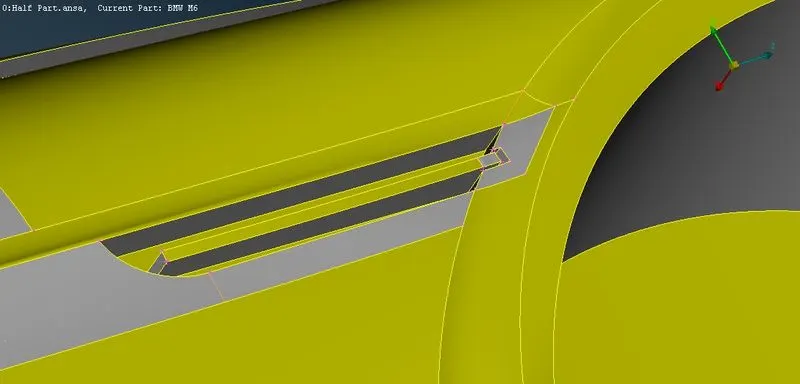
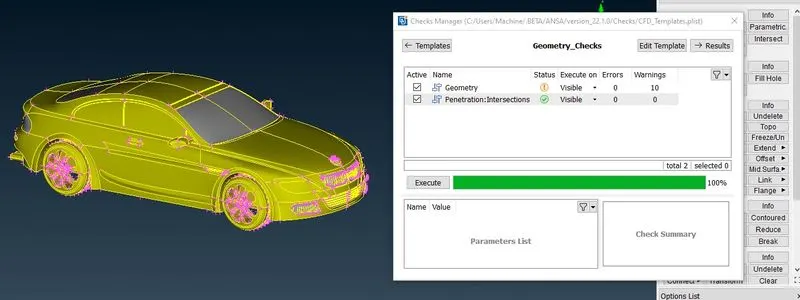
Now, after doing the geometry clean up
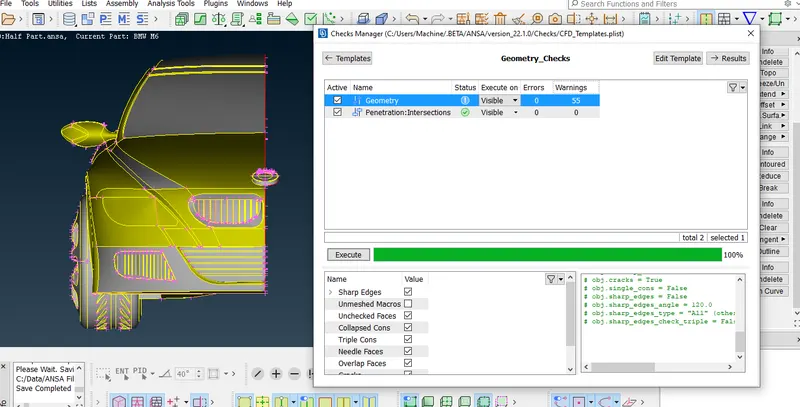
There are only warning of single cons (because of half part)
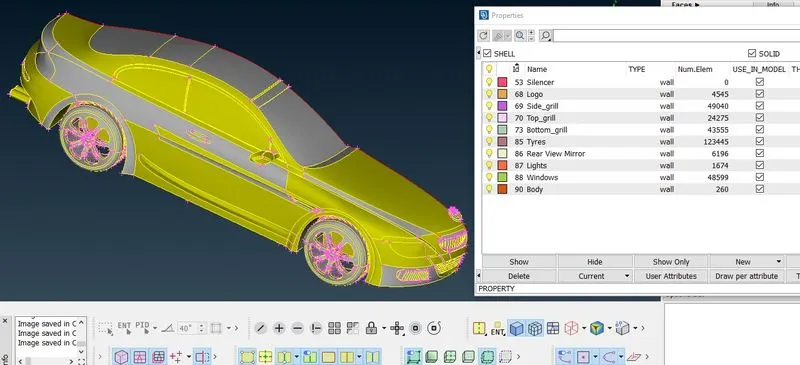
3. ASSIGNING RELEVANT PID's
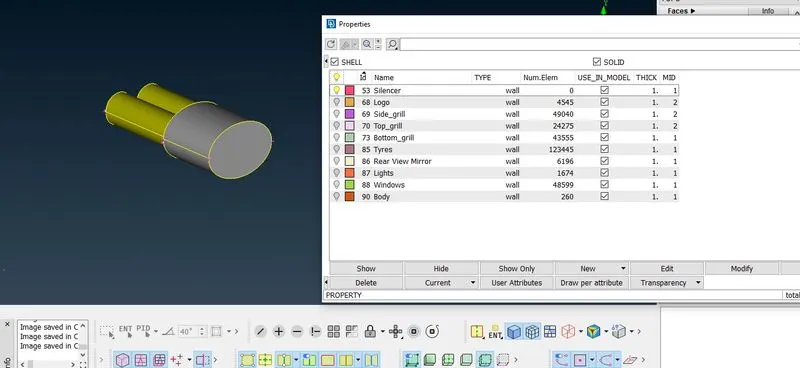
Silencer
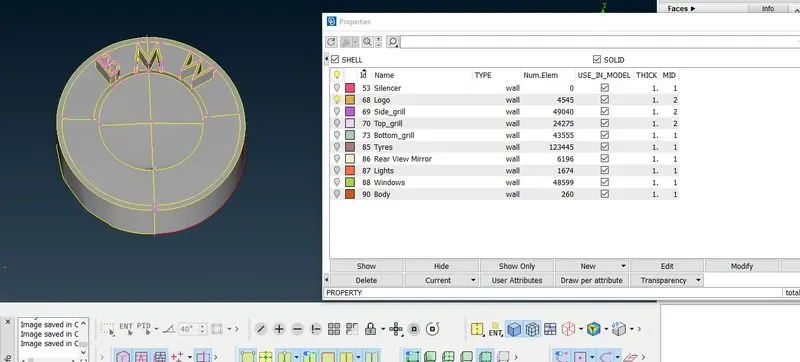
logo
Side Grill
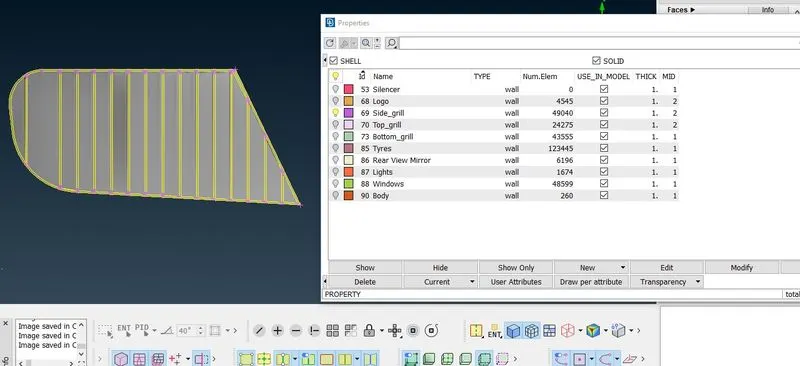
Top Grill
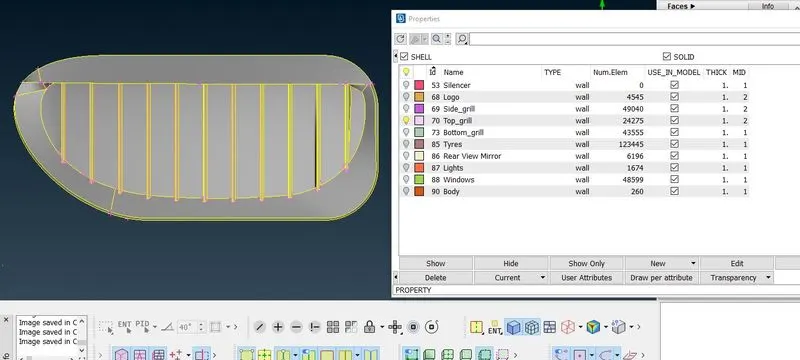
Bottom Grill
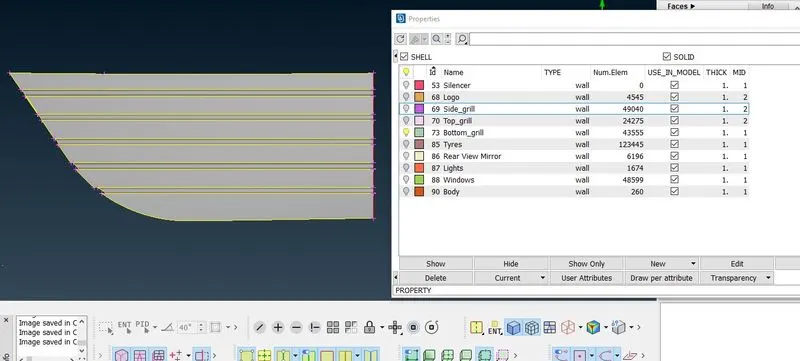
Tyres & rims
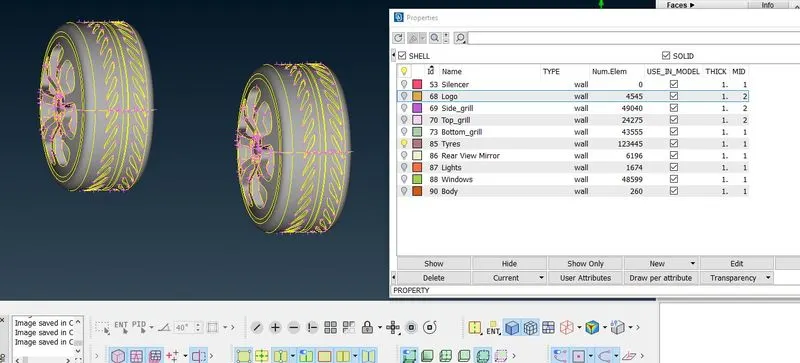
Rear View Mirror
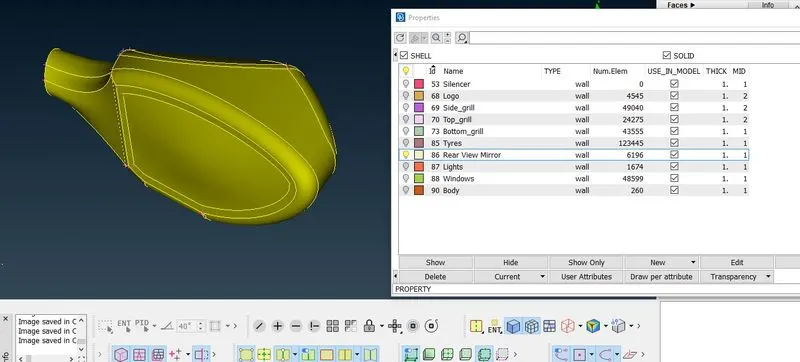
Lights
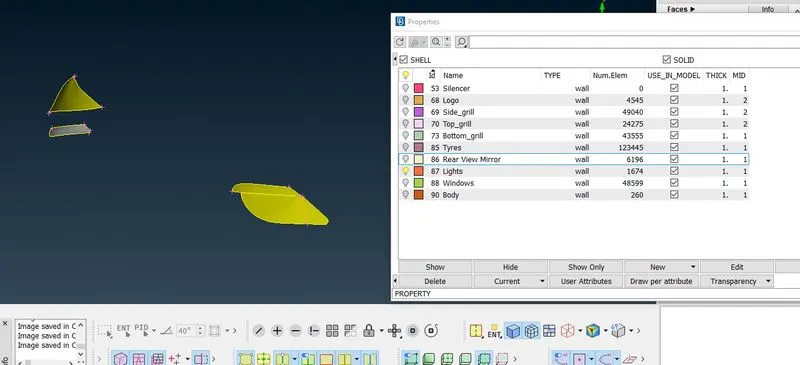
Windows
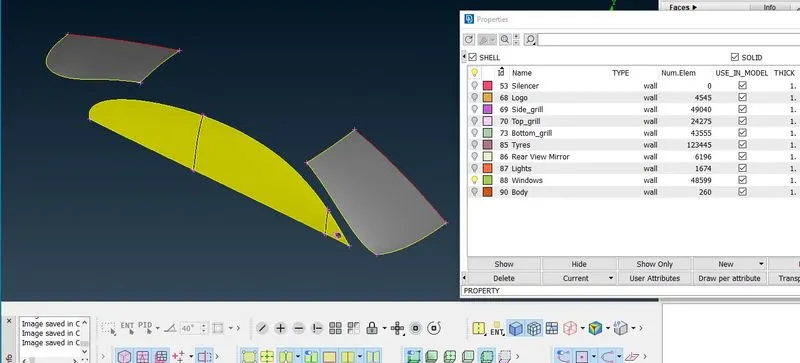
Body
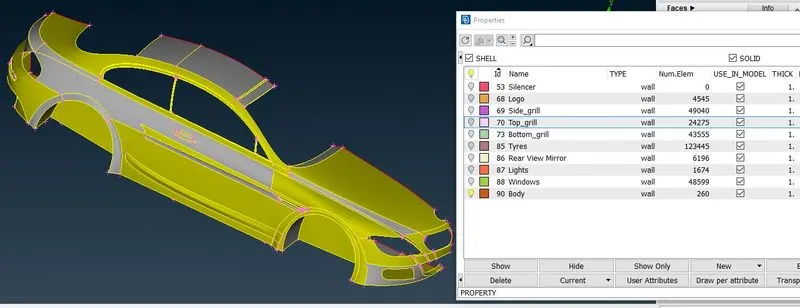
Full Geometry
4. SURFACE MESHING
Before Surface Meshing
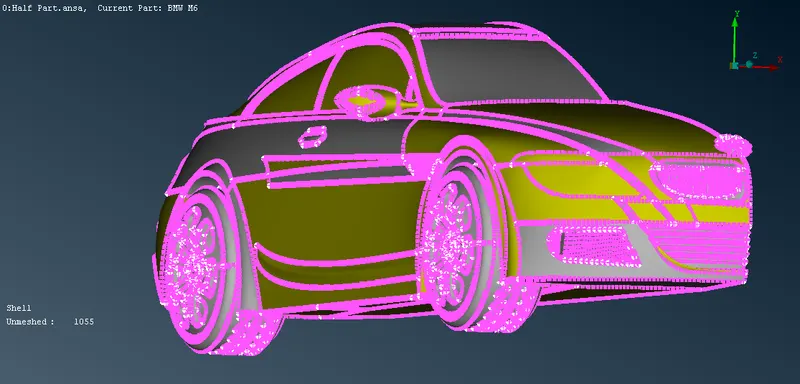
perform surface meshing with the following target length
Lights - 4 mm
ToolBar>Mesh Parameter
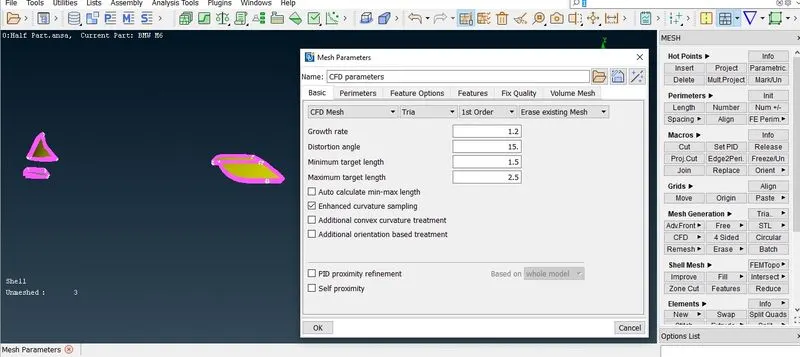
Go to mesh deck
perimters>Spacing>auto cfd>perimeter>select geometry
perimters>Spacing>auto cfd>macro>select geometry
before Meshing
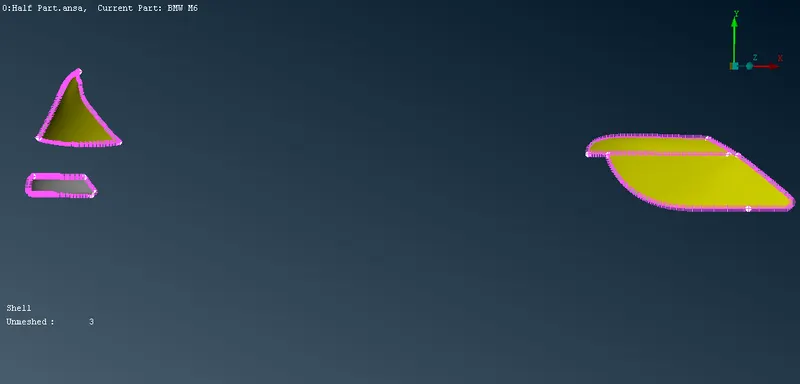
For Meshing
Mesh Deck>>
Mesh Generation>CFD>Visible(Lights)
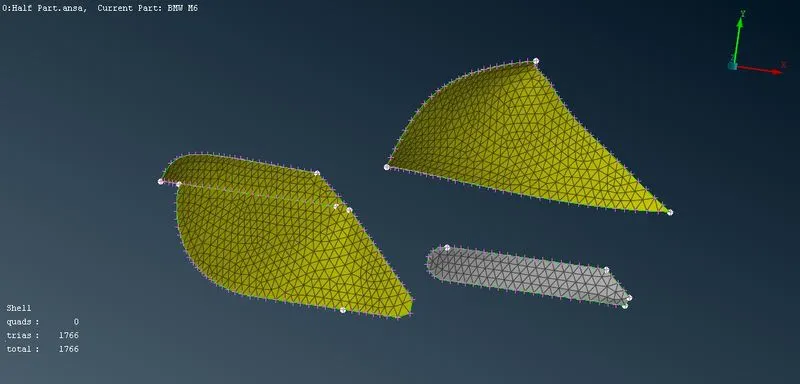
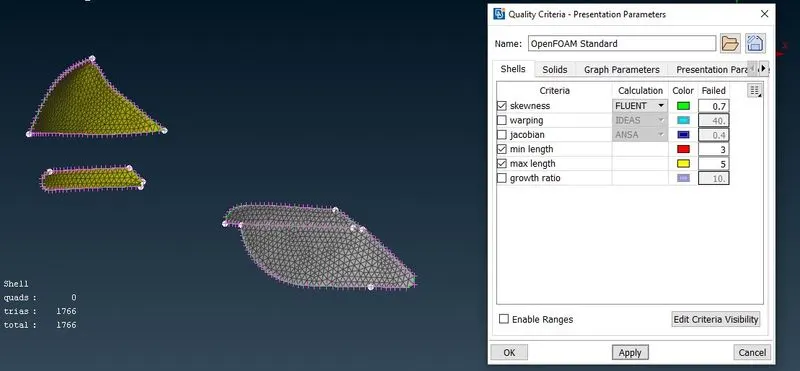
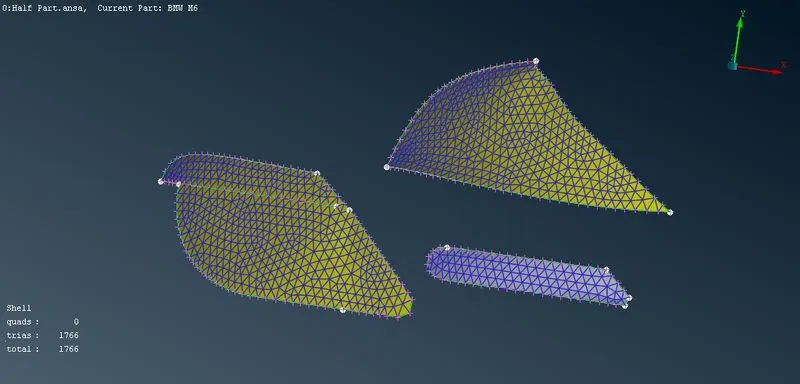
To improve mesh quality
use reconstruct mesh generation will be as per quality criteria
Freeze the Lights
Meshdeck>>
Macros>Freeze/Unfreeze>select the geometry
Grills - 1 mm
ToolBar>Mesh Parameter
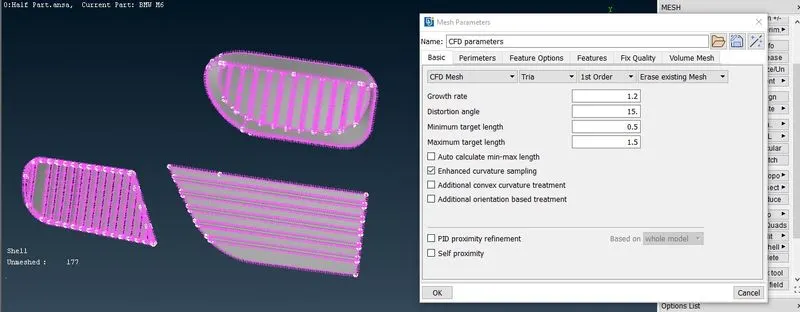
Go to mesh deck
perimters>Spacing>auto cfd>perimeter>select geometry
perimters>Spacing>auto cfd>macro>select geometry
before Meshing
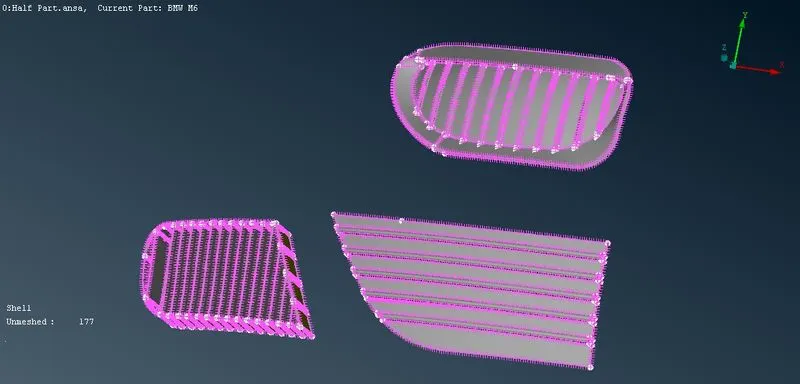
For Meshing
Mesh Deck>>
Mesh Generation>CFD>Visible(geometry)
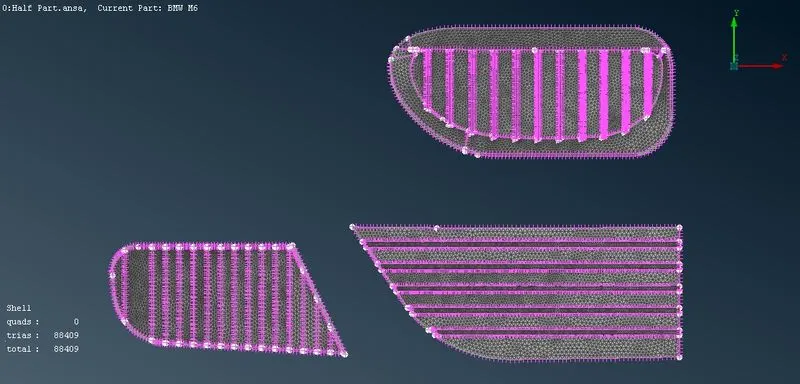
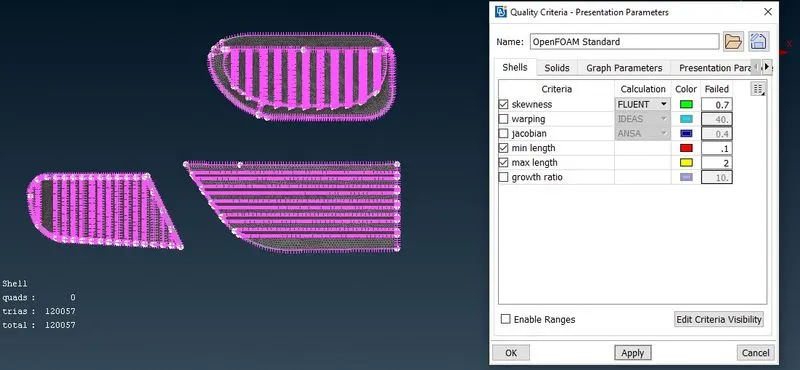
To improve mesh quality
use reconstruct mesh generation will be as per quality criteria
Freeze the geometry
Meshdeck>>
Macros>Freeze/Unfreeze>select the geometry
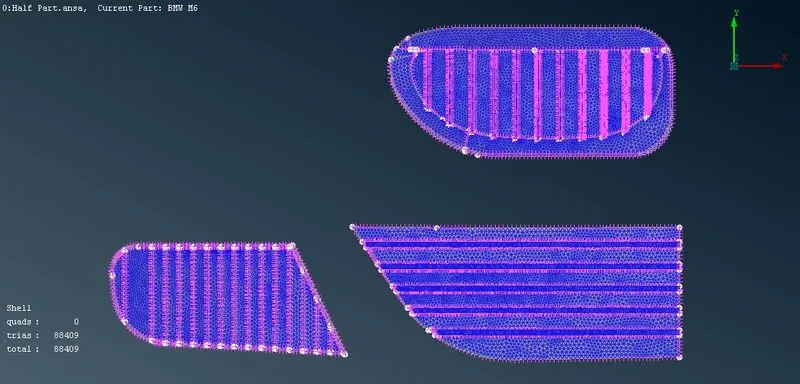
Rims and Tyres - 2 mm
ToolBar>Mesh Parameter
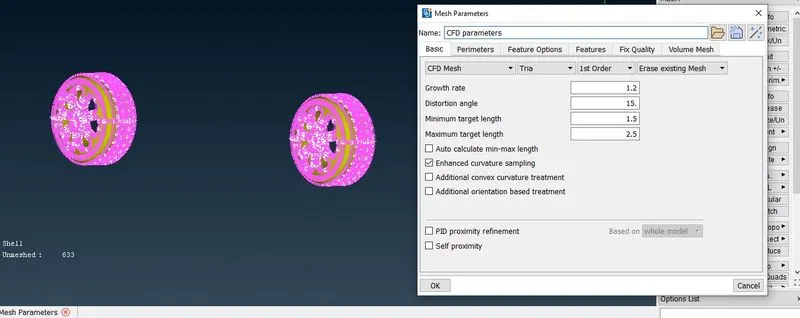
Go to mesh deck
perimters>Spacing>auto cfd>perimeter>select geometry
perimters>Spacing>auto cfd>macro>select geometry
before Meshing
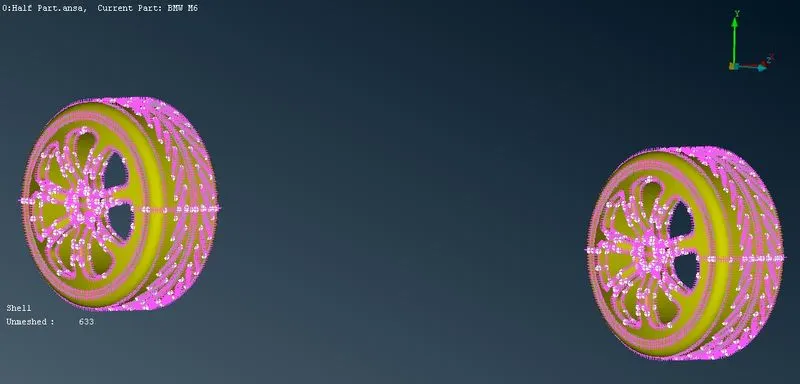
For Meshing
Mesh Deck>>
Mesh Generation>CFD>Visible(geometry)
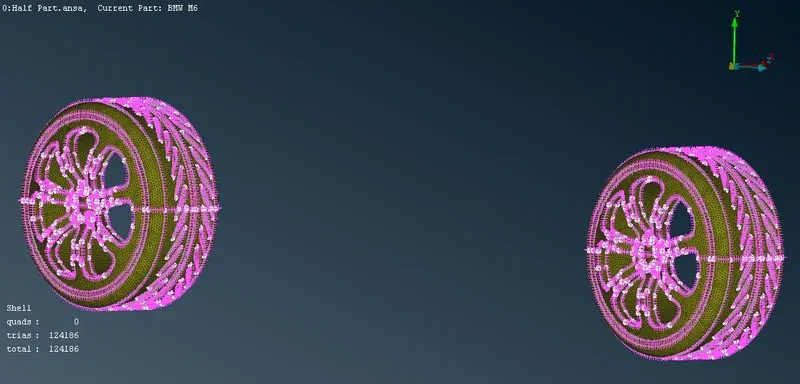
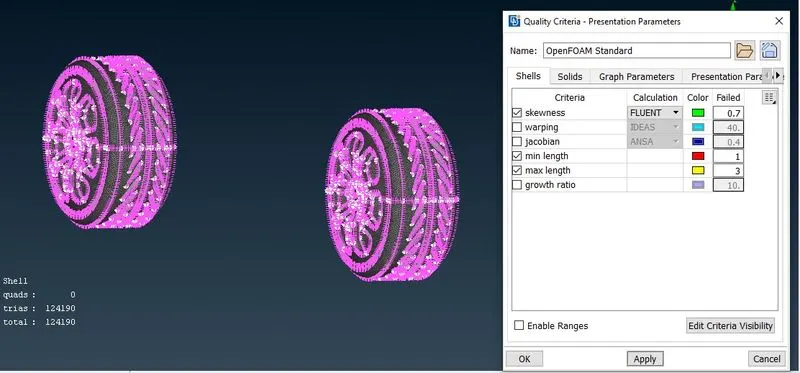
To improve mesh quality
use reconstruct mesh generation will be as per quality criteria
Freeze the geometry
Meshdeck>>
Macros>Freeze/Unfreeze>select the geometry
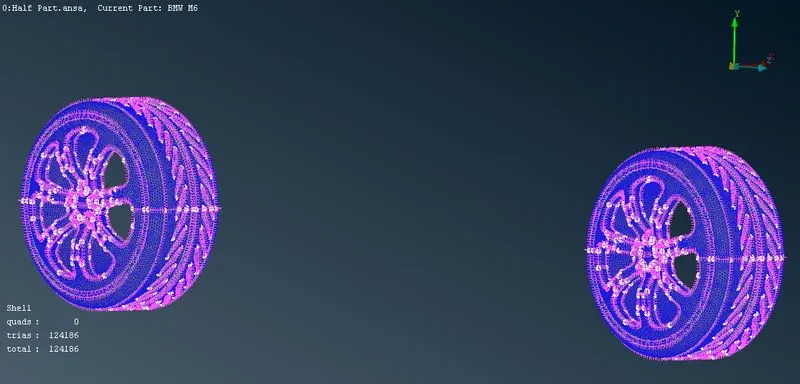
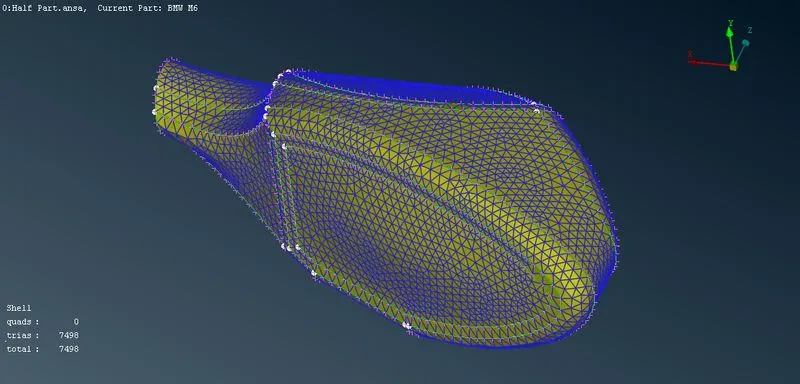
Optical Rearview mirror - 2 mm
ToolBar>Mesh Parameter
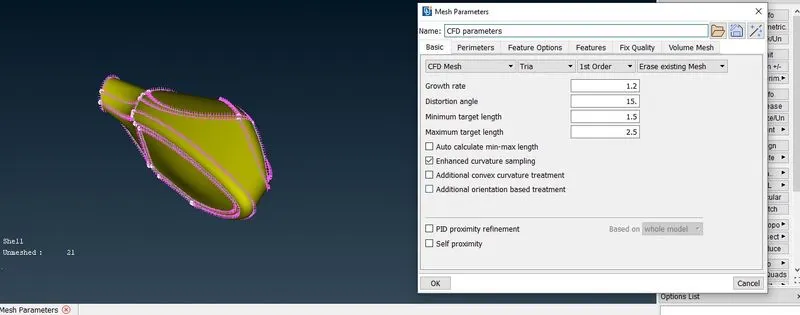
Go to mesh deck
perimters>Spacing>auto cfd>perimeter>select geometry
perimters>Spacing>auto cfd>macro>select geometry
before Meshing
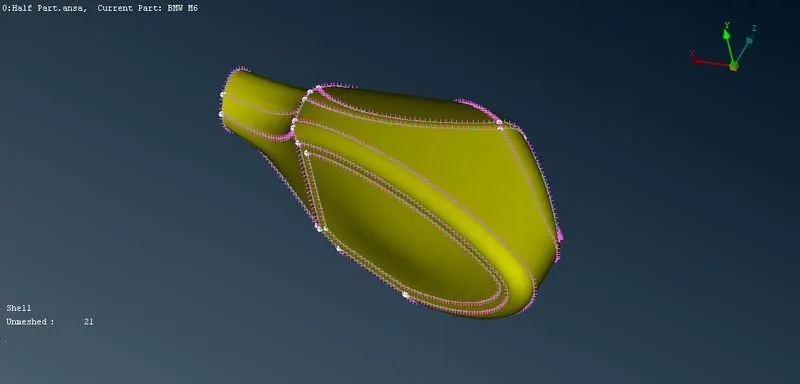
For Meshing
Mesh Deck>>
Mesh Generation>CFD>Visible(geometry)
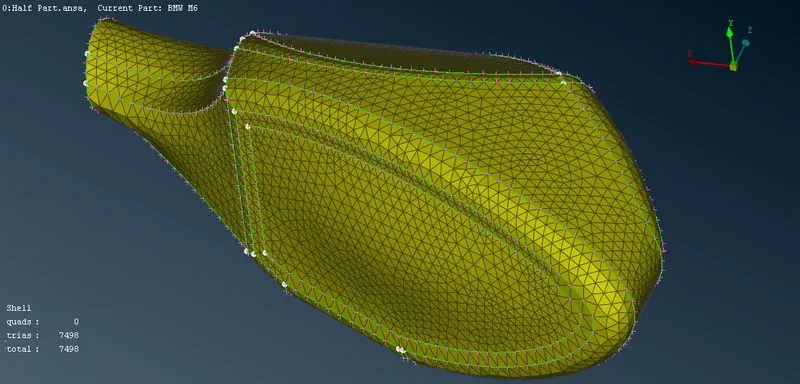
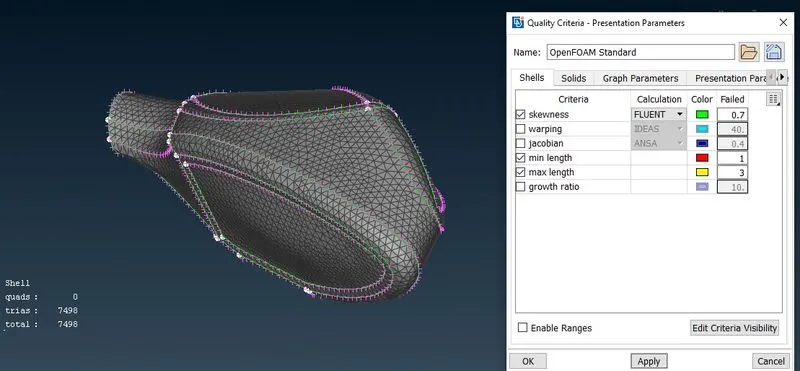
To improve mesh quality
use reconstruct mesh generation will be as per quality criteria
Freeze the geometry
Meshdeck>>
Macros>Freeze/Unfreeze>select the geometry
Window - 2 mm
ToolBar>Mesh Parameter
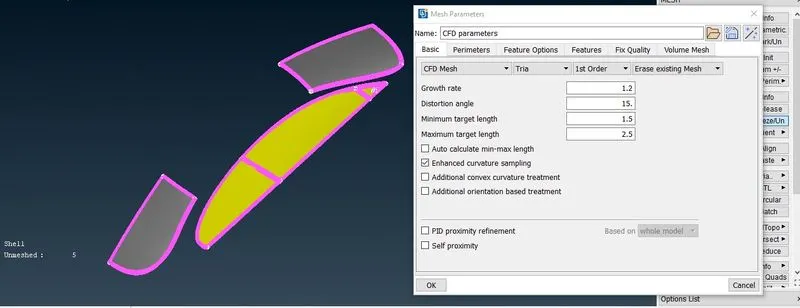
Go to mesh deck
perimters>Spacing>auto cfd>perimeter>select geometry
perimters>Spacing>auto cfd>macro>select geometry
before Meshing
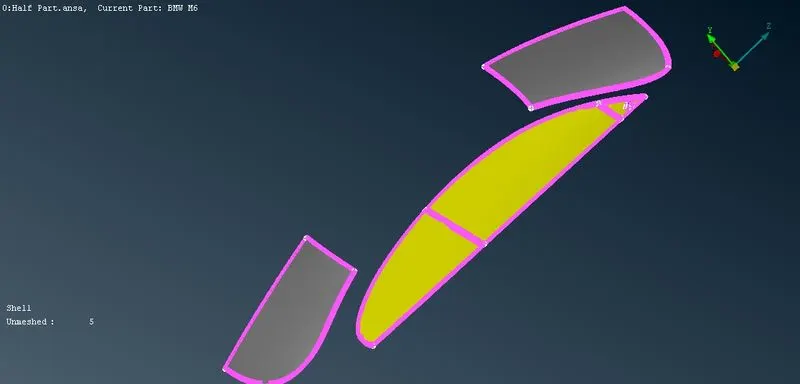
For Meshing
Mesh Deck>>
Mesh Generation>CFD>Visible(geometry)
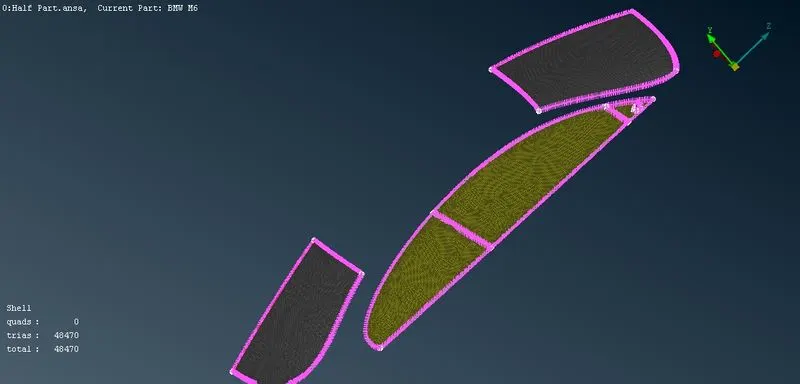
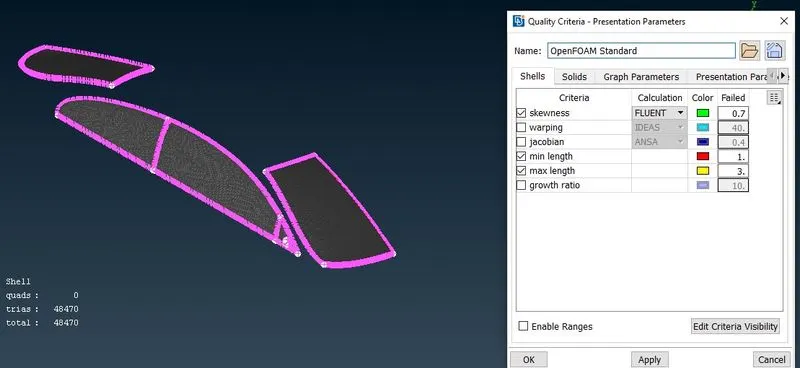
To improve mesh quality
use reconstruct mesh generation will be as per quality criteria
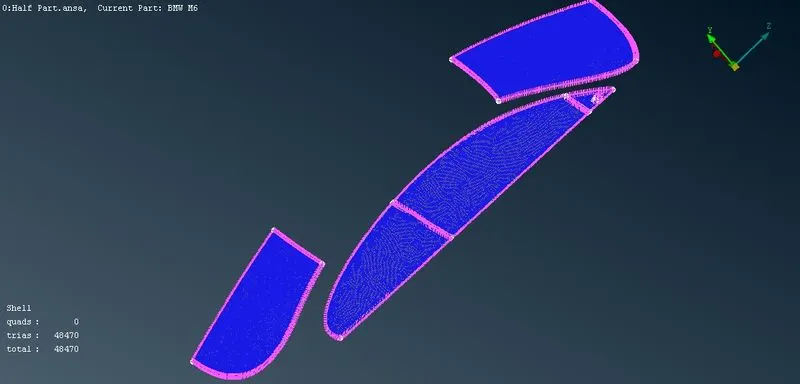
Freeze the geometry
Meshdeck>>
Macros>Freeze/Unfreeze>select the geometry
Silencer - 3 mm
ToolBar>Mesh Parameter
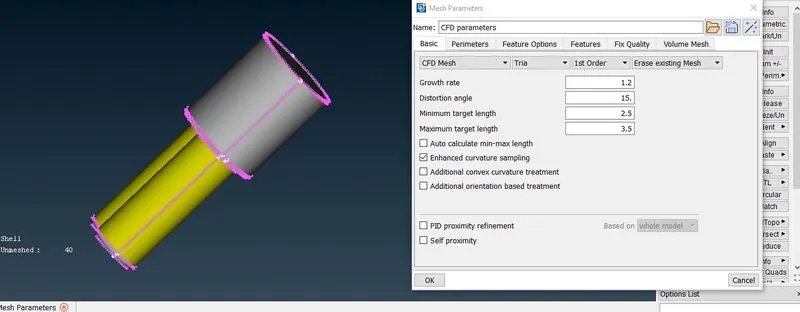
Go to mesh deck
perimters>Spacing>auto cfd>perimeter>select geometry
perimters>Spacing>auto cfd>macro>select geometry
before Meshing
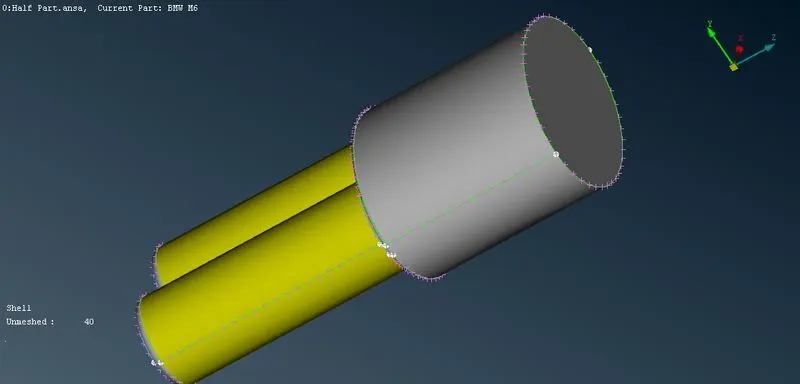
For Meshing
Mesh Deck>>
Mesh Generation>CFD>Visible(geometry)
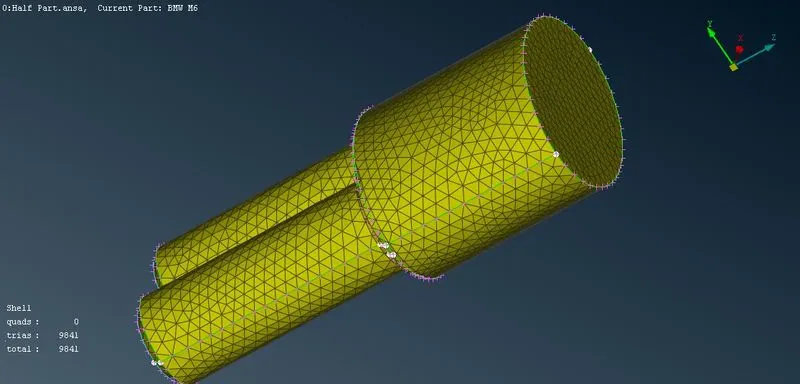
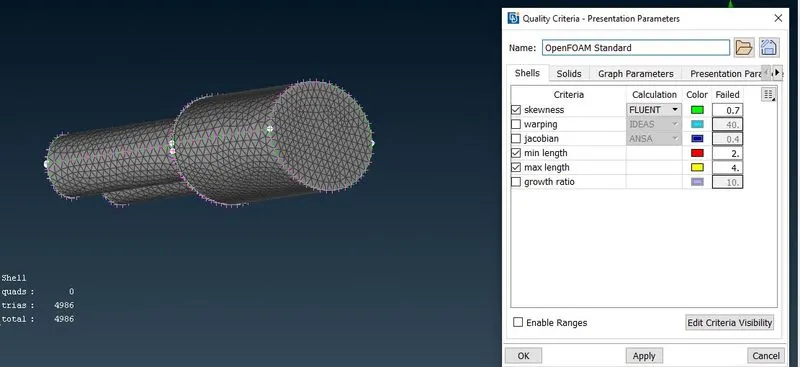
To improve mesh quality
use reconstruct mesh generation will be as per quality criteria
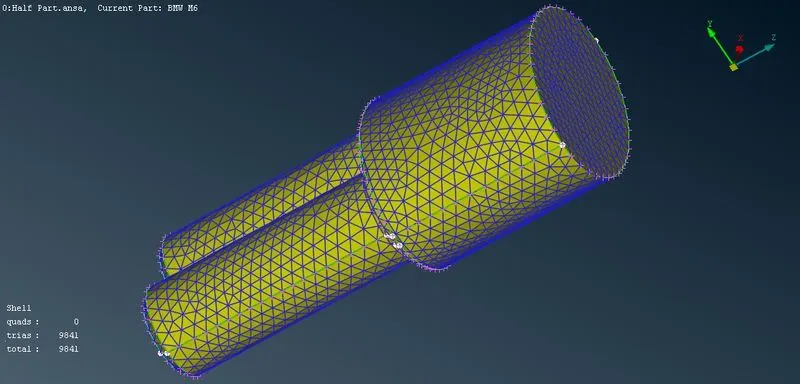
Freeze the geometry
Meshdeck>>
Macros>Freeze/Unfreeze>select the geometry
Logo - 1 mm
ToolBar>Mesh Parameter
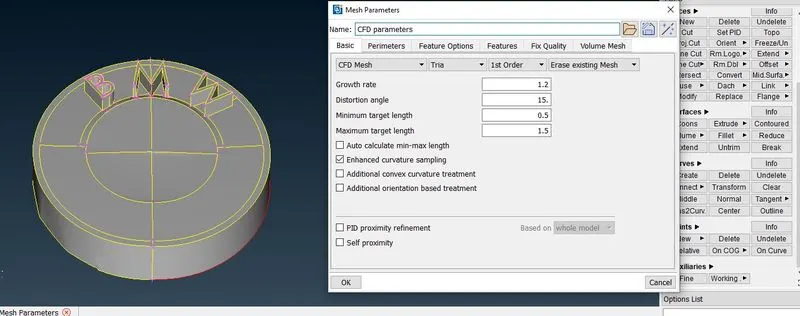
Go to mesh deck
perimters>Spacing>auto cfd>perimeter>select geometry
perimters>Spacing>auto cfd>macro>select geometry
before Meshing
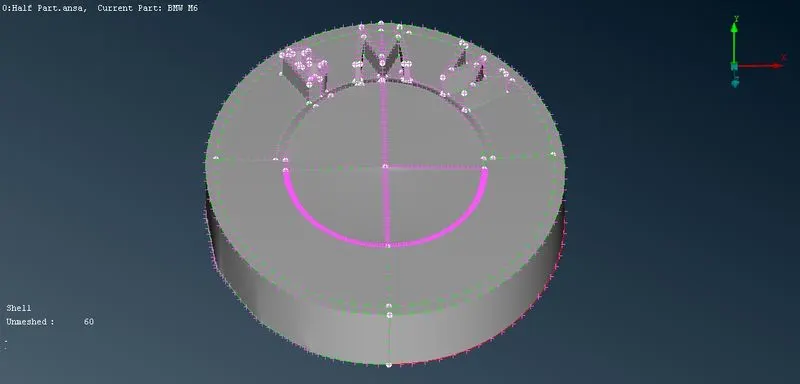
For Meshing
Mesh Deck>>
Mesh Generation>CFD>Visible(geometry)
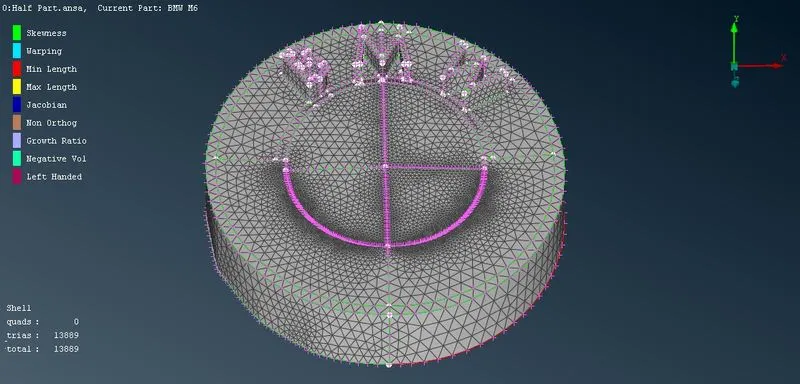
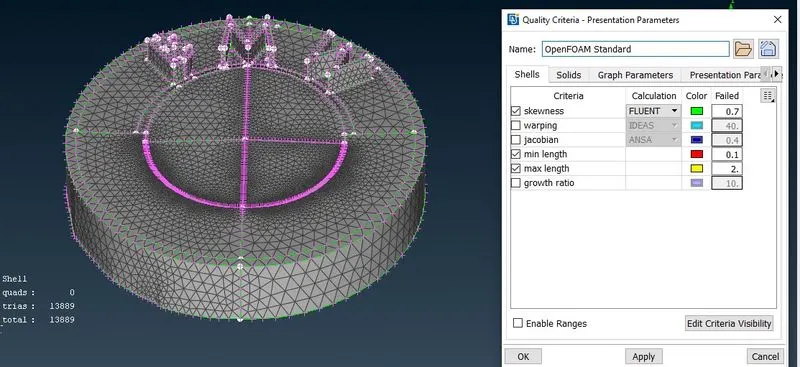
To improve mesh quality
use reconstruct mesh generation will be as per quality criteria
Freeze the geometry
Meshdeck>>
Macros>Freeze/Unfreeze>select the geometry
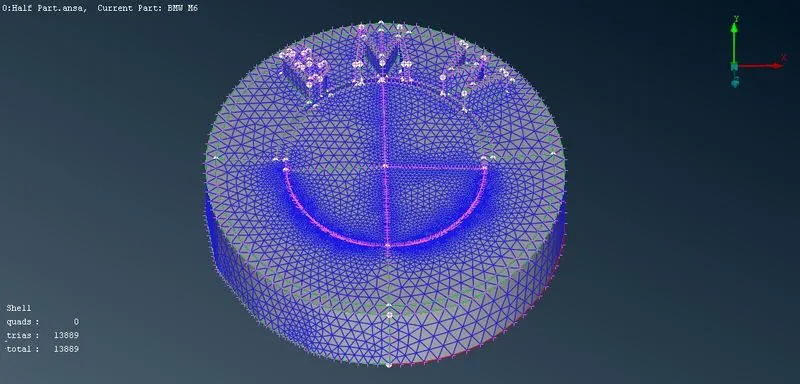
Body - 3 mm
ToolBar>Mesh Parameter
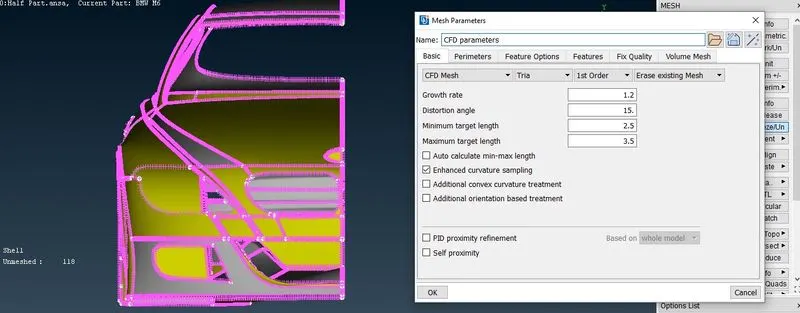
Go to mesh deck
perimters>Spacing>auto cfd>perimeter>select geometry
perimters>Spacing>auto cfd>macro>select geometry
before Meshing
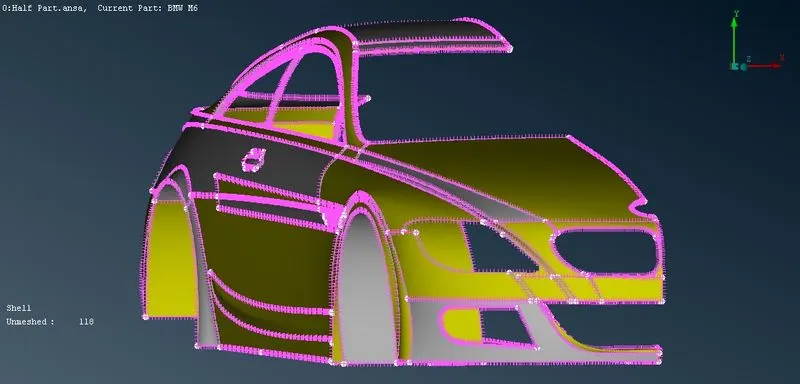
For Meshing
Mesh Deck>>
Mesh Generation>CFD>Visible(geometry)
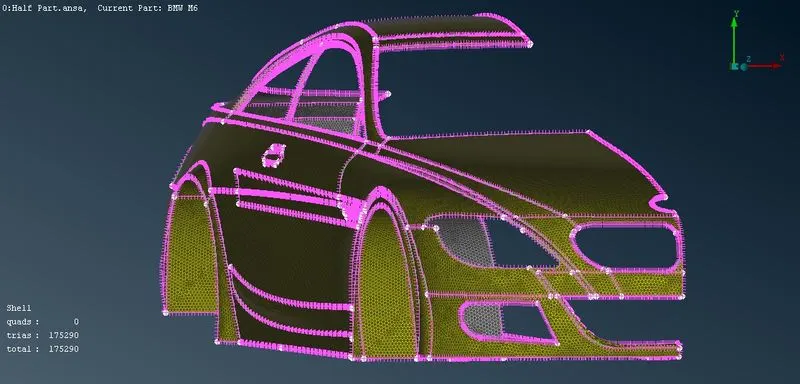
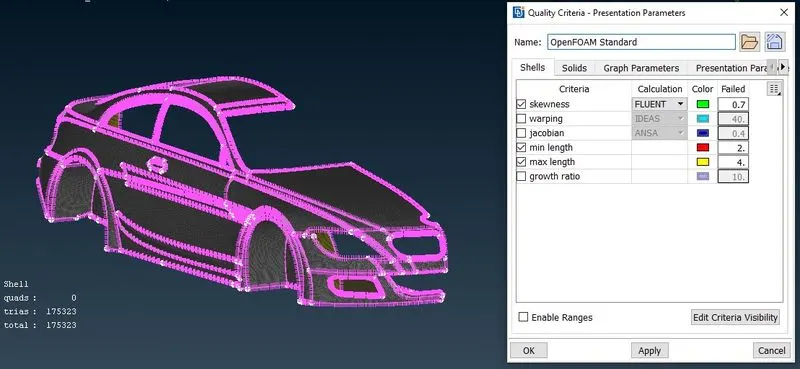
To improve mesh quality
use reconstruct mesh generation will be as per quality criteria
Freeze the geometry
Meshdeck>>
Macros>Freeze/Unfreeze>select the geometry
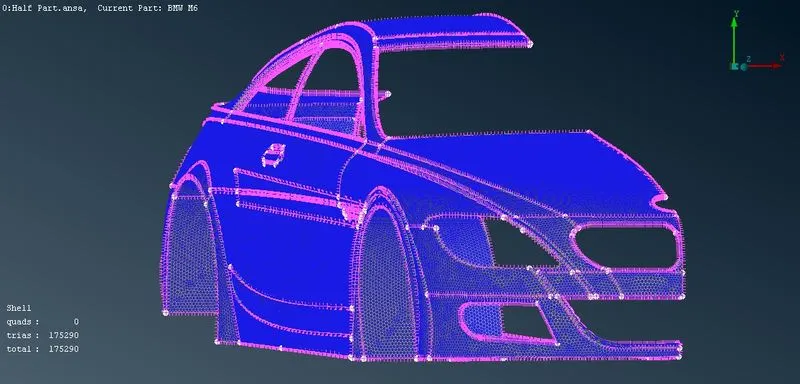
5. PERFORM SYMMETRY
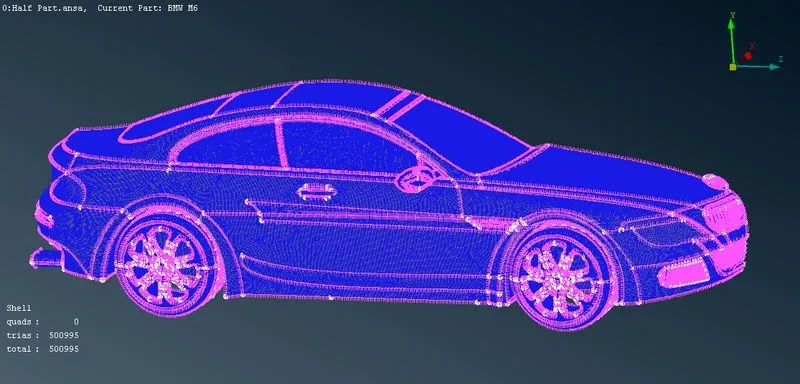
Toolbar>Transform>copy>select geometry>copy> select three points plane mirror
Note:- deselect the Logo While selecting Geometry
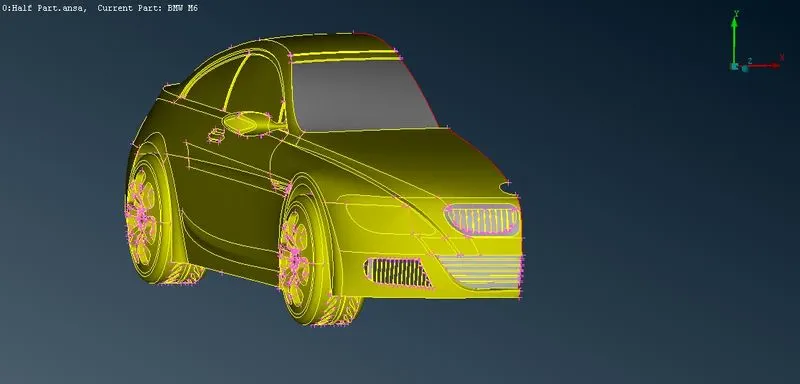
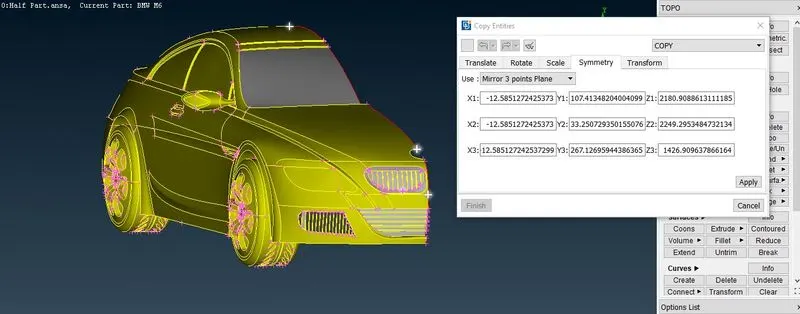
topo deck>>Faces>Unfreeze>select all the geometry
and
topo deck>>Faces>topo>select all geometry
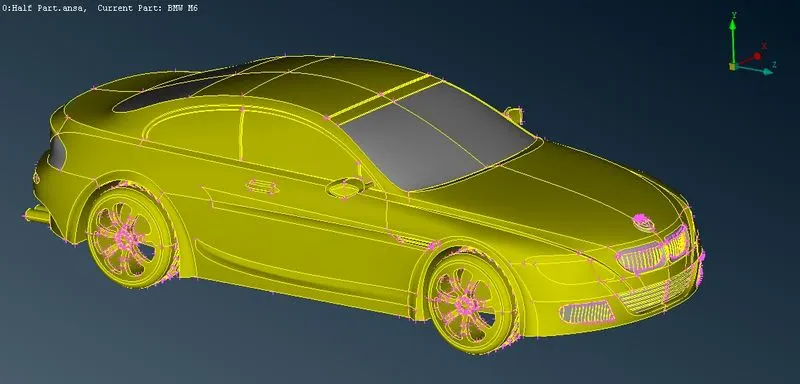
topo deck>>Faces>freeze>select all the geometry
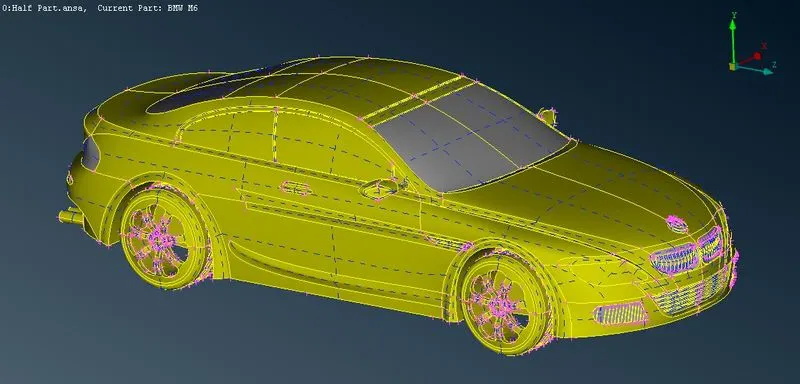
6. CREATION OF WIND TUNNEL
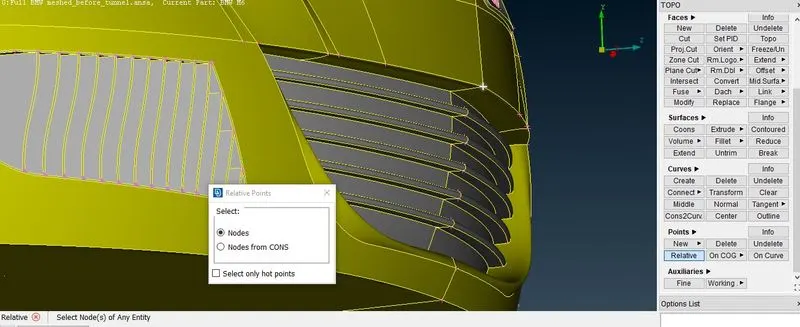
First, we need to create reference points to create wind tunnel surfaces.
Select relative under points in topo mode, create a point in front of the car taking one reference point and entering the correct values.
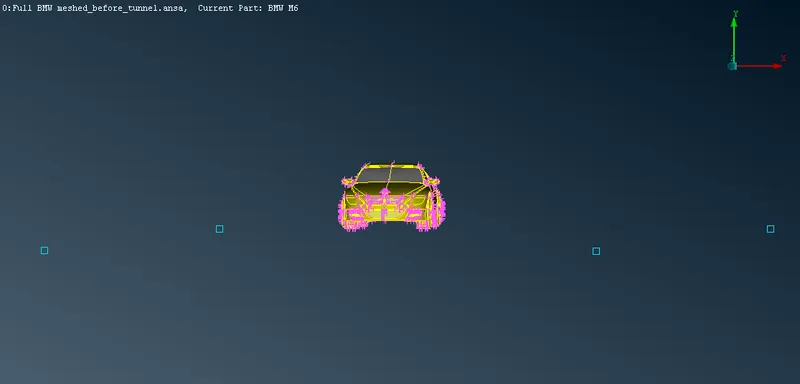
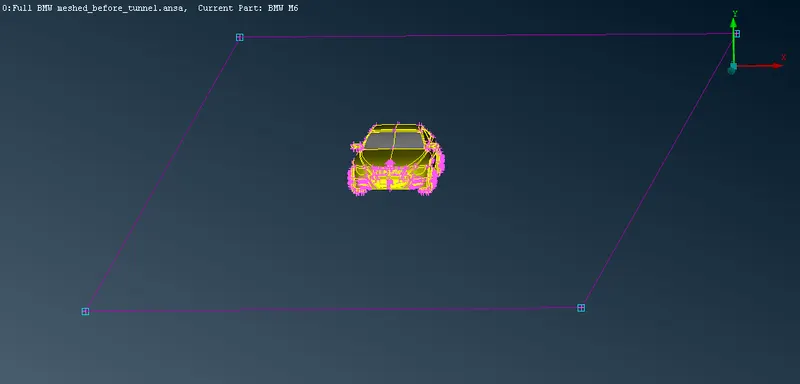
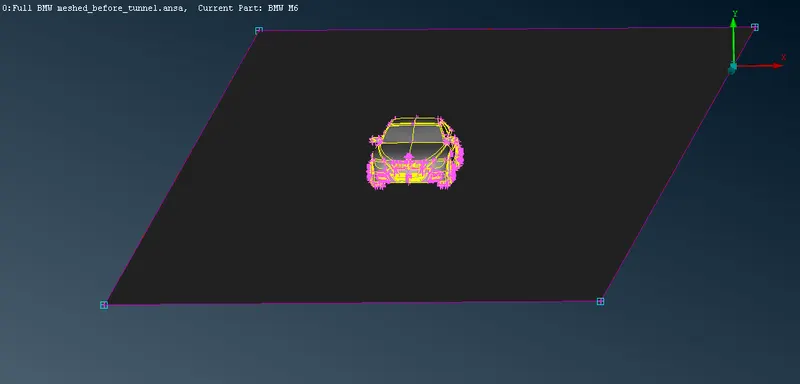
And calculating the wind tunnel dimensions appropriately, we can create the wind tunnel accurately.
The wind tunnel dimmensions are: ( standard distance of the tunnel wrt to car model)
car model: 1305mm .................. (x)
Front surface distance(from front point): 5220mm .................. (4x)
Back surface distance(from back point): 7830mm .................. (6x)
Top surface distance(from top point): 3915 mm .................. (3x)
After creating the bottom surface use the curves for having the reference of cons, we can delete all the hot points and curves.
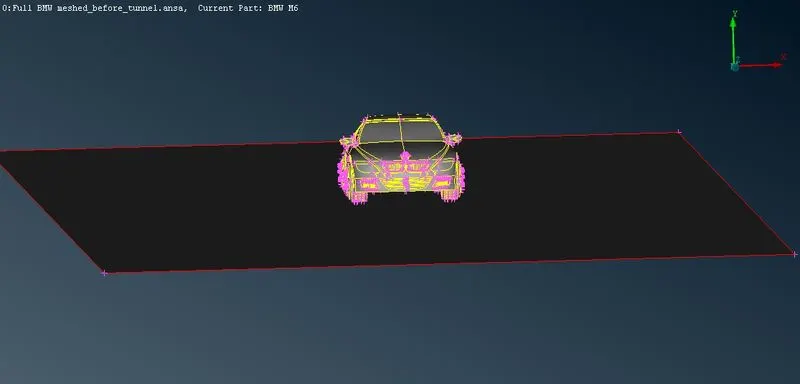
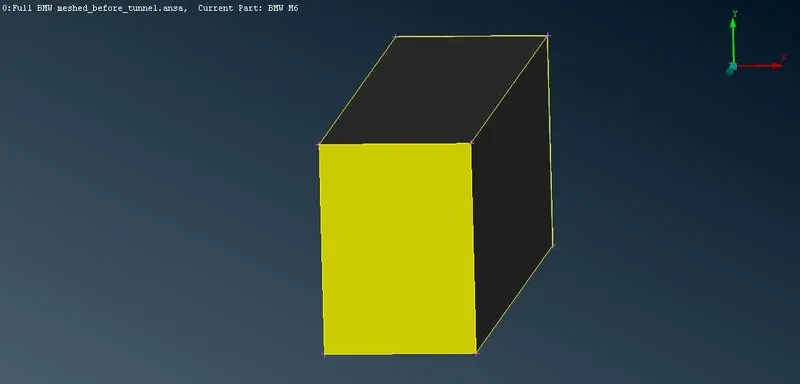
Create all the other wind tunnel surface using the offset and new surface option.
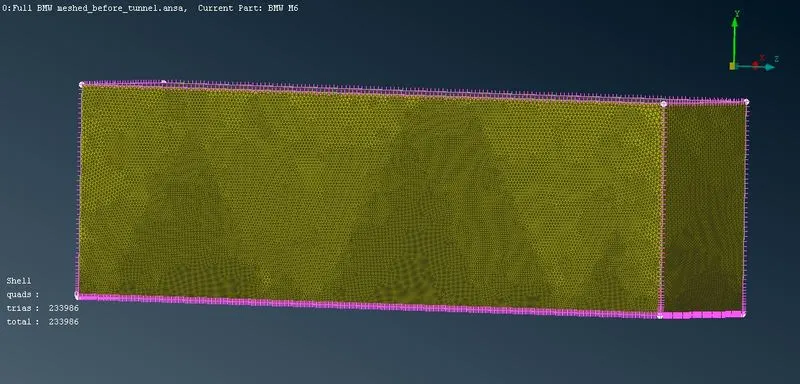
Surafce meshing of wind tunnel:-
We need to apply surface meshing depending the mesh length near the car and regions far away from it.
Therefore we need to apply different mesh lengths at the bottom and top wind tunnel surfaces.
We need to use spacing option to have a mesh length varying from the small mesh length (20) size to larger mesh length(100).
Surface meshing can be achieved by doing this accordingly.
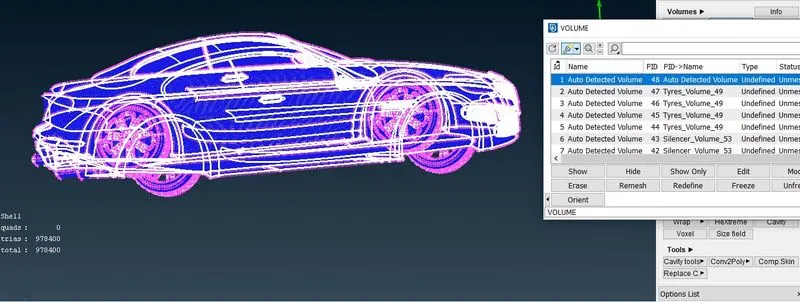
Volumetric mesh of wind tunnel-car volume:
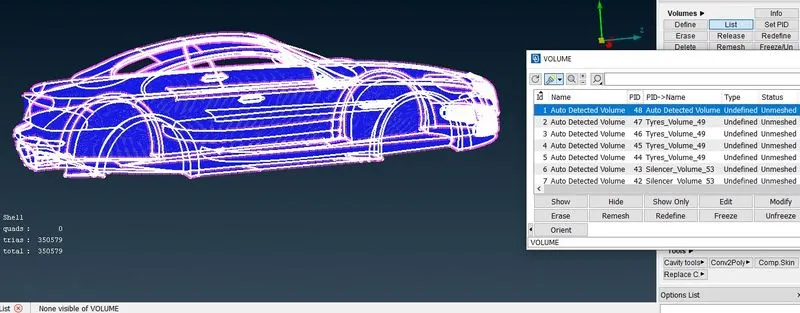
Since we are interested only the volume between the car model and wind tunnel, we can delete other volumes of the car model which is not necessary.
Since performing the volumetric mesh takes 2-3 days, volumetric mesh is not performed as given by the challenge question.
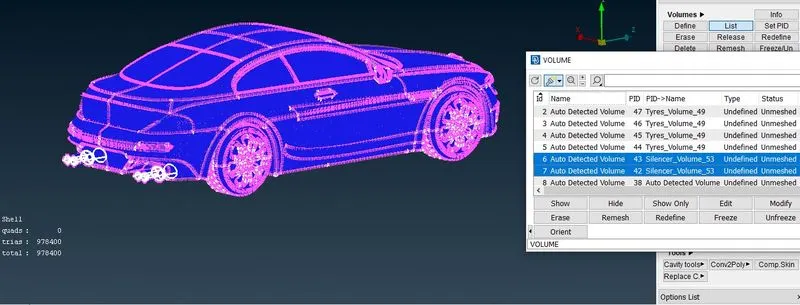
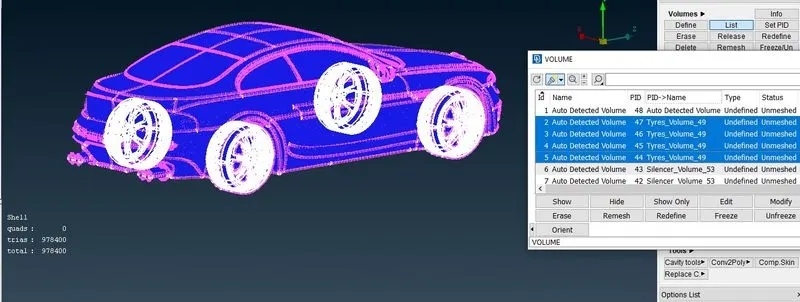
Volume regions:-
wind tunnel-car volume
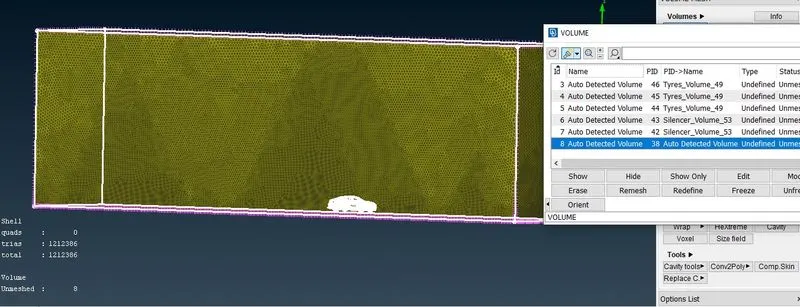
Car body single volume
Silencer volume
Tyres volume
Learning outcomes:
a. Learnt the complete CFD meshing skill from skratch.
b. Performed various topo clean-ups using different tools.
c. Understood the need of double cons and removing unecessary triple and single cons.
d. The use of symmetry helps in reducing the work time and helps in having accurate results with less work.
e. Create surfaces using the reference hot points by using relative points.
f. Surface meshing for different components and their varying mesh lengths.
g. Using spacing option in surface meshing helps in having varying mesh lengths along the surfaces.
h. Using re-construct option to reduce off elements to a level where we can edited it manually.
i. Using the mesh modifying tools like move, split and smooth options.
Results:
Completed car model with wind tunnel ANSA file drive link:-https://drive.google.com/file/d/1E80Rl2O14ZK4NobKS9UJ_vRJ1aRnXcYy/view?usp=sharing
Conclusions:
1. BMW car model is topo-cleaned and surface meshed appropriately.
2. Wind tunnel is created and surface meshed with reference to the car model size.
3. Different volumes of the car model is created since th silencer and tyres are not connected to the car body.
4. Single volume is created of the car body so that it can be avoided at one go when creating a volumetric mesh.
5. Required physics tests can be performed on the wind tunnel volume model after volumetric meshing successfully.