Week 4 Challenge : CFD Meshing for BMW car
AIM:
For the given model, to check and solve all geometrical errors on half portion and Assign appropriate PIDs and to perform meshing with the given Target length and element Quality criteria. After meshing the half model to do symmetry to the other side.
- Target lengths for the different parts of a model are as follow:
- Body - 3 mm
- Lights - 4 mm
- Grills - 1 mm
- Rims and Tyres - 2 mm
- Optical Rear view mirror - 2 mm
- Window - 2 mm
- Silencer - 3 mm
- Logo - 1 mm
DESCRIPTION:
TOPO CLEANUP:
Opening the model file in ANSA
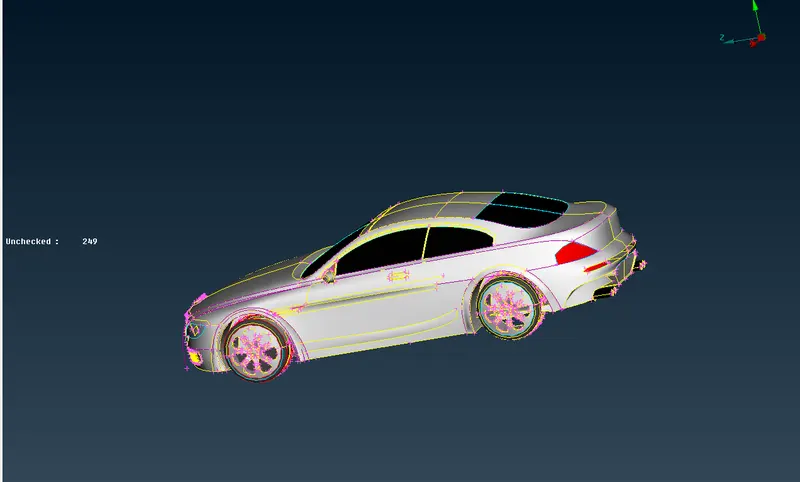
Here we see all the single cons in the wireframe mode, so using topo to make them into double or triple cons
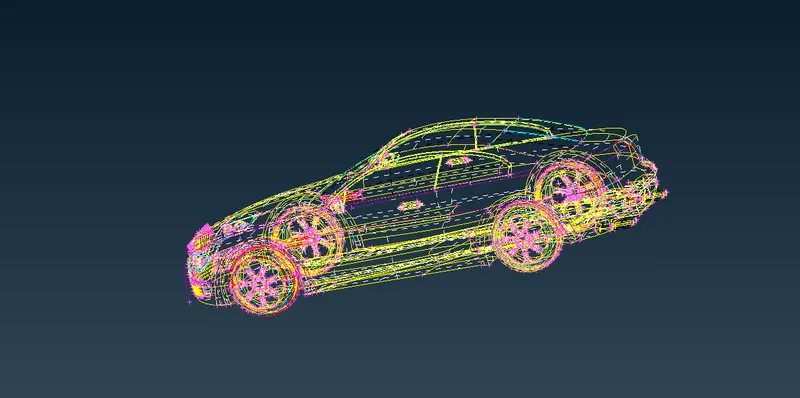
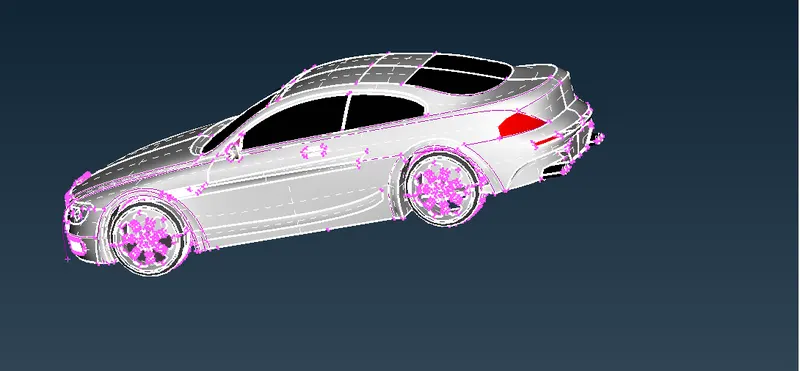
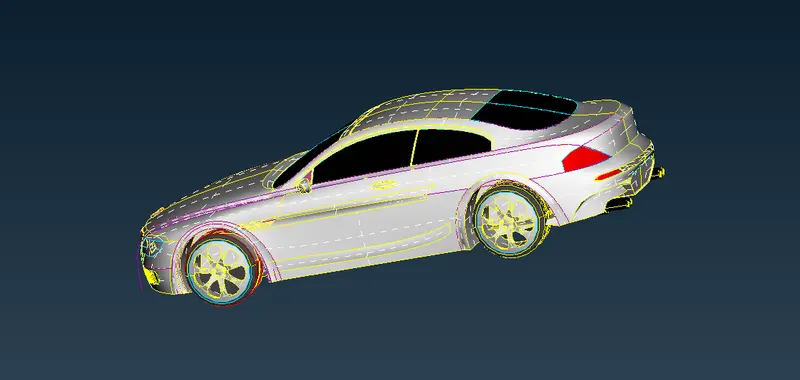
Here we see that not all parts are in good geometry like grills, the logo, the shape of tires, this is basically due to Cons resolution
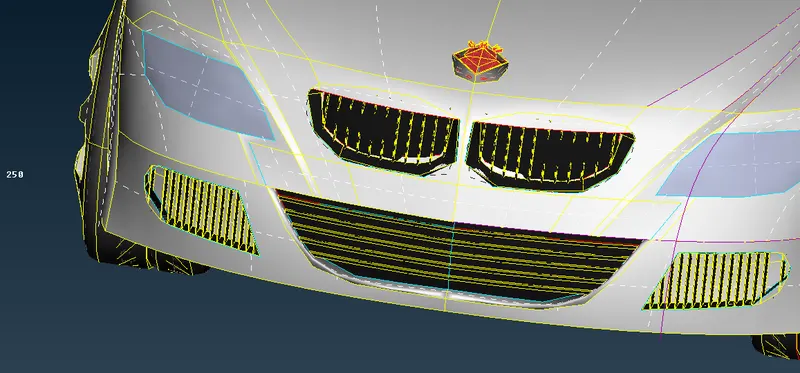
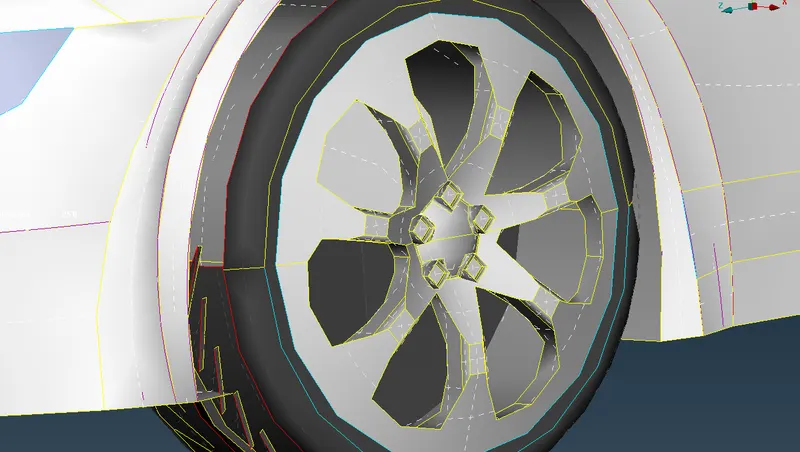
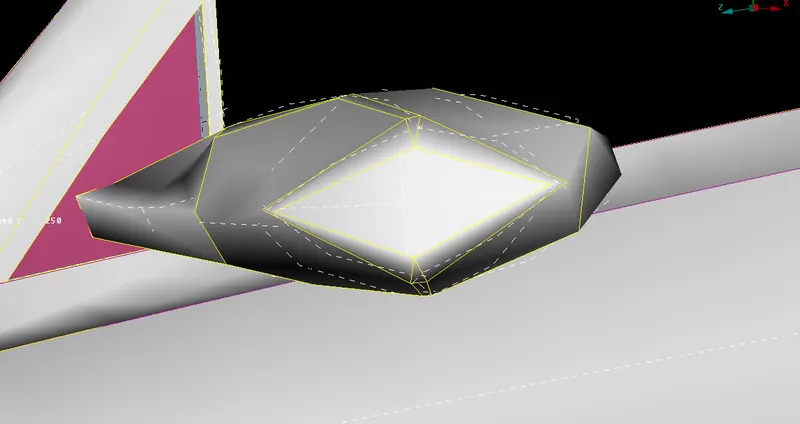
Now for example fixing the con resolution for the mirror of car using Auxillary>fine tool
Before con resolution
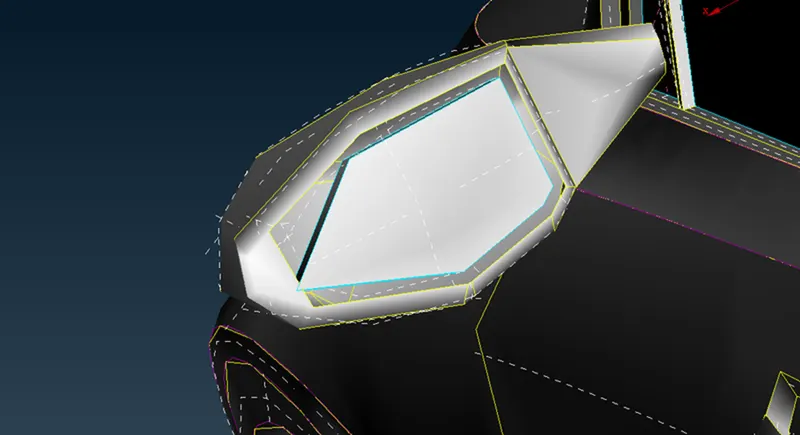
After con resolution
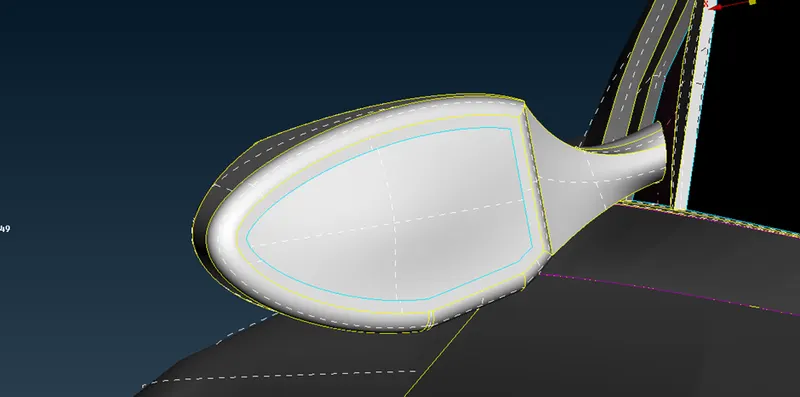
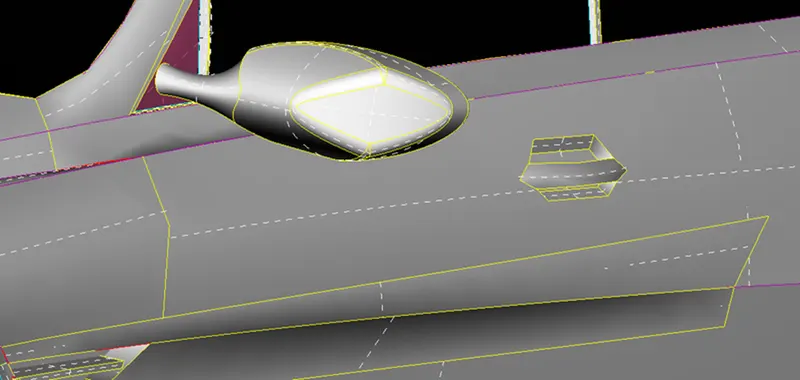
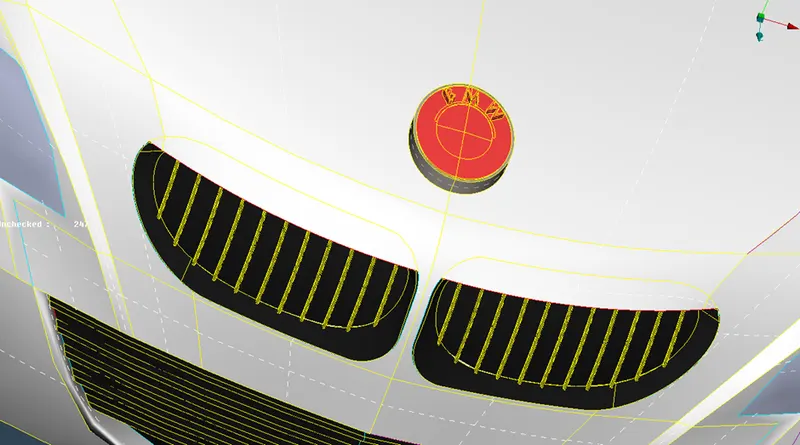
Doing fine for each part takes too much time, so for to complete it in one go we go to MESHING then in length we see perimeters 0.1-30 mm it ranges we box select and give 1mm then for macros we give as 1mm which indirectly make it fine. Then go to topo and see the changes as follows
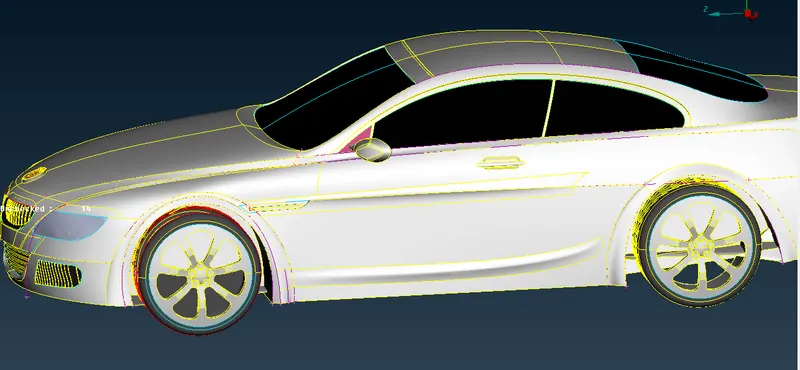
Now we need to fix the single cons we look as follows in the model
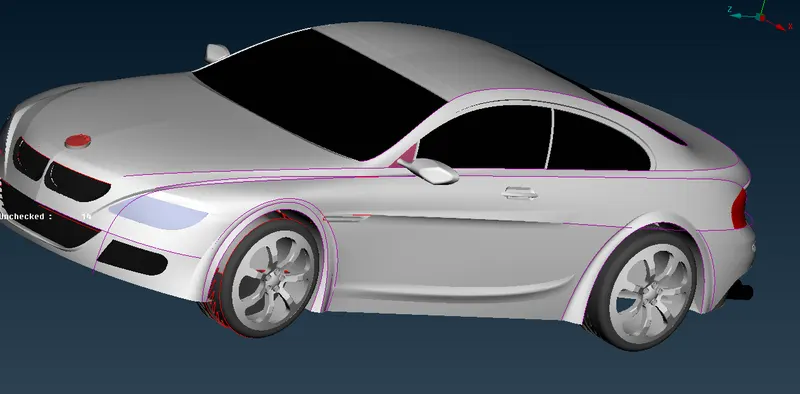
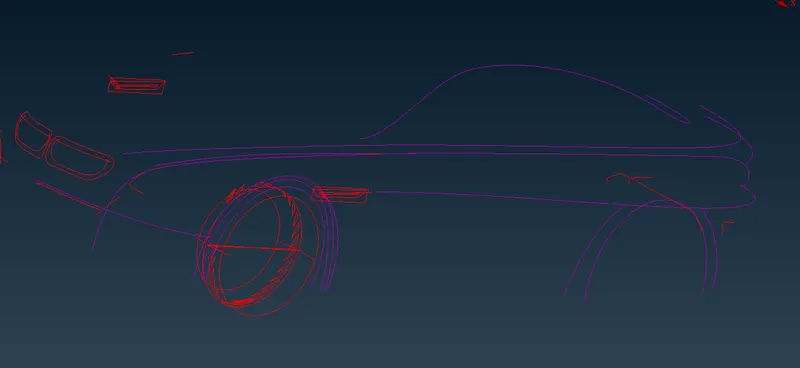
The triple cons which need to be fixed are as follows
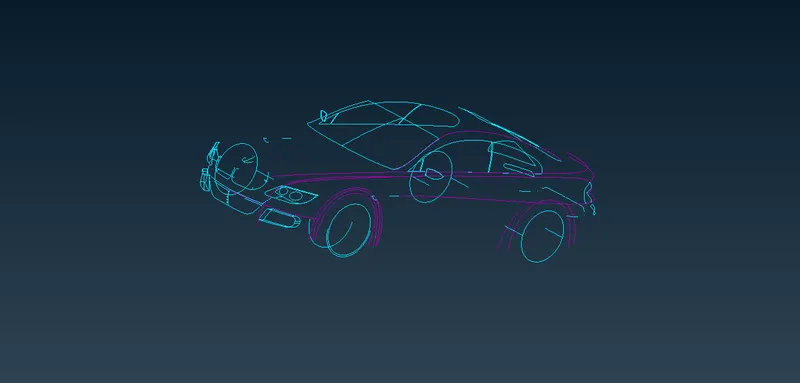
As the model is symmetrical we will make use of ANSA which helps to work on the symmetrical one side then mesh and copy to the other side by using the transform tool
Transform>copy
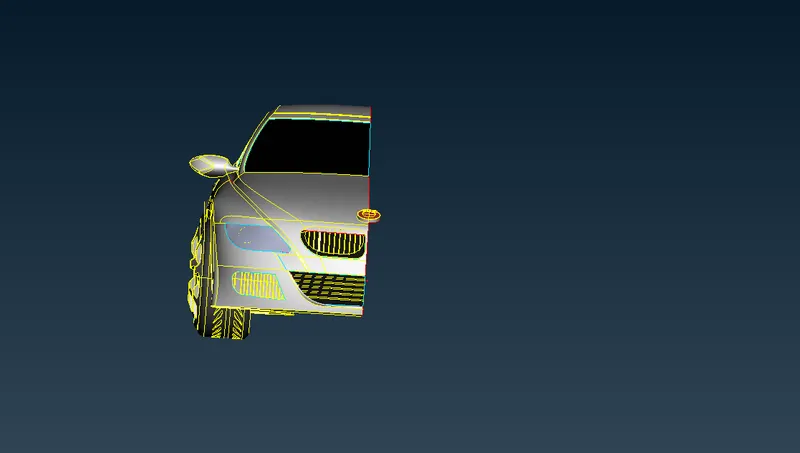
Now using the Delete tool to delete the half part so that we are left with another half symmetrical portion as follows
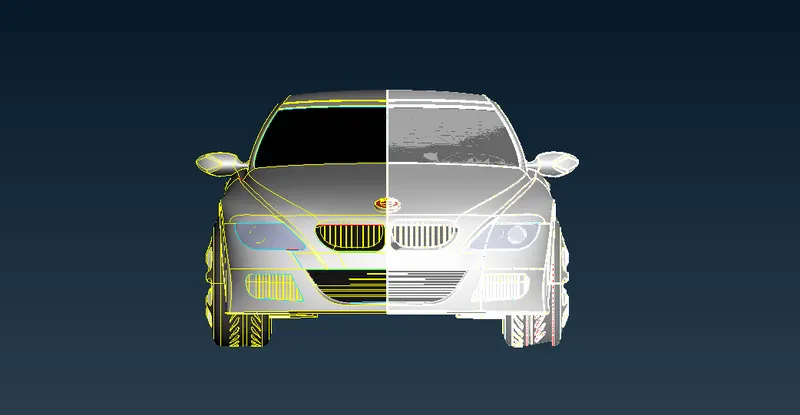
deselecting the logo as its not symmetrical
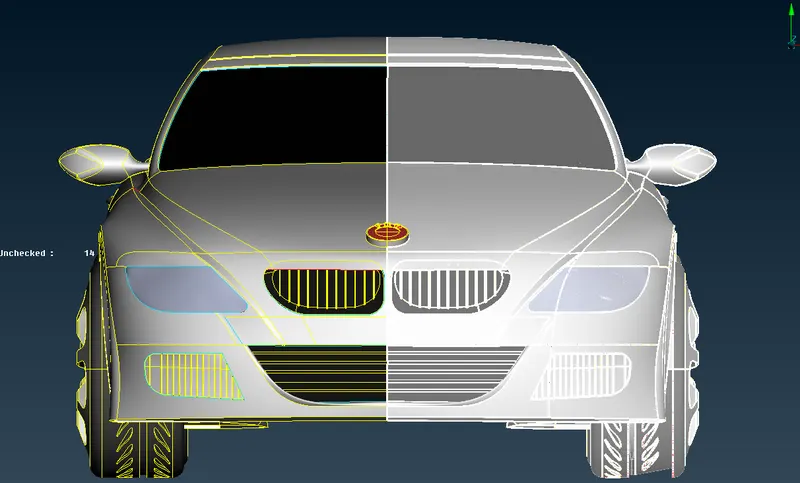
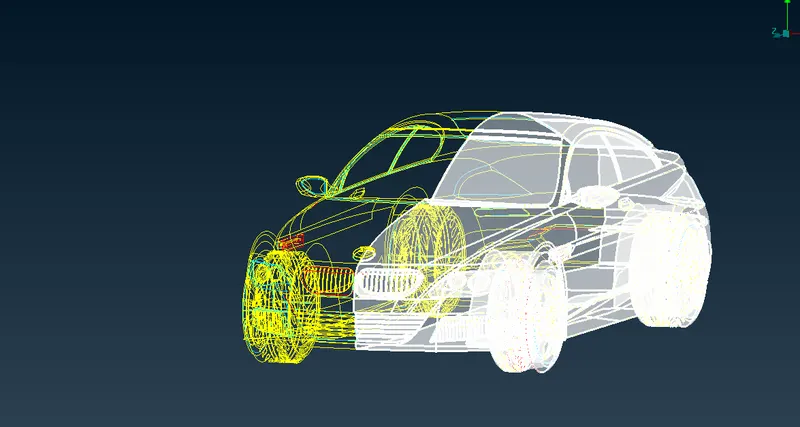
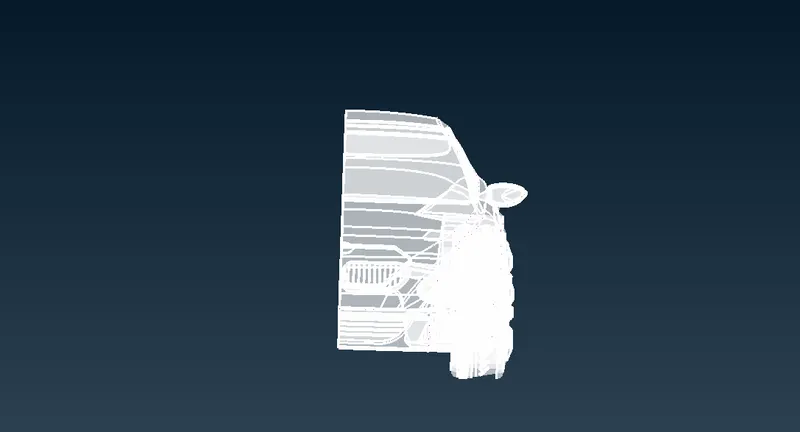
After deleting we are left with the other side
Now we make the 6 closed volumes in order to perform the volumetric mesh Viz the closed part of car, 4 tires to be closed and the sixth part is the wind tunnel in which the experiment will be performed.
Then we delete the unnecessary volumes i.e 5 volumes except the volume between wind tunnel and the car where experiement will be performed.
All the unnecessary surfaces inside we delete such that all singles cons will be deleted and double cons are formed as follows
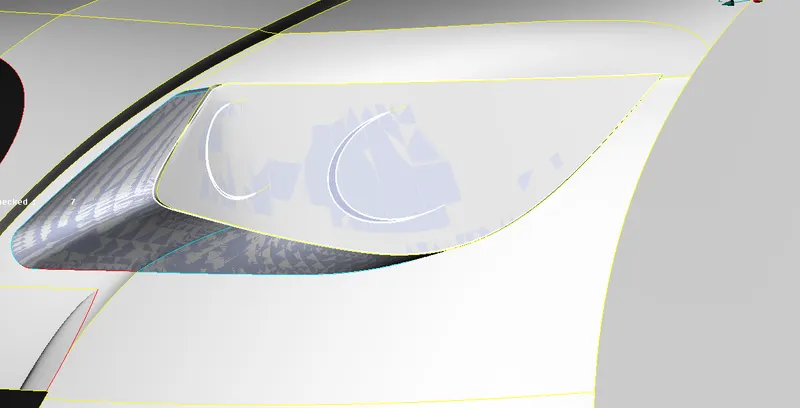
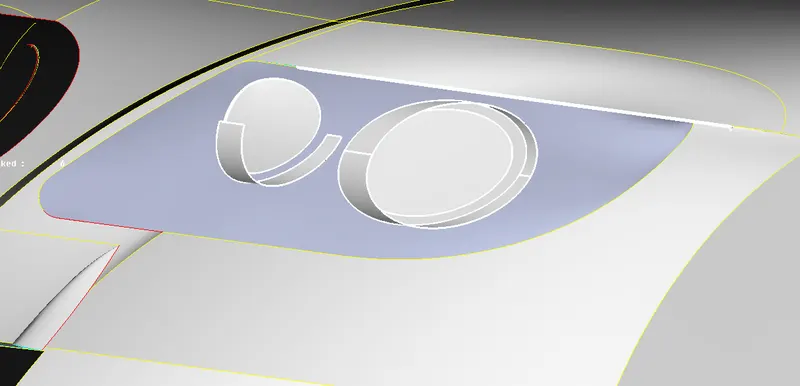
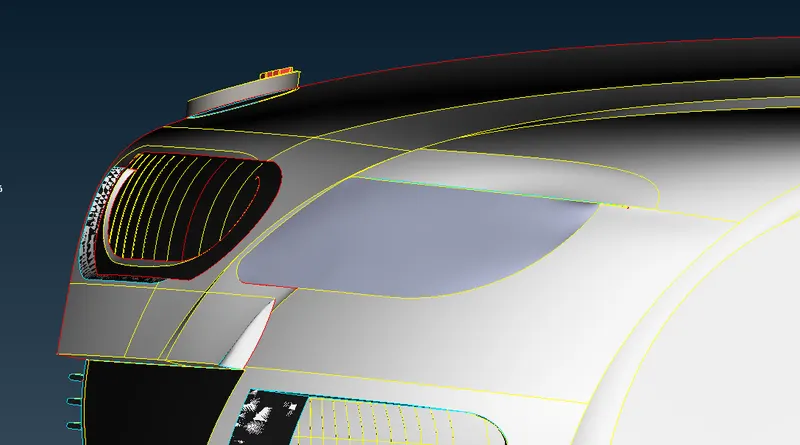
Trying to join this con using Con>paste tool
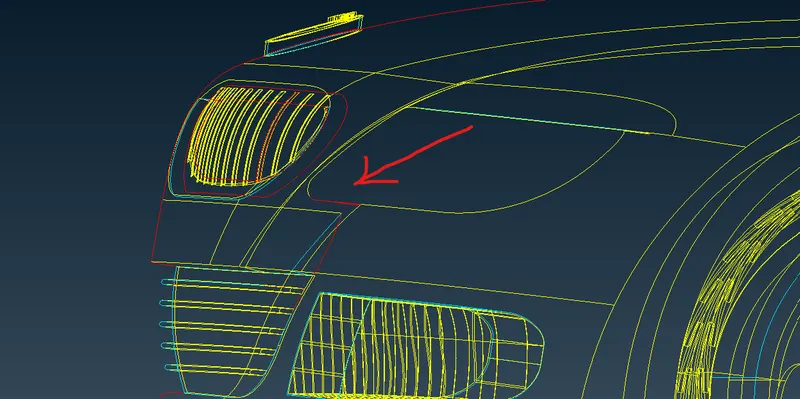
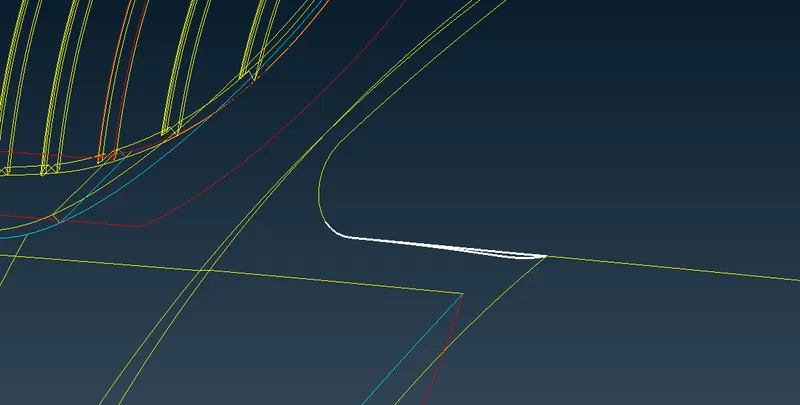
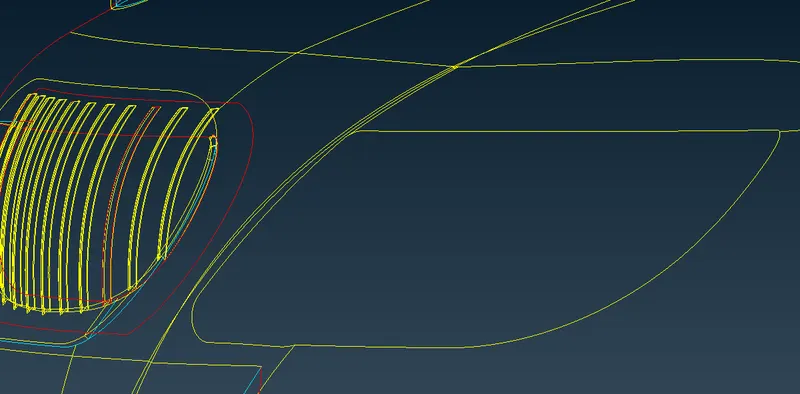
Now here we see the triple con so deleting from inside the surface
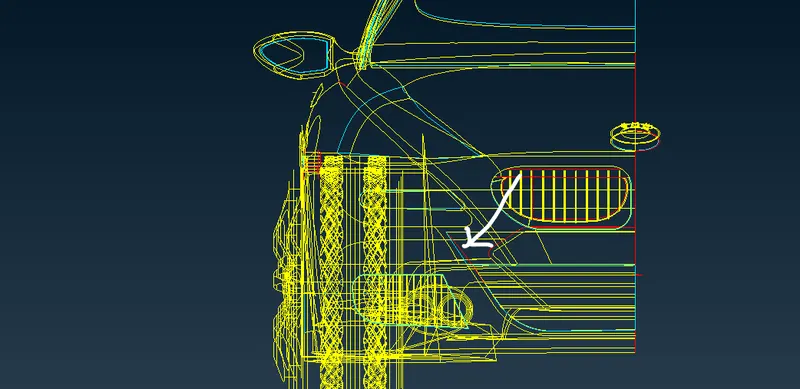
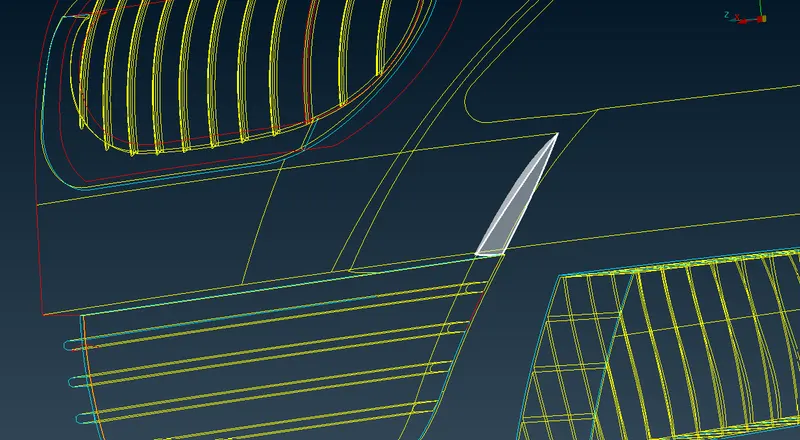
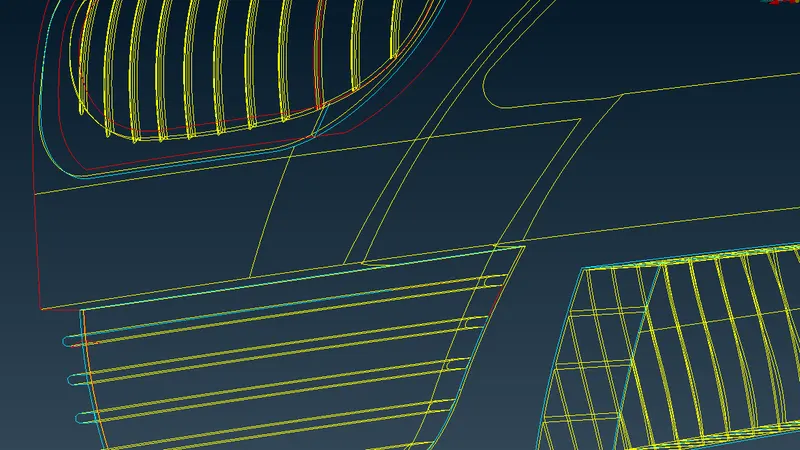
Here we see some glitchings so deleting them
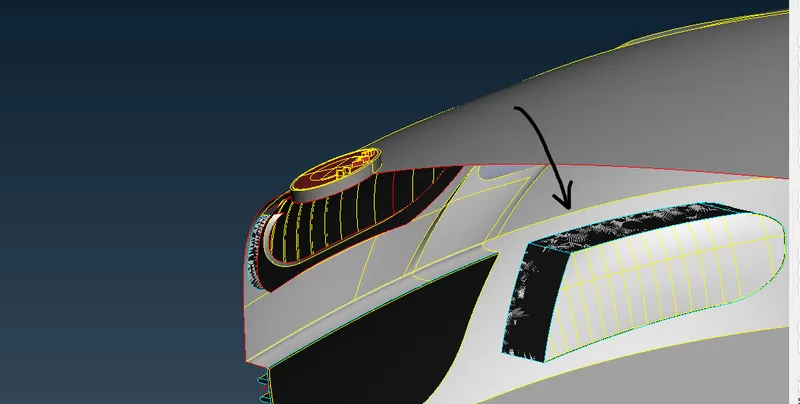
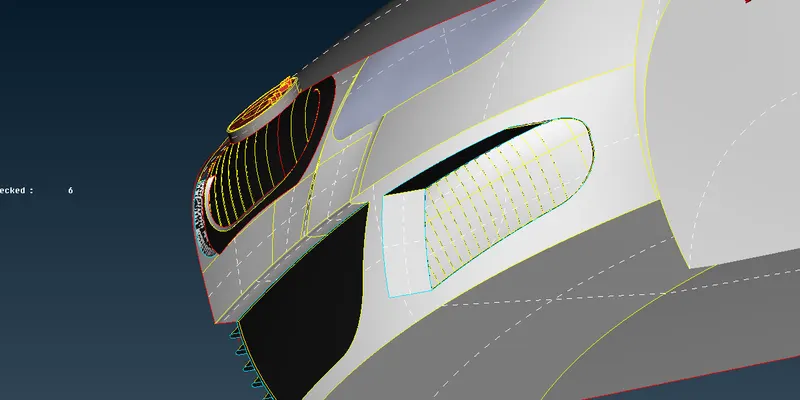
Deleting the surfaces
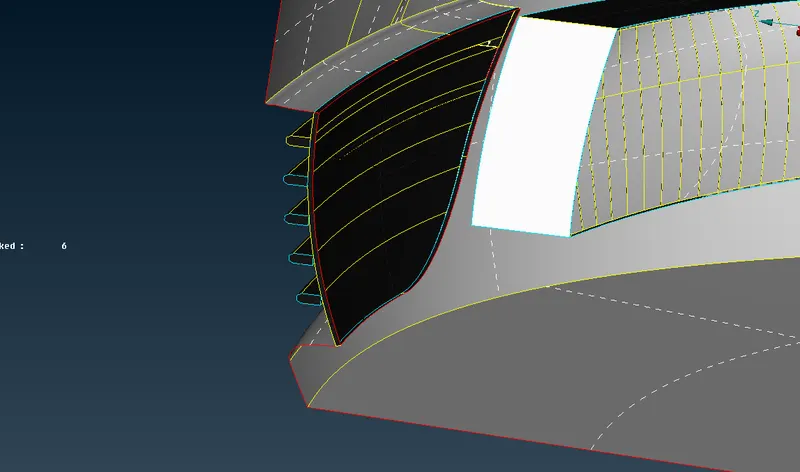
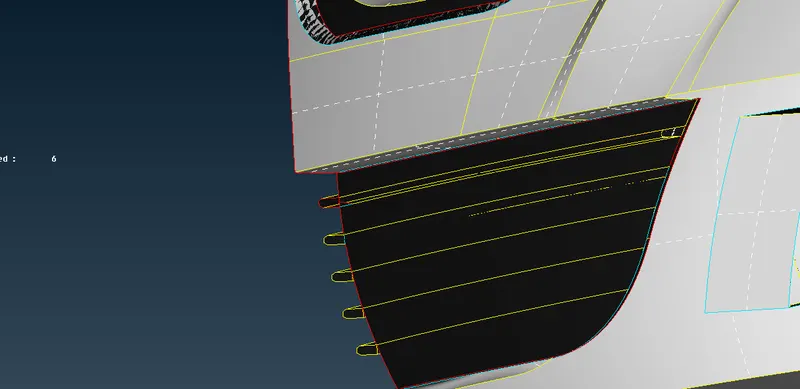
Here with grills we see one more surface with triple cons
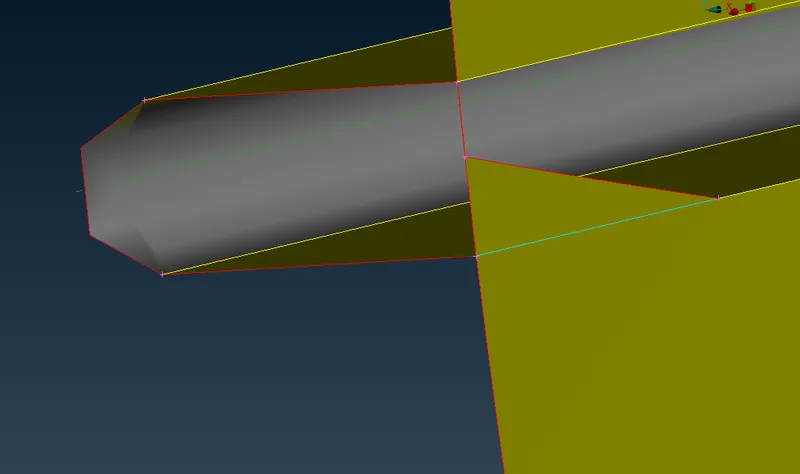
in order to delete it we need to remove the hotpoint and then use cut and the delete the surface
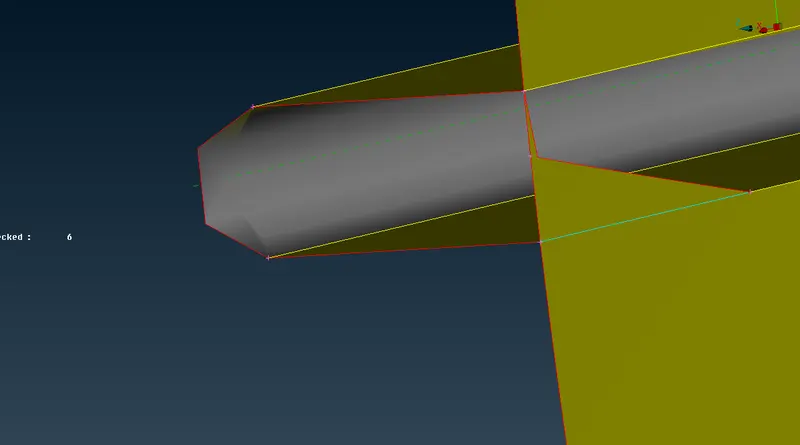
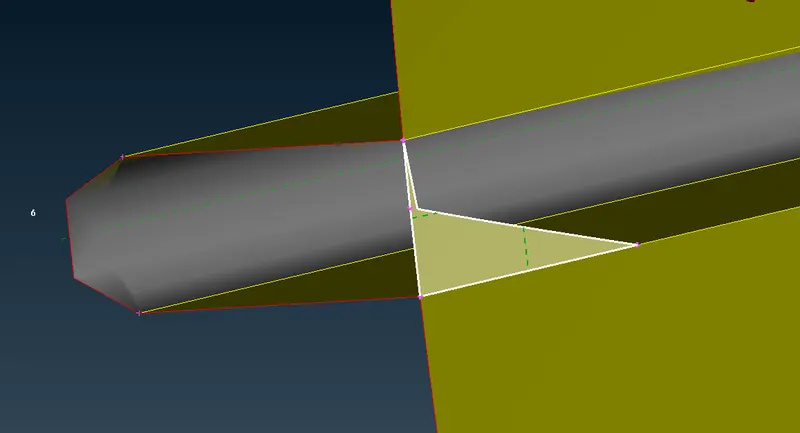
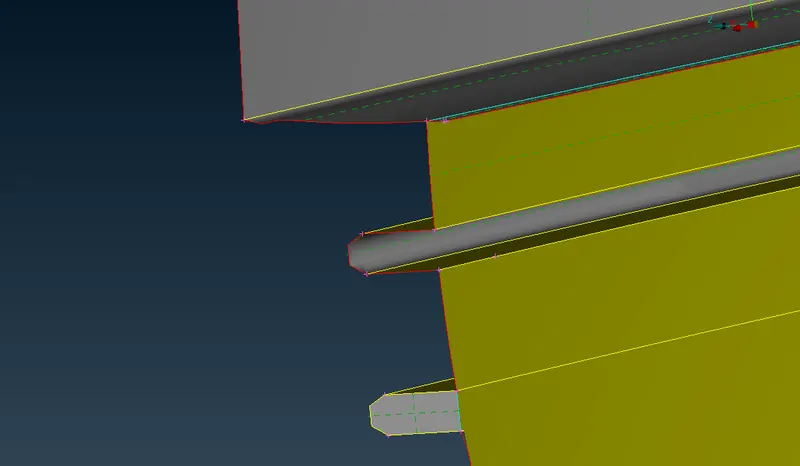
Now projecting the cons
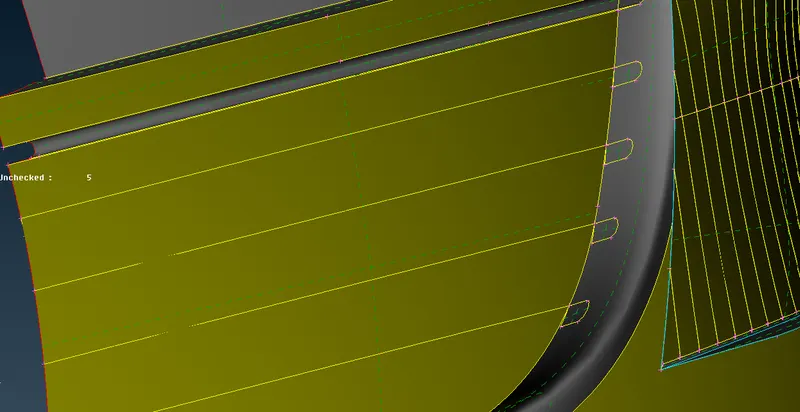
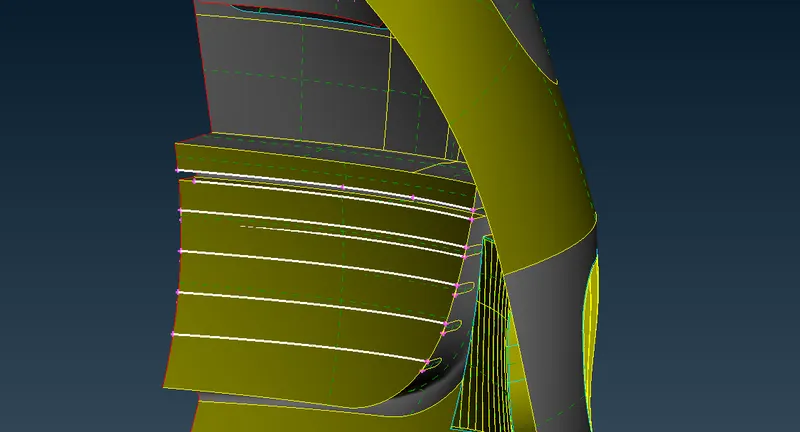
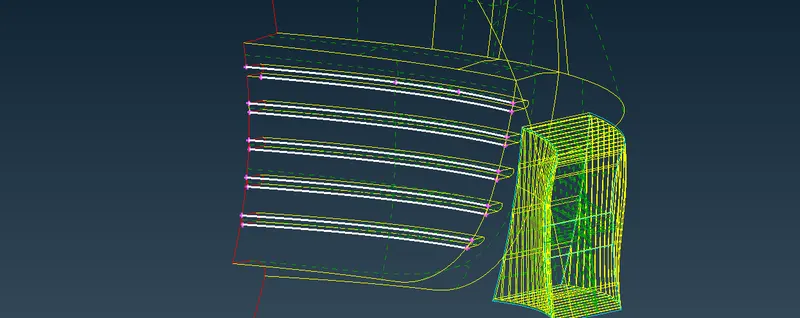
We get as follows
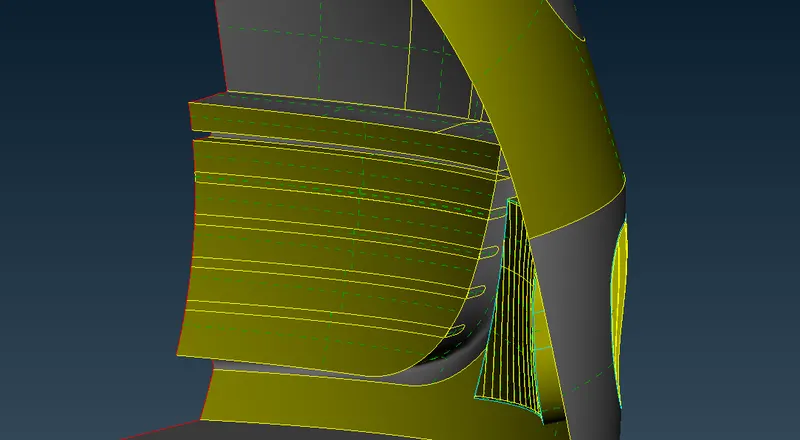
Now deleting by selecting them
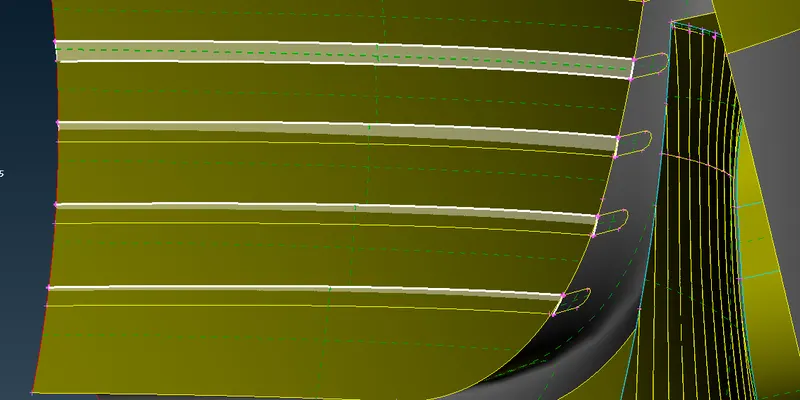
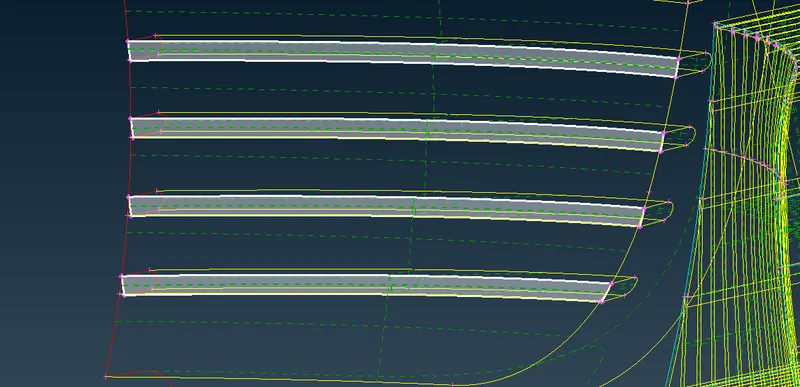
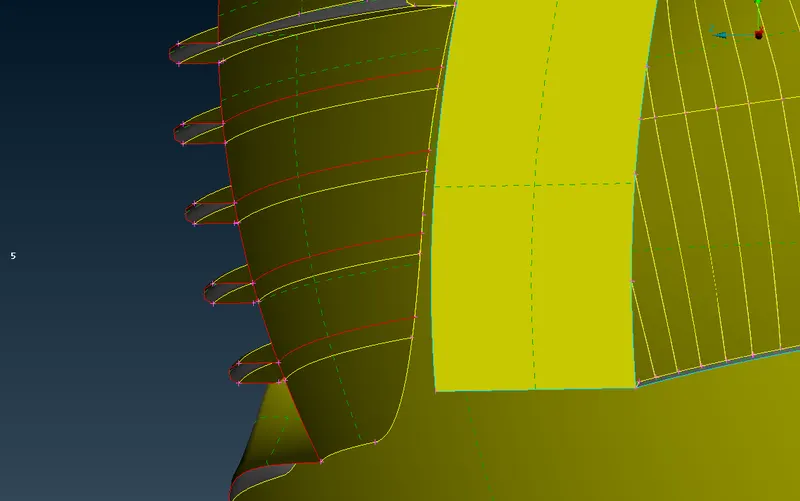
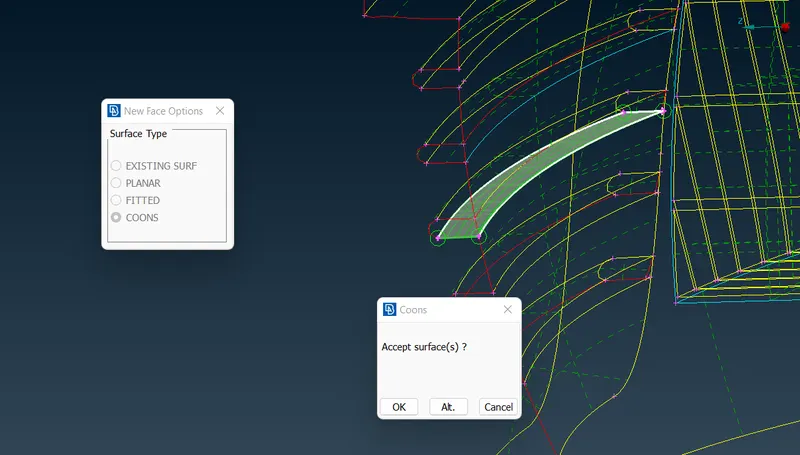
surfaces are created
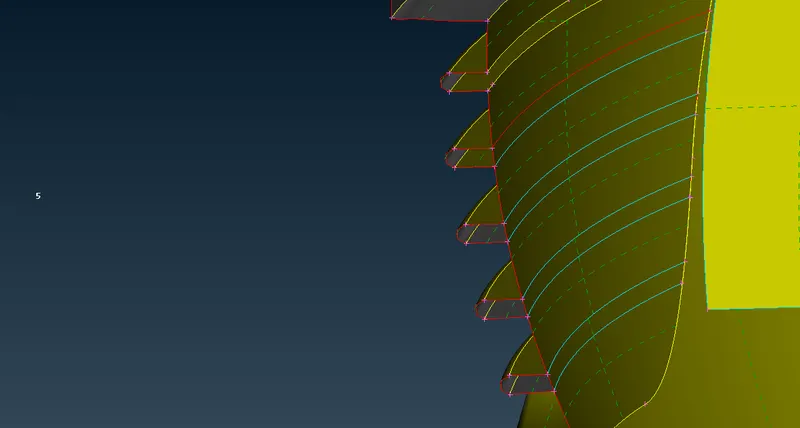
Deleting the below surfaces
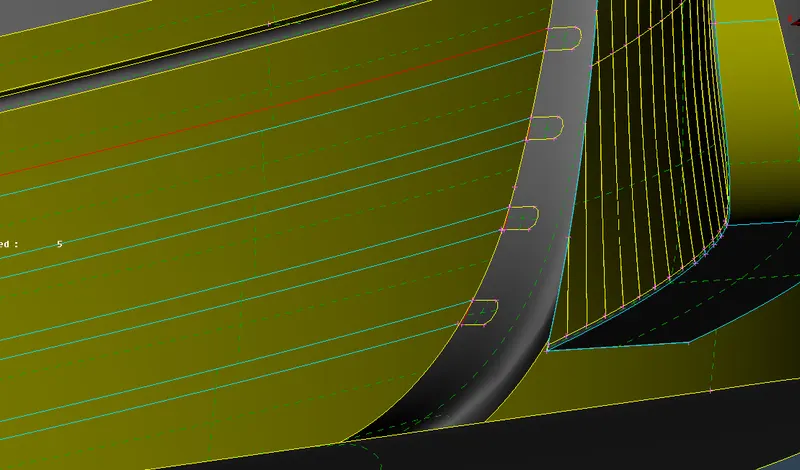
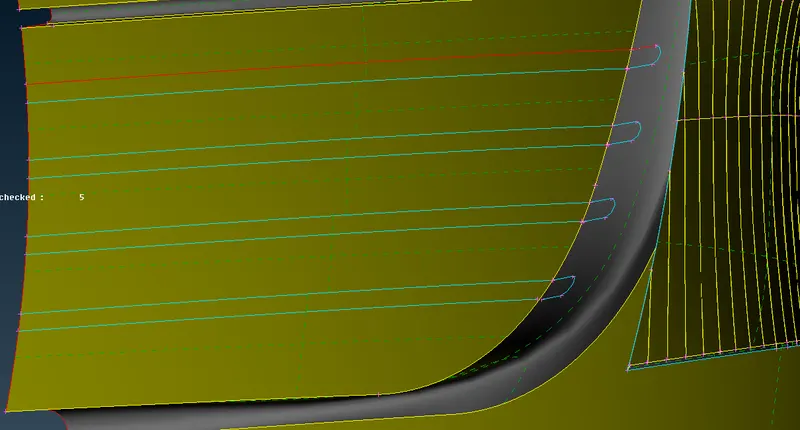
Using extemd tool to join at double con
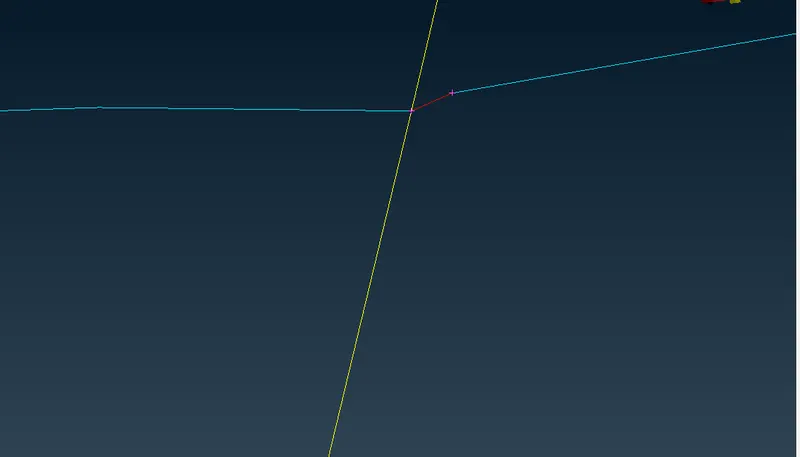
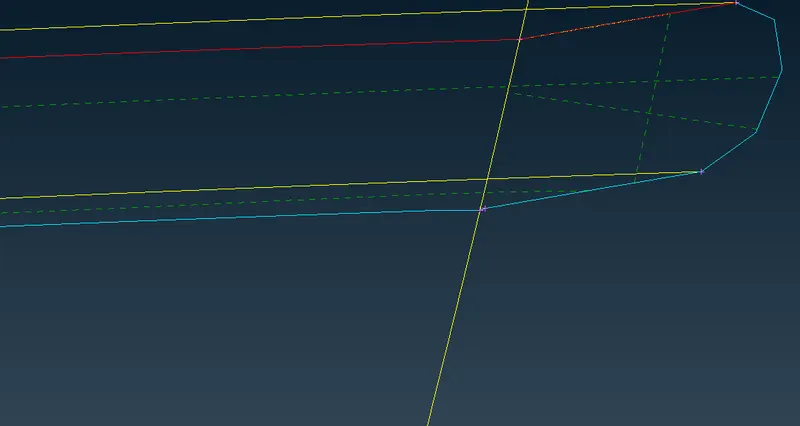
we get as follows
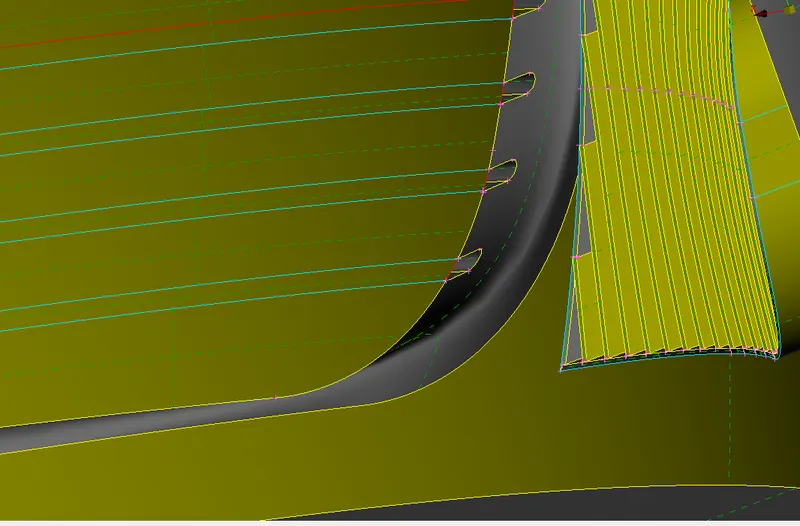
Now the grill looks like this
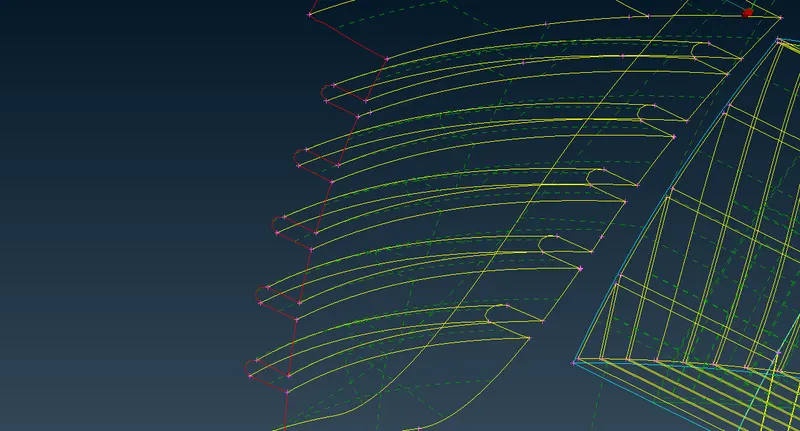
Now working on the other grill
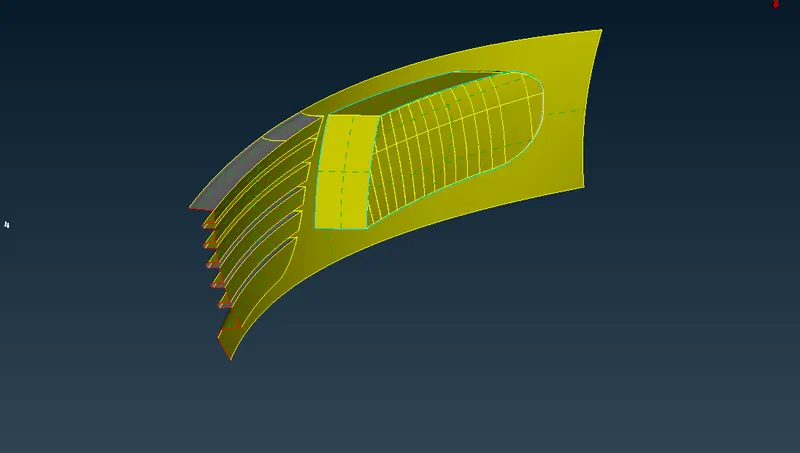
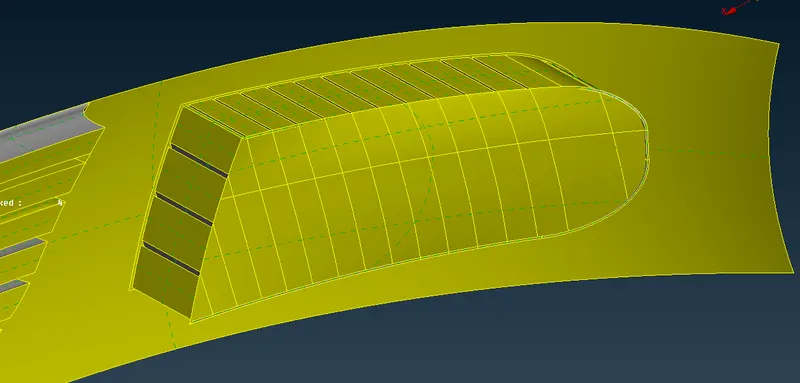
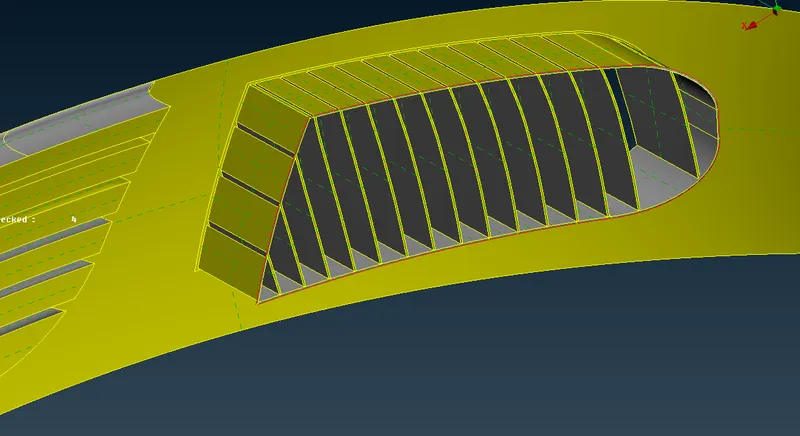
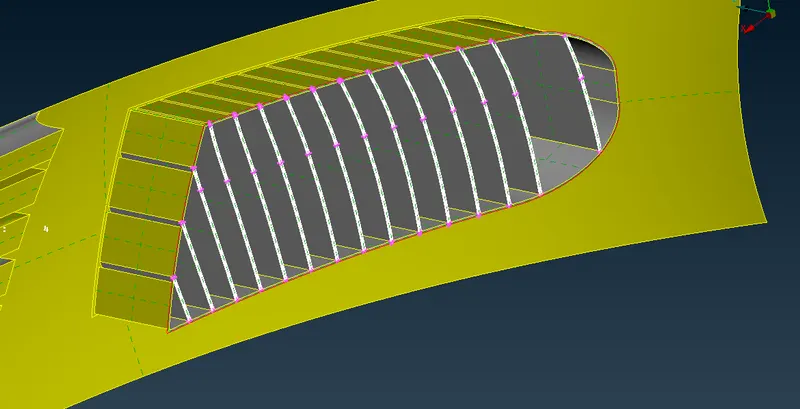
Now checking for the cuts
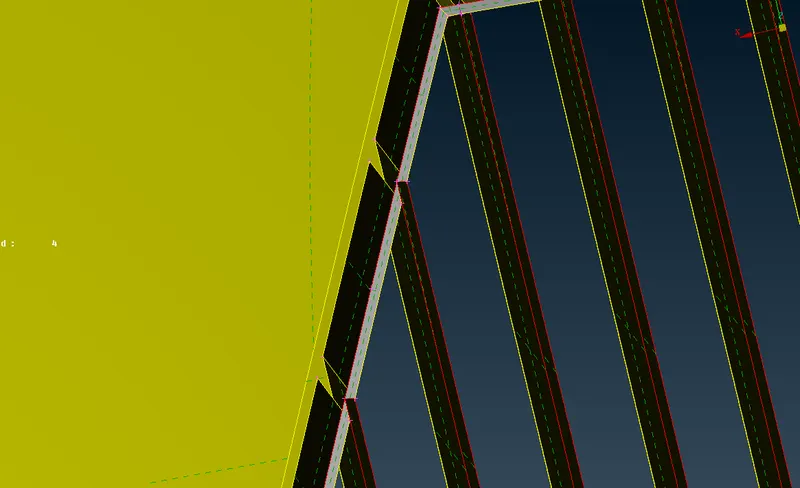
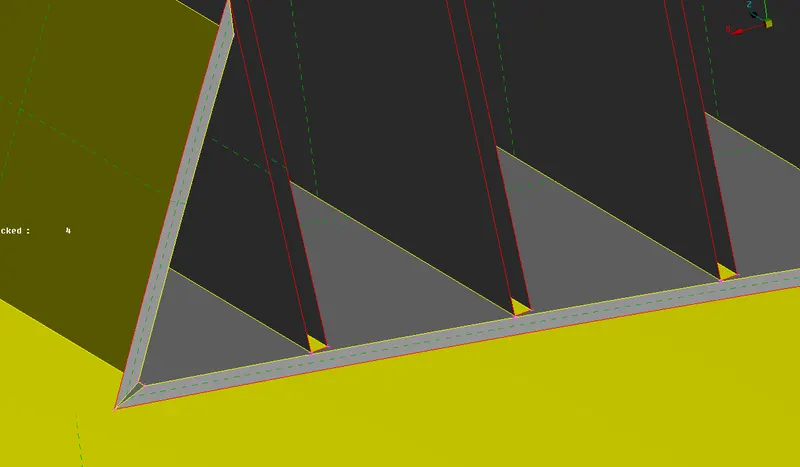
creating cuts and deleting
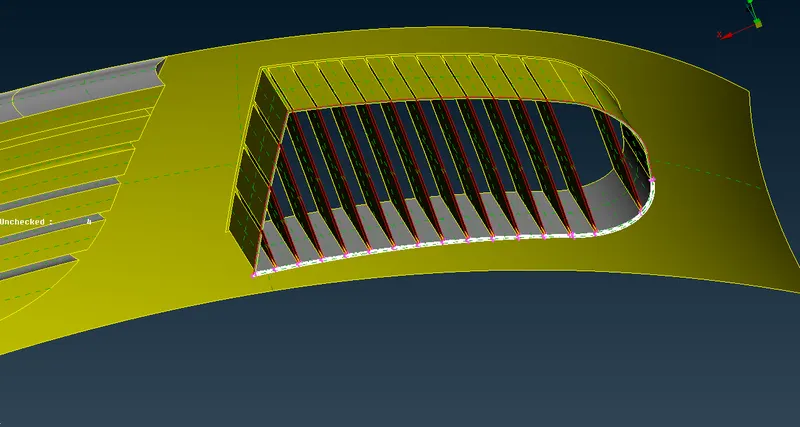
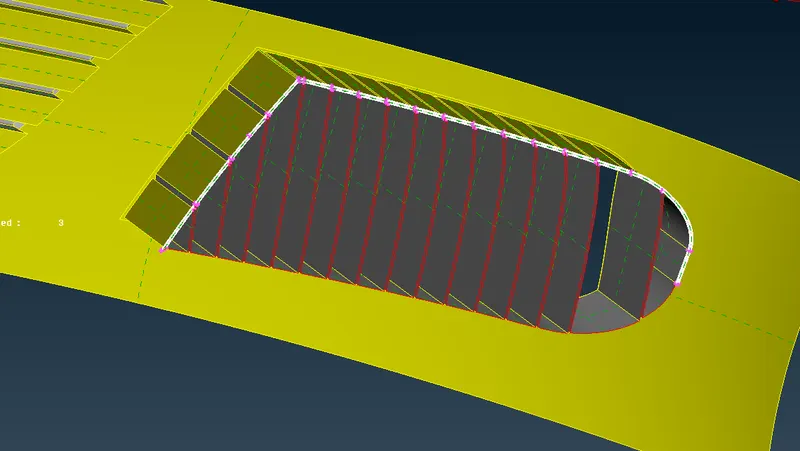
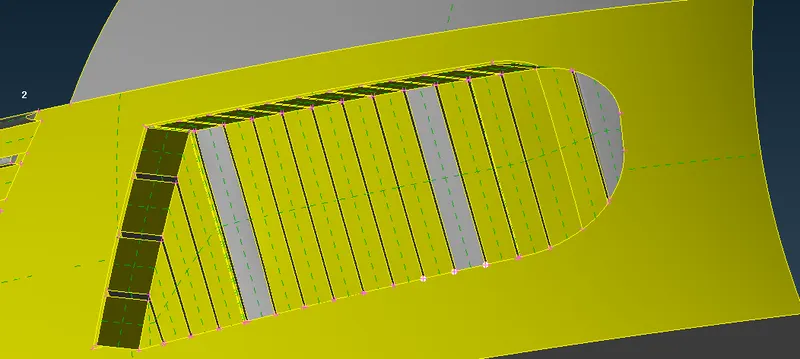
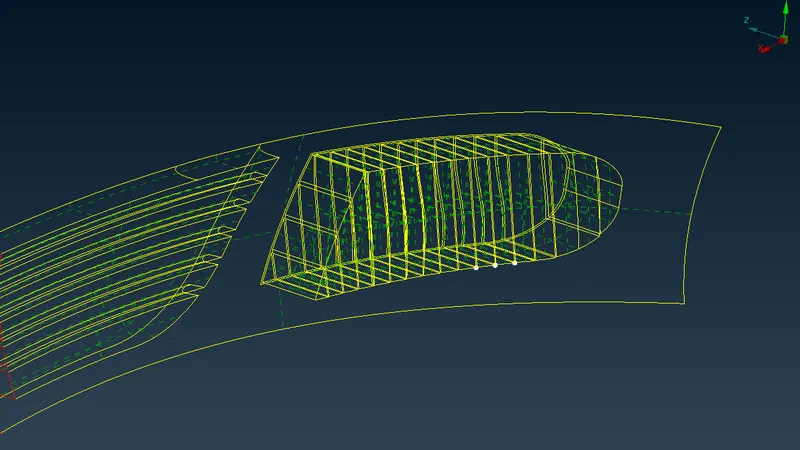
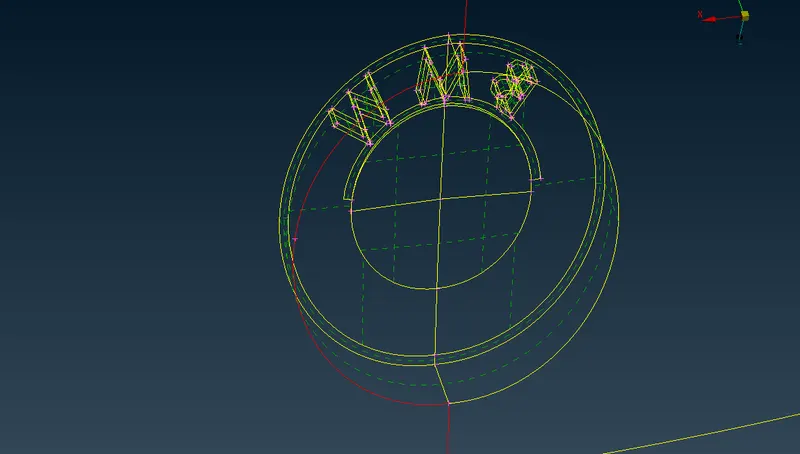
Now doing topo cleanup for logo
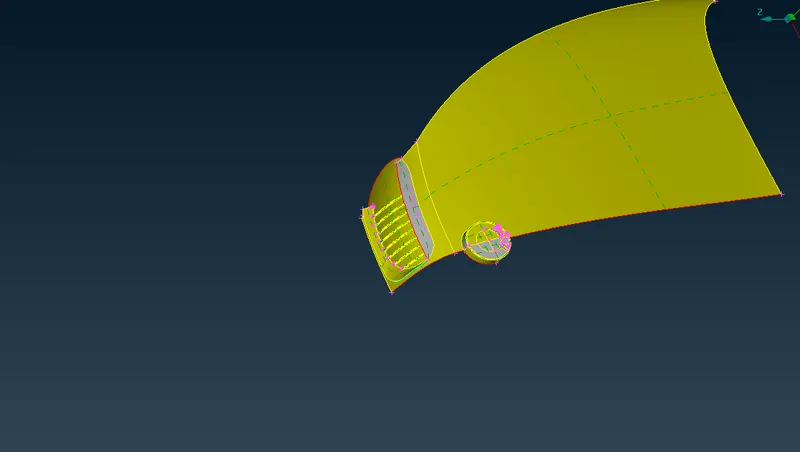
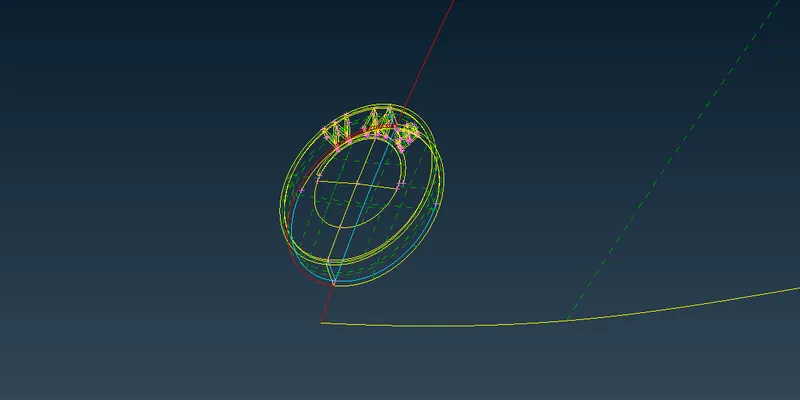
Extending the faces onto surface
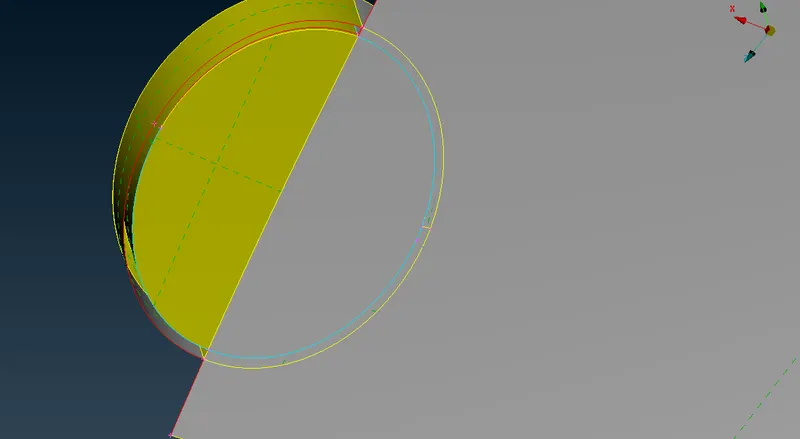
delting this surface to isolate
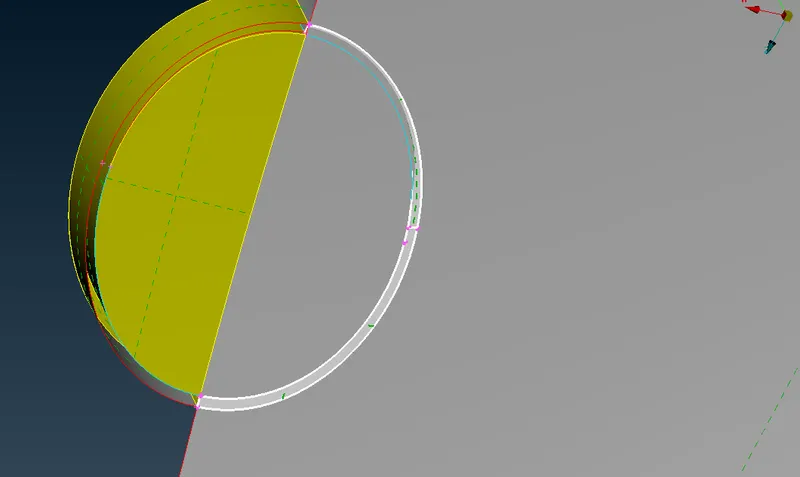
Extending again onto surface to see triple con and cross hatches
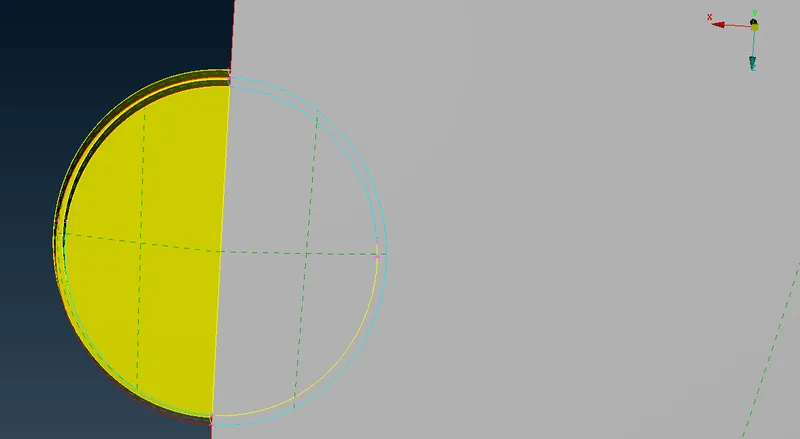
deleting this surfaces
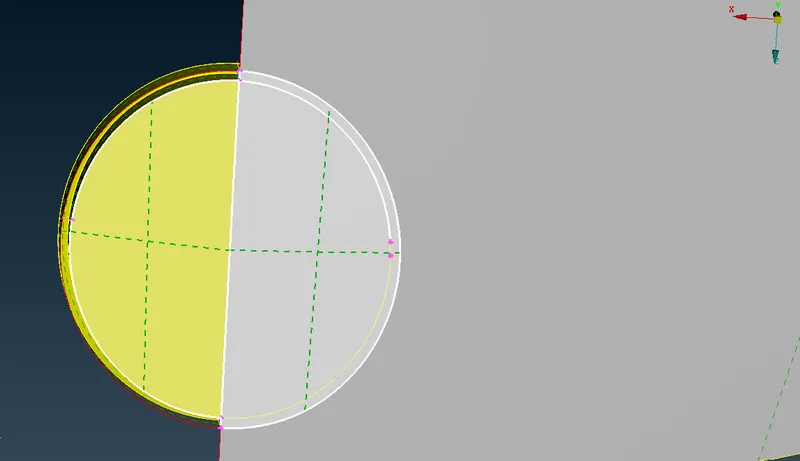
also deleting the inside surfaces
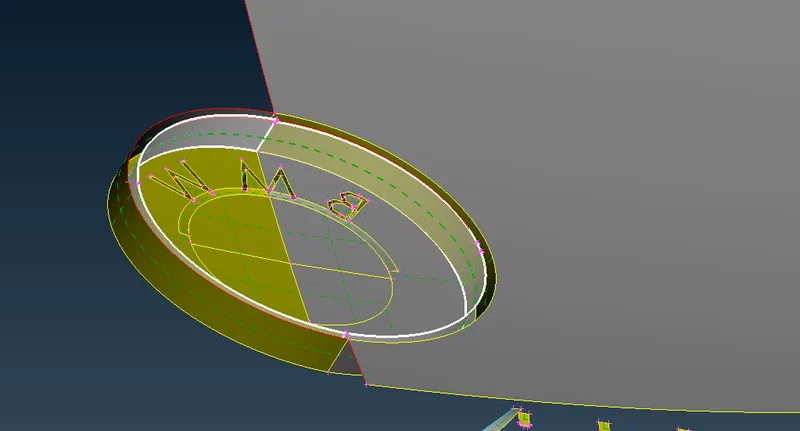
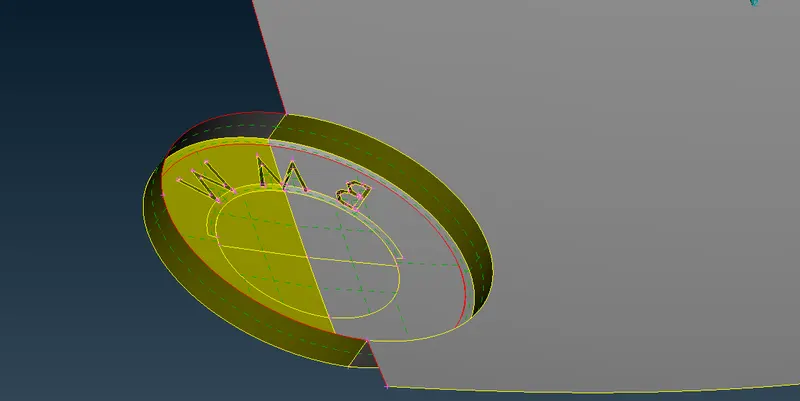
Deleting outer ring and creating surface again to fill gap
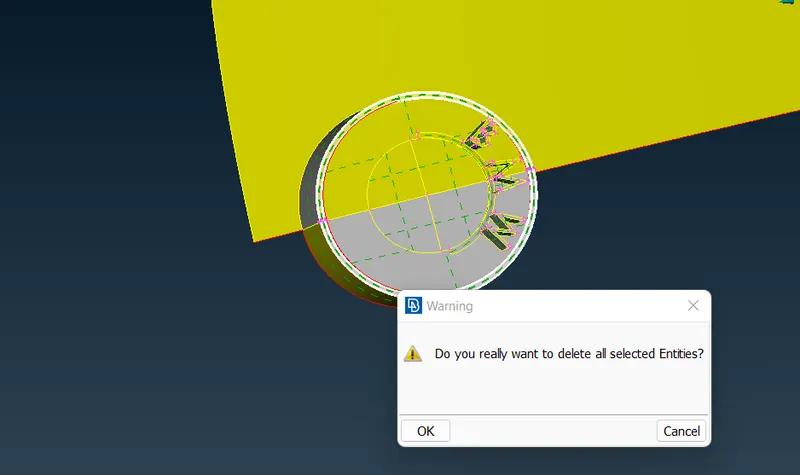
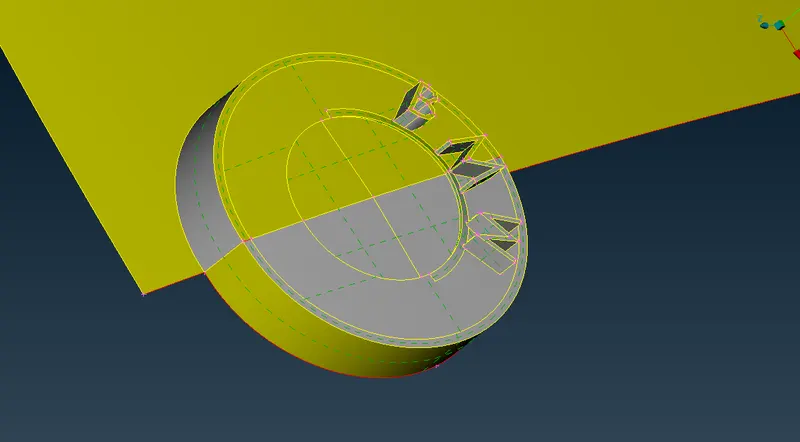
Now the logo is fixed except one single con as surface is not in contact it is showing
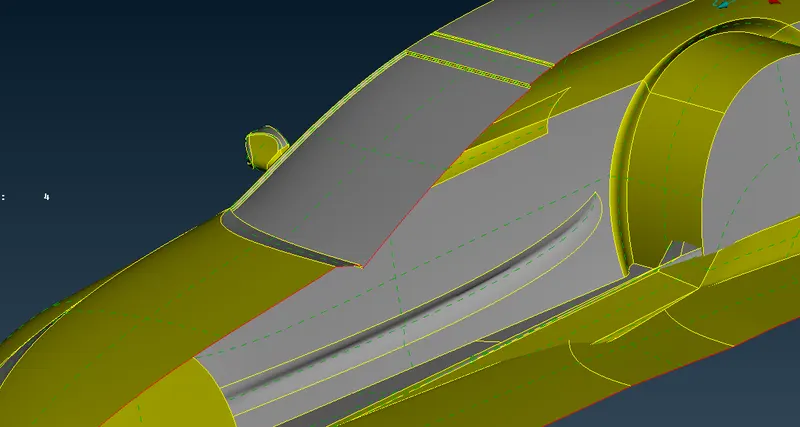
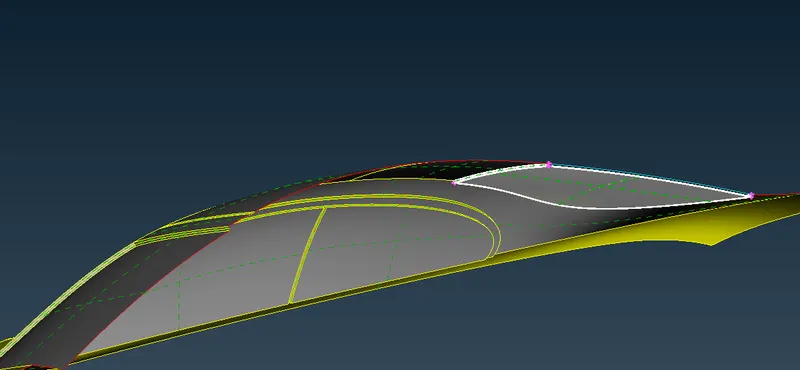
Now working on wind shield we see triple cons so removing them
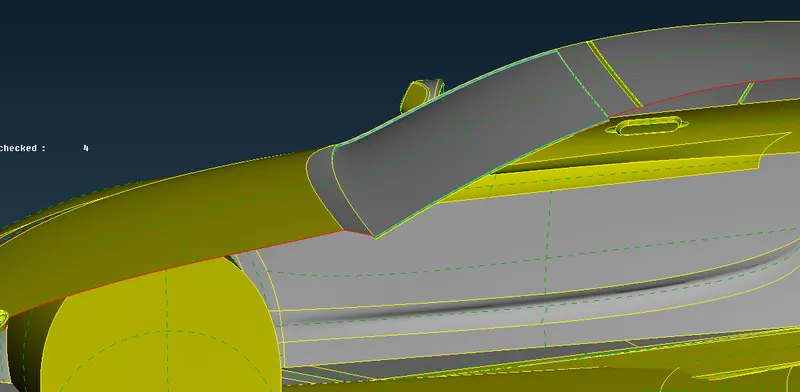
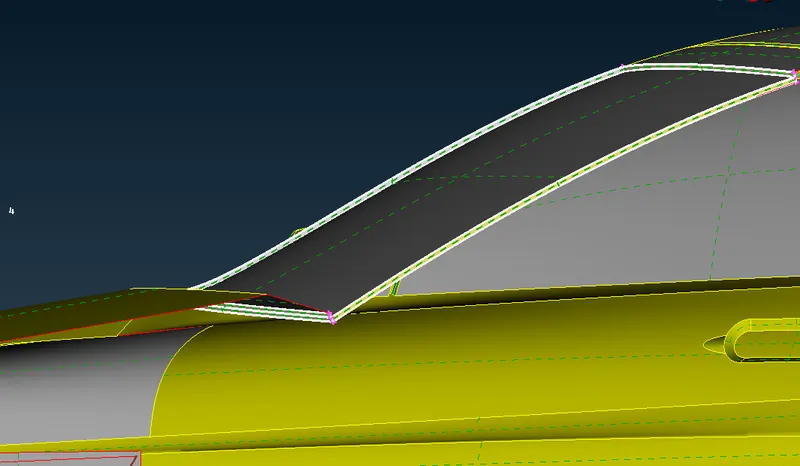
so triple cons are removed
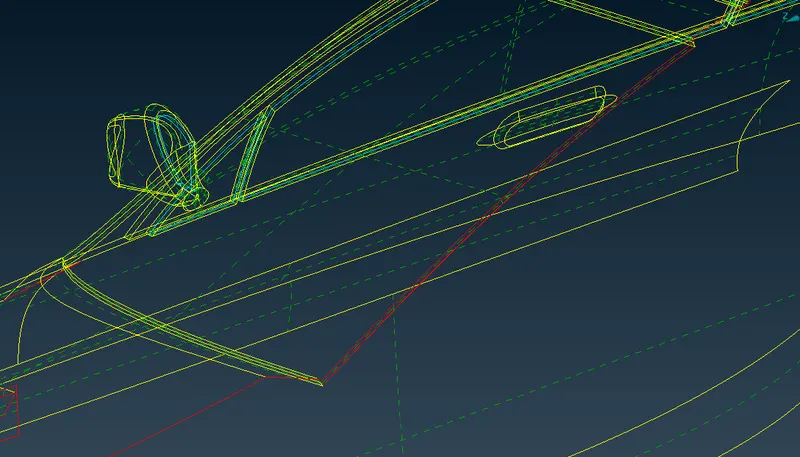
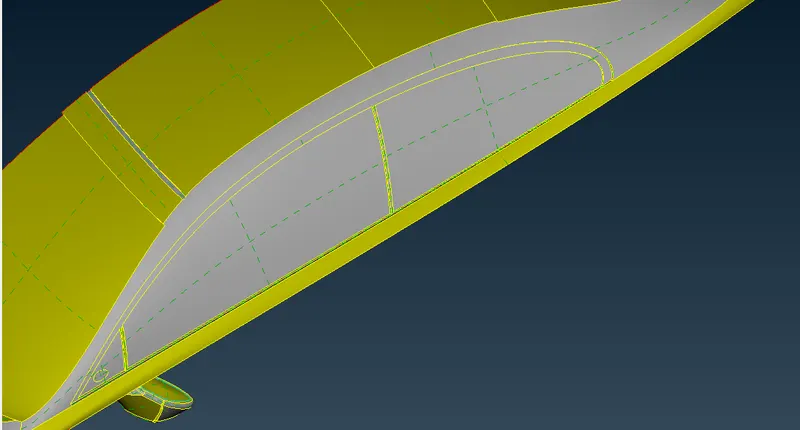
For side glasses
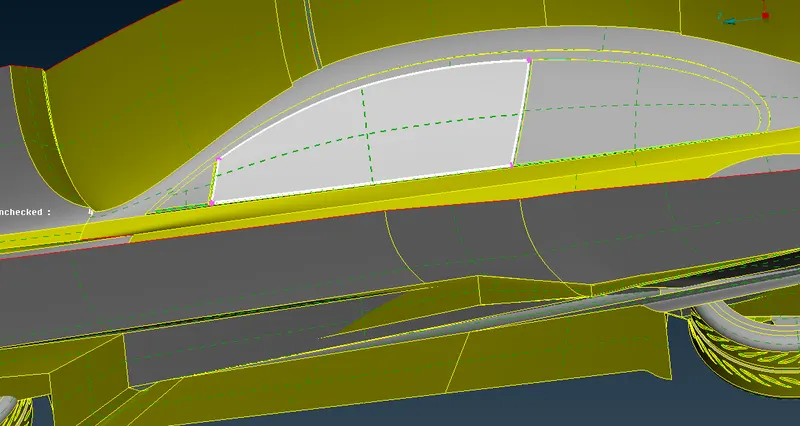
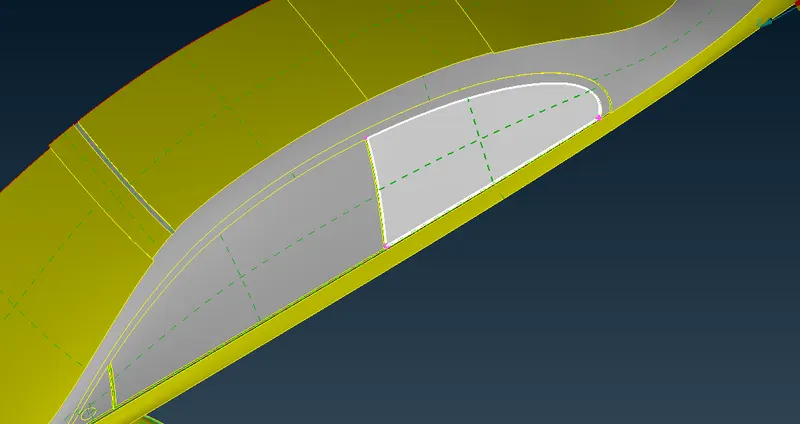
Now we see double cons
Now for rear wind shield
 '
'
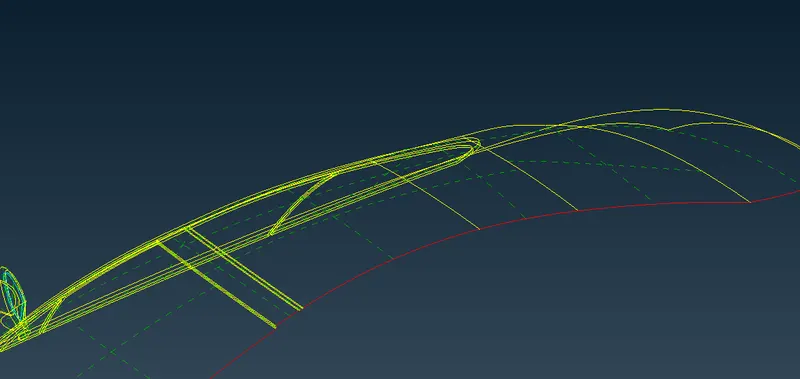
Now working on topo for the below part
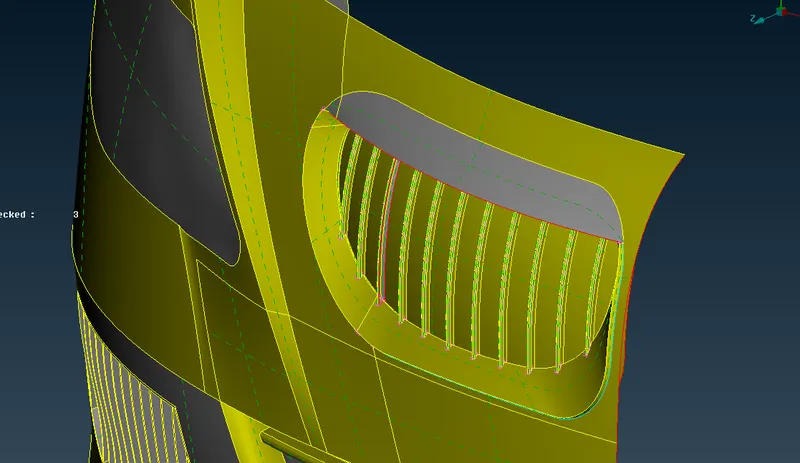
As we see double cross hatch we select and delete them
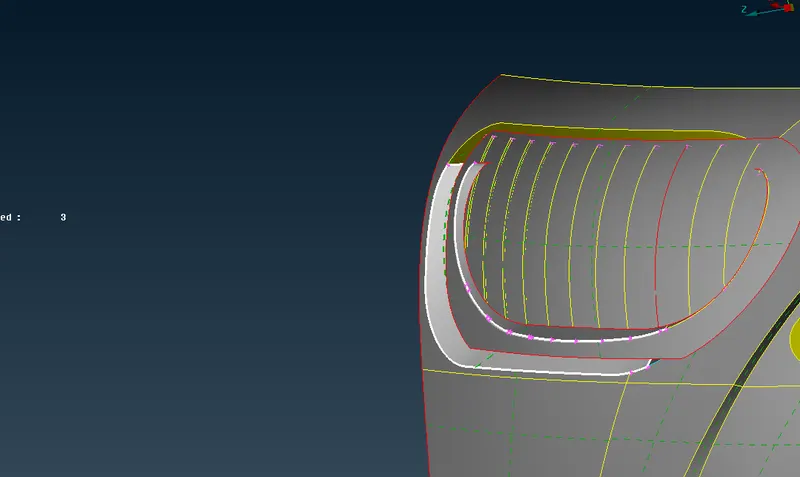
Here we see open surafce need to close it. So for it we project the con on to the face of the surface
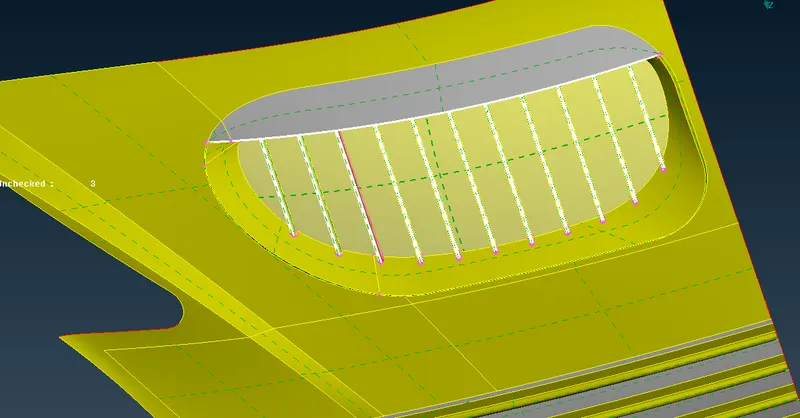
Using project cut to project the con as follows
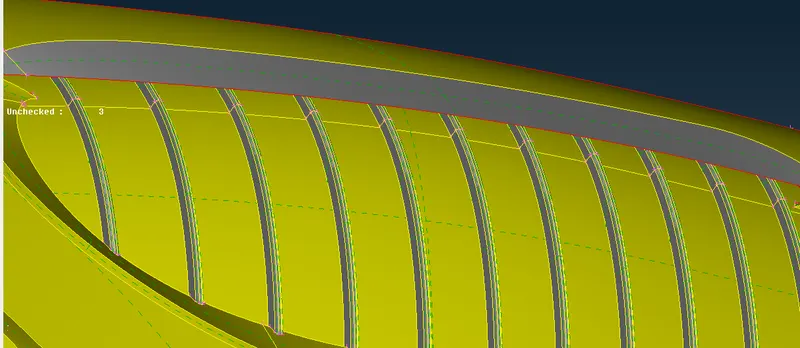
Deleting these surfaces
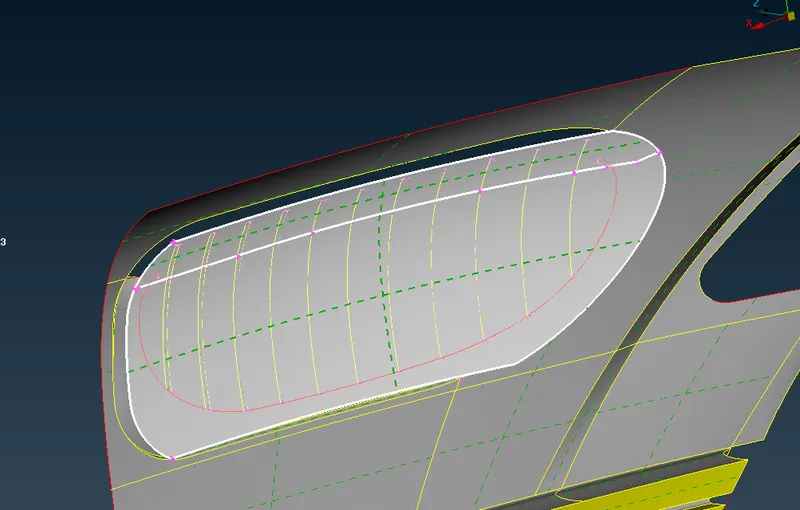
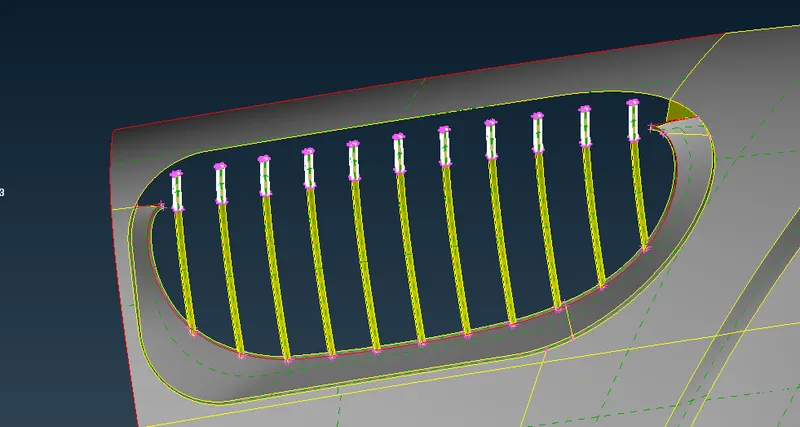
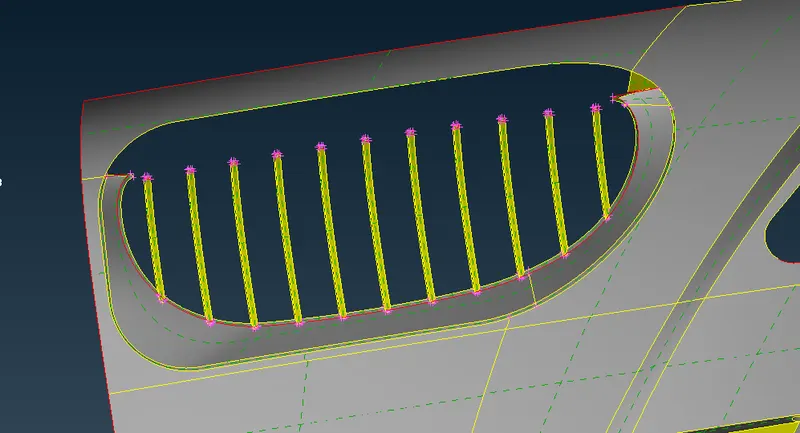
Now deleting the back side of rods
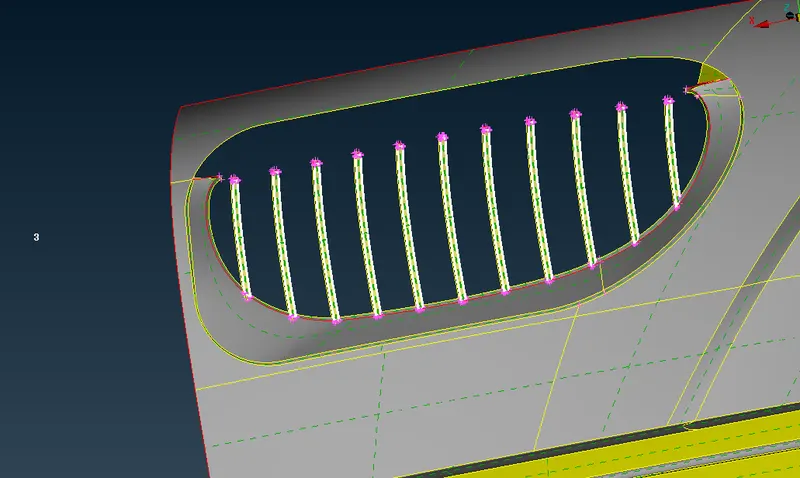
Now creating the surfaces between rods by deleting the surfaces as below
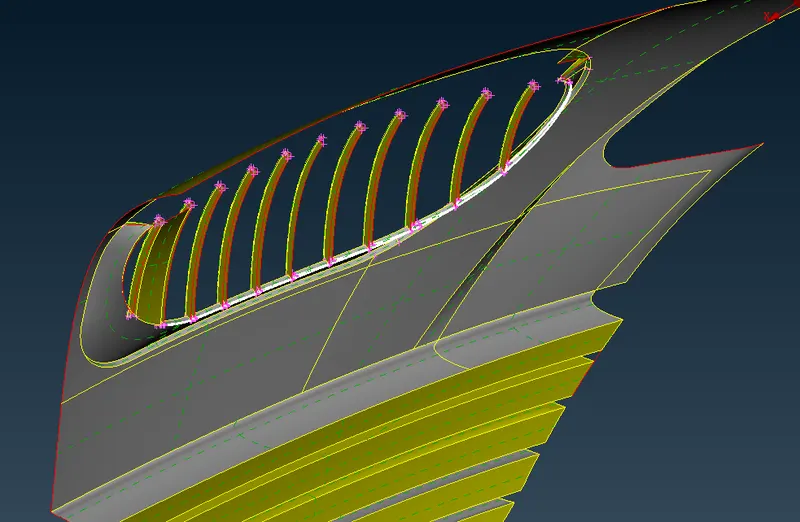
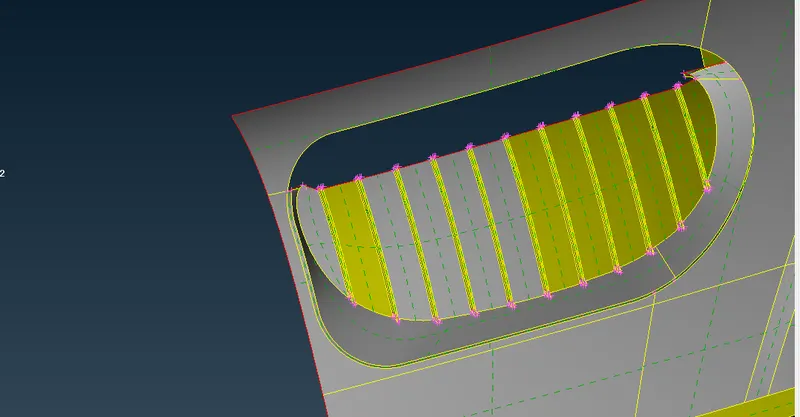
Now to close the surface we use hotpoints multi-project tool
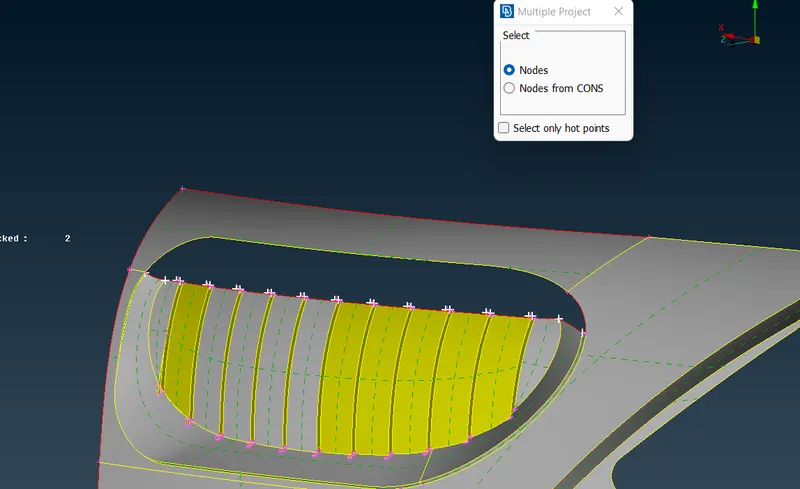
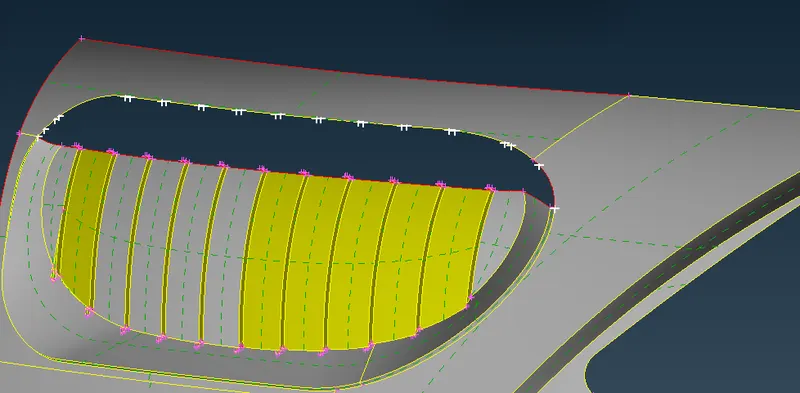
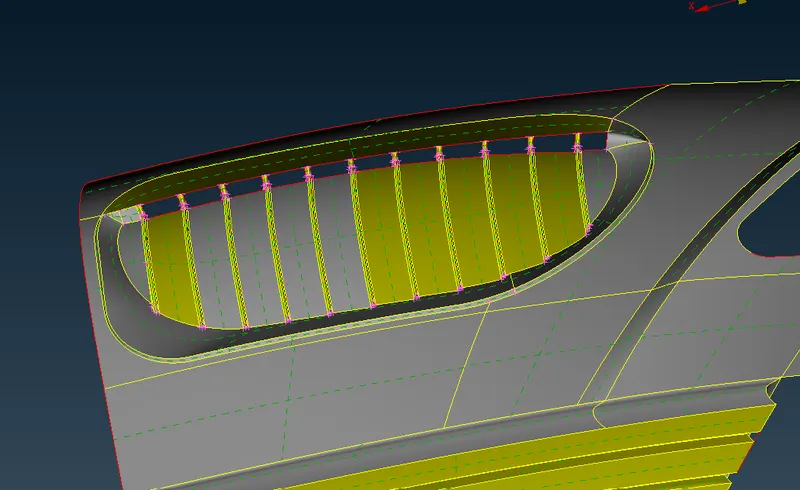
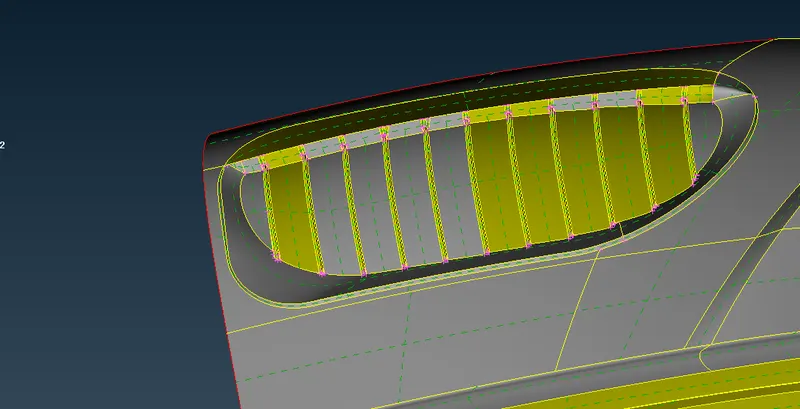
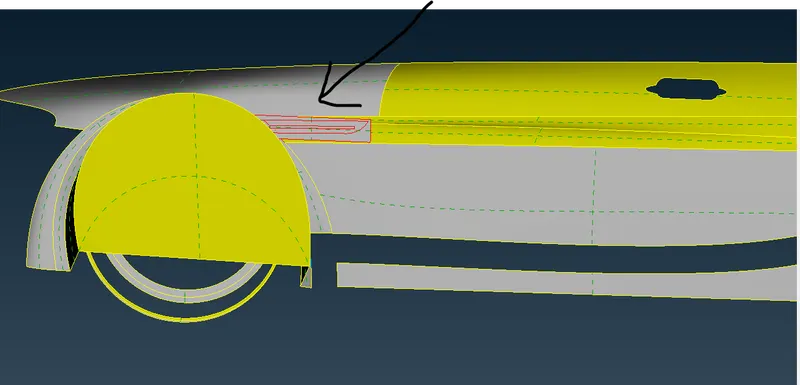
Now working on this part
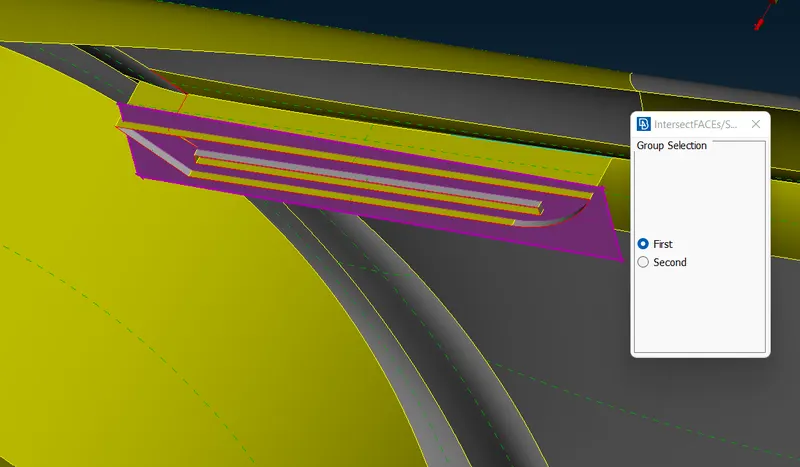
Using intersect to select first part
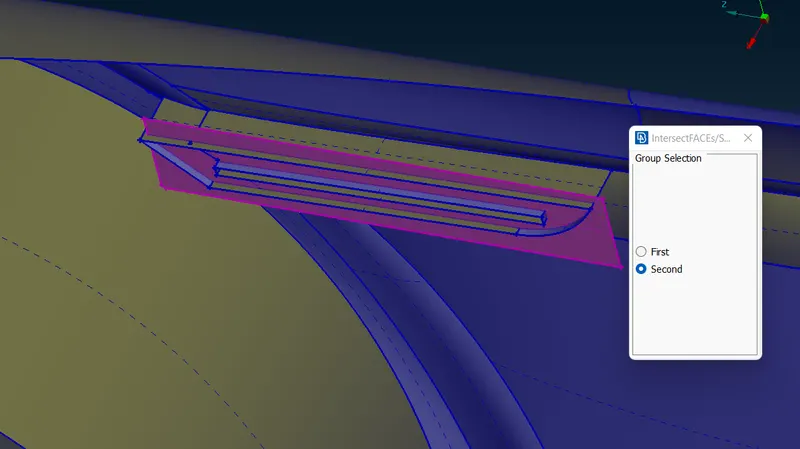
then second part
Then deleting the unnecessary surfaces
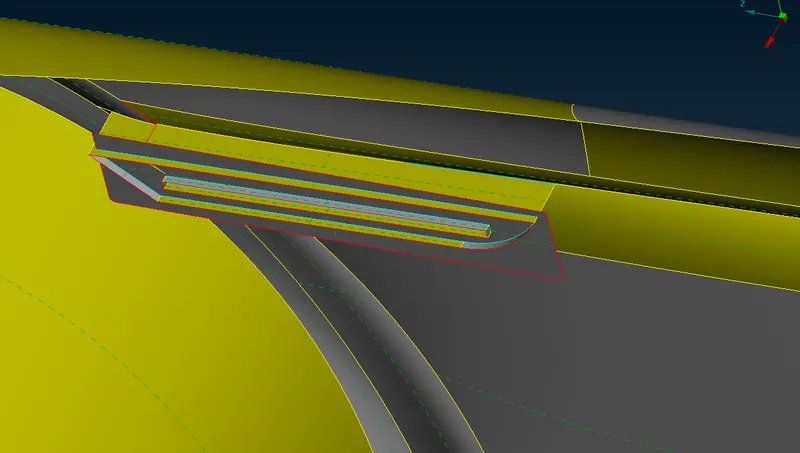
Now its cleaned
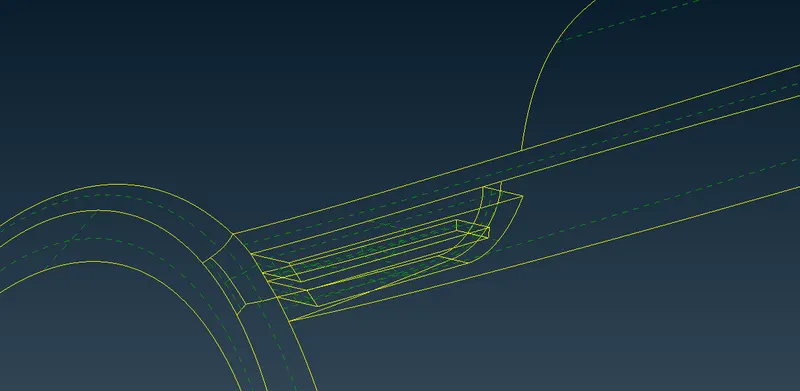
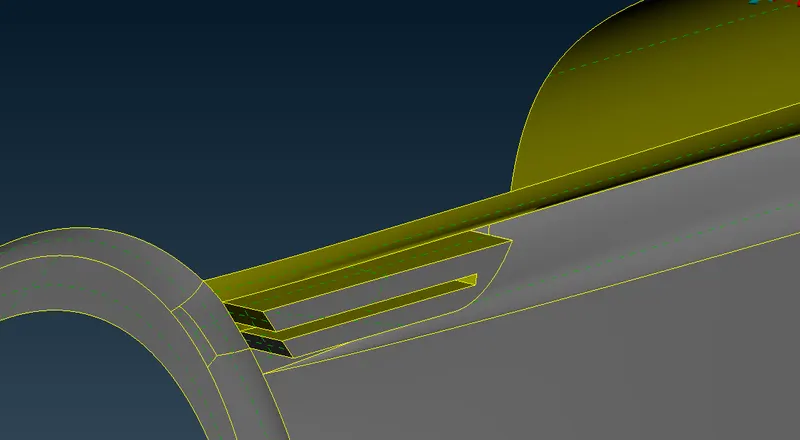
Now working on mirror
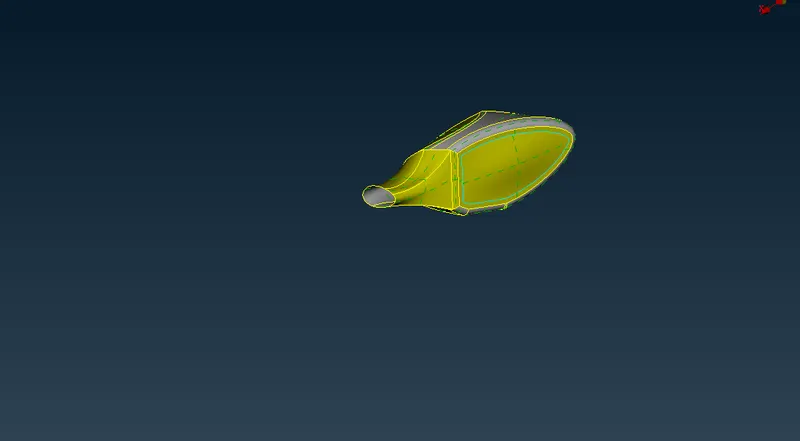
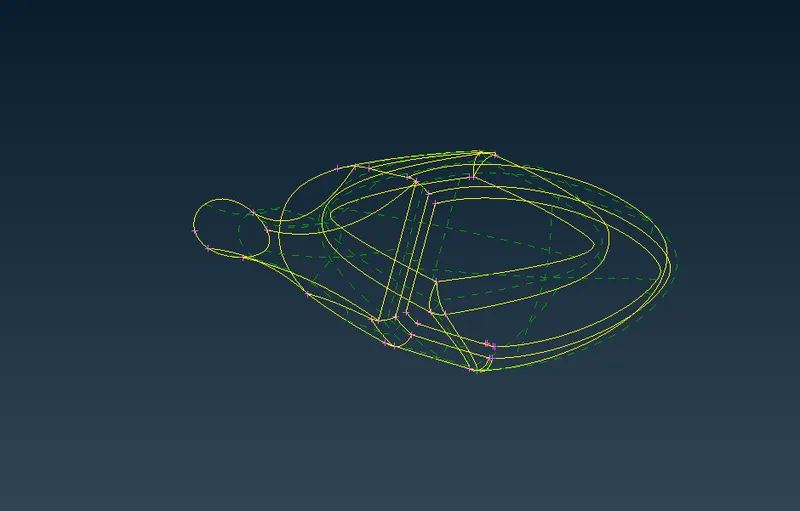
creating common volume at the mirror area
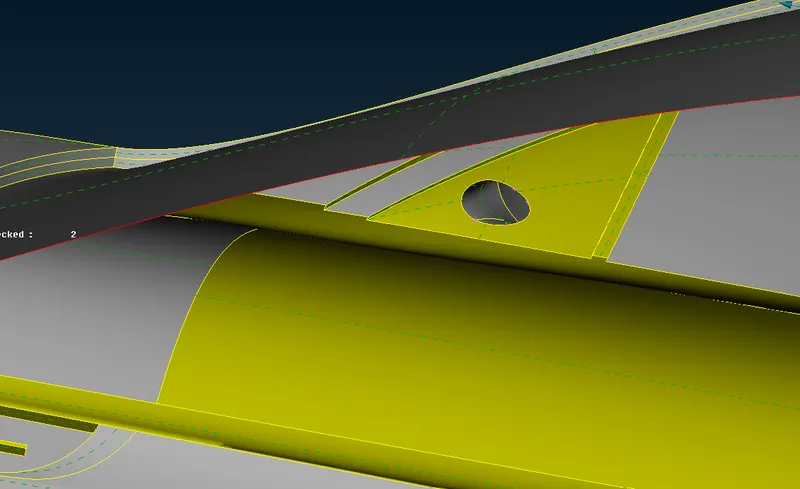
Now working on the tires
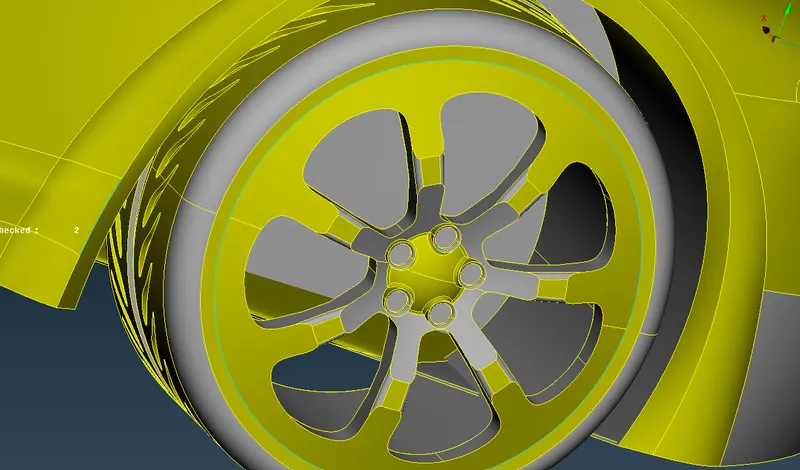
Deleting the extra surfaces
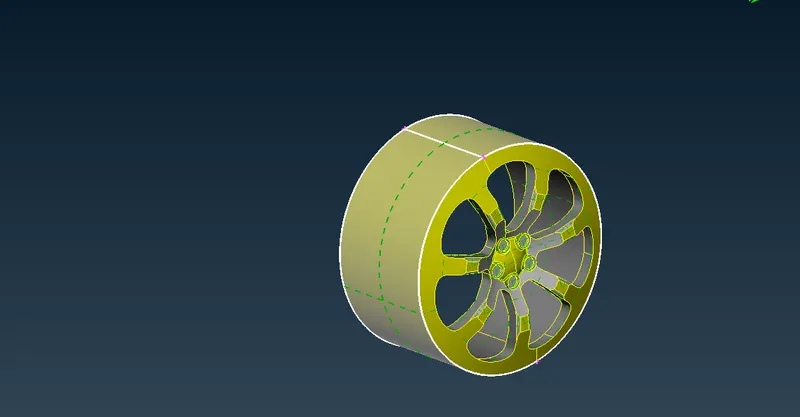
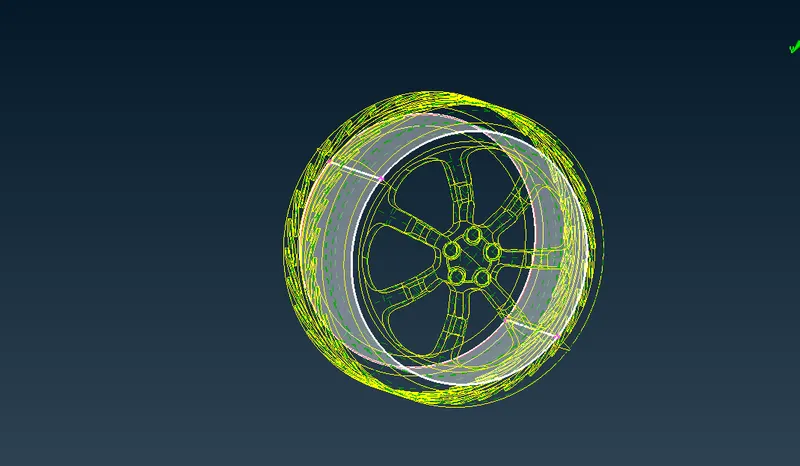
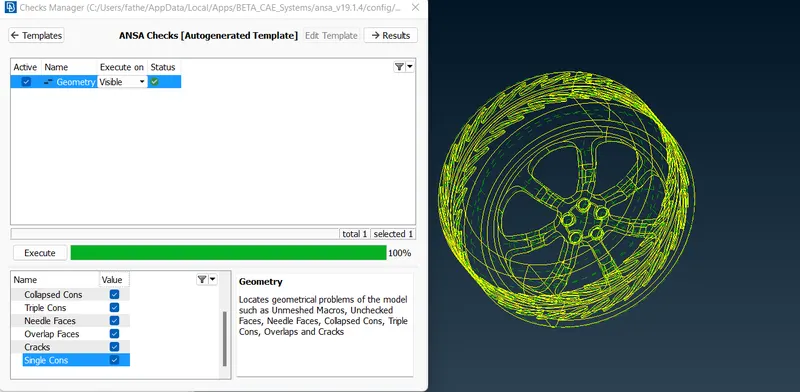
As this inside surface is not necessary we delete it as common volume however occupies
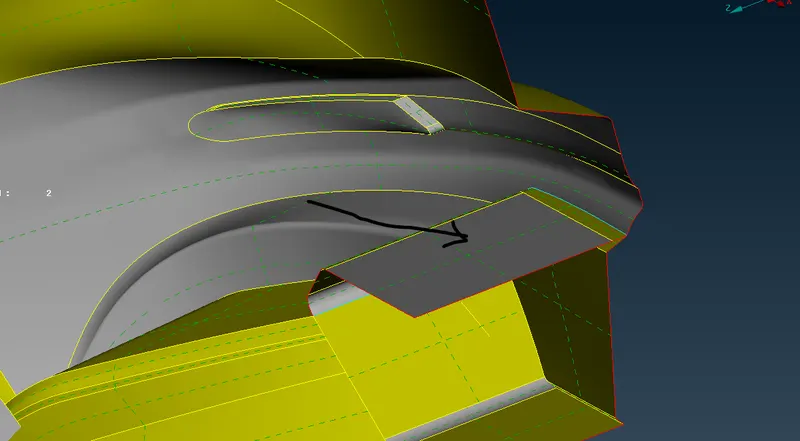
For bottom
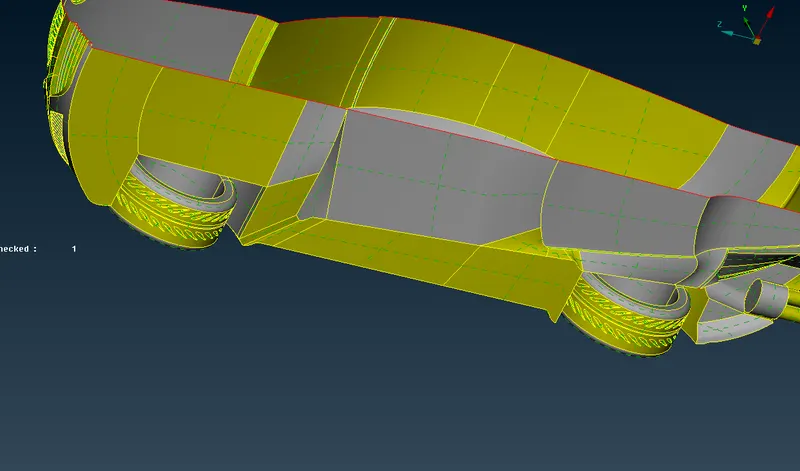
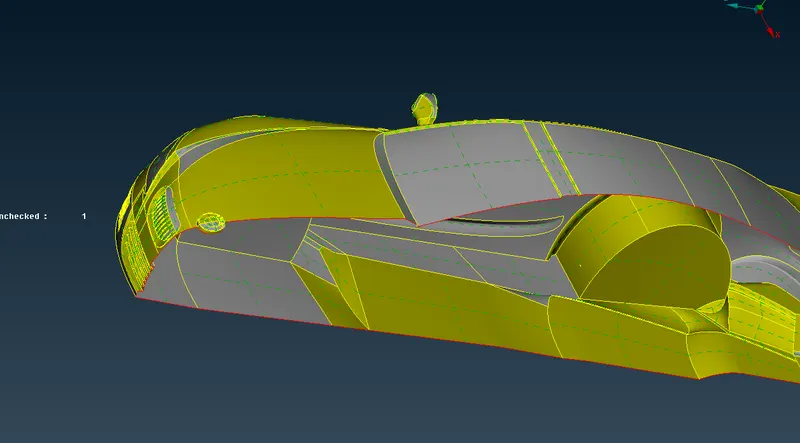
Checking for geometry we see that we have single cons at the desired location where we need it
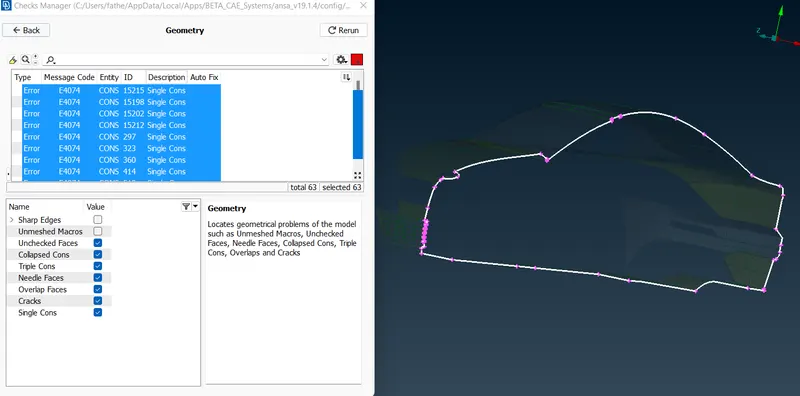
The topo clean up is completed now
Now assigning PIDs
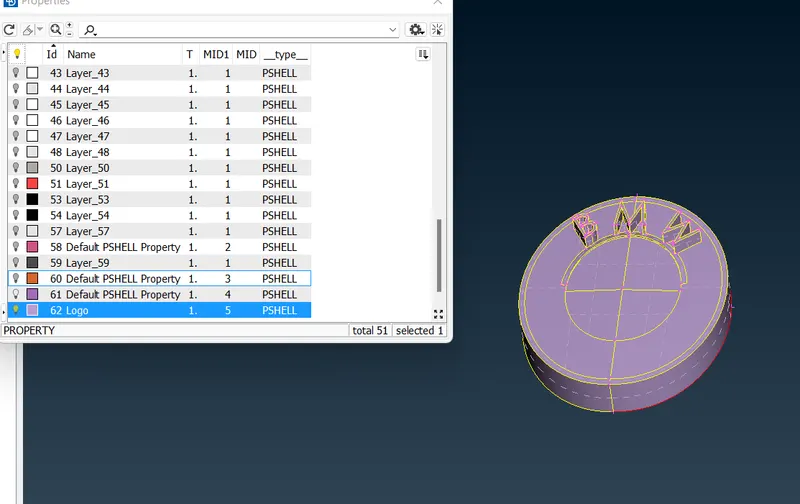
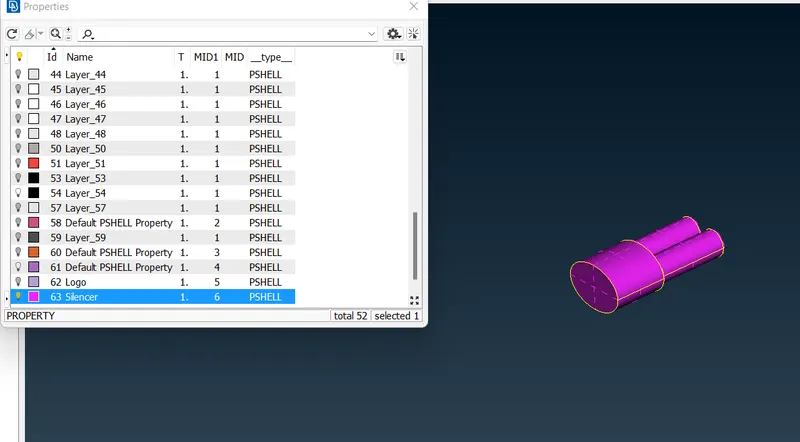
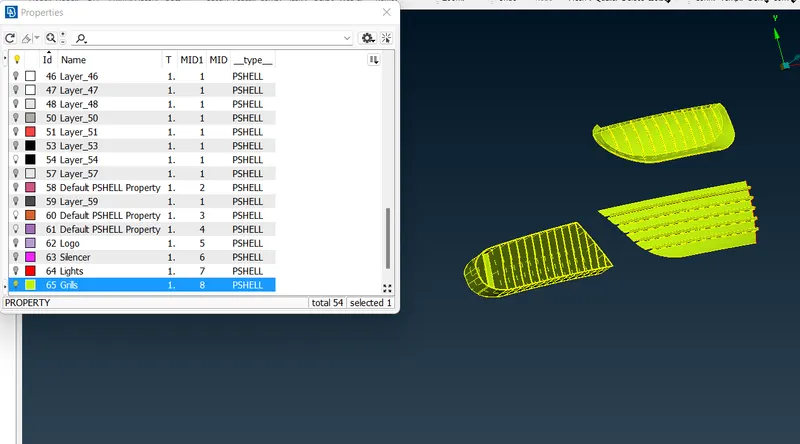
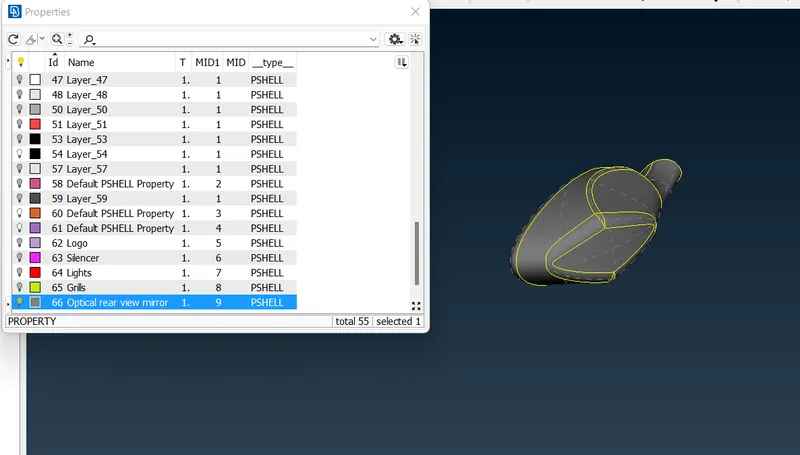
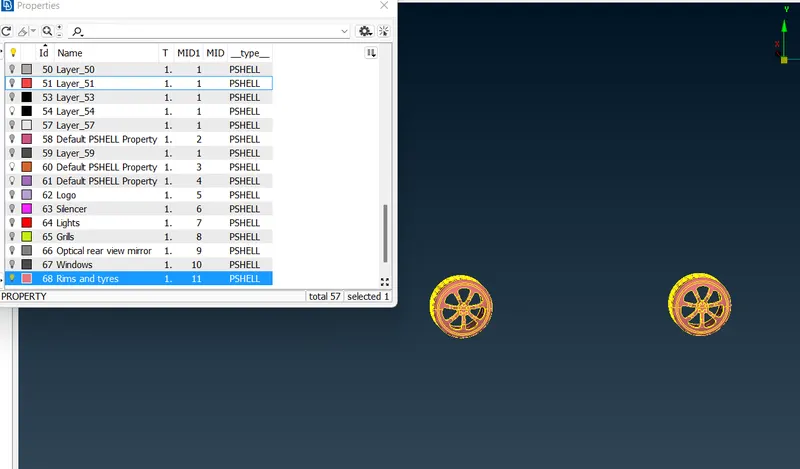
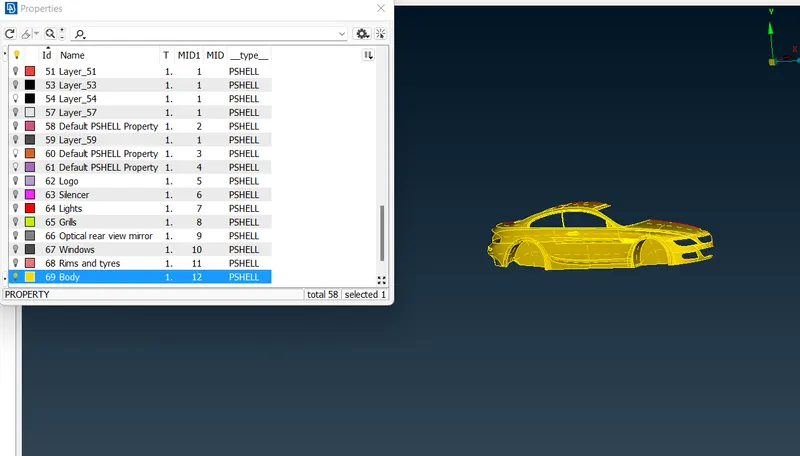
PID creation is completed
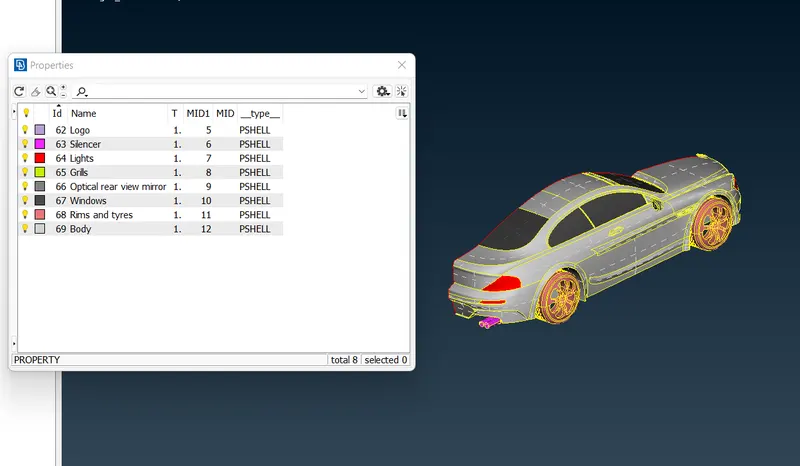
MESHING
Target lengths for the different parts of a model are as follow:
- Body - 3 mm
- Lights - 4 mm
- Grills - 1 mm
- Rims and Tyres - 2 mm
- Optical Rear view mirror - 2 mm
- Window - 2 mm
- Silencer - 3 mm
- Logo - 1 mm
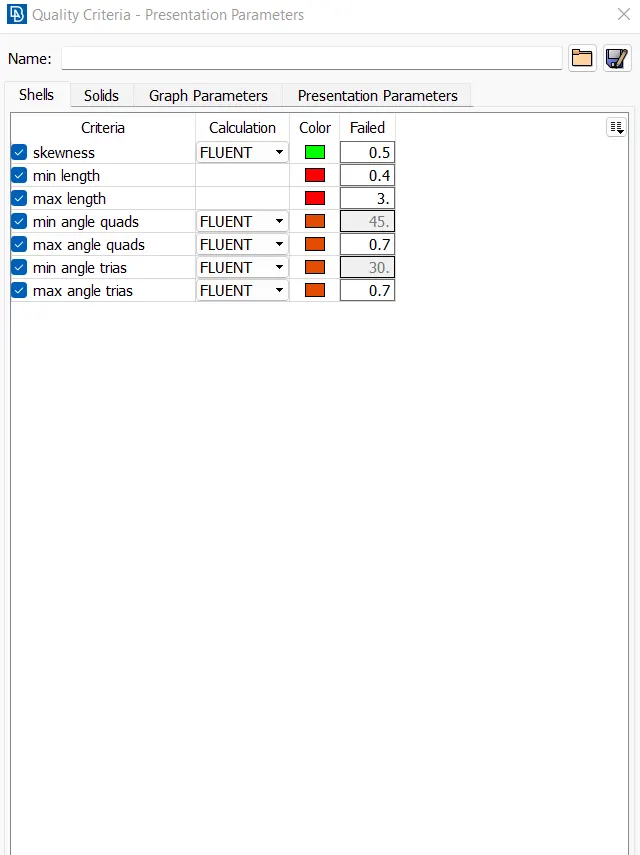
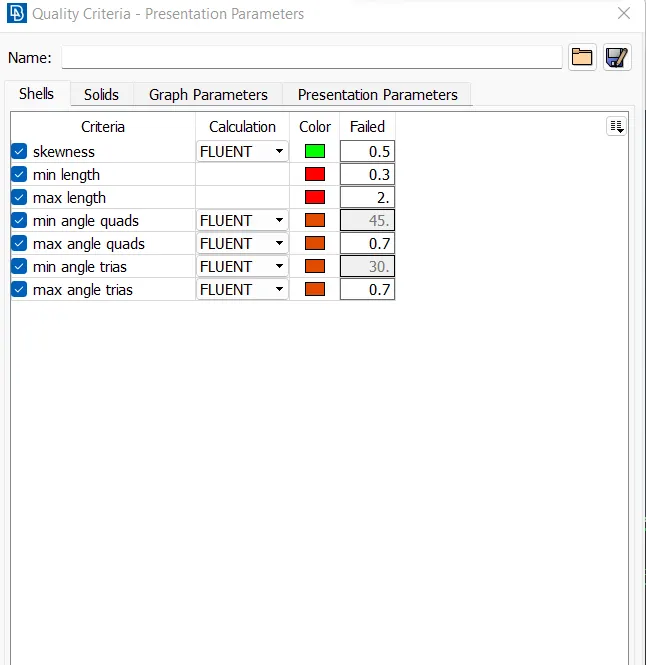
Giving the quality criteria as follows
Giving quality cirteria to logo
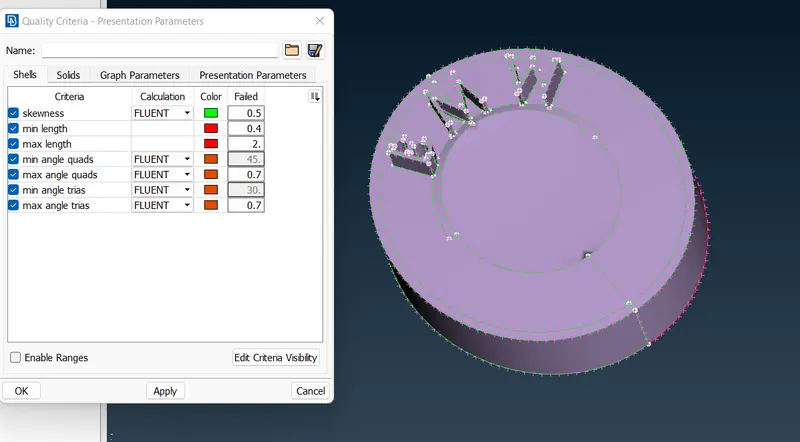
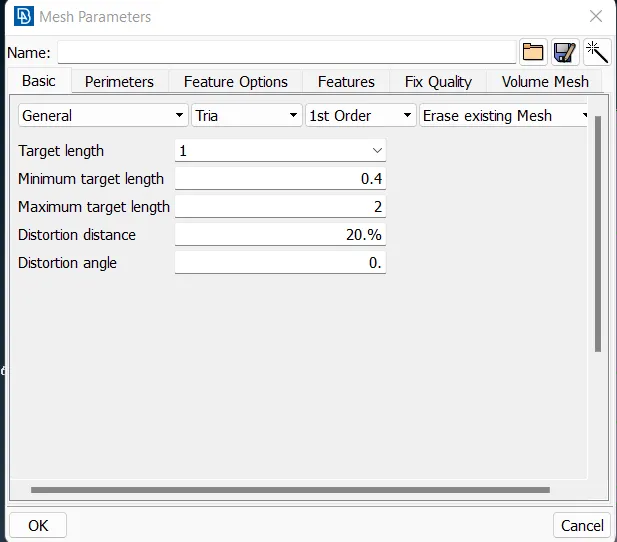
with 1mm
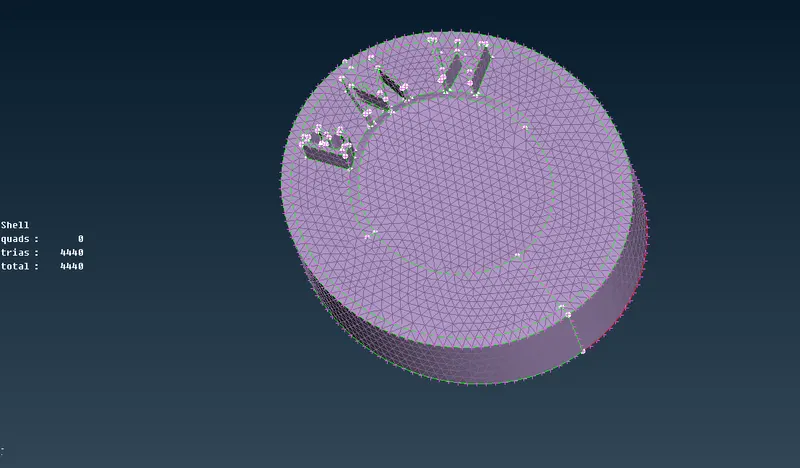
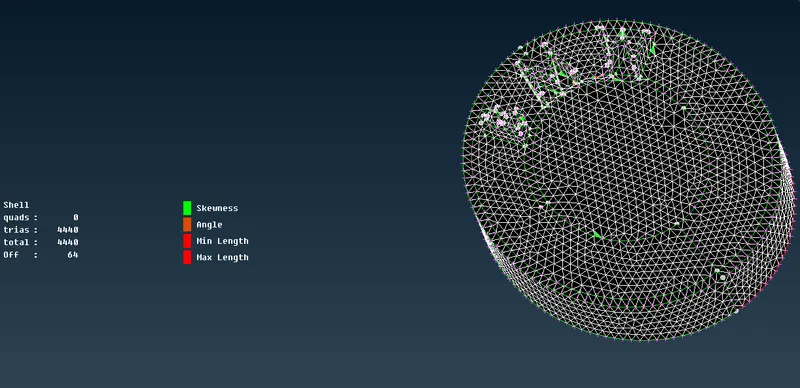
64 elements are failing to qualify quality criteria
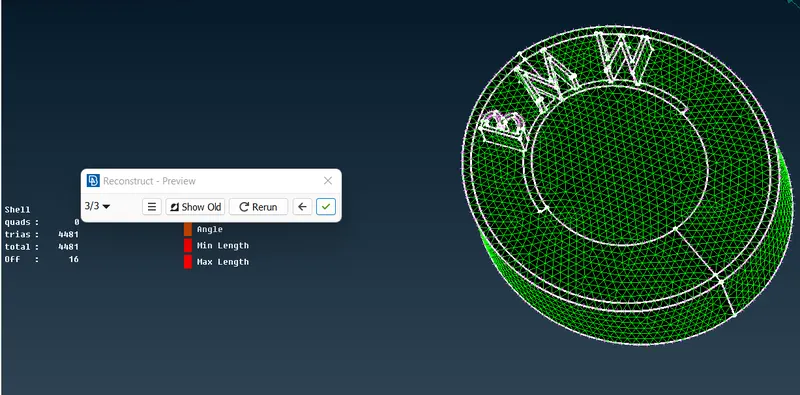
Using reconstruct still we have 16
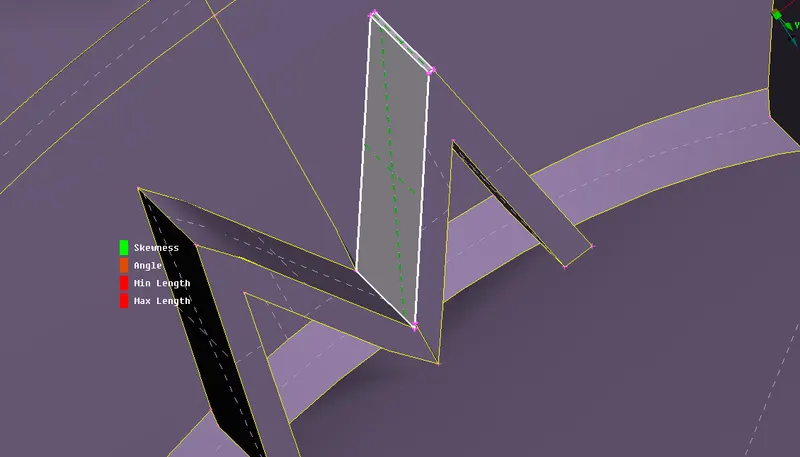
solving skewness by deleting and then creating new surface
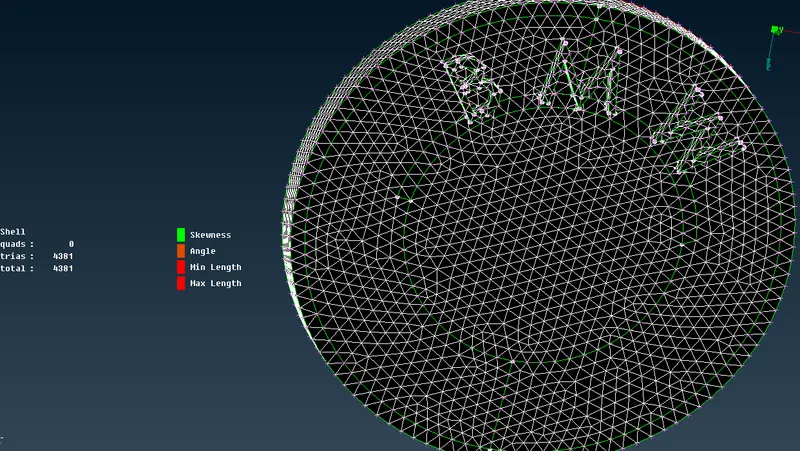
Now we got 0 errors
Now for Grills with 1mm
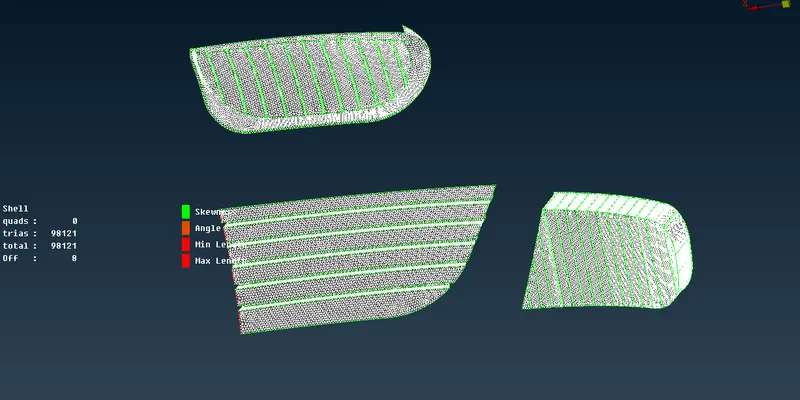
after fixing errors
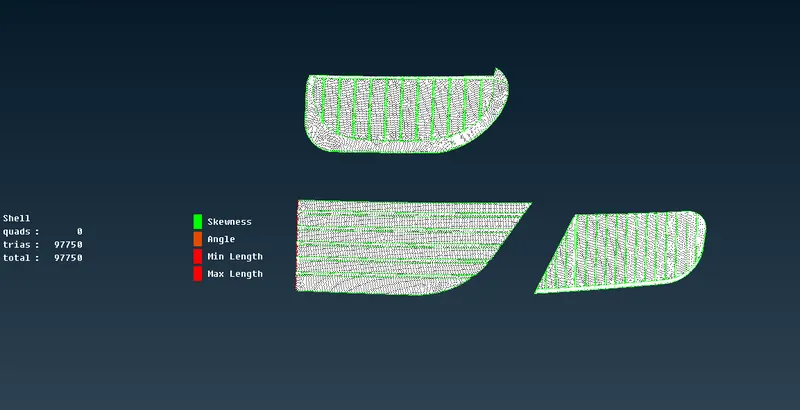
Now for windows with 2mm
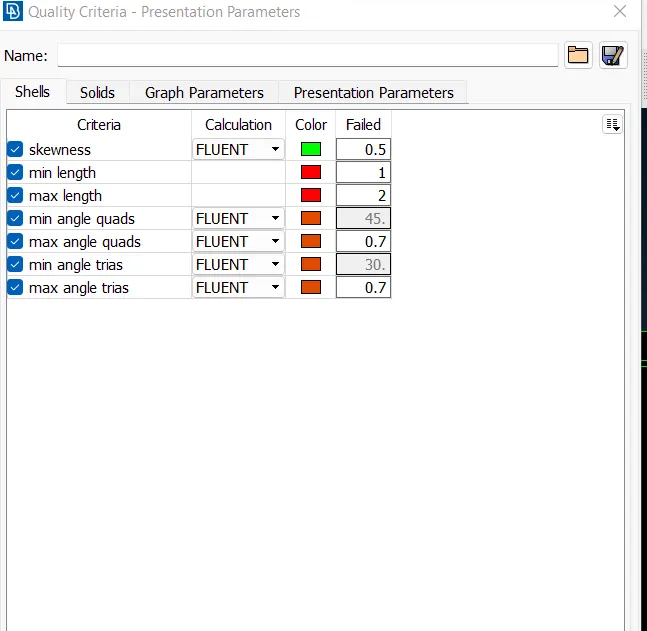
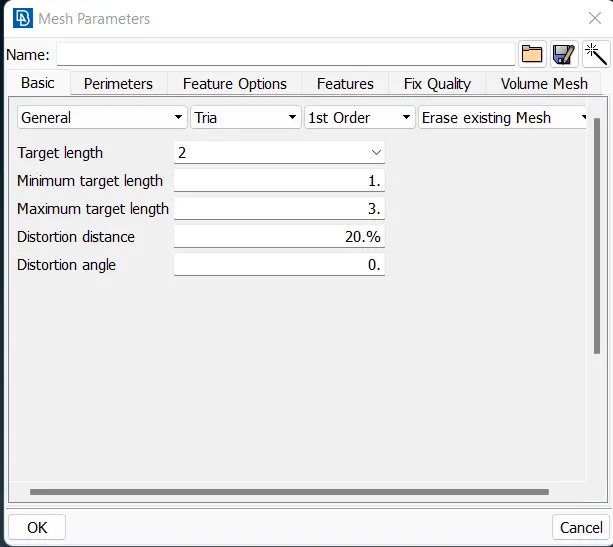
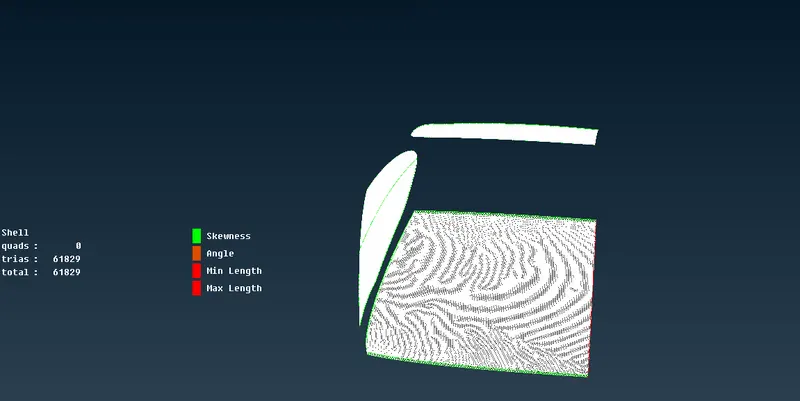
Now for lights
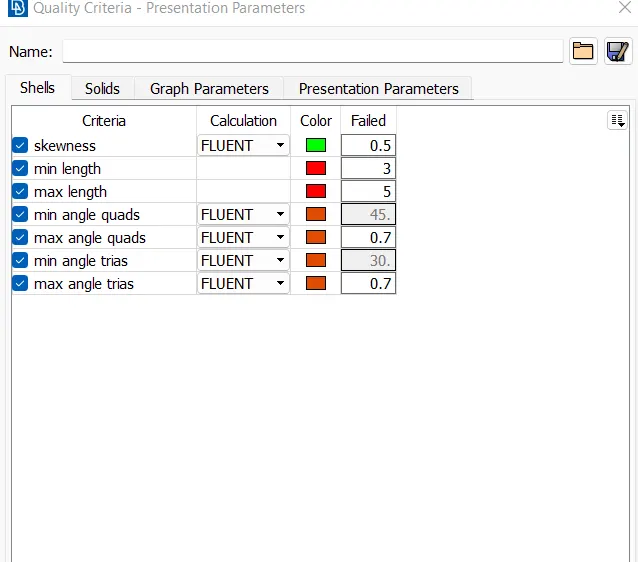
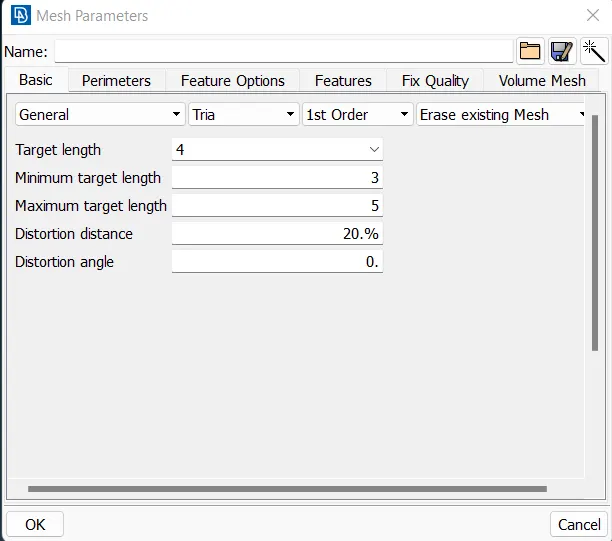
Using move grids tool we fixed the mesh
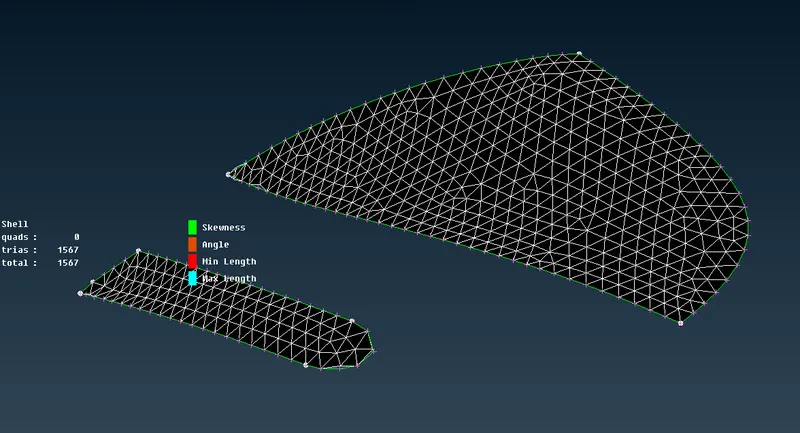
Now for tyres and rims with 2mm
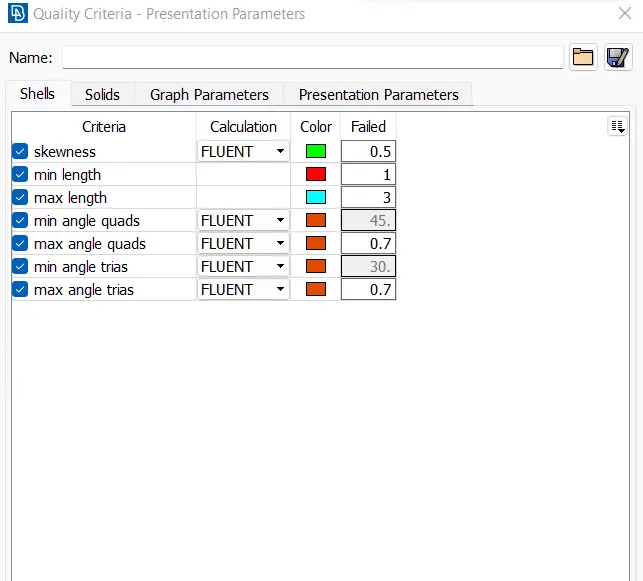
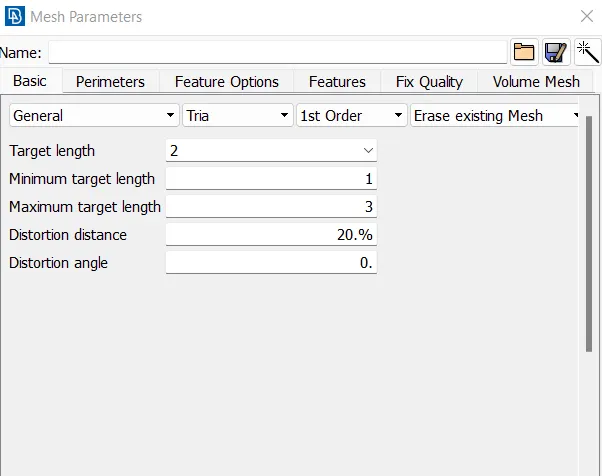
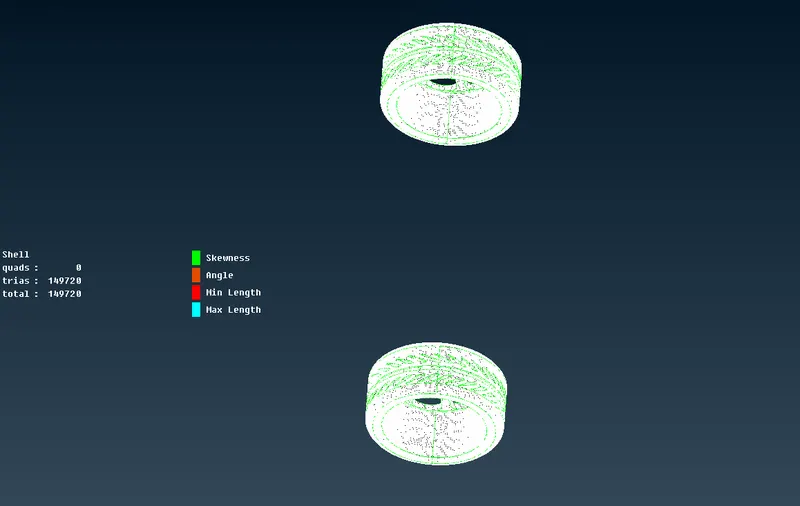
Now for silencer with 3mm
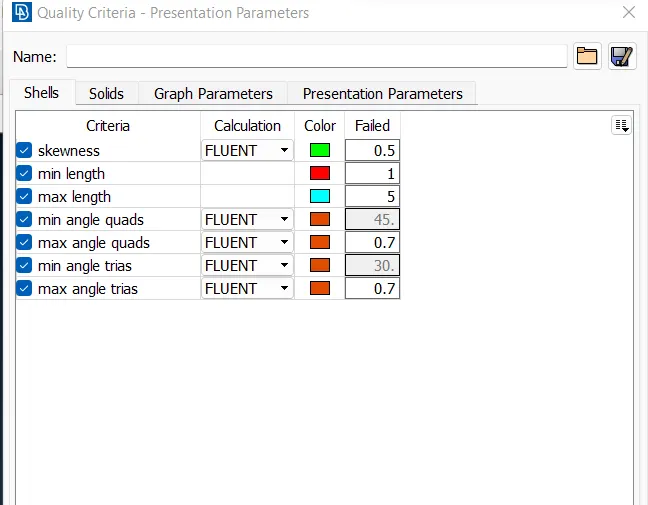
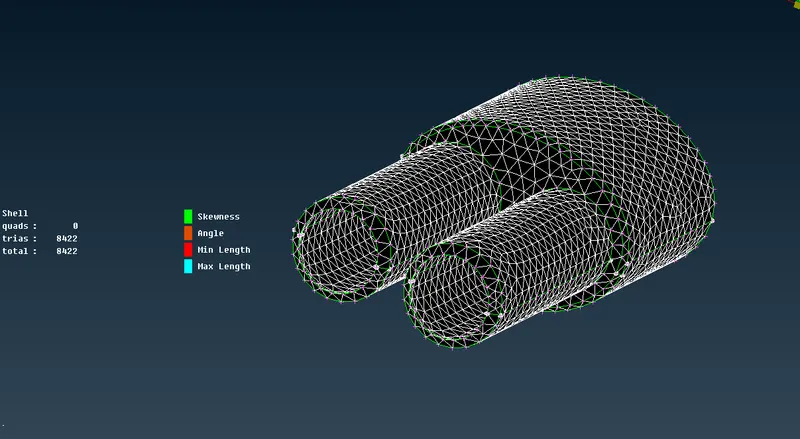
Now for Optical Rear view mirror - 2 mm
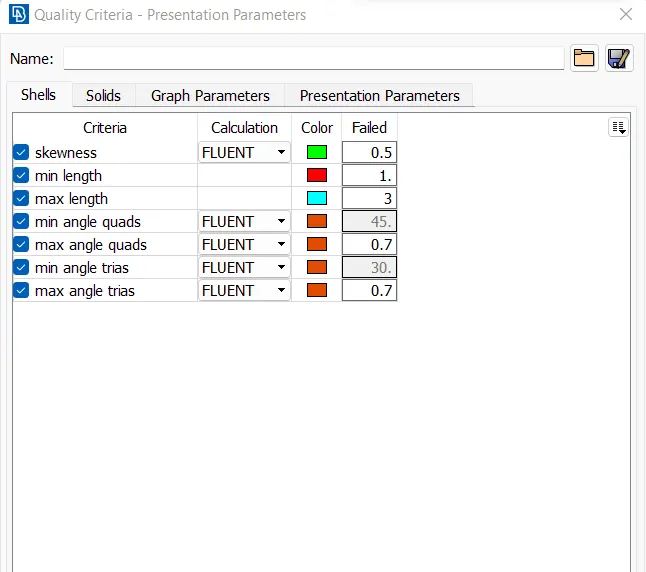
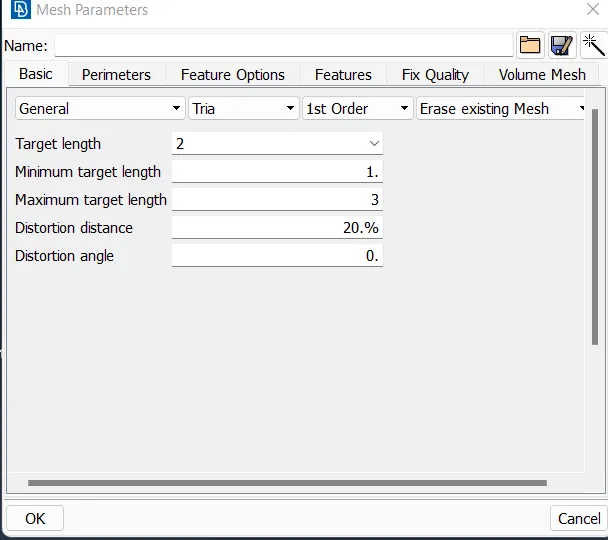
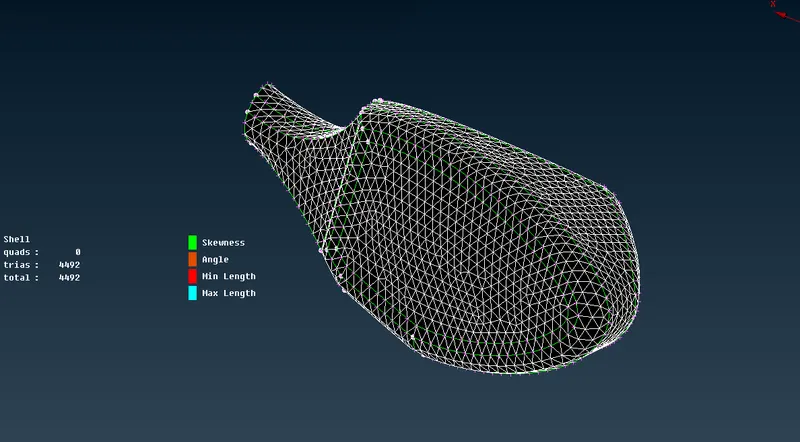
Now for body with 3mm
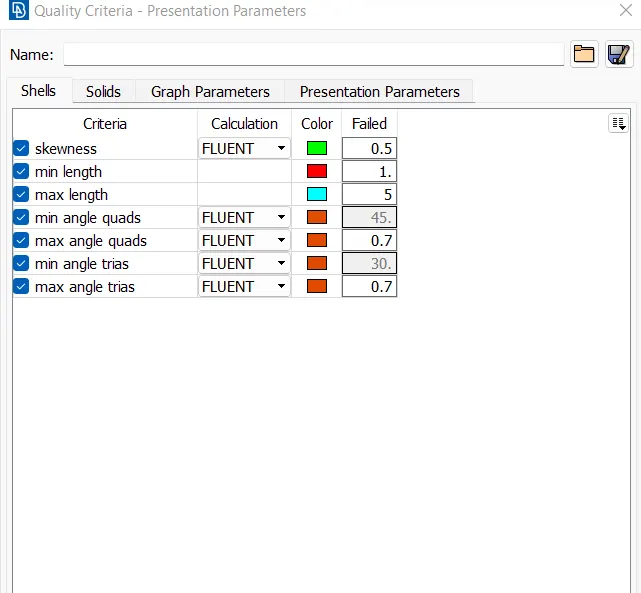
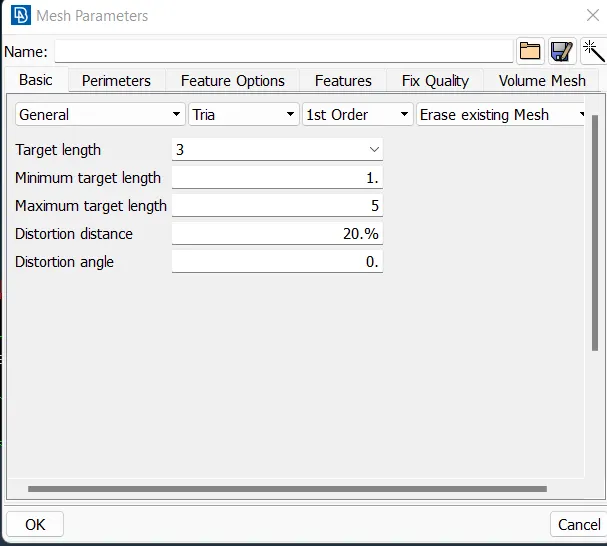
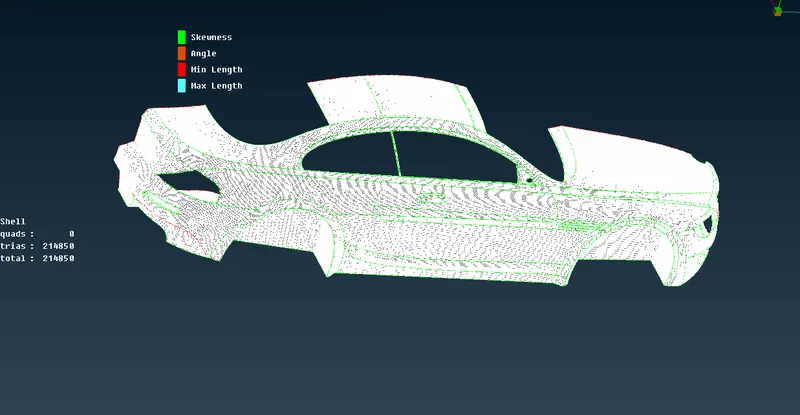
so meshing for symmetrical side has been completed
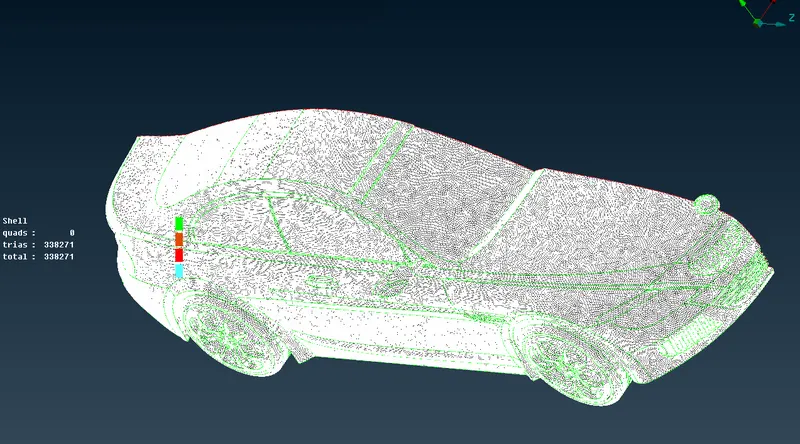
Now doing symmetry i.e copying other part to another side
Using transform copy
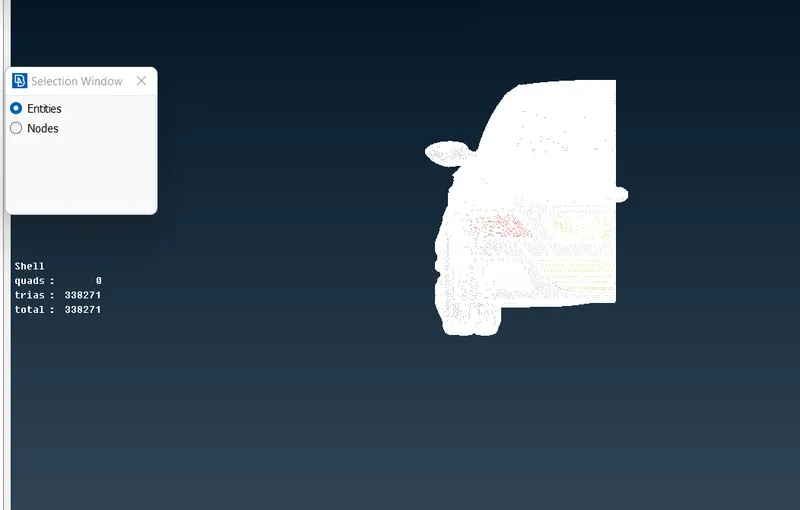
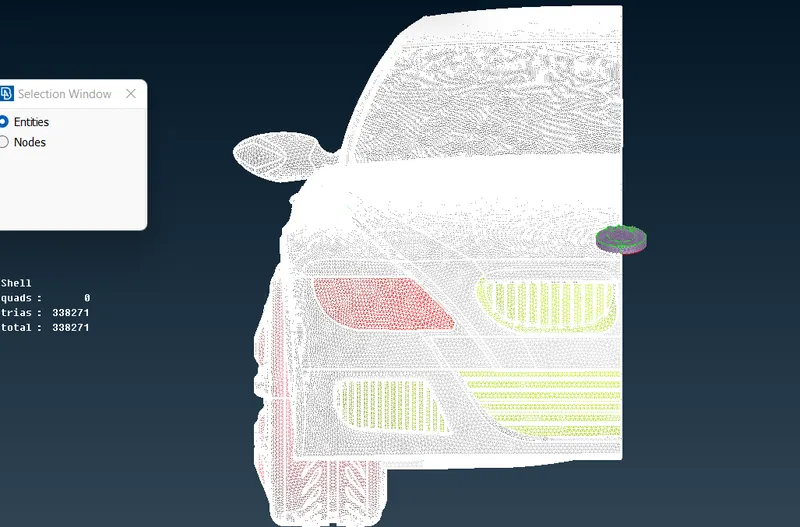
Selecting any 3 random points
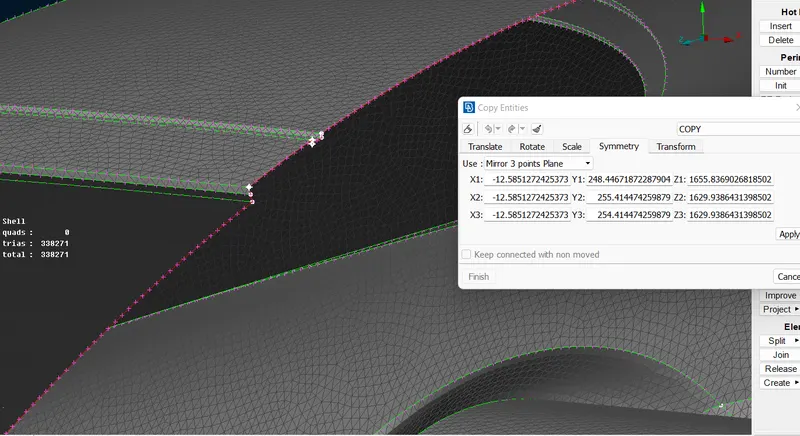
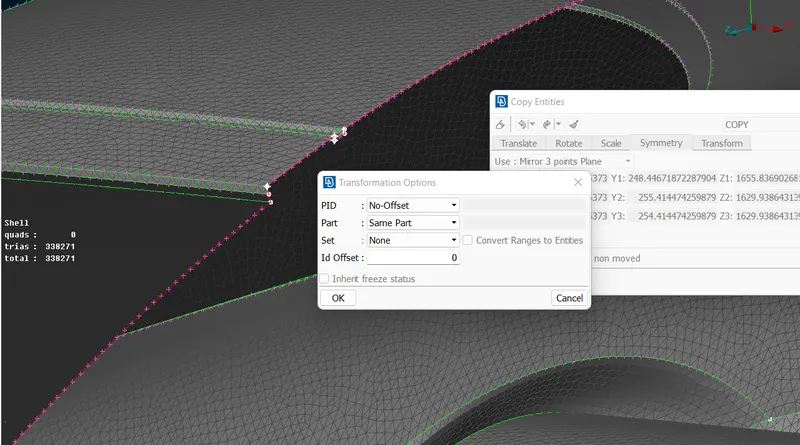
Now the symmetry is done and the full model is generated as follows
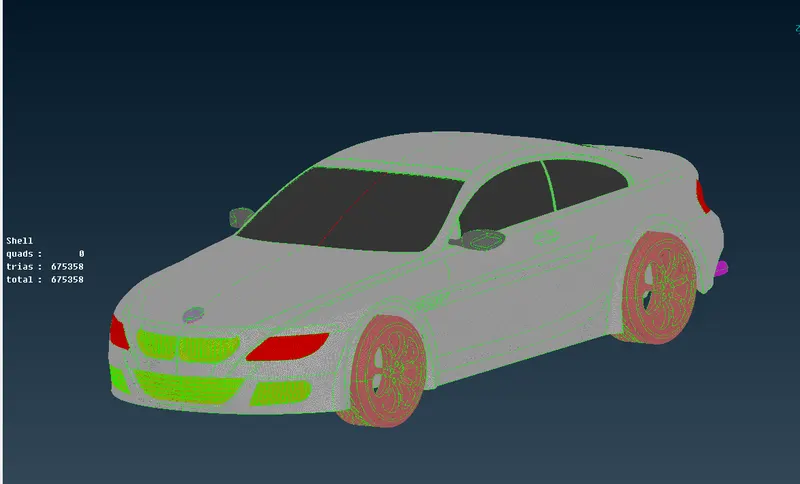
Fixing the single cons if any after symmetry
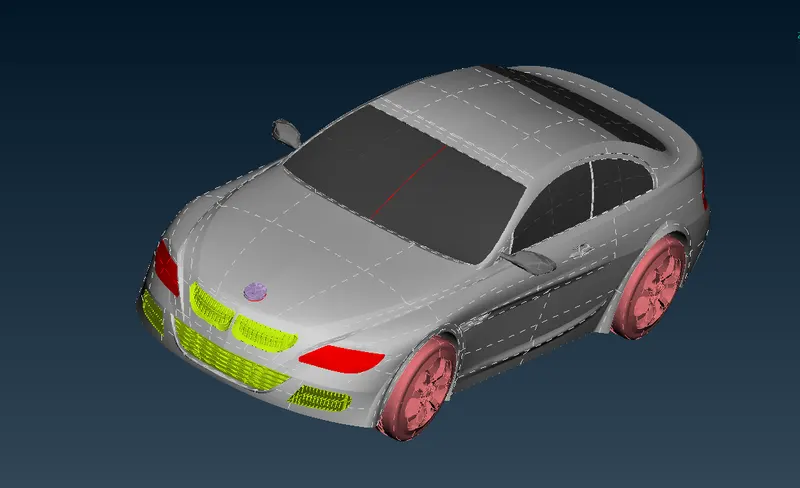
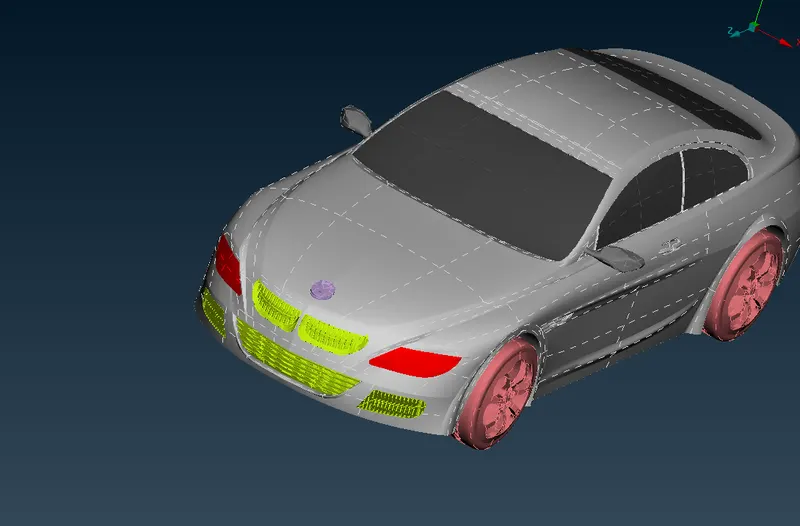
Now creating the wind tunnel
Measuring distance between two extreme nodes
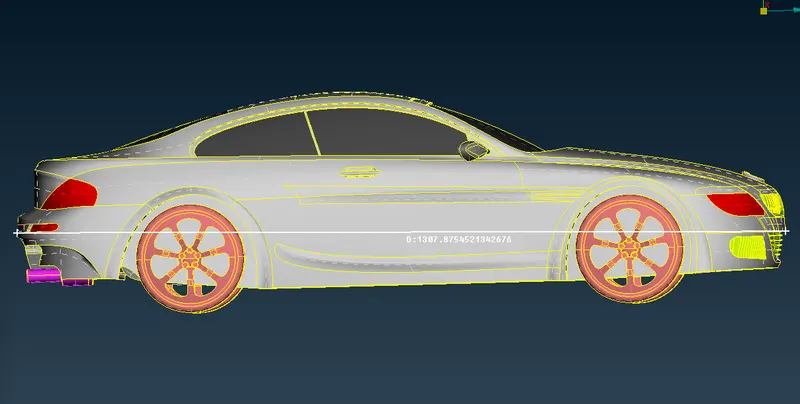
So front end of wind tunnel should be 4X distance from front node
for rear face of wind tunnel should be 6X distance from rear node
for top face 3X and bottom face near to wheels with some gap
side faces from top view to be X distance
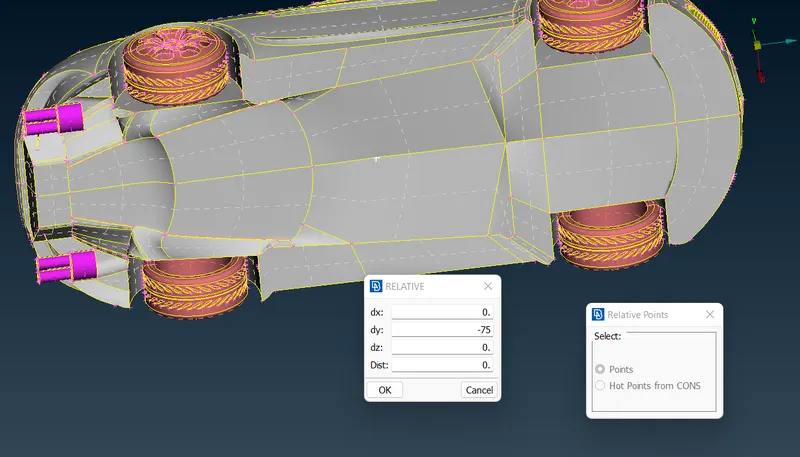
now making at point at front end to make 4X from there as follows
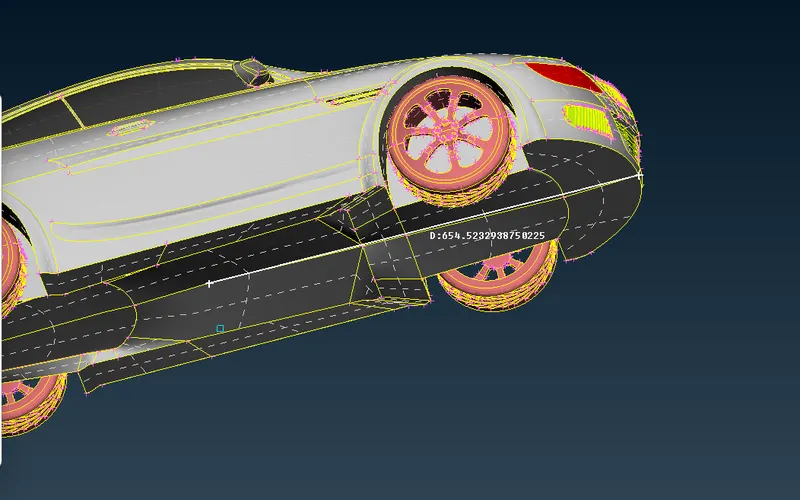
Now creating point at 654+4X = 5854 distance
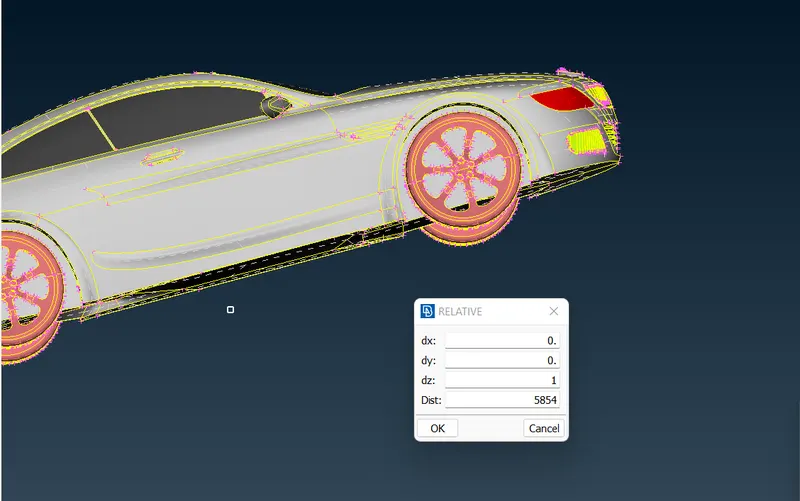
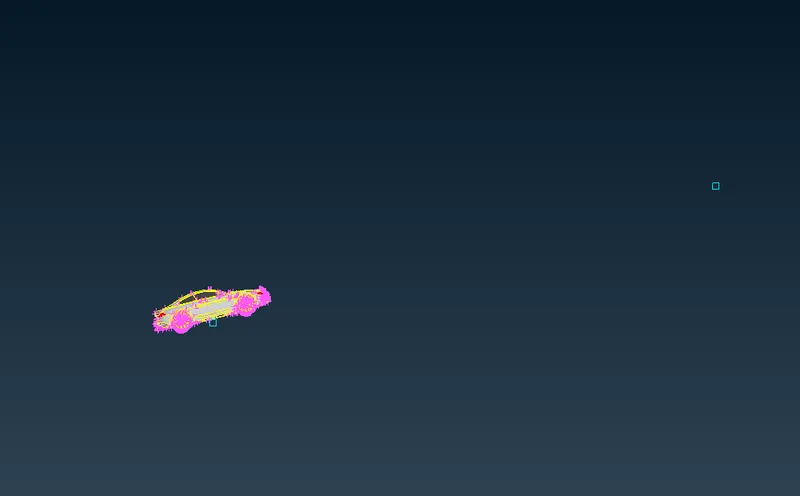
Now for rear side
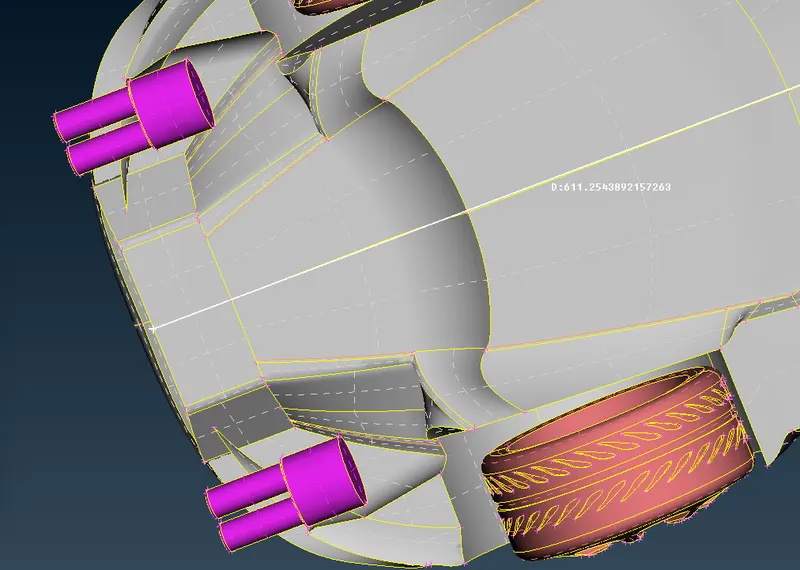
So creating point at 611+6X distance
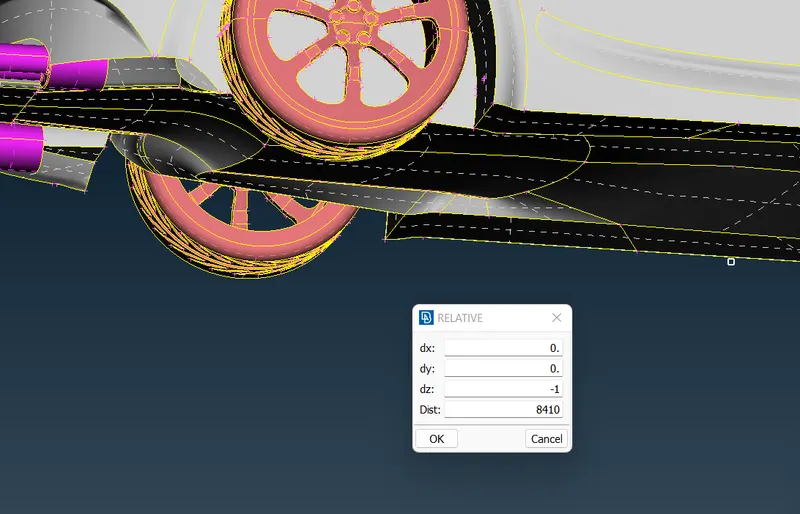
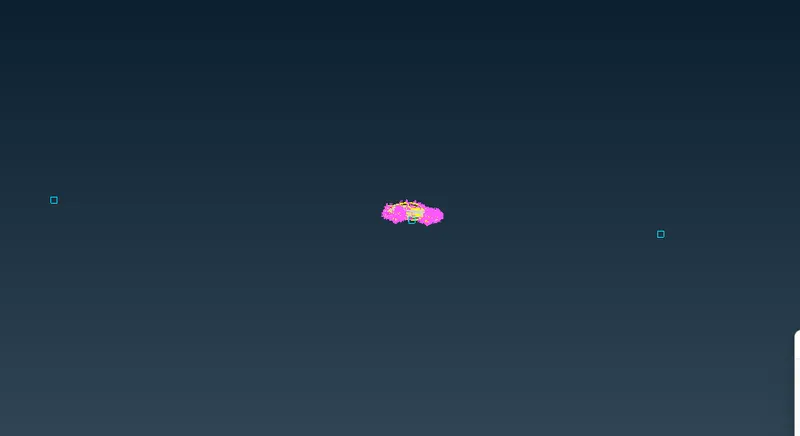
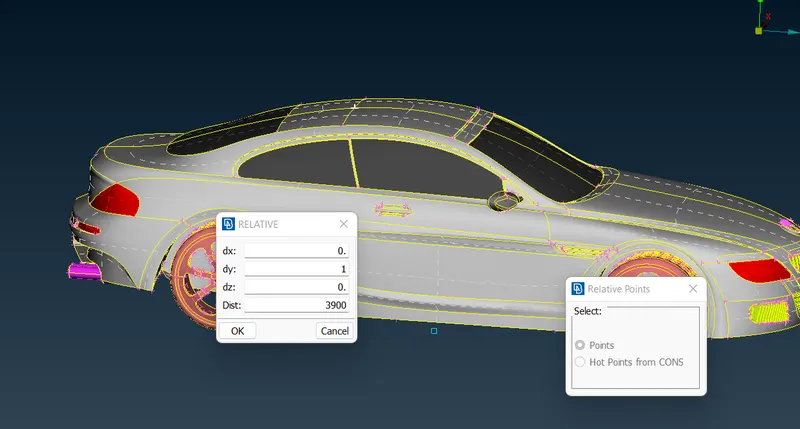
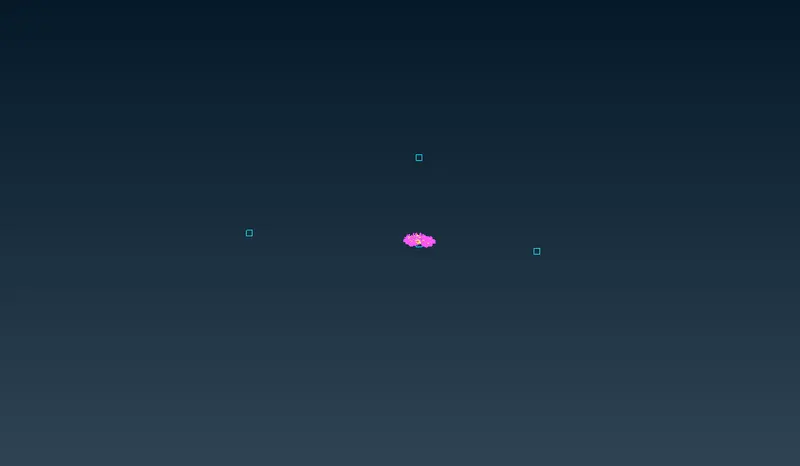
Now for side faces of wind tunnel
In +ve x-direction
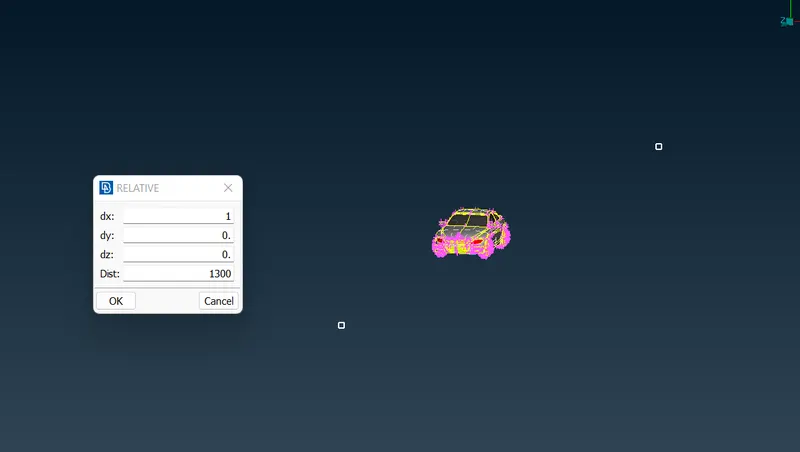
In -ve x-direction
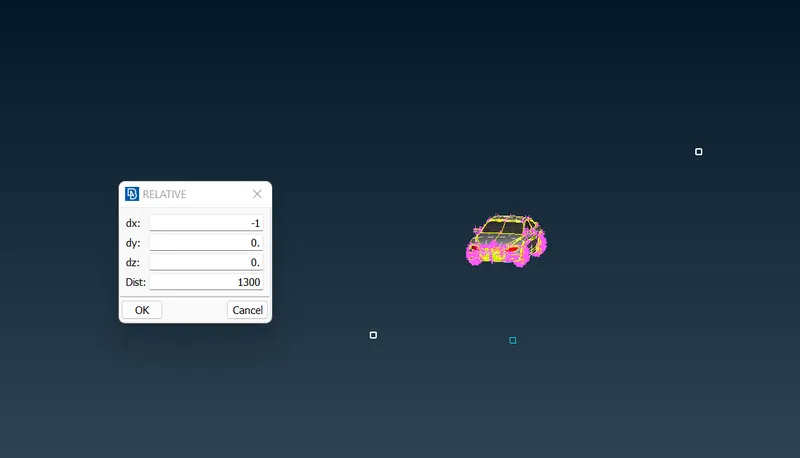
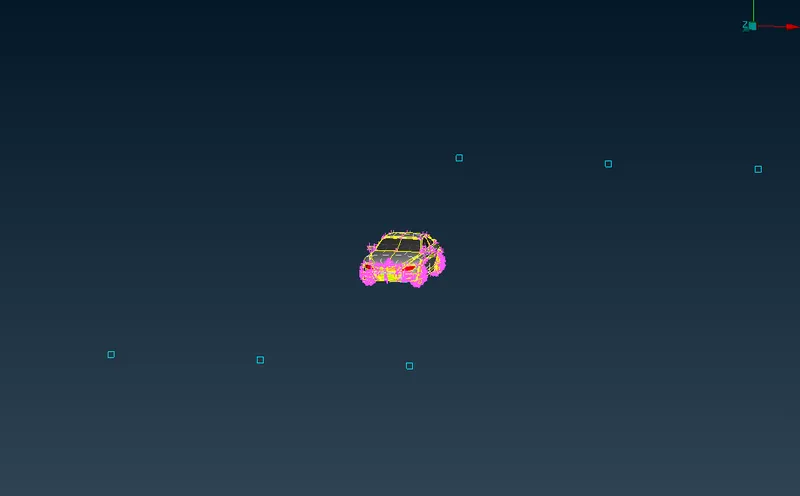
Using curces>create to create the bottom surface of wind tunnel
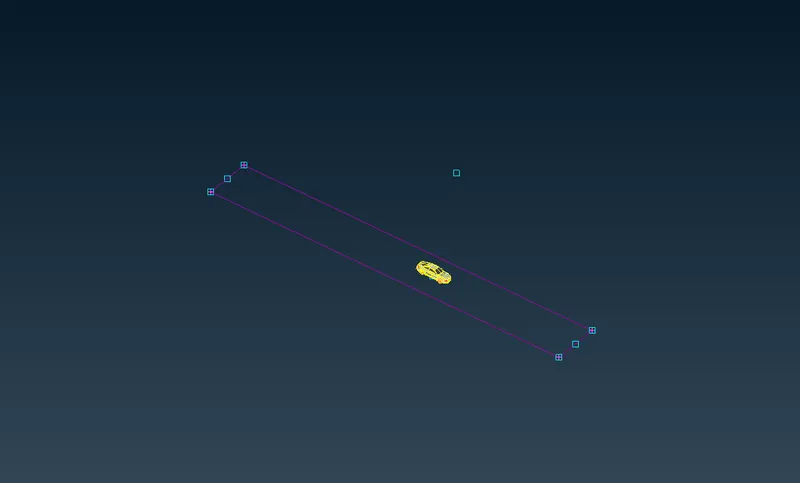
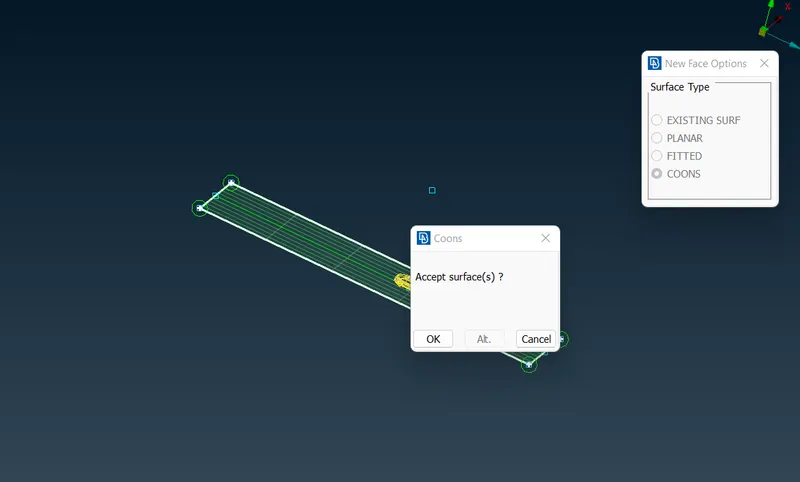
then using New>COONS to create surface
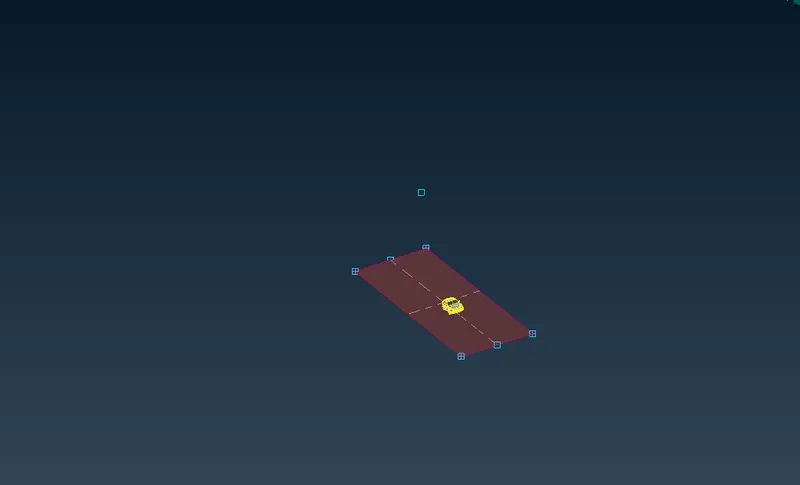
Measuring vertical distance of the car
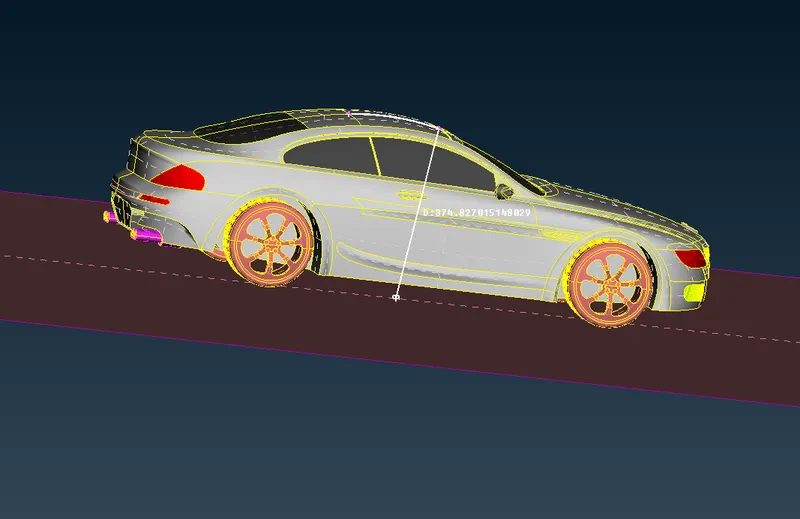
so top tunnel face with 3X+375=4275
Using faces>offset
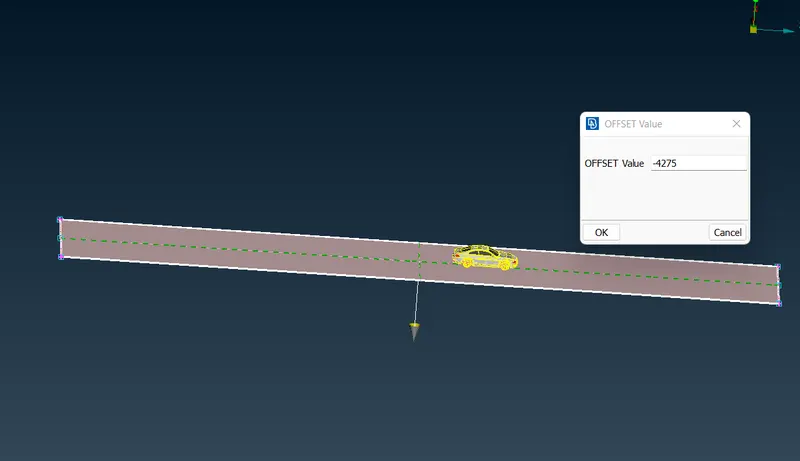
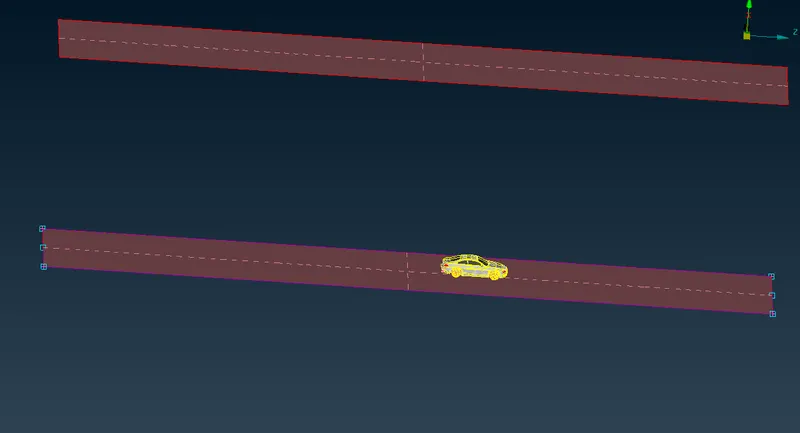
Creating other surfaces as follows
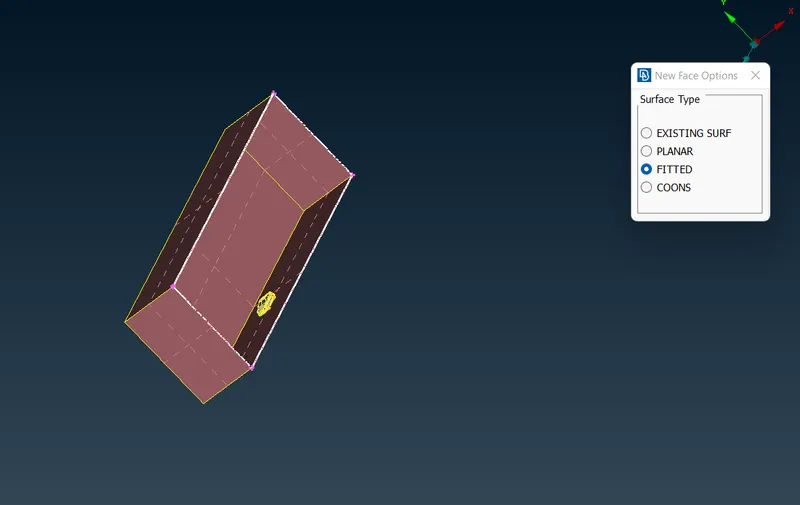
Assigning PIDs for tunnel
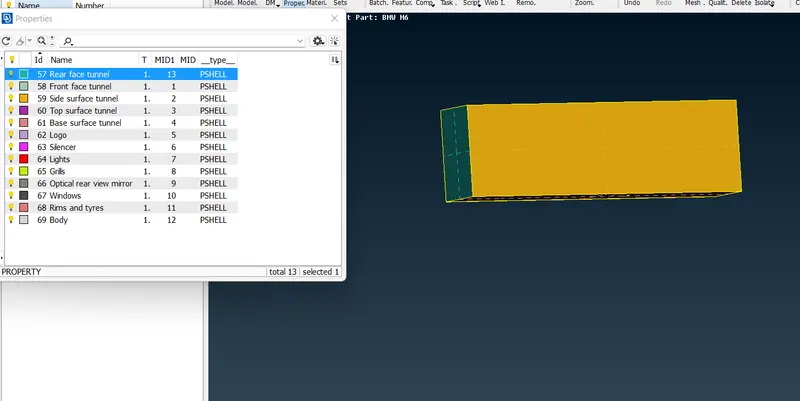
Now meshing
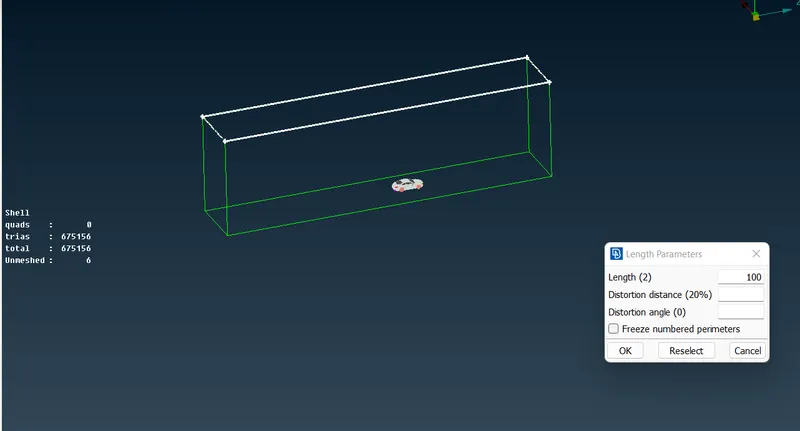
For bottom
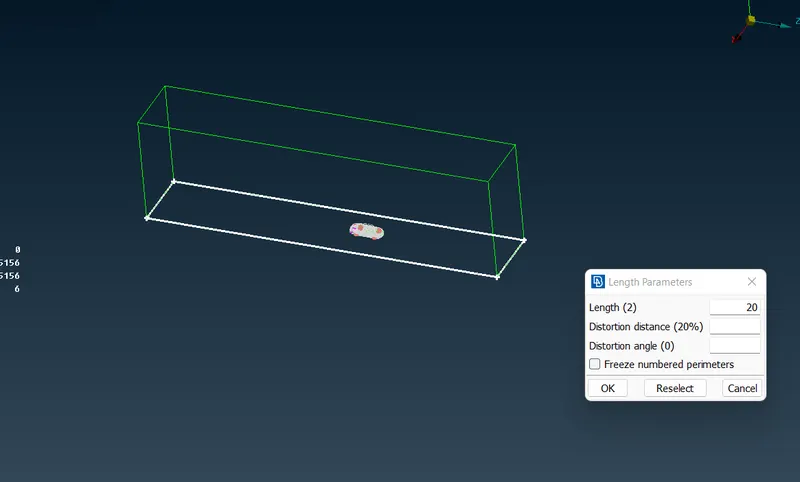
Using spacing tool
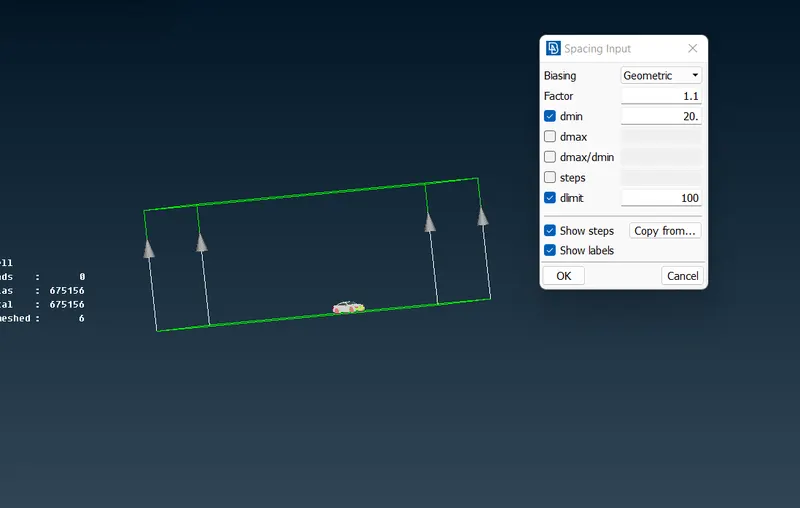
So now meshing
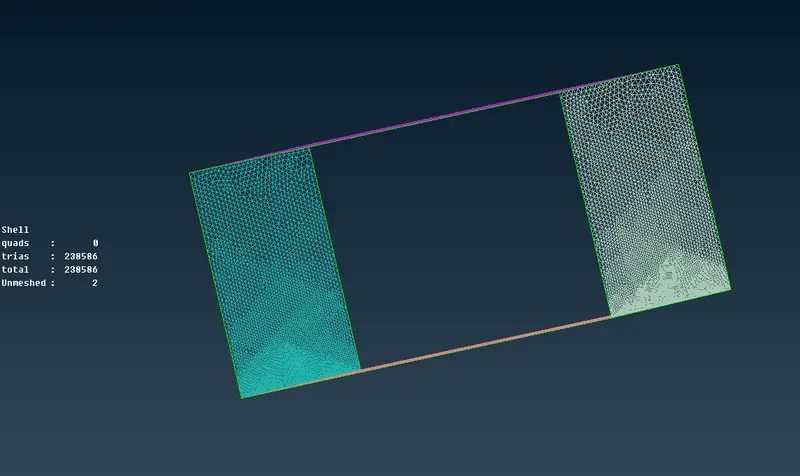
So meshing for wind tunnel is completed
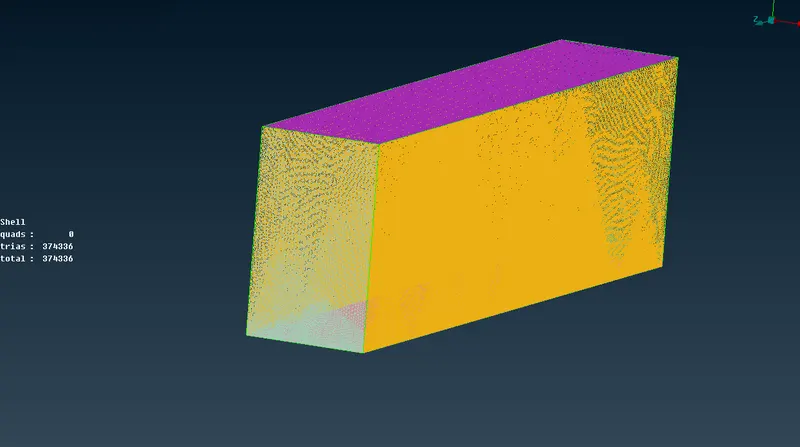
Now doing the volumetric meshing for wind tunnel
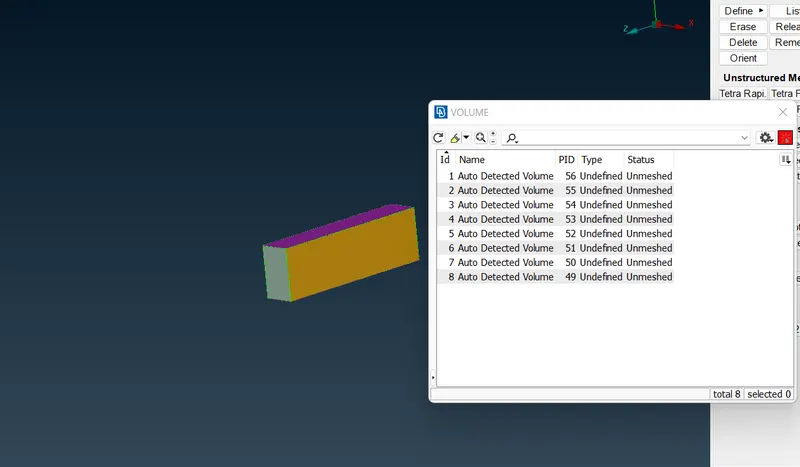
we only need the volume between model and tunnel, so checking for it and deleting the other volumes.
so this is the below volume which we basically need
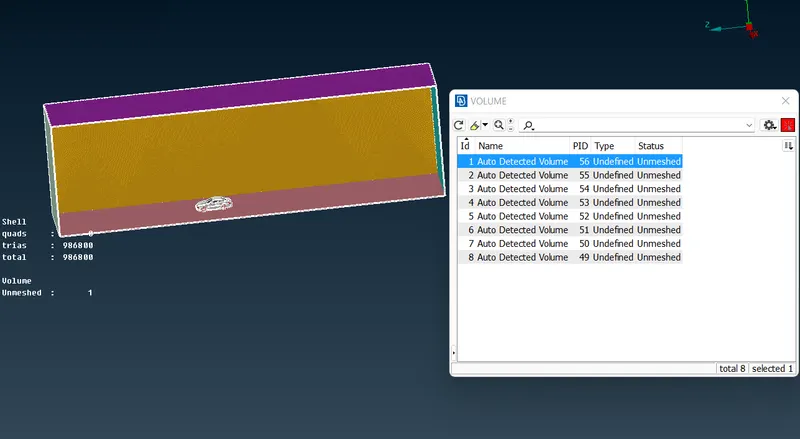
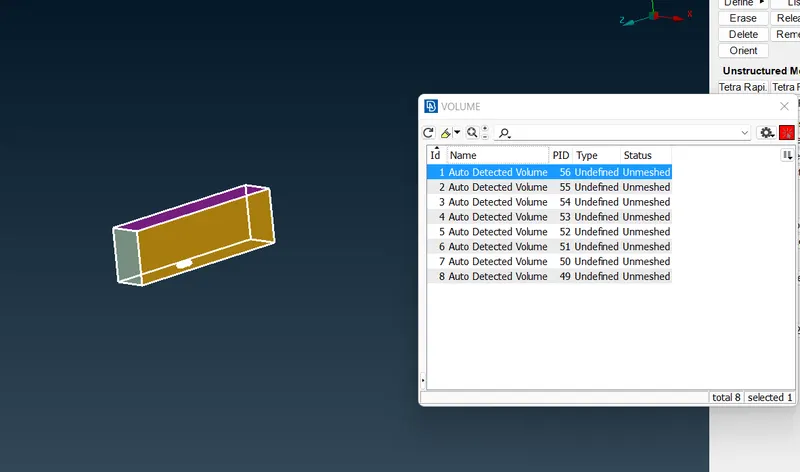
Unrequired volumes are as follows
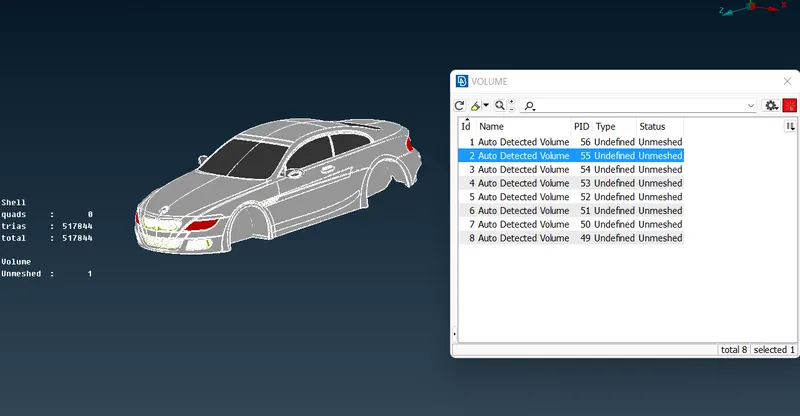
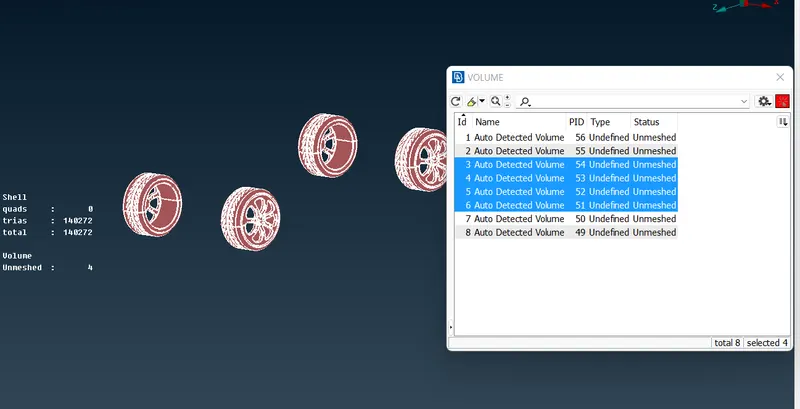
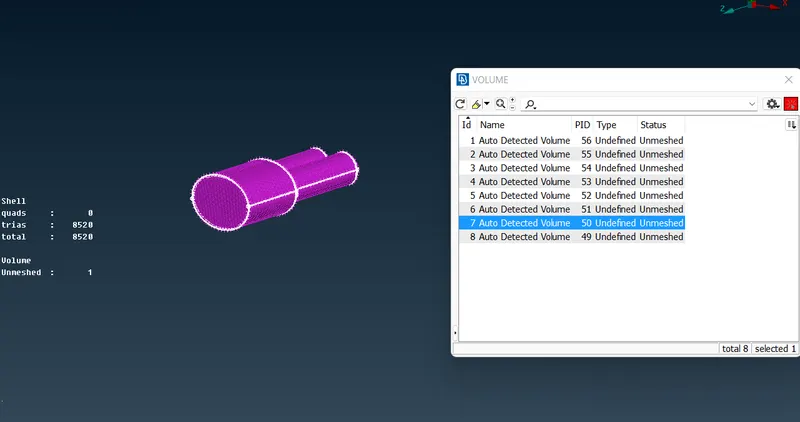
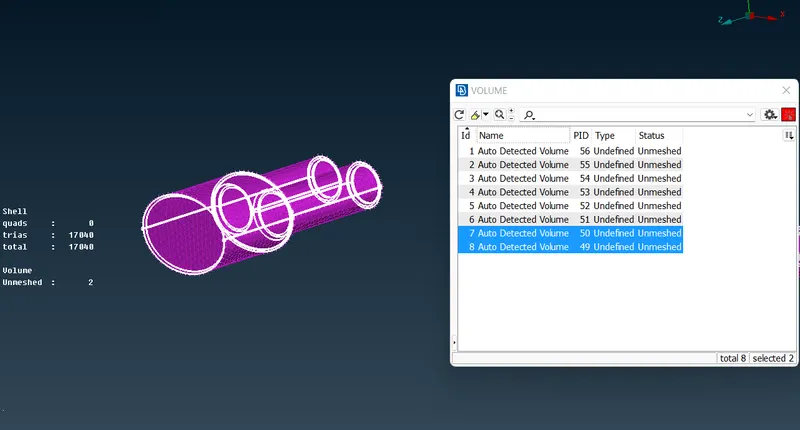
Deleting and keeping only the required volume
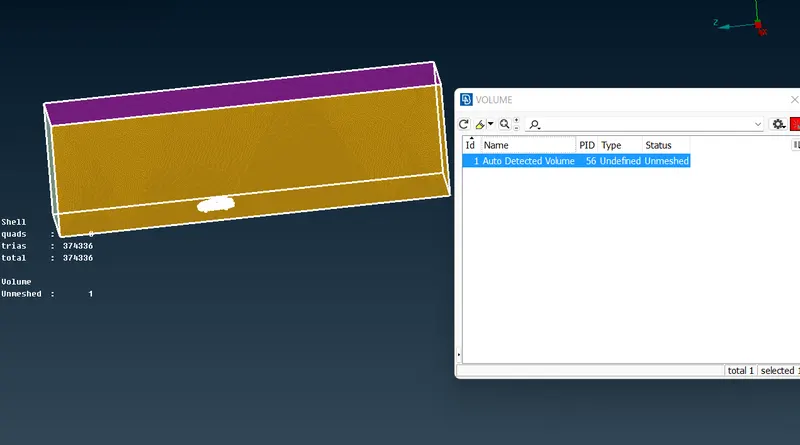
CONCLUSION:
Thus the surface mesh with Tria elements for the model and the wind tunnel has been generated successfully.