Week 4 Challenge : CFD Meshing for BMW car
Aim : To check and solve all geometrical errors on half portion and Assign appropriate PIDs. Perform meshing with the given Target length and element Quality criteria. After meshing the half model, Do symmetry to the other side. Also, perform Volumetric mesh between Car and the tunnel.
Procedure :
GEOMETRY CLEANUP :
- Give PIDs to the different parts present in the car and name it.
- In mesh module, Perimeters - Length give the perimeters as 1 so that the car graphics will get an accurate shape.
- In ANSA, we can perform topo cleanup,meshing to one half of car if its symmetric, then we can apply the same to next half.
- The Main objective is to make the car as a single volume so that it will be easy to perform Volumetric mesh.
- Cut the car into equal halves and delete the other half.
- Start cleaning the geometrical errors from one PID at a time.
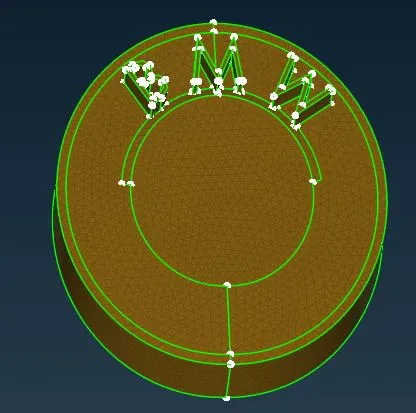
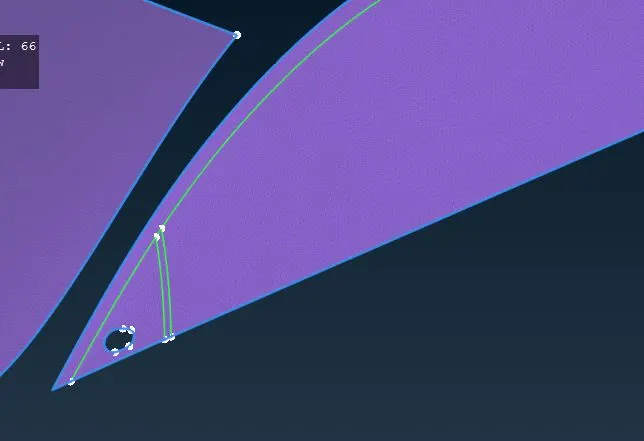
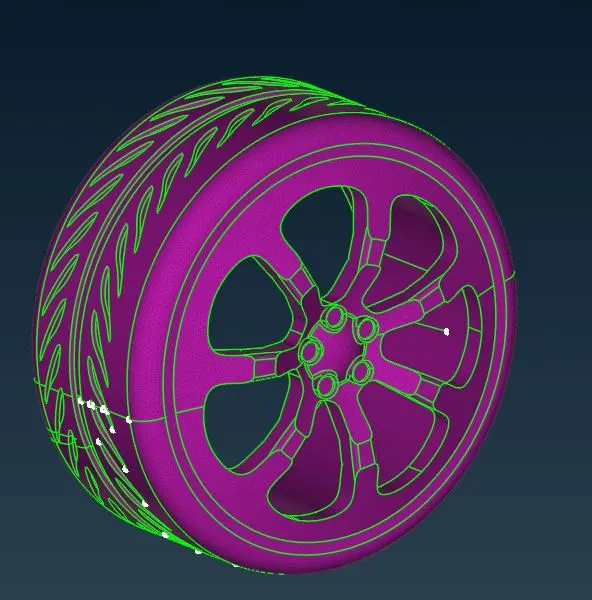
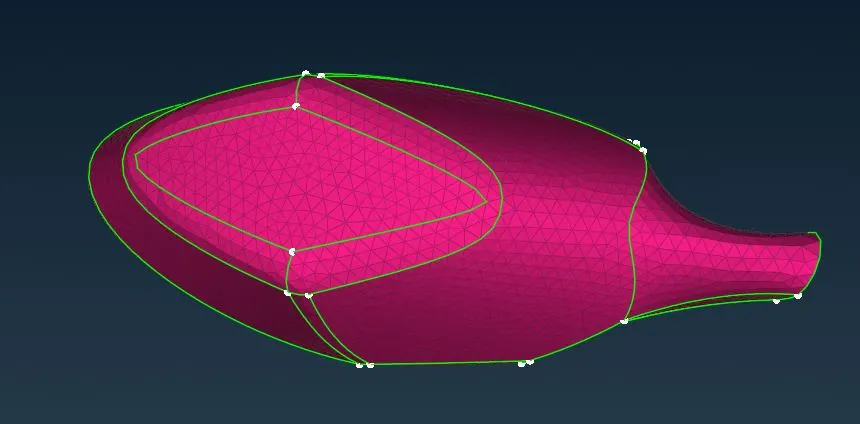
- Remove all the single cons and triple cons present in the grills, rear view muirror, exhaust, body, lights, windows, logo & rims & tyres.
- Use Extend option surface to extend the surface if its single cons.
- We can use undelete option to retrieve the surfaces which we deleted unintentionally. Use Topo option after retrieving it.
- Use cut option to create the cut and also delete the cut.
- Remove the unnecessary hot points after you delete the cons so that the surface will come better..
- Avoid creating sharp surfaces instead use cut and delete the adjacent surface and make it as a single surface.
- Use Curves - cons2curve and select the con and delete the surfaces. This will help to find the trace of the previous cons present in that area.
- Delete the curves once you create the surface.
- Remove the cons and hot points which are less than mesh length so that it will be easy to mesh.
- Thus, we have removed all the single cons and triple cons present in the car.
- Next we will be moving to mesh module to perform 2d meshing.
MESHING :
- Move to mesh module to mesh the car.
- Open Openfoam deck to give quality criteria for the different PIDs.
- Give mesh length in all the required four locations.
- The criteria should pass or else respective colour will glow and show as off elements in mesh module.
- You can check this by clicking on hidden mode.
- Clear all the off elements using Reconstruct in shell mesh so that it will automatically reduce off elements.
- Remove the left off elements manually by using Grids - Move - Guided/Free, use any option to remove off elements.
- Use origin to undo move option.
- Grid - Paste option is used to paste one node to the other.
- There should not be any off elements present in the meshing.
- Mesh all the different other PIDs present in the car as same.
- Once it is done, it is ready for volumetric meshing.
- Refer Image for clarity.
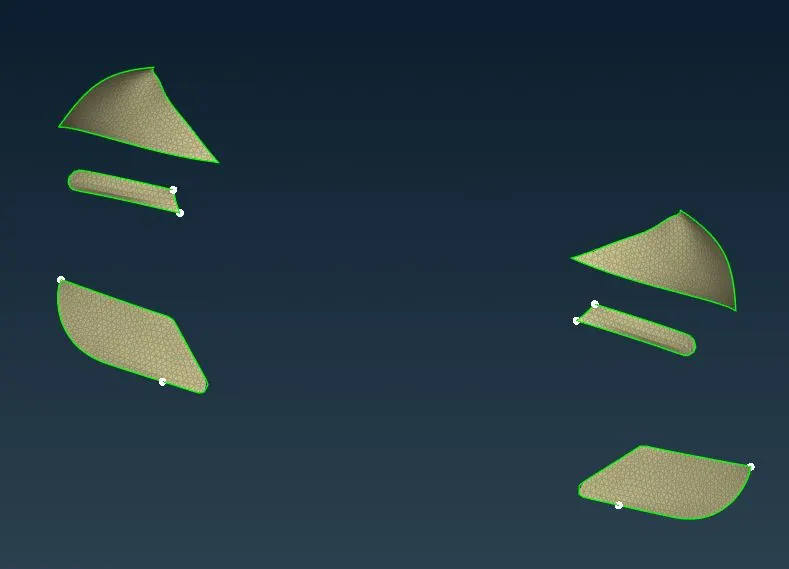
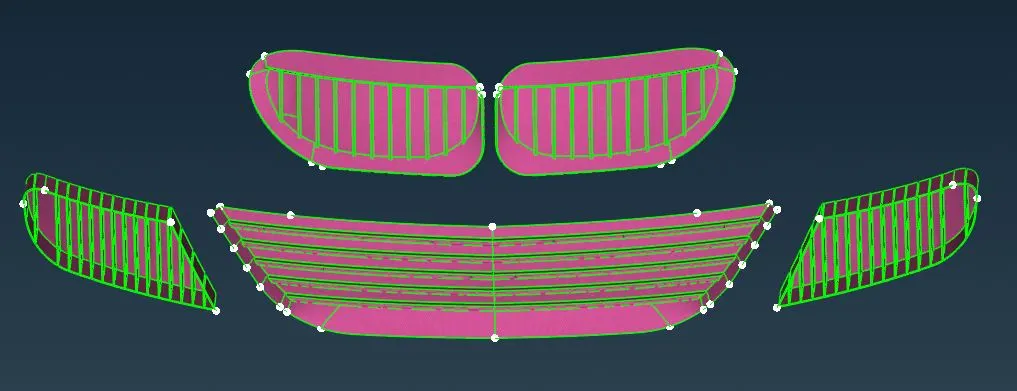
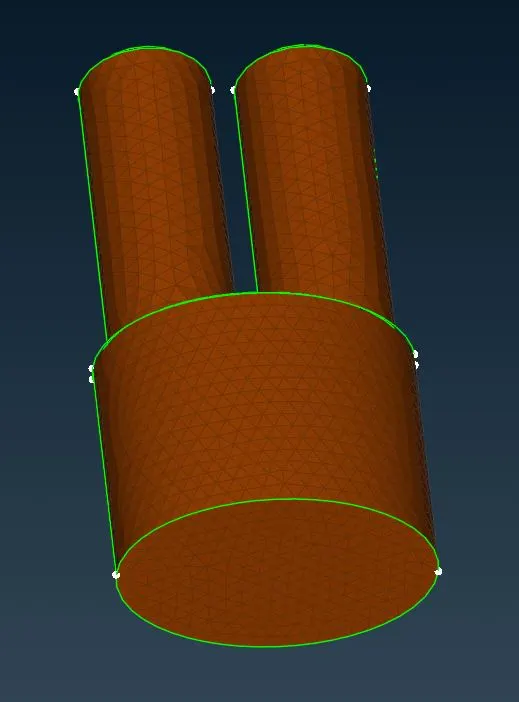
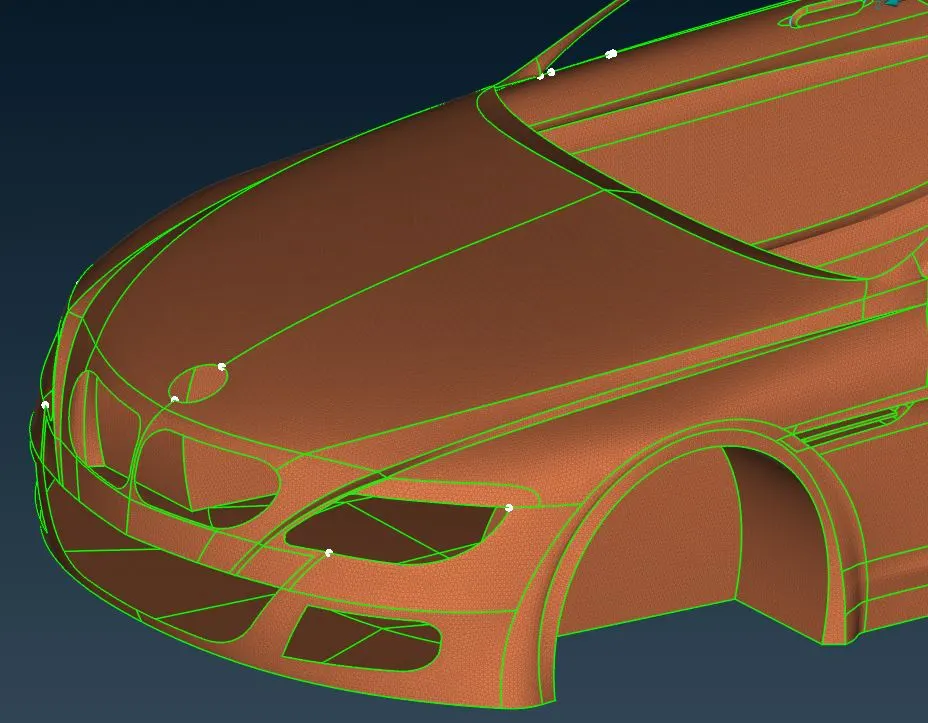
Tunnel Creation :
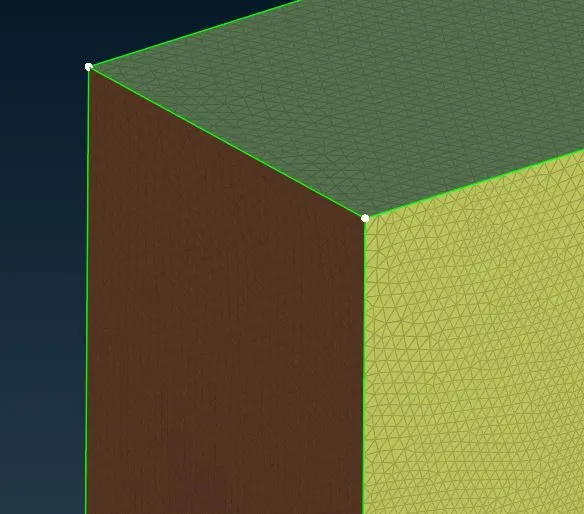
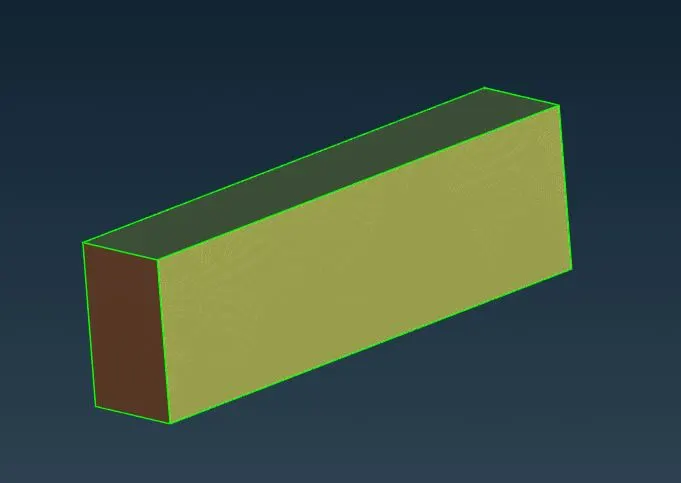
- To create wind tunnel we have to follow the standard i.) Front face should be 4x of the total car length ii.) Back side should be 6x of the car length iii.) Top side should be 3x of the car length iv.) Bottom surface should be near to the tires. v.) Side surface should be 1x of the car length.
- Use Points - Relative to create points which is used to create wind tunnel.
- Curves - Create - Select the points and create the surface.
- Faces - Offset - Select the surface and type the distance to offset the surface.
- Once it is done, do meshing for the top & bottom surface and give target lengths as 100 & 20mm respectively.
- Since flow is checked between car and the tunnel we have choose 20mm mesh length near to the car.
- Use Perimeters - Spacing and choose biasing - geometric and give factor as 1.1, dmin - 20mm and dlimit - 100mm.
- This will give varying mesh length from bottom to top to all the side surfaces.
- Once it is done, it is ready for volumetric meshing.
- Refer image for clarity.
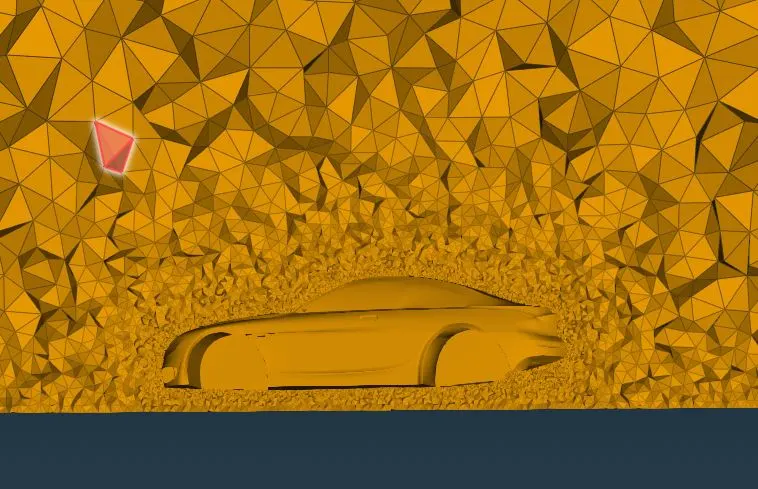
VOLUMETRIC MESHING :
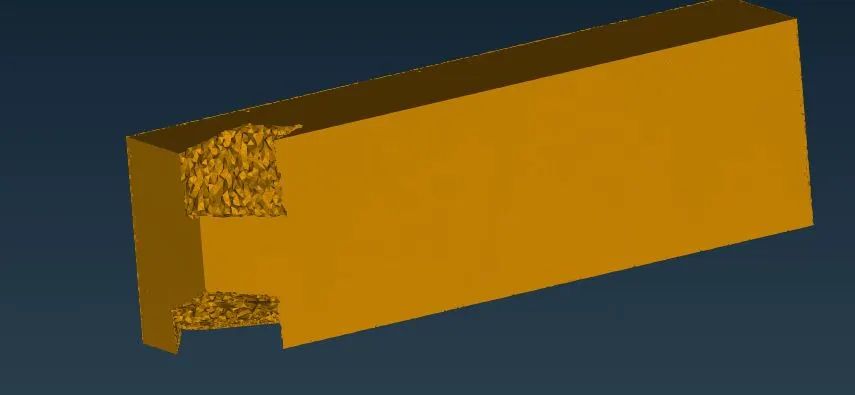
- Go to Volumetric mesh deck and choose Define - whole db.
- We will get the volumes created after meshing.
- 8 volumes are created and choose where the flow occurs.
- In our case, we should take the flow between car and the wind tunnel.
- We will delete the volume created by 4 tires and 2 exhausts.
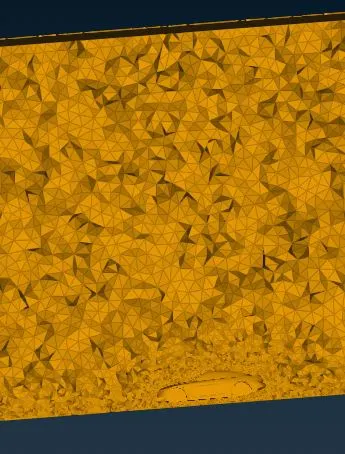
- Delete the rest of the volume and do mesh for the tunnel and the car.
- Once it is meshed, volumetric mesh is done which is 3D meshing.
- Refer image for clarity.
Conclusion :
Thus the volumetric mesh is done for wind tunnel volume.
Learning Outcomes :
I came to know the advanced meshing and commands used in it and I can do geometrical cleanup, meshing and Volumetric meshing to any Vehicle.
https://drive.google.com/file/d/1EUKeA7Sj23EITvH5uST-7vhhewUnMviO/view?usp=drive_link