Week 4 Challenge : CFD Meshing for BMW car
Aim: CFD meshing for BMW car.
Procedure:
As the intial process, the model is checked for geomterical error. Since the model contains alot of sub surfaces, we will divide the model into two parts by using delete option. Only half of the model is retained. As the basic step, the model is examined for single and triple cons. Since the model contains multiple parts, it is solved part by part. First the grills at the front of the car is islolated for processing. All the single cons can be solved by creating new surfaces by selecting the COONS option. The portion of the grills which is not tounching the surface of the car is to be created by projecting the edge to the surface by selecting the project cons option.
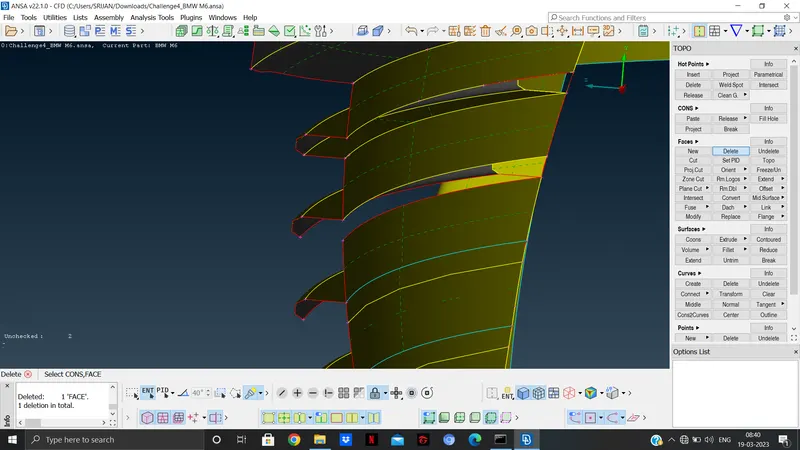
Carefully create all the surface and make a common volume. After the first set of grills are complete, select the second set of grills and isolate it. Check for all the possible errors and create surfaces where ever it is necessary by using COONS option. Use the cut option to cut the surfaces and delete the unwanted surfaces. Make sure that the grills create a common volume with the car.
Once the grills are complete select other parts of the car like lights. In the lights part delete all the unwanted surfaces which creates triple cons. Make sure that the lights create a single volume with car.
After the lights are complete, select the rear view mirror. Check for triple cons and delete the surfaces creating triple cons.
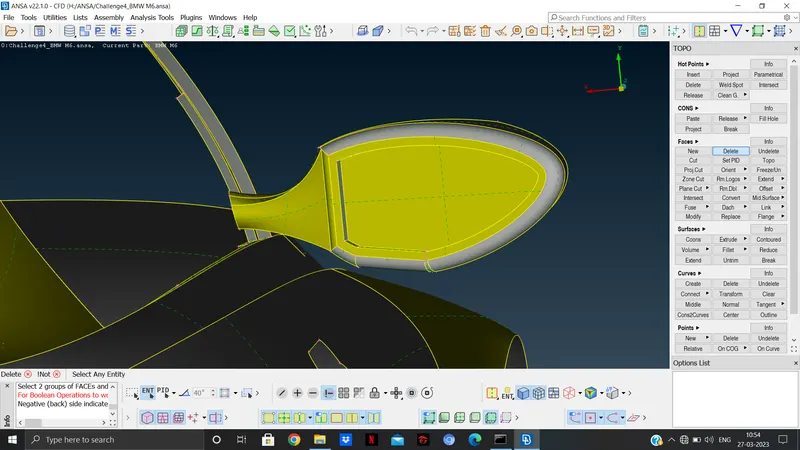
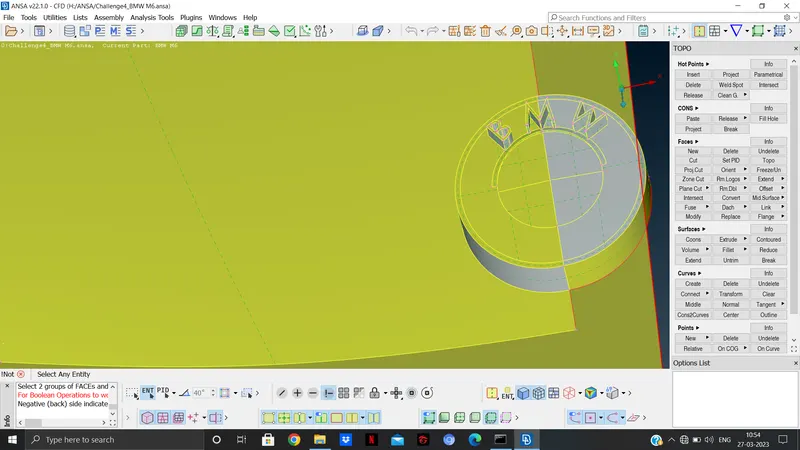
Once all the triple cons are solved, select the next part of the car. The logo of the car will be isolated. Check for possible errors and solve for all the possible failures. Delete all the surfaces present under the logo inorder to create a common volume.
The alphabets of the logo contains smaller surfaces. Delete all the smaller surfaces and create a new surface by using COONS or FITTED option.
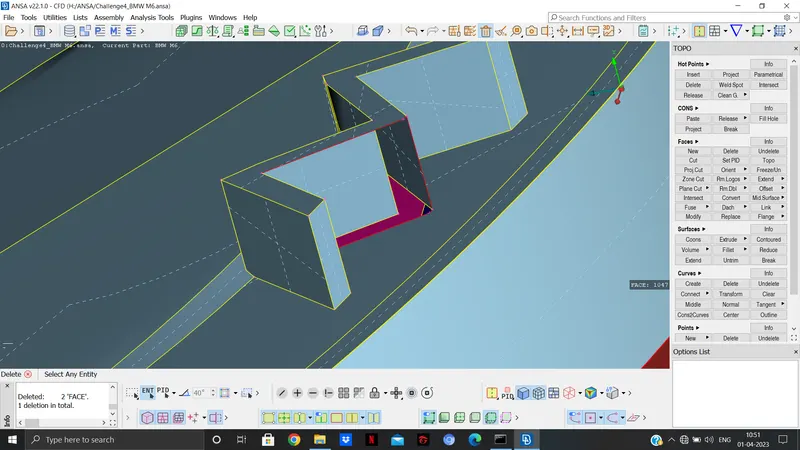
Once the logo is completed, select the tyre and rim. Solve the triple cons and delete the unwanted surfaces.
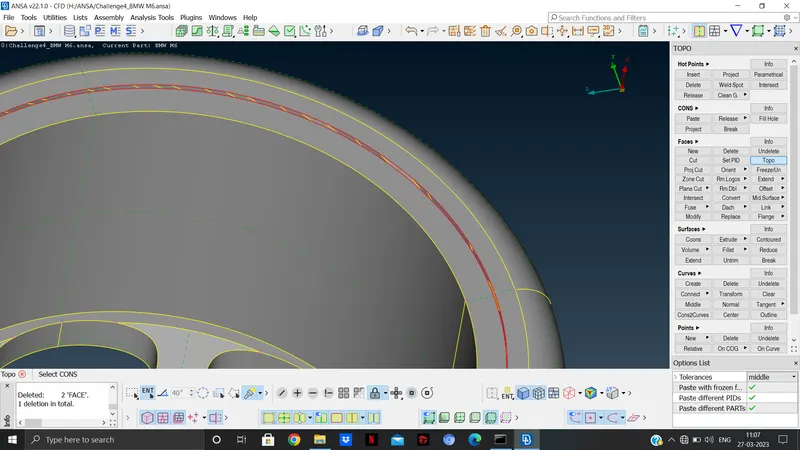
Repeat the same with the other tyre and rim. Since the tyre and rim for separate volume, it is not necessary to maintain a common volume with the car. The tyre and rim overlap with the car body. Since that would cause error, the body of the car is to be recreated by creating new surfaces.
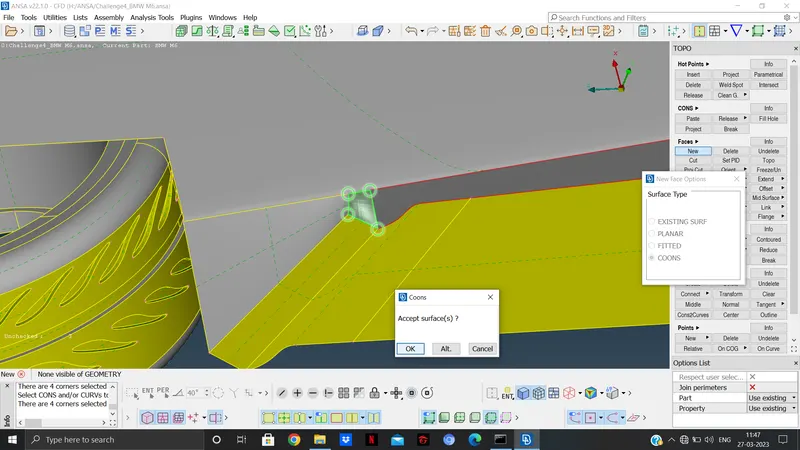
Use cons2cur option to reatin the curve or boundary of a sheet, so as to recreate it when it is deleted.
Similarly delete the unwanted surfaces in the window regions as well. Once all the model is done as per requirement, run geometric check to see for errors. Neglect the necessary triple cons.
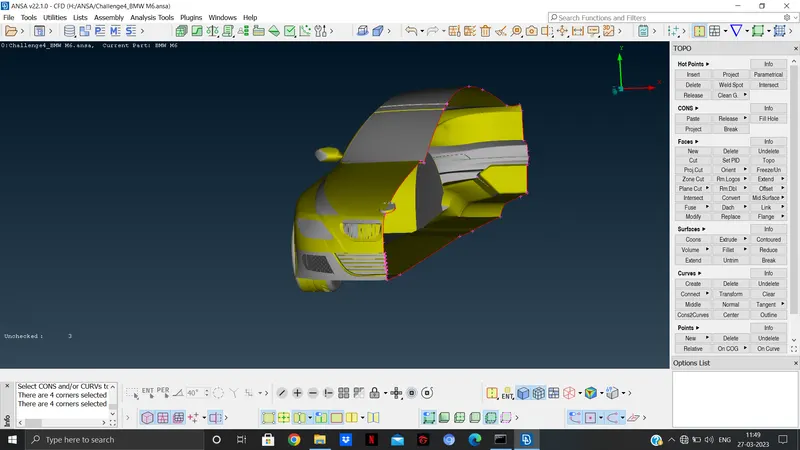
The next step is to assign the PIDs. Assign the PIDs and start meshing according to the target length given.
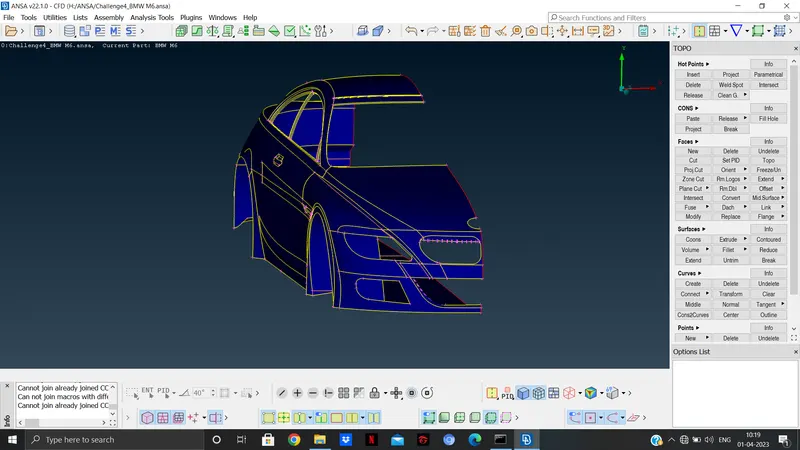
Select the quality crterias, like skewness, min angle quads, max angle quads, min angle trias and max angle trias.
Set the quality criteria by ticking the quality criteria. Inorder to edit, select edit criteria visibility.
Mesh the surfaces by the selecting the target length.
After meshing check for the errors and select show only. The errors assosciated with quality criteria will appear in different alloctaed colours.
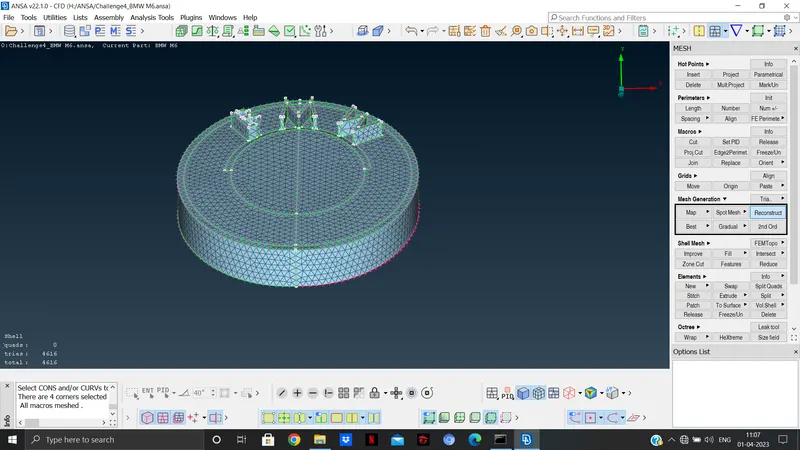
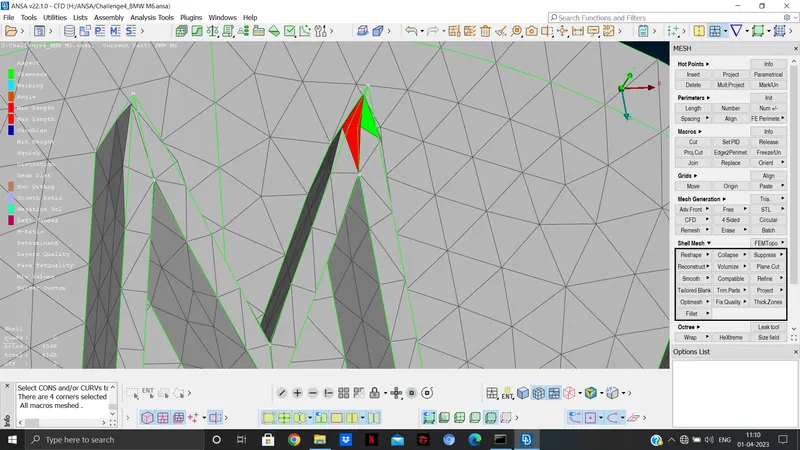
If the mesh fails in skewness/angle oe minmax length, go to Reconstruct and it will remove some errors.
To solve max length error, go to element->split and select edges.
Other way of solving is by selecting grid options and move->Guided/free and give x,y,z distance.
Repeat the same with all the parts
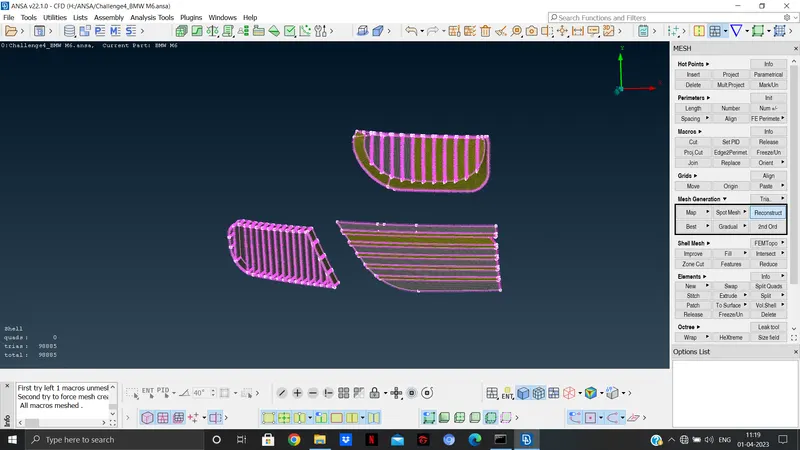
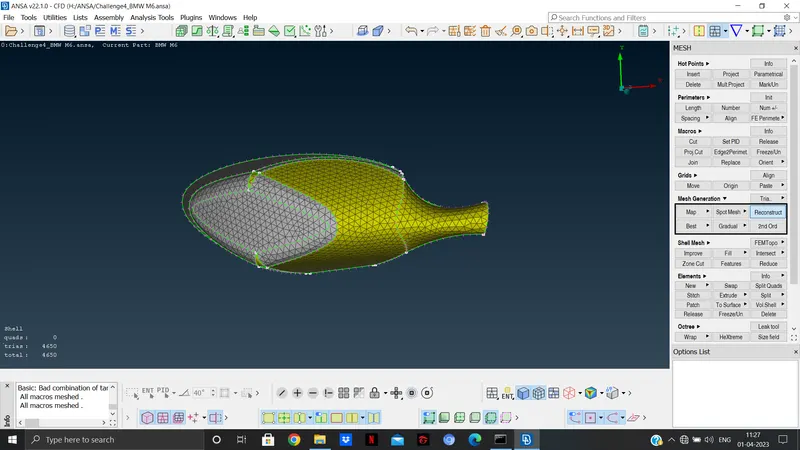
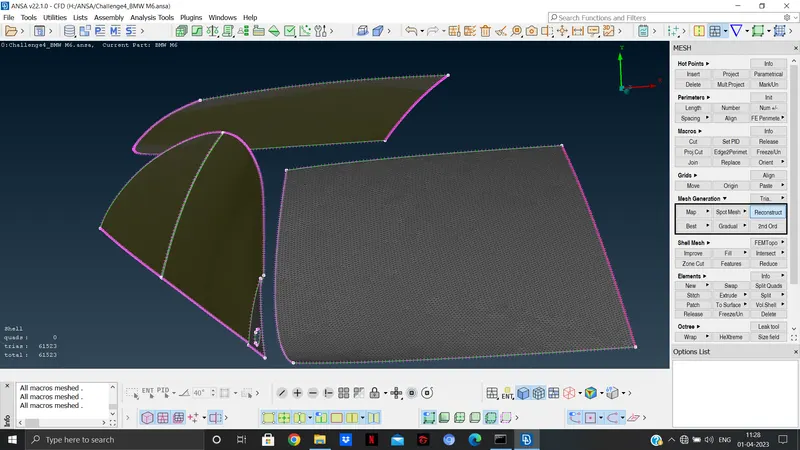
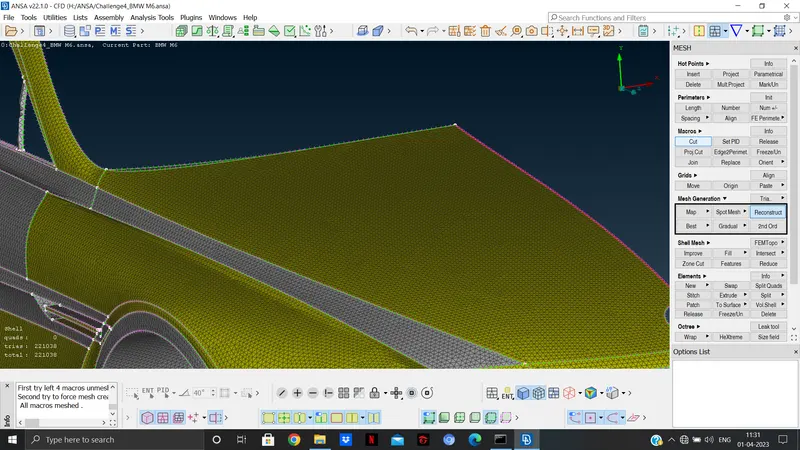
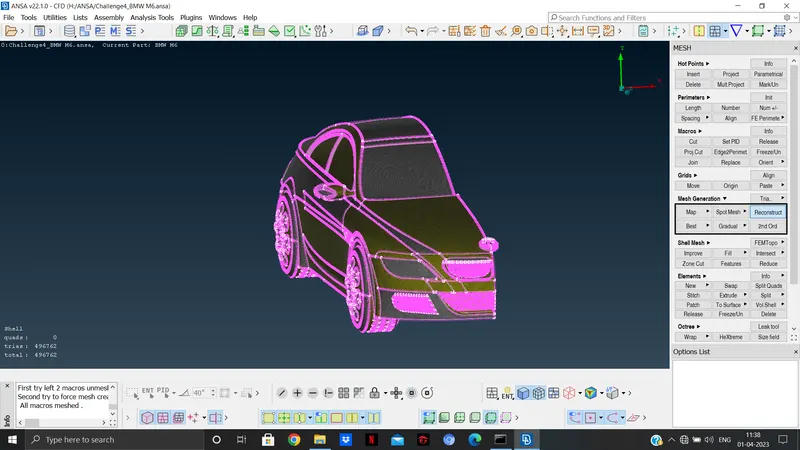
After meshing all the parts, go to transform option select copy->symmetry->mirror by 3 points and select 3 points in the model.
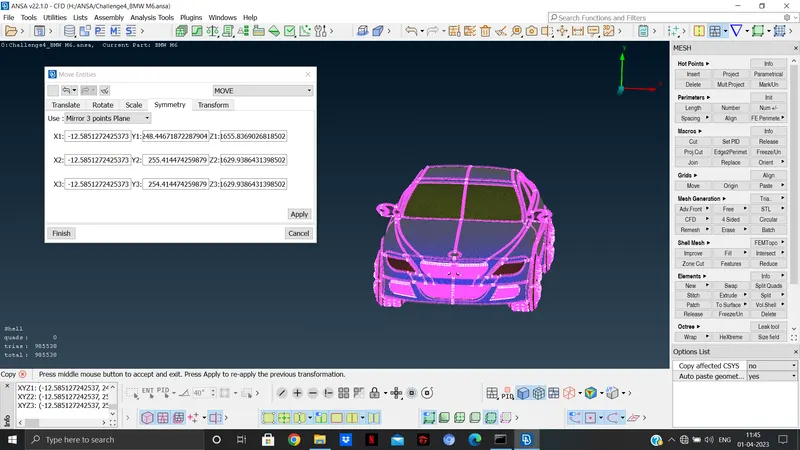
Next step is to create the windtunnel. The dimensions of the wind tunnel are,
if x is the length of the car,
Height- 3x from the top.
Front- 4x
Rear-6x
Side-x
Under points section select realtive and select direction by giving value 1 infront of the box. Create points at all the given loations above
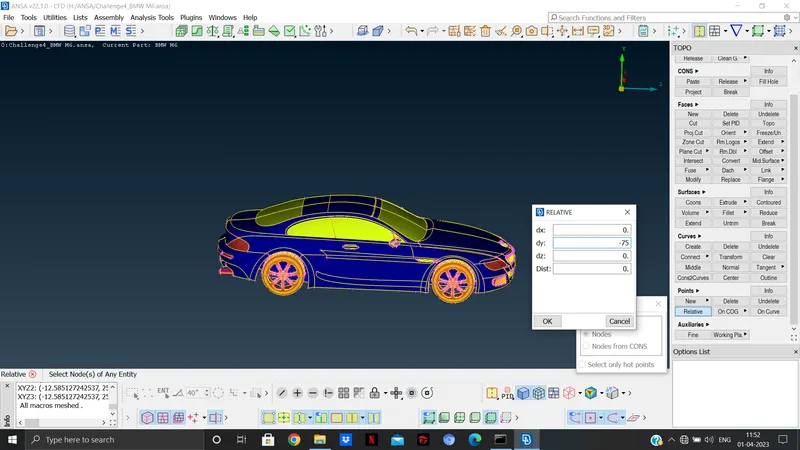
After the points are created, select curves and create. Once the curves are created, create faces using COONS options.
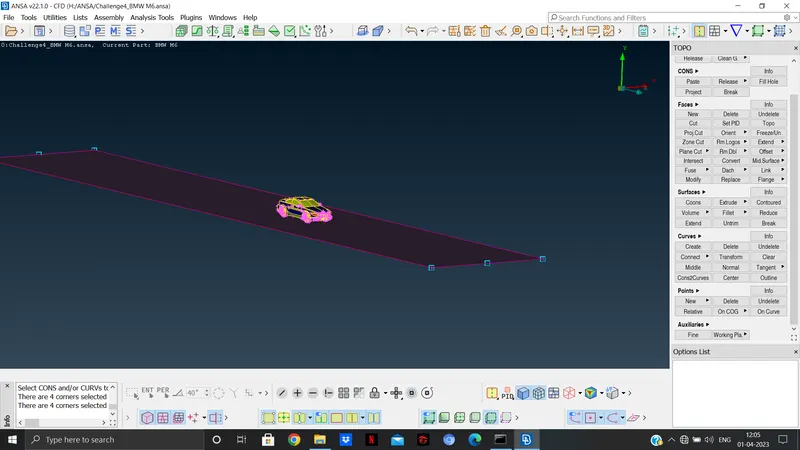
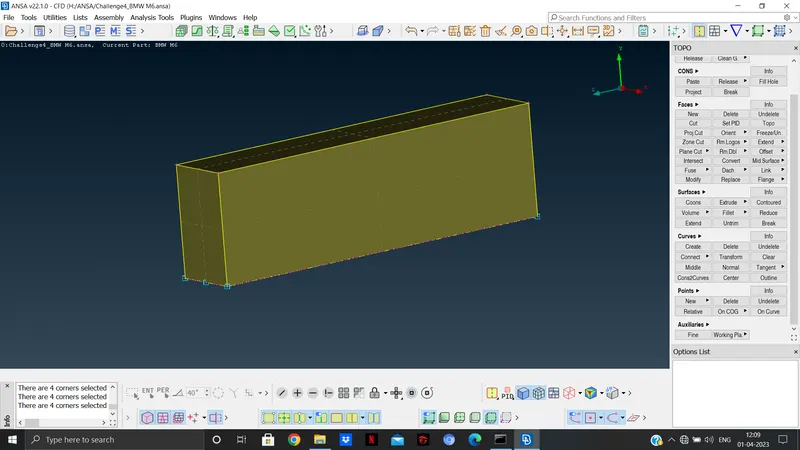
After the creation of faces offset it to the top and create the wind tunnel as shown in the above image.
Assign PIDs to the wind tunnel surfaces as mesh it with variable length from bottom to top with least target length at the bottom. Inorder to do that select perimeters->spacing -> dmin(20mm)->dmax->100mm and give factor as 1.1.
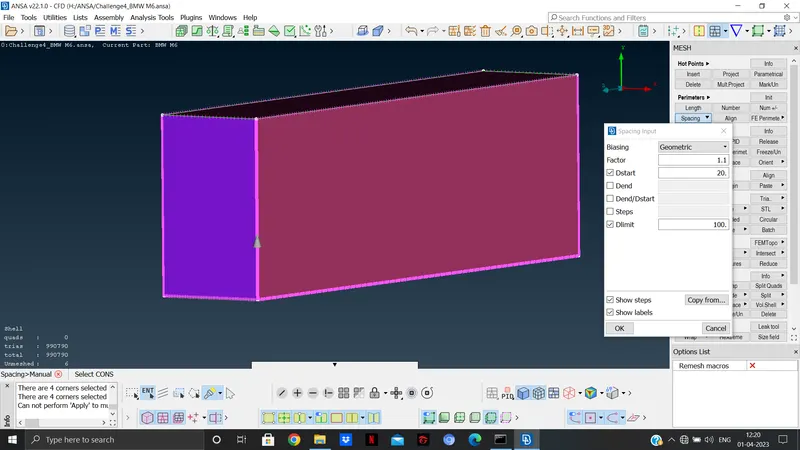
On the later on stages volumetric mesh can be performed.
Learning outcome: Learnt how to mesh a complex model.
Result: The model was meshed successfully.
Conclusion:
The use of quality criteria and its neccessity in making the mdoel apt for CFD.
The meshing of complex model.
Step by step procedure to solve the problem is the major learning from the model.