Week 2 Challenge : Surface meshing on a Pressure valve
Aim: To mesh the Pressure Valve model according to given target lengths:1mm, 3mm & 5mm.
Procedure:
The initial process before meshing is correcting all the Topological errors. Under the checks command, by selecting the geometric checks & clicking execute, these errors can be checked. The next task is to solve these errors. All the single cons can be solved in the model creating new sufaces by selecting 'New' under faces section. There will be four types of options available to create a new face, EXSISTING SURFACE, PLANAR, FITTED & COONS. Depending upon the situation each of the commands can be used.Here, COONS will be used to create new faces. After selecting the cons, we have to confirm the outcome in preview.
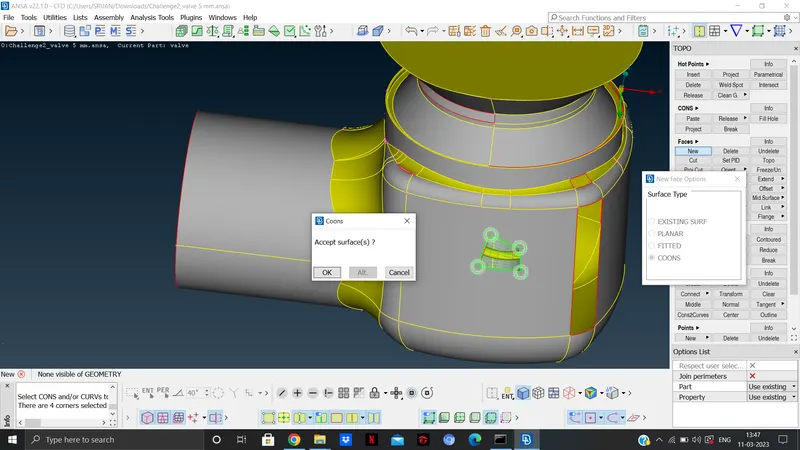
The Above attached Picture shows the creation of faces using COONS option.
The same step is to be repeated until all the singles cons are solved. While creating the surface on a curved region, it is to be ensured that the equal length of cons should be selected at a time while creating new faces to get the desired outcome.
Once all the single cons are solved, a new face should be created at the base of the model, so as to create a closed surface. This will result in Triple cons, but is ignored. Delete all the cuts which are present at very small distances.
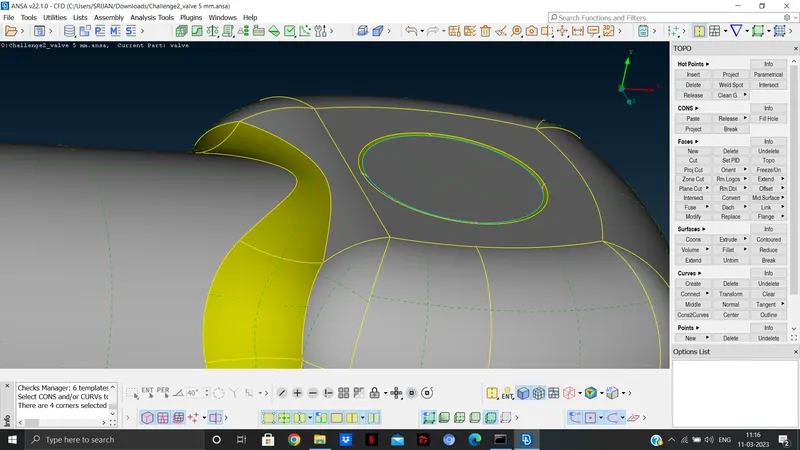
The next step is to create PIDs and assigning the parts to different PIDS. Under the Properties section , Right click and select new & select PSHELL. Give the names to PIDs.
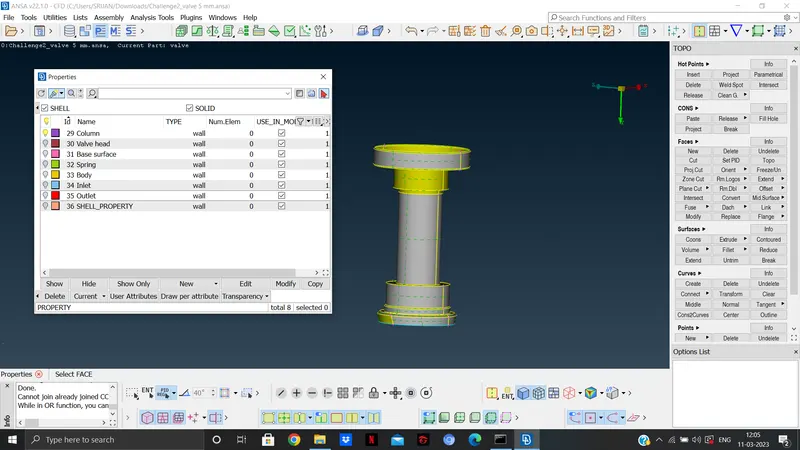
After assigning all the PIDs delete the SHEEL_PROPERTY PID as i t has nothing assigned to it. To delete it select compress and delete. Once all the PIDs are assigned go to meshing. Assign values for perimeter and macros with the given target length. Give the mesh parameter & quality criteria values. After assigning target length, min & max length values, start meshing by selecting PIDs. While meshing parts which has smaller distance between 2 nodes, some errrors will occur. Inorder to solve that measure the smallest distance and change the target length, min & max length accordingly.
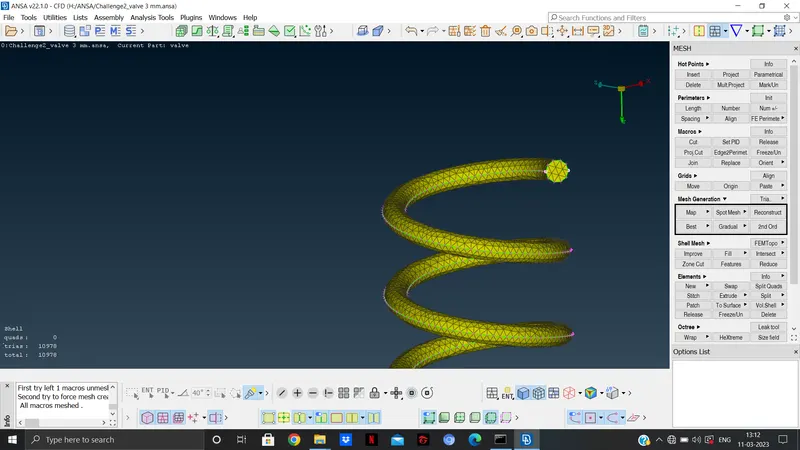
The picture of spring after remeshing is as above.
Once all the meshing is done redo the meshing according to the given 3 different target length i,e 1mm,3mm & 5mm.
Learning outcome: how to create & assign PIDs, Detailed understanding on meshing.
Result:
The model is meshed 100% & has no unmeshed surface.
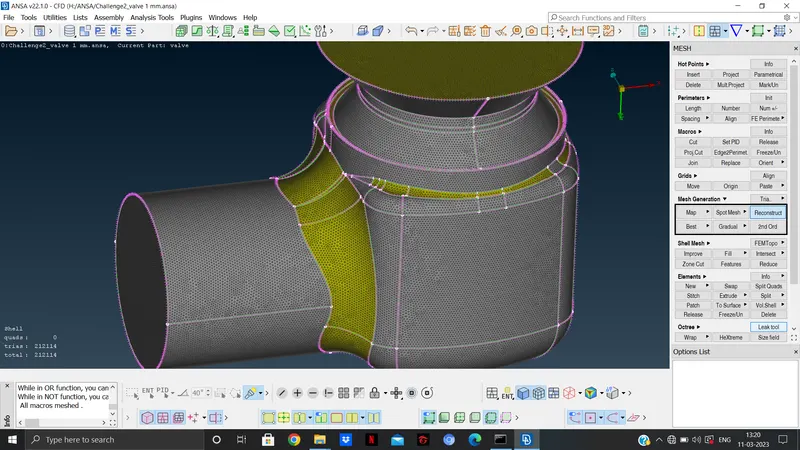
Conclusion: By solving the topological errors and understanding the significance of double cons, the model was meshed according to the given requirement.