Week 4 Challenge : CFD Meshing for BMW car
Aim: CFD Meshing for BMW car using Ansa.
Objective:
- To check and solve all geometrical errors of the model.
- Assign appropriate PIDs for the model.
- Perform meshing with given target length and element quality criteria.
- To do symmetry of the half model.
- To meshing Wind Tunnel Volume with tetra element.
- All the 2D elements(Trias) in your model should clear the quality criteria (i.e. Off elements should be zero)
Given Data:
- Target length for the different parts of a model are as:
- Body= 3mm
- Lights= 4mm
- Grill= 1mm
- Rim & Tyres= 2mm
- Windows= 2mm
- Silencer= 3mm
- Logo= 1mm
Steps for doing the CFD meshing for BMW cars.
- Topo cleanup is used for cleaning the geometry by removing unwanted surfaces and solving the single, double and triple cons.
- Geometry check is an irregular surface, shape and cons which are present in the geometry.
- We have to go stepwise geometry and topo clean up using a single surface or different parts such as light, logo, grill, etc.
- We can do the symmetric option to make the same copy of the model exactly the same at the other side.
- After getting completed the check for Geometry_Checks, Imported_STL_mesh, Surface_Mesh_Checks, POST_Surface_Wrapping_Checks, Volume_Mesh_Checks, Lattice_Boltzmann_Output_Checks.
- After doing this we can go ahead to do 2D meshing and after that for 3D meshing.
BMW Car Geometry Model
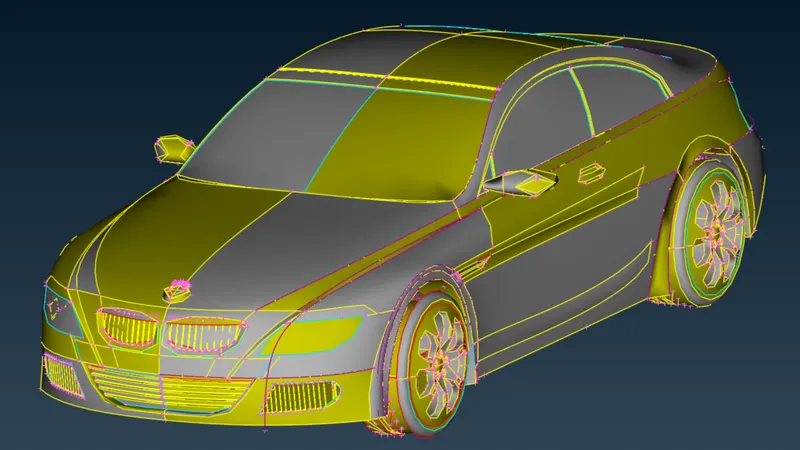
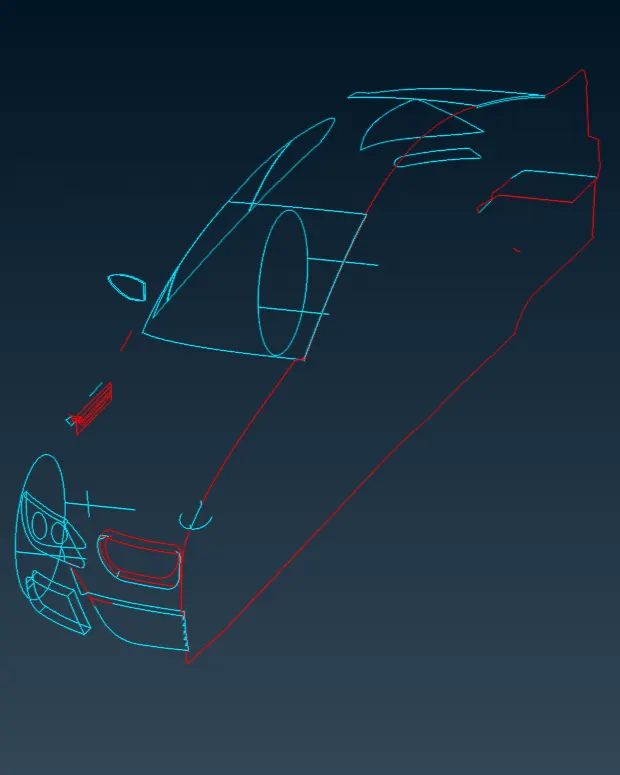
- Original geometry of car with multiple errors.
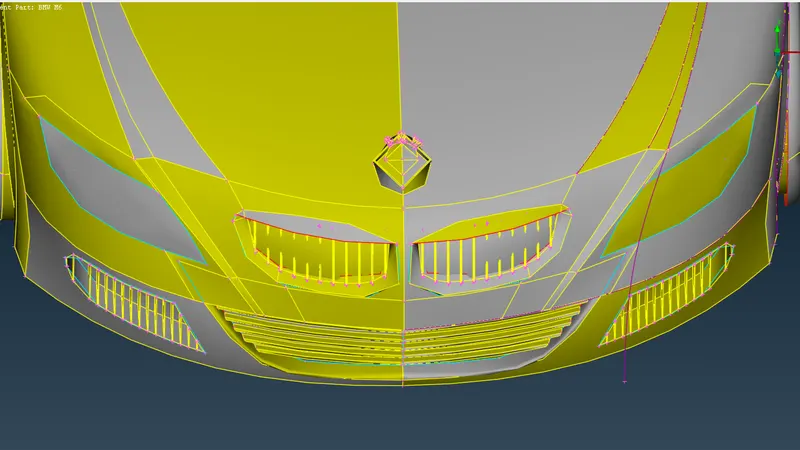
- Half Symmetry of car
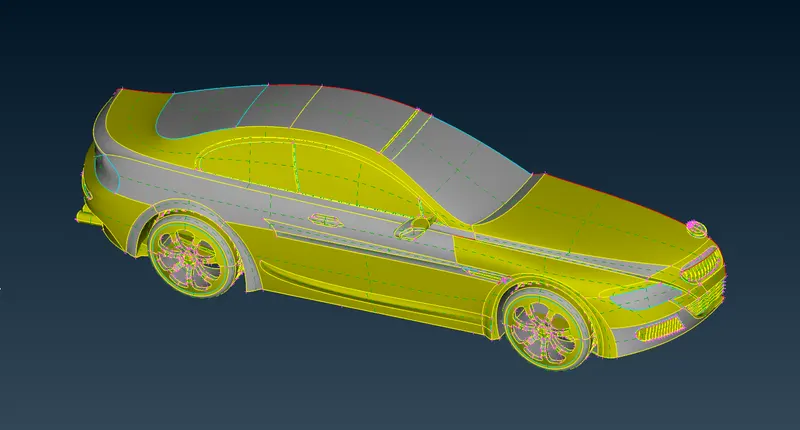
- Single, Double and Tripple Cons
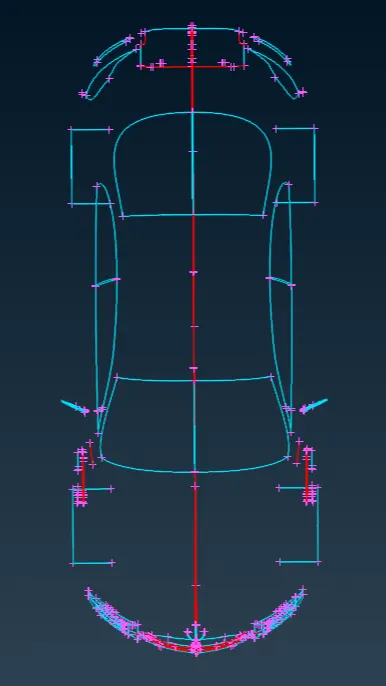
- Grill
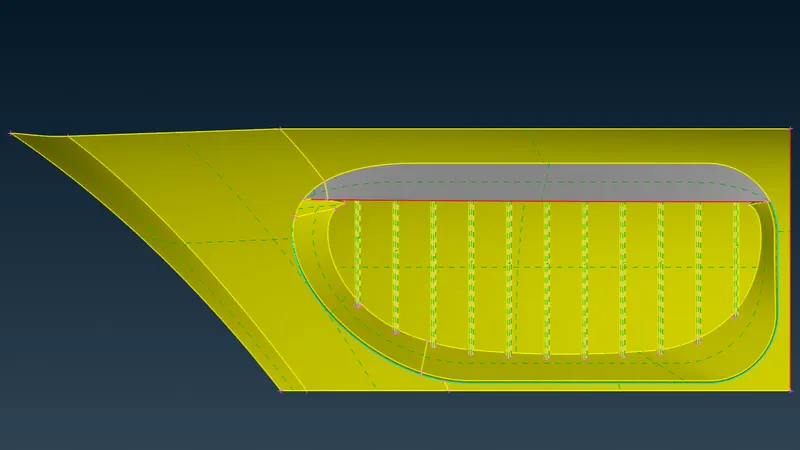
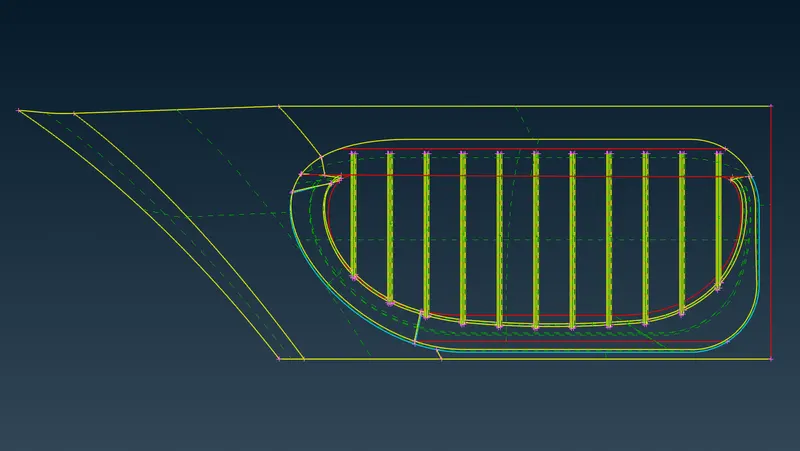
- Side panel
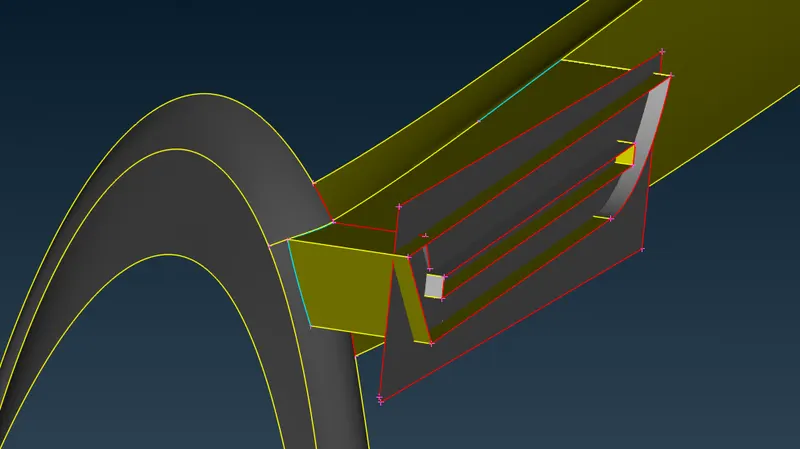
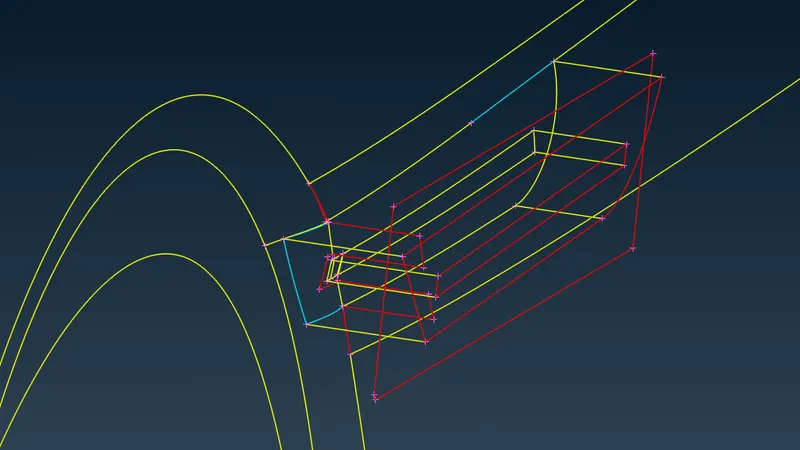
- Light
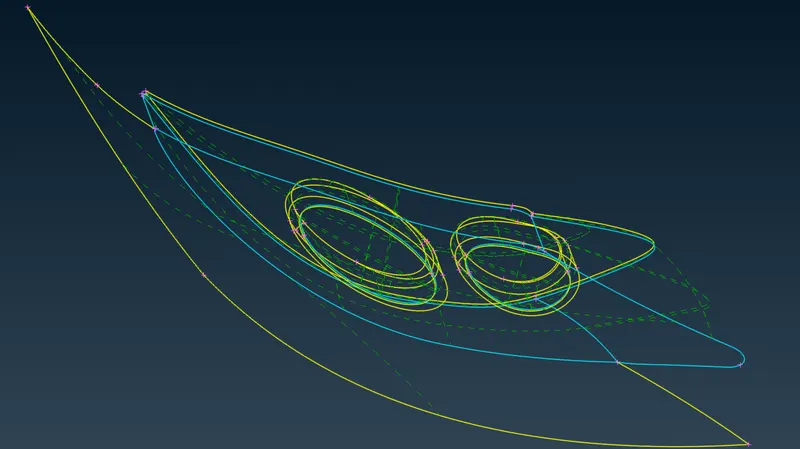
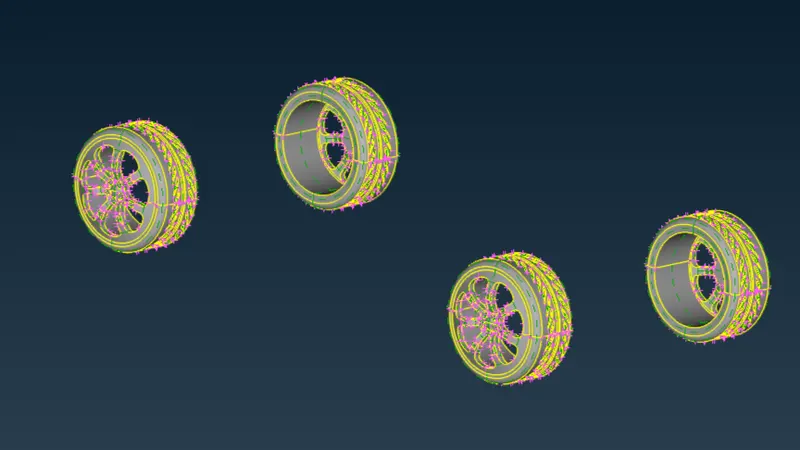
- Tyer
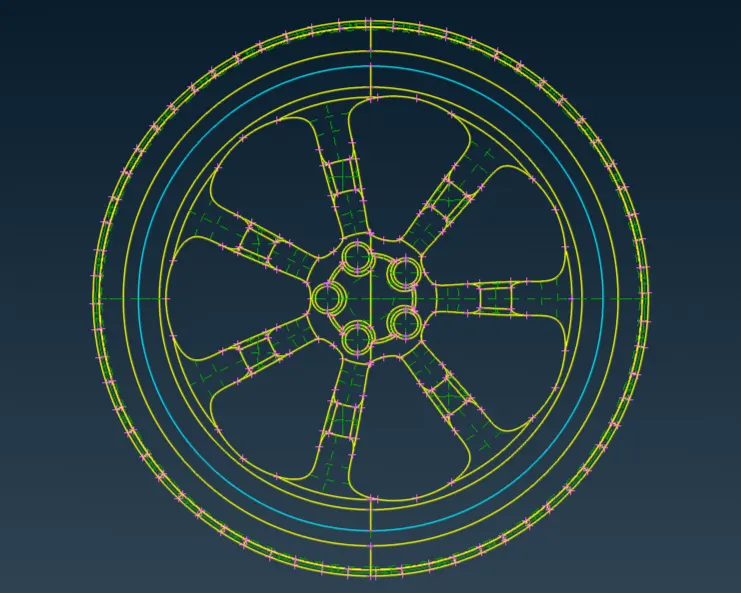
After cleaning up the all errors
- Body
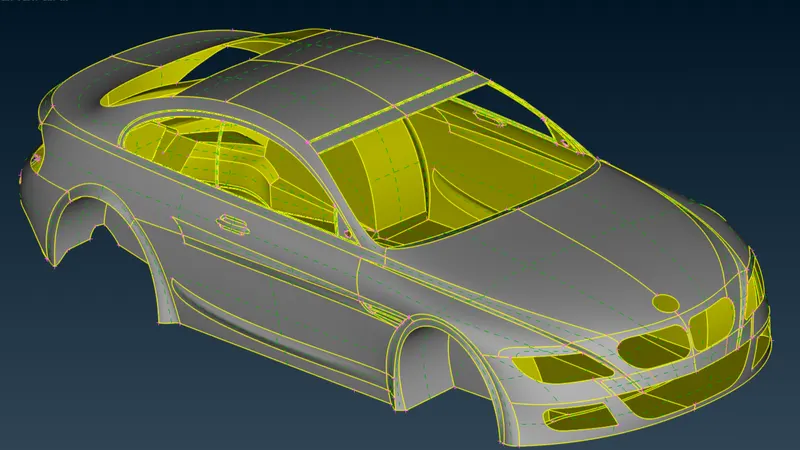
- Topoligi clean up
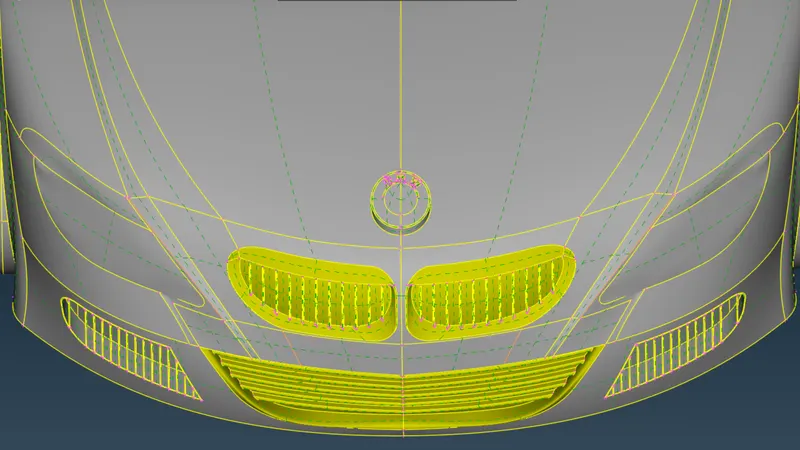
- Door Lock
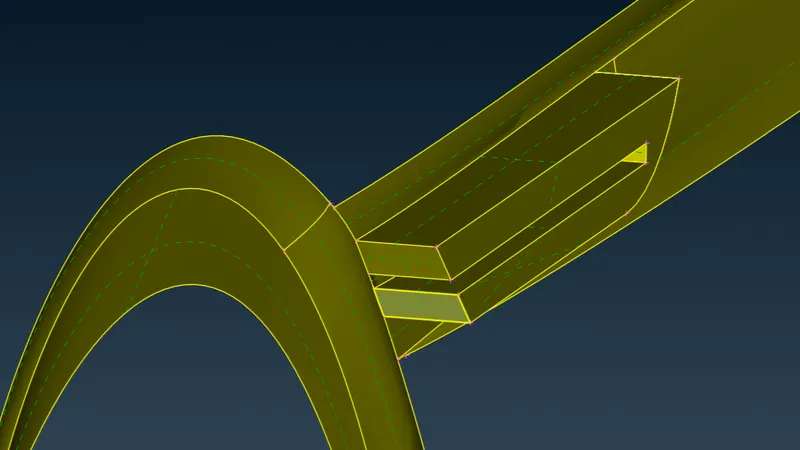
- Windows
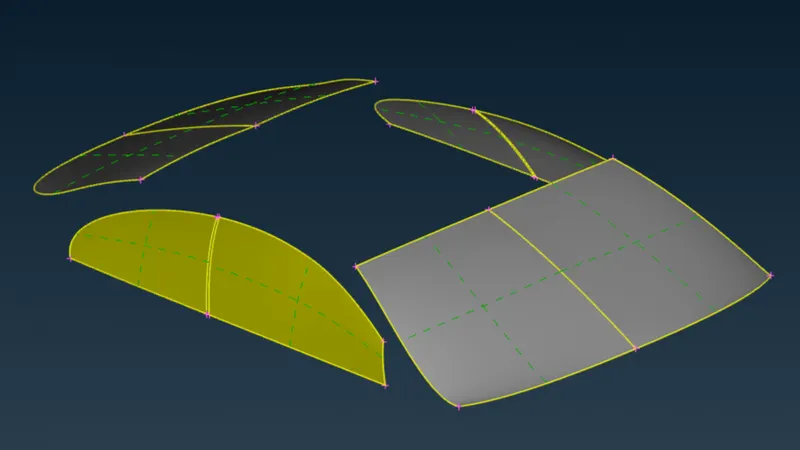
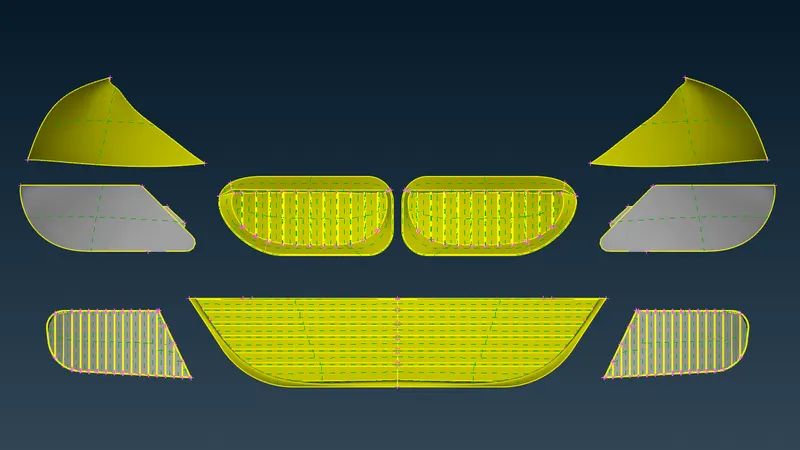
- Grills And Light
- Tyers
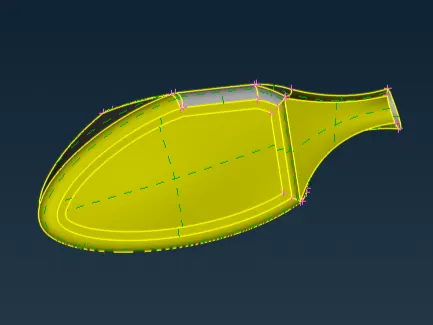
- Optical Rearview Mirror
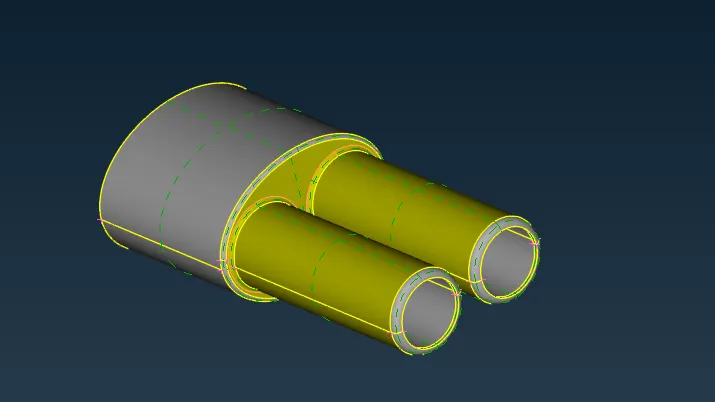
- Silencer
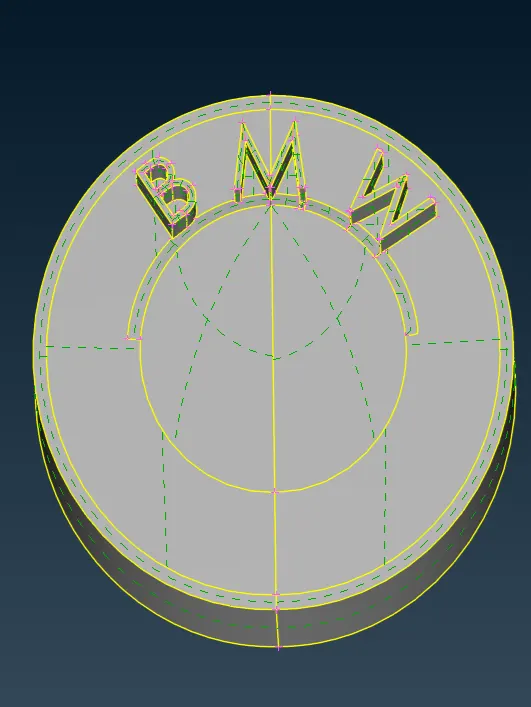
- Logo
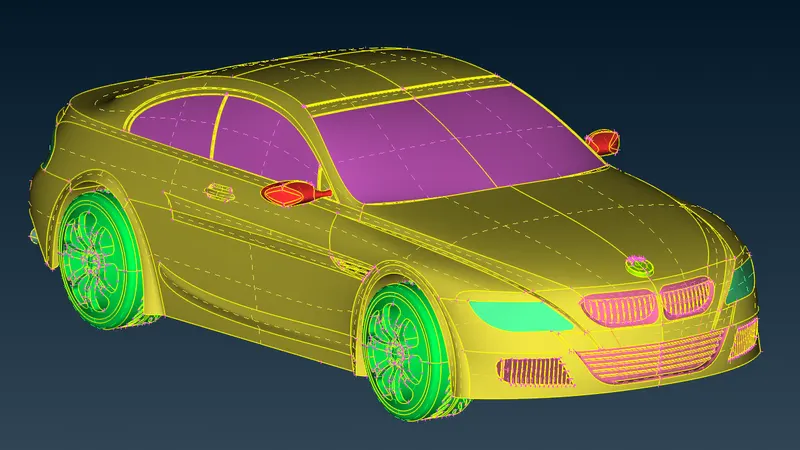
Assign PIDs to model
- Assigned PIDs for different parts of the car.
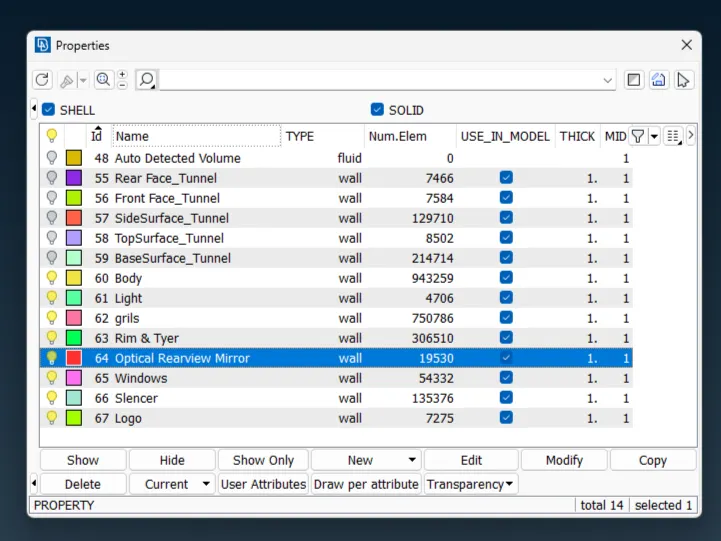
- Car PID
Surface Meshing
Now we can do the surface meshing to the model because we had cleared all the geometry check up and we didn't have any errors.
As we had many different parts of the car and we have different mesh lengths to each part of the car.
- Meshed car body
Mesh length for body is 3mm.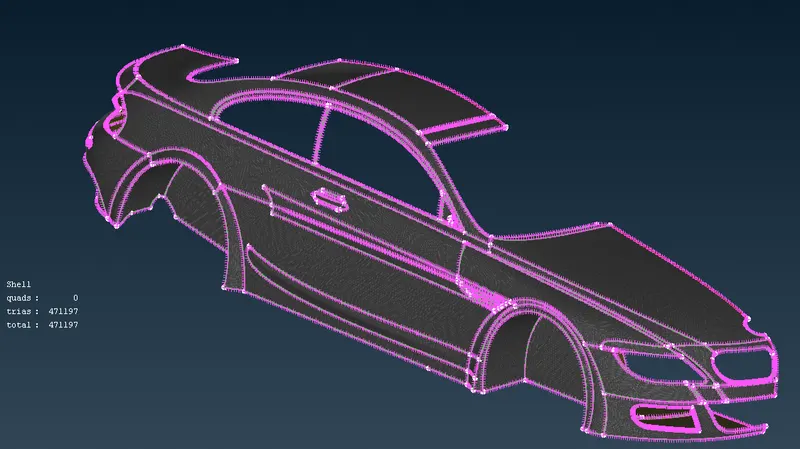
- Meshed grills
Mesh length for Grillis 1mm.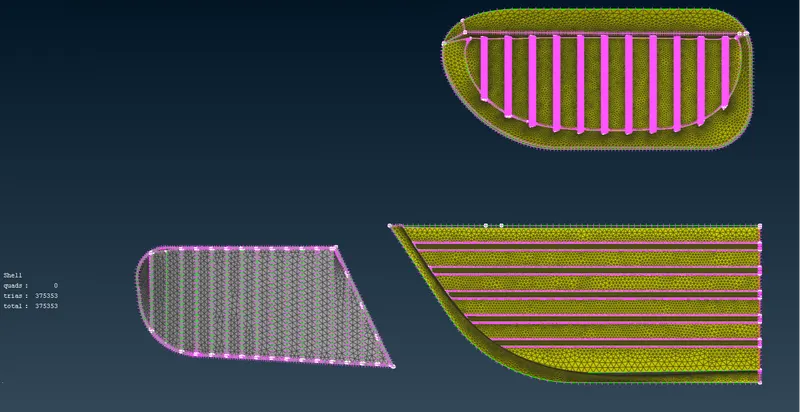
- Meshed Lights
Mesh length for Light is 4mm.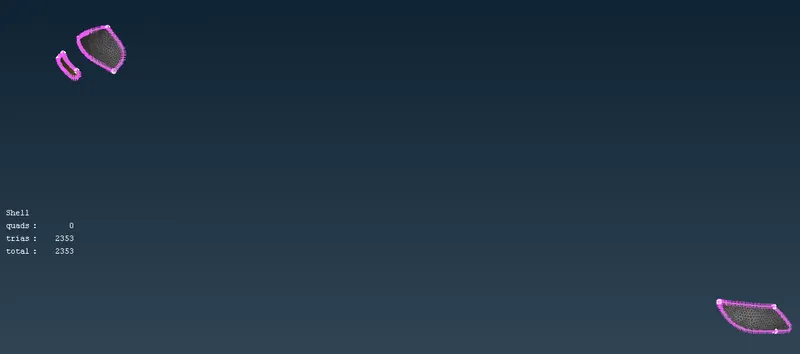
- Meshed Optical Rear View Mirror
Mesh length for Optical Rear View Mirror is 2mm.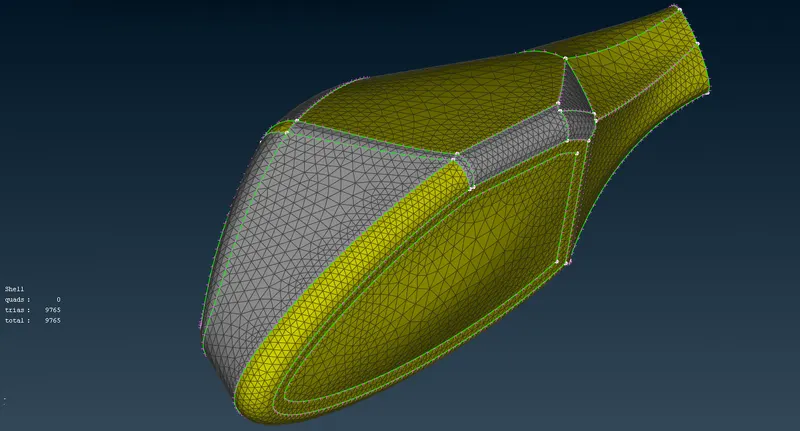
- Meshed Silencer
Mesh length for silencer is 3mm.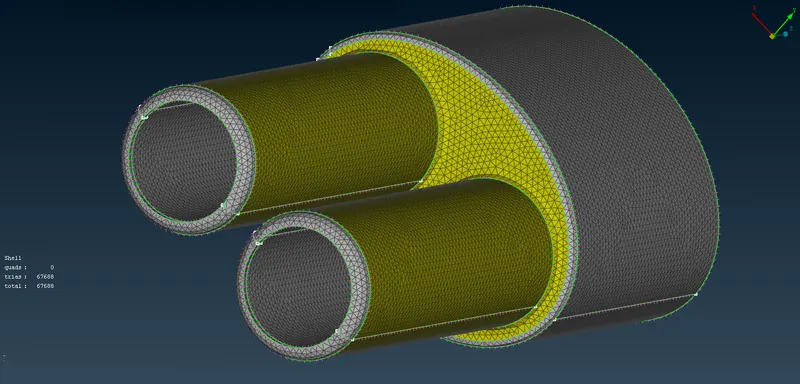
- Meshed Rim & Tyres
Mesh length for Rim & Tyre is 2mm.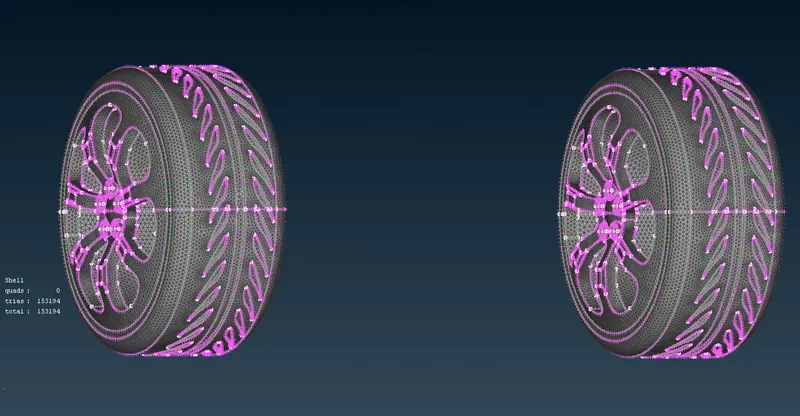
- Meshed Windows
Mesh length for the window is 2mm.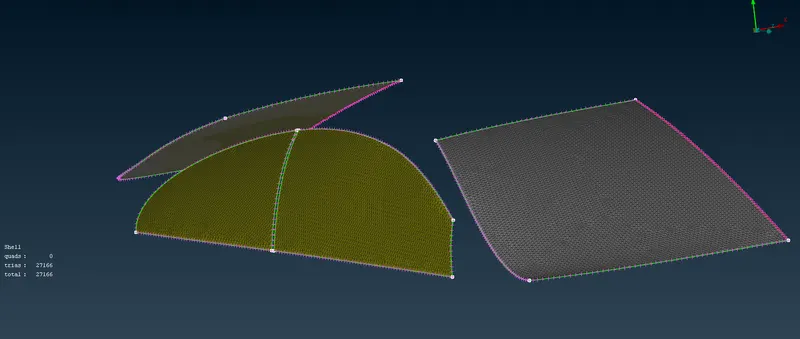
Symmetry
- After assigning the PIDs and all topo logic cleanup, now we go ahead and do the symmetric to the half model.
- We had selected a mirror 3 point plane option to make the car.
- Symmetry of car in Topo mode.
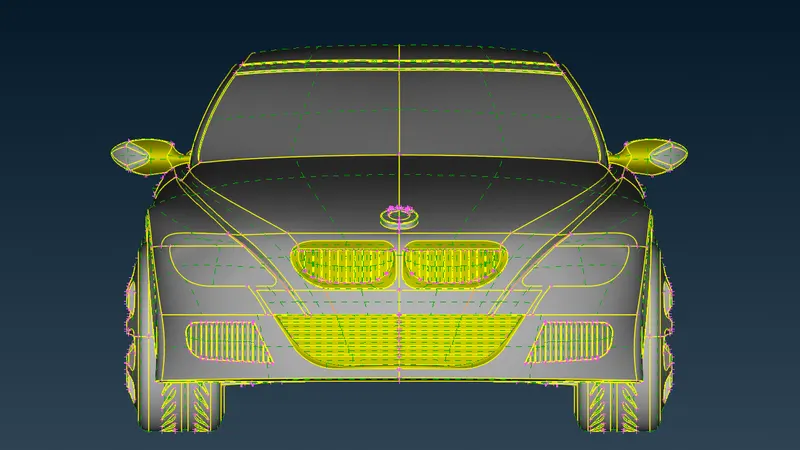
- Meshed model with different mesh length.
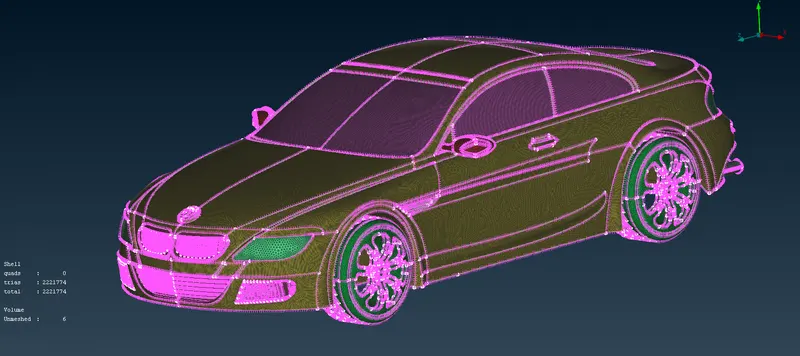
- Symmetry of car in Topo mode.
Wind Tunnel
To perform the volumetric mesh between car volume and wind tunnel volume.
- Distance taken for making a wind tunnel.
-
Surface Distance Reference Point 1300(`x`) Front Surface Point 1300(`4x`) Back Surface Point 1300(`6x`) Top Surface Point From Top of The Car. 1300(`3x`) Side Surface Point For Both Side 1300
-
- ENT mode of wind tunnel.
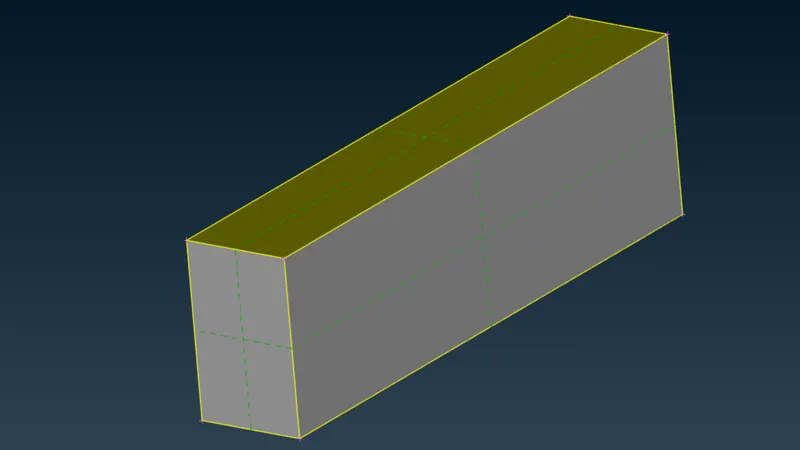
- Meshed mode of wind tunnel
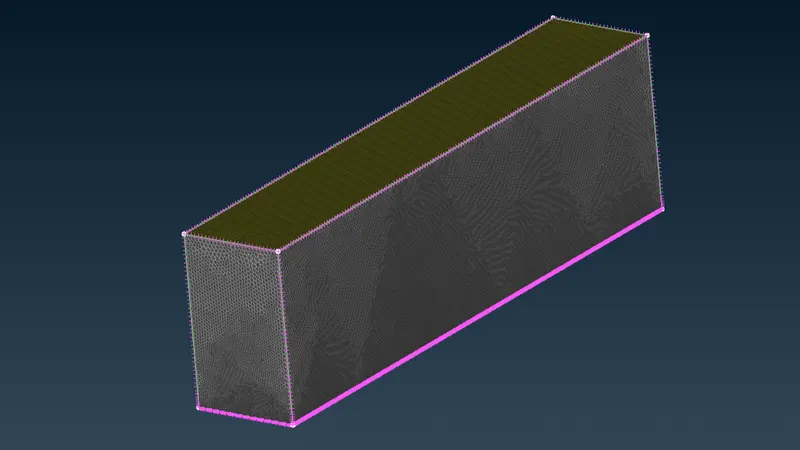
- Assigned PID to wind tune, with different colors.
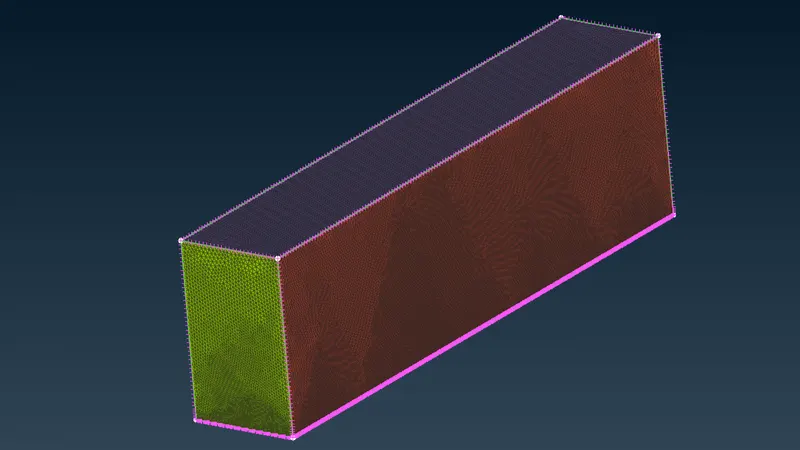
Volumetric Meshes of Wind Tunnel
After completing the surface mesh we had to perform volumetric mesh by deleting all unwanted surfaces.
We had selected the surface which we needed to make volumetric mesh.
- Auto Detected Volume
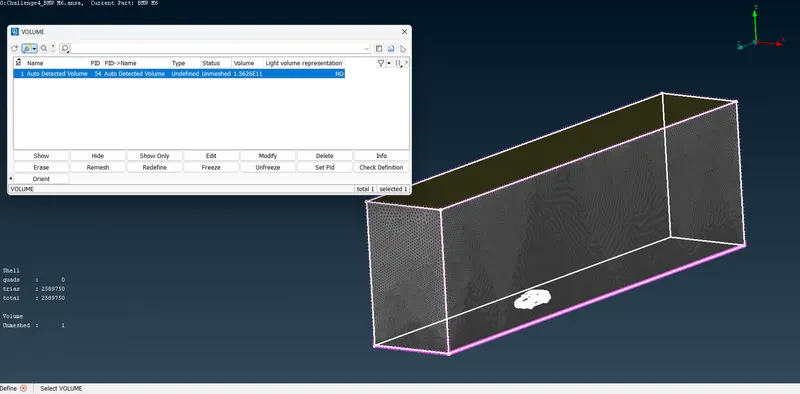
- Assign PID
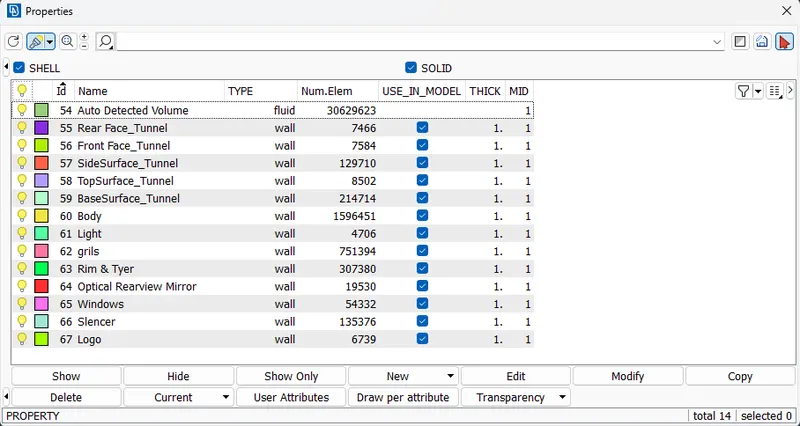
- Volumetric Mesh
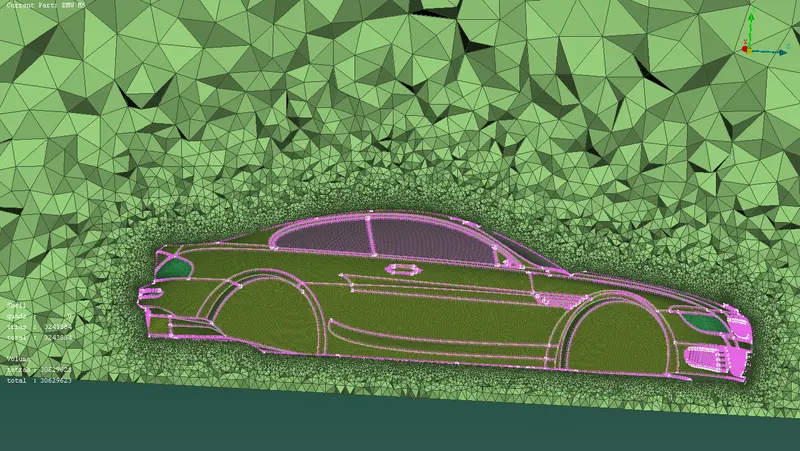
volume mesh has completed, now we can use a cutting plane to see the meshed elements.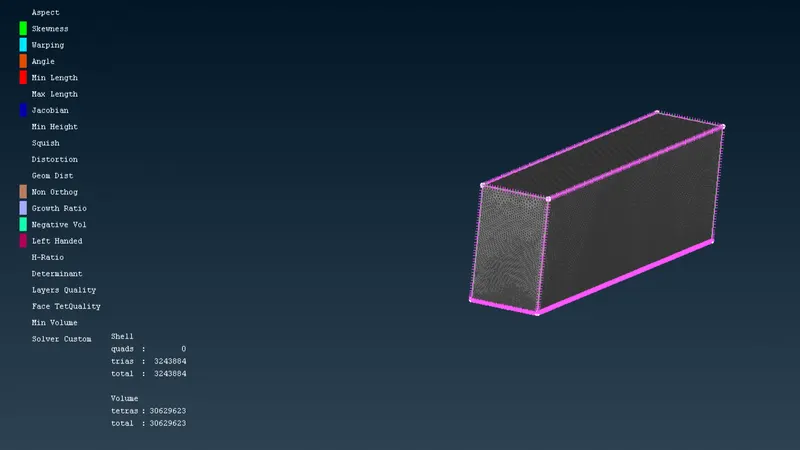
- Cutting Plane
Is used to give a cut to the entire surface.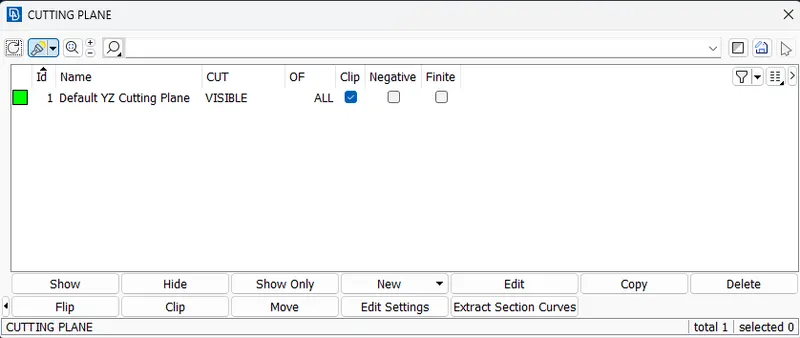
- Cutting the plane after volume mesh
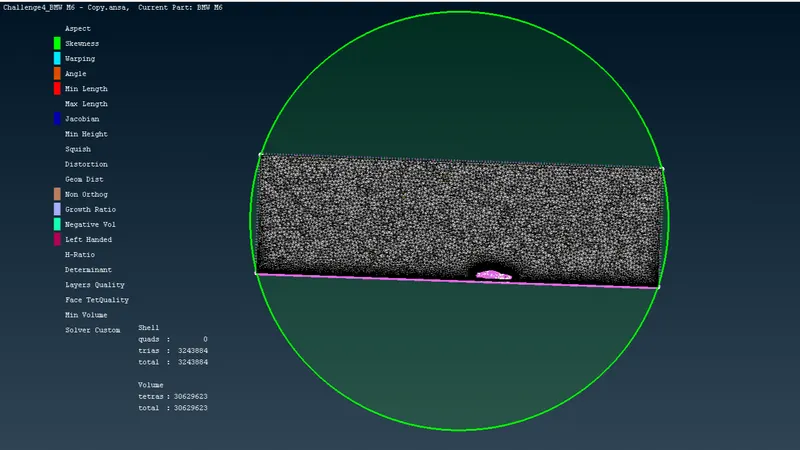
- Meshed volume in ENT mode.
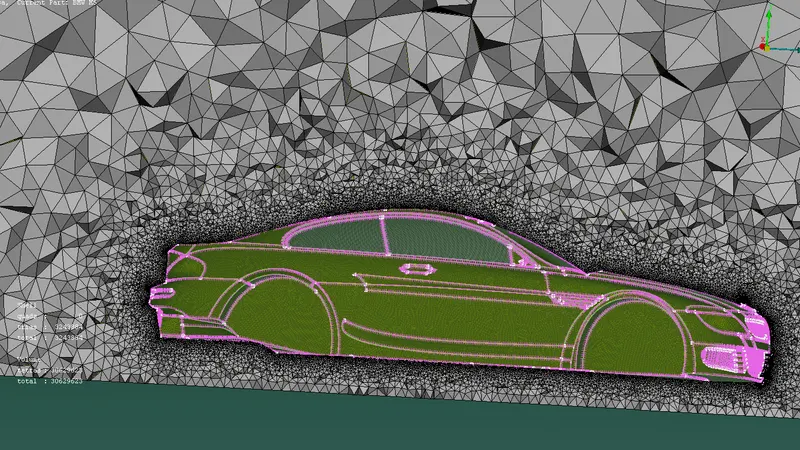
- Meshed volume in PID mode.
Link for model
https://drive.google.com/file/d/1jY8OBXl9pJIjbK6S9LpXd9U-82SiZZwY/view?usp=share_link
Conclusion
- We had used different meshing tools while completing the challenge.
- Learned surface meshing and Geometry cleanup in a much detailed manner.
- We had to use a curve tool for creating a wind tunnel with the help of points and curves.
- Learned how to make wind tunnels and how to make them as per car dimension.
- Learned how to assign PIDs for different parts.
- Learned how to do surface mesh and volume mesh.
- Learned how to give different mesh lengths to different parts.
- Learned how to give cut pieces to the model.
- Learned how to clean up all the off elements, of surface mesh and volume mesh.