Week 4 Challenge : CFD Meshing for BMW car
MESHING A BMW CAR MODEL
AIM: check and solve all geometrical errors and mesh the BMW Car model.
OBJECTIVES:
- Target lengths for the different parts of a model are as follow:
- Body: 3 mm
- Lights: 4 mm
- Grills: 1 mm
- Rims and Tyres: 2 mm
- Optical Rear-view mirror: 2 mm
- Window: 2 mm
- Silencer: 3 mm
- Logo: 1 mm
INTRODUCTION:
For meshing the car model, we used the different tools to cleanup the single cons, triple cons and intersections etc.
We used some extra tools like
Freeze/Unfreeze: To restrict the mesh crash between two faces.
Transform: To symmetry the half portion of cleanup and meshed body.
Steps included for meshing the model:
Import Geometry/model --- cut the half portion of model --- cleanup each part of model --- apply PID to each part of model --- mesh the model (with different quality criteria) --- remove the off elements --- create wind tunnel --- mesh the wind tunnel --- apply volumetric mesh to whole model (option) --- end.
Procedure to perform the process:
We have to import the geometry from source file/folder.
Imported Geometry:
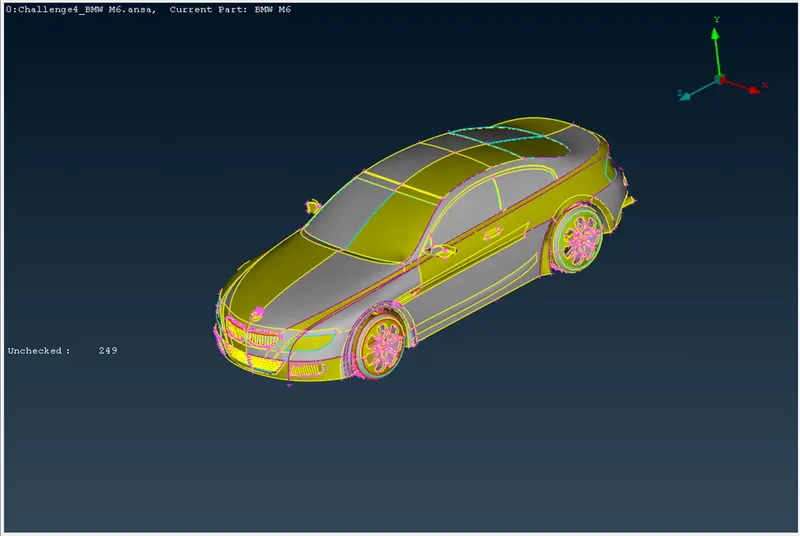
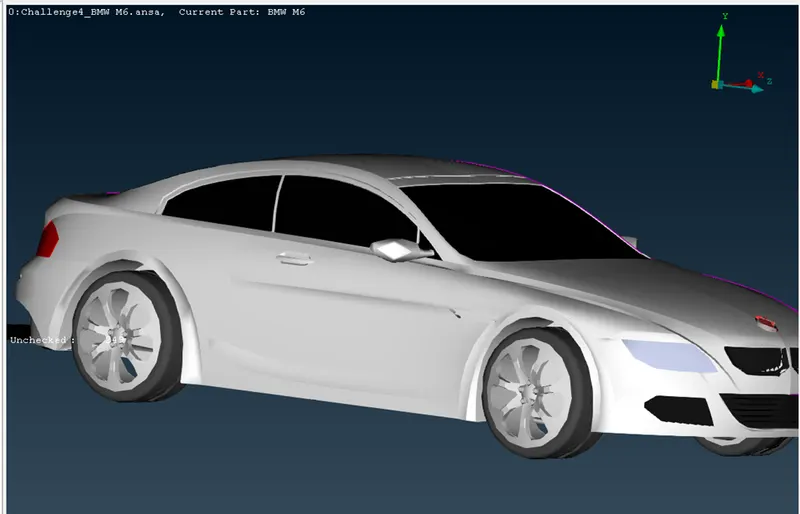
The PID’s are applied in default condition of model for each part of car model. The below image will show the default PID applied car model.
PID applied car:
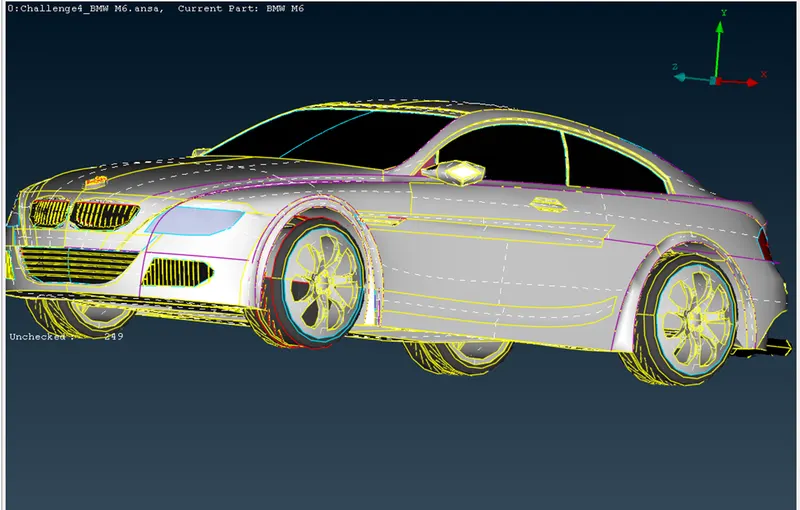
First we have clear the inaccurate model resolution cons appears on the car.
Inaccurate Cons resolution:
Cleared Cons resolution:
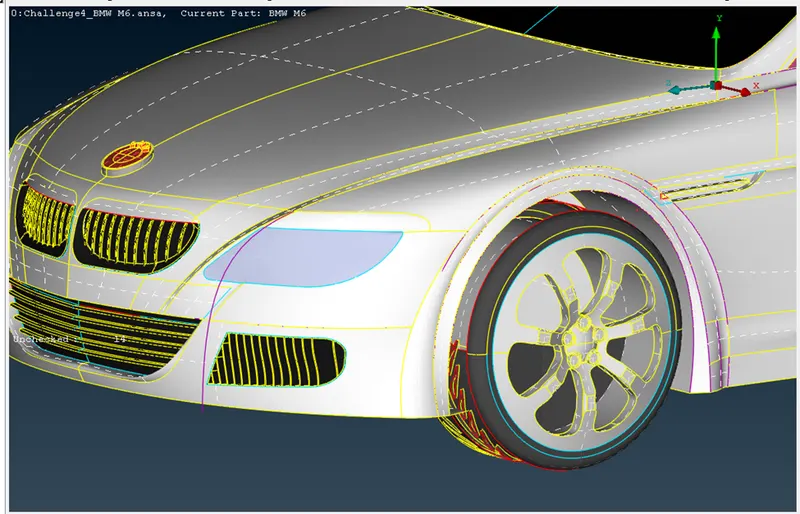
Now we have to enable the TOPO deck, cleanup each part of car. We selected the first part as head of car and cleanup the part by releasing the triple cons and apply the TOPO over the single cons. From that the head light of car is cleaned up/relief by single and triple cons.
We are bothered about outer surface of car model, so we can remove or neglect the inside surfaces of car model.
Head light part cleaned with unwanted cons:
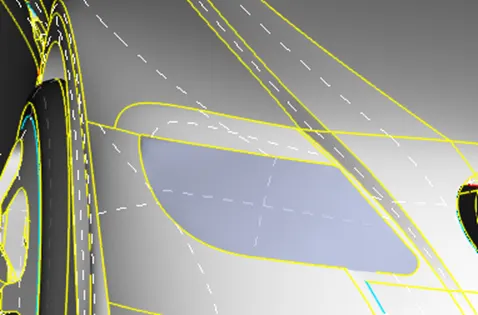
Here this part we used the some tools like delete, New(to fill the gap), cut, release, TOPO, extend. We removed some default material from grill part to avoid the triple cons and single cons.
Grill part of car:
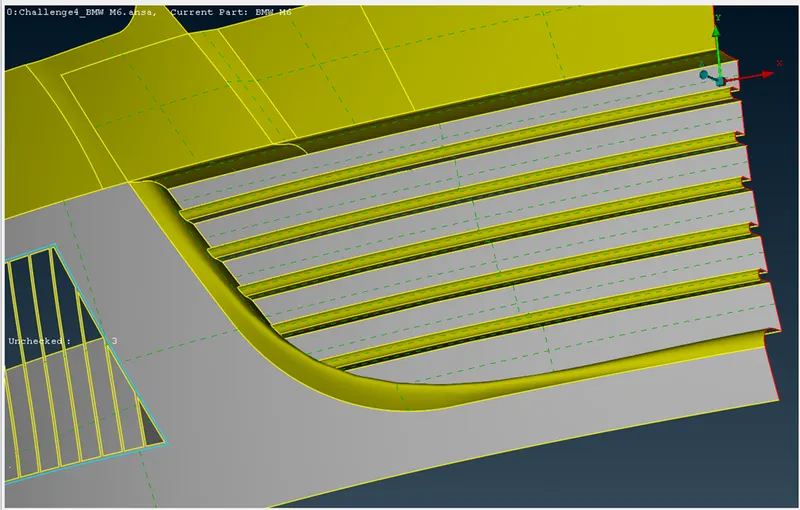
Inside potion of Grill part:
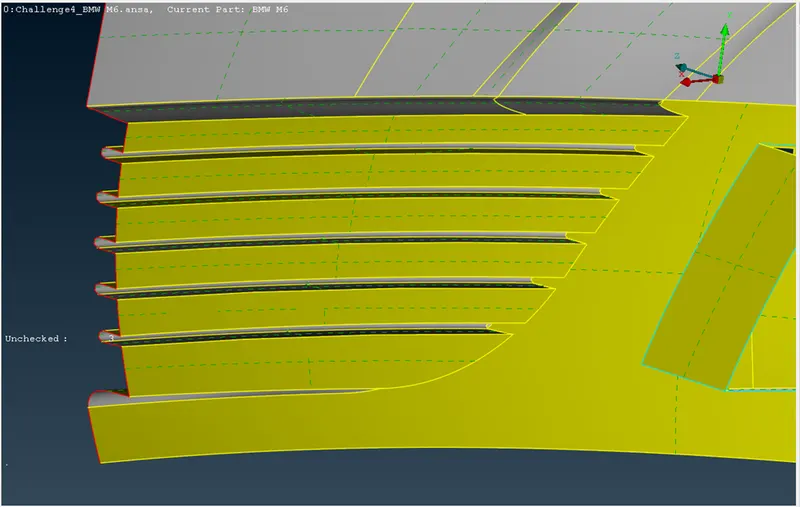
Cleaned up Second Grill part of car:
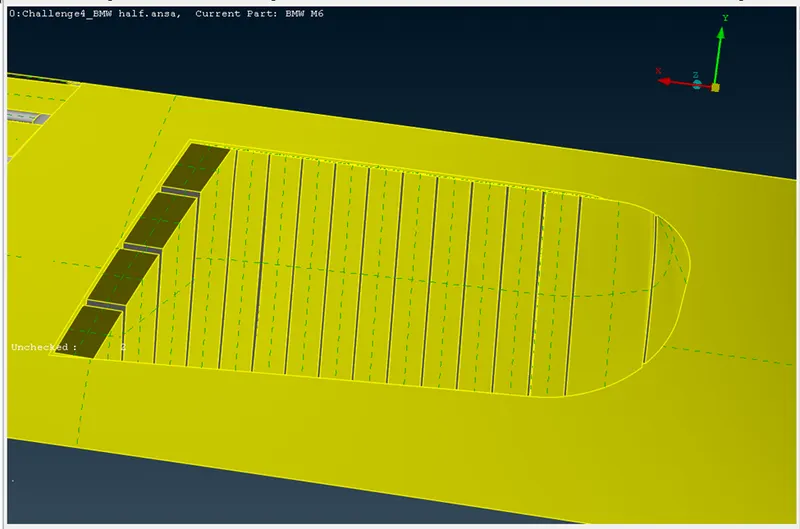
Outer view of Grill part:
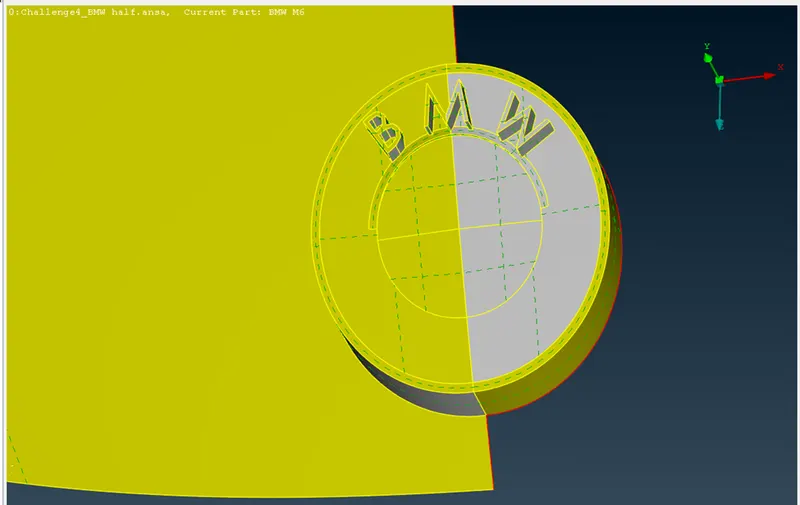
TOPO cleaned LOGO of car:
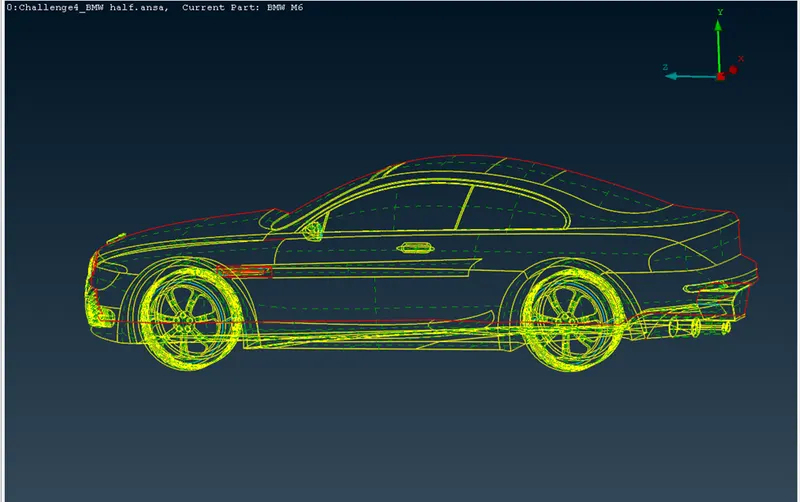
The view of half car in wire frame mode to identify the single cons presence:
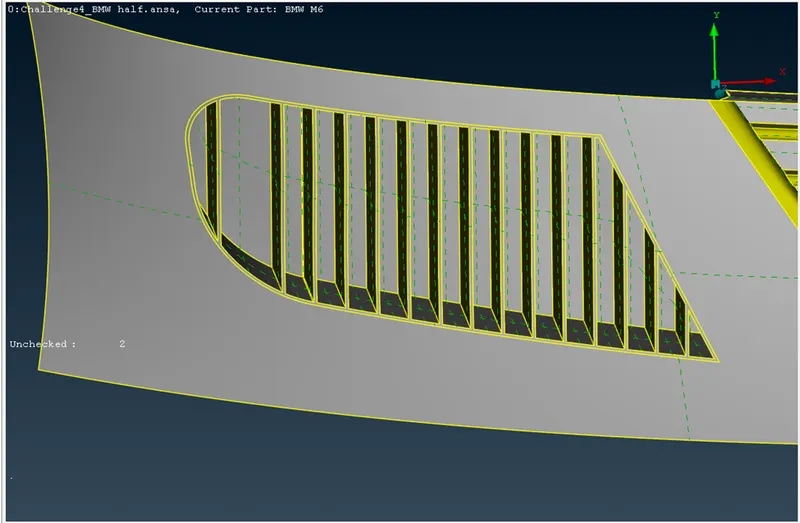
TOPO cleaned Grill part:
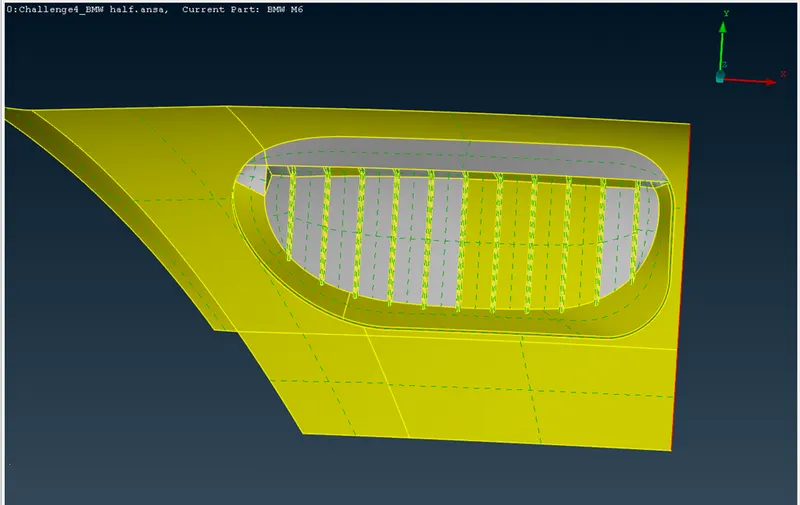
Complete Grills part of car cleared with single and triple cons:
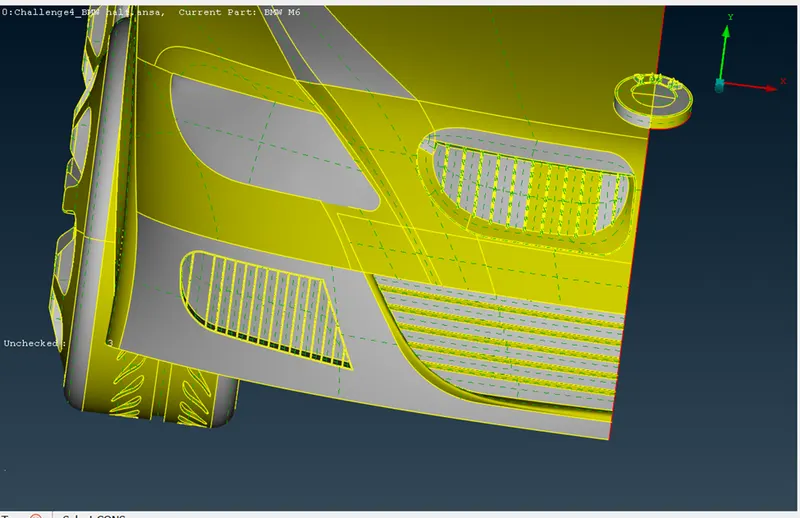
We have the more number of single cons present in the model, We cleared all the errors/unwanted cons (single and triple cons). After cleanup of car model of each part we get solution as below image.
All TOPO (single and triple cons) Cleared in ENT mode of car model:
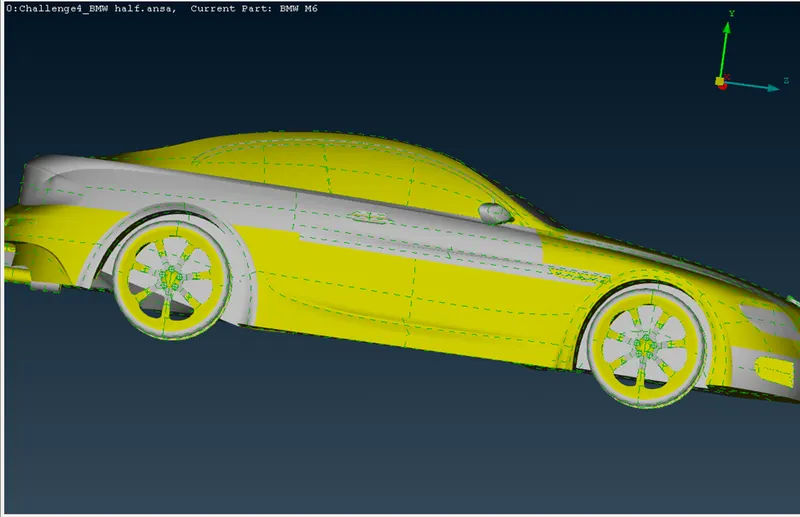
After cleanup the TOPO/errors in model we have assign the PID’s to each part of car model. The below list shows the PID assigned to particular part of model.
PID applied car:
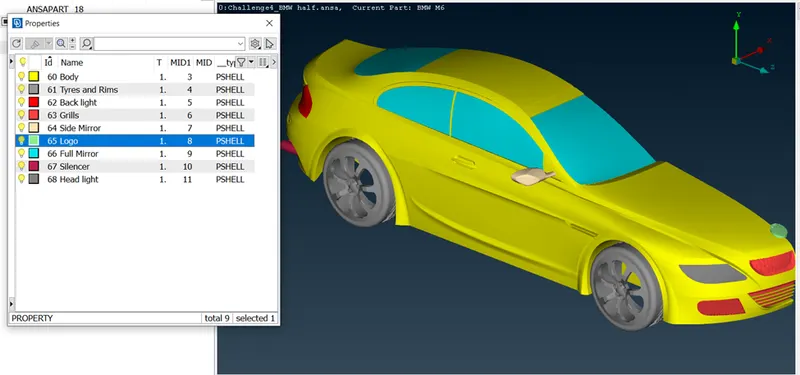
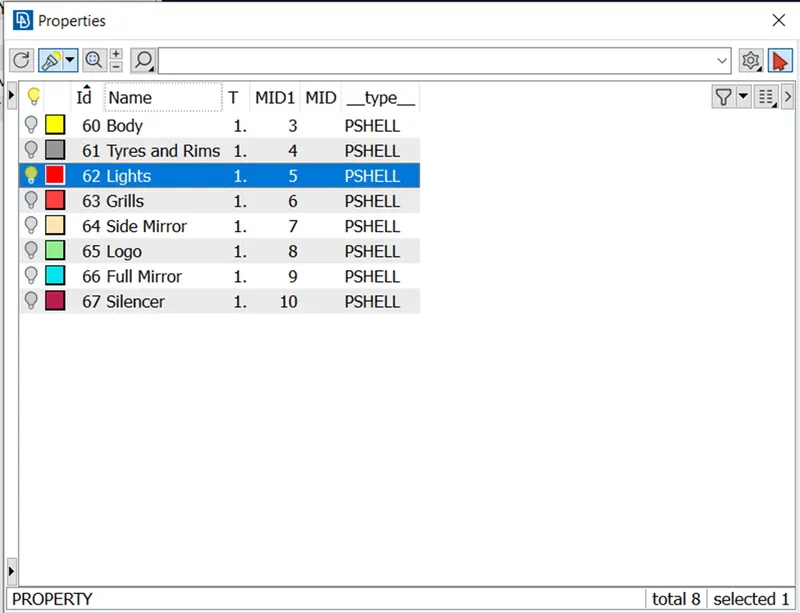
Assigning the PID will helps to mesh the model with it quality criteria. After PID allocation turn on/enable the classic mesh and assign the mesh to each part of car with its specified quality criteria. The Objective section will show the assigning mesh parameters for each part of model.
Quality criteria for each part will change as per the size of with difference of min. and max. length of mesh with constant skewness.
We need to check the meshed part in Hidden mode coz elements which are exceeds quality criteria threshold values will be colored. And we need to clear them all and make the off elements to 0.
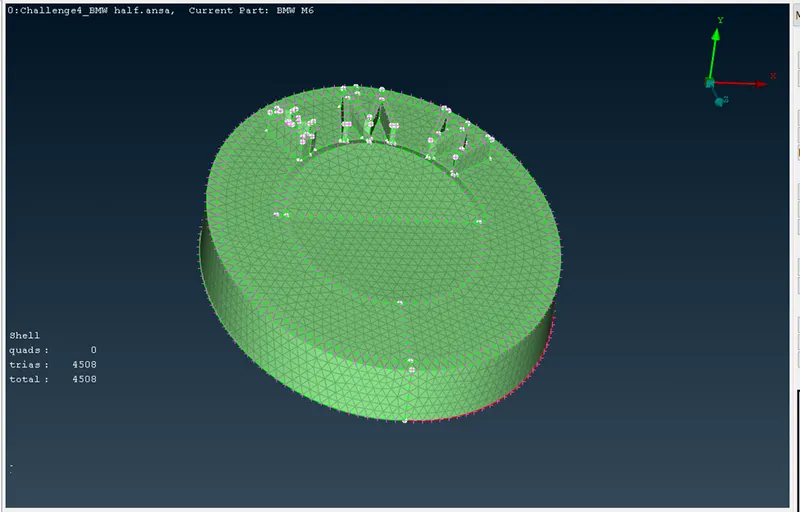
Meshed LOGO with 0 off elements:
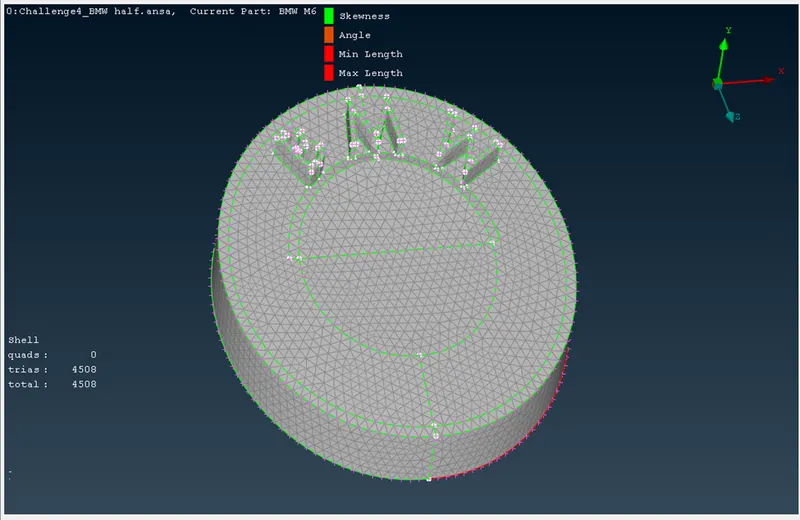
Meshed LOGO with PID:
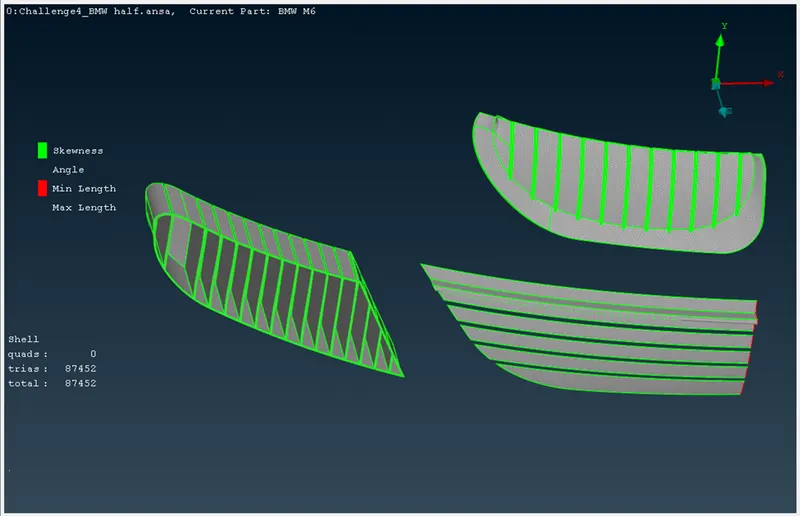
Meshed Grill part with 0 off elements:
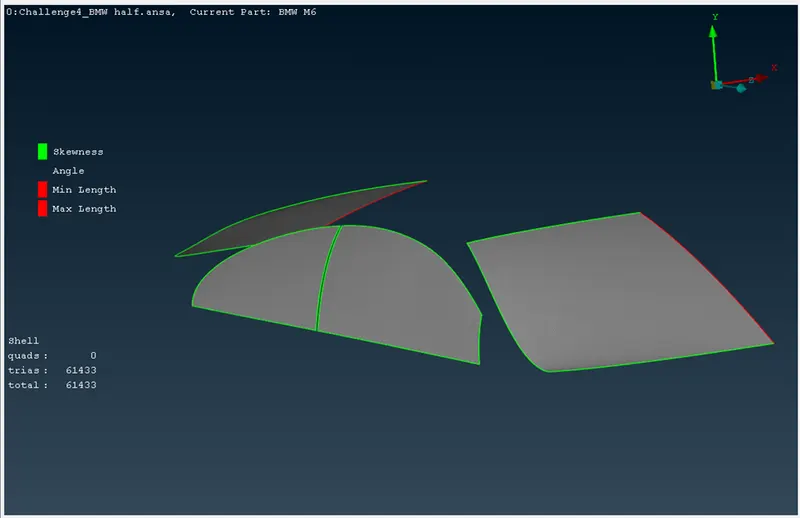
Meshed Glass/Window part with 0 off elements:
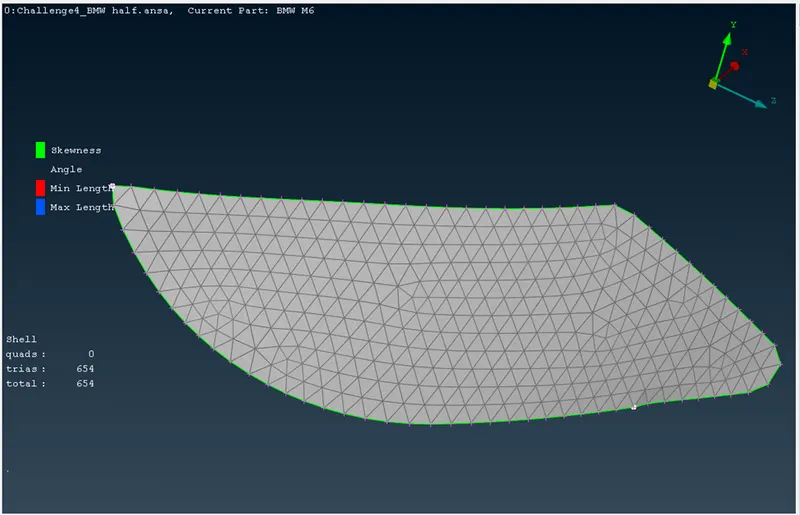
During reconstruction of mesh elements we can face some unsolvable off elements those can be solved by manually and for that solution we used the move tool from Grids section of classic mesh. We can see the manually solved off elements in below image.
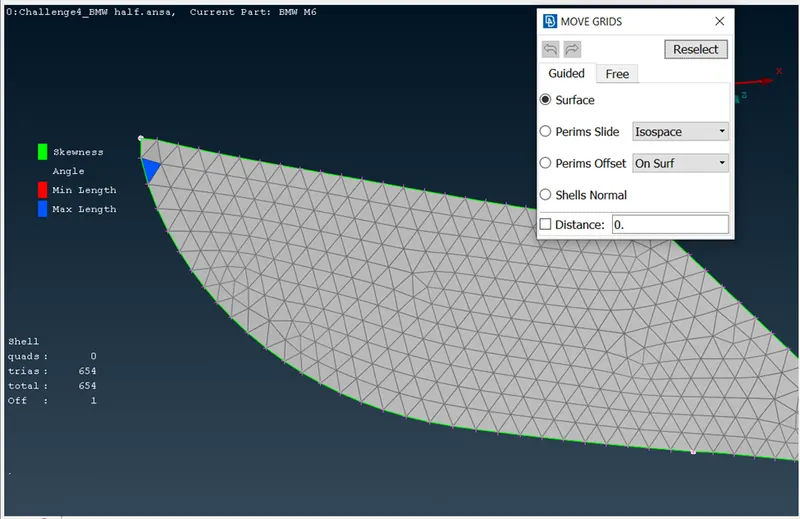
Meshed Head light part with 0 off elements:
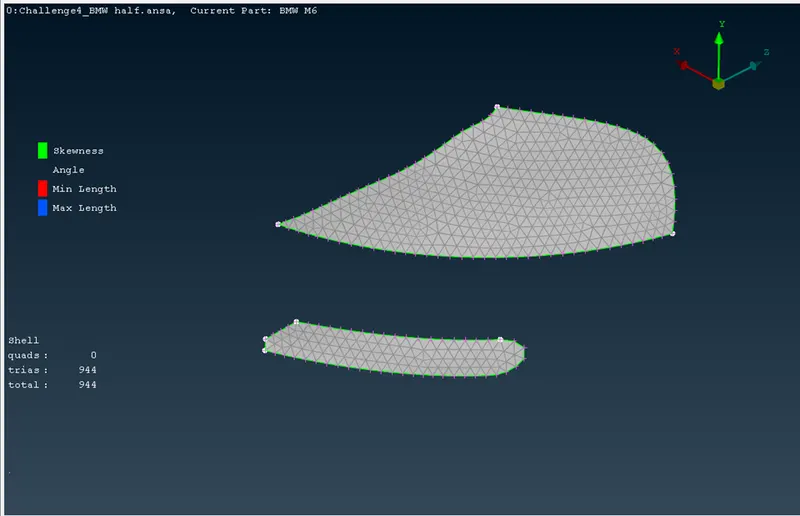
We can see the manually solved off elements for Back light in below image.
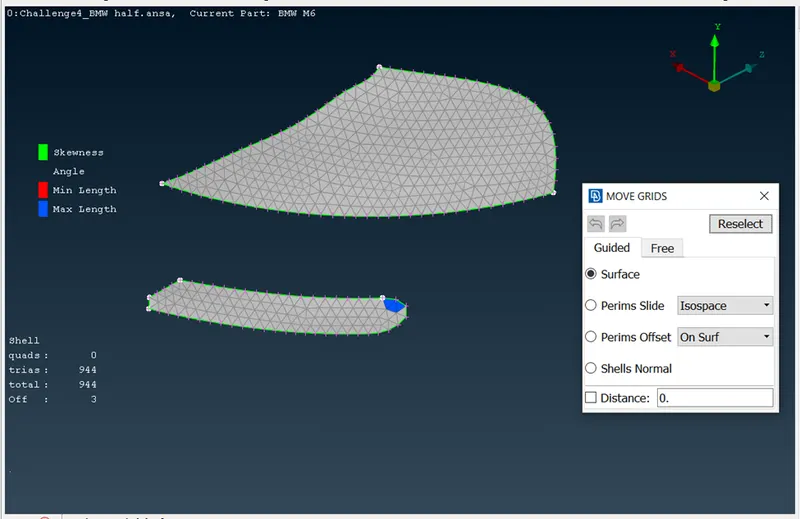
Meshed Back light part with 0 off elements:
Meshed part of wheel, and To reduce the off elements, we use the reconstruction tool:
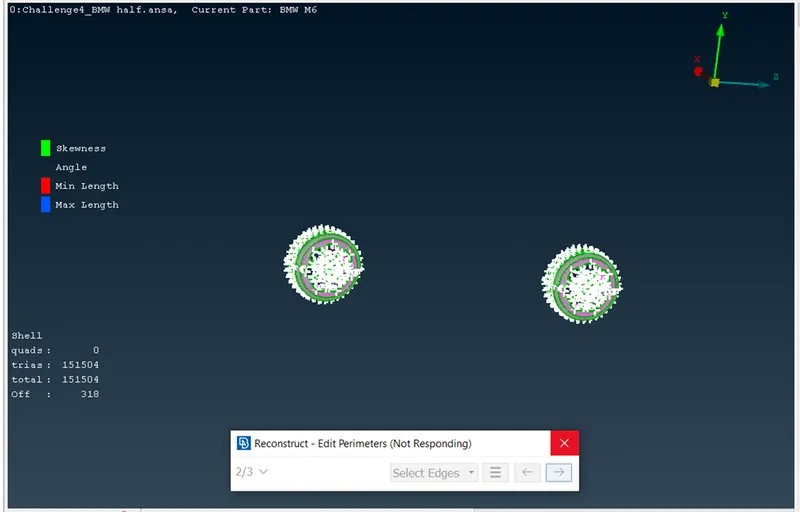
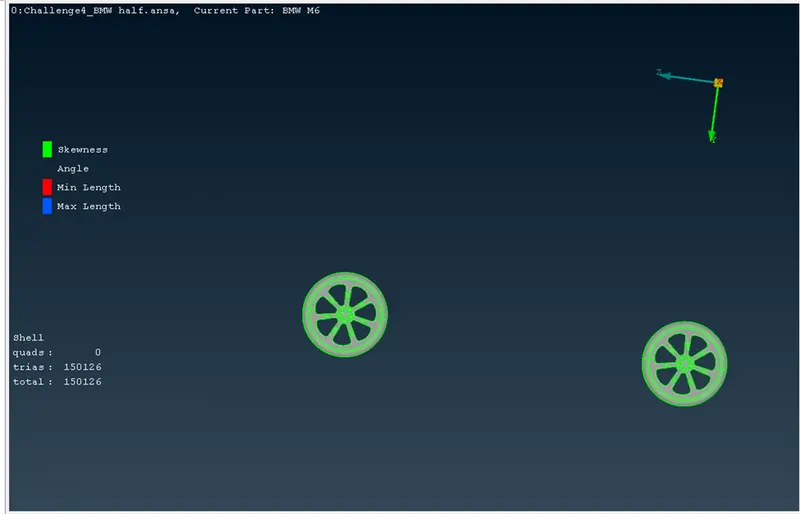
Meshed Wheel part with 0 off elements:
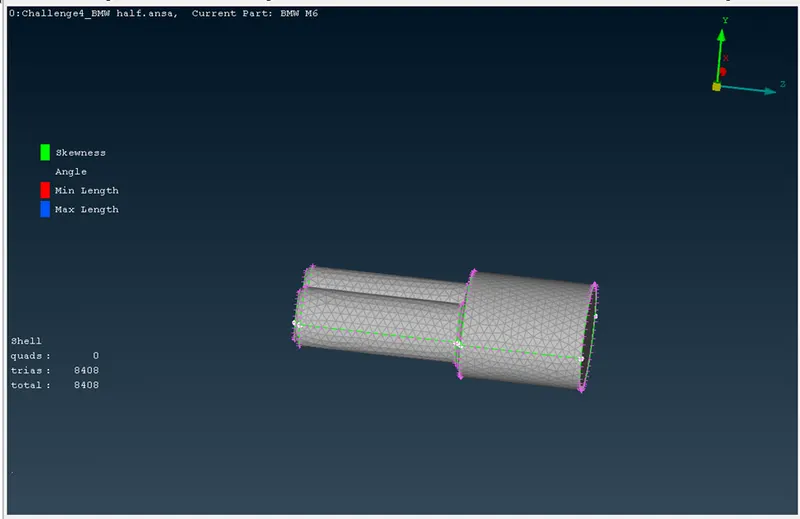
Meshed silencer part with 0 off elements:
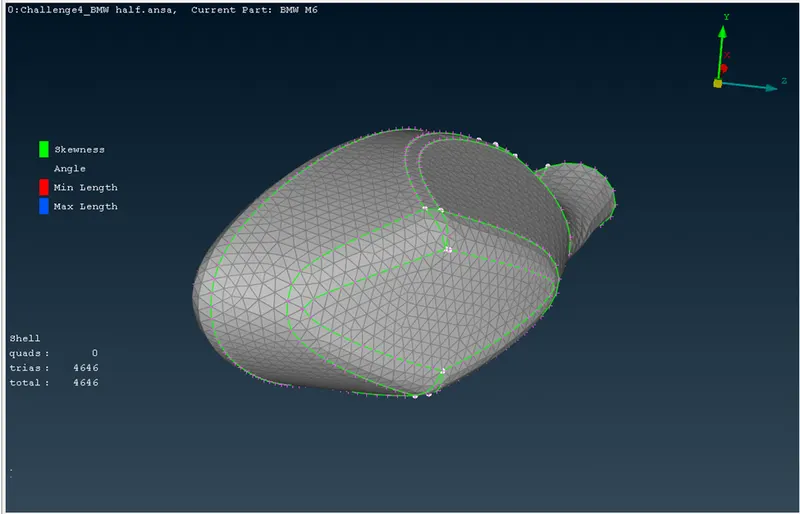
Meshed Side mirror part with 0 elements:
Meshed Body part with 0 off elements:
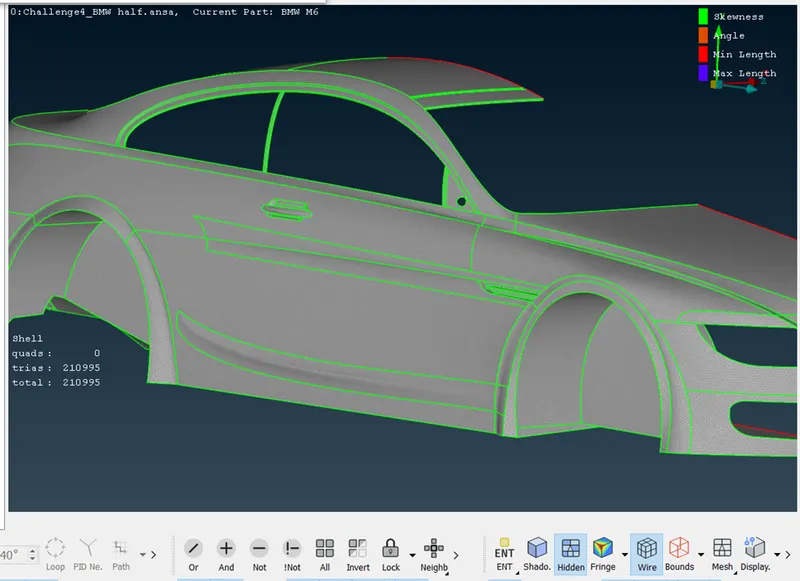
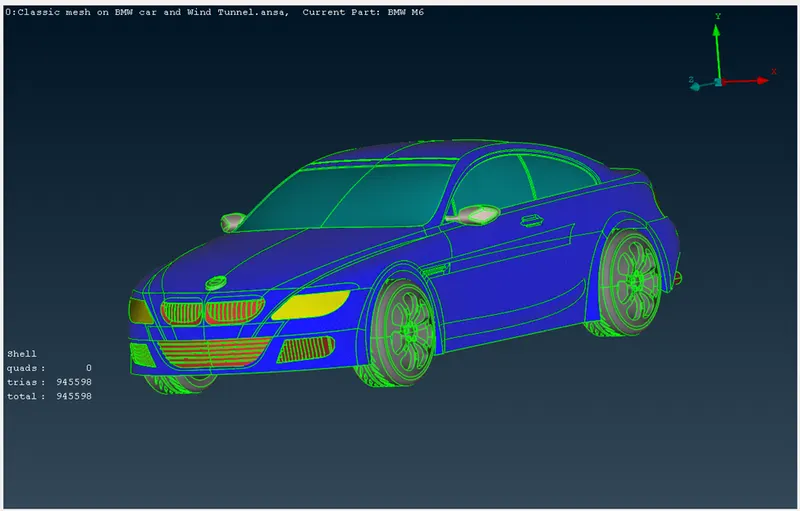
Complete meshed car model:
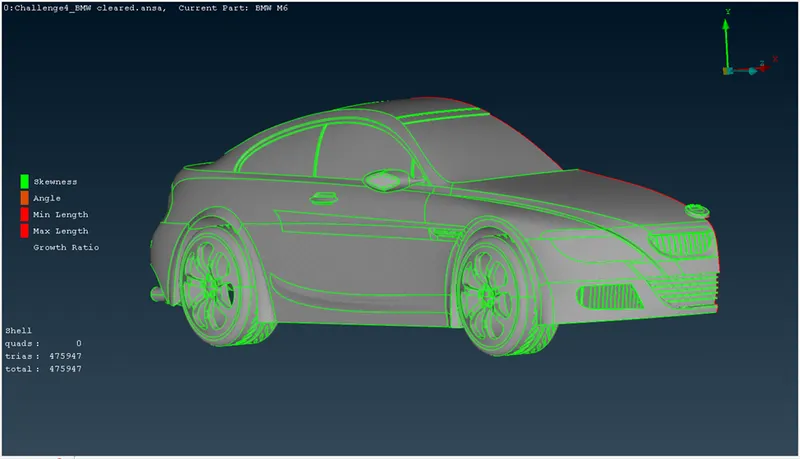
The above image is clarifying that the mesh is placed on half portion of car model with 475947 elements.
Once the meshing is completed to half portion of car model, we can symmetry the other half body of car using Transform --- copy --- entities select the meshed car model enter and select the 3 node elements and select any 3 nodes on model ok then the car will be get symmetry on other side of model. The below image shows the selection of entities.
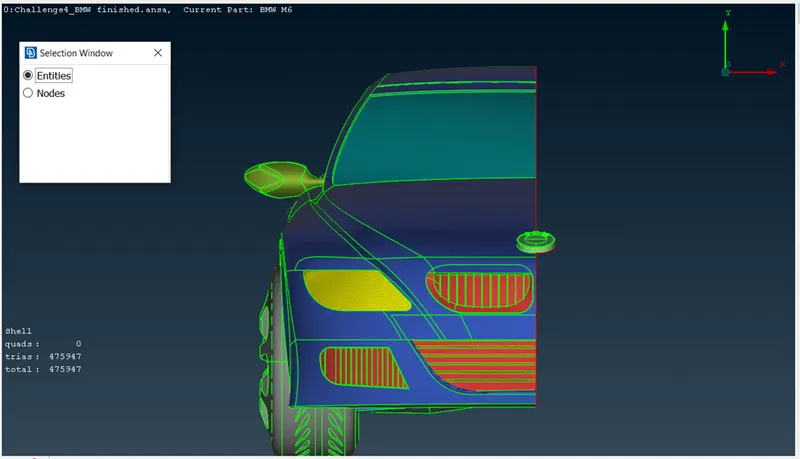
Complete meshed car model within quality criteria:
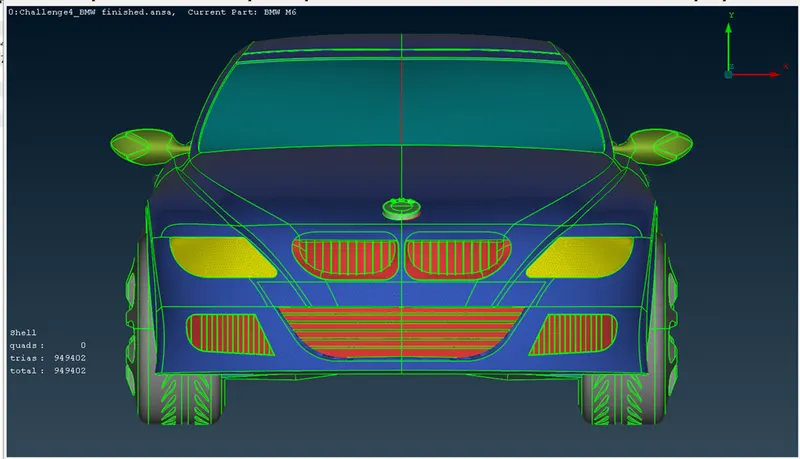
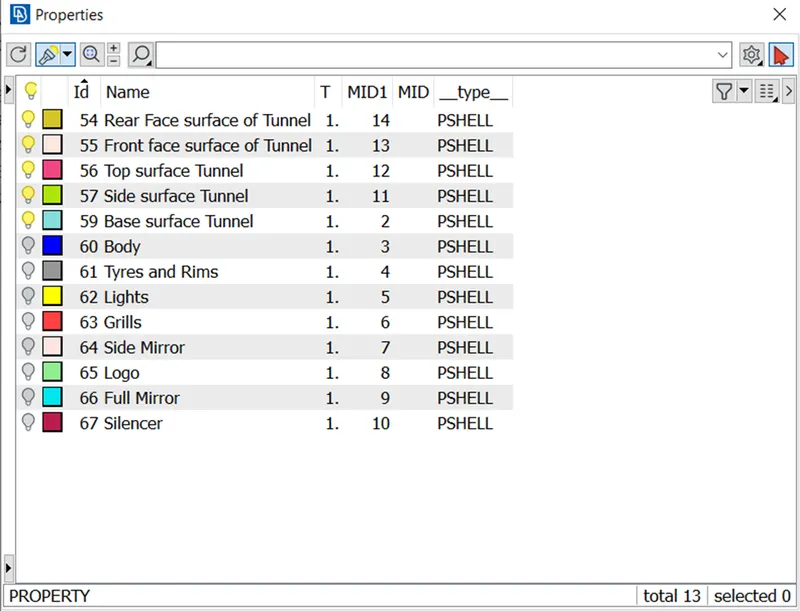
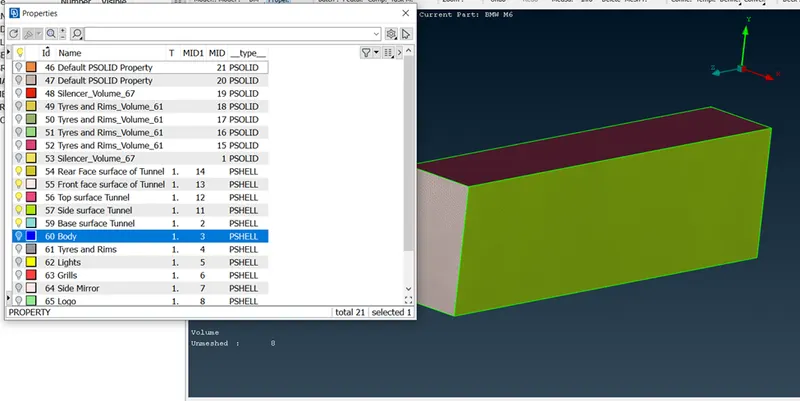
After completion of mesh to car model we create the wind tunnel around the car. For creation of wind tunnel, we measured the distance and gave the wind tunnel distance from car 4x in front of car, 3x on top, 6x in rear. X is the length of car from back node to front node. We used the Relative tool to create the point to create the wind tunnel. After creation of wind tunnel we need to assign the PID’s to the All faces of wind tunnel. Coz the mesh size near to car model need to smaller and finer exclude that all side can allow the coarse mesh.
We assigned the PID’s to all the faces of wind tunnel as per below image,
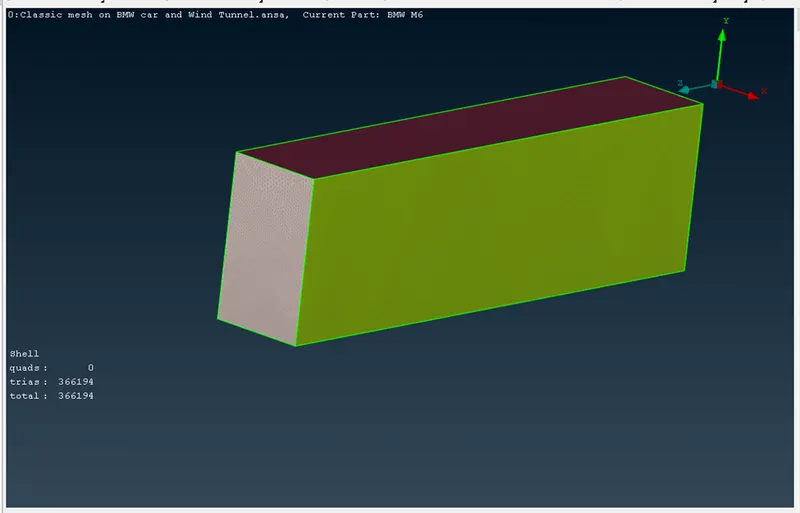
We assign the mesh size as for top face 100 mm and for bottom face 20 mm. We used the specing tool to build the mesh on wind tunnel coz it helps to build the mesh from min.(20) to max.(100) with growth of 1.1. we assigned the mesh with specing on six side of faces of wind tunnel.
Meshed body of Wing Tunnel:
We get the elements of 1246896 from meshing of wind tunnel:
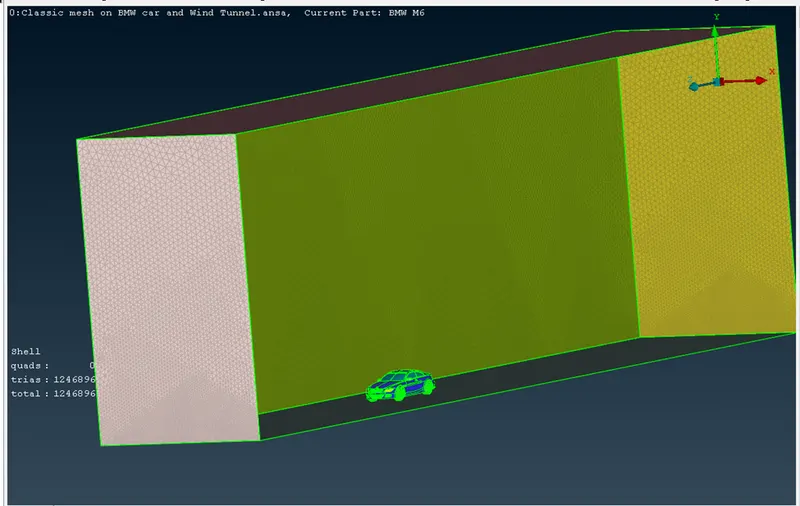
Assigned PID’s by define command from volumetric mesh.
LEARNING OUTCOMES:
We learned the process of cleanup of TOPO for BMW car model. Assigning the PID’s. Meshing the car model with different quality criteria. Modelling the Wind tunnel and using the Relative, spacing, extend, freeze/unfreze, paste etc. tool usage with situations.
RESULTS AND OBSERVATIONS:
From the above process of meshing to the car model we got the elements of 945590.
We observed that during the cleanup may miss some intersection of cons or parts, those can be found in check --- check manager --- CFD Geometry check execute.
CONCLUSION:
From the above information’s, observations we conclude that the BMW car model is completely meshed with it particular quality criteria with disturbance and the wind tunnel modelling and meshing has done properly. We can say that the mesh is perfect for volumetric mesh.