Week 4 Challenge
Introduction: In this project we are designing a tail light lens using given class A surface. The approach includes creation of Class B surface keeping 4 mm thickness in mind for the complete component. The design also included Class C creation from the given parent surface.
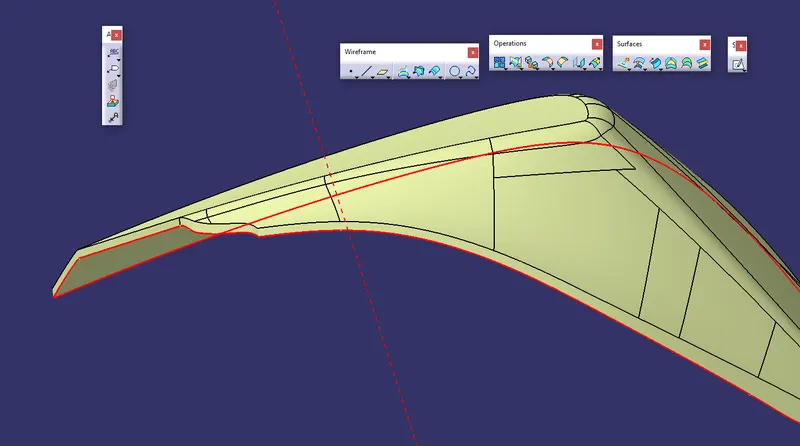
CLASS A: Following surface is given as the input for the component creation.
To continue with the design process first we need to find out the tooling axis for the surface and check for all the drafts using Draft Analysis tool of CATIA.
TOOLING DIRECTION :
Created Tooling Direction by taking point wich is centre of momentb of gravity and creadted line which is normal to surface
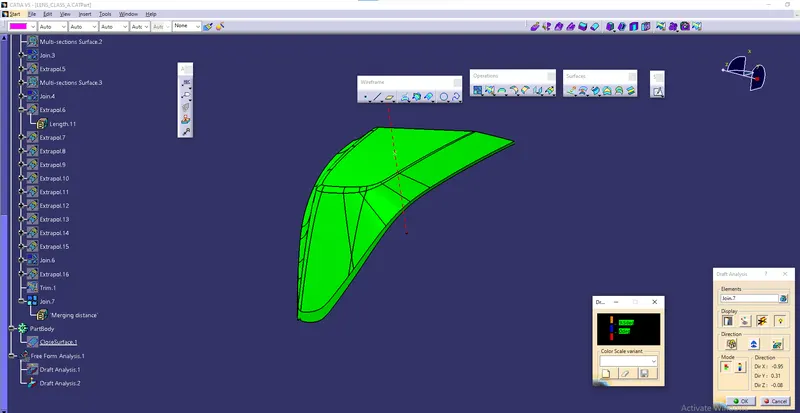
Draft Analysis for Surface A:
The analysis is done for 3degree draft. So as can be seen all the surfaces are than 3deg.
Creation of Class B:
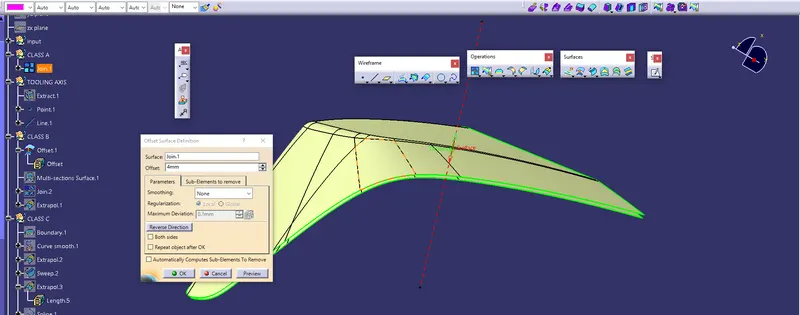
- Now for Class B creation, we have extracted surface from Class A and untrimmed them to obtain the original parent surface.
- These surfaces are then offset to the required thickness.
- After offsetting, all the surfaces are trimmed into the required shape.
- Required fillets are given to the surfaces.
Creation of Class C:
- For creating this surface we have extracted the boundry of Class A using multi-extract and then converted to smooth curve.
- Now this smooth curve is swept along the draft direction with a 3deg draft.
Class A + Class C:
To make sure that there is not any open boundry between class A and class C, we have used join option to created the single body. This is done to make sure that the parting line doesn't lie between the these two surfaces.
Class A + Class B + Class C:
For this we have trimmed the above shown surface with the Class B surface using trim feature.
All the main features are published as can be seen in the image shown above.
Draft Analysis on the Final Component:
For this analysis, main tooling axis is taken draft reference.
Following results were obtained:
TRANSPERENT VIEW OF TAIL LIGHT LENS
1.TOOLING DIRECTION:
The Tooling Direction is basically the direction that the mold pulls apart. The mold is built in two separate pieces, basically. You have a Cavity side and you have the Core side. The Core pulls apart from the Cavity and that's the Dyeline or the Tooling Direction.
- In Molding machine arrangement is given to open the mold along a direction which is known as Tooling Direction.
- In other words. The mold is built from two separate halves (Core and Cavity) and tooling direction basically define the direction of mold pulls apart.
- Tooling direction is known as primary direction.
2.
3.
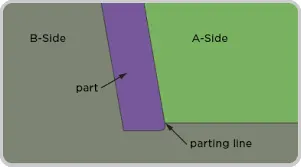
A parting line, in industrial casting of molds, is the border line in which draft angles change direction. One can check the parting line in the mould or product which divides the two half, i.e; the core and the cavity of a molded part. It is sometimes a starting point for the mold parting surface.
Parting lines occur where the two halves of an injection mold meet. Sometimes that is directly in the center of the part, and other times it's in a different location entirely. The design should meet the functionality and form required of the molded part.
4.
5.
A parting line, in industrial casting of molds, is the border line in which draft angles change direction. One can check the parting line in the mould or product which divides the two half, i.e; the core and the cavity of a molded part. It is sometimes a starting point for the mold parting surface.
Parting lines occur where the two halves of an injection mold meet. Sometimes that is directly in the center of the part, and other times it's in a different location entirely. The design should meet the functionality and form required of the molded part.