Week 4
Objective:
The objective of this projects is to check for the geometrical errors and mesh with the given element Quality criteria of a "Bottle cap" using ANSA software.
Procedure for meshing this geometry in ANSA:
* Import the "CAD geometry" file into ANSA,the file should be of "STEP(.stp)" or "IGES(.igs)" or "STL(stl)" or "(.ansa)" formats only
because ANSA can only support these formats.
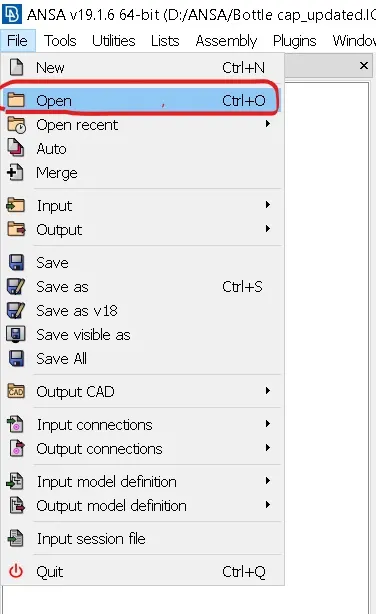
* After importing the CAD geometry we should perform some basic operations like
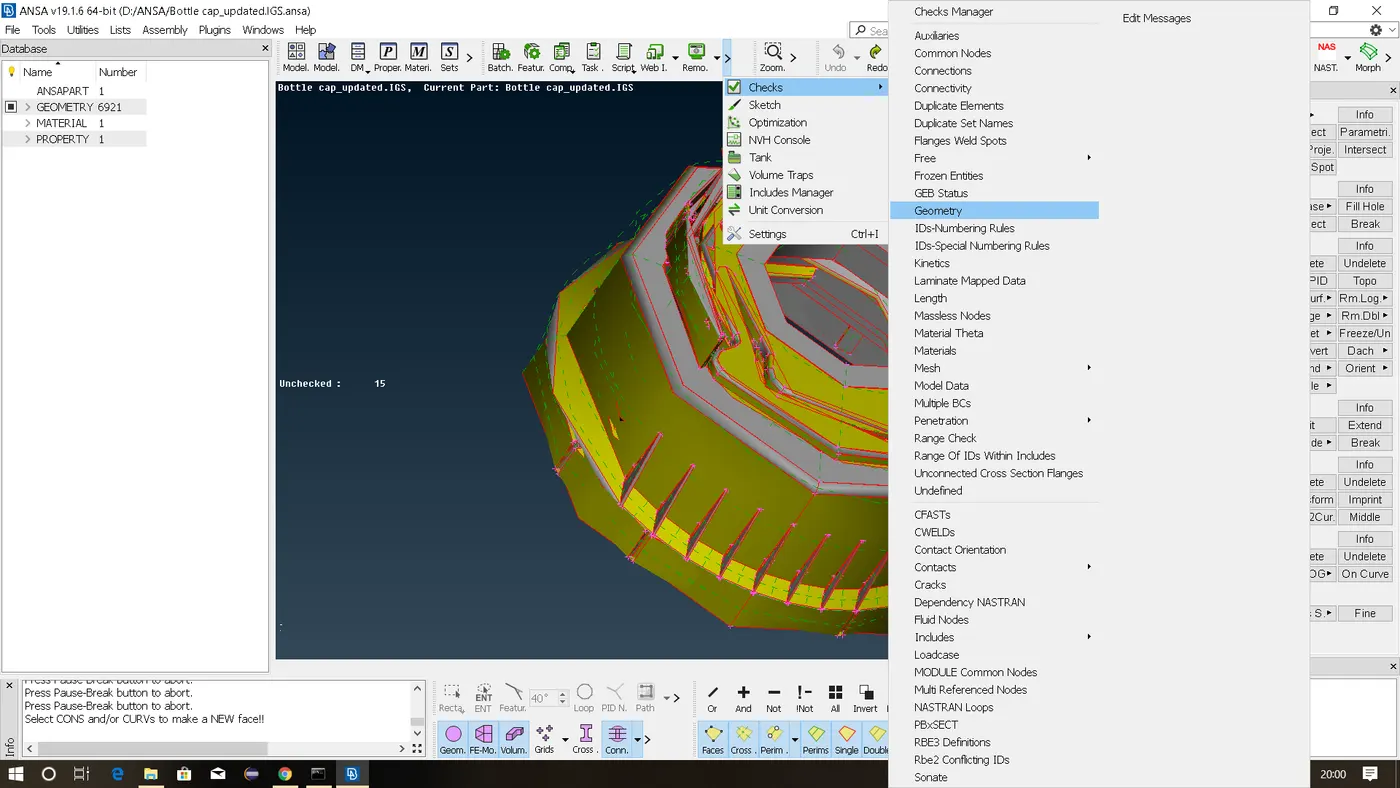
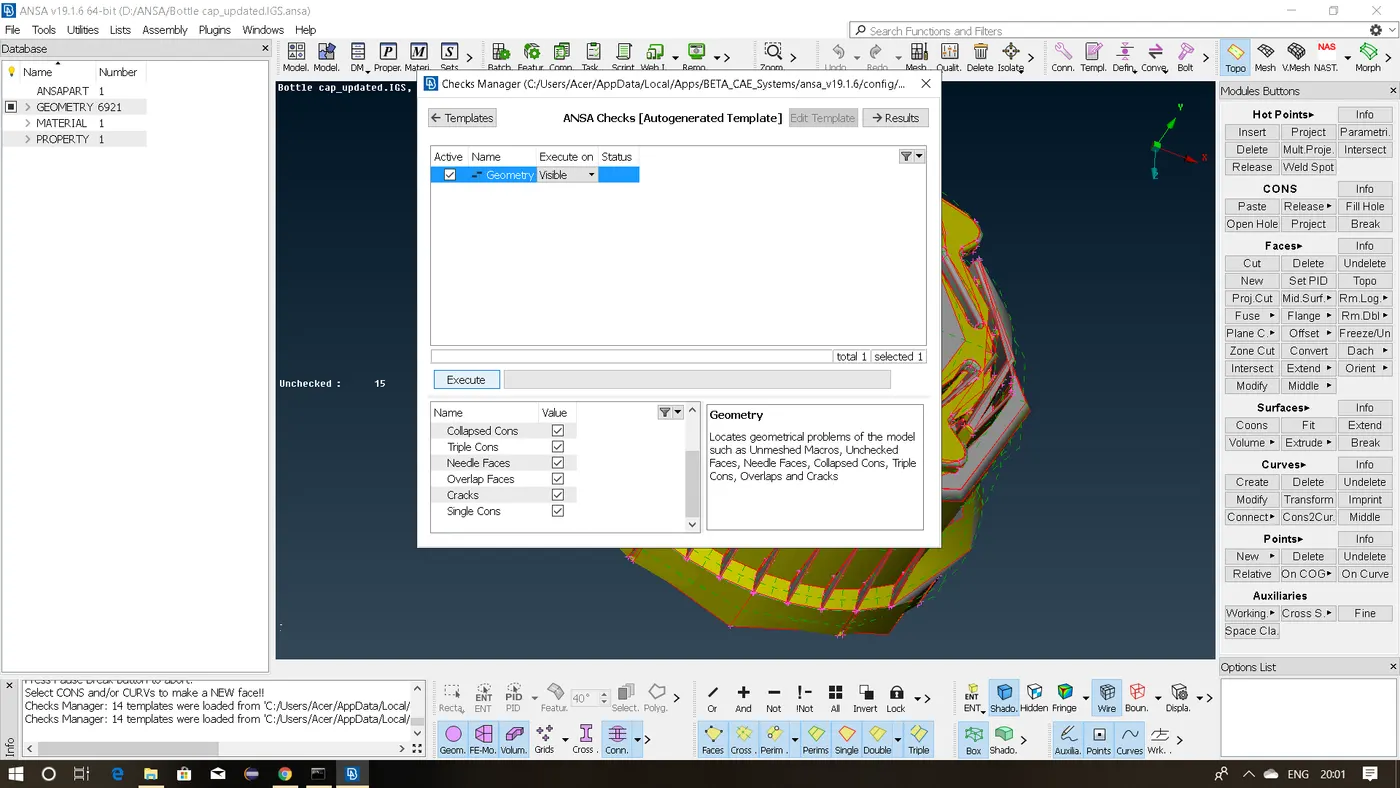
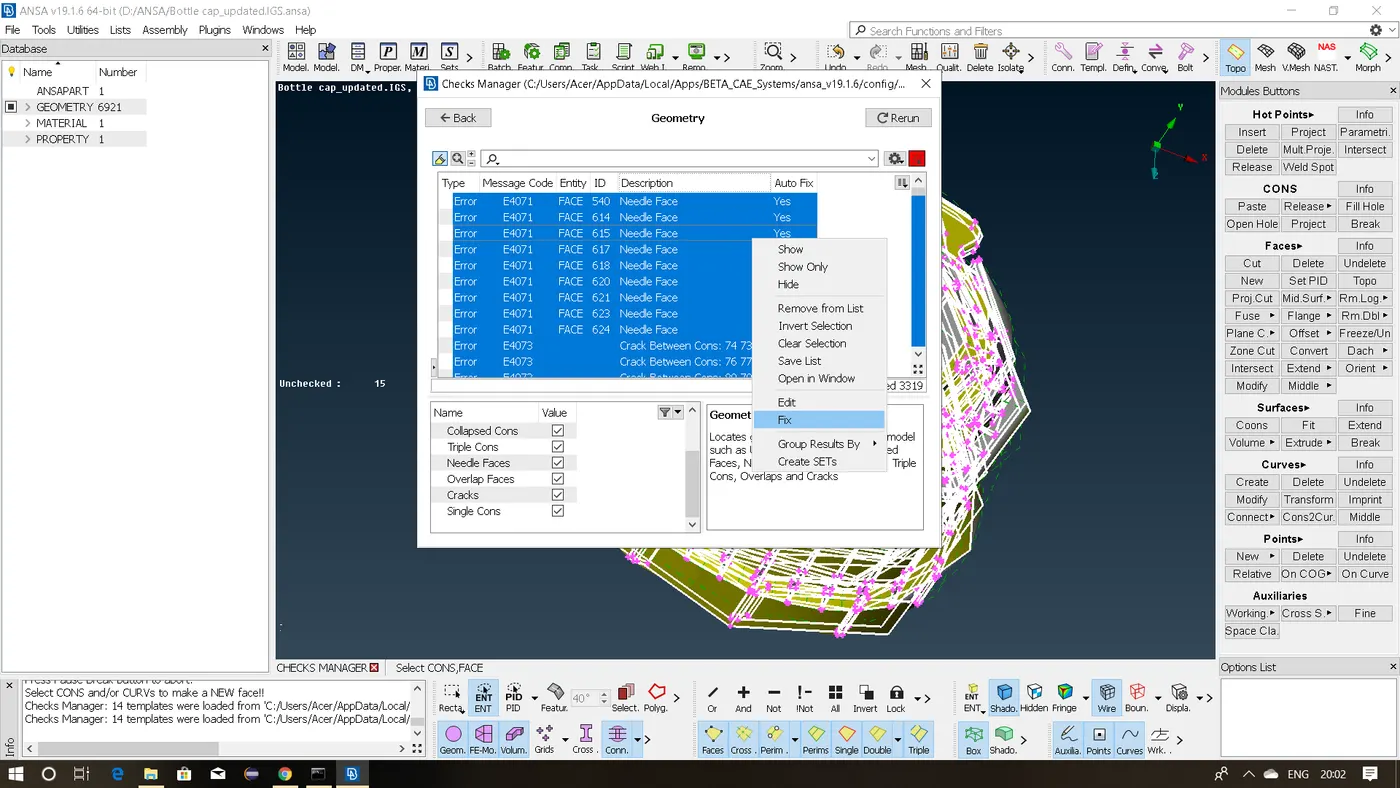
(a) Check for any issues in the geometry (i.e, execute "geometry cleanup")
(b) Fix all the geometry issues if there are any.
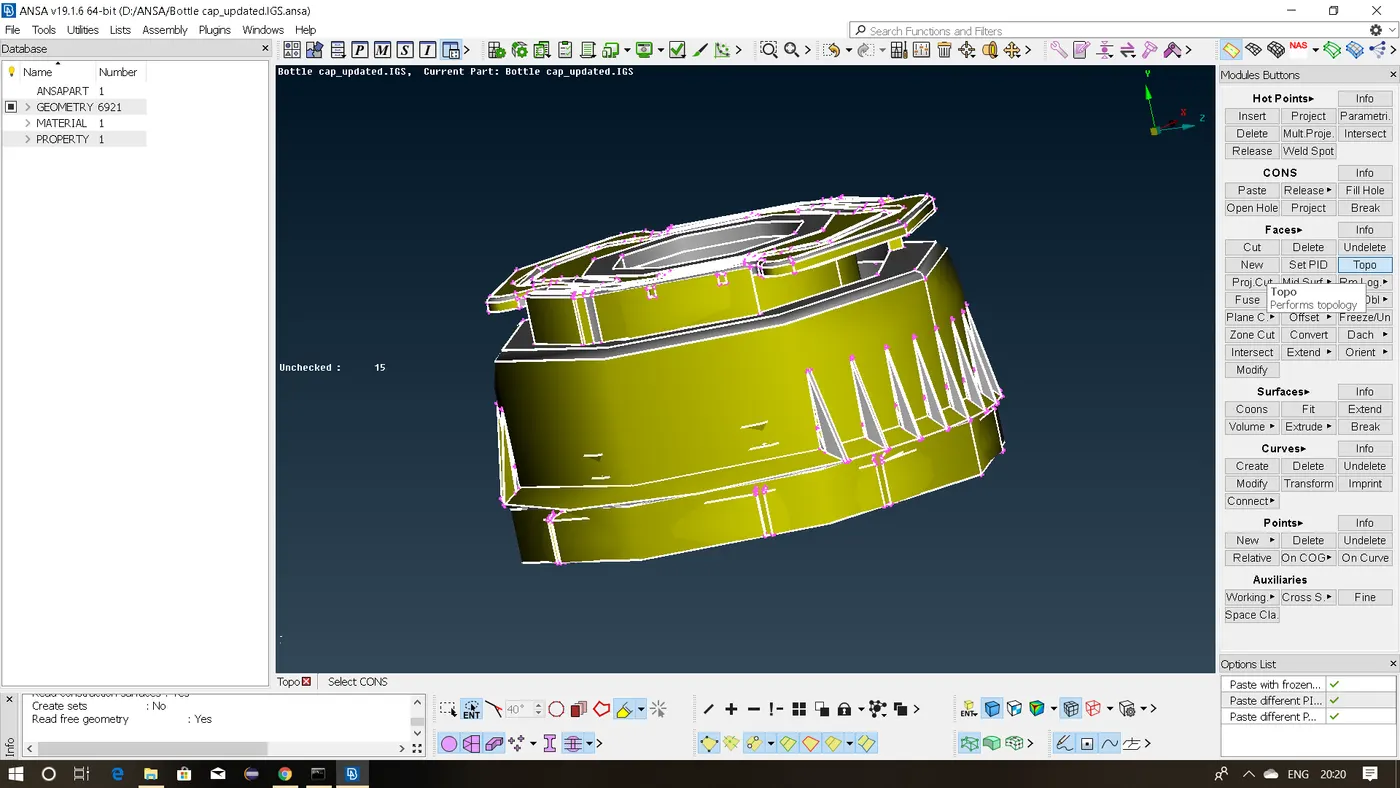
(c) Now perform "Topology" to confirm that all the surfaces are stitched perfectly.
(d) Assign different "PID(part ID)" for different surfaces. (e) Set the "Perimeter" and "Macro" length of the components to the given "Target length".
* Now its time for extracting the "Midsurface".
But in sheet metal components whe have uniform thickness throughout the geometry, whereas in plastic components we have variable thickness in the geometry and complex surfaces are present.
Therefore extracting midsurface of plastic components is not same as extracting midsurface of sheet metal components.
Here we cannot go for traditional "Faces - offset - faces" method to get the midsurface because the thickness is not same throughout the surface of the geometry,We can rather go for auto midsuface method i.e, "Faces - midsurface - casting" but in most of the cases ANSA will fail to generate the exact midsurface of the complex surfaces of the component, Hence its always better to go for manual midsurafing methods only.Here we cannot use "skin" option in auto midsurfacing because "skin" option is only used for surfaces having uniform thickness.
Therefore here we have to use various methods to extract midsurface of various parts of the component.
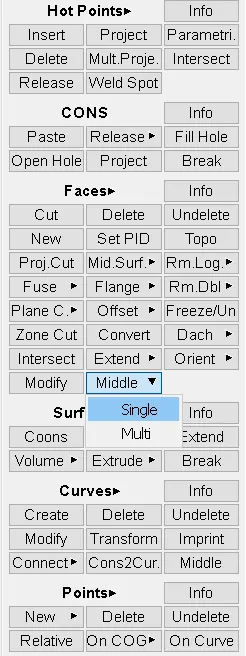
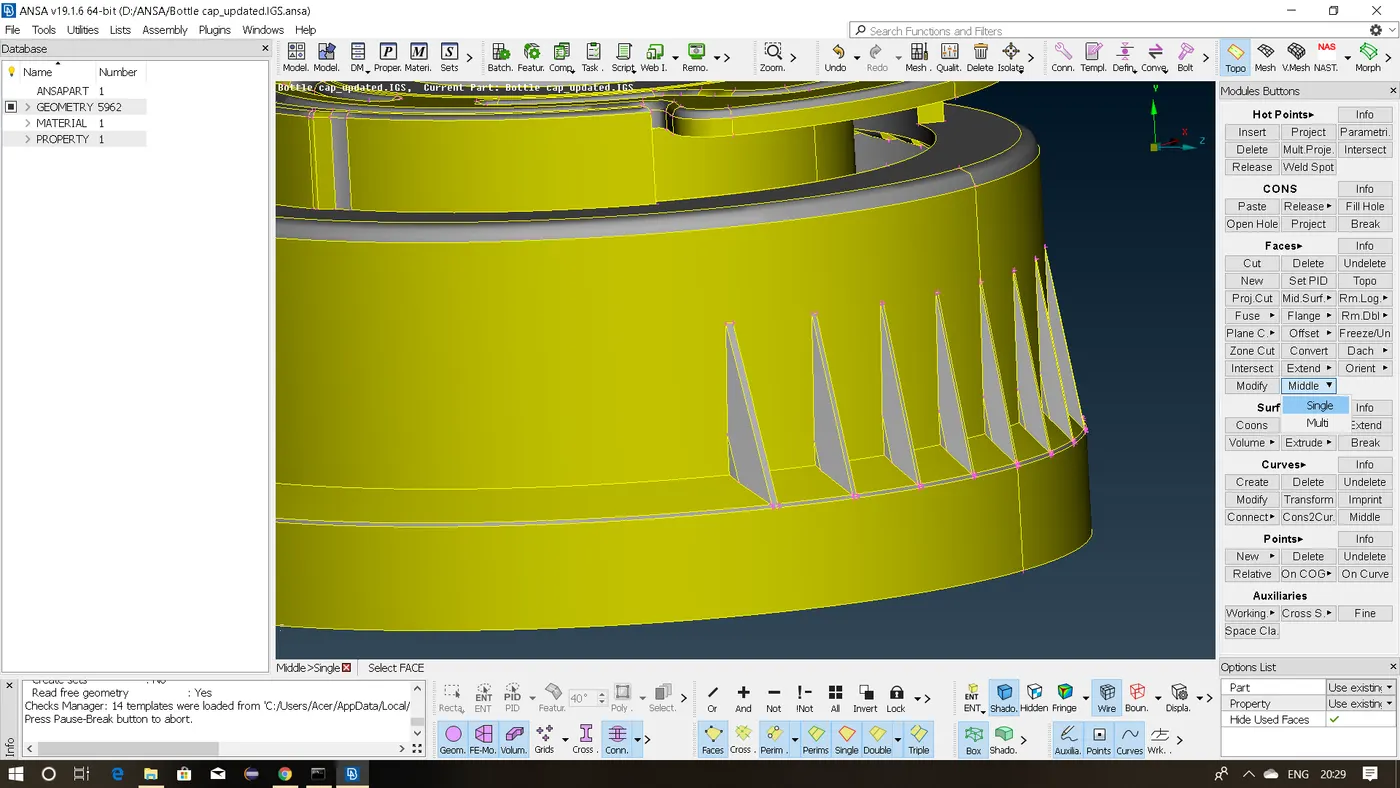
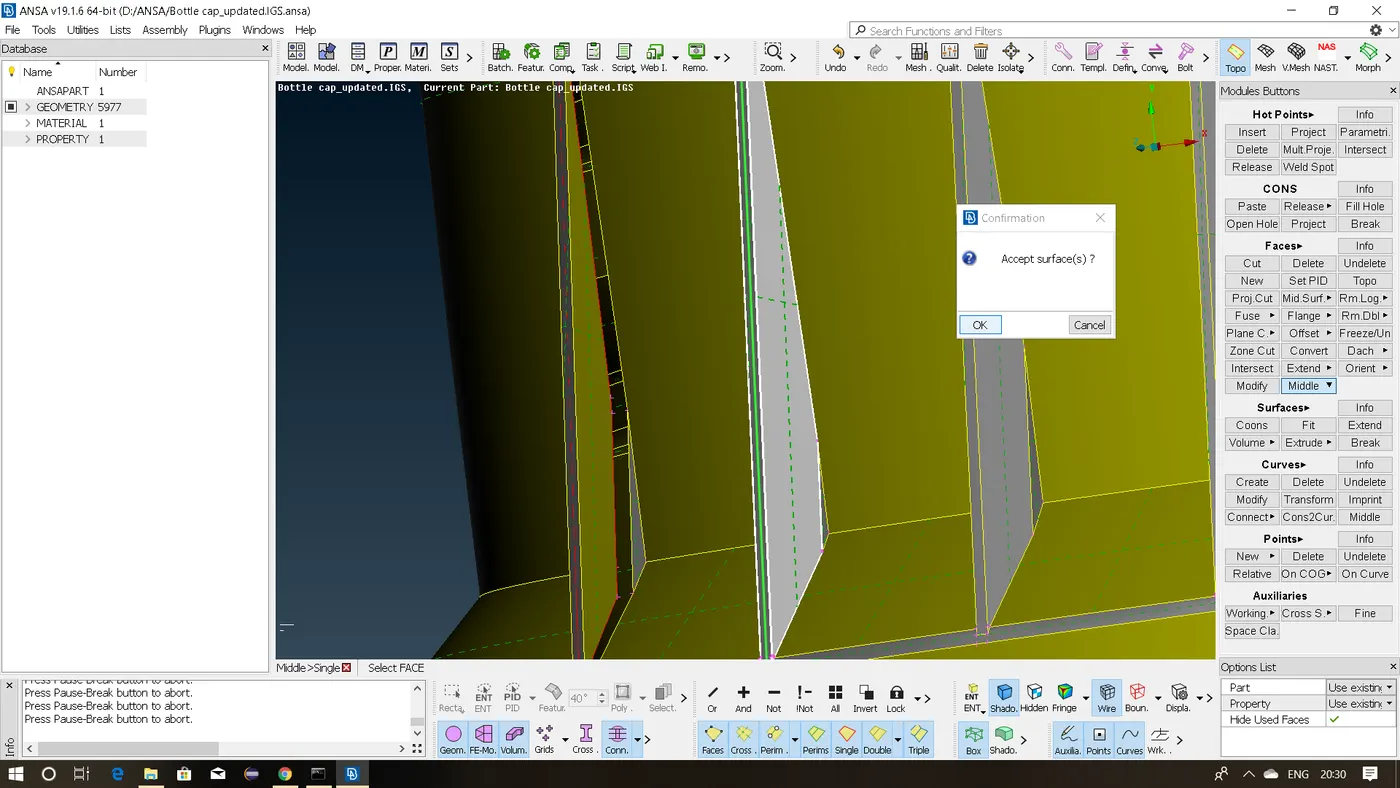
(a) We can go for "Faces - middle -single" option to extract the midsurface of the geometry which has identical geometry on opposite sides but with non uniform thickness.
(b) For more complicated surface we need to follow some other method to get the midsurface i.e,
> We need to use "Curves - middle" option to get the centre or the "neutral axis" of the geometry. > Now we need to project it on to the base midsurface of the component. > Now using "New - surface type" we need to generate a new surface by selecting the cons between which the new surface has to be generated.Again in surface types we have various options depending on the requirement we need to choose the right option.
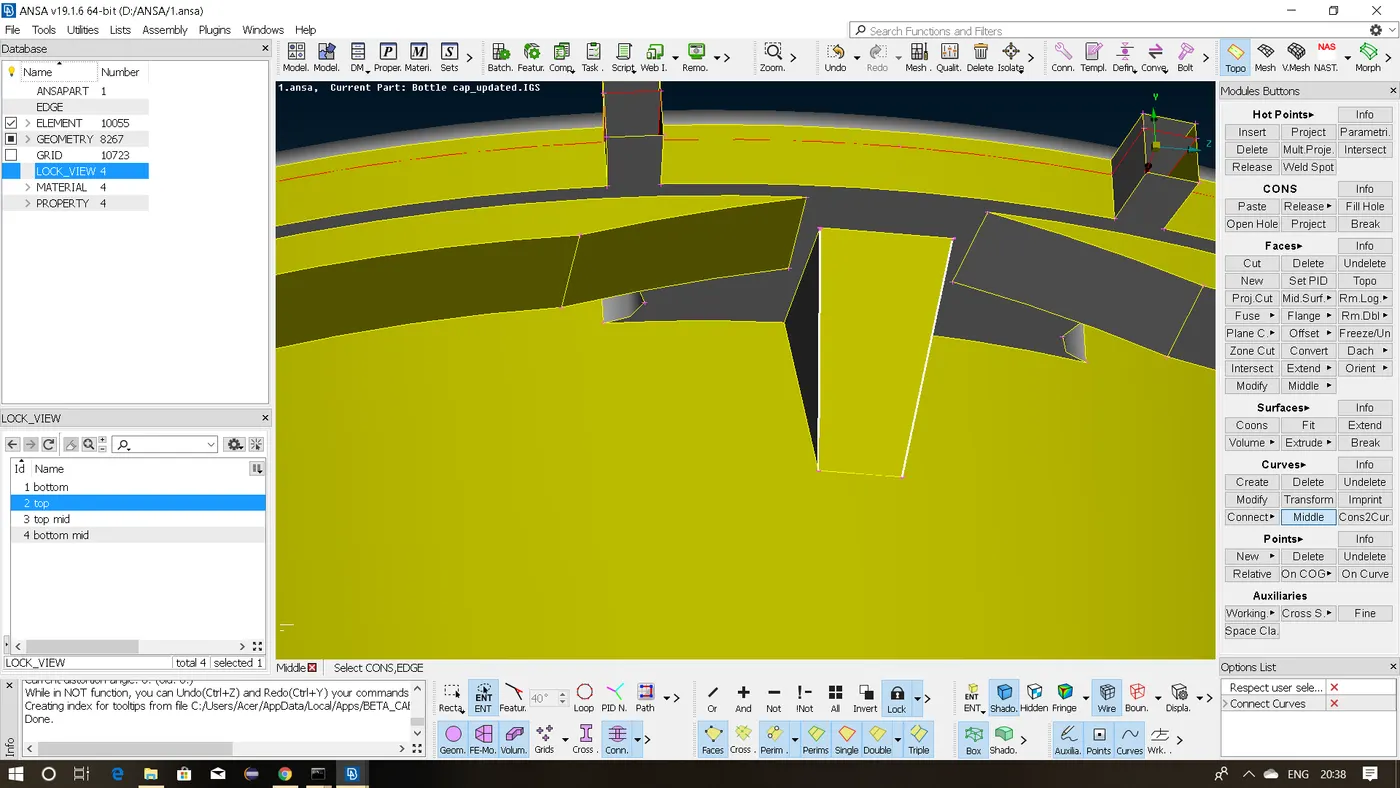
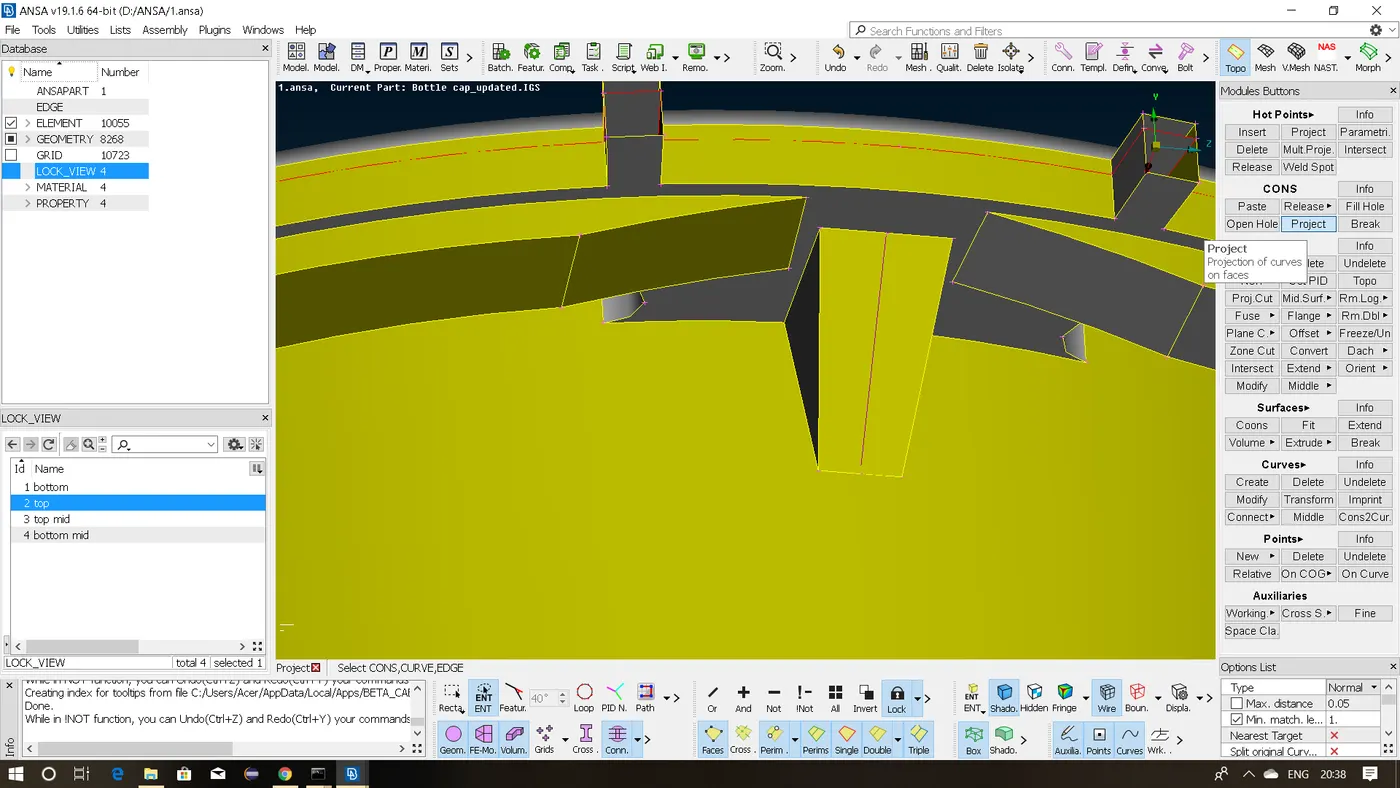
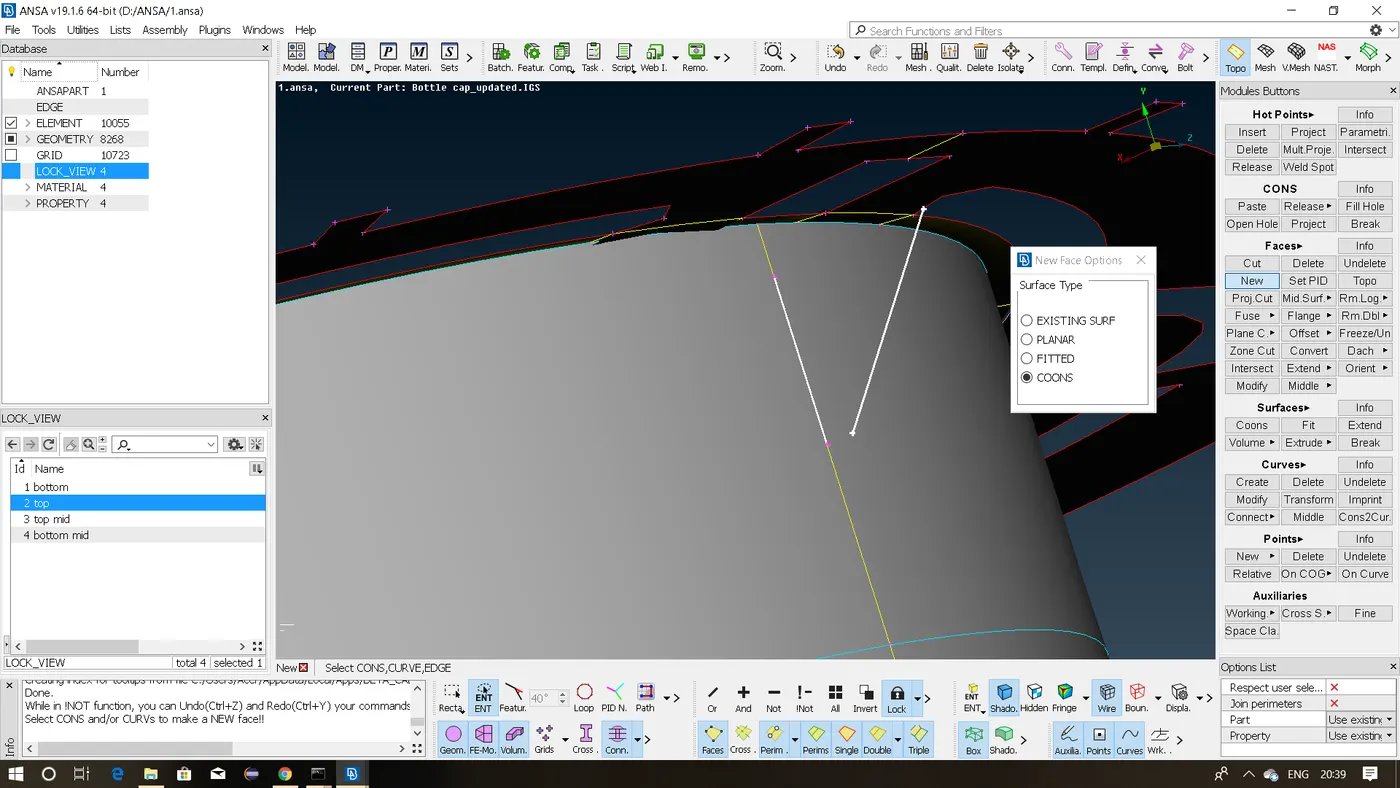
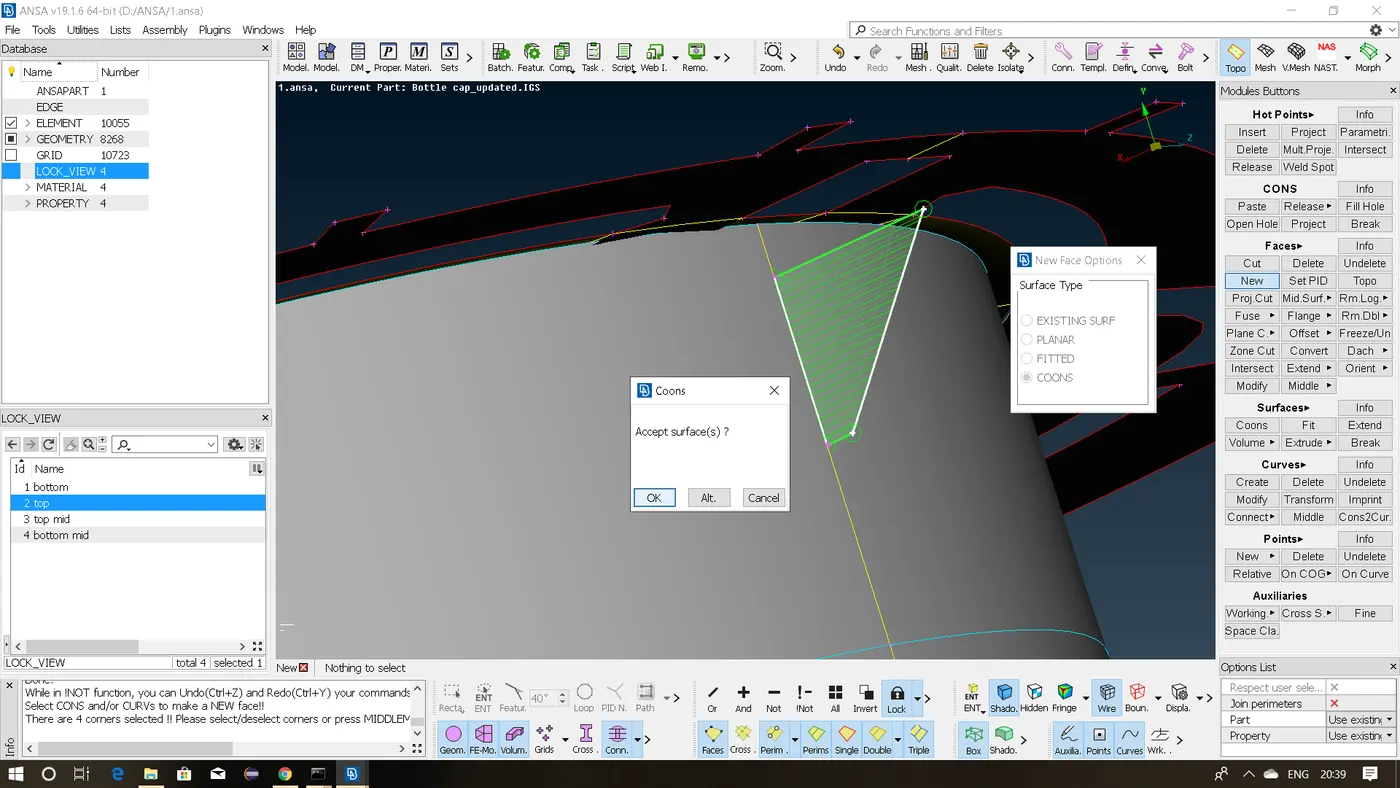
(c) Using "curves - cons2curves", "curves - middle" and "new - surface types" in combination we can get the midsurfaces of all the complex surfaces.
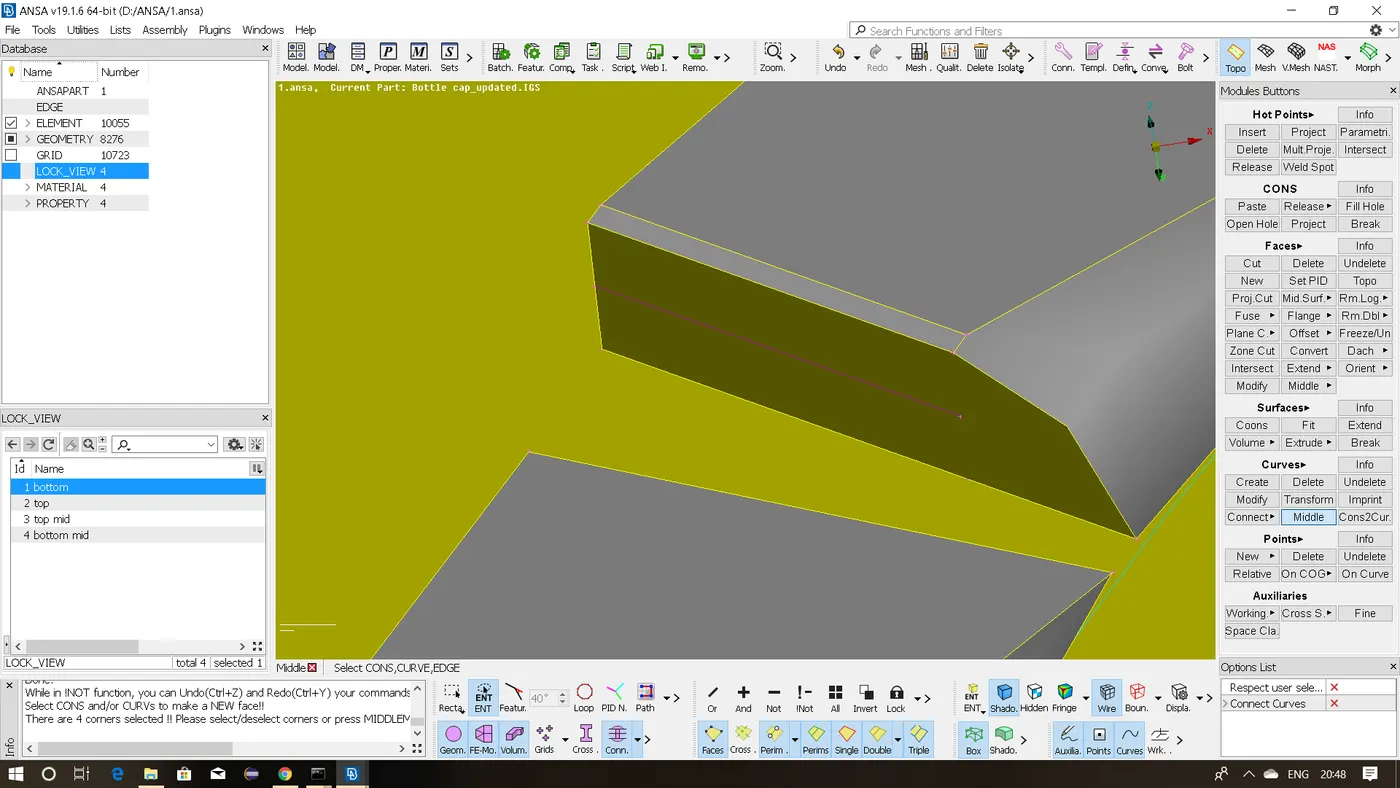
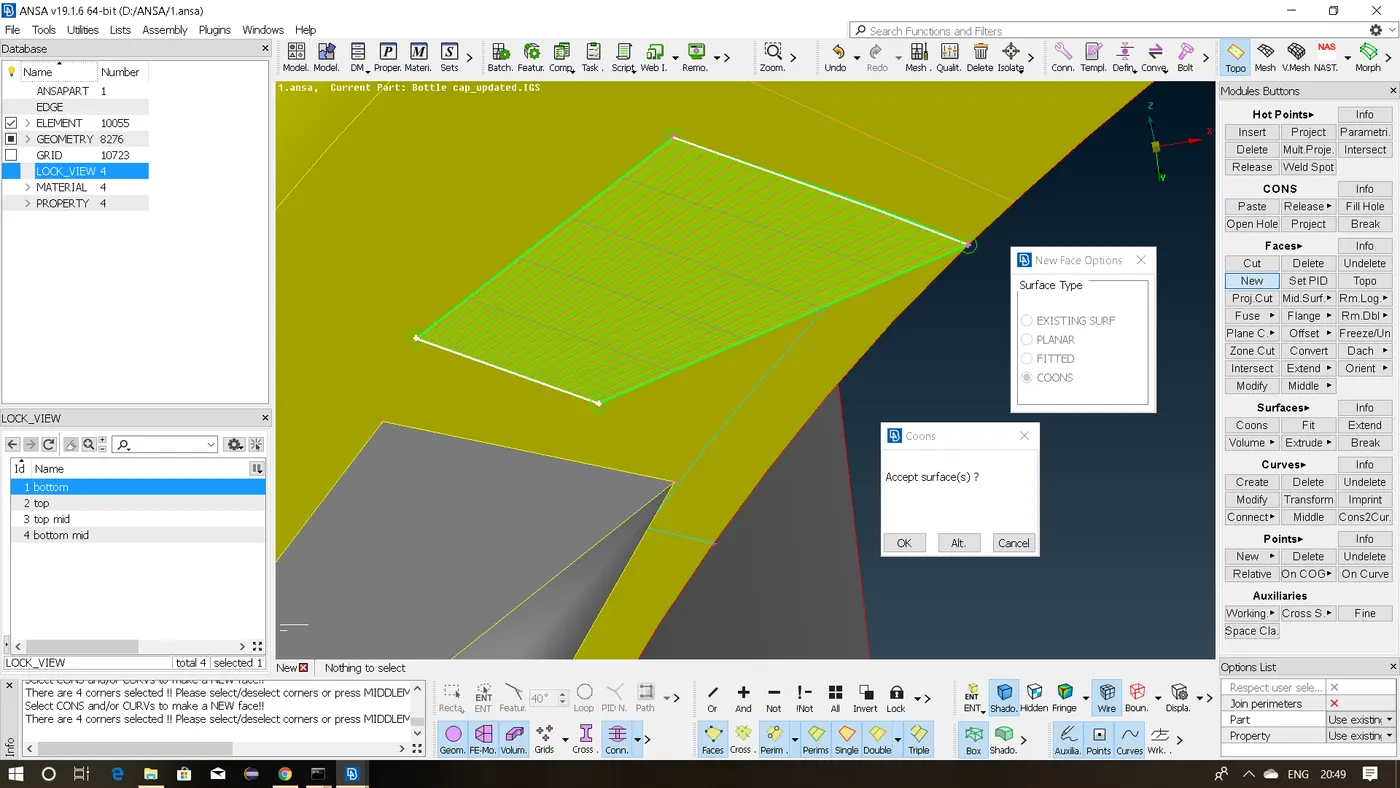
(d) In some situations to join to surfaces we need to make use of "Extend" and "Intersect" option in Faces section.
Using all these above mentioned methods we can easily generate the midsurface of the entire component,Here we need not get worried about the "triple con" formations because they occur due to the sharing of three or more surfaces at that point.
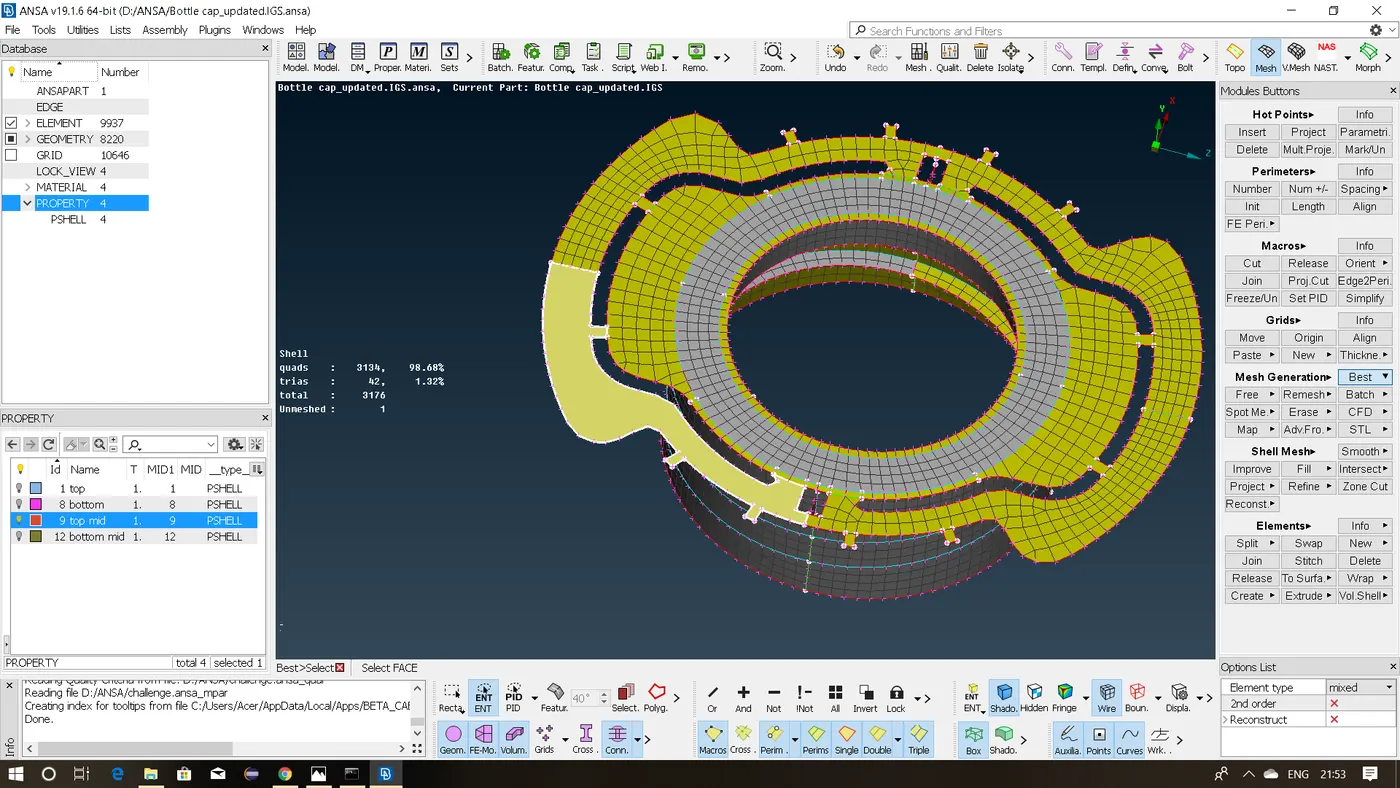
* Now after getting the midsurface for the entire geometry we need to go for "meshing" process. > In the "Mesh" module all the 'cons' will be shown in 'green colour' and all the 'hotpoints' will turn from 'pink dots' to 'white spots'and we can see many 'pink dots' between the hotpoints which are nothing but the 'perimeter elimental values'.
> Before "Meshing" we need give the "Quality Criteria" for the mesh.These "Quality Criteria" will vary for different geometry. > We should also check for any measurements which are less than the 'minimum length' as per the 'quality criteria' given. If there are any then in such a case we need to go for "Defeaturing" i.e, compramising on any one feature to save an other feature, But we should not remove any material from CAD geometry. > So now for mesh generation we have various preset options, here i went for 'Best Mesh' option for the entire geometry.
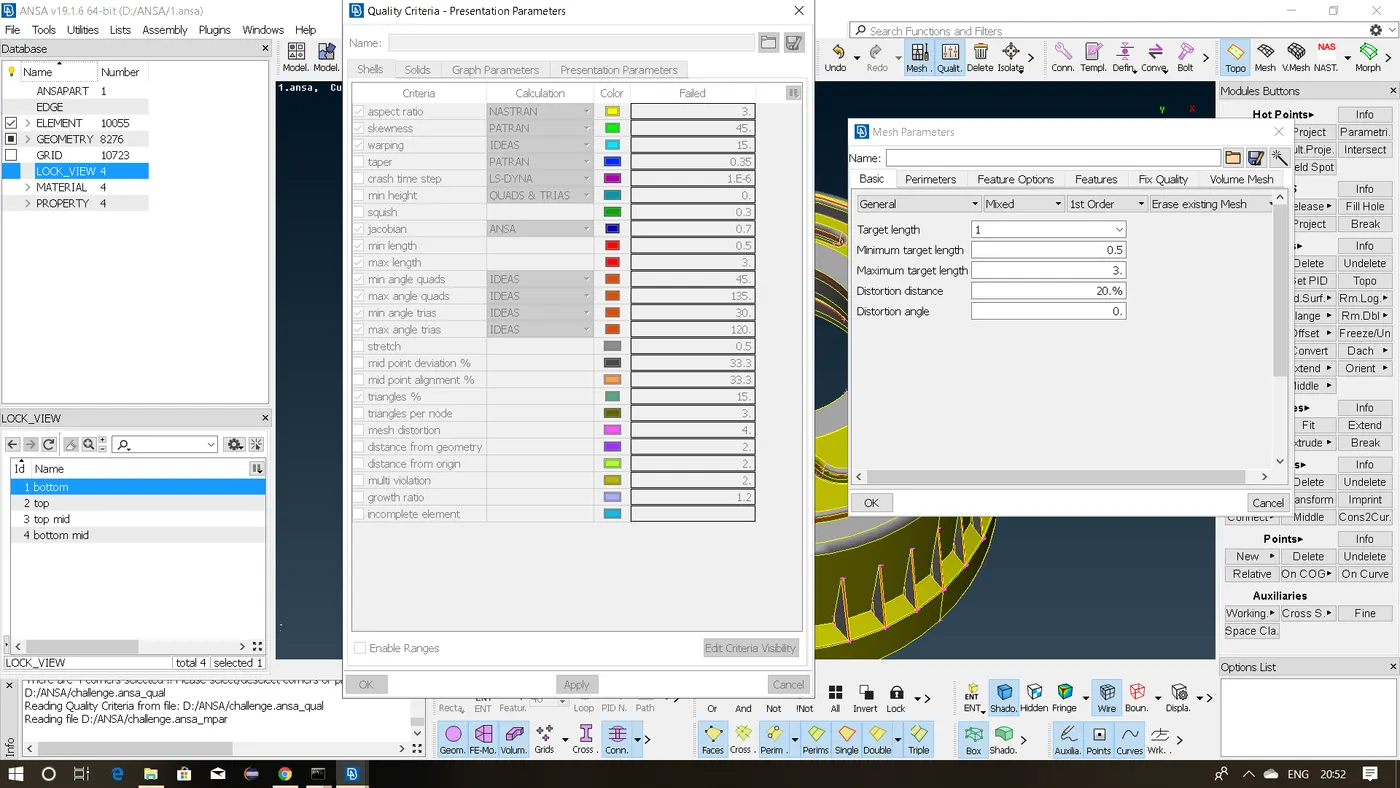
After performing all the above actions now we are good to go for "Meshing". But before start meshing check whether 'Quality Prameteres' and 'Mesh Parameteres' are keyed into the componet (Press F11 to get the quality window).
* After performing the meshing we get the 'check mesh' tab on the screen which will show the type of mesh and the number of elements available in the mesh.
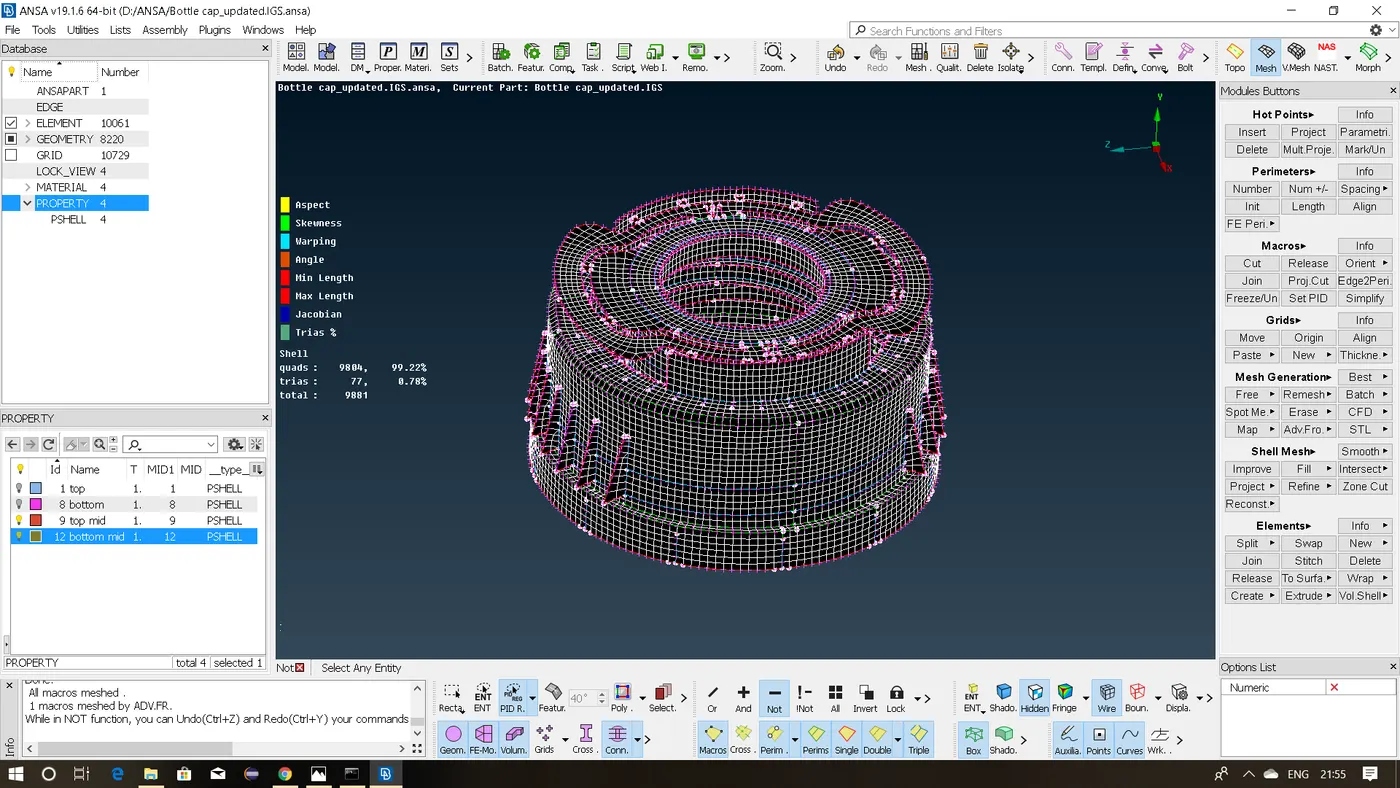
* To get the 'Quality Prameters' we should enable the "Hidden" mode. In check mesh tab we can see now in total how many elements are failing, the number of elements which are failing will be denoted as "Off" option in the 'check mesh' tab. * Now we should do the mesh adjustment for the elements failing due to the quality criteria.
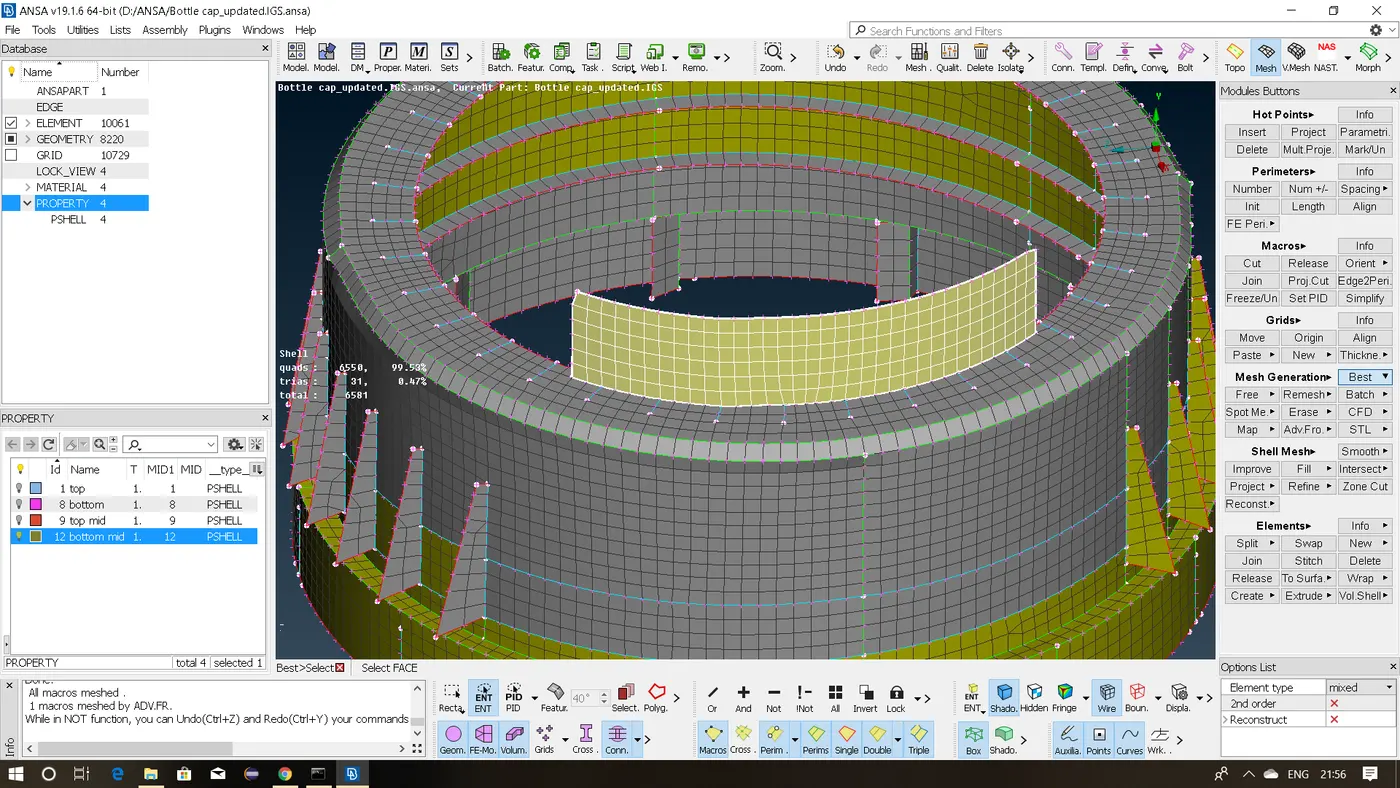
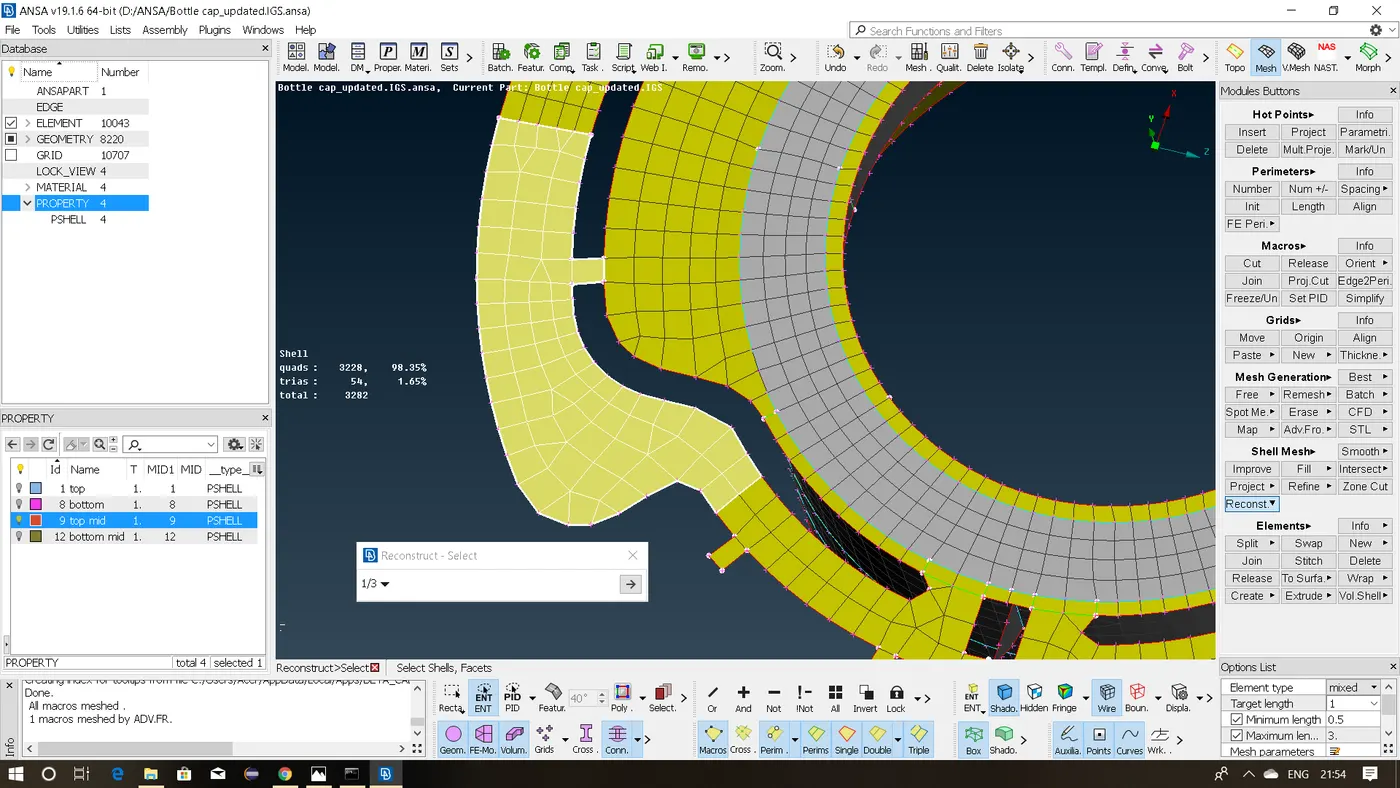
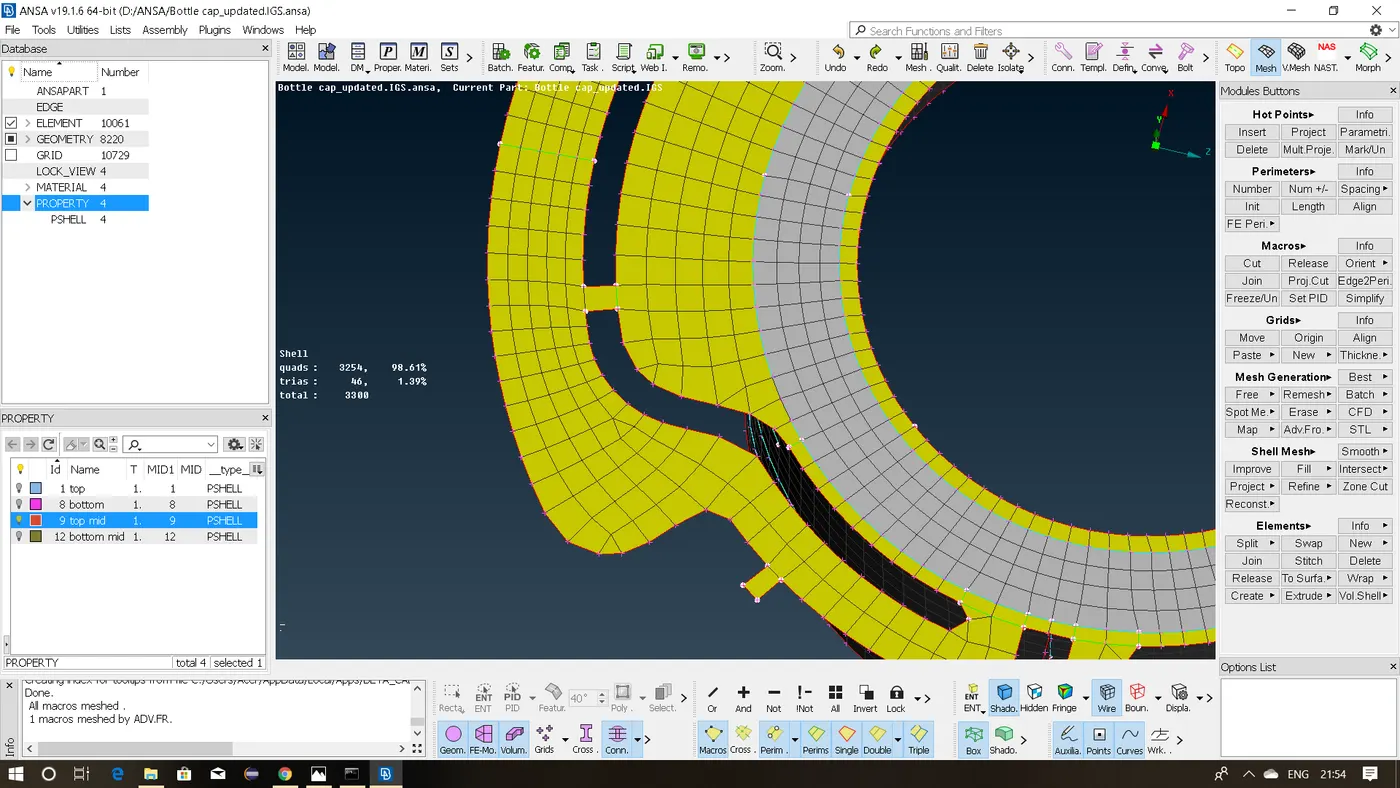
* In ANSA we have various mesh improvement tools.
Example: We can go for 'Shell Mesh' tab and use 'Mesh Reconsturction' or we can also use 'Smooth' option to
improve the mesh generated.
* Hence "Mesh generation" is completed.
https://drive.google.com/file/d/1k9J1Wyy-FlQyeEJlA-8yesx0WHm-bqpT/view?usp=sharing
Conclusion:
The "Bottle cap model" is meshed with the given element 'Quality criteria' and the result has been attached above.