Week - 4
- Implement control logic of a “washing machine” using Stateflow as per given sequence:
- If the power supply is available, the system gets activated
- If the Water supply is not available, stop the process & indicate through LED
- Soaking time should be 200s followed by Washing time of 100s.
- Then rinsing happens for next 20s & dryer runs for 50s
After all the processes have completed turn on the finished LED
For implementing the control logic of a washing machine with the help of stateflow in accordance with the given conditions
we will be using a input , chart, constant, lamp, switch and display to observe the output.
Stages of running of a complete washing process:
- Power supply
- Water availability
- Soaking
- Washing
- Rinse
- Drying
Process:
- Start simulink and open a blank model
- Browse for chart block in library browser
- In chart block select the junction feature from stateflow window
- Implementing the given parameters
- observe the given stateflow
blocks used in functioning of control logic of a “washing machine” using Stateflow
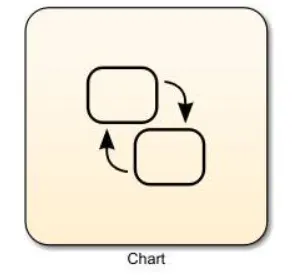
Chart- A finite state machine is a representation of an event-driven (reactive) system. In an event-driven system, the system responds to an event by making a transition from one state (mode) to another. This transition occurs if the condition defining the change is true.
Display- The Display block shows the value of the input data. You can specify the frequency of the display. For numeric input data, you can also specify the format of display.
Lamp- The Lamp block displays a color that indicates the value of the connected signal. To configure the Lamp block to provide the information you need during simulation, specify one or more states, which pair a signal value with a color for the Lamp block to display. You can use the Lamp block with other Dashboard blocks to build an interactive dashboard of controls and indicators for your model.

Rocker switch- The Rocker Switch block toggles the value of the connected block parameter between two values during simulation. For example, you can connect the Rocker Switch block to a Switch block in your model and change its state during simulation. Use the Rocker Switch block with other Dashboard blocks to create an interactive dashboard for your model.
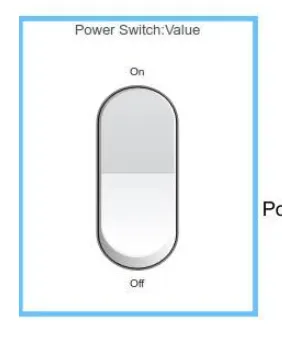
Case 1 When power is off all functions are off.
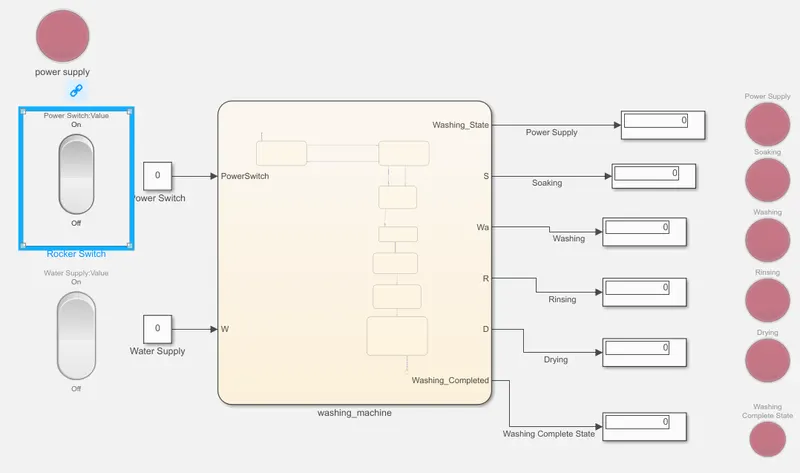
Case 2: When power is on but water supply is off
Wwe can observe that the complete system is off.
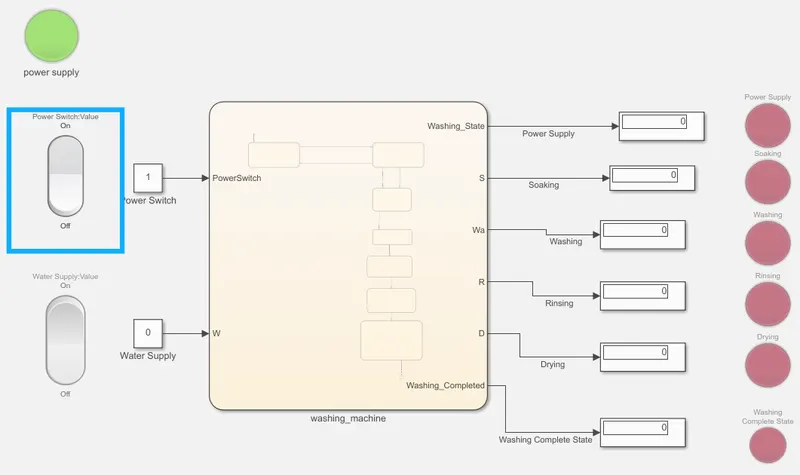
Case 3:When both supplies are on, system runs the given conditions.
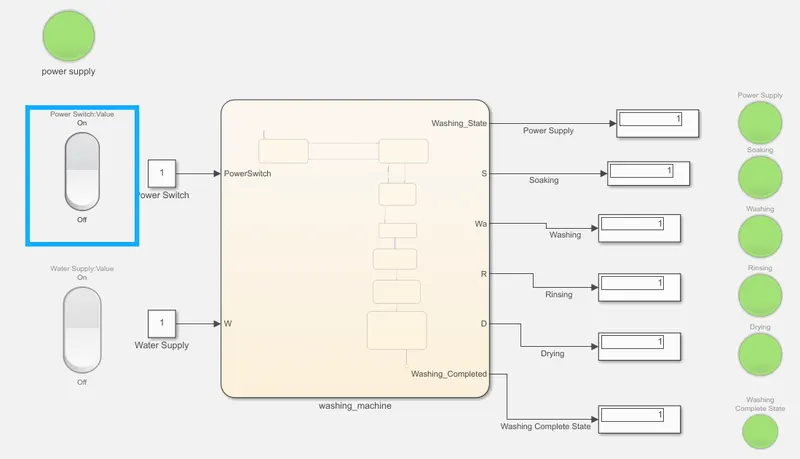
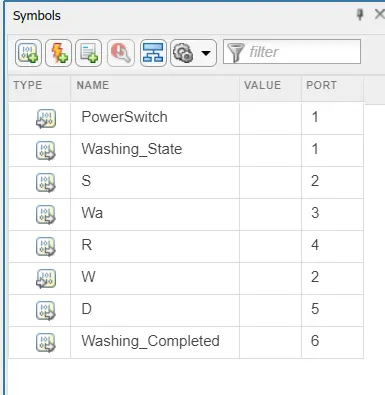
Fig :Symbols used in given system.
2. Make a Simulink chart for the “Gear shift” logic as per below conditions:
Speed Range(kmph) Gear
0 to 15 1
16 to 25 2
26 to 40 3
41 to 60 4
Above 61 5
Give speed input while the simulation is running & display the gear number.
Blocks used
Chart- A finite state machine is a representation of an event-driven (reactive) system. In an event-driven system, the system responds to an event by making a transition from one state (mode) to another. This transition occurs if the condition defining the change is true.
Display- The Display block shows the value of the input data. You can specify the frequency of the display. For numeric input data, you can also specify the format of display.
Lamp- The Lamp block displays a color that indicates the value of the connected signal. To configure the Lamp block to provide the information you need during simulation, specify one or more states, which pair a signal value with a color for the Lamp block to display. You can use the Lamp block with other Dashboard blocks to build an interactive dashboard of controls and indicators for your model.
Rocker switch- The Rocker Switch block toggles the value of the connected block parameter between two values during simulation. For example, you can connect the Rocker Switch block to a Switch block in your model and change its state during simulation. Use the Rocker Switch block with other Dashboard blocks to create an interactive dashboard for your model.
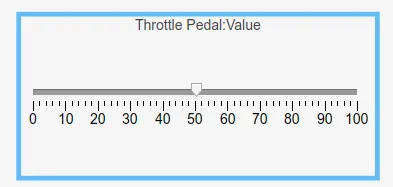
Slider gain -The Slider block tunes the value of the connected block parameter during simulation. For example, you can connect the Slider block to a Gain block in your model and adjust its value during simulation. You can modify the range of the Slider block's scale to fit your data. Use the Slider block with other Dashboard blocks to create an interactive dashboard to control your model.
Speed Range(kmph) Gear
0 to 15 1
16 to 25 2
26 to 40 3
41 to 60 4
Above 61 5
Here the speed ranges from 0-100kmph and slider is used for providing the input in run simulation condition.
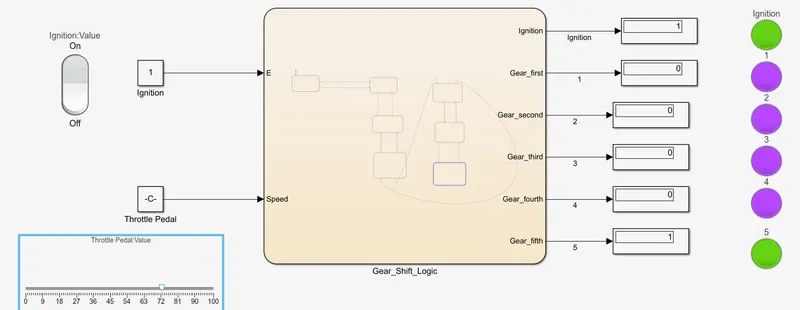
Conditions are set as per predefined values. As for first gear entry point is 0 and exit point is 15 similarly for second on 16-25, third 26-40, fourth 41-60 and fifth 61 to max limit (100 in this case).
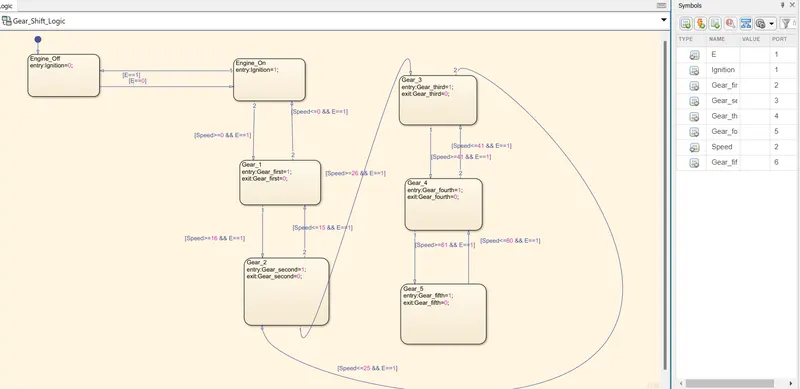
Fig: control logic with symbol block
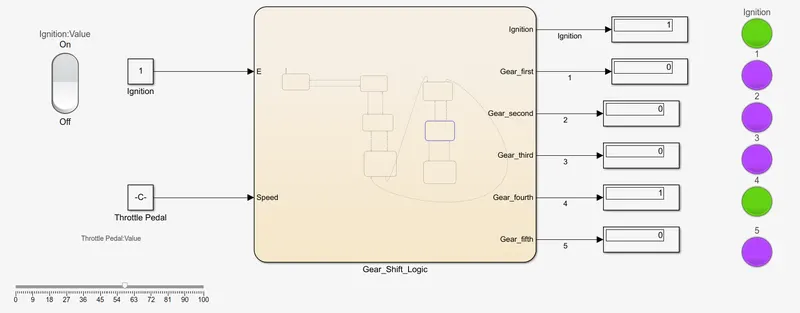
As we use the slider to provide the throttle, gear shift is observed with green colour as current gear, in given image below showing as on fourth gear.
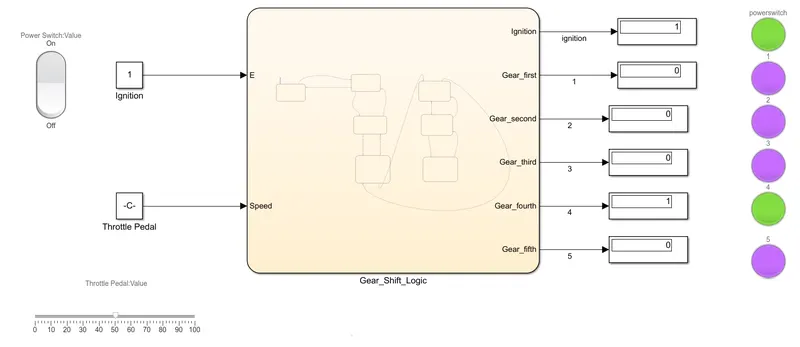
Fig :Simulink Block diagram
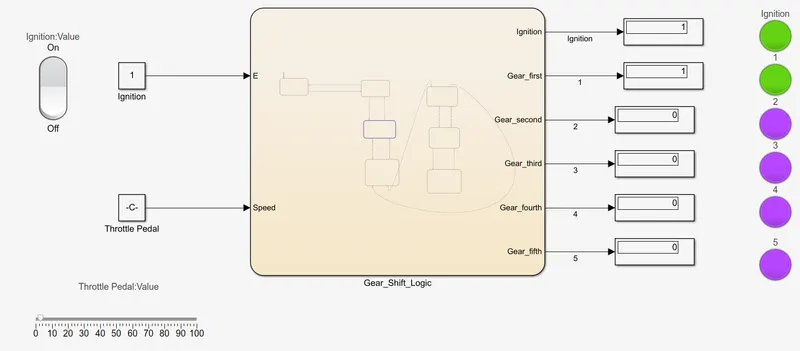
First gear has values from 0-15 and when the speed exceeds 15 shift gear.
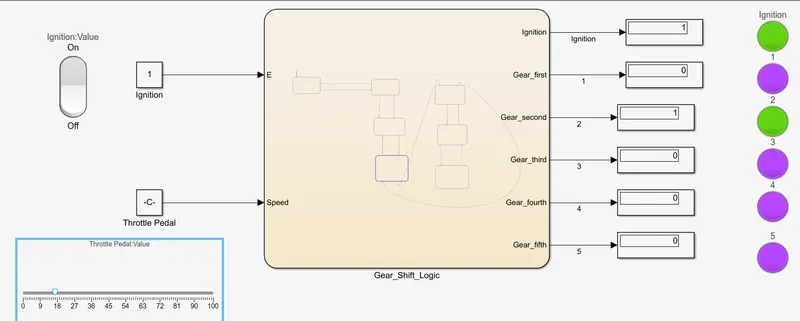
Second gear ranging 16 to 25 is observed below.
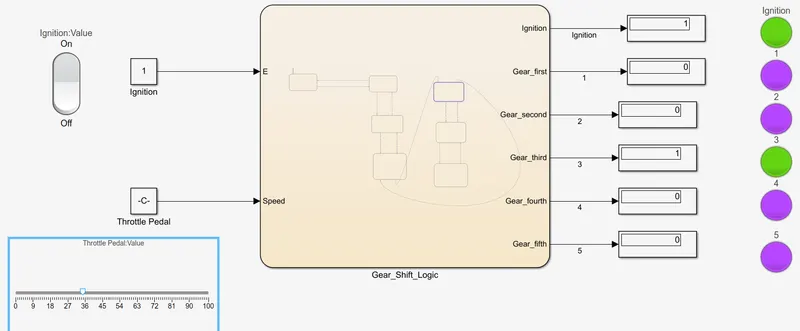
Third gear range 26-40
Fourth gear 41-60
Fifth gear 61-100
below is the link for the given models of the two with file names :Washing machine and gear shifting logic: