Week - 4 - 2D meshing for Plastic components
AIM
To perform a 2D meshing on the given bottle cap component with given quality criteria.
|
S.No |
Quality Criteria |
Value |
|
1 |
Target/Average length |
1 |
|
2 |
Minimum Length |
0.5 |
|
3 |
Maximum Length |
3 |
|
4 |
Aspect |
3 |
|
5 |
Warpage |
15 |
|
6 |
Skewness |
45 |
|
7 |
Jacobian |
0.7 |
|
8 |
Minimum Quad Angle |
45 |
|
9 |
Maximum Quad Angle |
135 |
|
10 |
Minimum Tria Angle |
30 |
|
11 |
Maximum Tria Angle |
120 |
|
10 |
Tria Percentage |
15 |
PROCEDURE
- Import the Bottle cap Model in ANSA Preprocessor and check the geometry by using check manager.
- Fix the errors that shows in geometry check up.
- Remove the triple cones and unwanted hot points and apply topo to whole geometry.
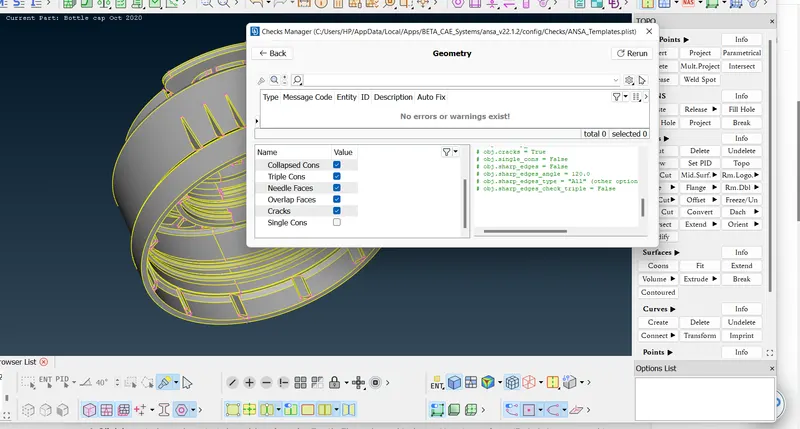
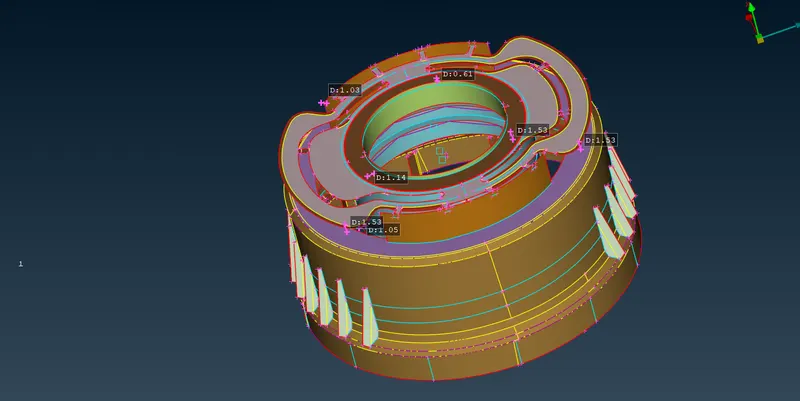
- Measure the thickness of each components.
- store the thickness for assigning the thickness to the model.
- Next phase is creating the midsurface for each component.There are two methods in midsurface extracting. 1. Offset Face 2. Midsurface skin method.
- Midsurface skin method cannot used in this model because it has components with varying thickness.
- We can use offset and middle tools to generate midsurface.
- In offset face, each face of the model is offseted to the half of the thickness and join the all face of a components by using topo tool in faces.
- In middle tool, when we select two surfaces midsurface is generated.
- Set PID for surfaces with verying thickness and assign thickness.
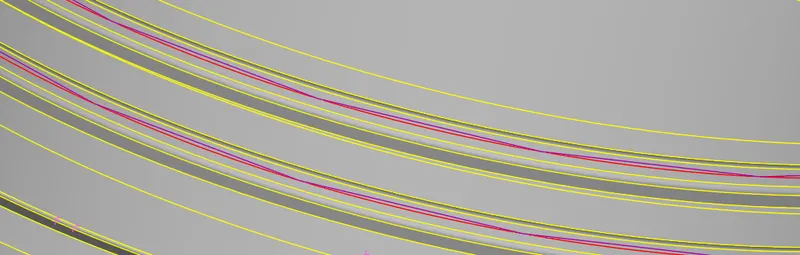
- After the midsurfacing we can use extend tool to join two surfaces.(topo>face>extend)
- For generate midsurface of thread first we have to take middle curve of top of the thread by using middle curve.(topo>curve>middle).
- project the mid curve to the base midsurface by using project command.(topo>cons>project).
- generate the surface between these curves.
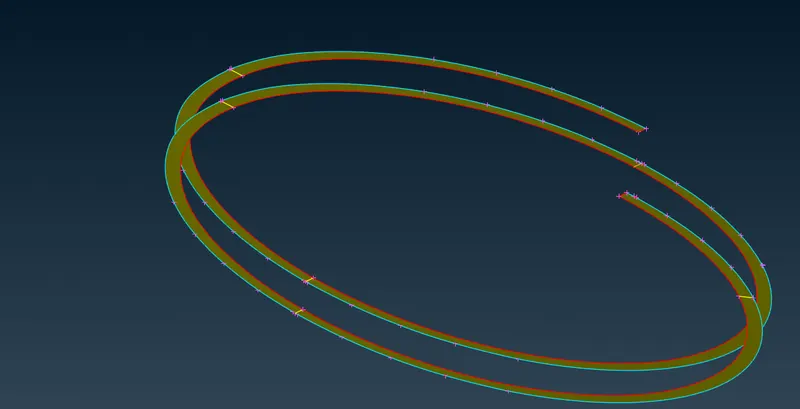
- We can use transform command to rotate the identical elements.(transform>rotate).
- After the midsurface extraction we need to clear the geometry by deleting unwanted hot points and realesing the cones and apply topo to whole geometry.
- Now we need to mesh the midsurface.So we go through the steps mesh>classic mesh.
- In classic mesh, we have to give element size.So go to the length tool select perimeters and select entities and give element size.(classic mesh>perimeters>length).
- Check the geometry wheather it contains any part that failure the element size and correct it by deleting the hot points or nodes or delet the unwanted lines.
- Keep the number of nodes in holes in even number for proper meshing.we can use (num+/-) tool for this.(classic mesh>perimeters>num+/-)
- Mark the holes for not changing their shape.(classic mesh>hotpoints>Mark/Unmark).
- Assign the quality criteria that is given and define the mesh perimeters.(F11-Quality criteria)
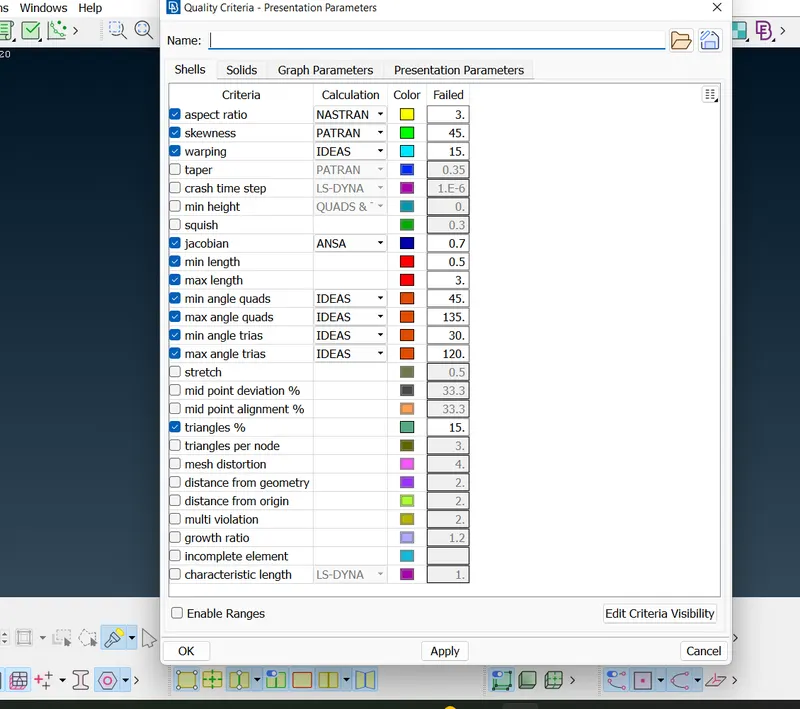
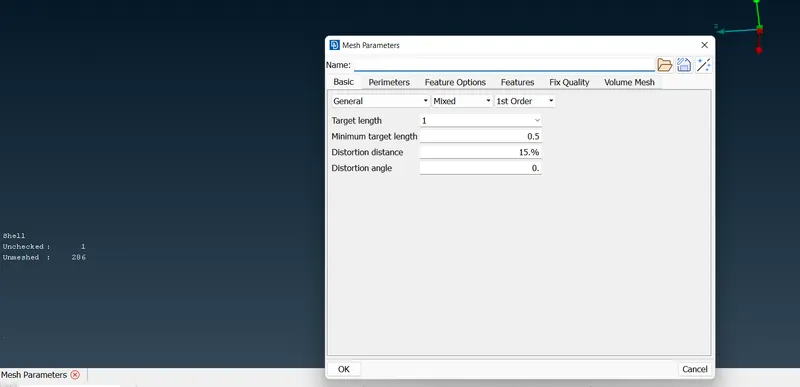
- Select Best/Free mesh to generate mesh from mesh generation and select the face and enter.(classic mesh>mesh generation>free/best)
- In mesh flow there are some failure in quality criteria.By using Reconstruct,smooth tools fix the area and maintain minimum no of trias.
- By using Move tool we can adjest the position of node of element and fix the quality issue.(classic mesh>grids>Move)
- Use split tool to swap,join and create the mesh line to arrange the tria for proper mesh flow.(classic mesh>elements>split)
- After the meshing release mesh from the geometry.(classic mesh>elements>release)
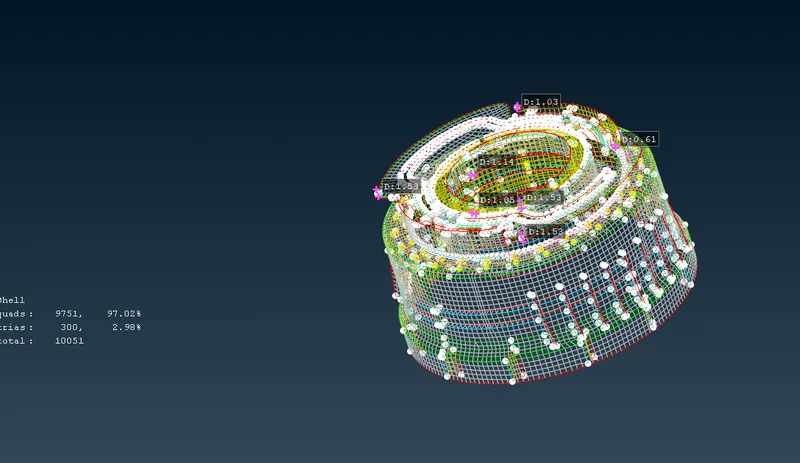
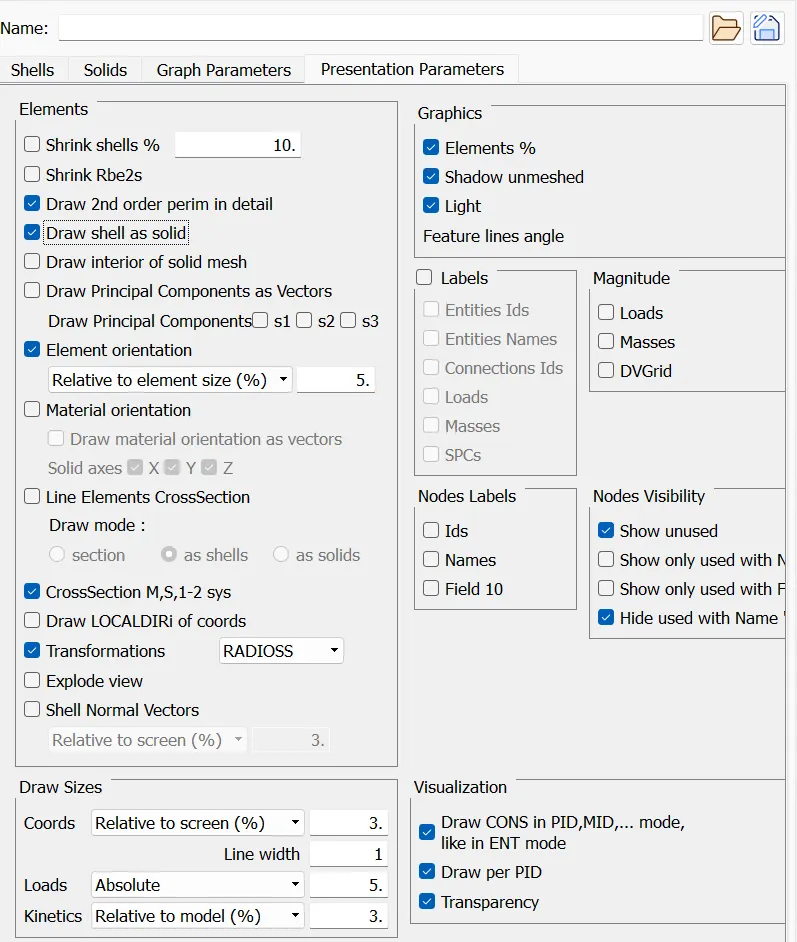
- After completing the mesh we have to assign the thickness to meshed components and enable the Draw shell as solid.
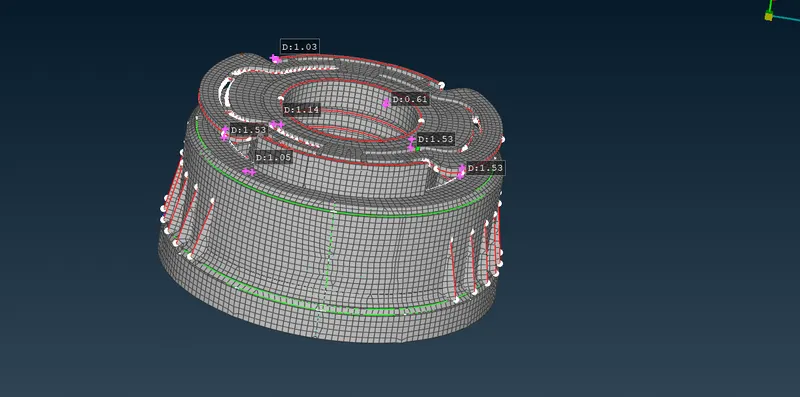
LEARNING OUTCOMES
- Learn about generation of midsurface of complicated parts.
- Usage of tranform>rotate to copy the identical parts.
- Learn about the usage of Move command in mesh and extend command in topo.
CONCLUSION
- The geometry cleanup and mid-surface extraction has been completed successfully.
- The given geometry has been meshed satisfying the given quality criteria
- Successfully created property cards and assigned thickness to the surfaces.