Week - 4 - 2D meshing for Plastic components
Aim
To check for geometrical error and take mid-surface extraction using suitable techniques. Assign thickness to all the mid-surface models and match the element quality criteria as provided.
Procedure
Step 1: import of CAD model file
File-> open-> select respective file (bottle cap.ansa)-> open
A bottle cap is mainly used for sealing purposes. It is made up of plastic for plastic bottles and some metal for metal bottles, in the early days' bottle caps are made up of wood are called crown cork. Evolution in manufacturing industries gives us the ability to produce in less time and cost-efficient.
In the given model the thickness of the bottle cap varies from place to place so it comes under the plastic model.
Step 2: improve resolution and provide connection
Perimeter-> length-> select all entities-> provide length as 1
The model resolution is improved
Step 3: geometry check
The check parameters like unchecked faces, collapsed cons, triple cons, needle faces, overlap faces, cracks, and single cons are selected and executed.
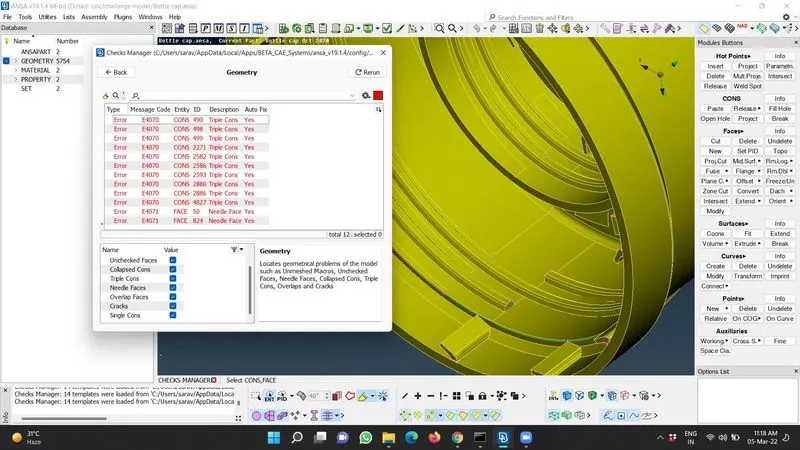
In the bottlecap model, some problems like triple cons and needle faces show up, to solve these types of errors select all the popped-up error codes and press right click and press fix. The geometry checks ok.
Step 4: middle surface extraction
For simple surfaces, we can proceed with offset faces
Faces->offset faces-> click the entities to be offset -> press middle mouse click-> enter the distance to be offset (usually the distance is half the thickness of entities and the +/- symbol to be added to guide the surface to be offset to the guiding vector. Press ENTER. The middle surface of the selected geometry is been extracted through the offset faces option.
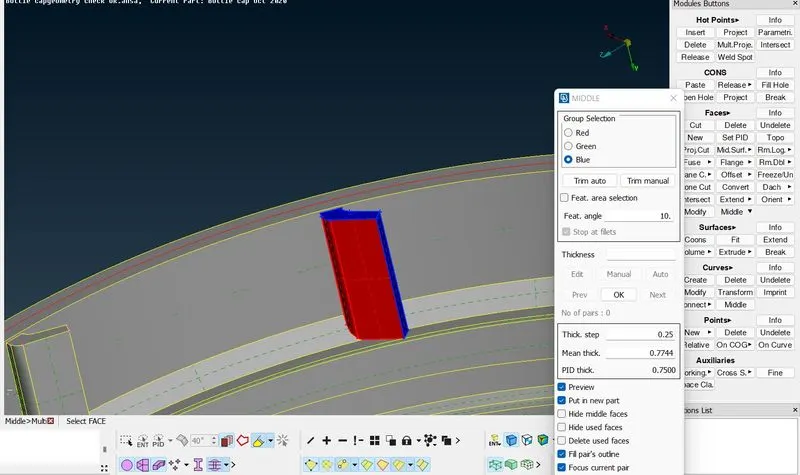
For complex structures, we can use the middle option to create the middle surface of the selected group.
Topo module->faces->middle->select red group->select green group (parallel to selected red surface)-> select blue group (perpendicular to selected green and red surface)->uncheck the delete used faces->press middle mouse click.
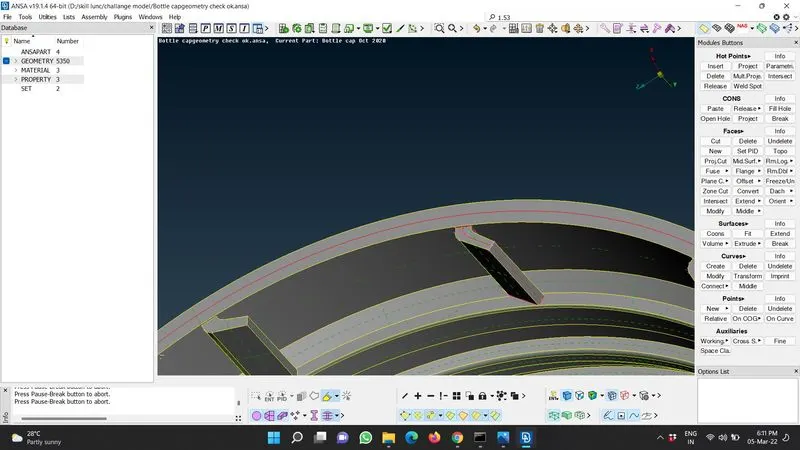
The middle surface for selected entities is been extracted.
Step 5: the transformation of similar entities
In this bottle cap model, it contains ribs that are similar to each other so the mid surface of the rib which is been extracted earlier can be used for other ribs also by using the transformation option.
For using the transformation option in the rotational direction we need a 3d point as a reference.
Creation of 3d point can be done by ON COG option
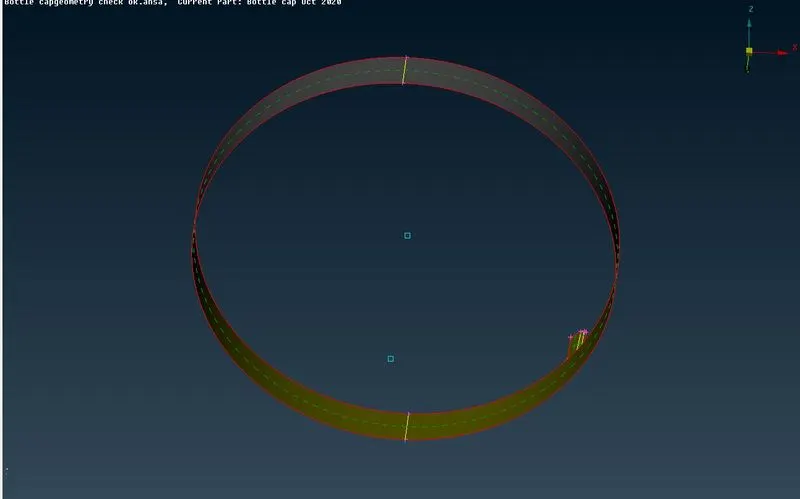
Transform->copy->select entities->press middle mouse click->enter number of steps-> click the 3d points on which axis to be copied->enter angle 360/total number of ribs->press ok->press finish
Step 6: extension of single cons to the surface
The mid surface which we have extracted lost its relationship with the parent geometry to establish the relationship the single cons of ribs been extracted to the faces of the earlier extracted mid surface.
Topo module->faces->extend->select single cons (to be extended)->select faces (till it should be extend)->press middle mouse click to finish action
Step 7: fill up holes
Th offset surface shows some holes in faces due to missing entities which have been not selected during mid-surface extraction. The holes in the surface can be repaired by the fill hole option.
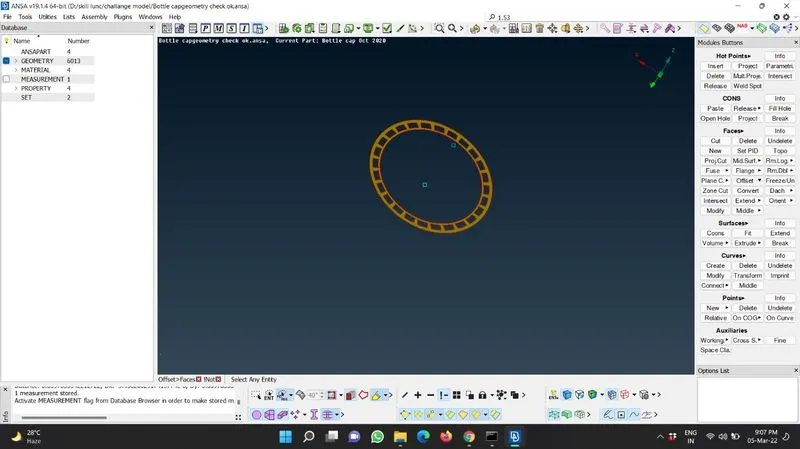
Topo module->cons->fill hole->select the edges of hole needed to be fixed->press middle mouse click
Step 8: Set PID
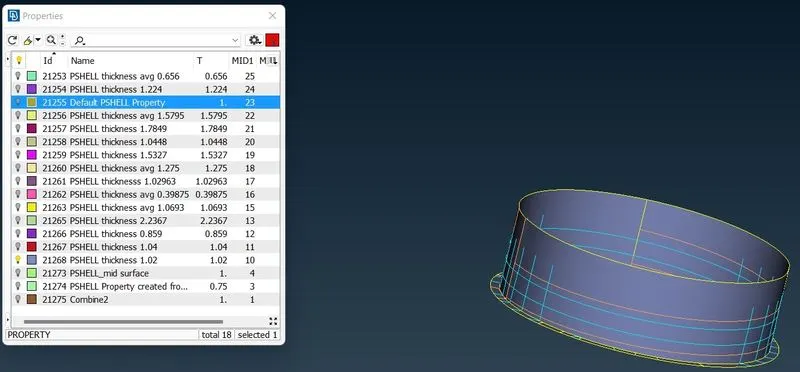
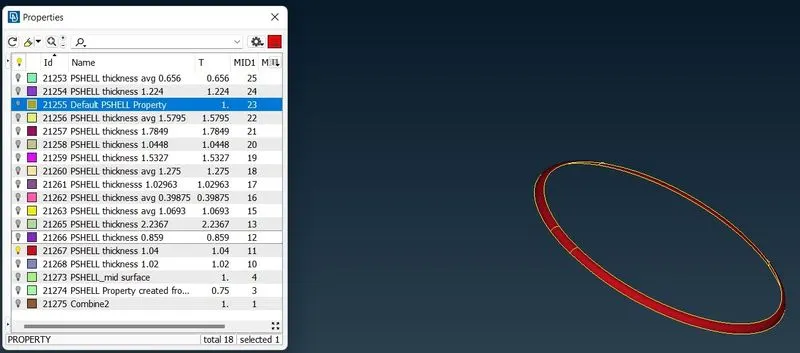
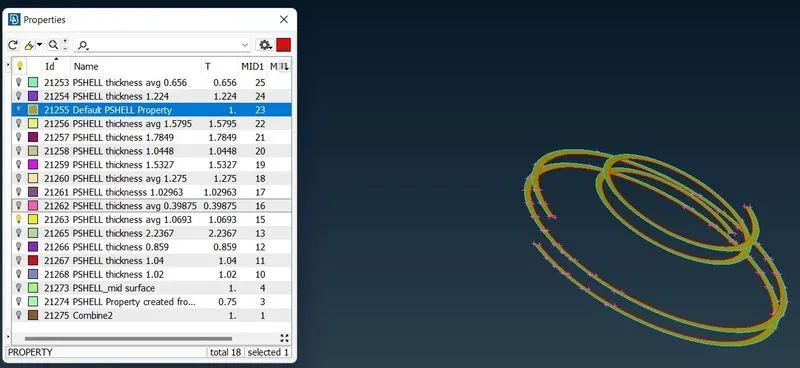
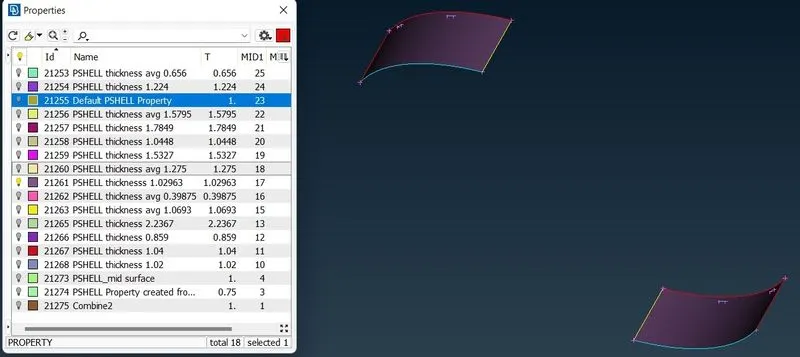
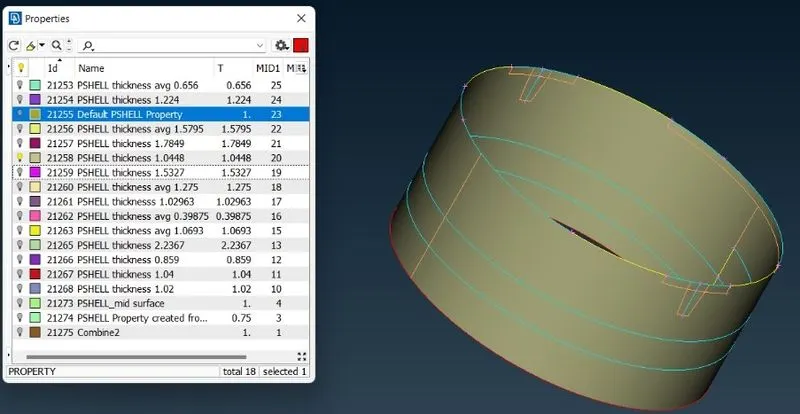
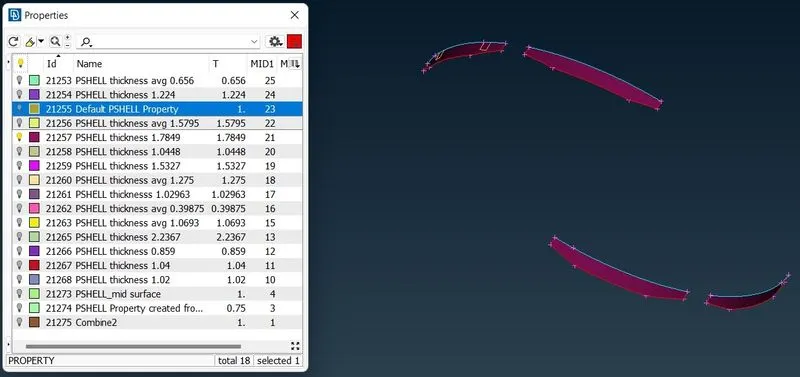
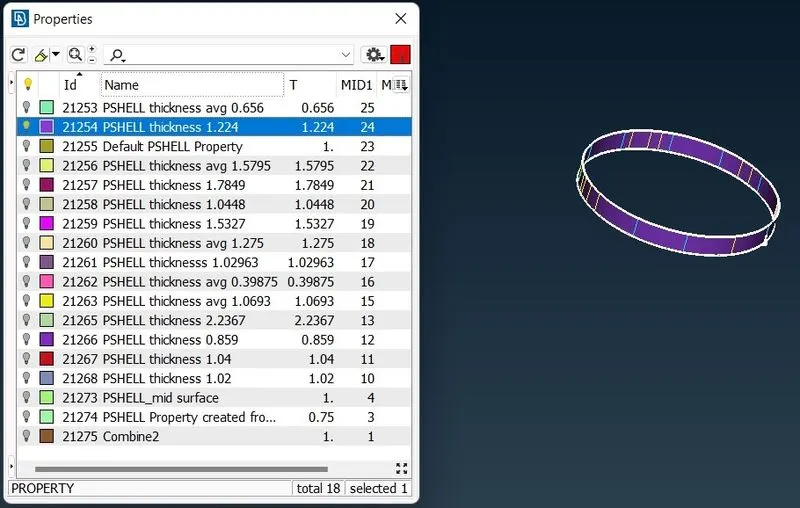
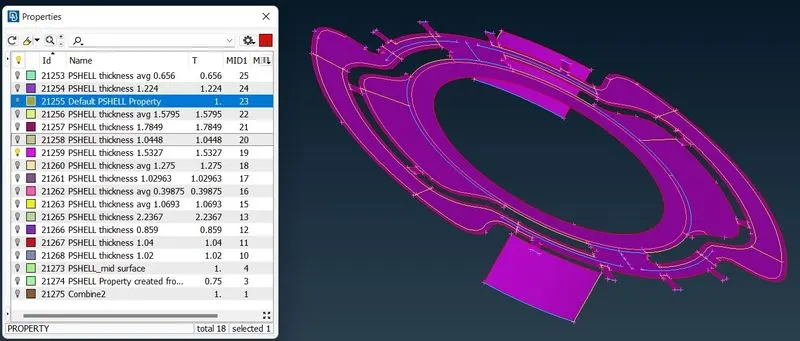
Different PID names concerning the parent model thickness should be assigned to variable thickness parts since it is a plastic body.
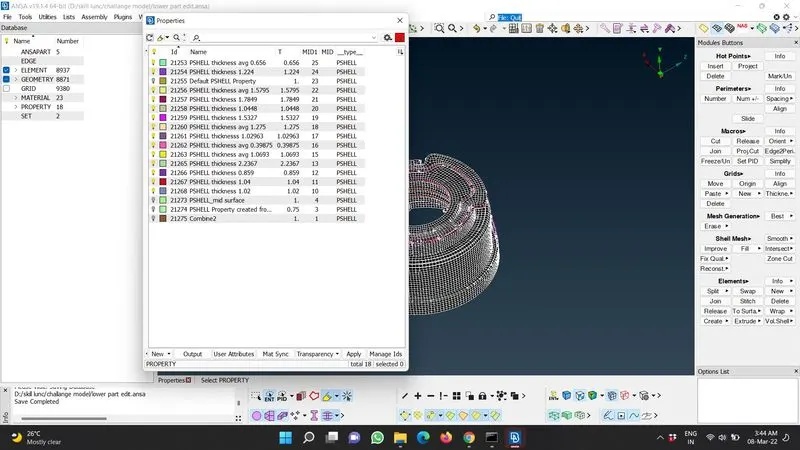
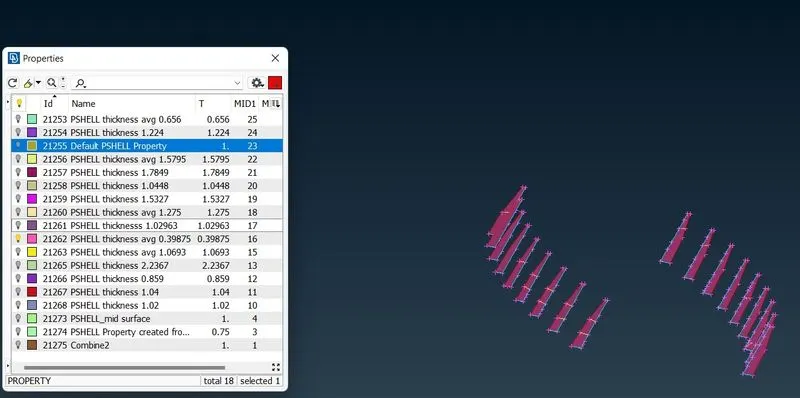
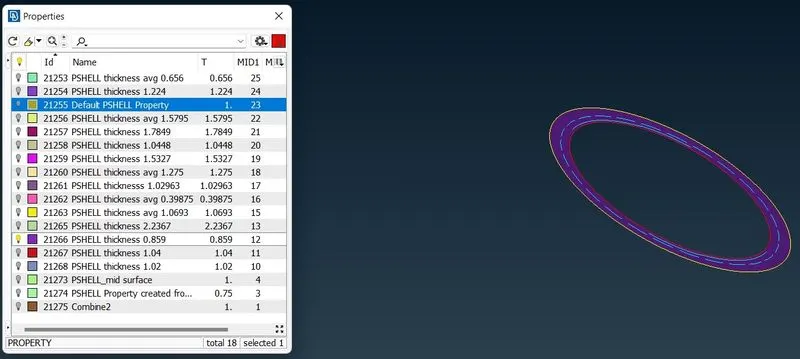
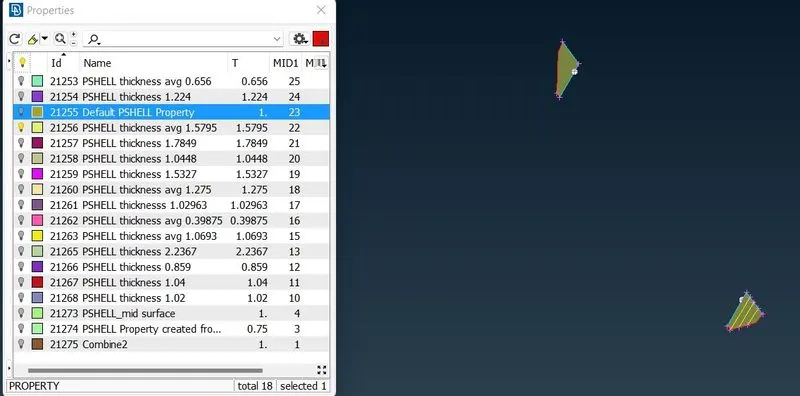
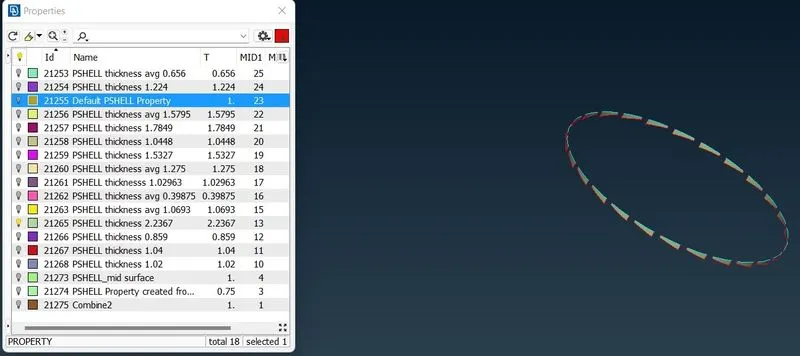
Step 9: assigning quality criteria
Enter the element quality criteria in quality criteria-presentation parameter->press apply->press ok
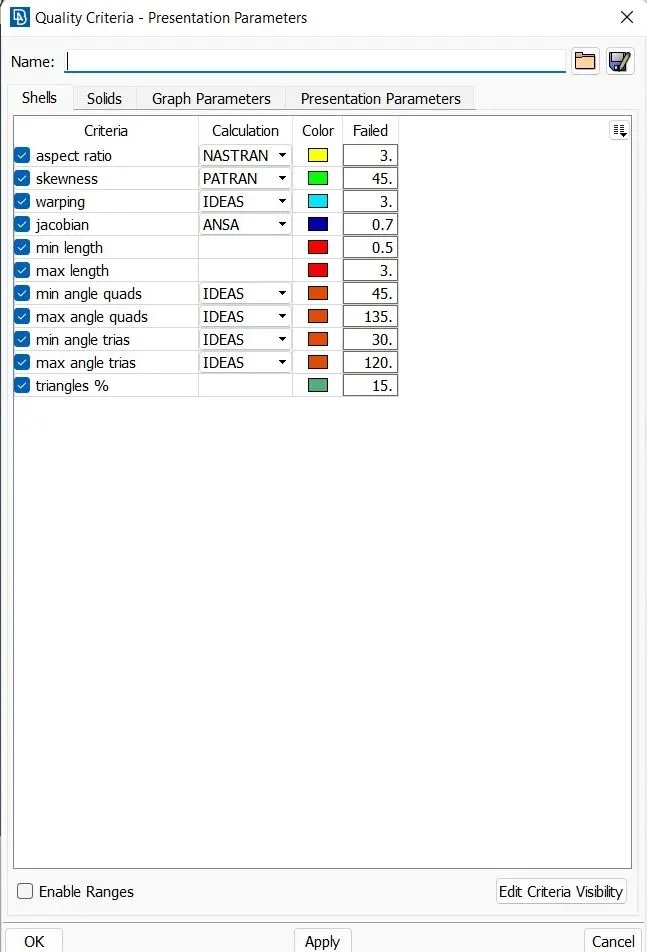
For mesh creation
Mesh module->mesh generation->best->select the entities to be meshed->click middle mouse click.
The mesh is not perfect in all the areas it shows some off elements that are failing for element quality to removes off elements cut macros that needed to be repaired and then reconstruct the macro-region or by the split, paste, and smooth operations. The paste is used to join two opposite tria to one single line.
Step 10: draw shell as solid
Quality criteria->presentation parameters->check “draw shell as solid”->apply->ok
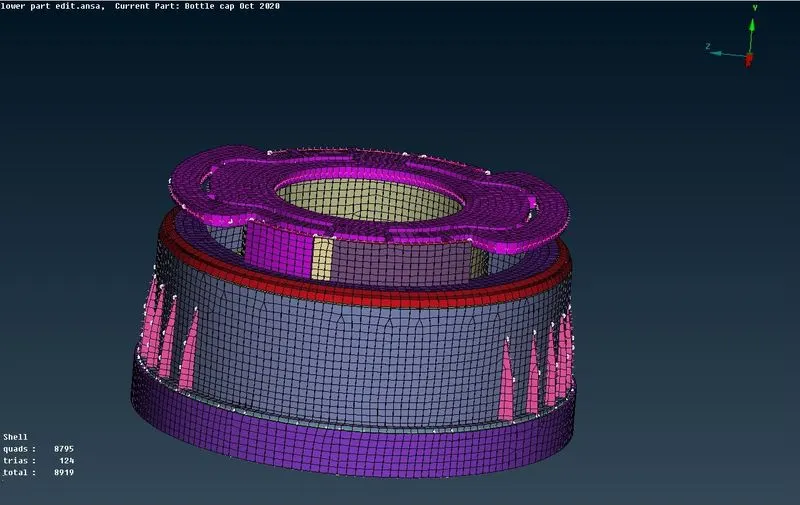
The thickness of the shell mesh is added to provide a 2D element to form a 3D structure that matches the parent geometry.
Learning outcome
The following outcomes are learned are
- Geometry check
- Topology cleanup
- Mid surface extraction by offset and middle options
- How to project a curve
- How to create a middle curve
- How to assign different PID
- How to assign thickness
Conclusion
The given bottle cap geometry is been checked for geometrical errors and being meshed and assigned thickness to all the mid surface