Week - 4 - 2D meshing for Plastic components
BOTTLE CAP.
AIM: To create 2D meshing on plastic component (bottle cap).
PROCEDURE:1) Import the model in ANSA.
FILE→OPEN→LOCATION.
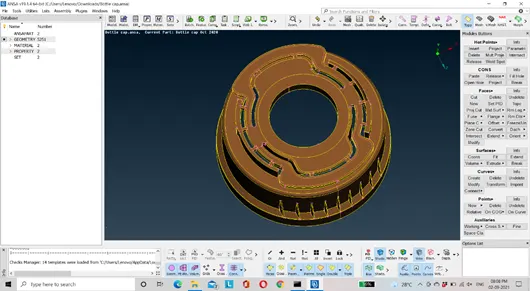
2) Select the entire model and give the perimeter and macro value a 1.
3) Check for the geometry.
CHECK→GEOMETRY→EXECUTE.
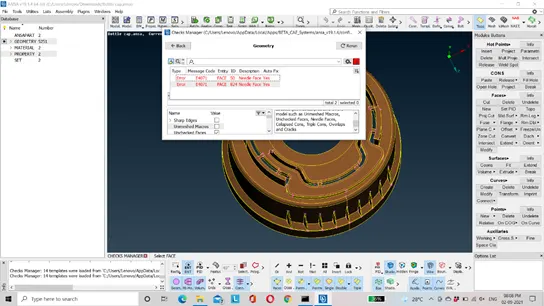
4) If there is any error try to resolve it by auto fix, if it is not getting resolved by auto fix then fix it manually.
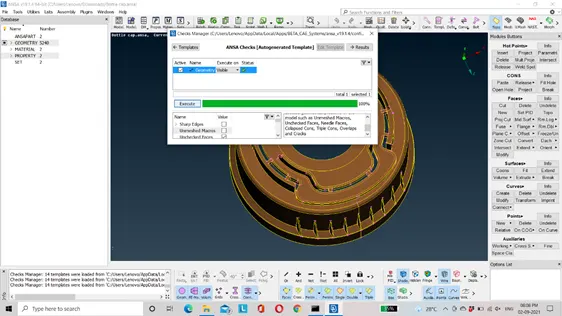
5) Hence, geometry is cleaned. Now we will proceed further with mid-surface generation.
6) Mid-surface can be done by auto mid- surface or manually. Since, the given cad model is plastic component and has a varying thickness it is recommend to do mid-surface manually. Manual mid-surface gives better result as compared to auto mid. Before creating surface manually measure the thickness.
7) Manual mid-surface can be generated by using following steps:
a) Middle face: This option is used to create a mid-surface for the features like rib, teeth etc. In middle face option there are two ways for creating mid-surface single and multi. We can use both the option as per the requirement.
TOPO→FACES→MIDDLE→MULTI/SINGLE→SELECT THE FACES FOR WHICH MID-SURFACE NEEDS TO BE CREATED.
b) Offset faces: This option is used to create a mid-surface by giving half of its thickness value.
TOPO→FACES→OFFSET→SELECT THE FACE→ENTER THE THICKNESS VALUE.
c) Middle curve: This option is used to create a mid-surface for the features like threads and where the geometry is complex. This option in combination with new faces and project cons option is used to create a mid-surface.
TOPO→CURVES→MIDDLE→SELECT THE TWO EDGES.
TOPO→CONS→PROJECT→SELECT THE CURVE→CONFIRMATION→SELECT THE FACE ON WHICH CURVE NEEDS TO BE PROJECTED.
TOPO→FACES→NEW→COONS/EXISTING SURFACE/PLANE/FITTING→SELECT THE CURVE AND THE PROJECTED CURVE→CONFIRM.
d) Create a new face option can be used to fill the gaps.
e) Extend option is used to extend one surface up to another surface.
f) Intersection option is used to intersect the two surfaces.
g) We can use rotate option for the features like teeth and the feature which is along the circumference of the circle. This option helps to reduce time.
First create COG for the two circles which are at different heights.
TOPO→POINTS→ON COG→SELECT THE EDGES→CONFIRM.
Then in utility select transform option. In rotate option enter the number of steps which would less then one from the number of entities. Suppose number of teeth are 26 so steps will be 25.
In X parameters select the first COG and in dx parameter select second COG.
Angle= angle of circle/total number of entities.
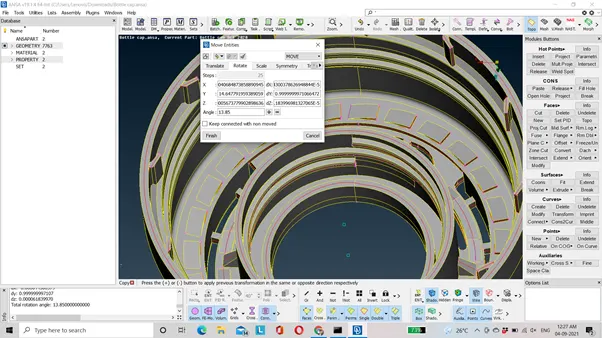
h) Hence, by following above steps we can generate mid-surface for bottle cap.
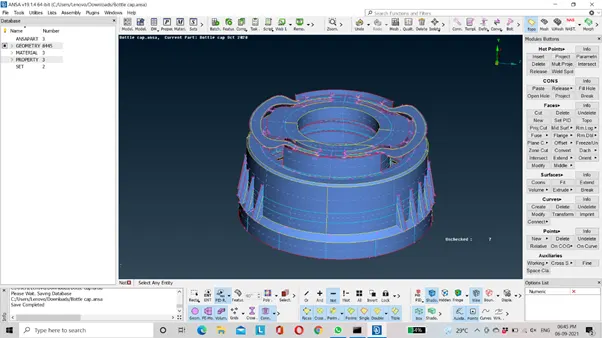
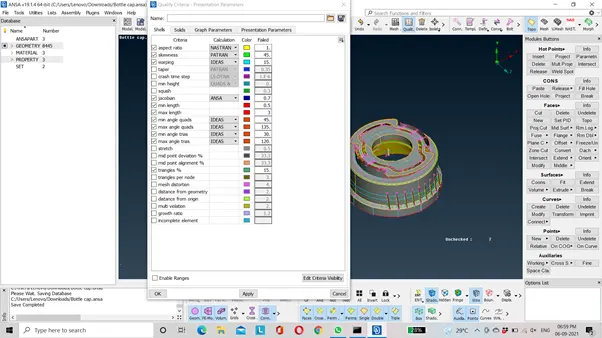
8) Enter the quality parameters in quality card. Press F11.
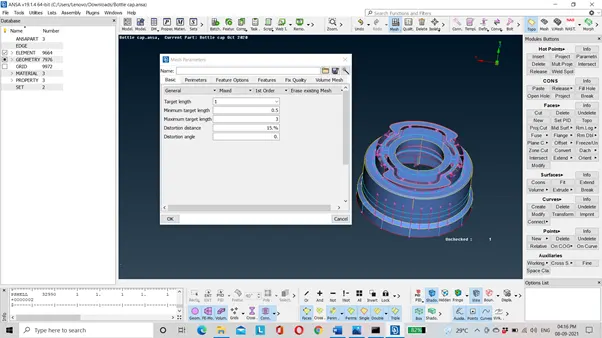
9) Enter the mesh parameters.
MESH PARAMETERS→ENTER THE AVG, MIN AND MAX LENGTH.
NOTE: Every time, whenever we open ANSA and working on meshing don’t forget to enter the quality or mesh parameter. We can save the parameters and can use it while meshing.
10) Give the perimeter/macro length as a target length.
11) Now, proceed with meshing. We can use different meshing options. Spot mesh gives better results.
12) Since the bottle cap has varying thickness, it is recommended to set PID once meshing is completed.
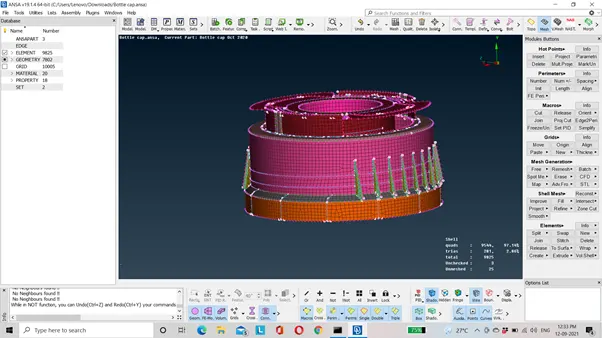
13) Activate the “Shell as solid option”.
LEARNING OTCOMES: 1) To do geometry cleanup.
2) To generate mid-surface for the plastic component by using extend, intersect, middle curves and middle face options.
3) To do meshing with proper mesh flow and quality.
4) To set a PID for varying thickness.
CONCLUSION: Hence, geometry is cleaned and mid-surface, meshing is created for the bottle cap.
To download the model, click on link:
https://drive.google.com/file/d/1hlb_1U7QS56s6O-xsBDLHRHzCXhmi2pq/view?usp=sharing