Week 4
Procedure:
1. Geometry Cleanup:
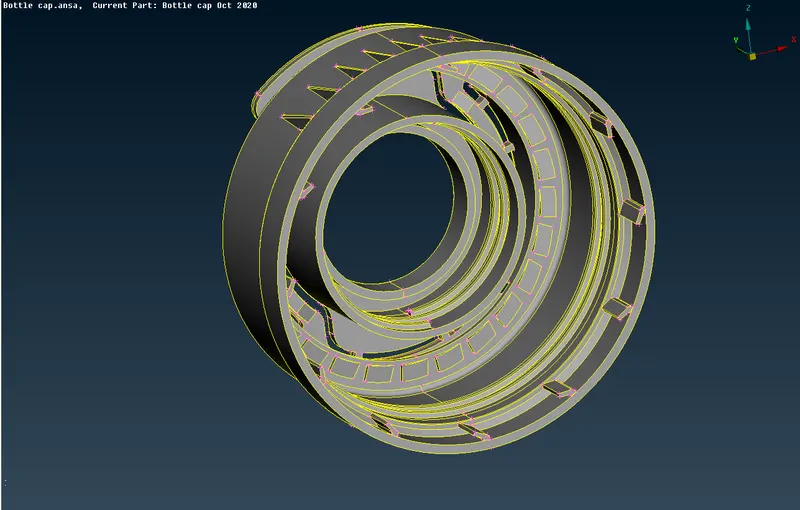
Import the CAD Geometry. Do Geometry cleanup by cheking the geometry for cracks, triple cons, single cons, etc. Change the length by macros & perimeters as 1mm in mesh module.
2. Midsurfacing:
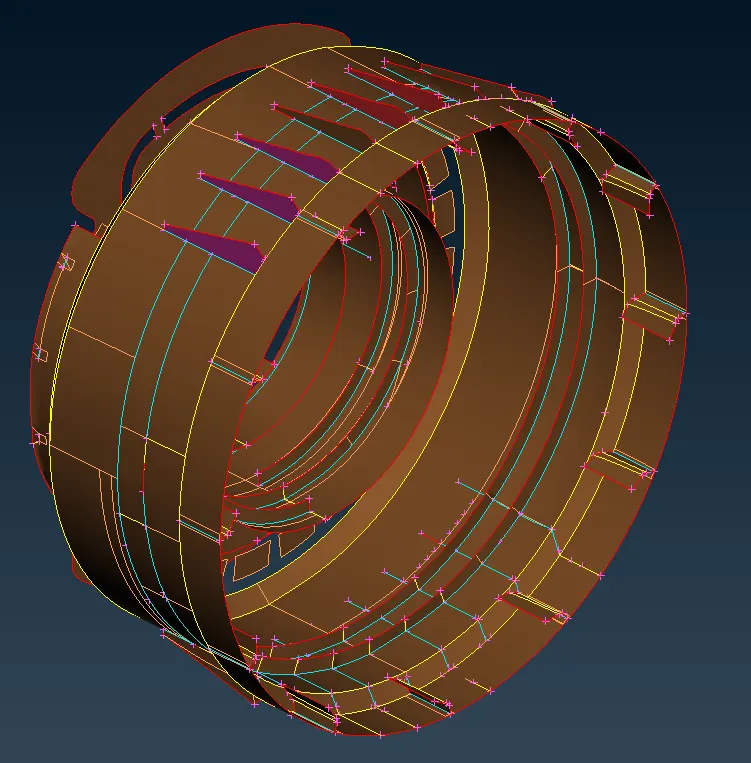
Using auto midsurfacing is not working properly in this model due to the teeth, ribs & other such features. Hence used manual midsurfacing processes like Offset, middle, etc.
For midsurfacing :
- Measure the entire model thickness which is different at different portions.
- Then try to start with the outer portion at the top using manual offset program.
- Do over all large surface midsurfacing.
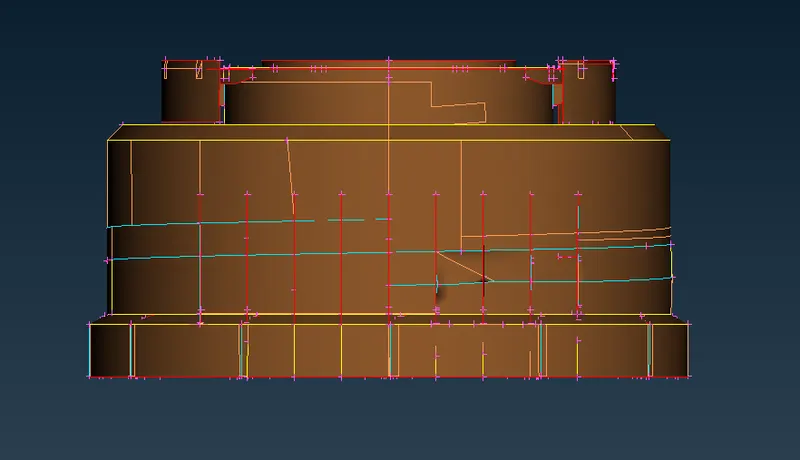
- Then go for the tooth midsurfacing using the middle multiple option.
- Here selection of surfaces as per colour is very important. Try to get different surfaces in different colours else it will not work.
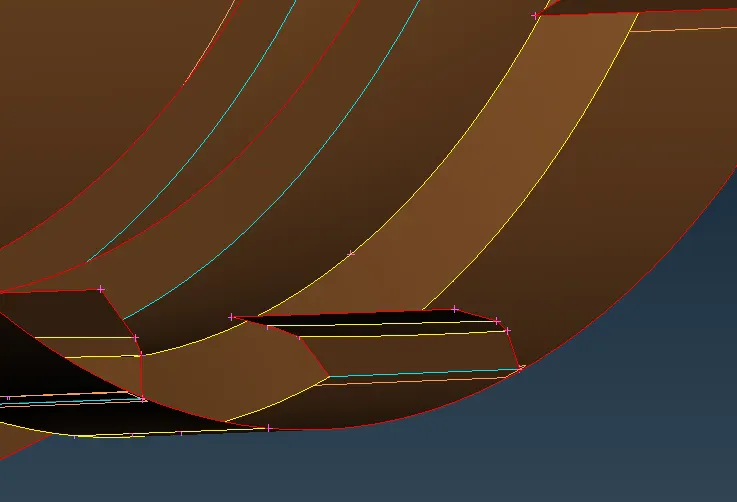
- Then do midsurfacing of the threads.
- For this we have to take a middle of two conns of thread.
- Use the cons to curve to convert this curve to the curve.
- Then project this curve on the base surface.
- This way we will get the reference cons for generating surface using conns option.
- After generating remove all curves & unwanted surfaces (Parent).
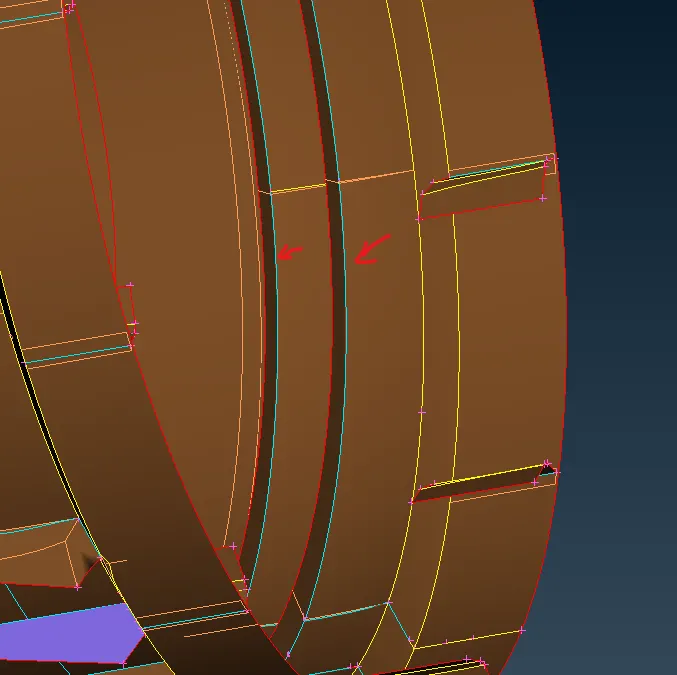
- Midsurface using middle-multi surface option.
- Extend these ribs to the base midsurface and make sure it intersects.
- Remove extra extended surfaces of this ribs once it gets intersected properly.
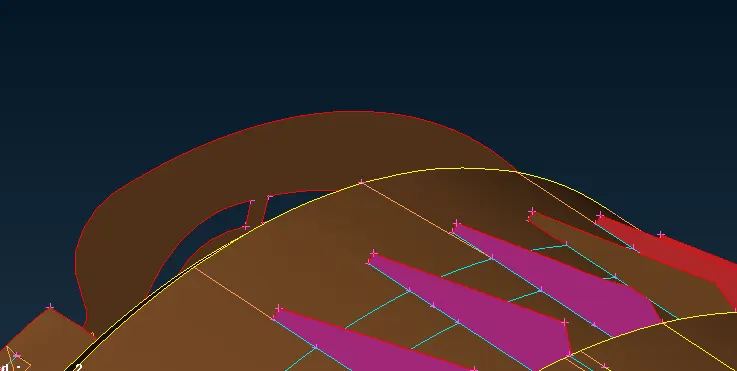
- Take the midsurface of the remaining portion at the top of the cap model.
- Check for the orientation of the model if it is proper or not.
For Meshing:
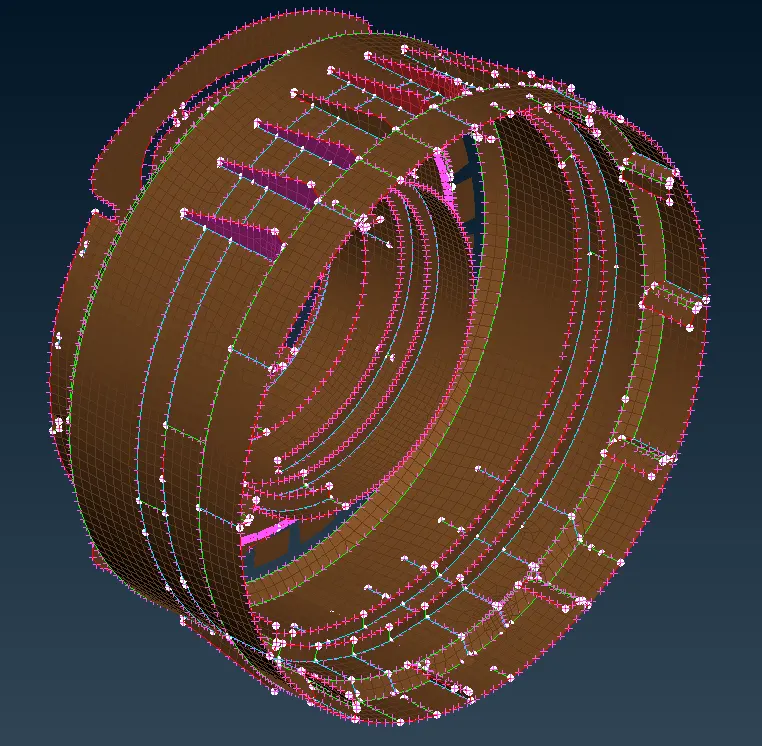
- Now go to mesh module .
- Enter the mesh parameters in the mesh toolbar as mentioned in the objectives of this challenge.
- Use best mesh option and select whole model.
- Now Check for off elements of the meshed model changing the view.
- Correct these off elements using mesh quality check manager and using fix option.
- Also after this do manual fixation for remaining macros.
- Using num, reconstruction, reshape, etc. options.