Week 3-Meshing of Hood Challenge
AIM: To mesh the given component, follow the mentioned quality criteria and assign thickness to the model.
PROCEDURE:
STEP 1: OPEN THE MODEL
file > import > model
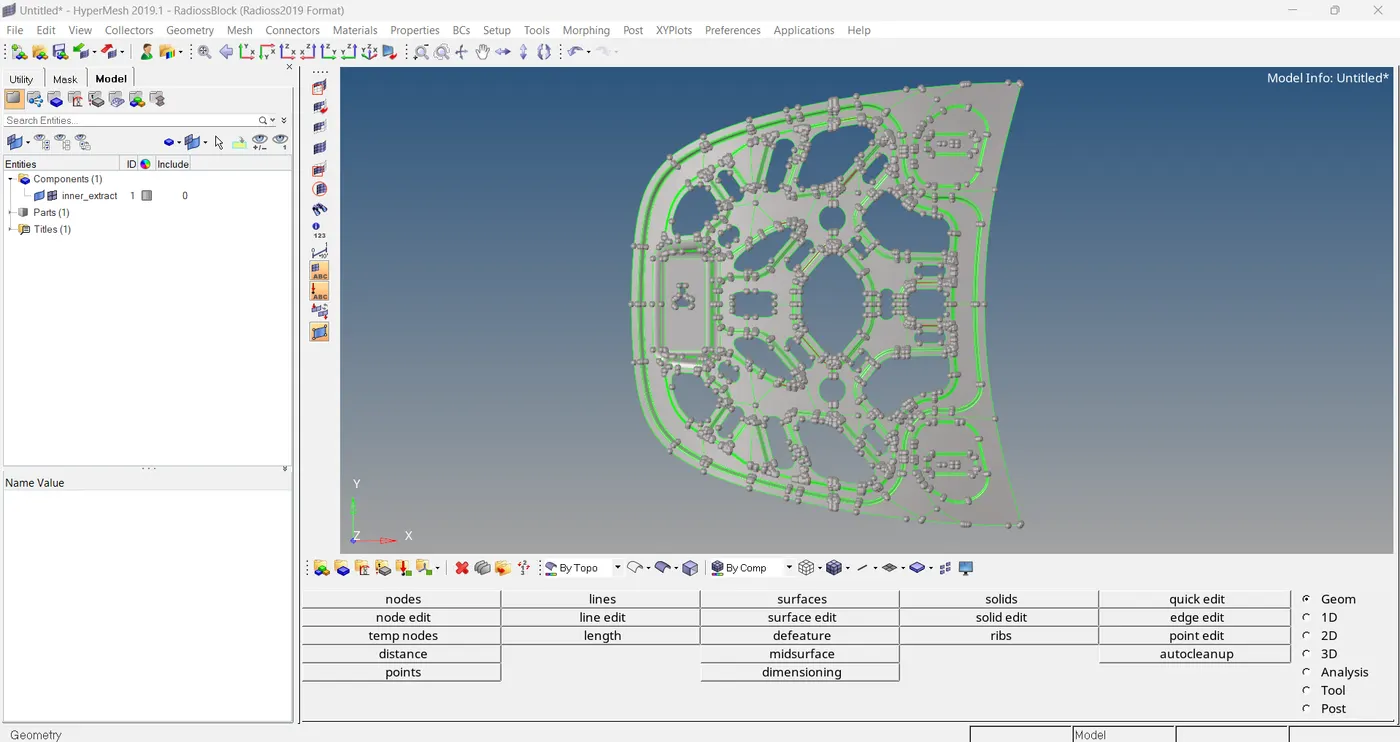
STEP 2: GEOMETRY CHECKUP
In wireframe mode we can see lot of free edges.
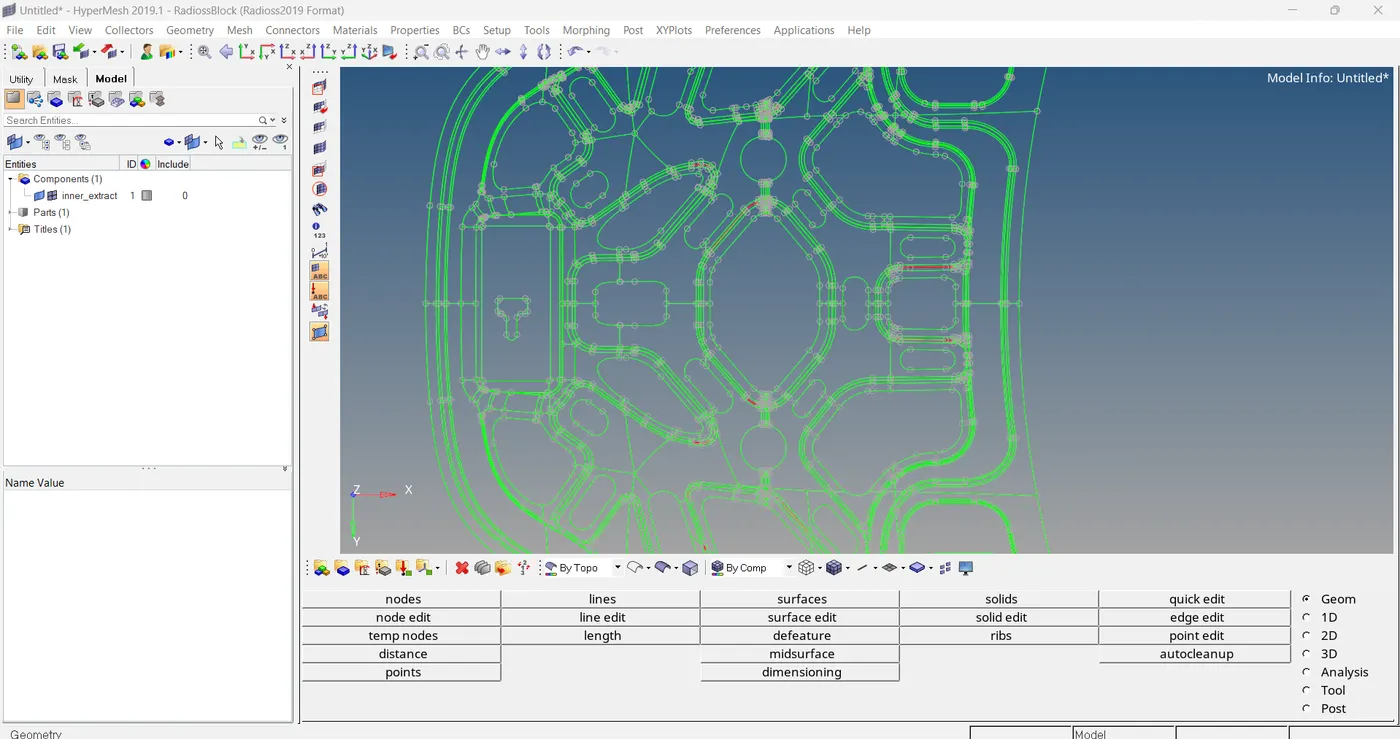
Some of the free edges we can solve by using replace point option.
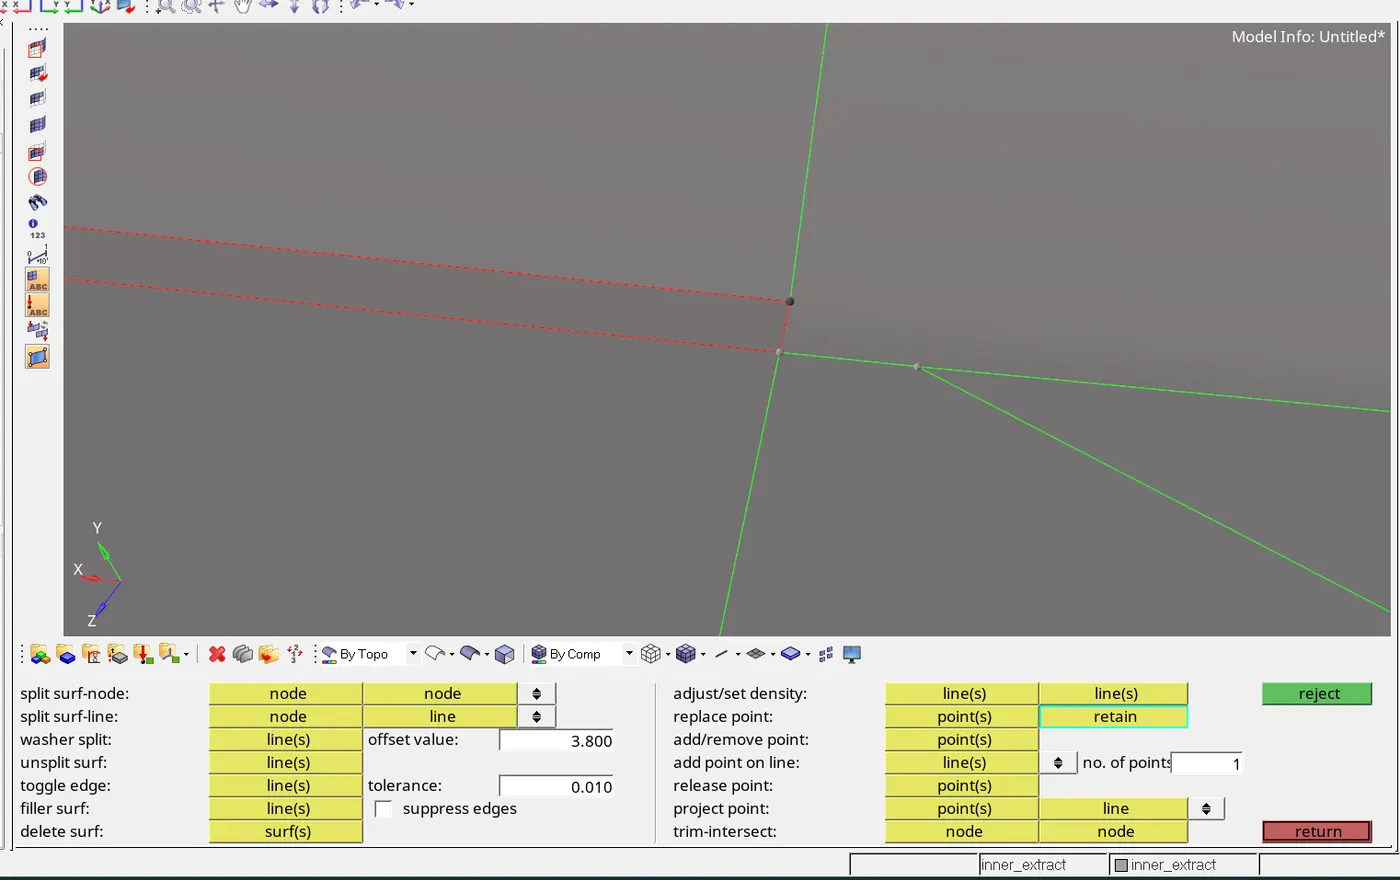
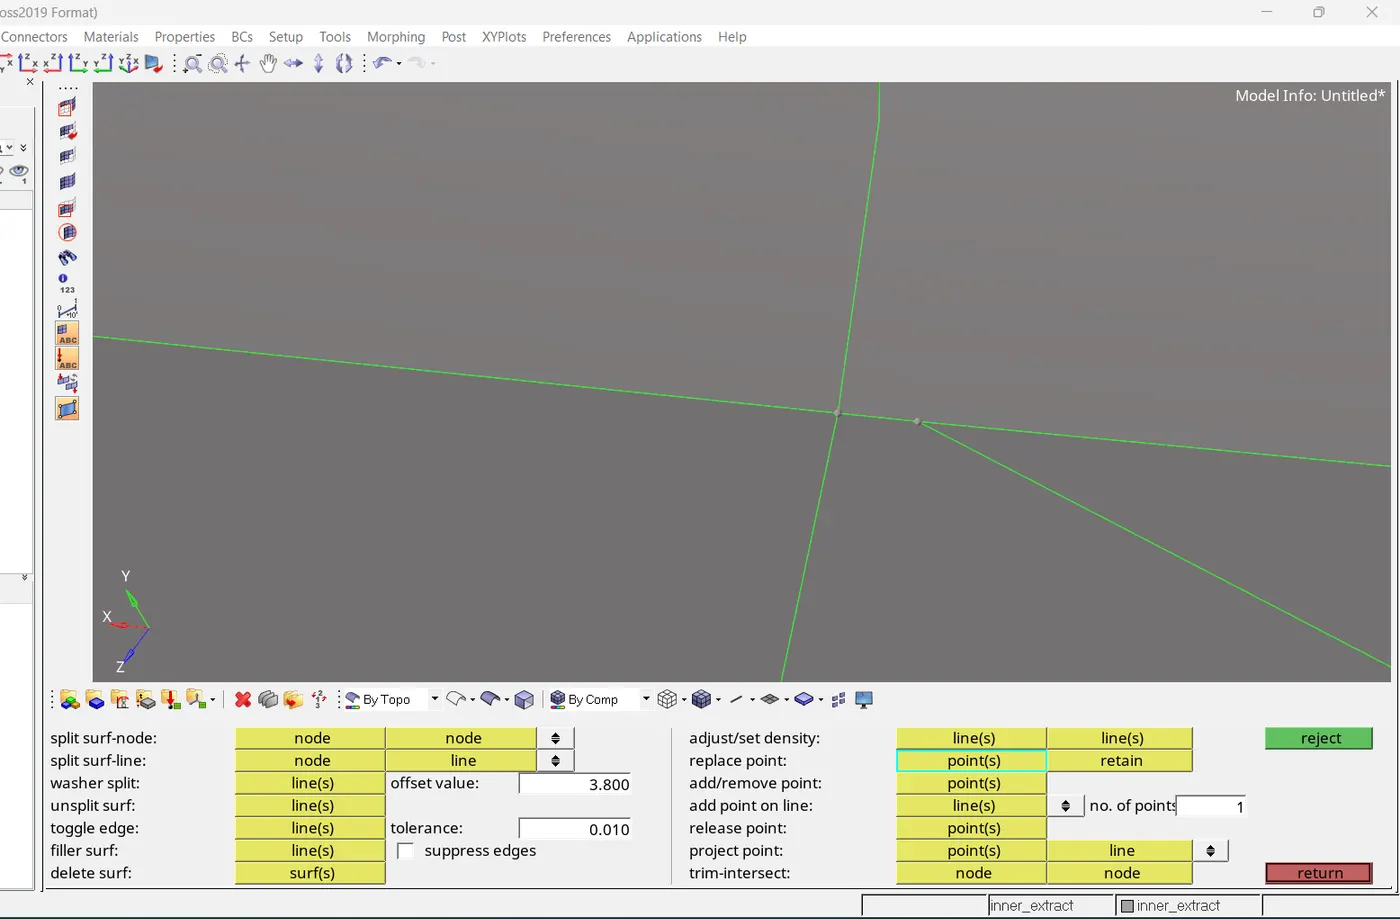
Actually this component is symmetric in nature, So we have to clean one side of the component.
STEP 3: DELETE SOLIDS
Here I cannot find any solids. So proceed to next step
STEP 4: MID-SURFACE EXTRACTION
geometry > mid surface > auto extraction
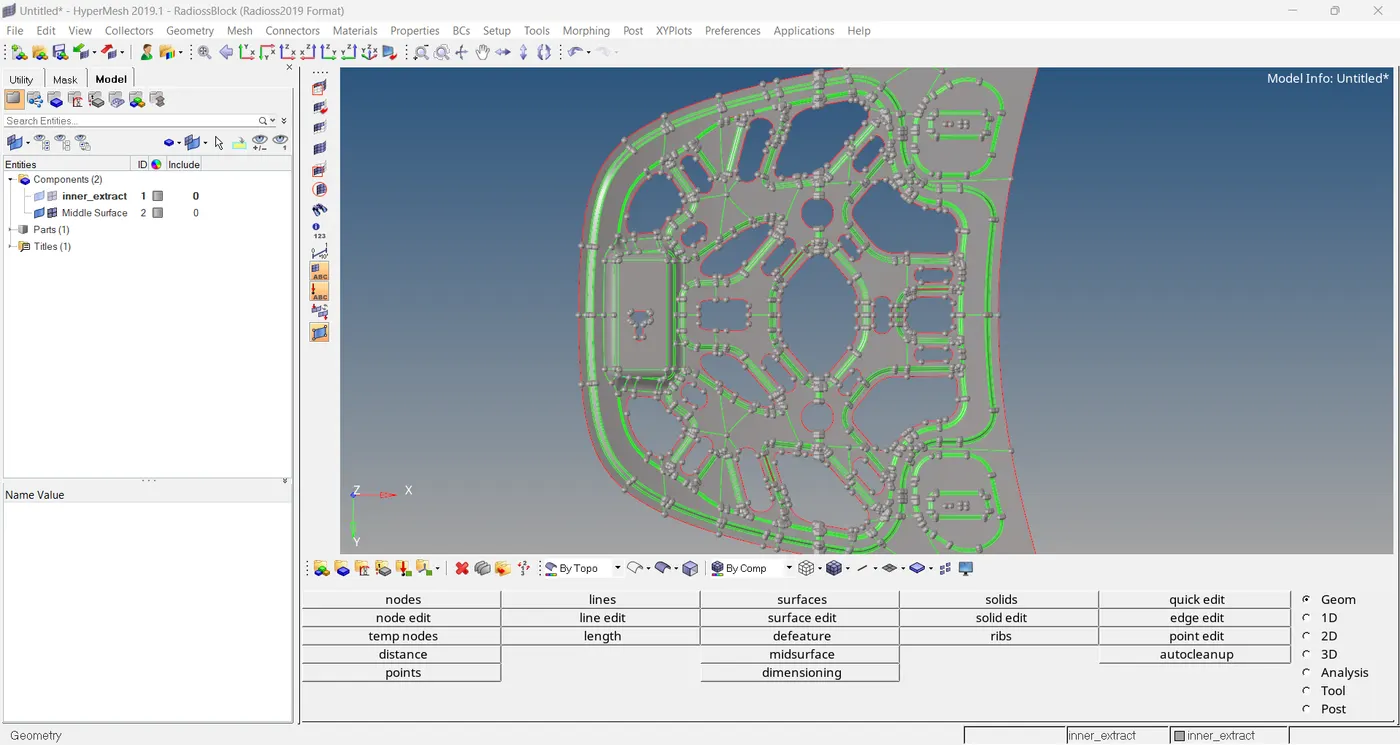
pic: mid surface
After taking mid surface, We can find that some areas capturisation is not good
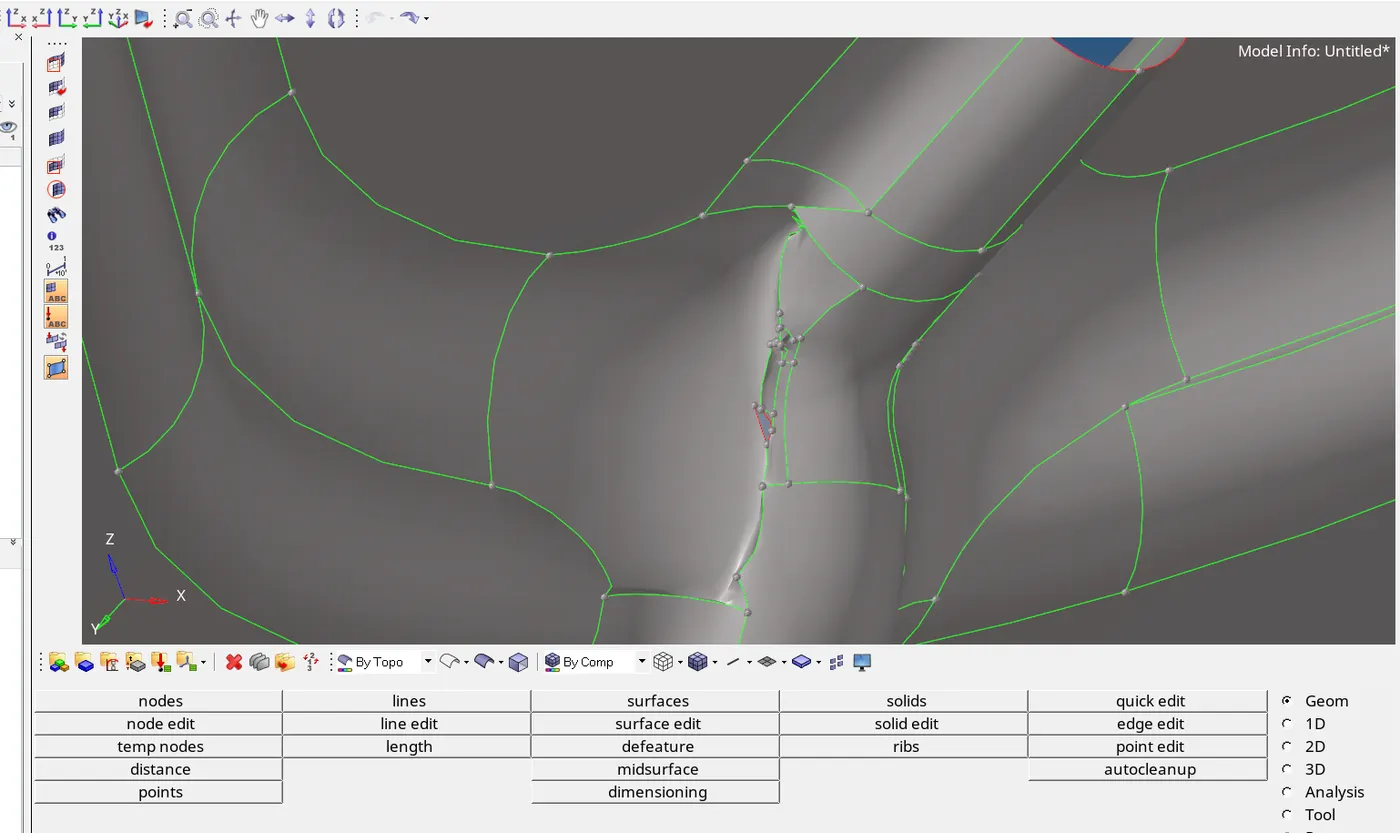
So I have to clear it.
Firstly I deleted that surface,
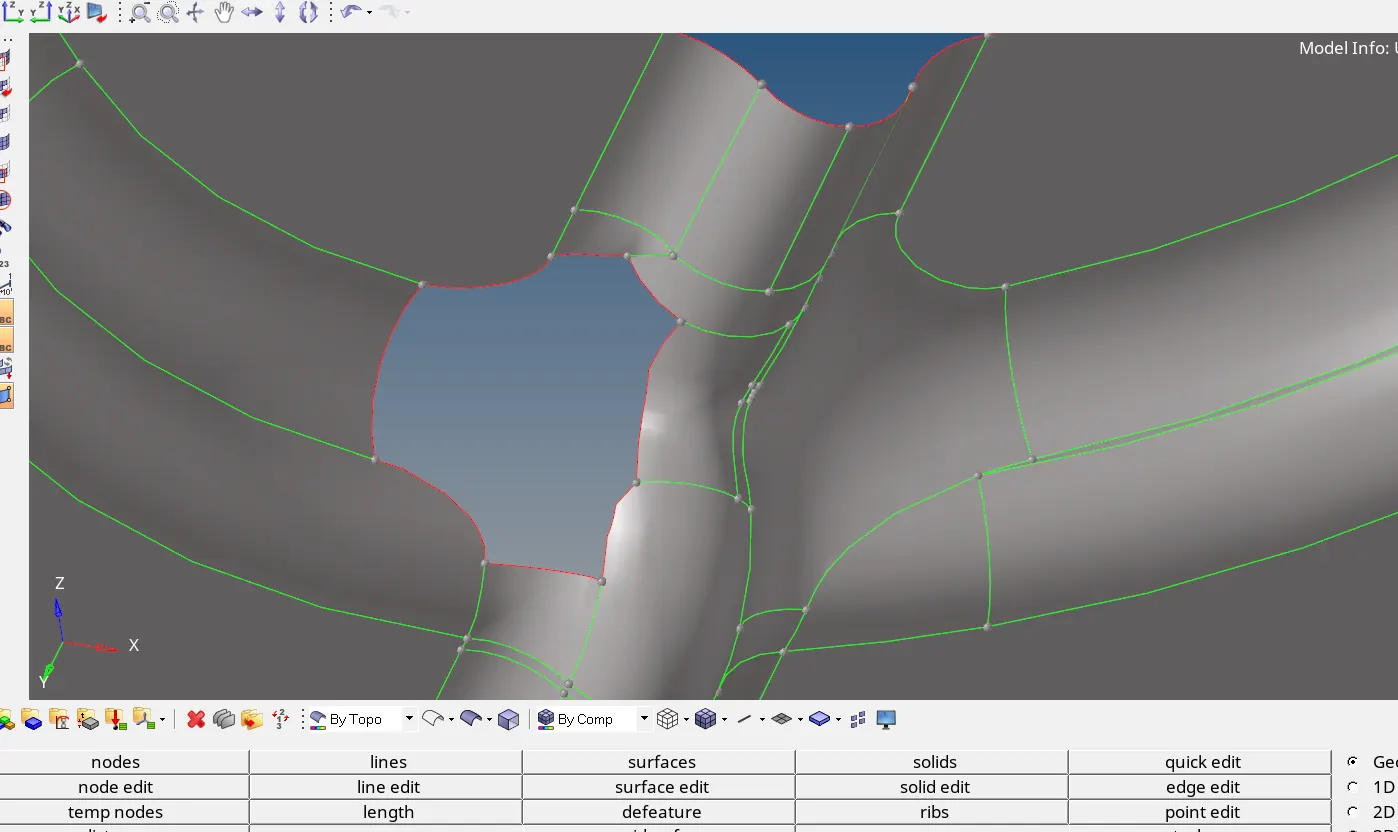
Then by using 2D > spline option I created a new surface there,
By the help of geometry > quick edit option I maintained that surface.
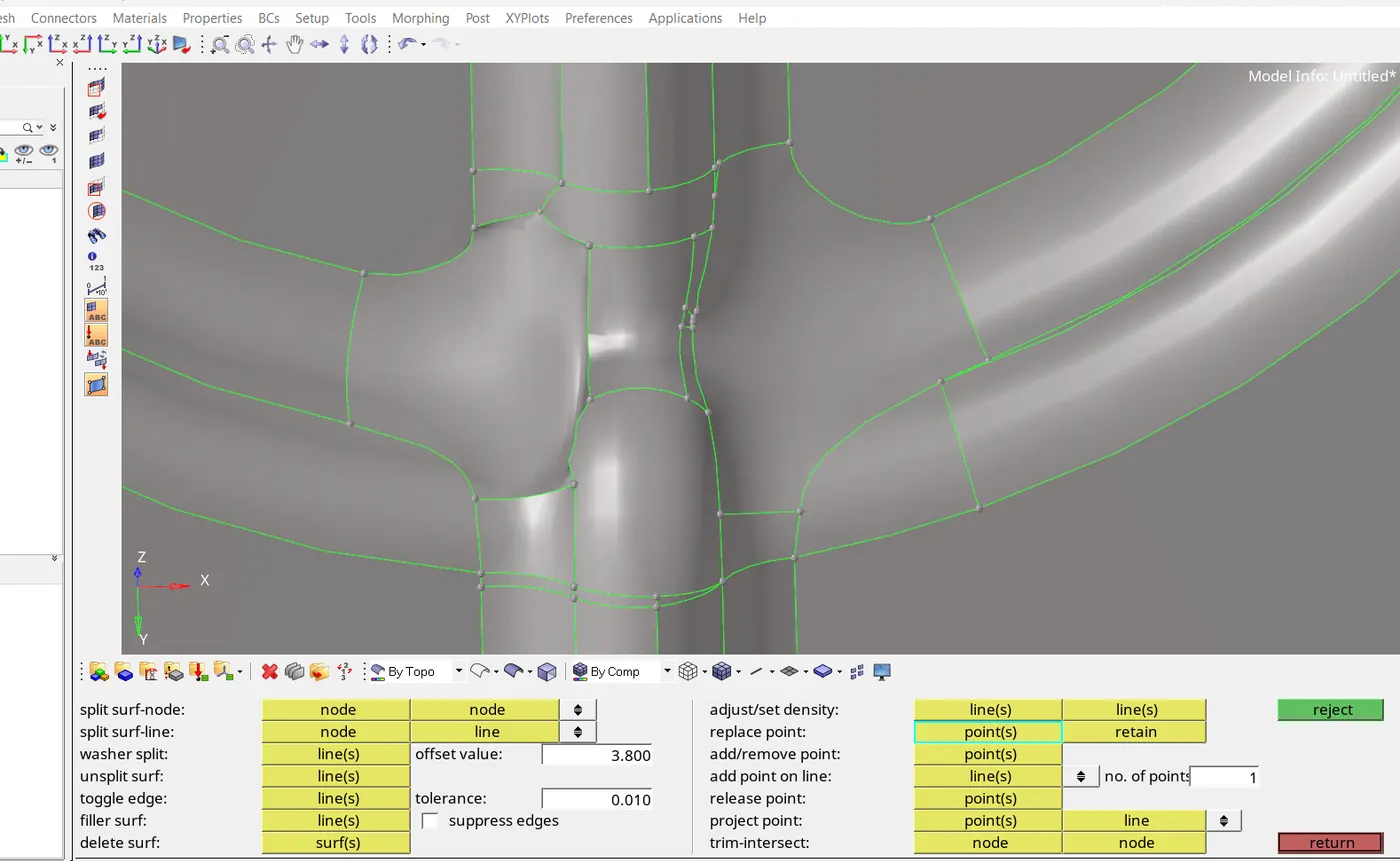
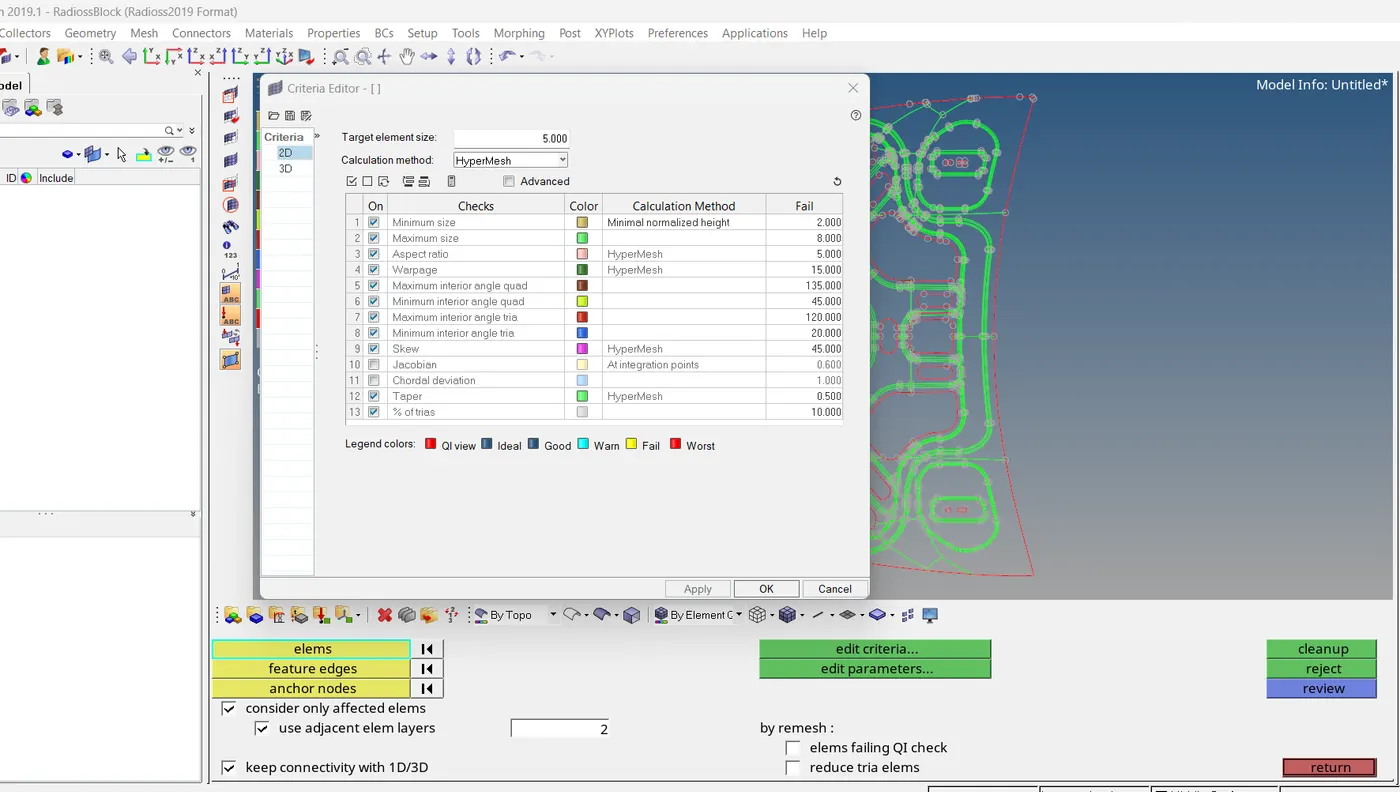
STEP 5: ADD QUALITY CRITERIA
2D > element checkup > edit criteria
STEP 6: MESHING
Before starting meshing, here we can see lot of unwanted lines, So we have to toggle those unwanted lines. In fillet areas we can see adjacent two lines, the distance between those lines may be below our required length, therefore we can toggle any one line. Do not toggle feature lines.
In holes region we should maintain only one node.
For getting a good mesh flow we can make cuts over the mid surface.
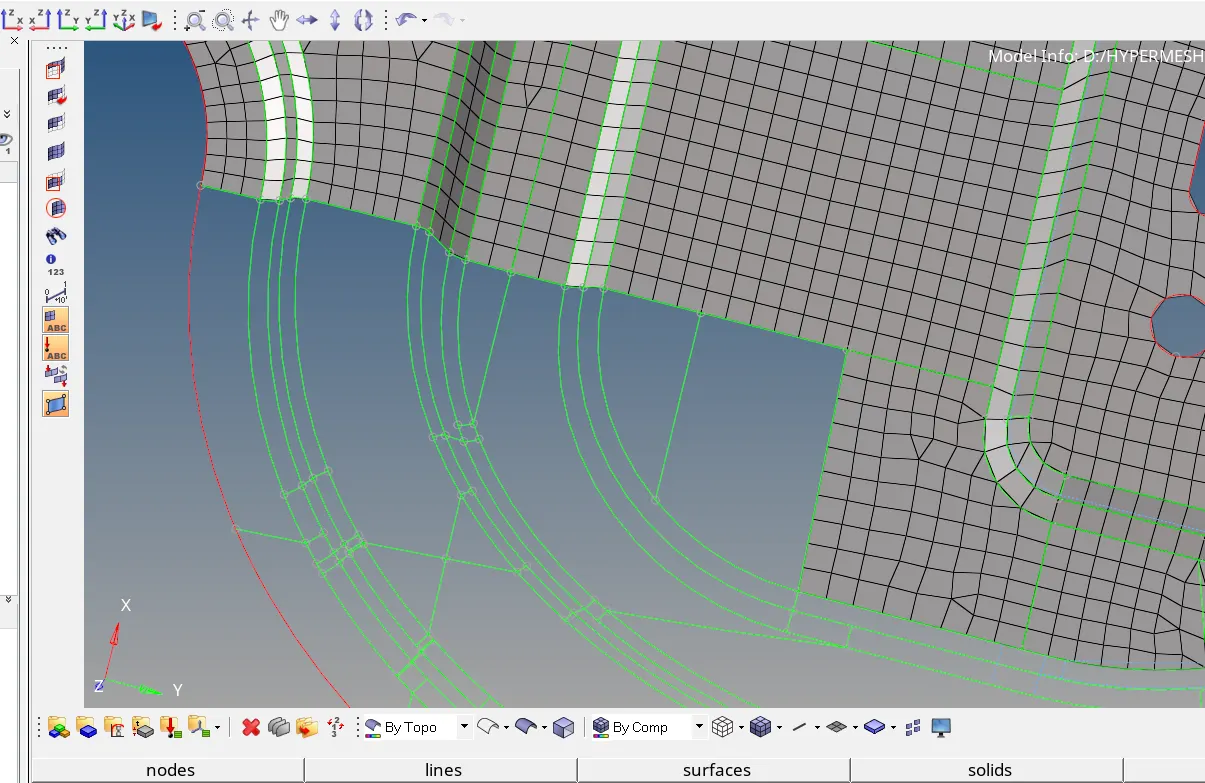
For getting a good mesh flow and clearing quality we can use these tools , these are under 2D > quality index
1. place node ( for clearing quality)
2. swap edge
3. node optimize
4. element optimize
5. smooth
6. split/collapse edge
7. split quad element
8. combine tria elements
For clearing warpage , I used quad split option
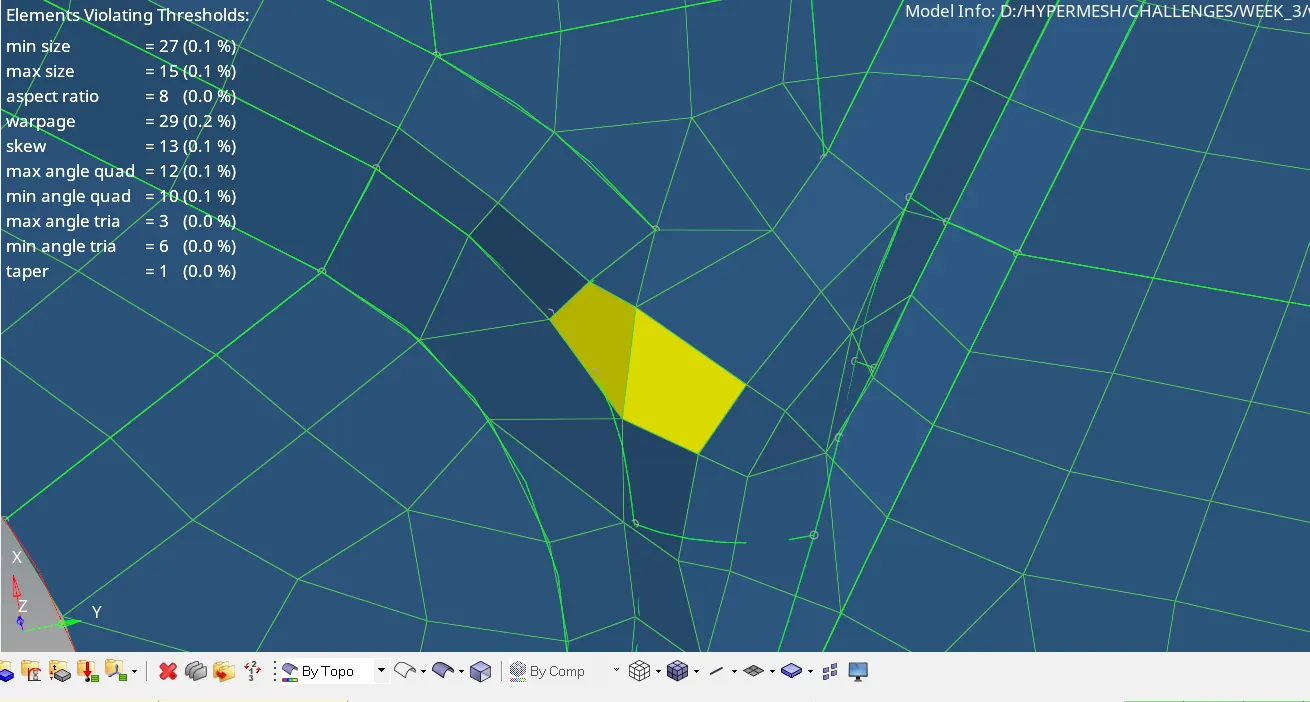
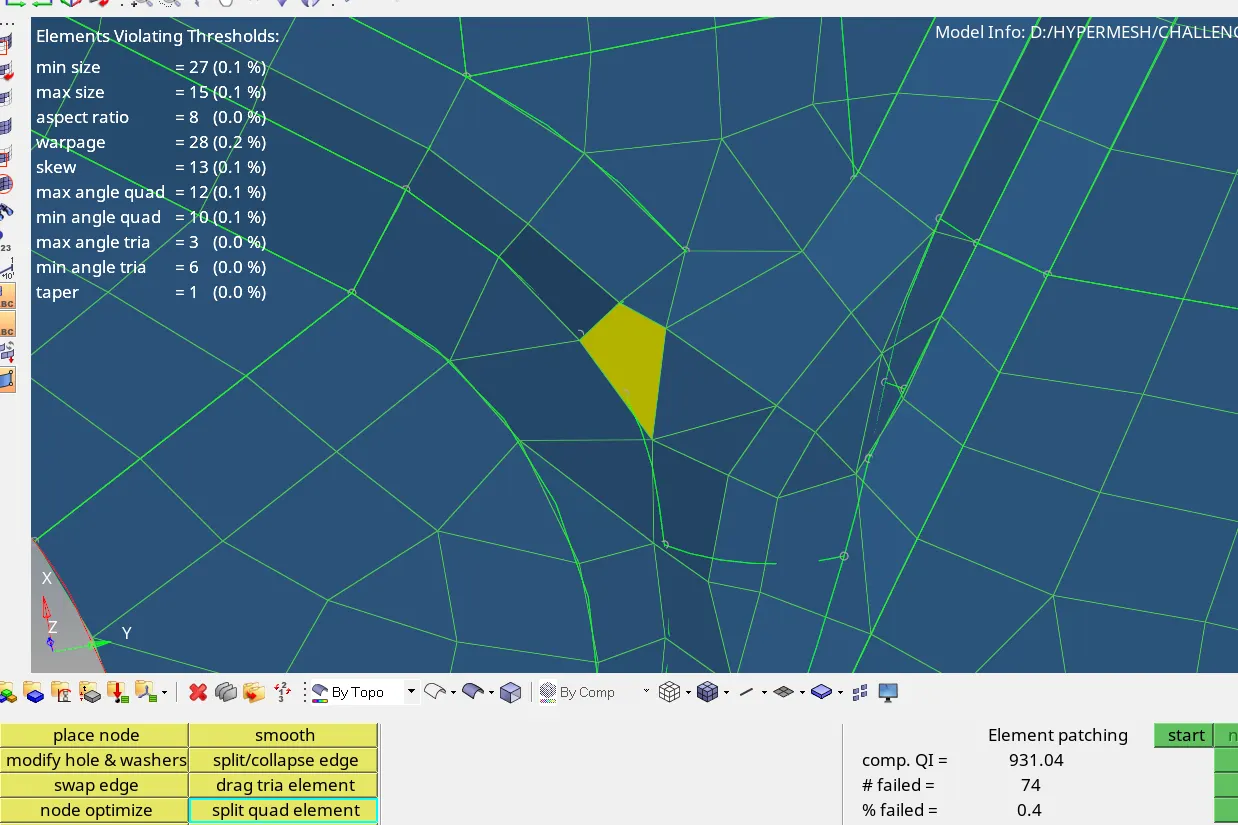
Here one side meshing of the part is completed
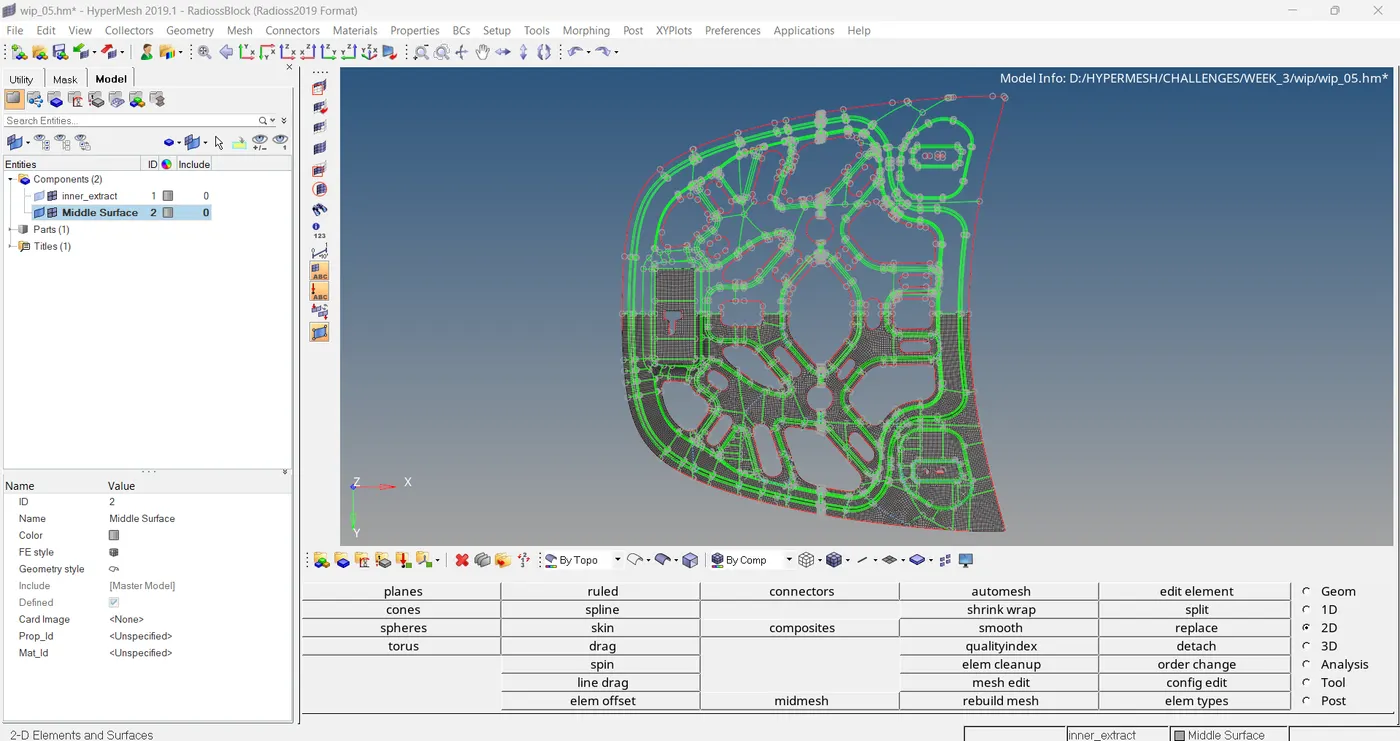
But qualities are still pending.....I have to clear all the qualities....
Now all qualities are cleared
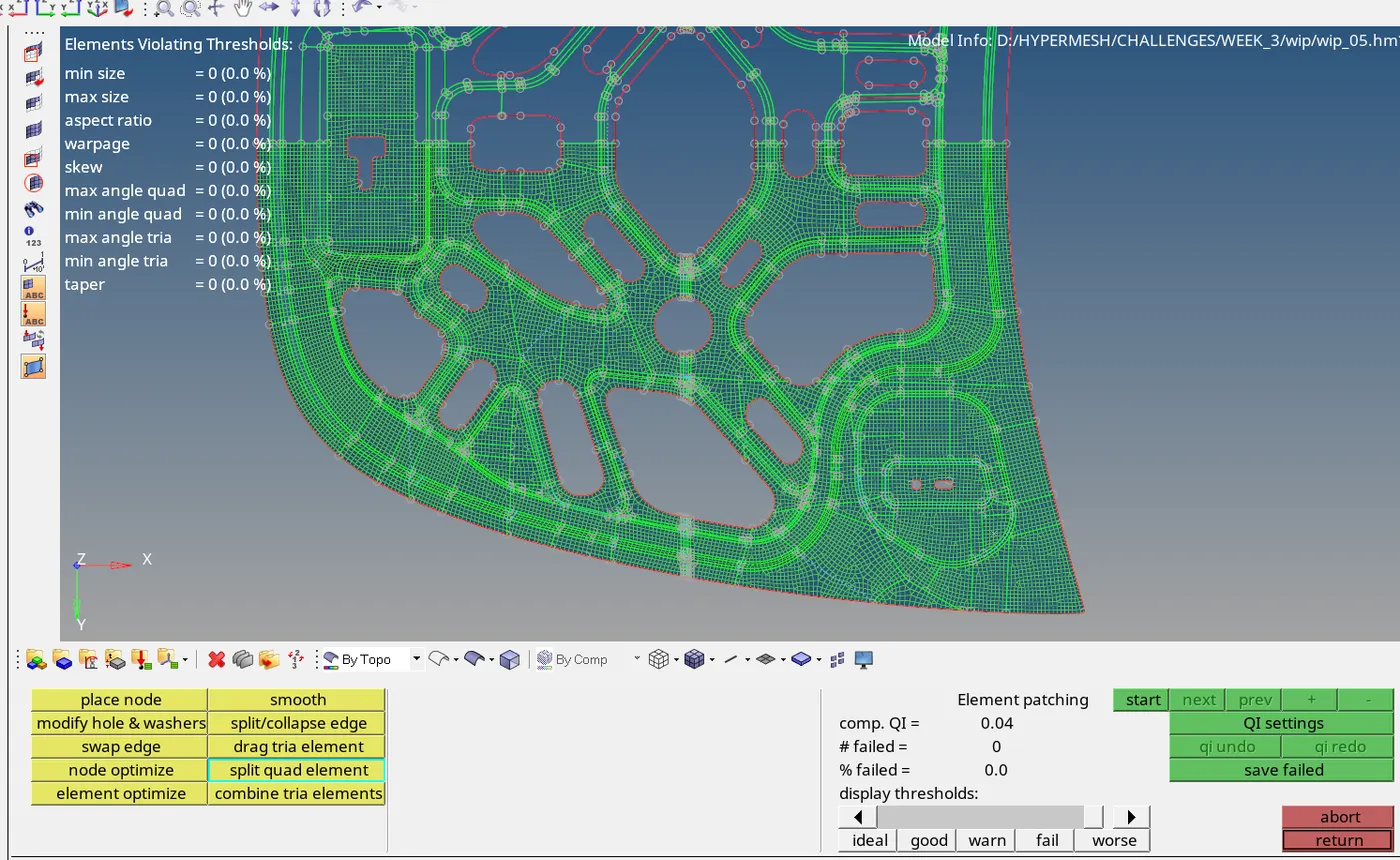
Here the model is symmetric in nature, So we can delete other part of the model.
After completing meshing and clearing all the qualities the model check is compulsory
1. checking free edges
Tool > edge
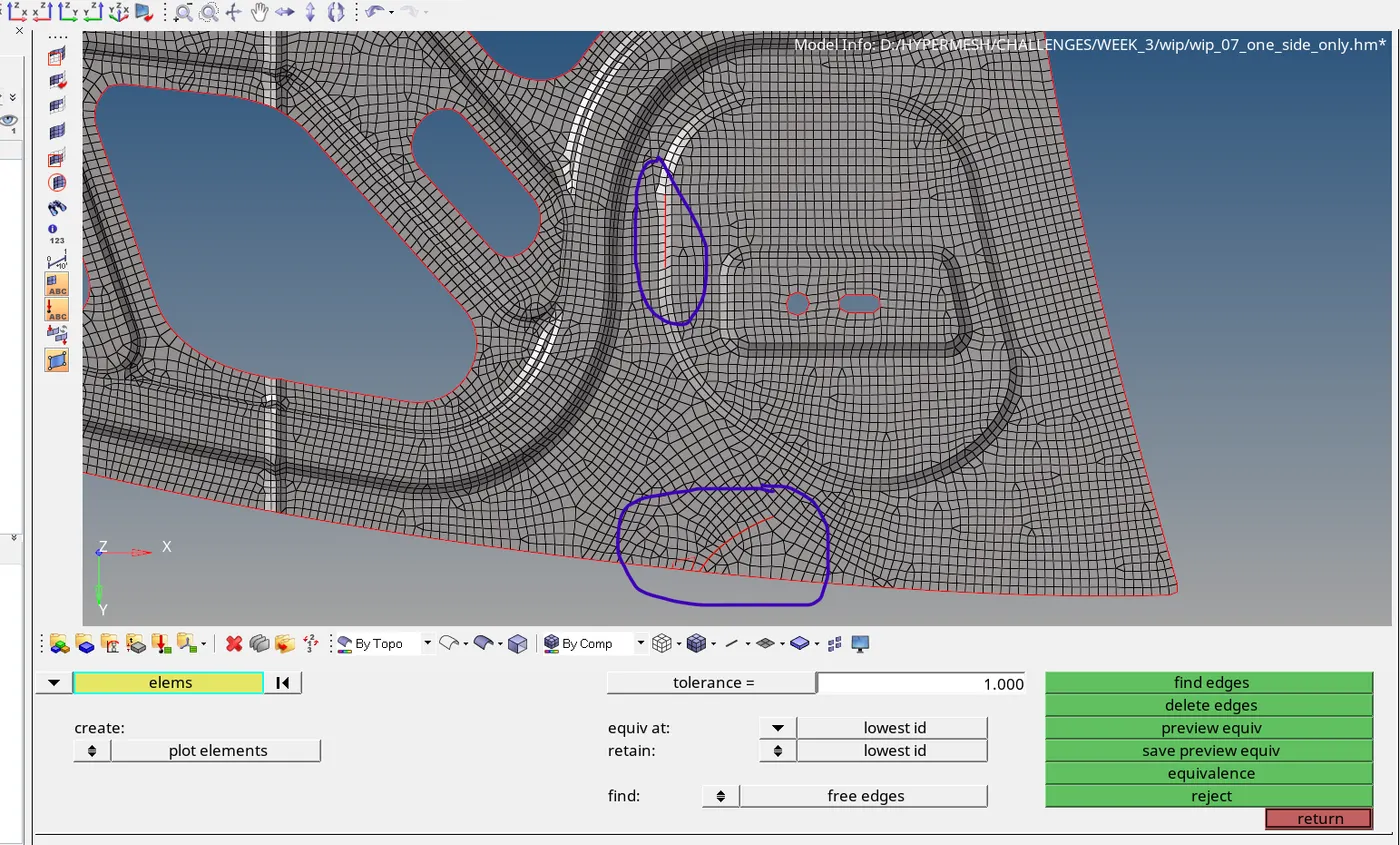
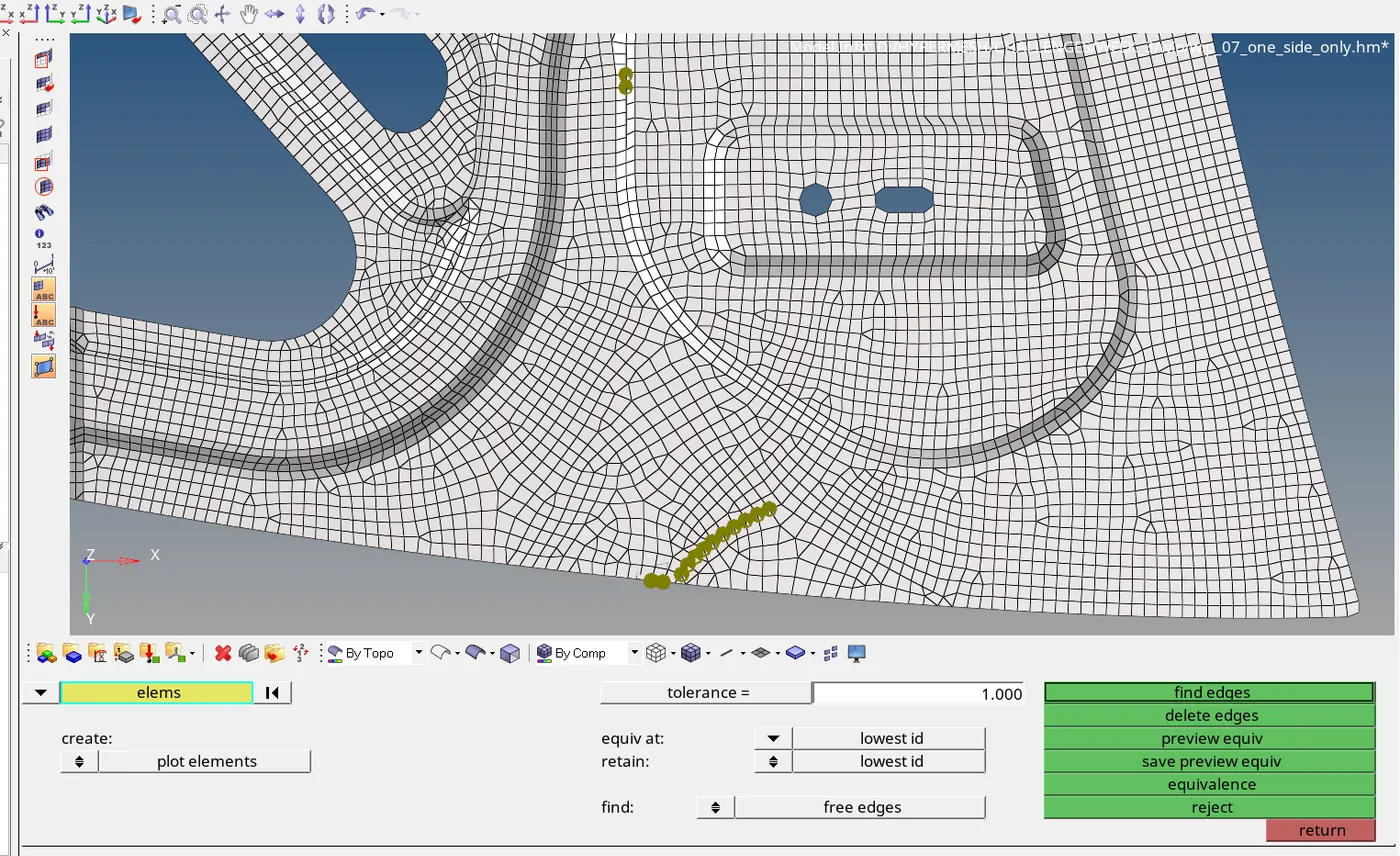
here we can see that , in two regions the elements are not connected properly. So we have to fix it.
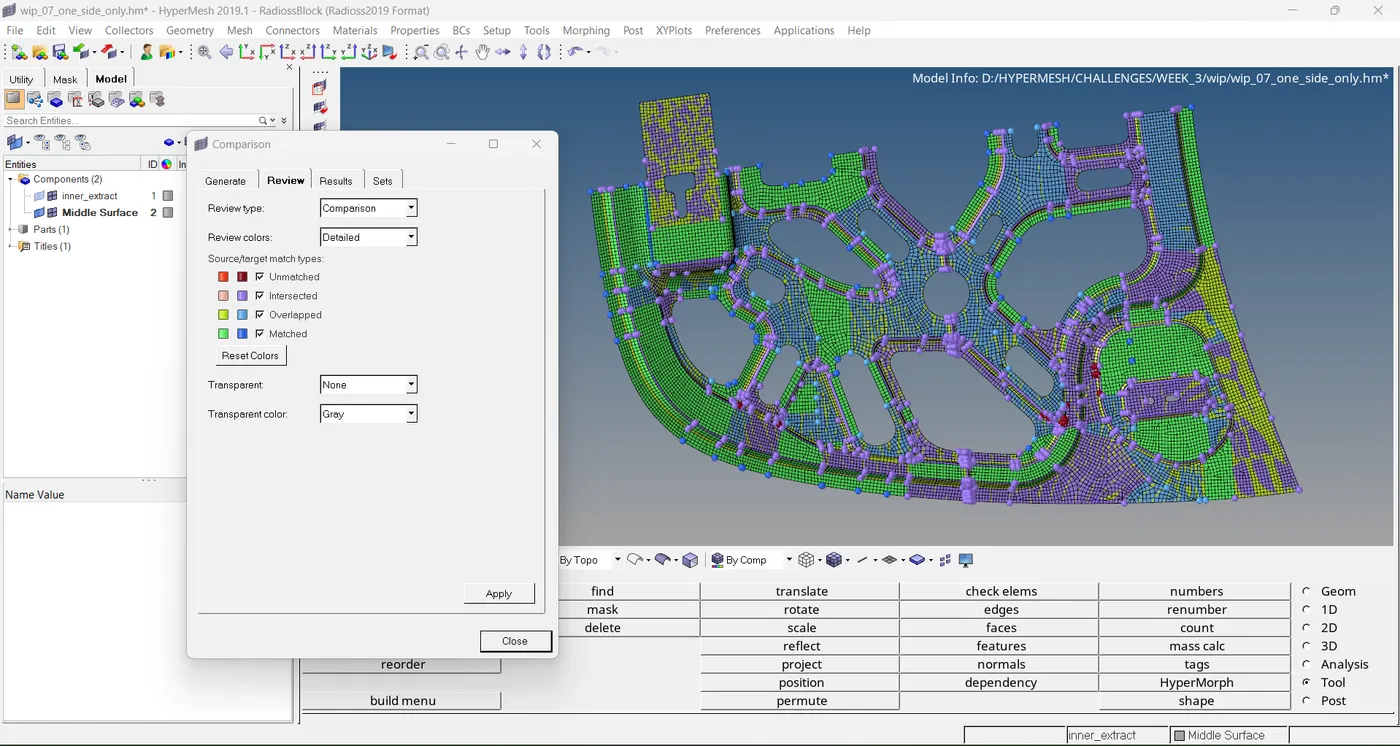
2. element to surface
mesh > check > element > comparison
3. normal checking
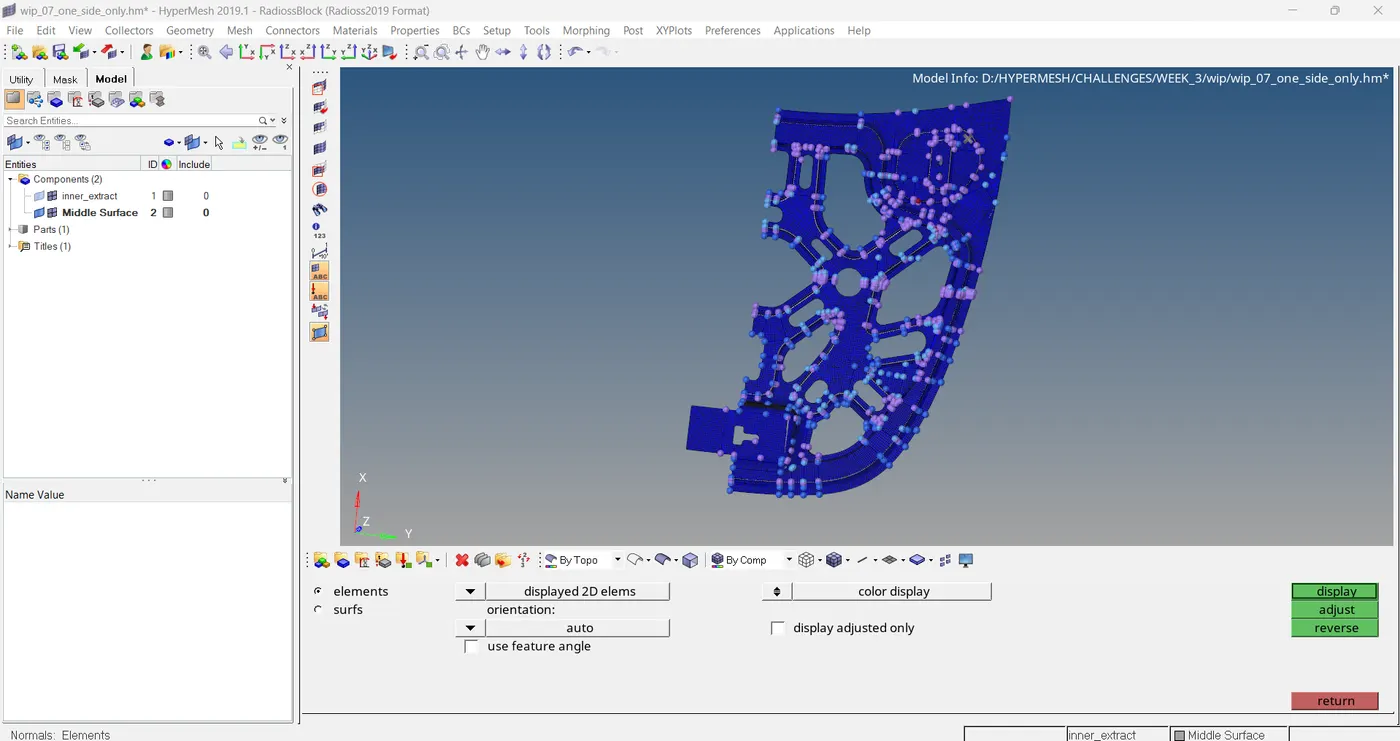
STEP 7: REFLECTING
tool > reflect
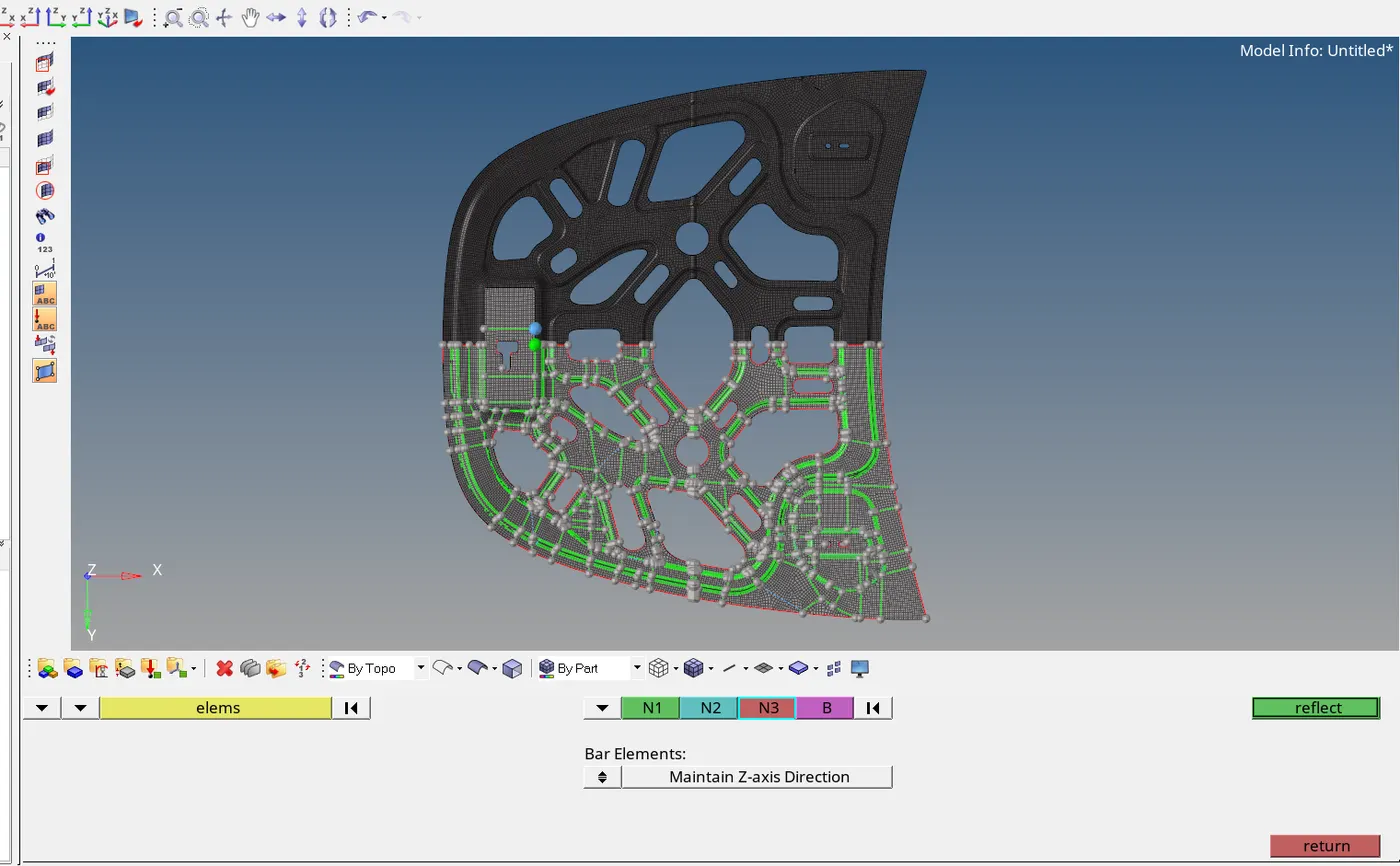
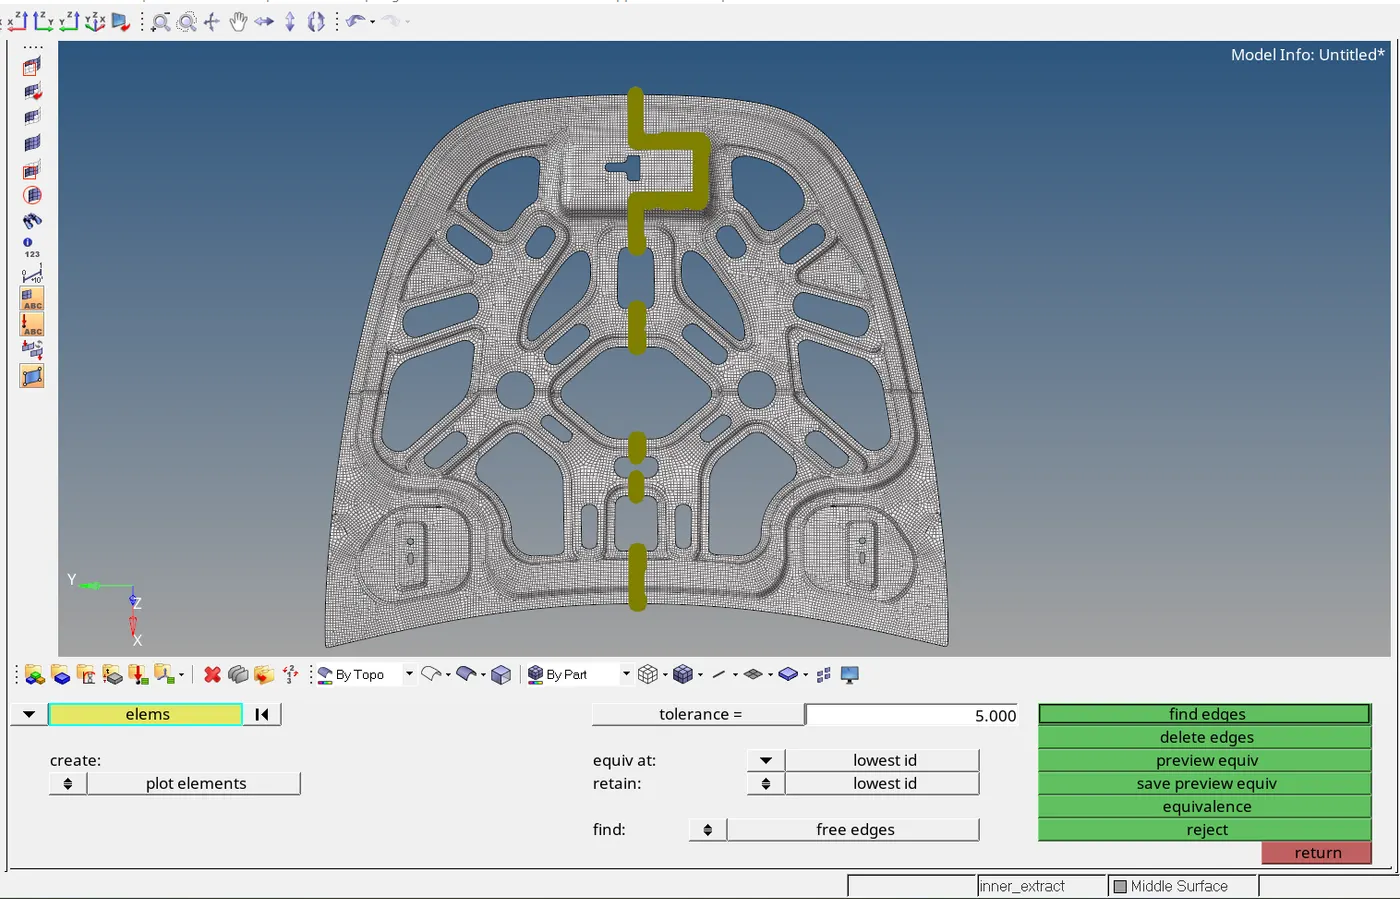
After the reflection we have to connect the newly created mesh to previous one.
So we have to use preview equivalence for this situation.
STEP 8: ORGANIZE THE MESH
tool > organize
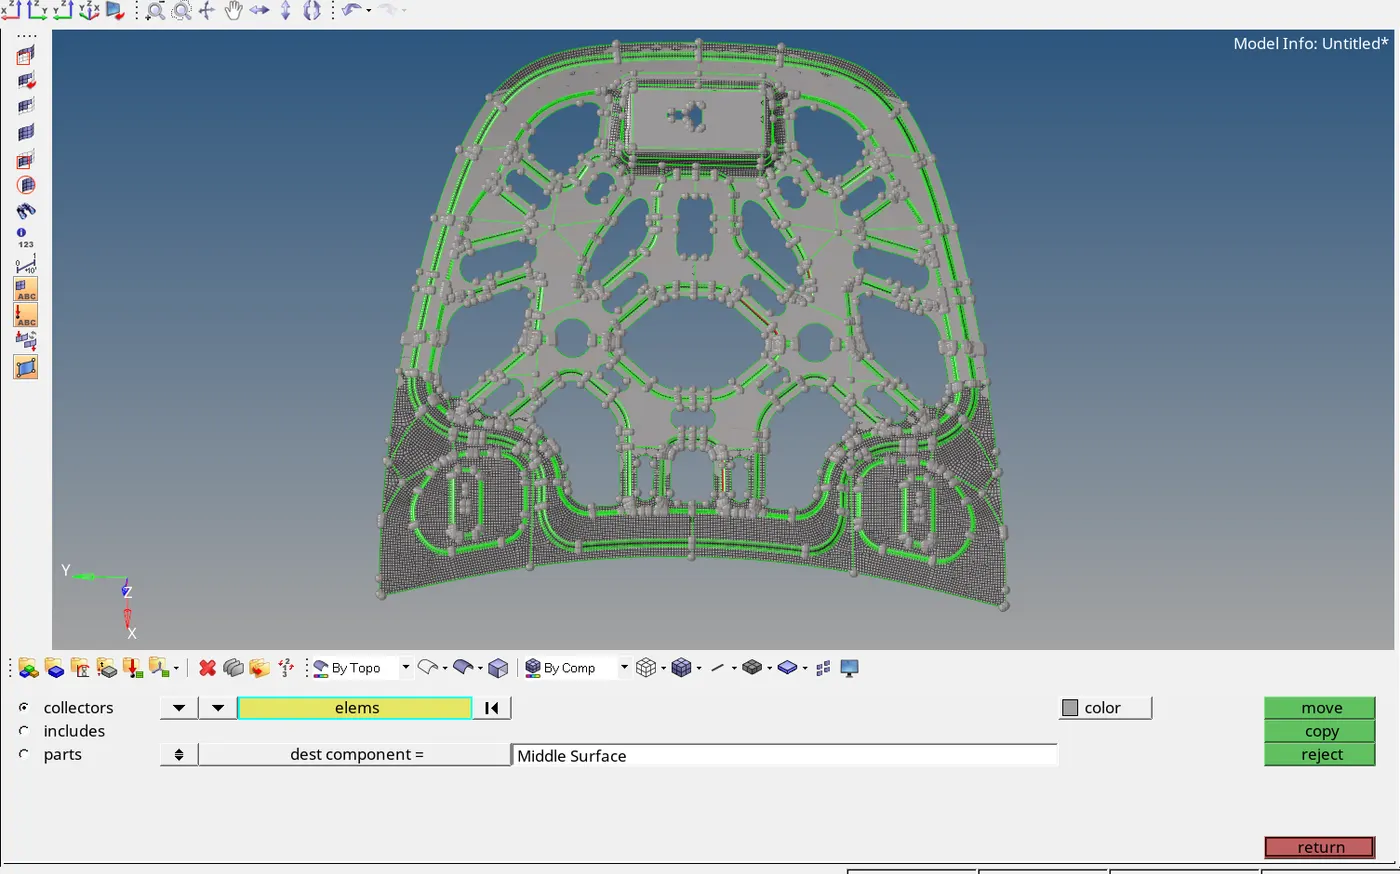
Here we want to organize the mesh to parent geometry
STEP 9: DELETING UNUSED DATA
Before exporting the model we want to delete unused property
delete > entity:property > preview unused > delete
STEP 10: EXPORT THE MODEL
I have to save the model as .hm format
-----------------------Thank You-------------------------------------------------------