Week 3-Meshing of Hood Challenge
AIM:- To extract mid-surface and generate mesh and also assign thickness on the Hood using hypermesh.
Given Model:-
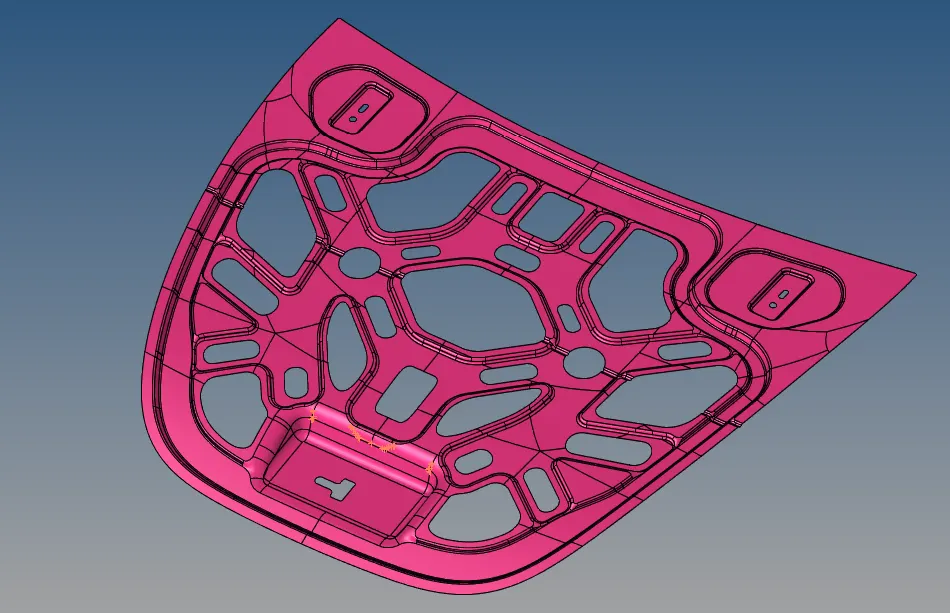
Steps Involved:-
1. Import geometry and do a cleanup of the model.
2. Extracting Mid-surface and assigning properties.
3. Meshing the surface within the given quality criteria.
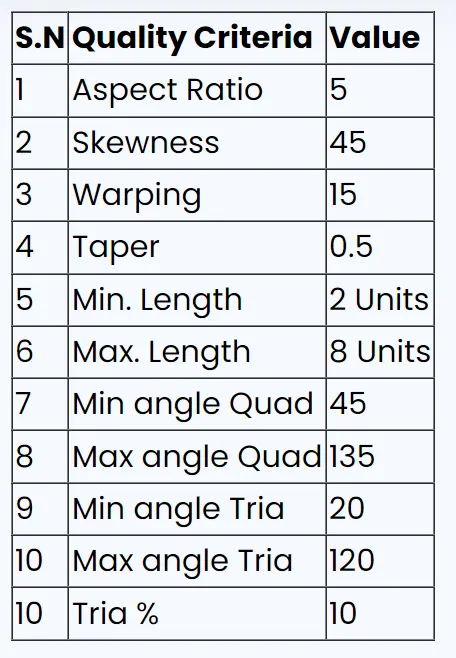
Quality criteria:-
Procedure:-
Step 1: Importing geometry and cleanup:
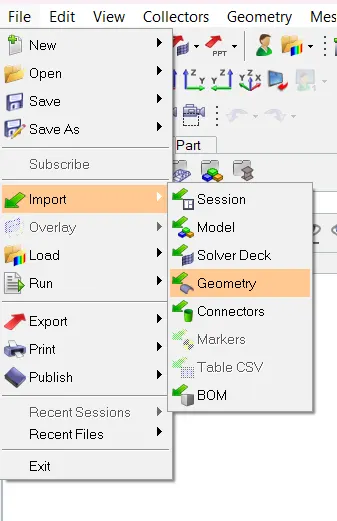
- To import the geometry, go to file > Import > Geometry > Select the file.
- After importing the geometry, then check the geometry for any missing surface or duplicate surface. If there are no errors present in the geometry then the geometry is ready for the mid-surface extraction.
Step 2: Extracting mid-surface:
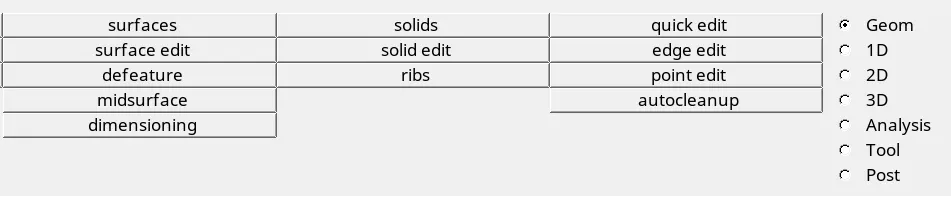
- To extract the mid-surface, go to geometry > mid-surface > select any extraction option > Select surface > extract.

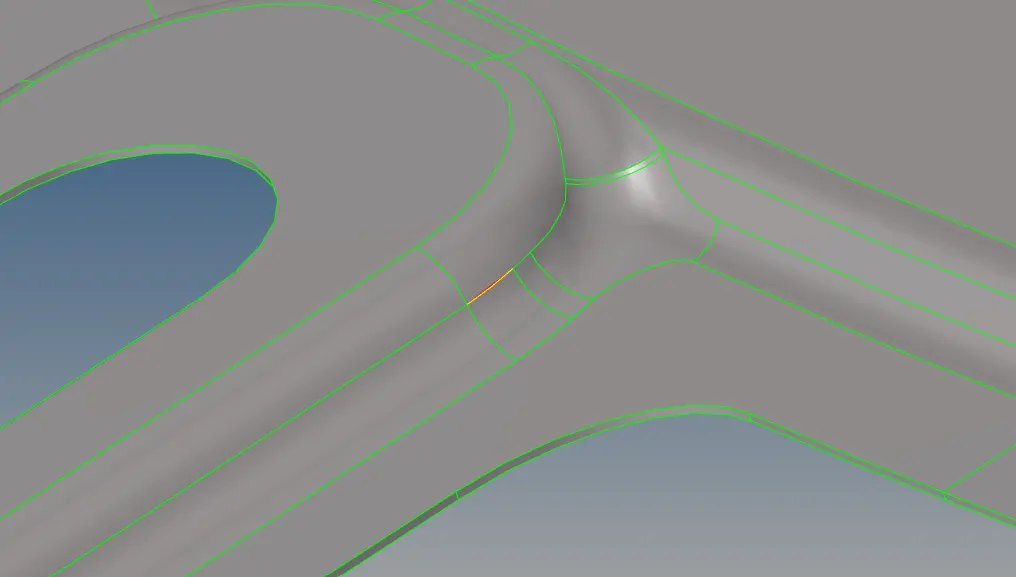
Step 3: Generating mesh within the given quality criteria:
- Before generating the mesh, check all the geometry cleanup for good mesh flow.
- To generate mesh, go to 2D > automesh > select the surface > click mesh. To edit the mesh for proper flow, the elements are selected and meshed again, there is one short key for automesh is Shift + F12.
Step 4: Quality check for the model.
- After the mesh is generated now, we need to do a quality check for the mesh for that we need to go 2D > Qualityindex
- In the Qualityindex we need to enter our parameters for elements to be safe in this range.
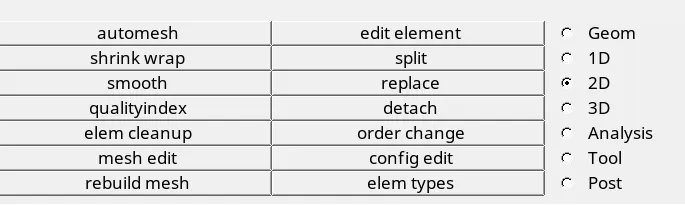
- If there is any quality failure in the element then we need to fix it by using cleanup tools for the element.

- If there is element fails again we need to go 2D > Element cleanup > edit criteria > select all elements> review > cleanup.

Step 5: Assigning Thickness to the model.
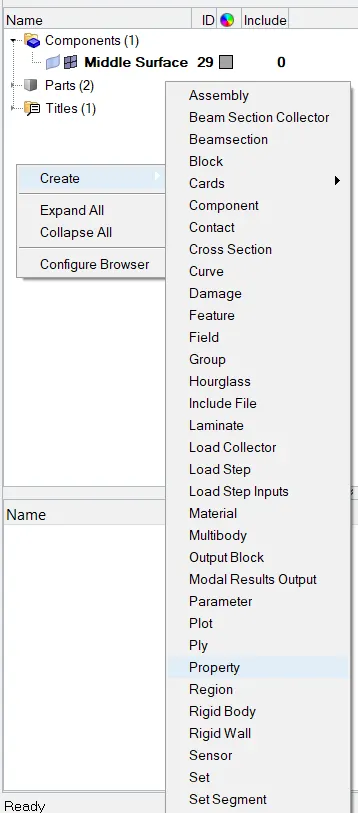
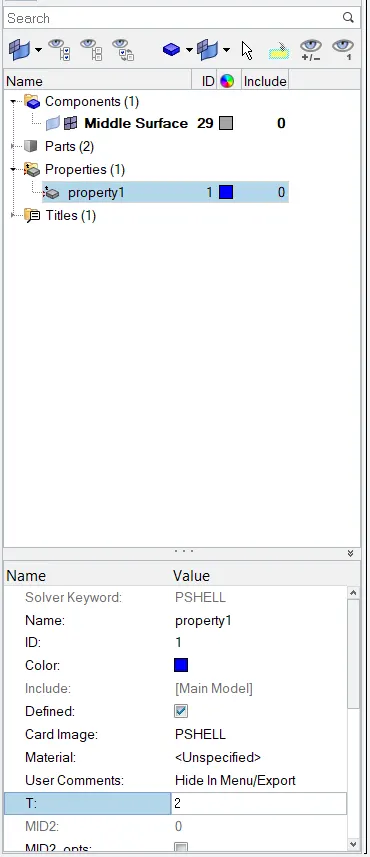
- First, click on create > Property.
- Second, click on the component where we need to assign the thickness.
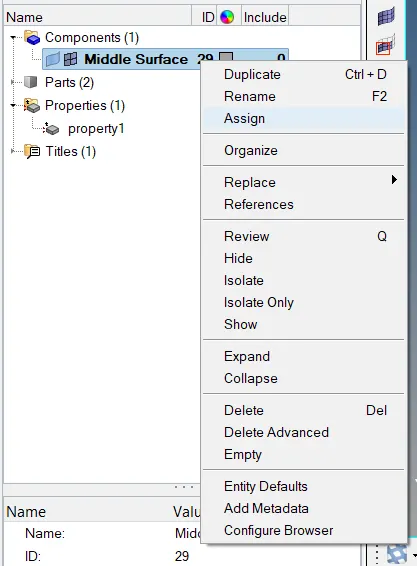
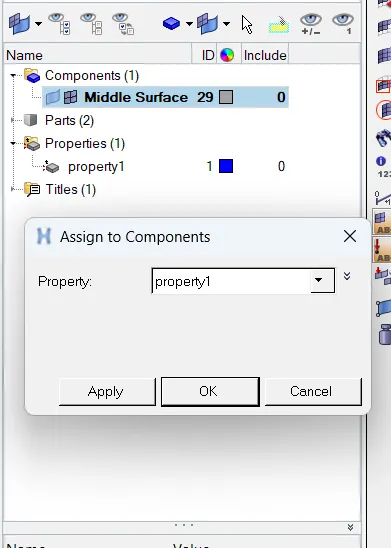
- Third, go to Property Tab then change the value of thickness to 2 in the T box.
There is the final images for meshing of this model shown below:-
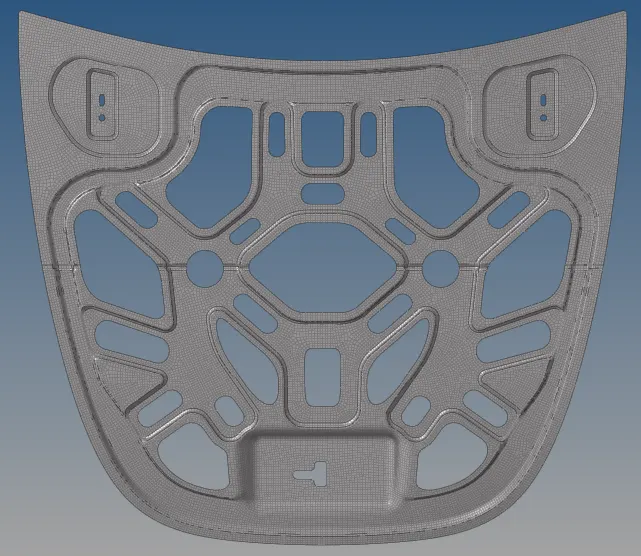
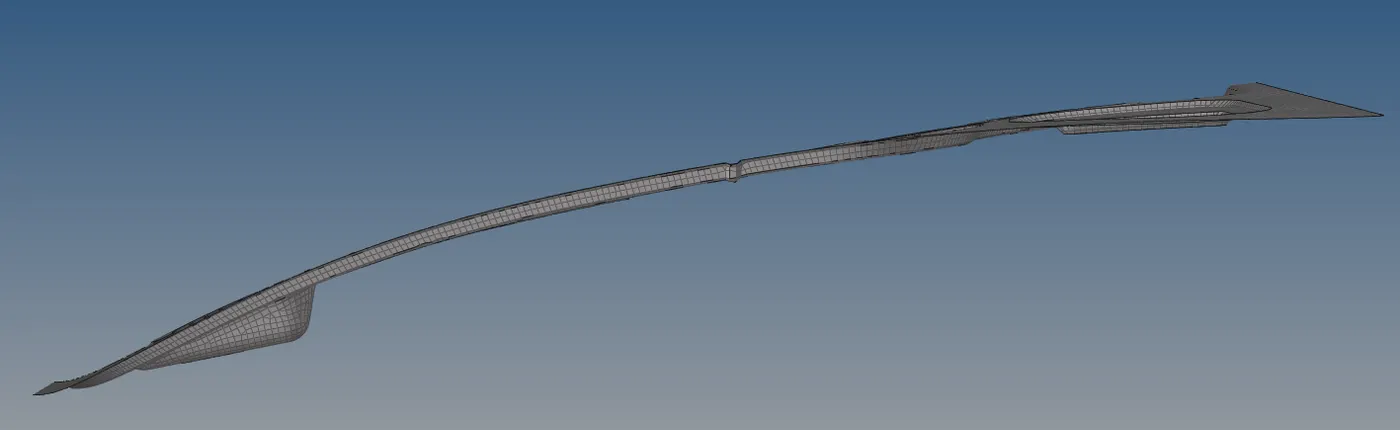
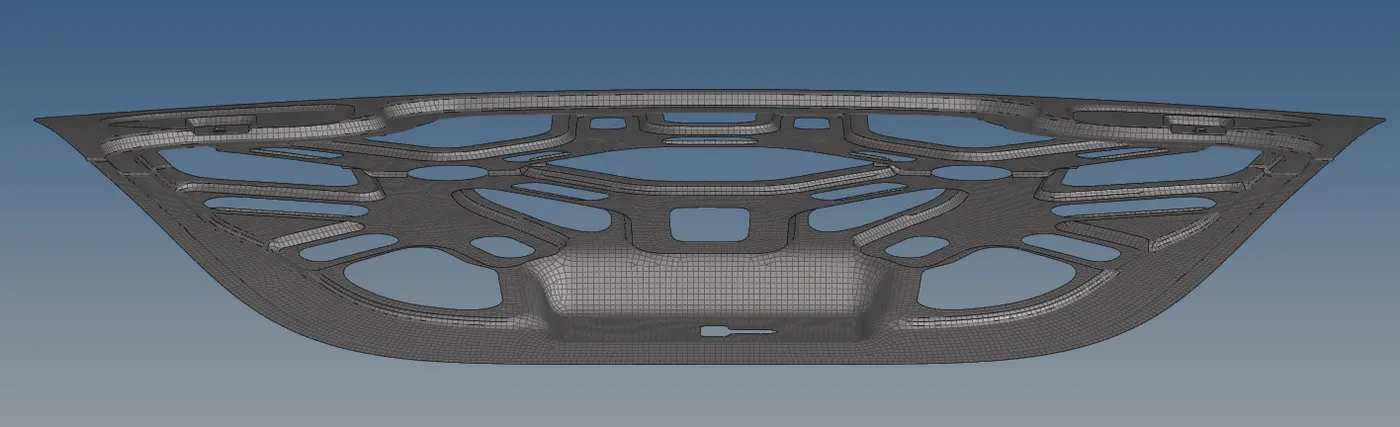
*Kindly check the meshed model file attached to the challenge.