Week 3 Challenge
1. Create a terrain model by different methods –
- From file
- By Graphical Filter
- By elements
Answer to Question 01:
Create a New file using the 3D Imperical Seed file.
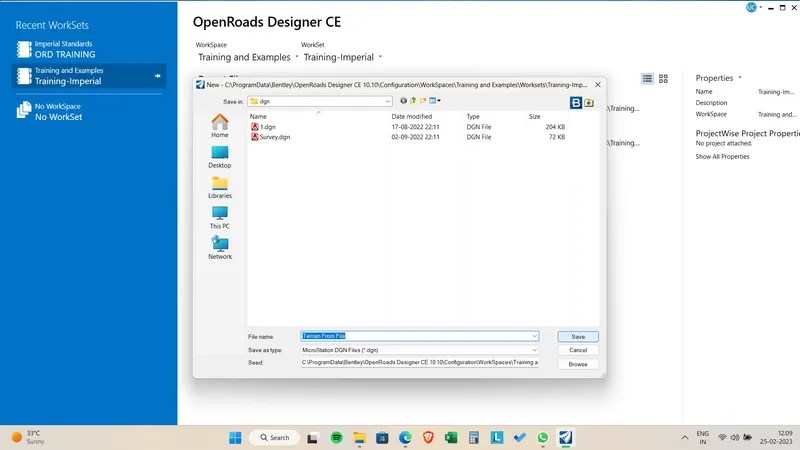
Set the location required and save settings
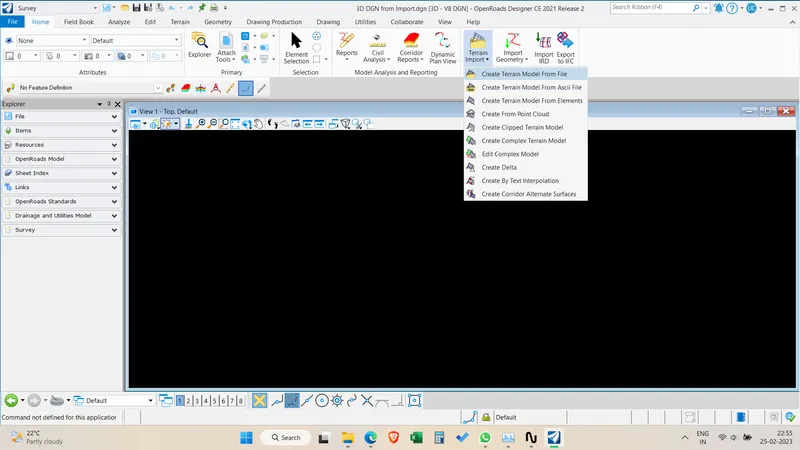
Now click on from File in Survey window.
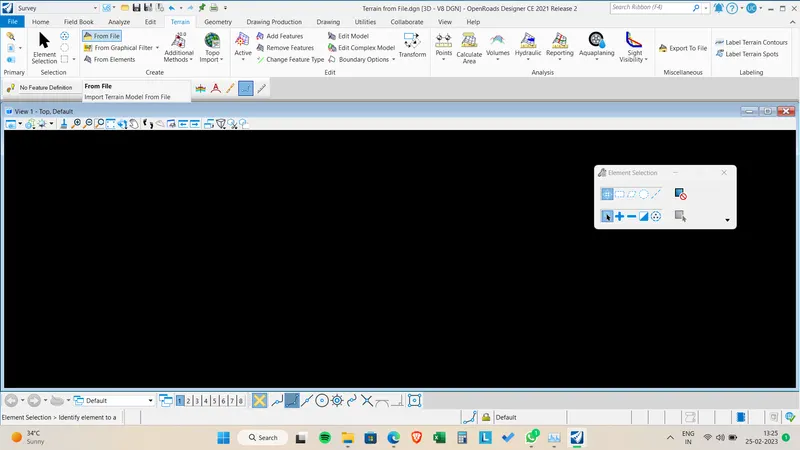
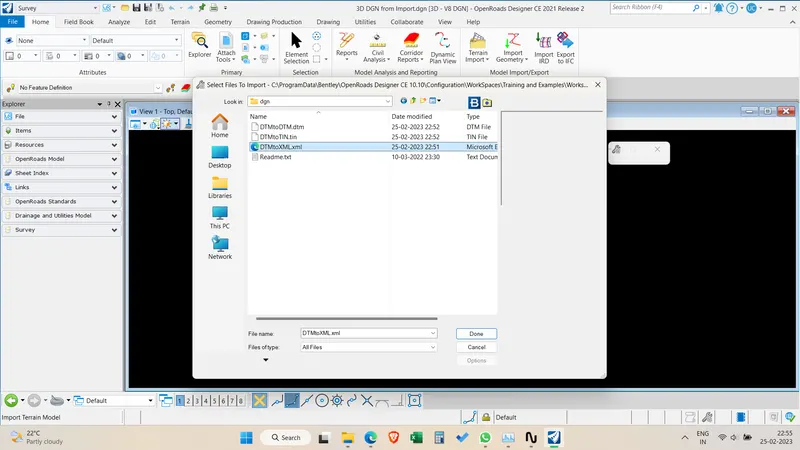
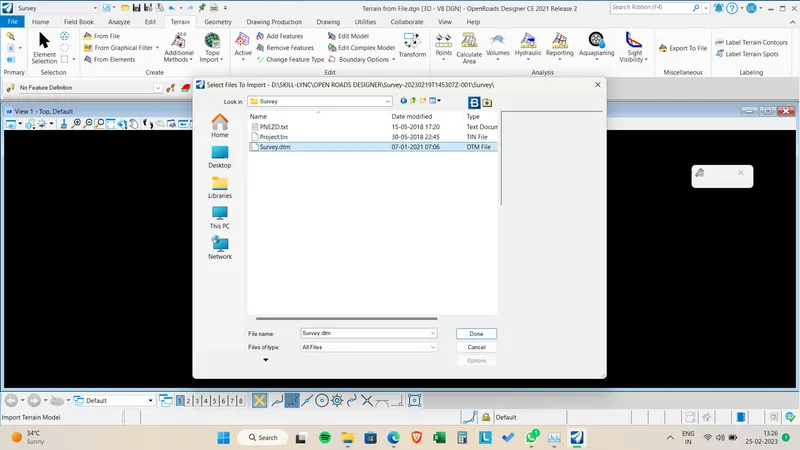
In the file tab poput window browse the survey.dtm file in the data downloaded from dashboard.
Select the file and click done.
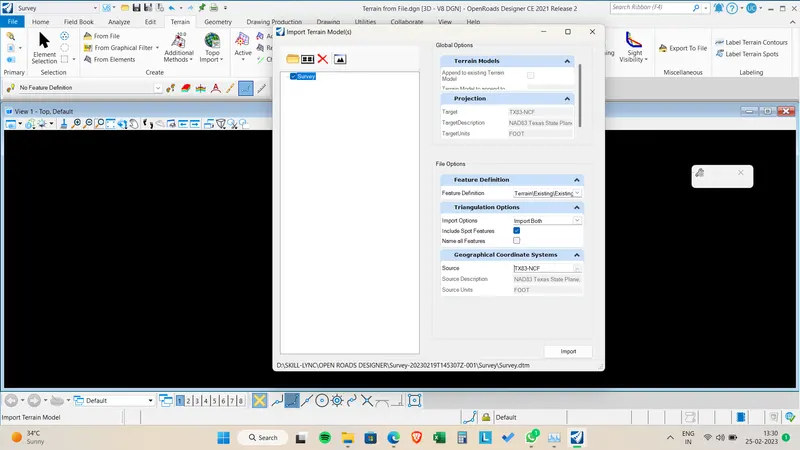
In the terrain import model window
Feature definitions > Select the terrain existing
In traingulation options > Import both( Spot and breaklines)
Select Import.
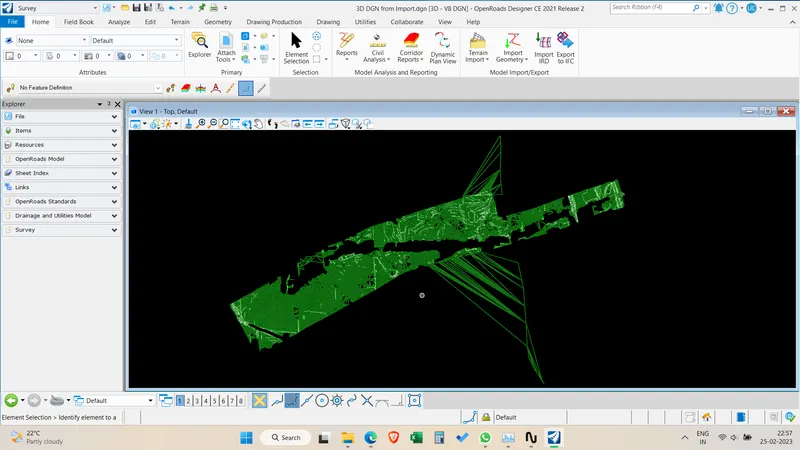
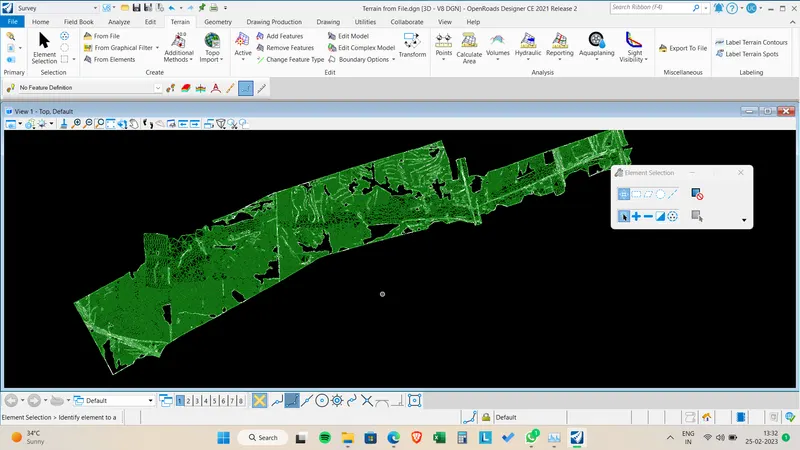
The terrain is created with traingulation. The using the properties tab of terrain you can select which layers to show in the display and which not like traingulation, contours, breaklines, spot levels, text etc.
Save terrain model > Save settings.
Creating Terrain by Graphical filter:
After creating a new dgn using a 3D seed file .
In Reference tab > attach the 3D suvey graphics file in the given data from dashboard folder.
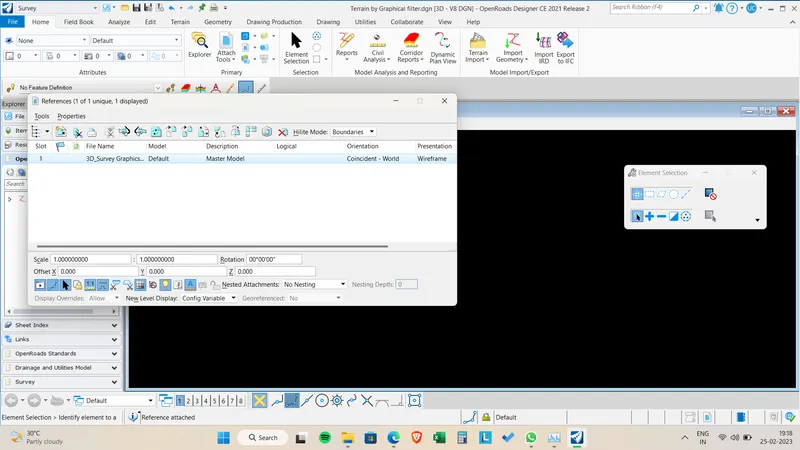
After reference is attached > In the fit view you can see the survey graphics is imported to DGN file.
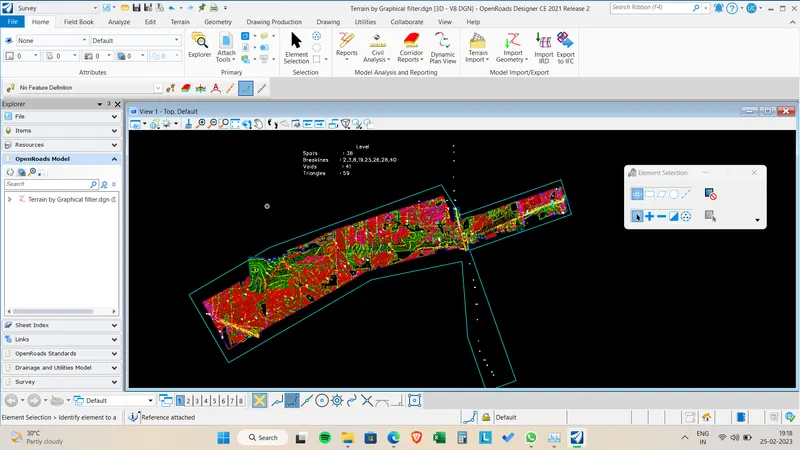
In the create terrain model window give a name to terrain to be created.
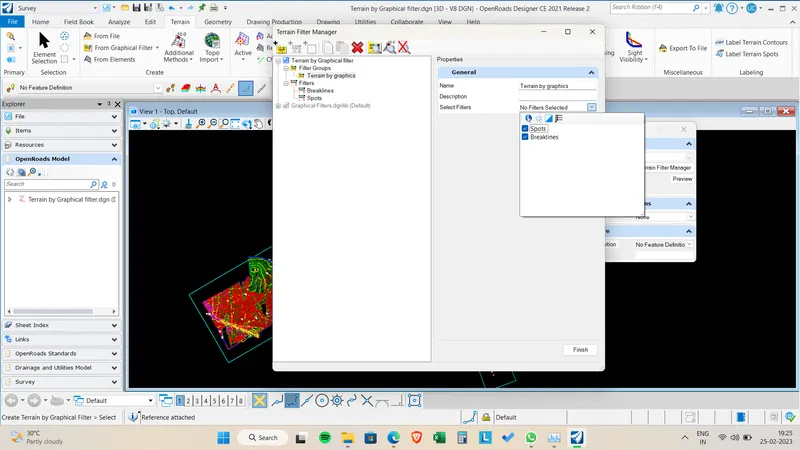
Click the terrain filter manager > Create a new terrain filter group by right clicking on filter group. Name the group.
In the filters > Create a filter named spots and select the level mentioned in the survey file.
In the filters > Create a filter named breaklines and select the levels mentioned in the survey file click add. Levels will be added to breakline filter.
In the filter group select both the filters spots and breaklines created.
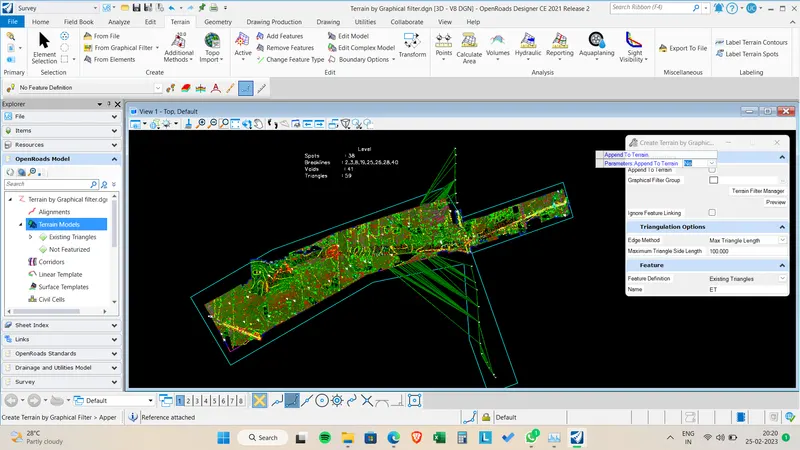
In the traingulation options > Select max traingle length
Maximum traingle length > enter 100 or any length as you wish to create a dense traingle or not.
Featur definitions > Select the existing traingles.
Left click on the space of select terrain and terrain is created and traingulation is done.
Creating Terrain Model by Elements:
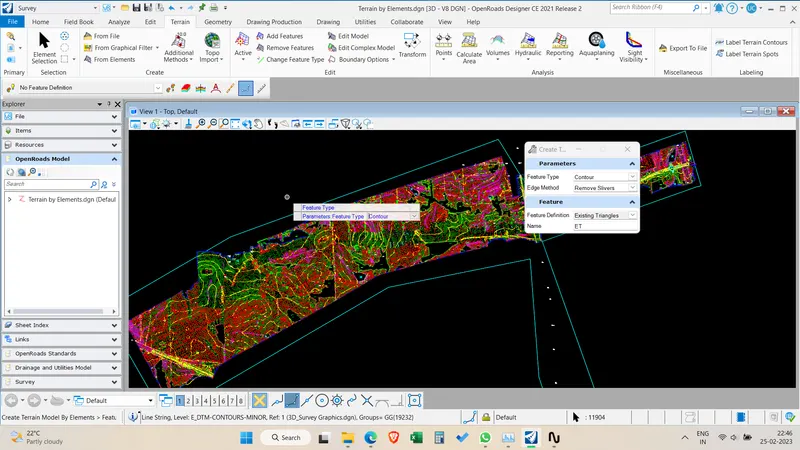
After selecting from elements > Using element selection tool > Select element type . Select the line types and spots > 11096 elements are selected > click on terrain from elements button >
Select the feature type as contours.
Select the edge method as remove slivers.
Feature definitions as Existing traingles.
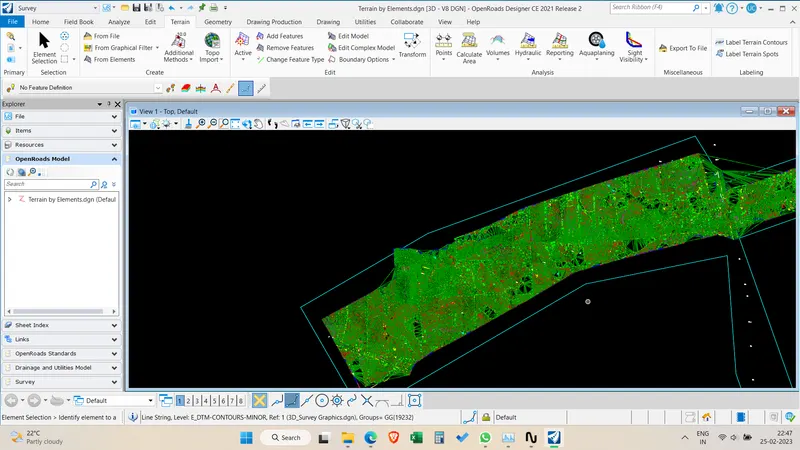
And in the fit view all elements are selected . Left click anywhere in model space > terrain model is created.
2. Select the terrain model which you would be using for your entire design. (point to consider – dense triangulated, covering the area, no bad spots, etc.) with any one of the methods above to clear unwanted triangles, zero elevations points.
Answer to Question 02:
I have Selected the terrain model created by using the graphical filter method to use for the design of road.
3. Export the terrain model to DTM, TIN, Land XML formats and save these in the Terrain folder of the data set.
Answer to Question 03:
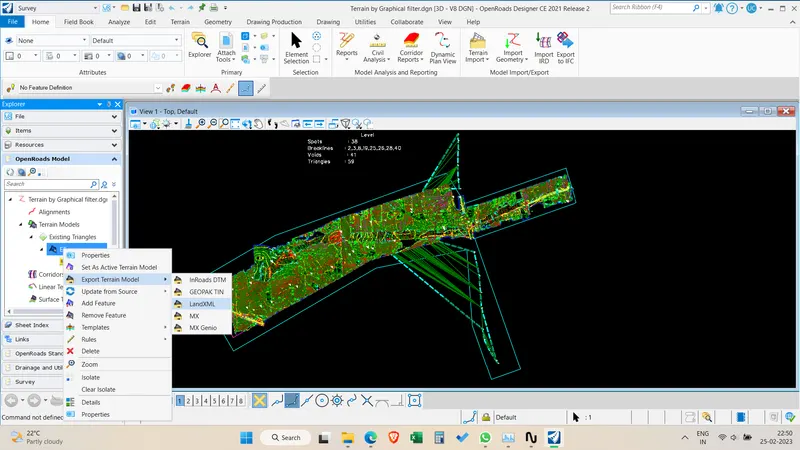
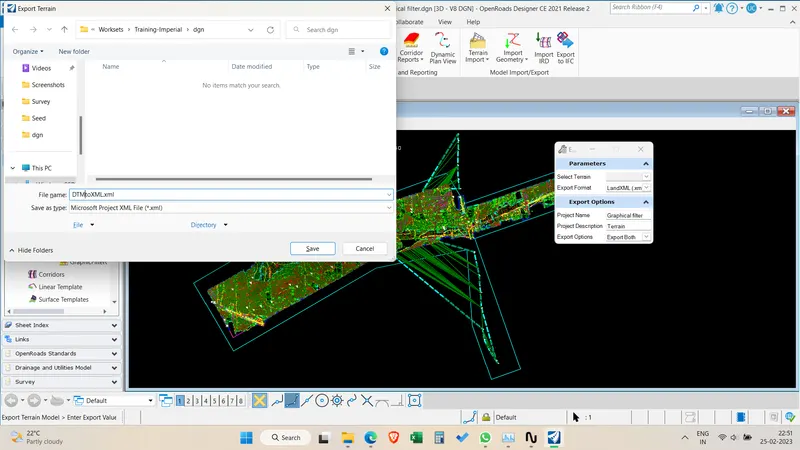
Exporting the Terrain Model into DTM,TIN,Land XML.
By right clicking the terrain model created earlier there is a option to export the terrain model to different types of files such as DTM, TIN, LandXML files as shown in the below attached picture.
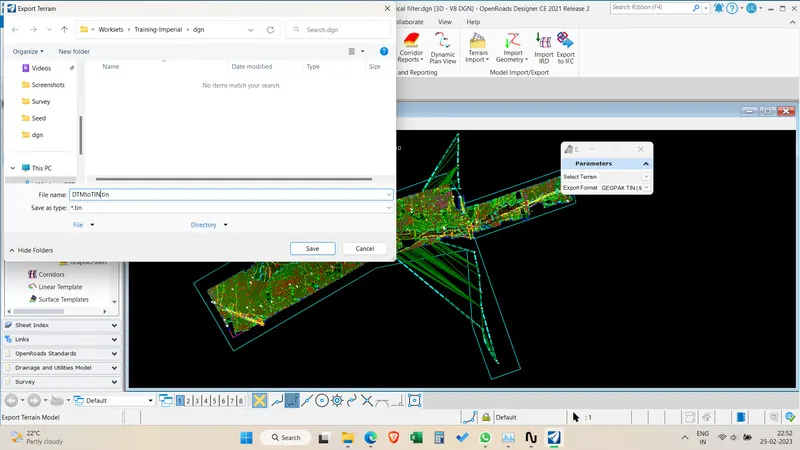
4. Create a new 3D DGN and import the TIN, DTM XML from above.
*(For reference: Surface to Grid factor = 1.00:1.00012)
Answer to Question 04:
Importing the TIN,DTM,XML files in the new 3D DGN file.
1.Create a New file by selecting the 3D Imperial seed file.
2.Select the required geographical location zone.
3.In the home tab Select the terrain Import > Select the Create terrain model from file > Select the Landxml/ DTM/ TIN file created from the export option of the terrain we have created earlier > Save settings.