Week 3 Challenge
1. Create a terrain model by different methods –
- From file
- By ASCII
- By Graphical Filter
- By text interpolation
- By elements
2. Select the terrain model which you would be using for your entire design. (point to consider – dense triangulated, covering the area, no bad spots, etc.) with any one of the methods above to clear unwanted triangles, zero elevations points.
3. Export the terrain model to DTM, TIN, Land XML formats and save these in the Terrain folder of the data set.
4. Create a new 3D DGN and import the TIN, DTM XML from above.
*(For reference: Surface to Grid factor = 1.00:1.00012)
1. Create a terrain model by different methods –
- From file
- By ASCII
- By Graphical Filter
- By text interpolation
- By elements
1.From file:
Procedure:
- Go in the openroad,click on new
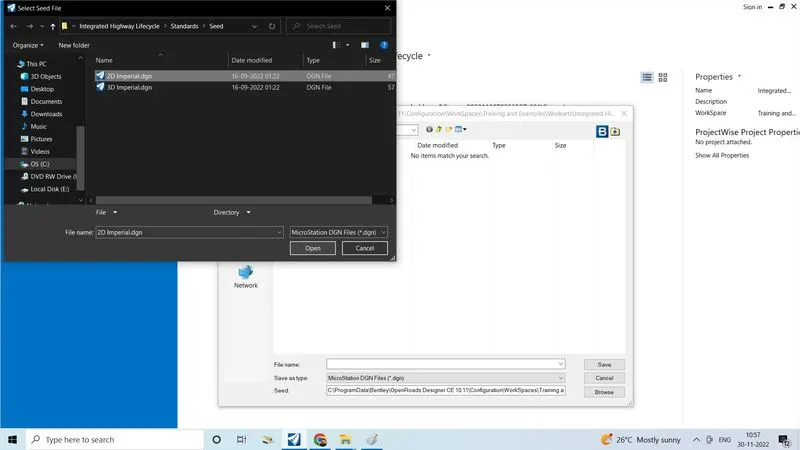
- Open New 2D seedfile
- Click on open,give the name as terrain from Fil@
- Click on save,store in proper folder (openroad/completed assignment)
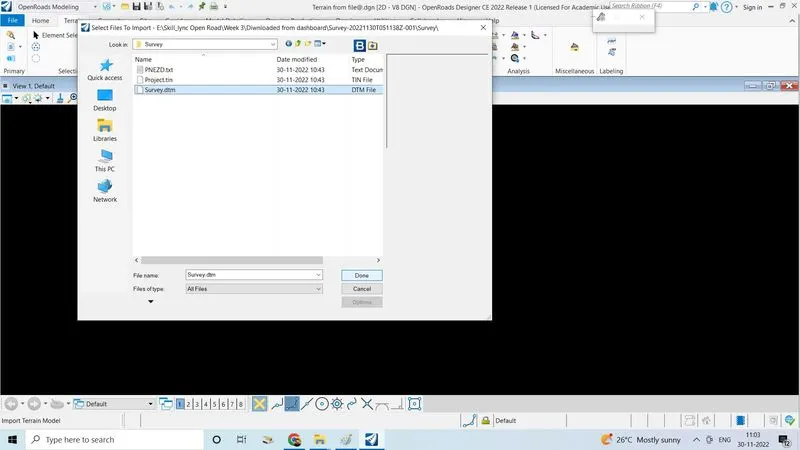
- Select openroads modeling,in terrain tab,click on from file
- Select survey.dtm to import which is provided by the company
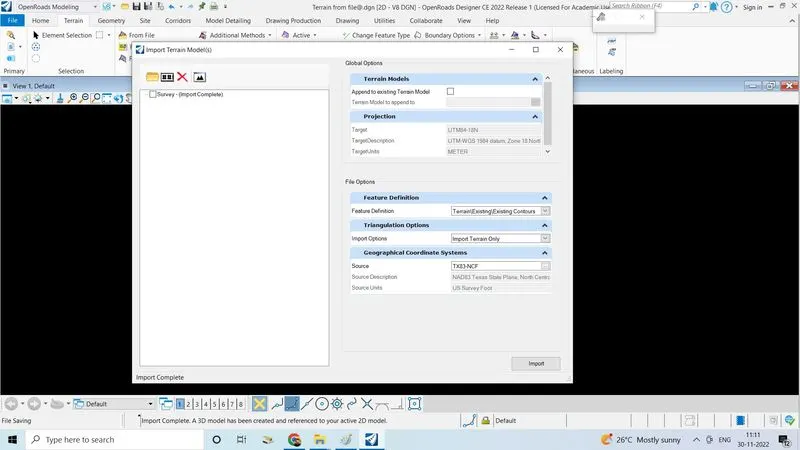
- Select feature definition is existing countours, and select import terrain only
- Set GCS as TX83-NCF and click on import
- Close the import popup
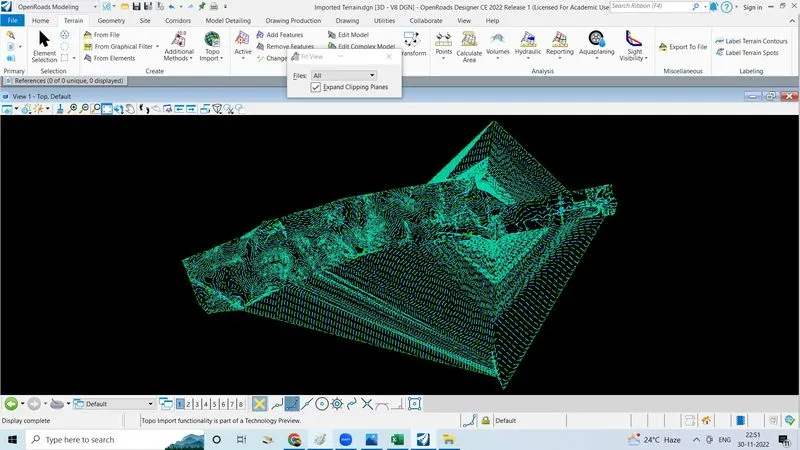
- Click on fit view to view the import data
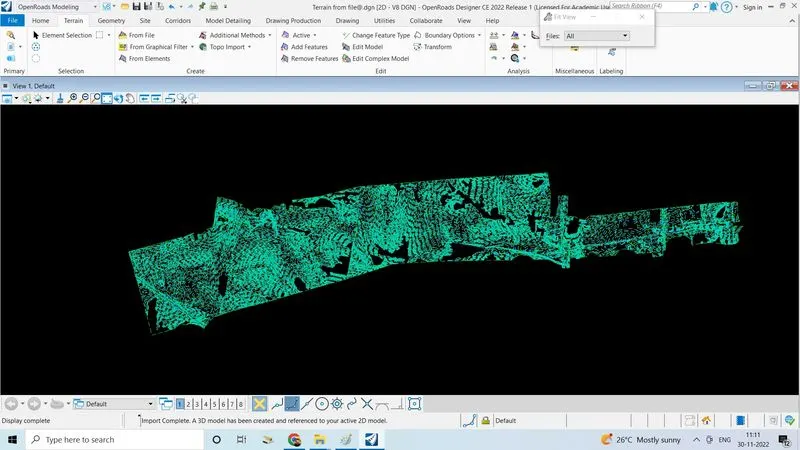
2.By ASCII:
Procedure:
- Open new 3D seed file
- Set name as terrain by ASCII
- Go to Terrain tab Click on additional methods
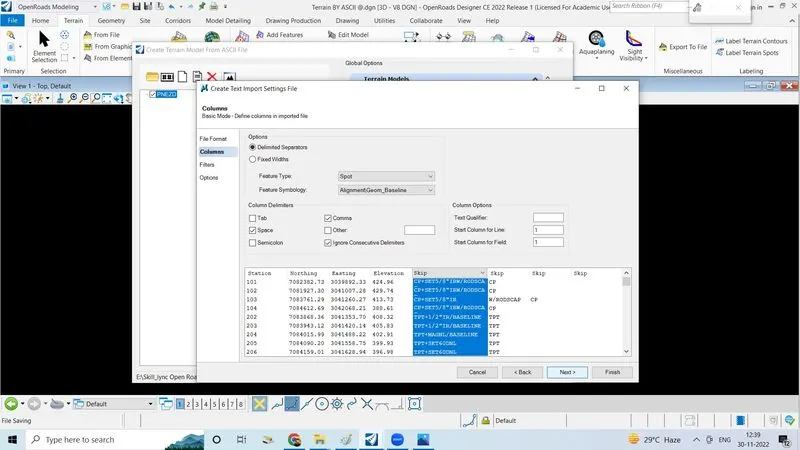
- Click on create terrain model from ASCII file
- Select PNEZD.text document click on done
- In triangulation wizard,set all with a respective condition
- Click on blank plan sheet setting fill will open
- Select point reading from'3' and decimal comma(,)
- Click next
- In columns, select feature type"spot" and feature symbology is alignment \geom base line
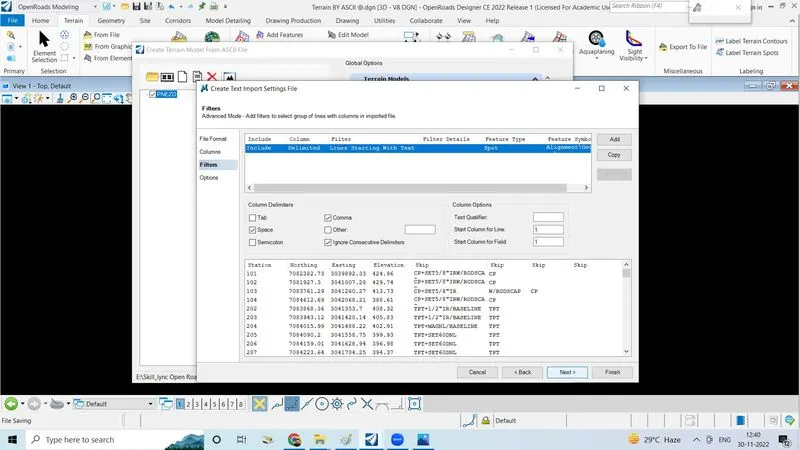
- Set the column delimities like how we want set the points in PNEZD formate
- Click next
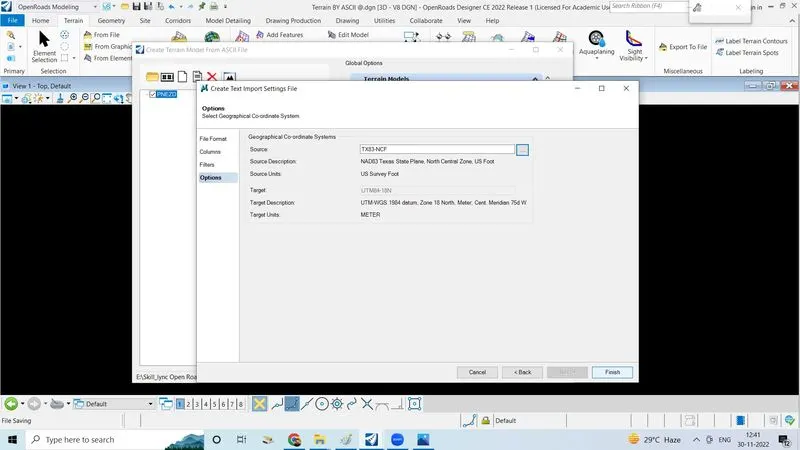
- Set the source(GCS) TX83-NCF and click on finish
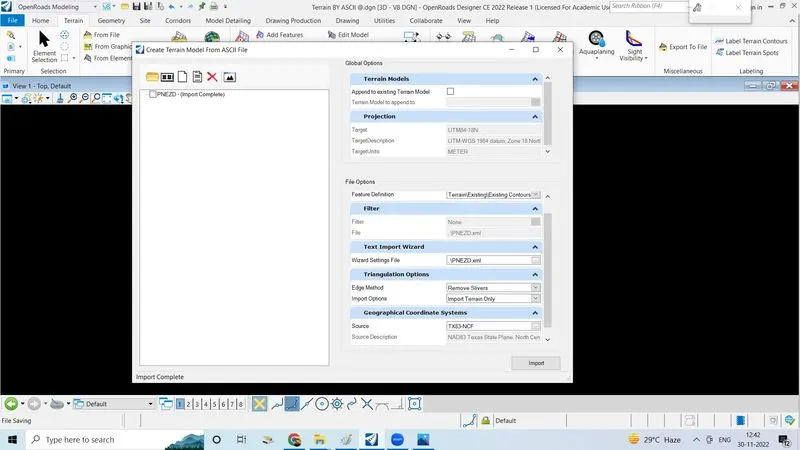
- Click on import click on fit view to view
- By ASCII terrain is completed
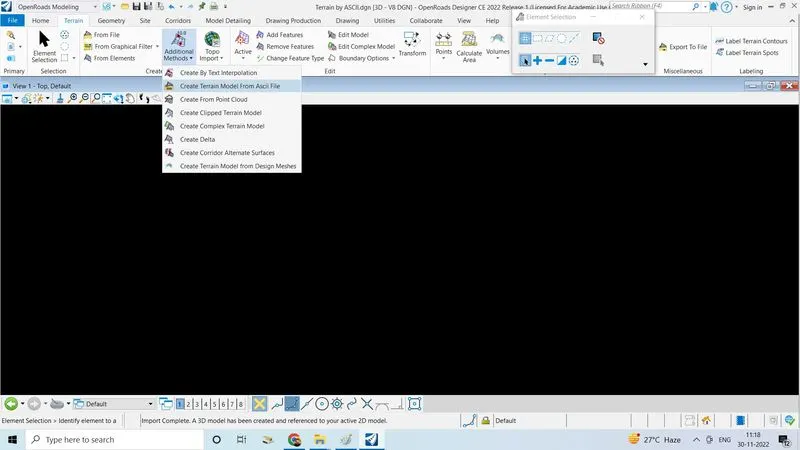
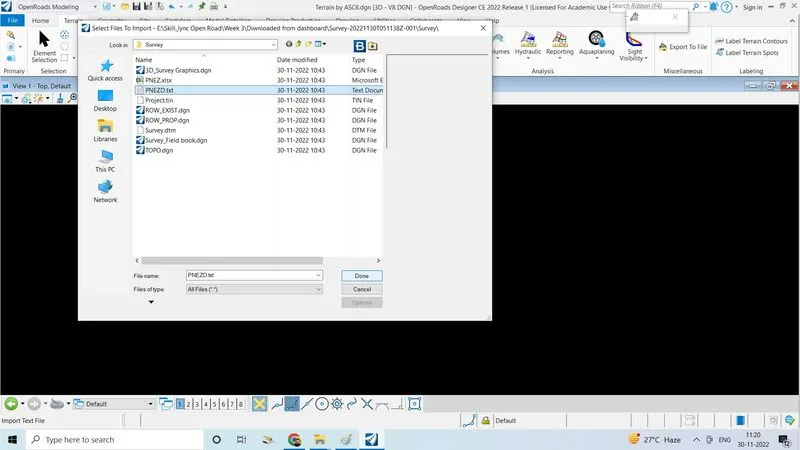
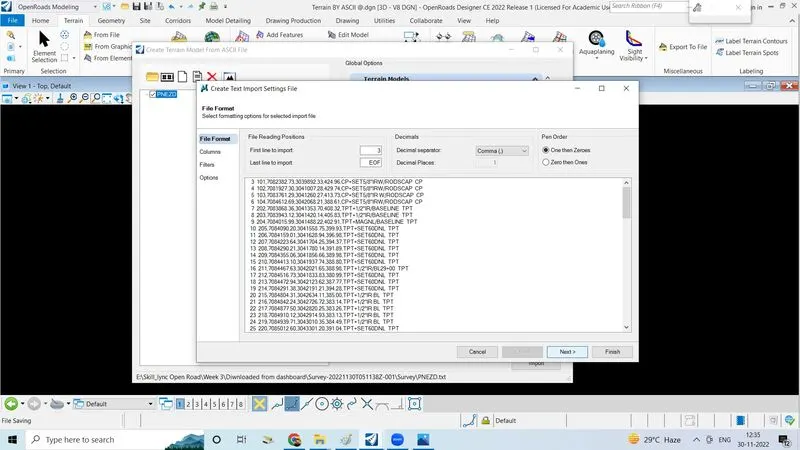
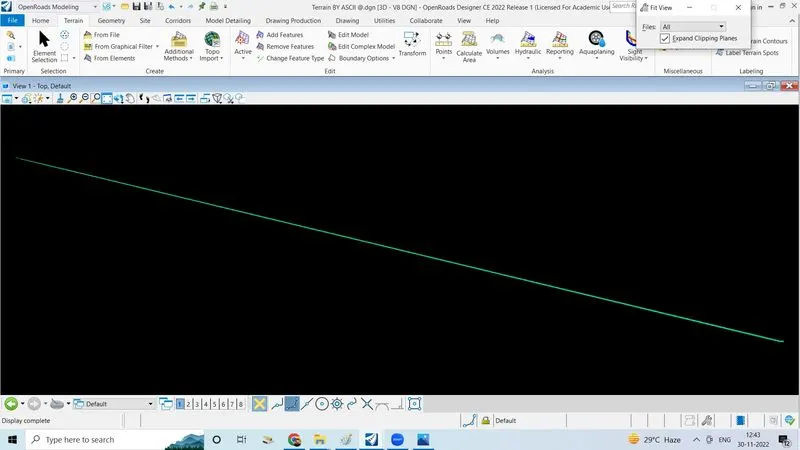
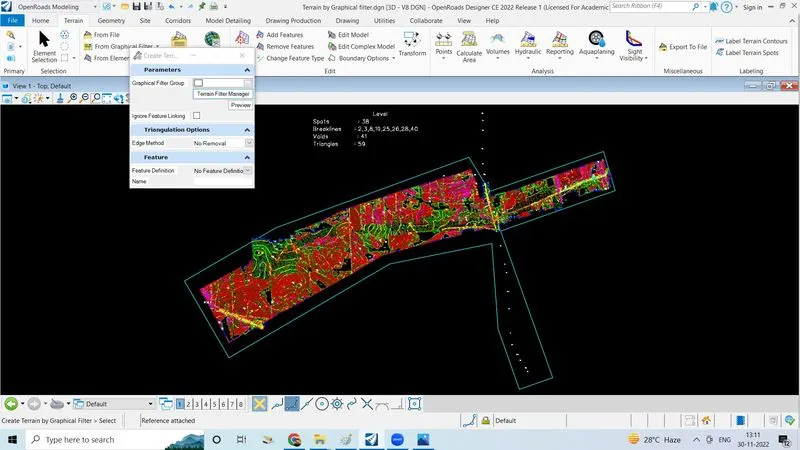
3.By graphical method:
Procedure:
- Create new3D seed file by naming "terrain by graphical filter"
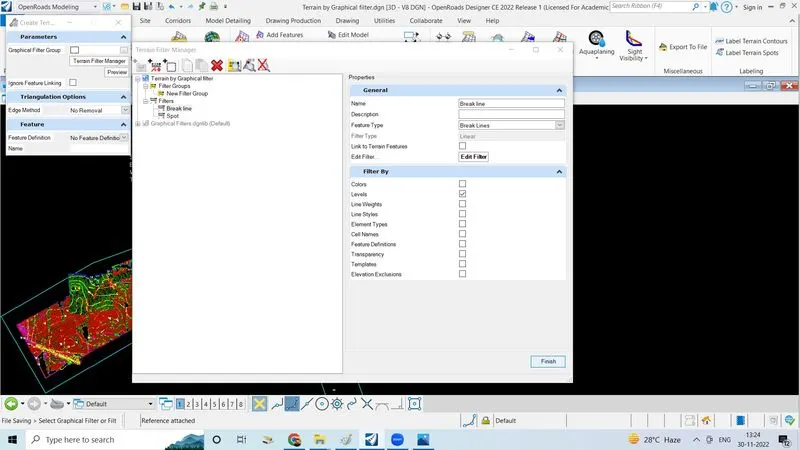
- Click on terrain filter manager
- Create new filter group and filters
- Give name for filter is spot and breaklines
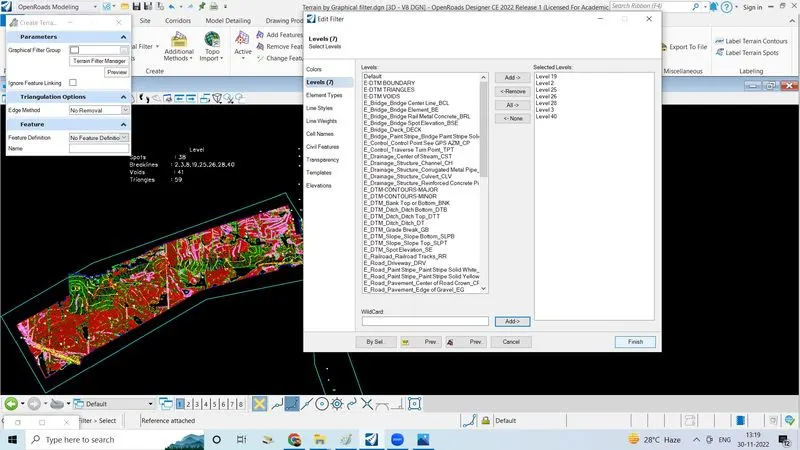
- First set for spot,click on the edit filter
- Add the levels as fallows which is given by the company
- Click finish
- Next do same procedure for breakline
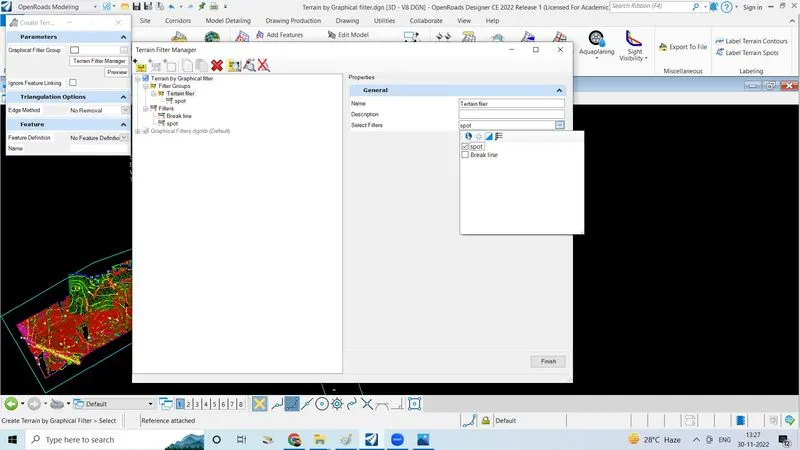
- Add spotfilter to the terrain filter group
- click on finish
- Go graphical filter select edge method as remove silver, feature definition,existing triangles
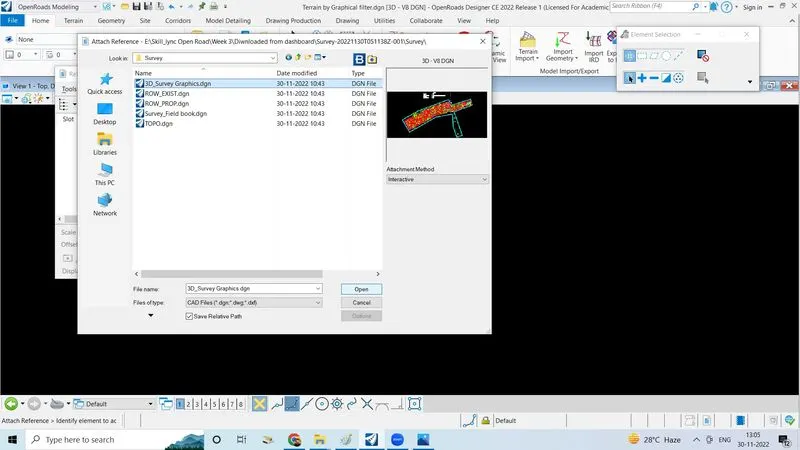
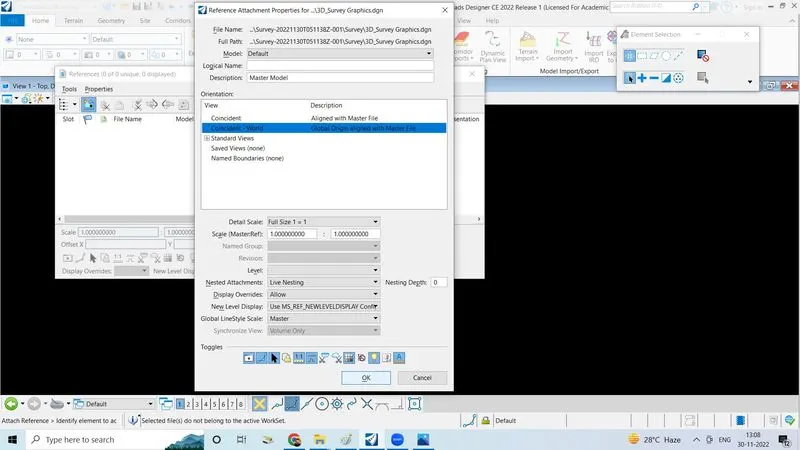
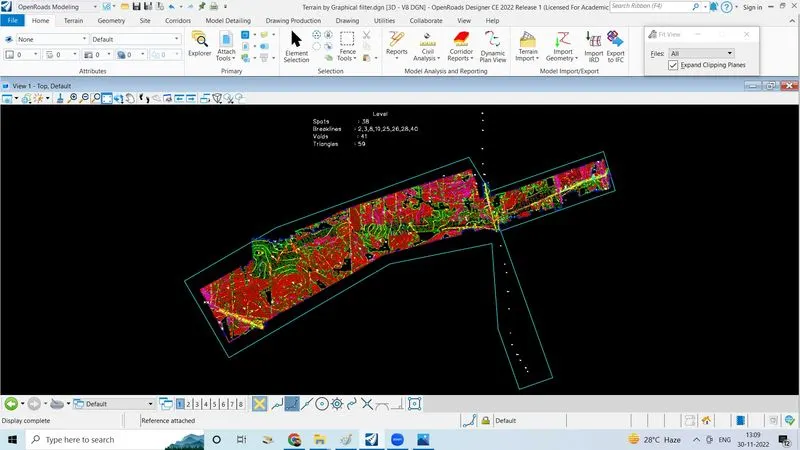
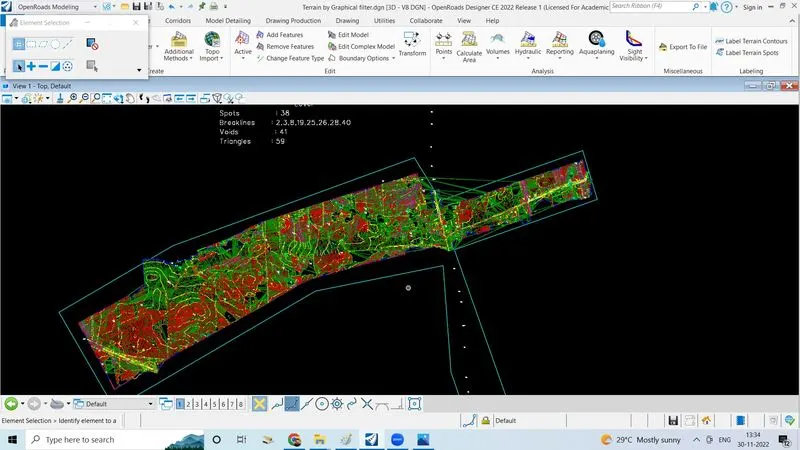
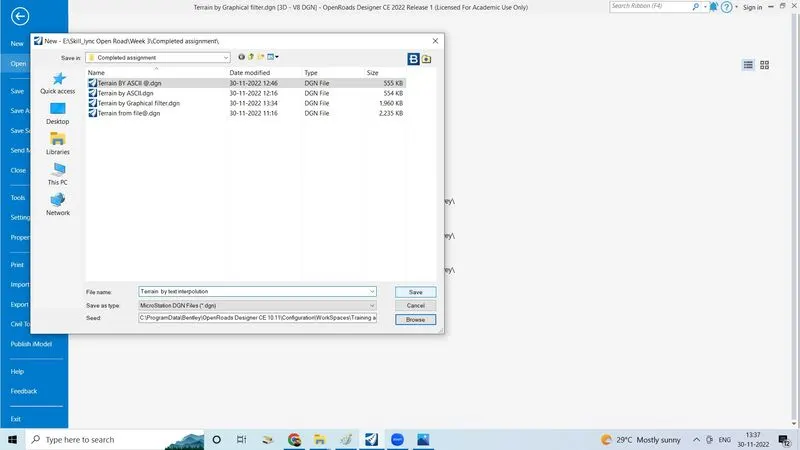
4.By text interpolution:
Procedure:
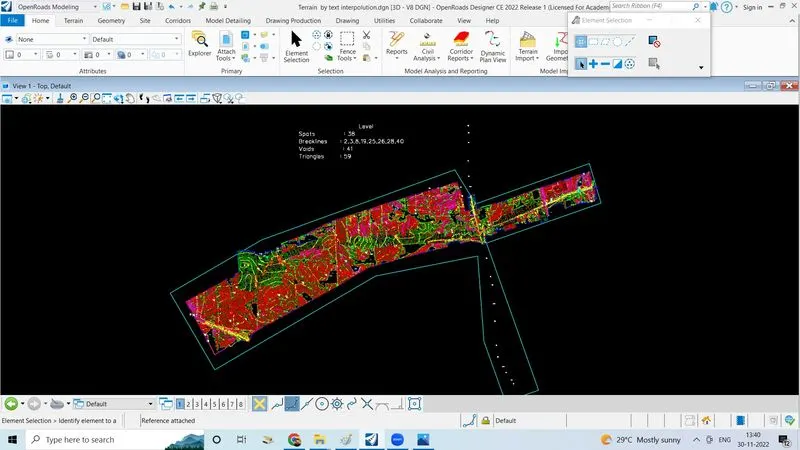
- Create new 3D seed file and set the name terrain by text interpolution, click save to open file
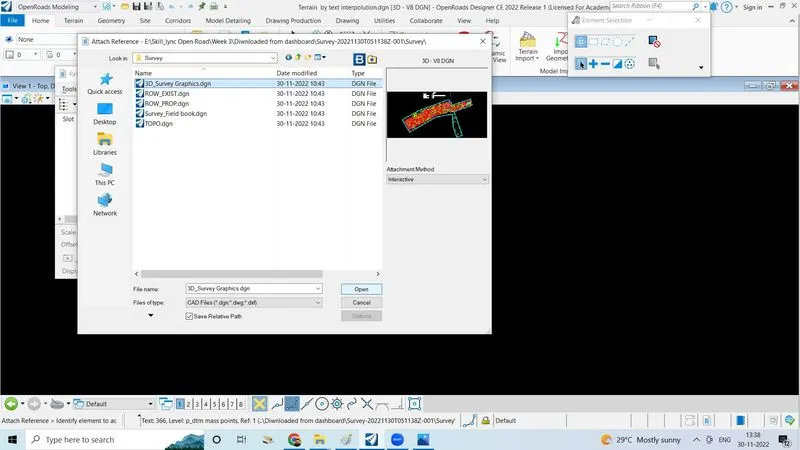
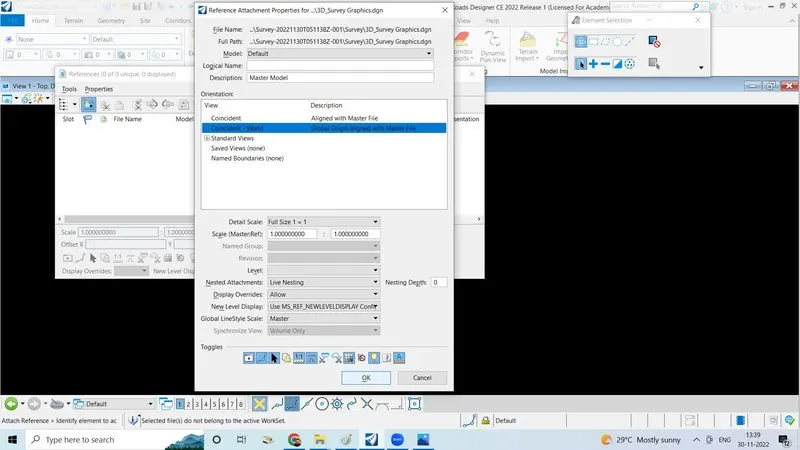
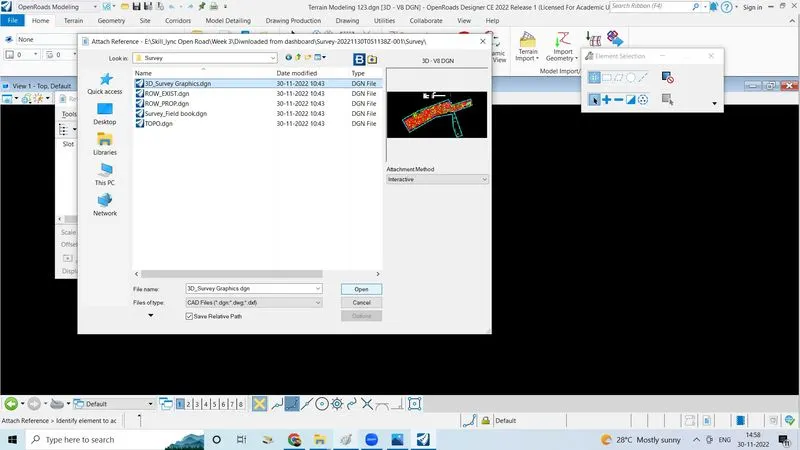
- Go to home tabe, click on reference select the 3D survey graphics with interactive attachment click open,click on fit view
- Go to terrain tab click on additional method in that click create by text interpolution
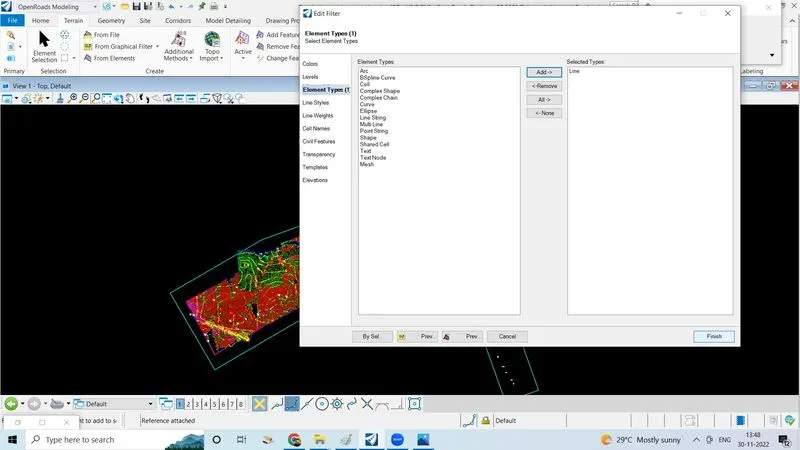
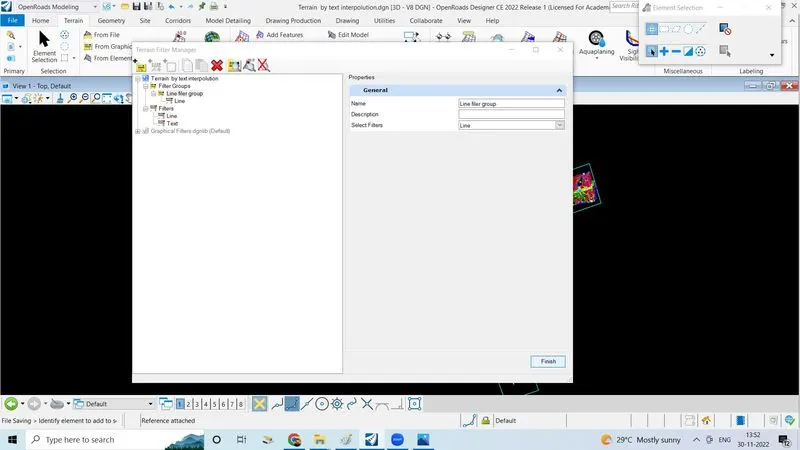
- Click on terrain filter manager
- Create text filter using element type as text feature type as contour
- Create line filter using elements type line string feature type as contour
- Create new filter group as line filter only
5.By element:
Procedure:
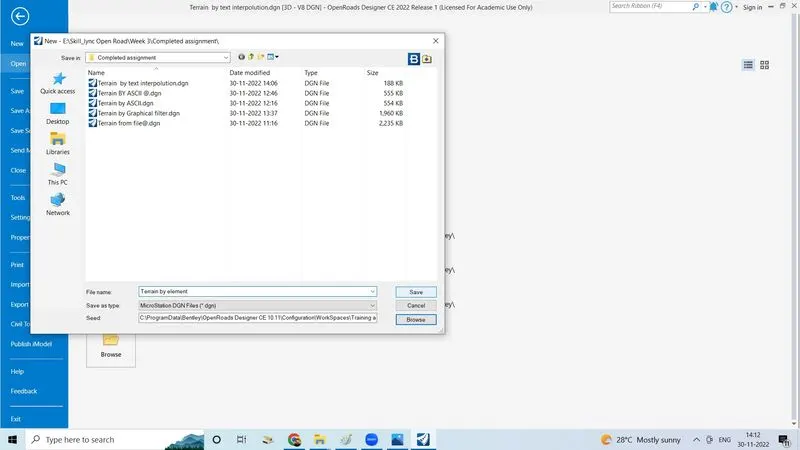
- Open a new file with 3D seedfile,give a name by element,click on save
- Go to home tab click on attach tools and click on referances
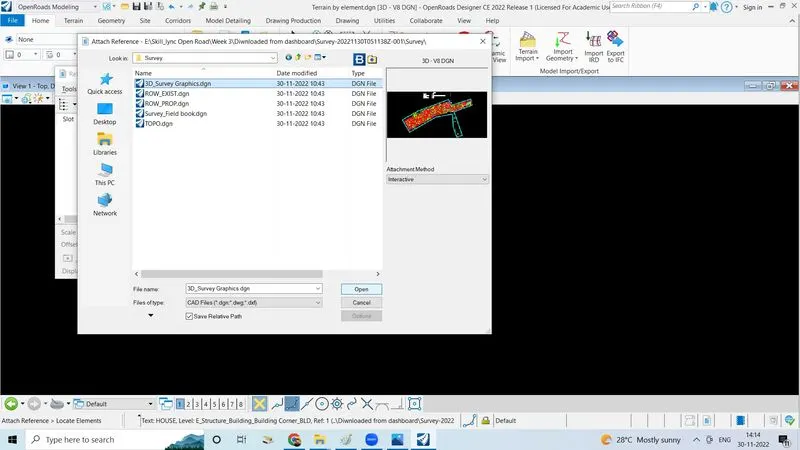
- Select 3D survey graphics with interactive attachment method
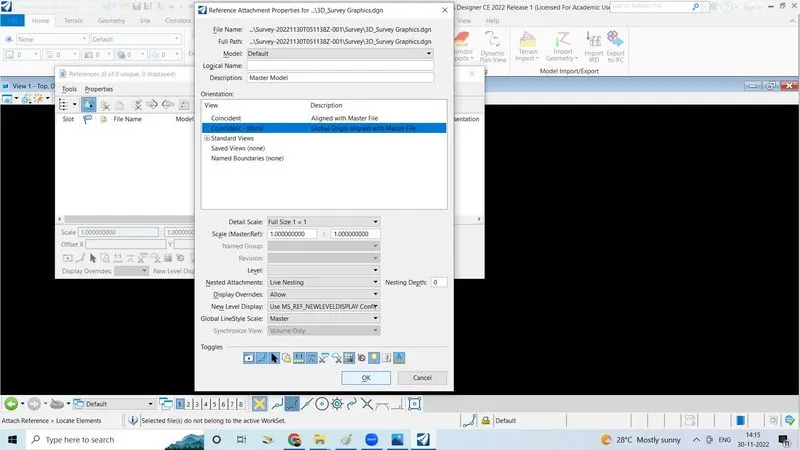
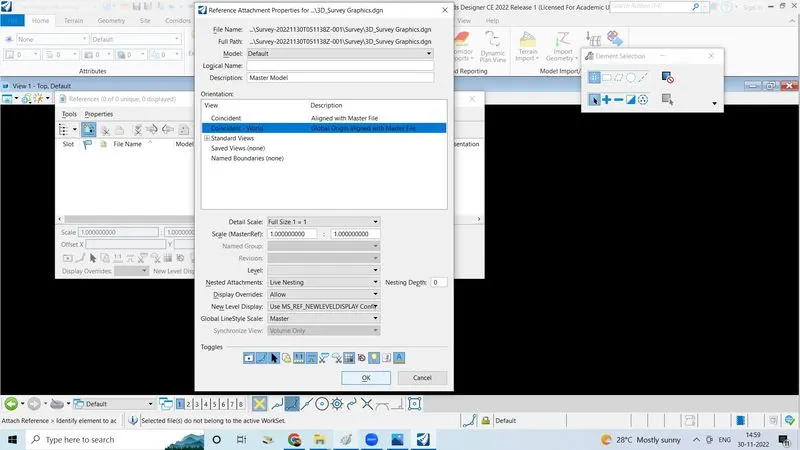
- Click open and set the details as fallows
- Click on fit view to view the file
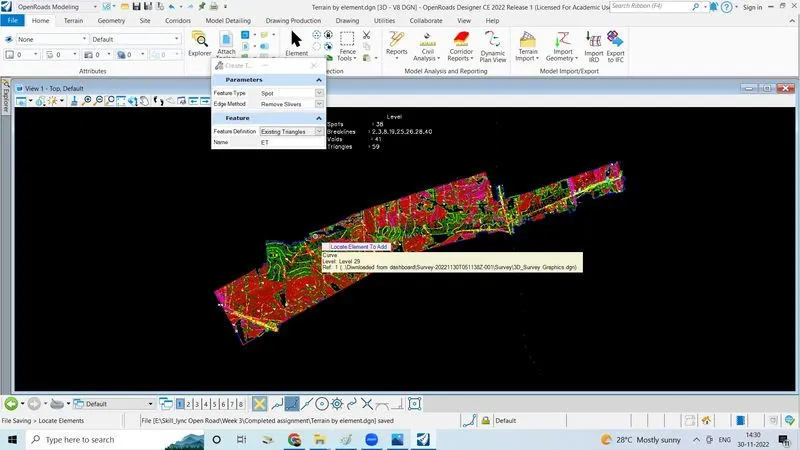
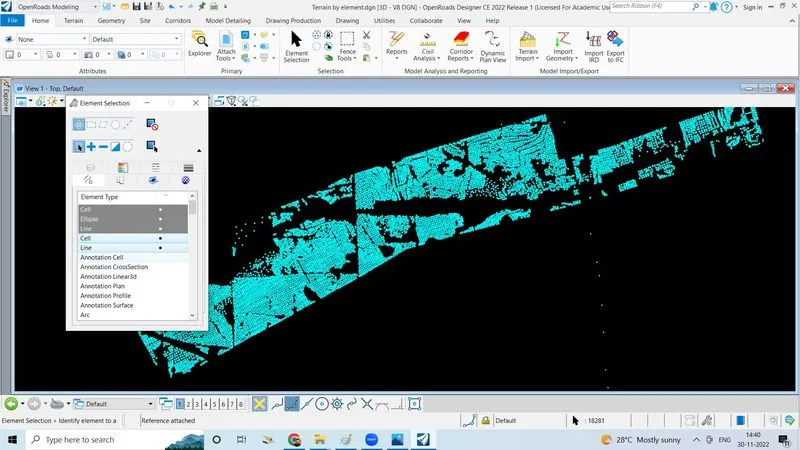
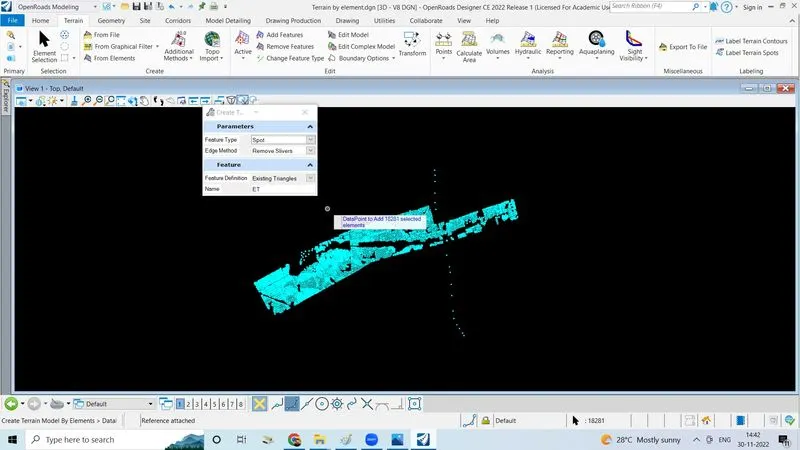
- Go to terrain tab click on from element
- Set feature type as spot
- Set edge method as remove silvers
- Feature defintion as existing triangles
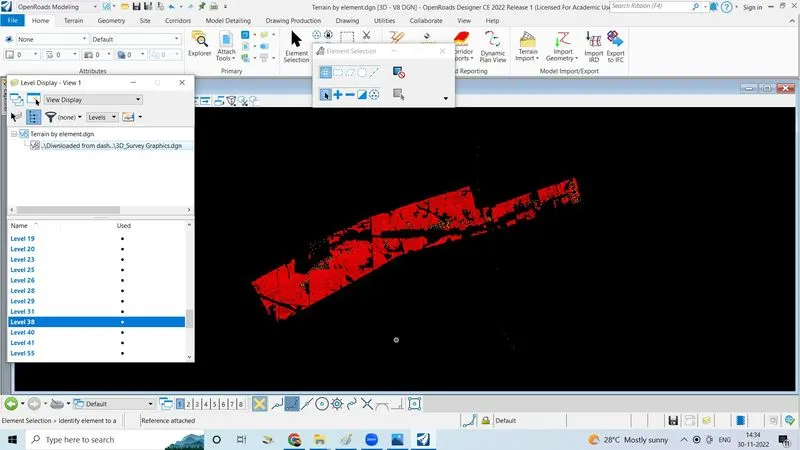
- Go to home tab and click on level display
- Click on the reference file
- Do right click and click on all off
- Select layer 38 which is spots
- Go to element selection by layer and click on line to select all spots
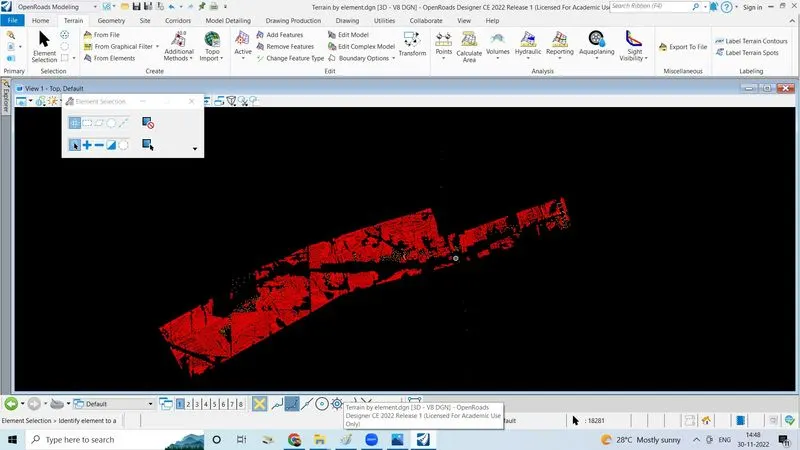
- We can see 18281 spots got selected
- Right click to reset
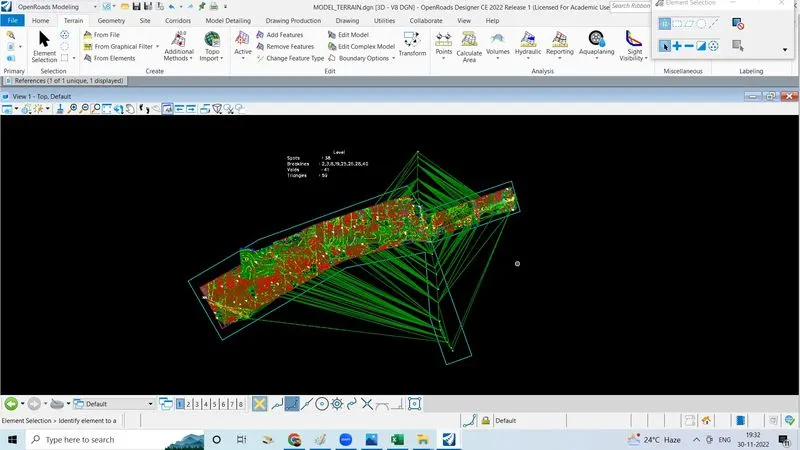
- The resulting traingles are as follows
2. Select the terrain model which you would be using for your entire design. (point to consider – dense triangulated, covering the area, no bad spots, etc.) with any one of the methods above to clear unwanted triangles, zero elevations points.
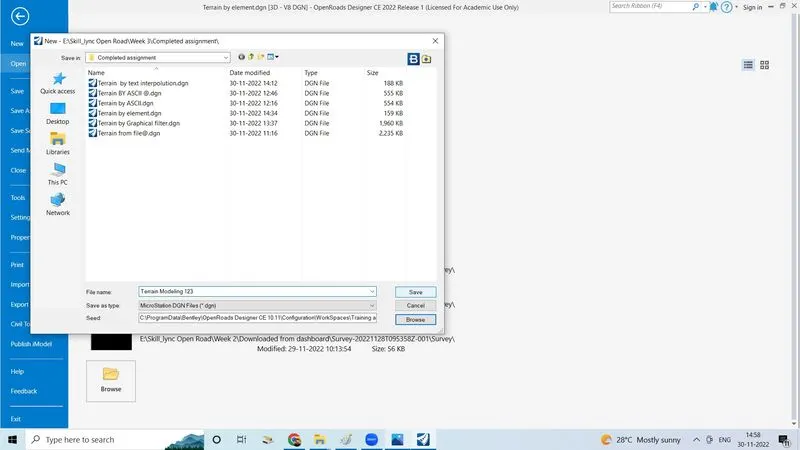
- Open a new 3D seed file,give a name a"terrain modeling 123" click on save
- Go to home tab click on attachment tool,click on reference select the 3D survey graphics with a interactive attachment,click on open
- Set overrides as yes
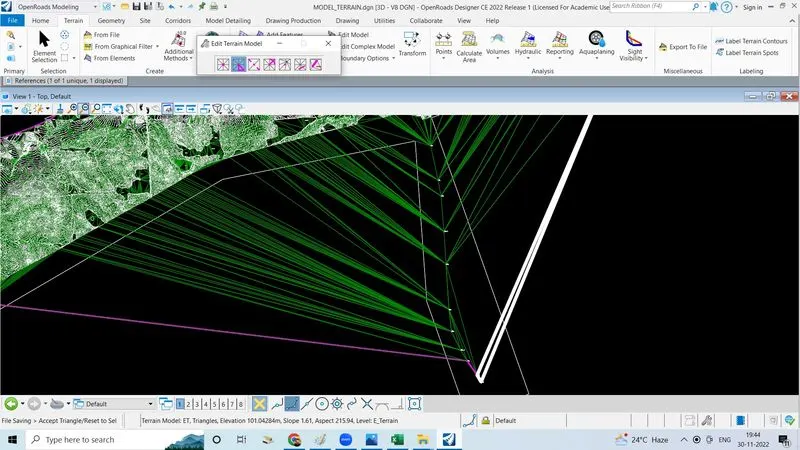
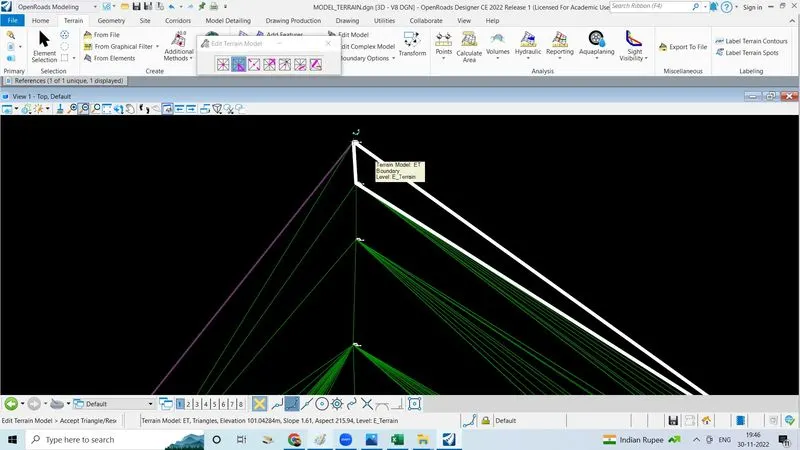
- Now go to terrain tab, there are so many edit terrain are there
- Click on edit model
- Delete vertex is to delete edge triangles
- like wise remove unwanted triangles
- As result as fallows
3. Export the terrain model to DTM, TIN, Land XML formats and save these in the Terrain folder of the data set.
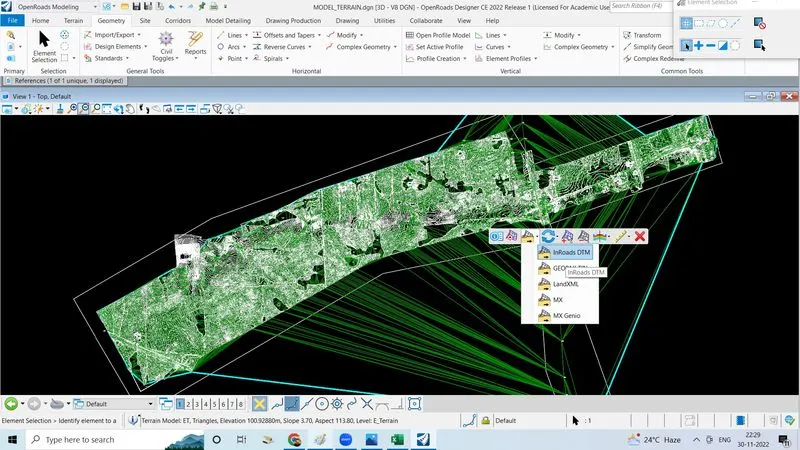
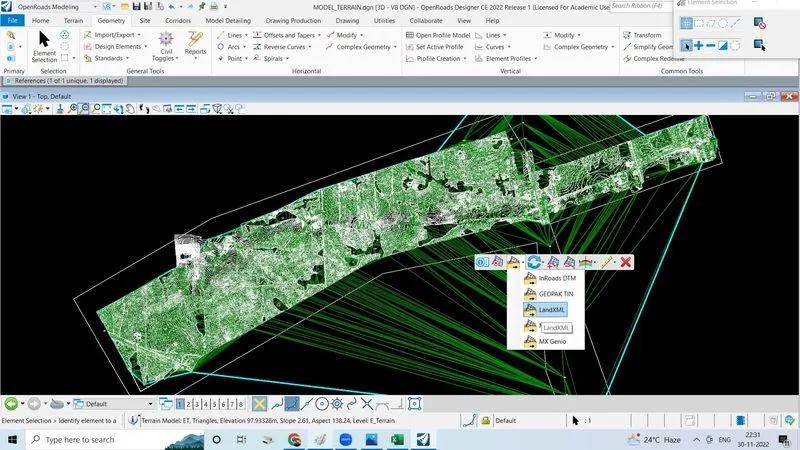
- We have to export terrain model to DTM,TIN,Land XML from so
- Open the MODEL TERRAIN.dgn file in open road
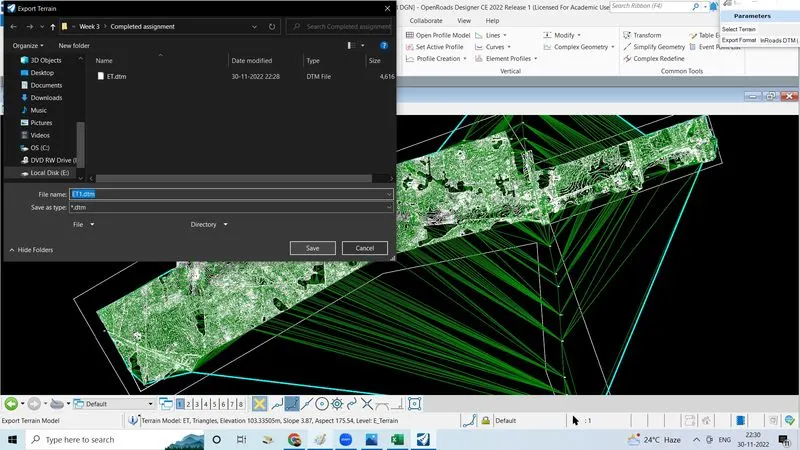
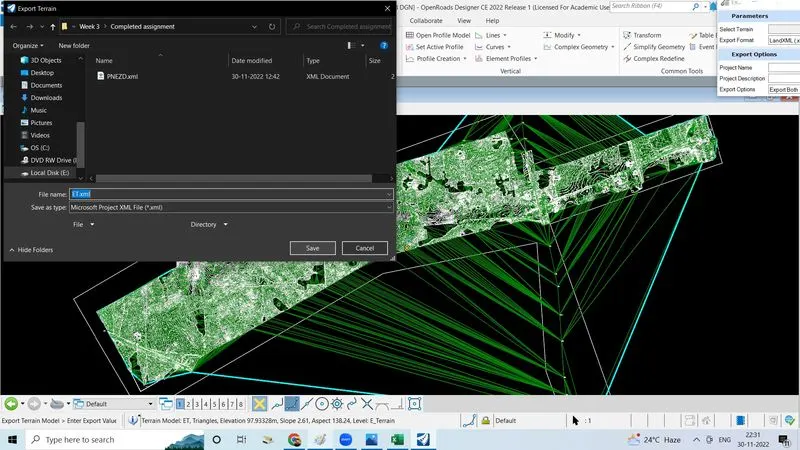
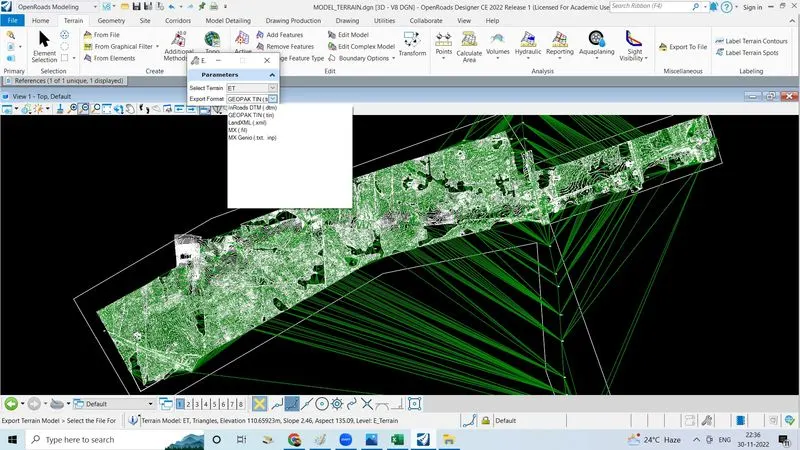
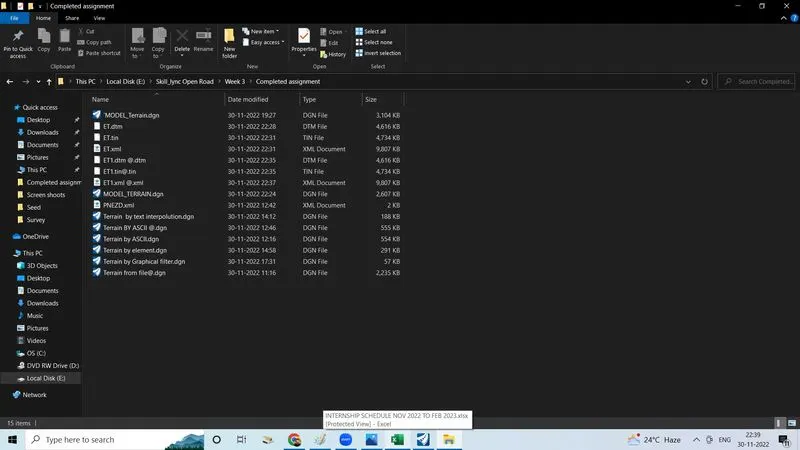
- Double click on the terrain model one option tool will open in that click on export to inroad DTM and store in the proper folder (openroad/week3/completed assignment)
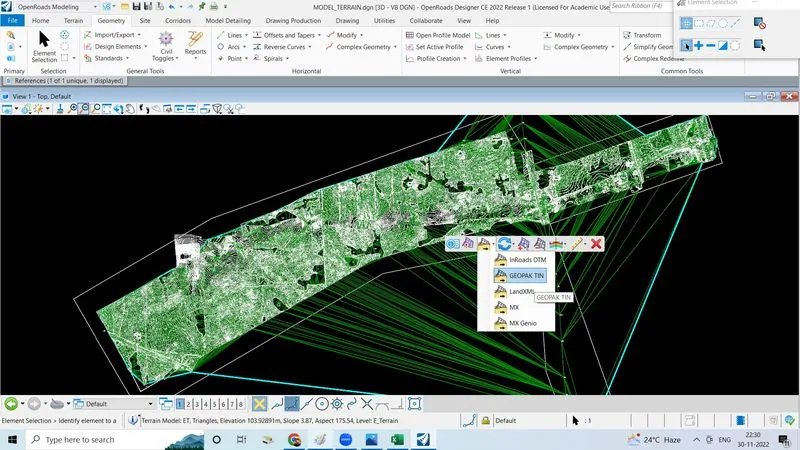
- Double click on the terrain model option tool will open,click on TIN to export and store in proper folder
- Double click on the terrain model option tool will open,click on land XML to export and store in proper folder
- In parameter,select terrain as ET and export as DTM,TIN,as well as land XML,double click on the screen terrain model saving location will open and save it
4. Create a new 3D DGN and import the TIN, DTM XML from above.
*(For reference: Surface to Grid factor = 1.00:1.00012)
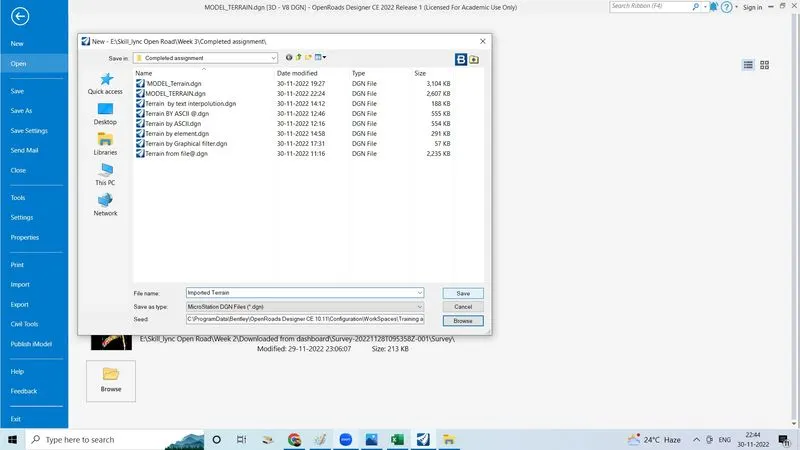
- To import DTM,Land XML,TIN from above we have to create a new DGN
- Create a new 3D seed file DGN, click on save to view the file
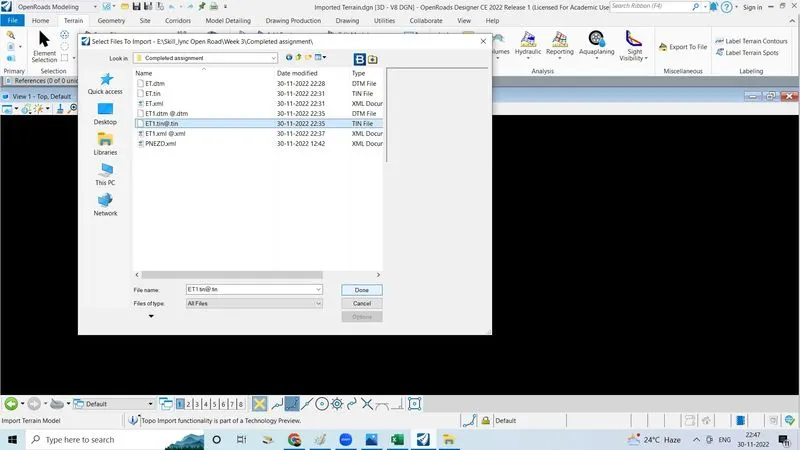
- Go to terrain tab,click on import from file,select the ET1,Tin@ click on done
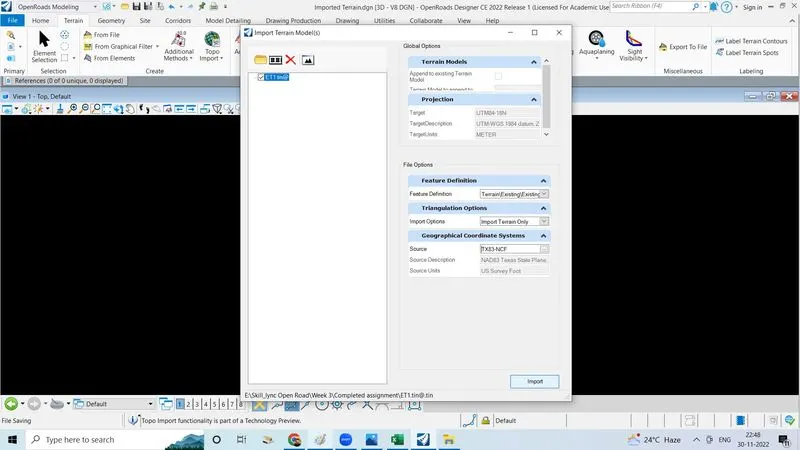
- Set all the formate as given as fallows
- Click on import,click on fit view to view
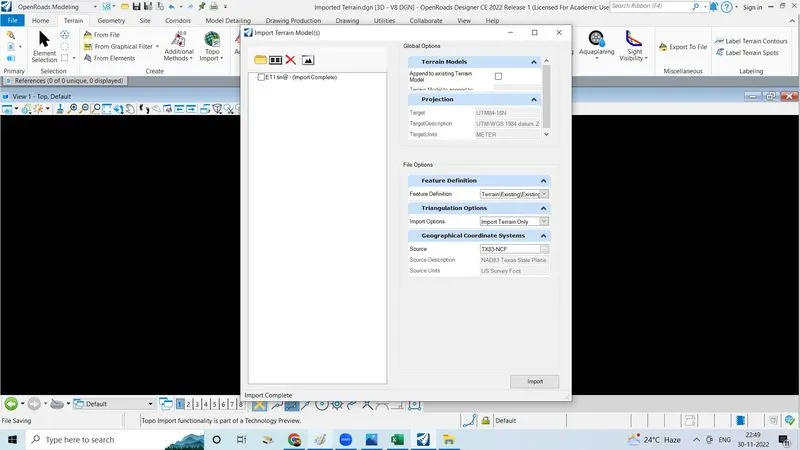
- Then Tin is imported
- Do the same procedure for DTM,TIN,Land XML also
- Now all the three files are imported