HOOD MODEL
AIM:
To check the given component for geometrical errors, mesh with the given element Quality criteria, extract the mid surface and assign the thickness to the component.
PROCEDURE:
- open the cad model given to us.
- click shadow mode on.
- enter entity mode.
- cilck orient-->visible from faces option under modules buttons.
- switch on cross hatches.
- enter pid mode.
- set the inner,outer and reinforcement as the PID's shown below.
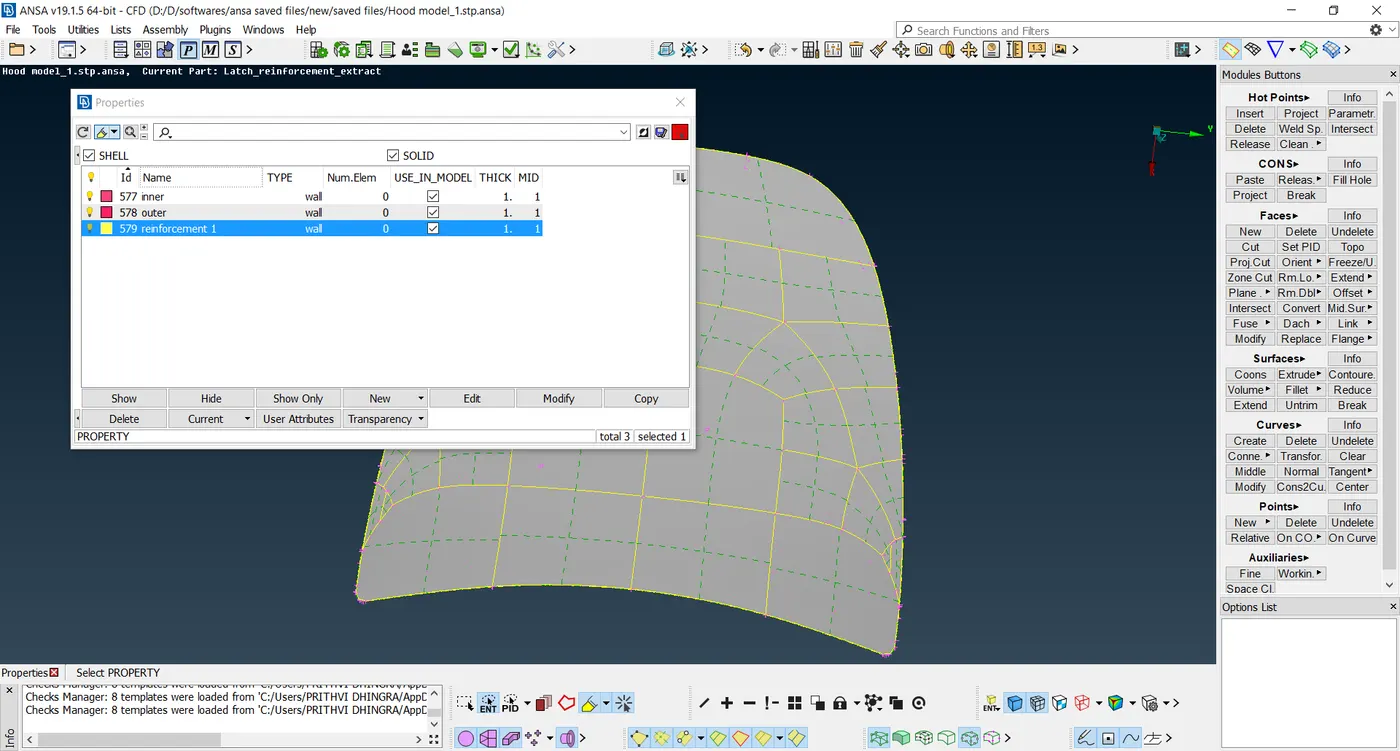
- Alternatively, set PID's as inner, outer, hinges and latches.
- now, before we move on to mid surface extraction and meshing we need to fix the topological errors in the geometry.
- GEOMETRICAL ERRORS:
- do a geometry check on the given model using the checks manager.
- alot of needle faces and 44 unchecked faces were found.
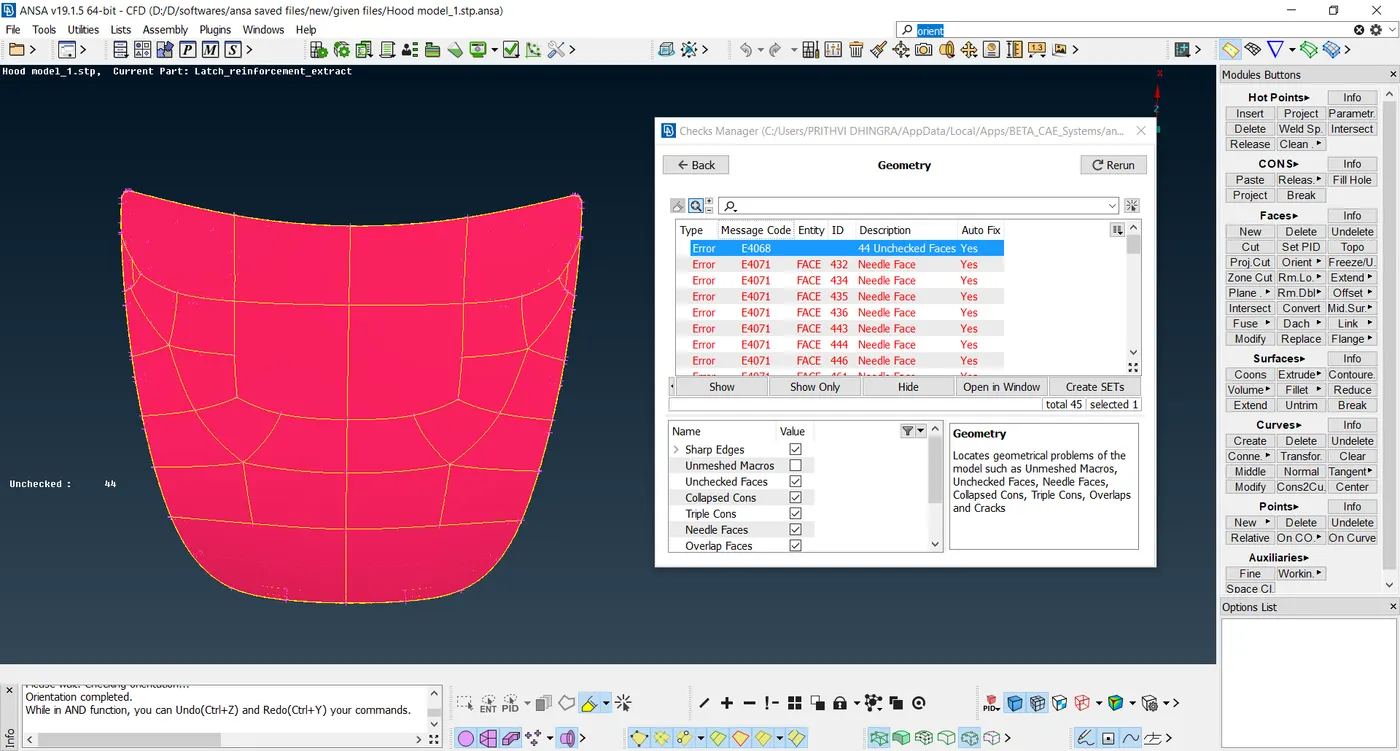
- now, isolate the outer PID and show only that, run a geometry check and select show only for the errors. fix all the errors found like unchecked faces and single cons or needle faces by using right click and select fix option from the check manager.
- do the same for inner PID and the reinforcement PID.
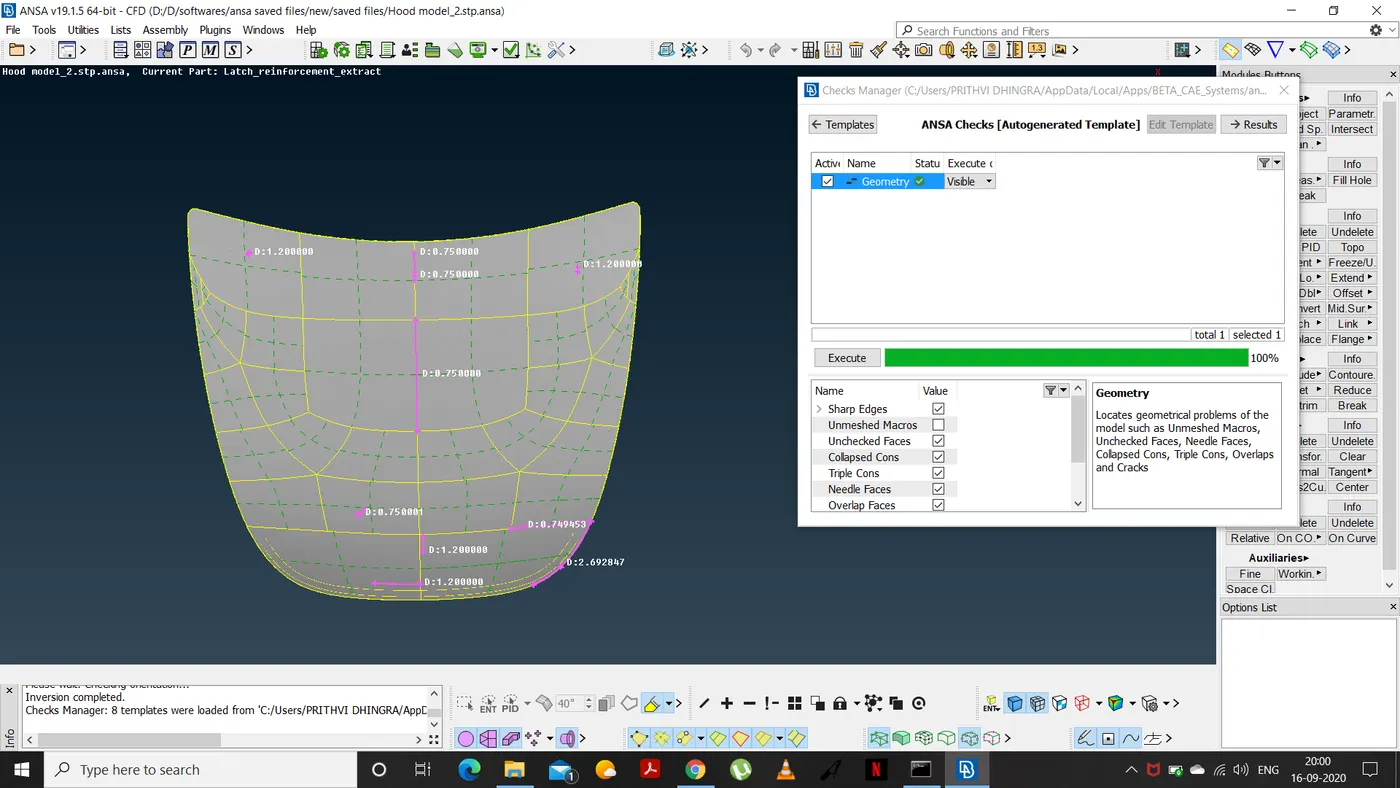
- using "fine" button from auxiliaries in the module buttons option we increase the resolution of the cons in each PID's.
- MID SURFACE EXTRACTION
- To generate the mid surface, we first measure the thickness of each PID using the measure button and store it.
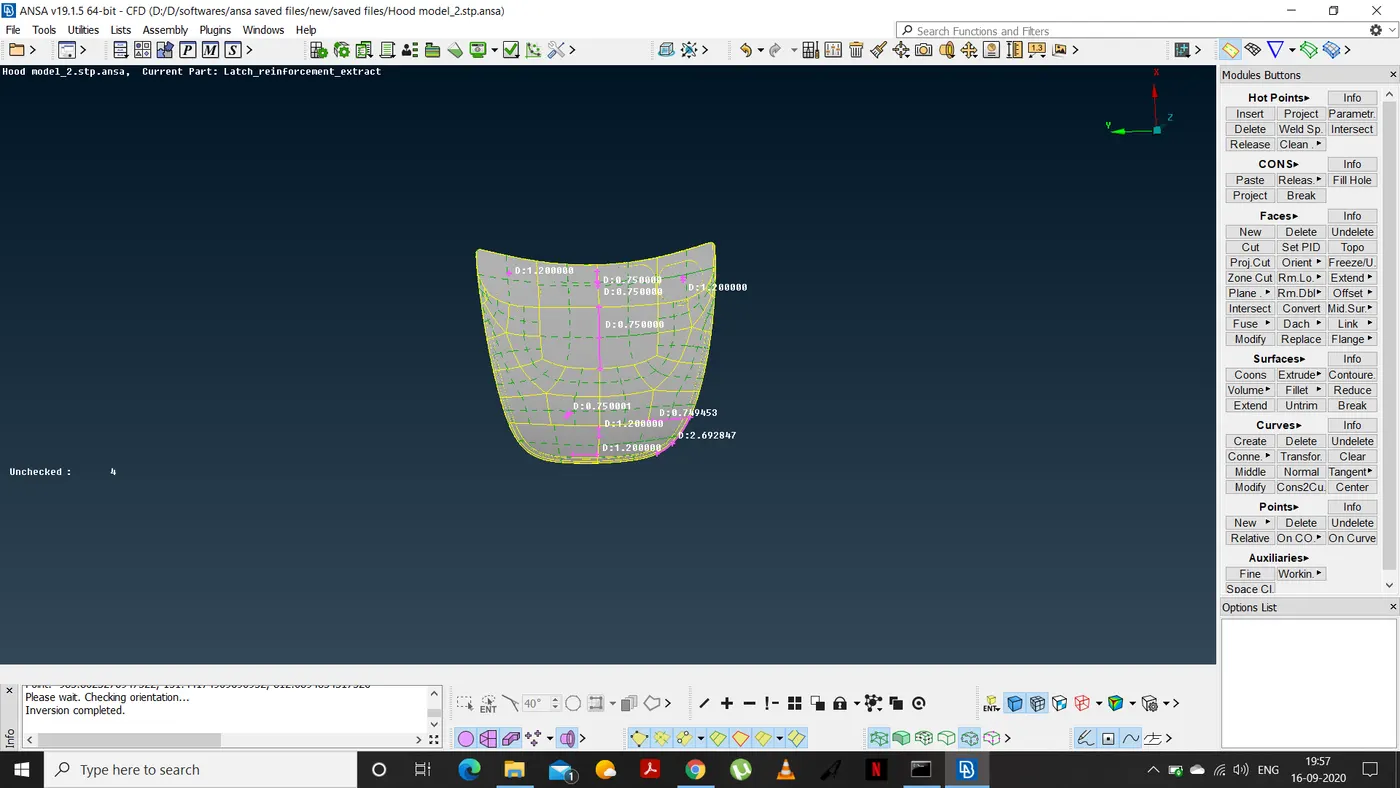
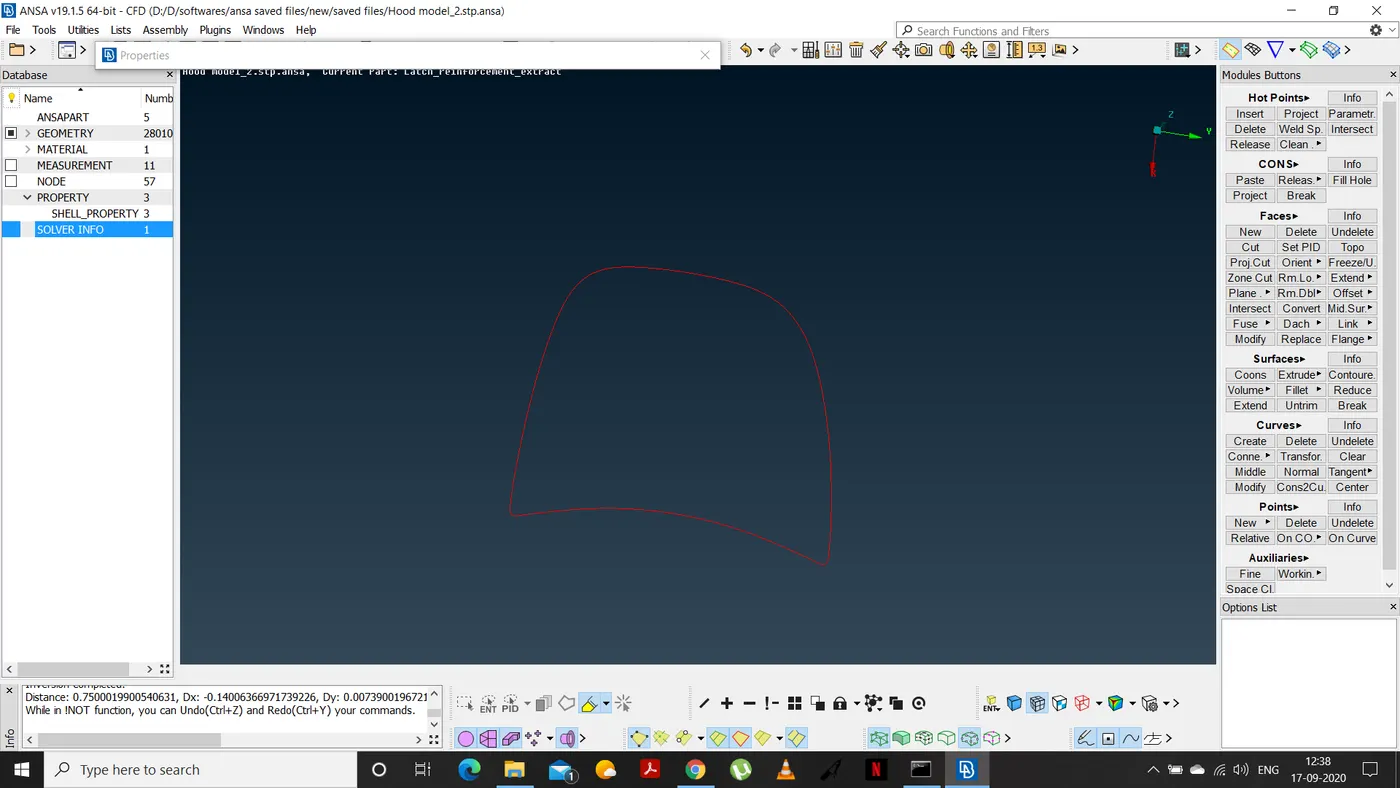
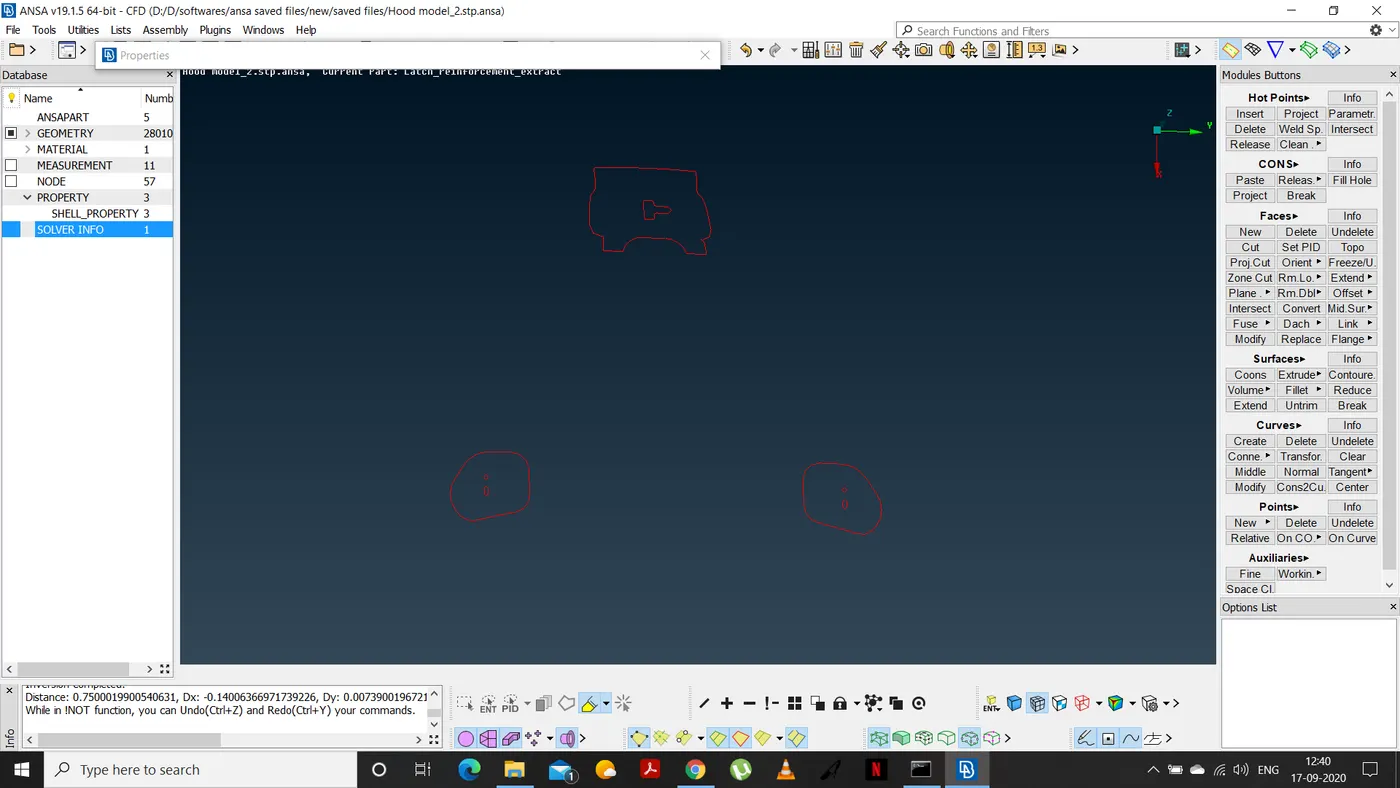
- Then, using the offset command we select the face to offset and to put it in the middle of the model we take -ve or +ve sign accordingly.
- The values for offset are -0.6 for reinforcements and -0.375 for outer and inner parts.
MID SURFACE FOR OUTER
MID SURFACE FOR REINFORCEMENTS
MID SURFACE FOR INNER
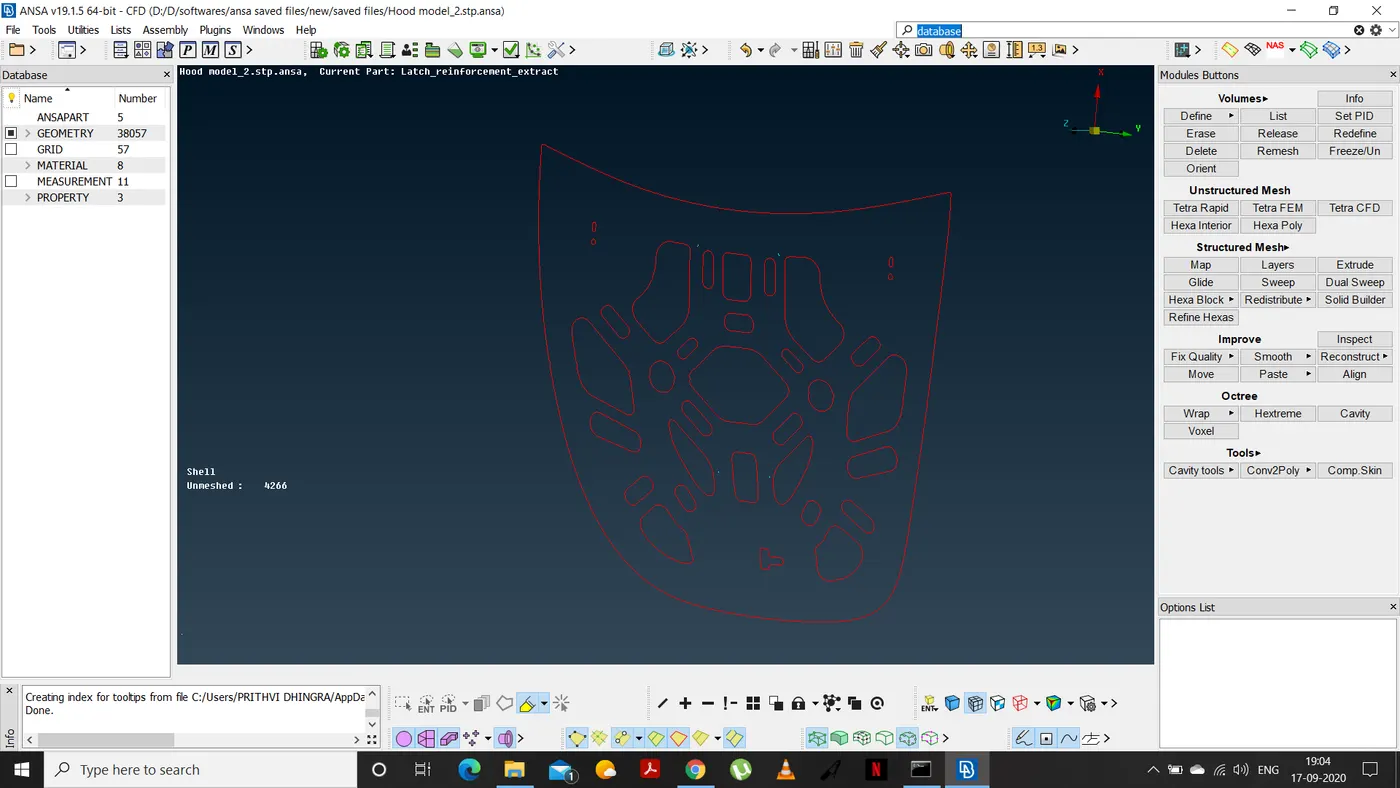
For inner hood, use the offset command and select the top surface using the feature area button.
- Alternatively, we can use (automid) a "mid-surface" command from the "faces option" in the "modules buttons" option to generate a mid surface for the given model.
For proper mid surface, better quality and for the outcome to have no errors we use offset command instead of skin option in the mid surface option in modules buttons.
- Select and seperate each PID'S to do the same.
- After getting the mid surface, add the surfaces created to a new PID as "midsurface"
- Now, do a geometry check again but this time switch off the single cons because the mid surface will have the single cons.
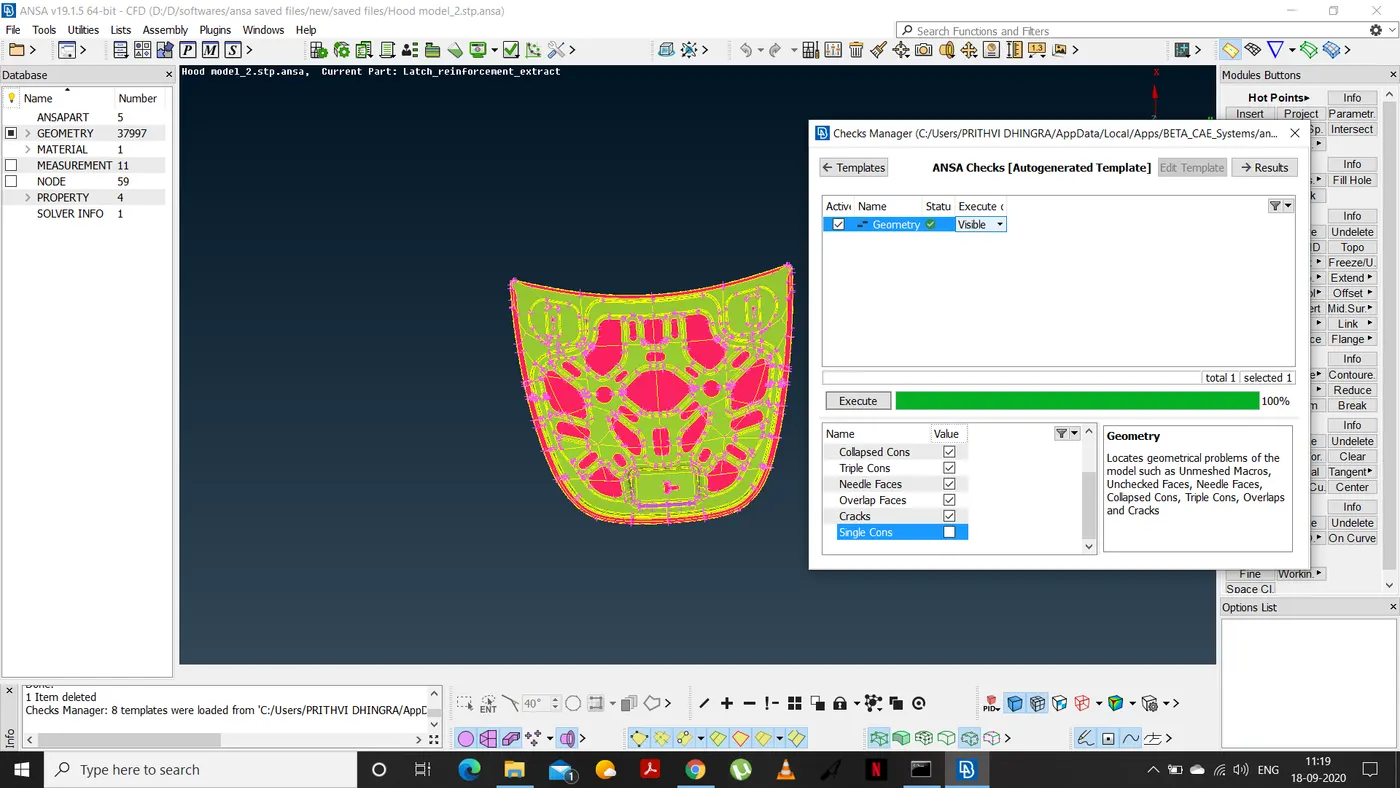
- MESHING
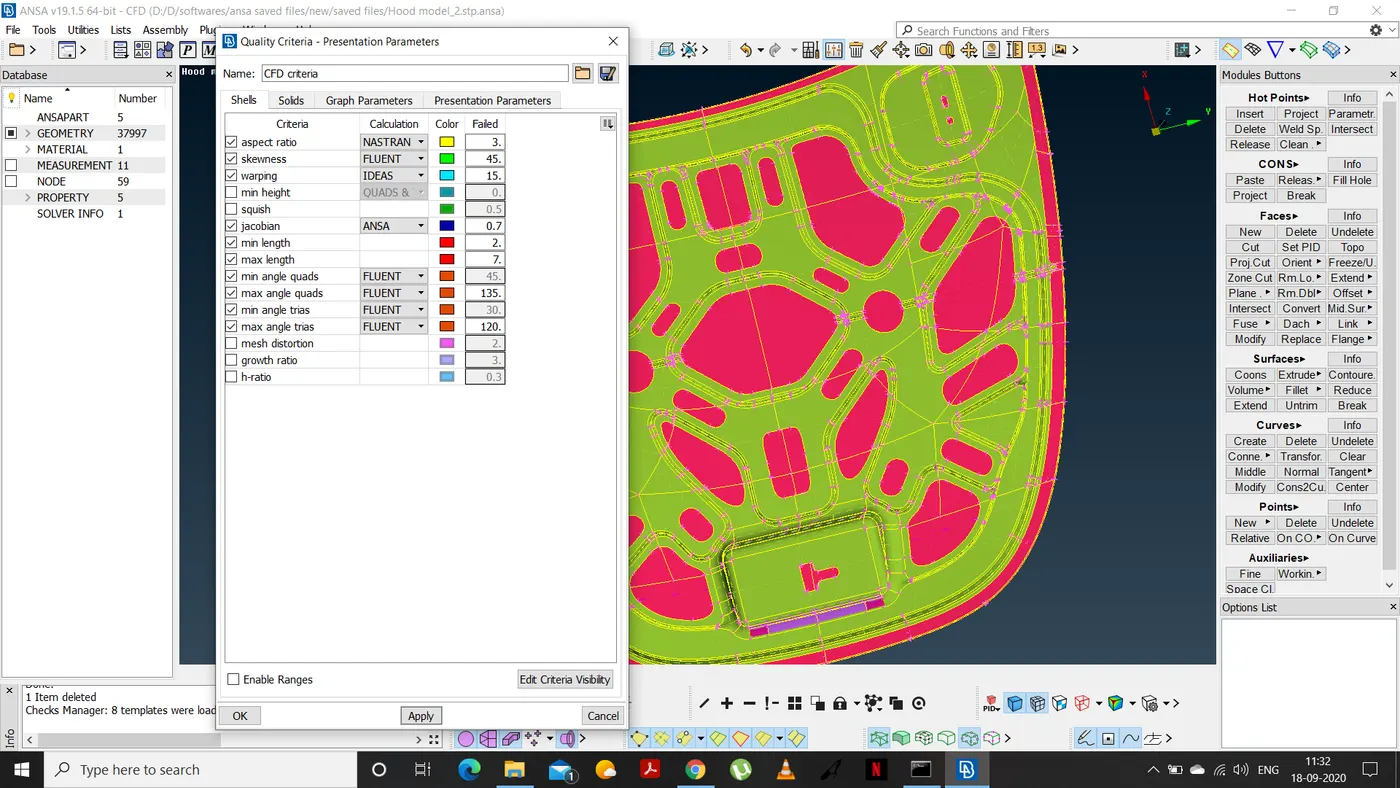
- To start off, we first set the quality criteria as follows and we switch on "elements %'' and set "details on demand effect" to extreme left-max and click apply.
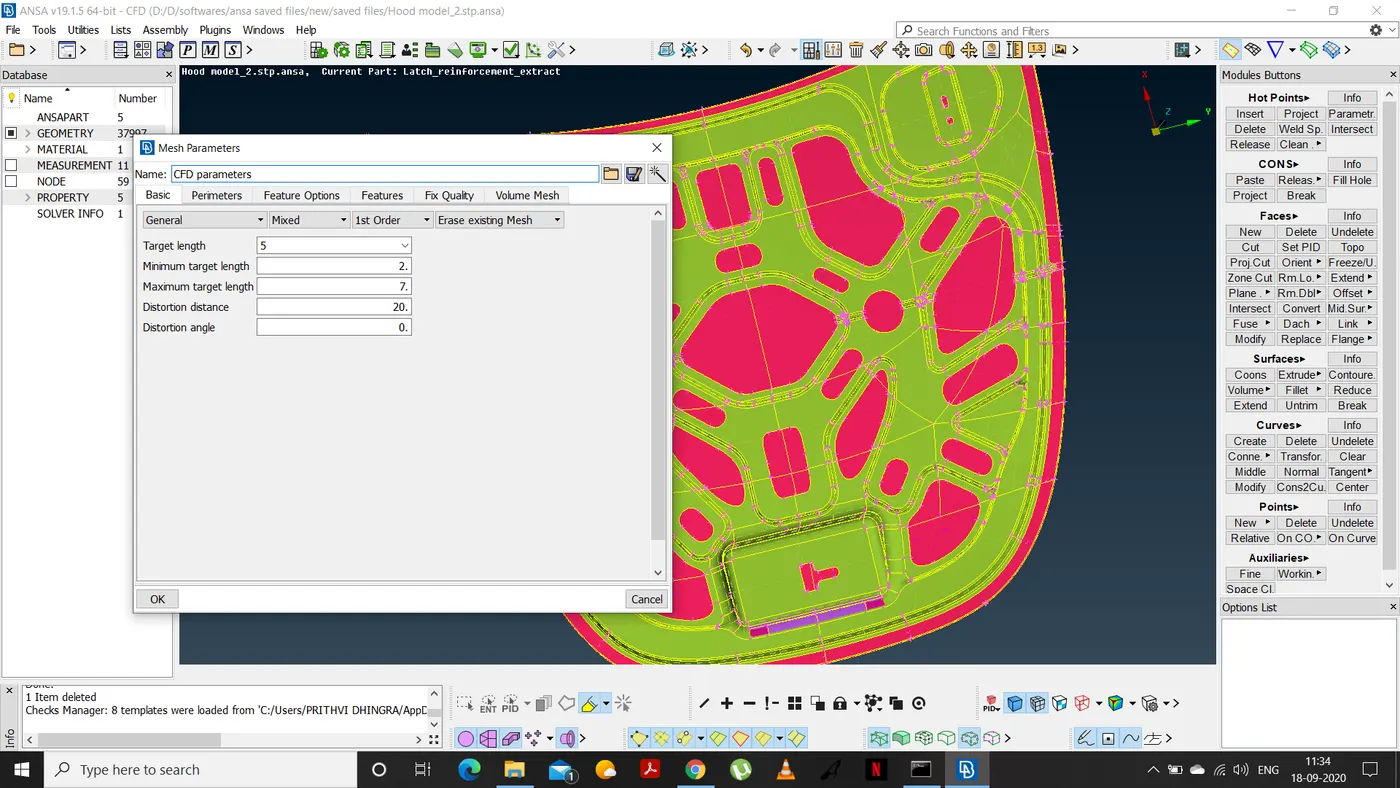
- Now we set the mesh parameters as follows-
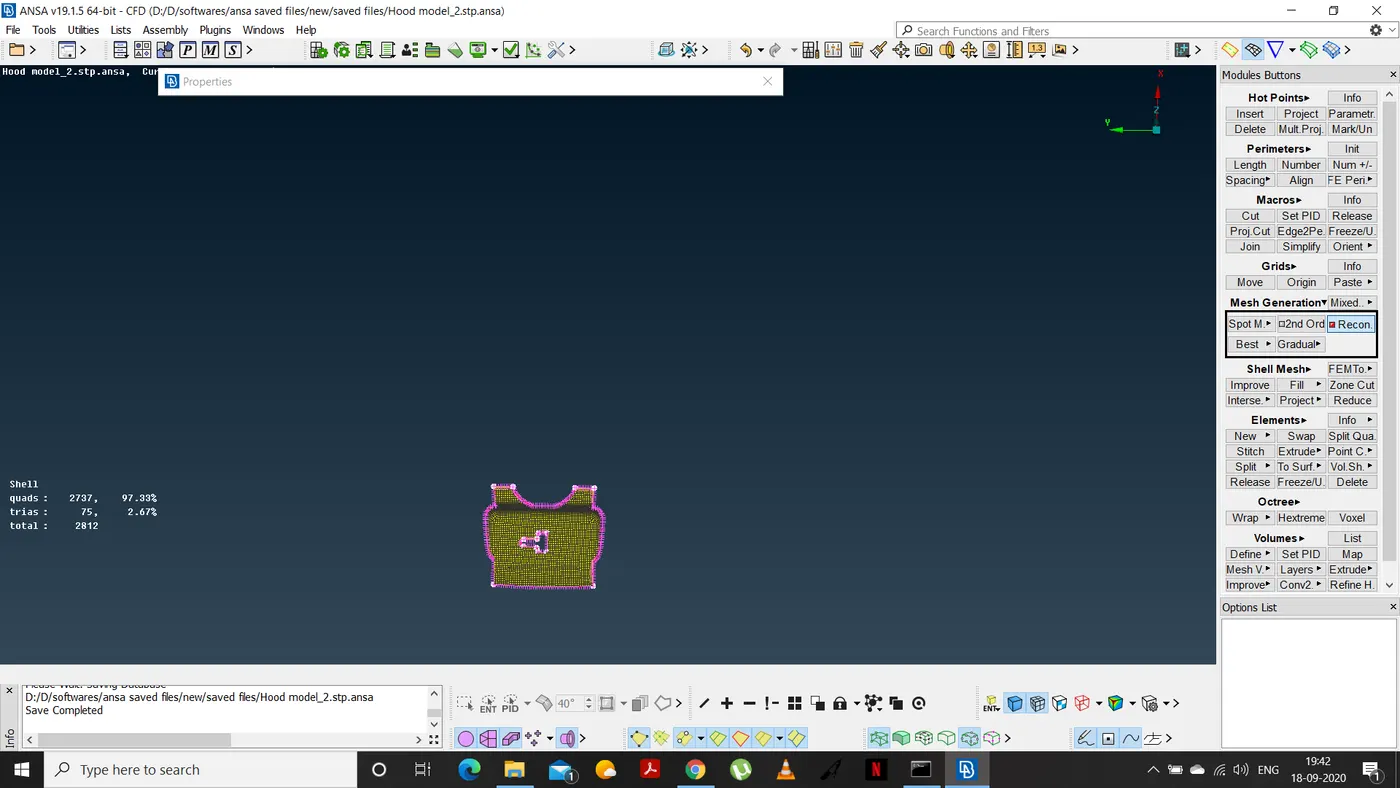
After setting the mesh parameters, we use the "spot" mesh option from the mesh generation options in modules buttons and select each PID's seperately to generate the mesh as shown below-
LATCH MESHING
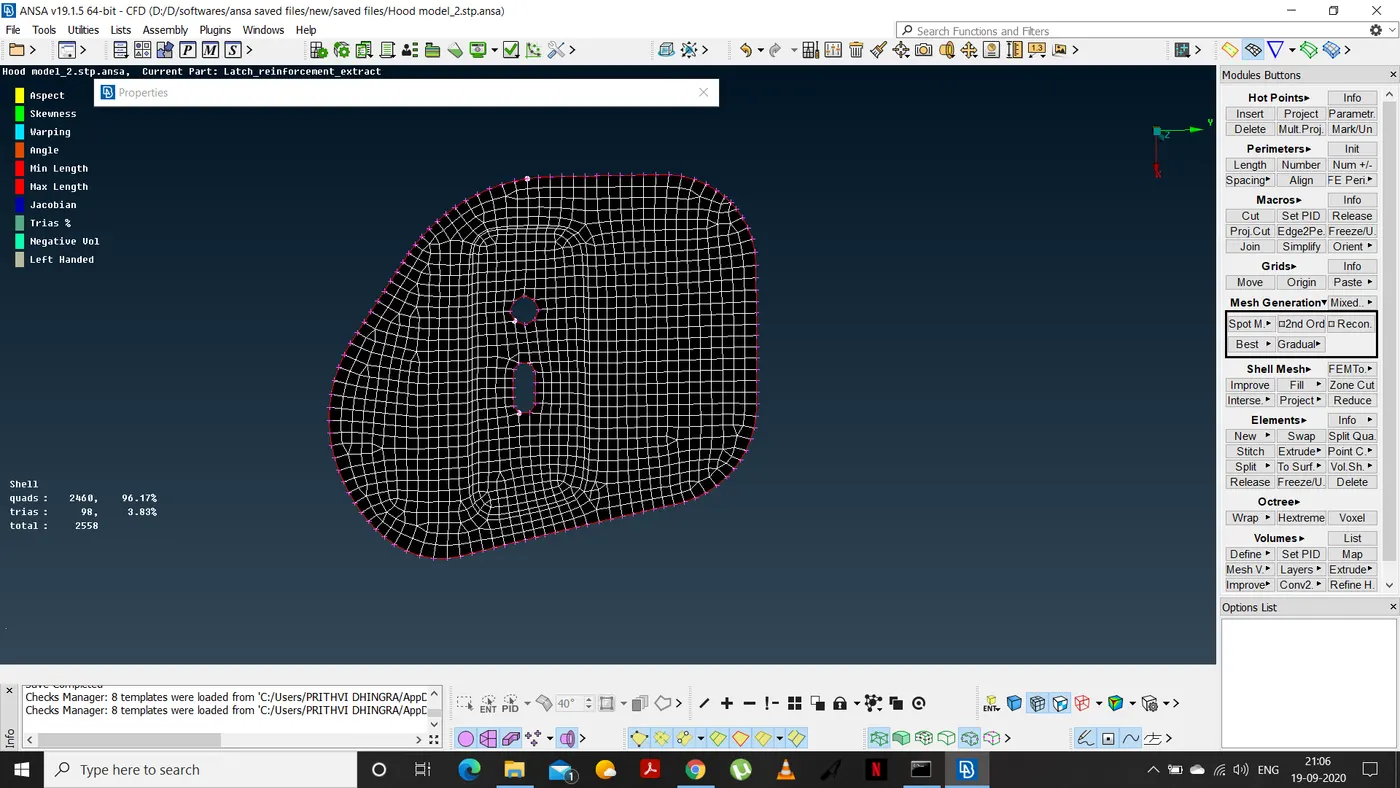
HINGES MESHING-
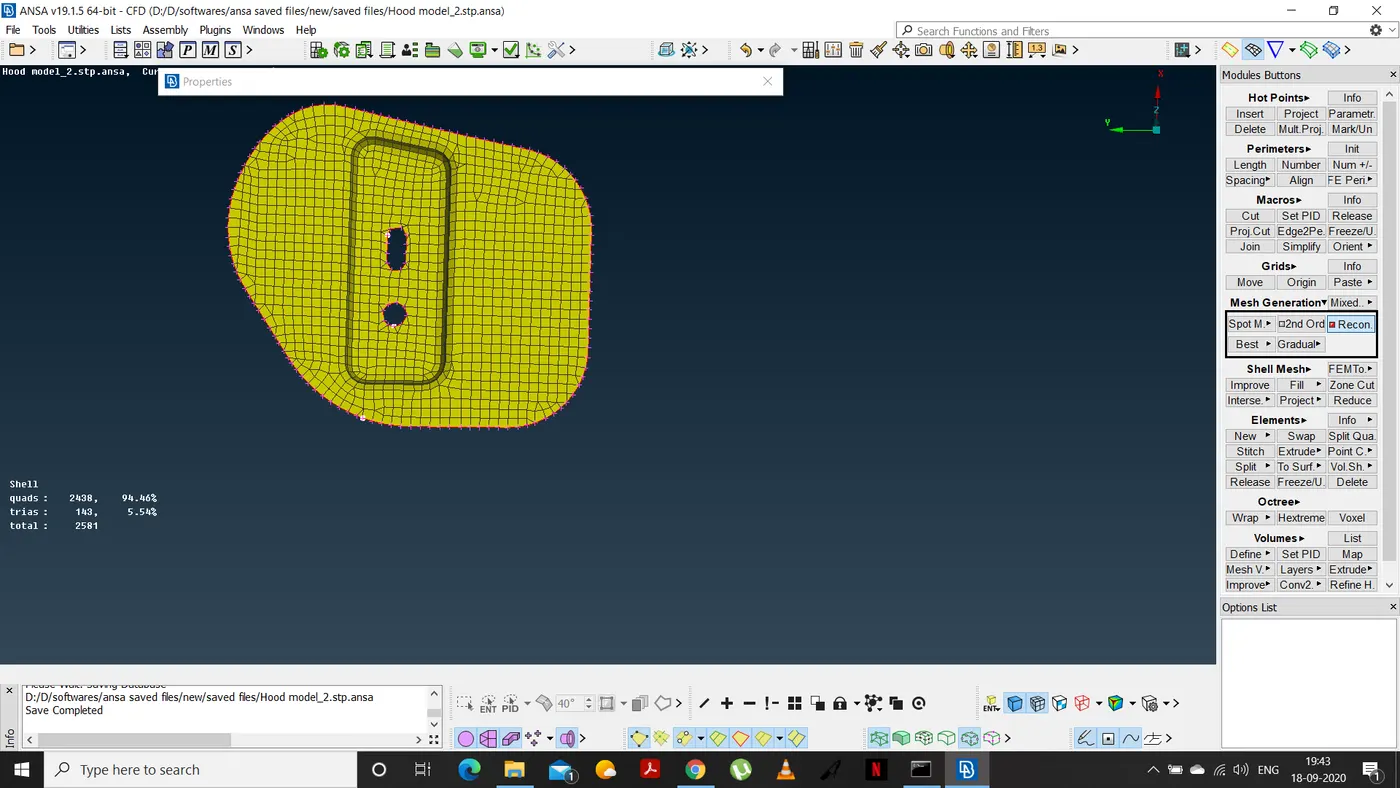
The hinges showed some errors including max legth and jacobian and skewness errors.
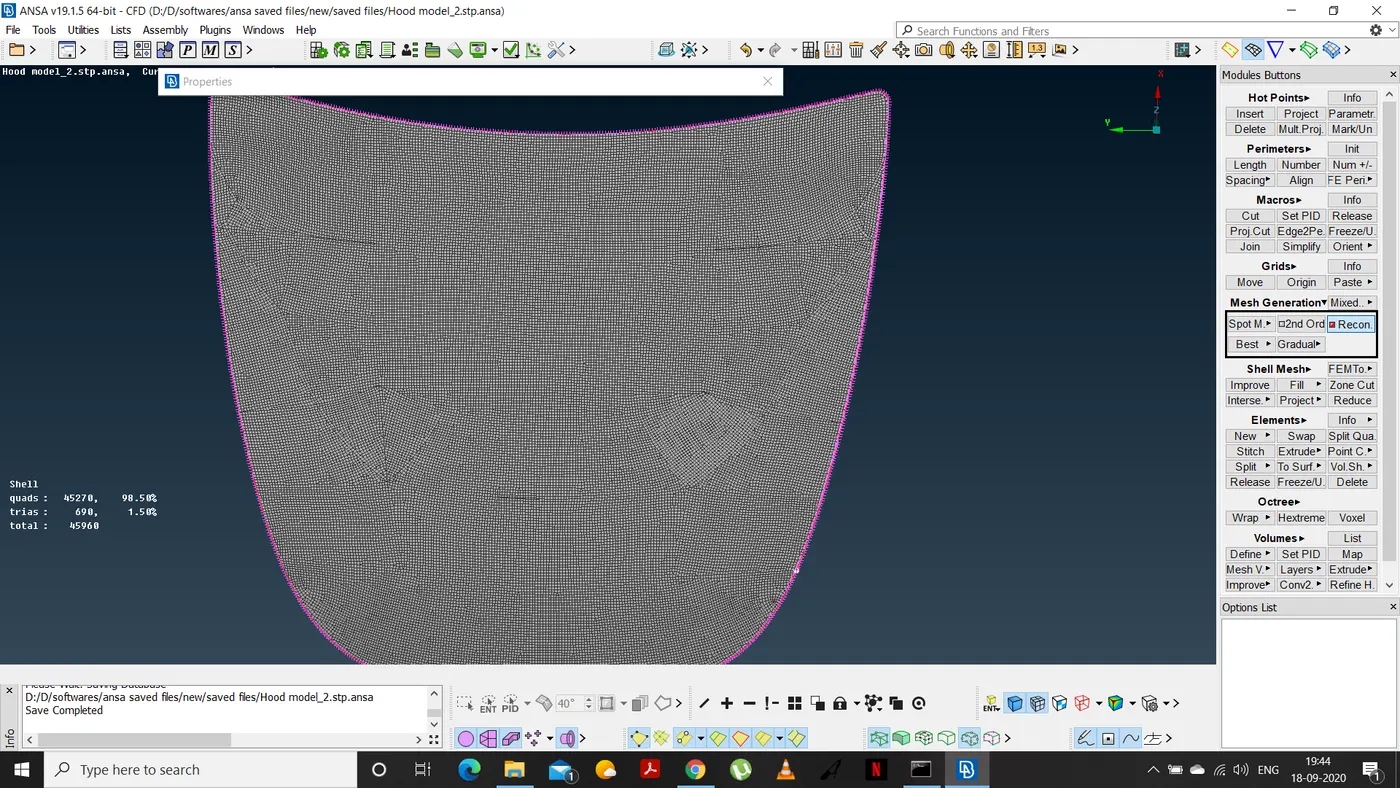
All basic errors are fixed using the improve/reconstruct command from the shell mesh options in the modules buttons.
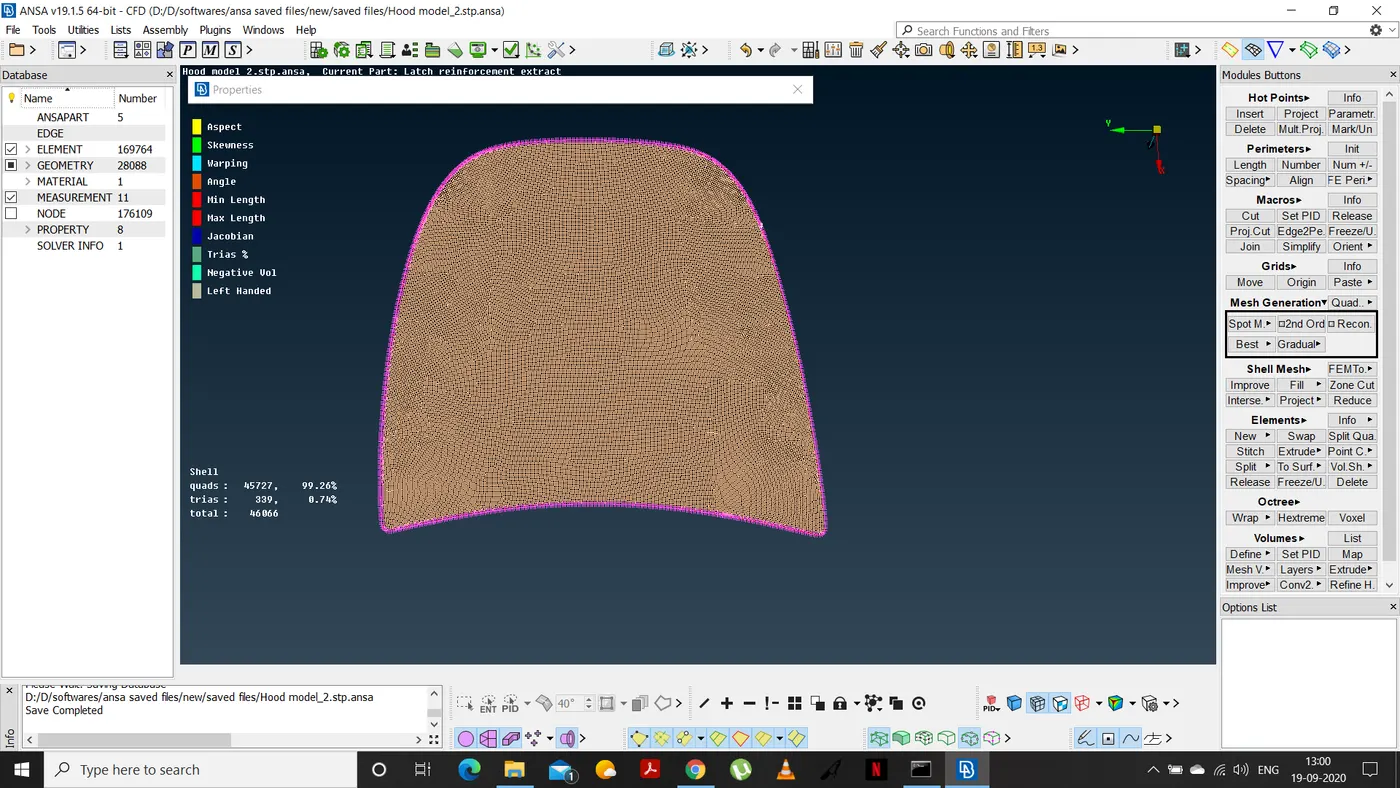
MESHING OUTER HOOD
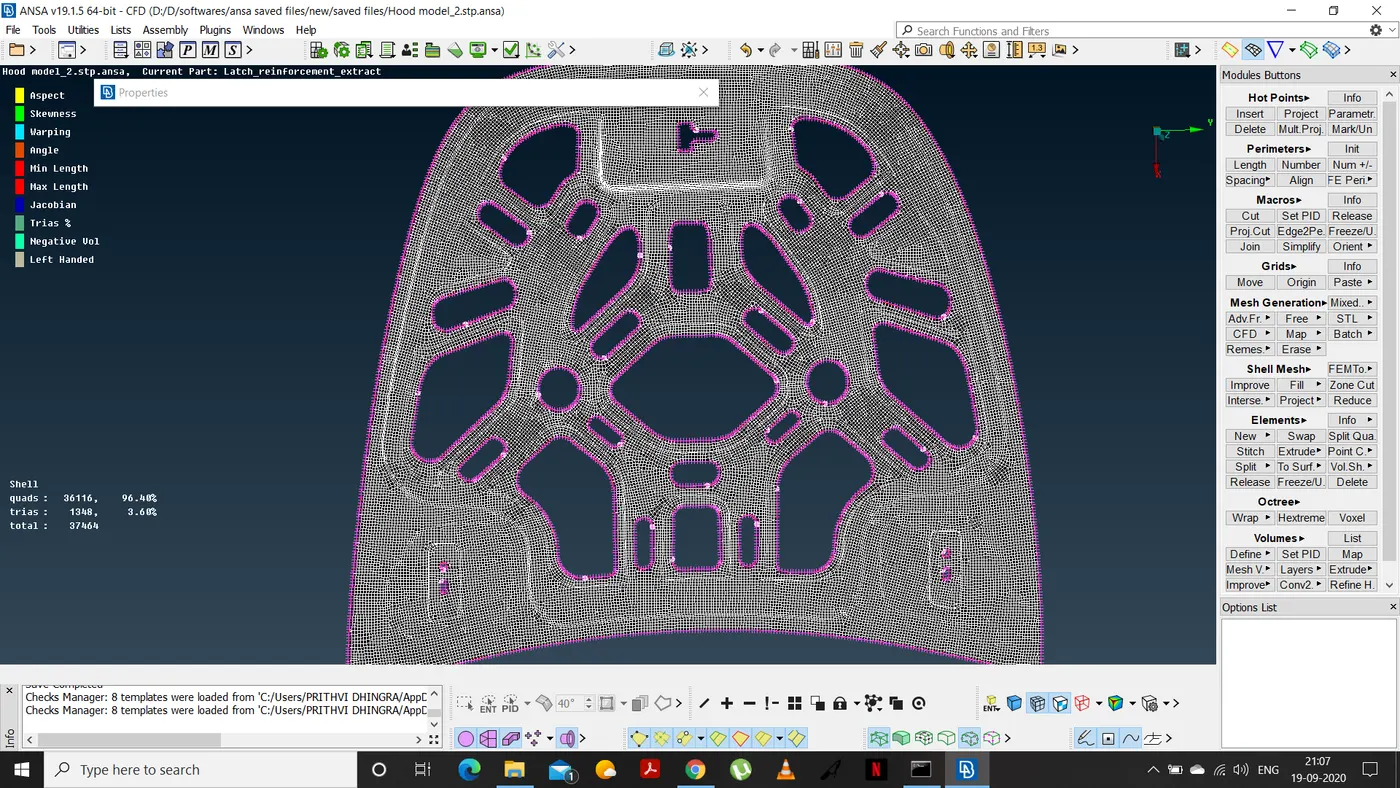
INNER HOOD
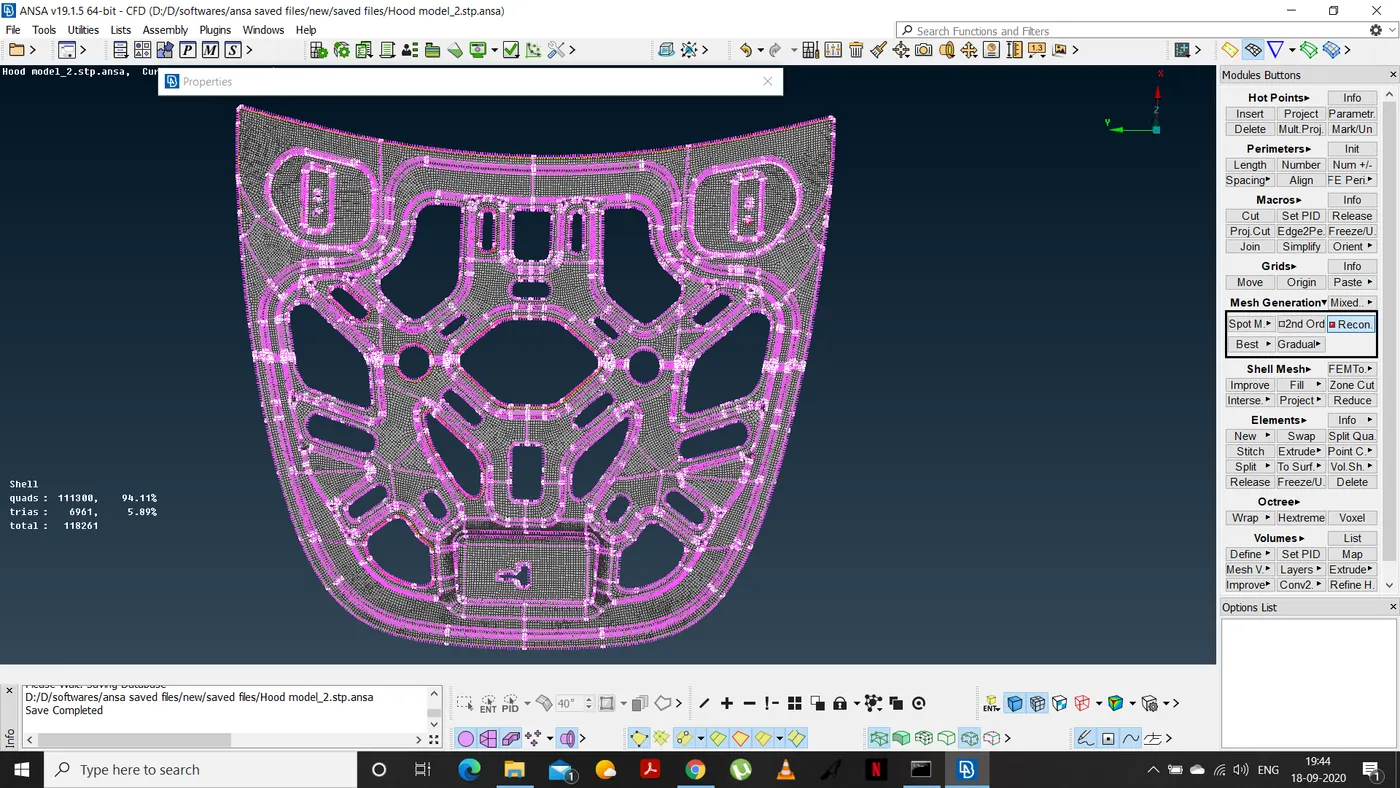
- There were several errors in the inner hood which we fixed initially by using "improve" command in shell mesh which removed most of the OFF elements.
- Then used "split" (shell) command from the elements in the modules buttons to remove some of the max length errors.
- "Move" command in grids from the modules buttons was used to remove the remaining errors(mostly max length and skewness).
- "Reconstruct" command was also used from the mesh generations in modules buttons option.
ALL PID'S HAVE BEEN MESHED AS SHOWN BELOW.
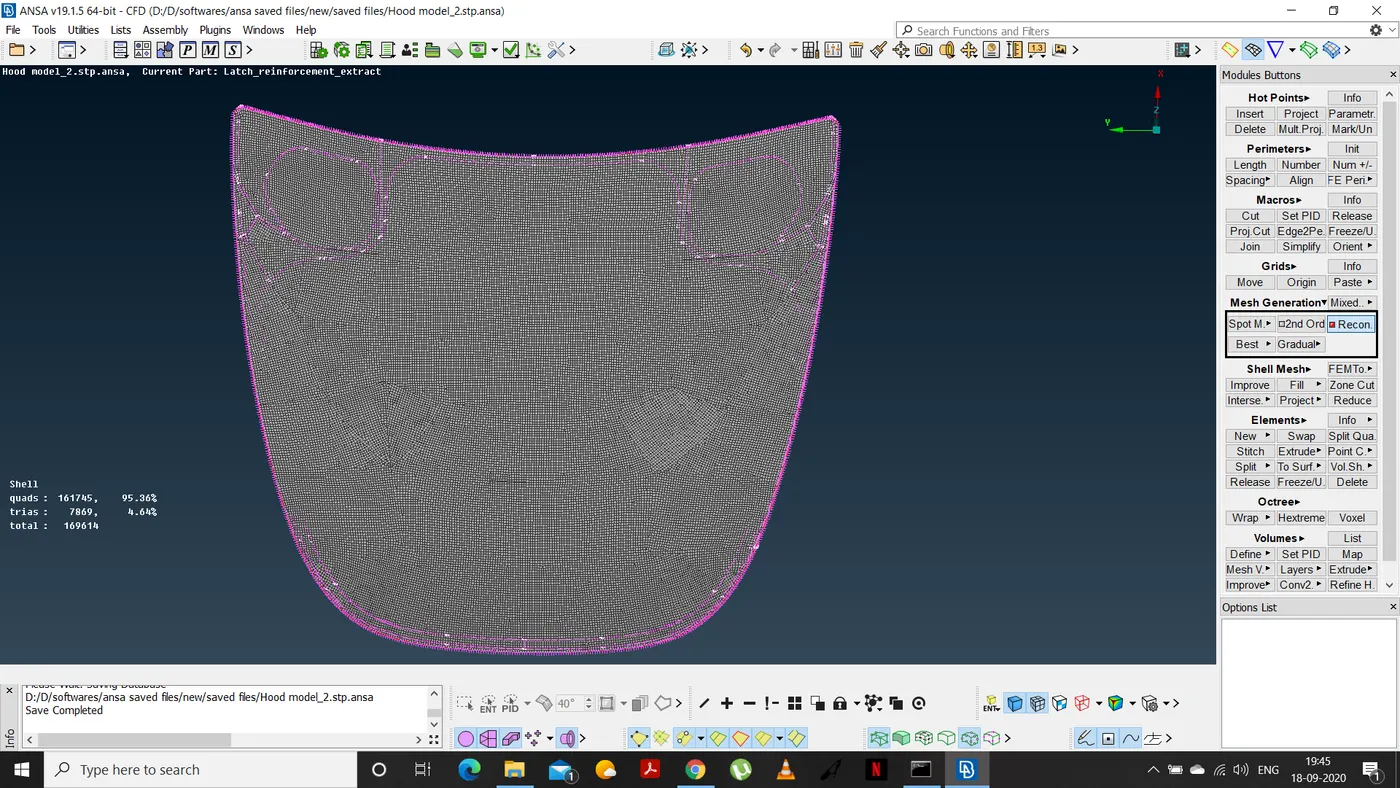
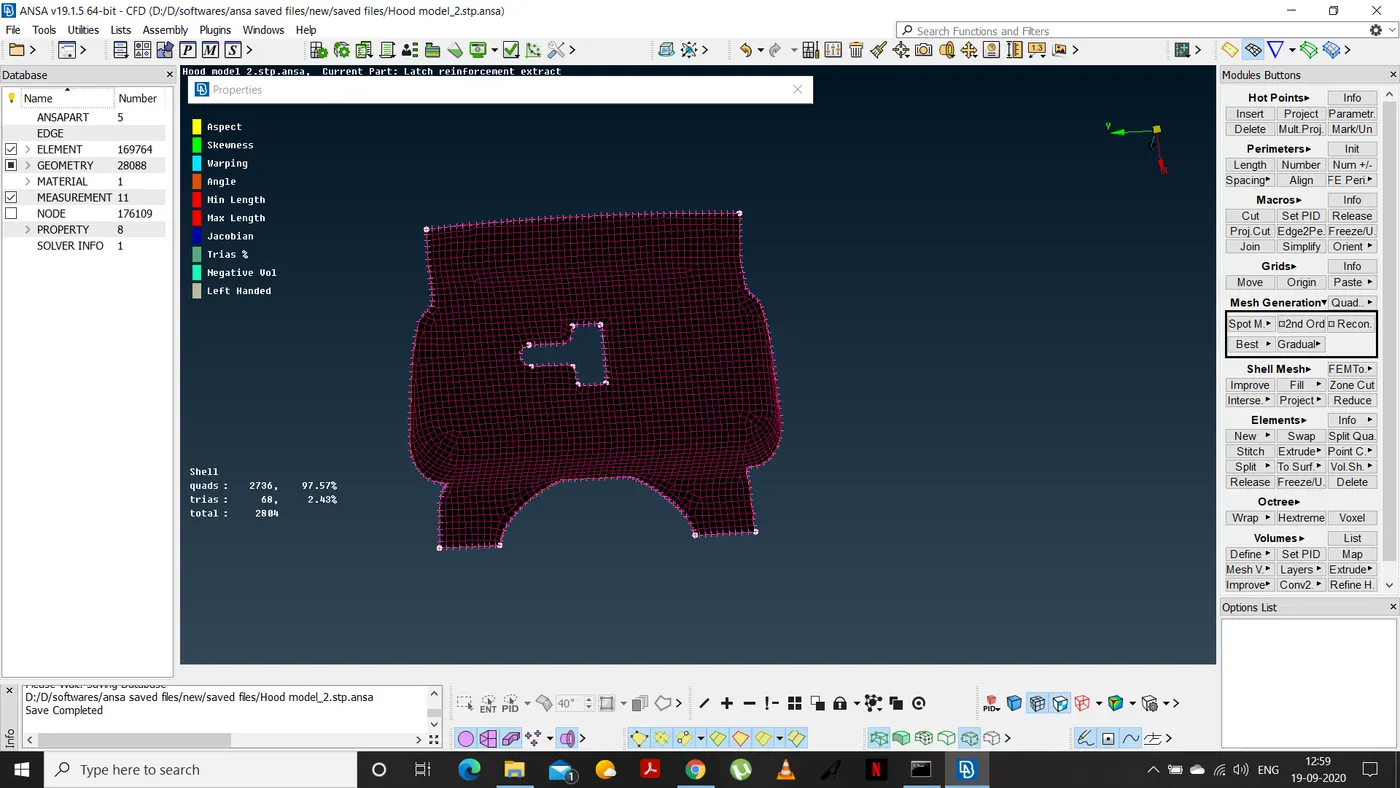
Now smoothen all the surfaces using the improve command under shell mesh in modules buttons and remove as many trias as possible in all PID's by using reconstruct, swap and improve command.
REMOVED TRIAS FROM LATCH
REMOVED TRIAS FROM HINGES
REMOVED TRIAS FROM OUTER HOOD
REMOVED TRIAS FROM INNER HOOD
- THICKNESS
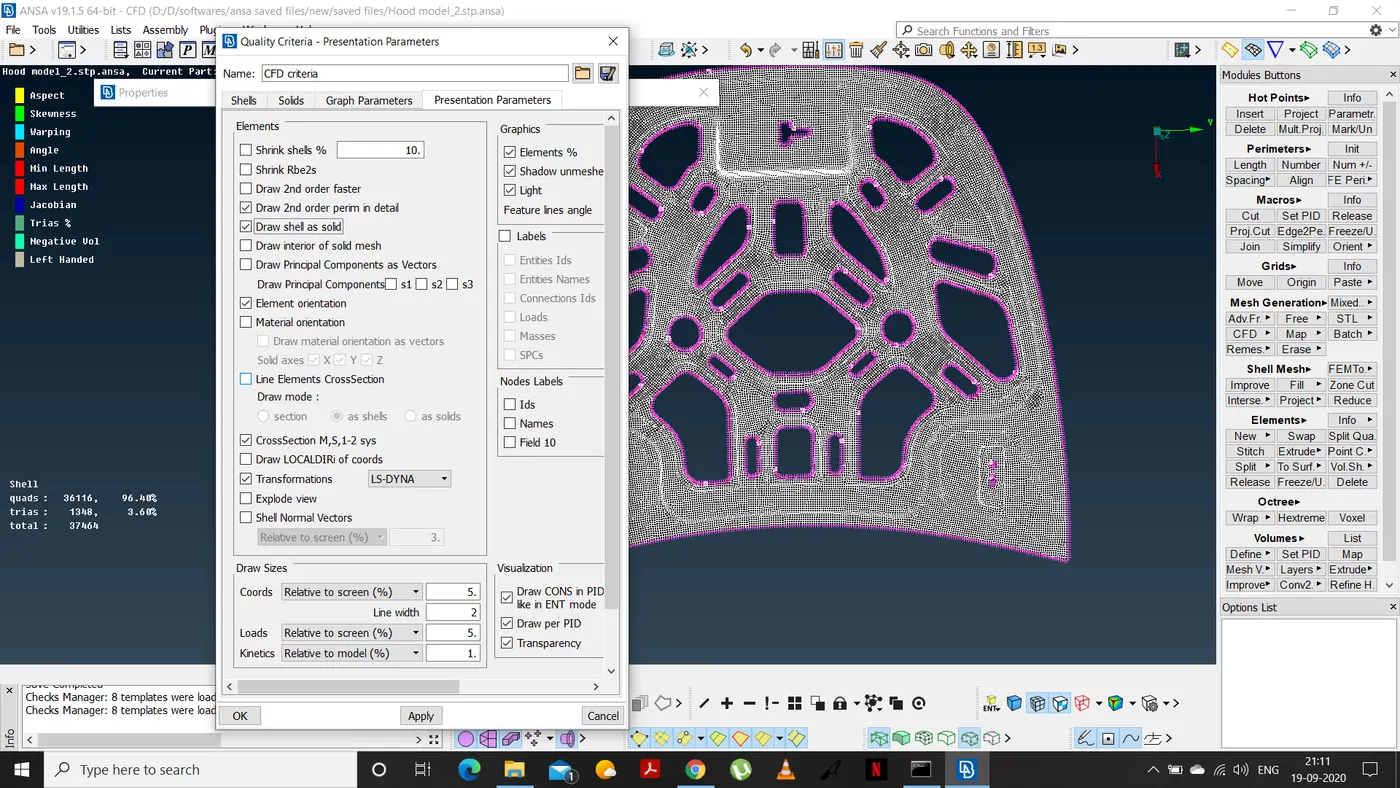
After removing all trias, give thickness to the PID's by entering the thickness value in the properties list and switch on the "draw shell as solid" in the quality criteria-> presentation parameters--> elements and click apply.
FINAL MODEL
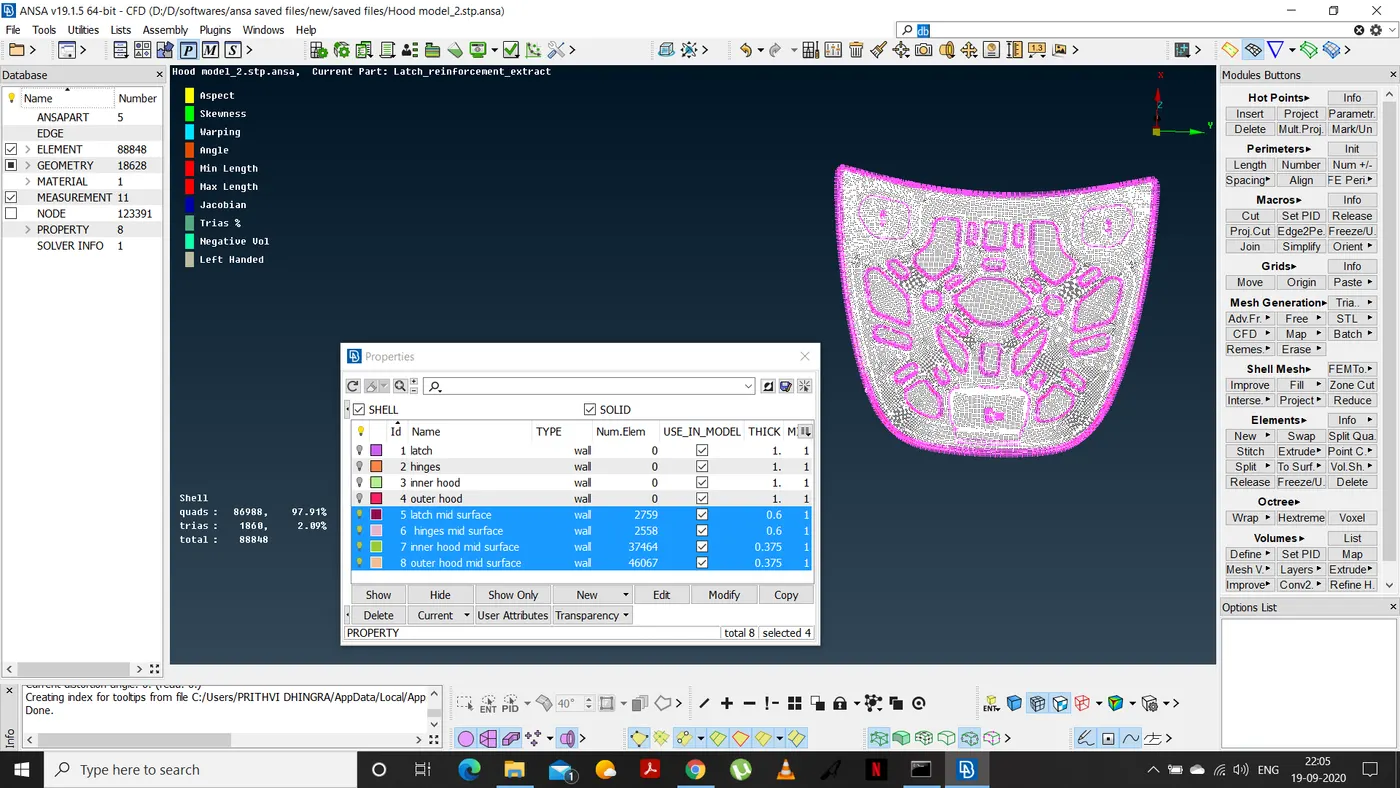
NOTE: DRAW SHELL AS SOLID ACTIVATED.
LEARNING OUTCOMES:
In this challenge we basically-
- Learned how to fix all the topological errors in a given model using several different methods like autofix and removing all double and triple cons.
- Learned how to create seperate PID's of the same model containing different elements and how to assign them different colors/properties/ID in the PID manager (properties)
- Learned how to create a mid surface of a given element in a PID by using offset command and also by using skin/casting option in mid surface command in the modules buttons (automid).
- Learned how to isolate the mid surface and create seperate PID's of each mid surface of different elements using and/ or/ not/ lock/ neighbour all etc... buttons.
- Learned how to mesh the seperate mid surfaces using spot mesh and free mesh.
- Learned how to fix the errors created by several different quality criterias including skewness, jacobian, aspect, warping, min/max length, min/max quad/tria angles and tira%.
- Learned how to use several different comands on how to reduce the above mentioned errors like improve, reconstruct, smooth, split, swap, cut, join, num+/- etc...
- Learned how to give thickness to the final meshed mid surface created after reducing the errors using PID manager and "draw shell as solid" command in quality criteria.
CONCLUSION:
In conclusion we created a meshed mid surface of a hood model and gave it the appropriate thickness after removing all topological errors, reducing all the trias% and removing all other quality criteria errors.
-- Tria error as follows,
- Latch-2.72%
- Hinges-3.83%
- Outer hood-0.74%
- Inner hood-3.60%
OVERALL TRIA% ERROR-2.09%
QUALITY CRITERIA ERROR- 0
OFF ELEMETS- 0
ROTATING QUAD- 0
DRAW SHELL AS SOLID ACTIVATED.