Week 3 - 2D meshing for sheet metal
AIM:-
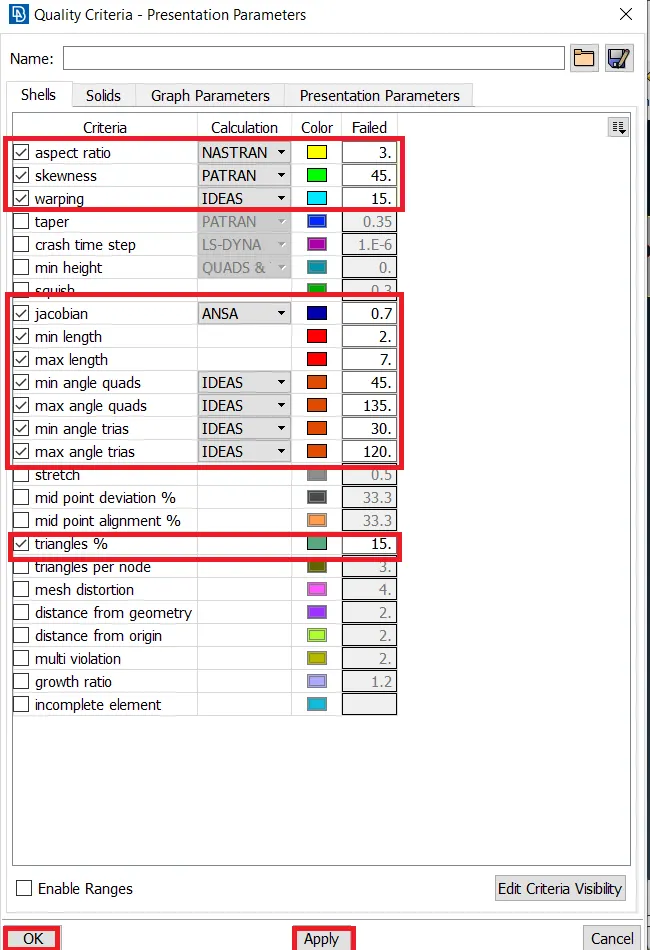
To mesh the given hood model, generate the mid surface, and geometry clean up for all components. All elements should pass the given quality as shown below.
|
S.No |
Quality Criteria |
Value |
|
1 |
Target/Average length |
5 |
|
2 |
Minimum Length |
2 |
|
3 |
Maximum Length |
7 |
|
4 |
Aspect |
3 |
|
5 |
Warpage |
15 |
|
6 |
Skewness |
45 |
|
7 |
Jacobian |
0.7 |
|
8 |
Minimum Quad Angle |
45 |
|
9 |
Maximum Quad Angle |
135 |
|
10 |
Minimum Tria Angle |
30 |
|
11 |
Maximum Tria Angle |
120 |
|
10 |
Tria Percentage |
15 |
PROCEDURE:-
1.Import the hood model in ansa select File→Open→Hood Model.
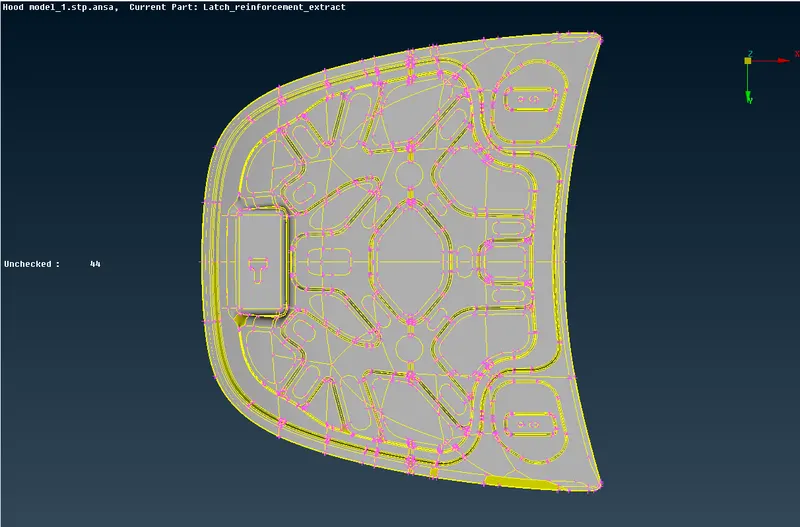
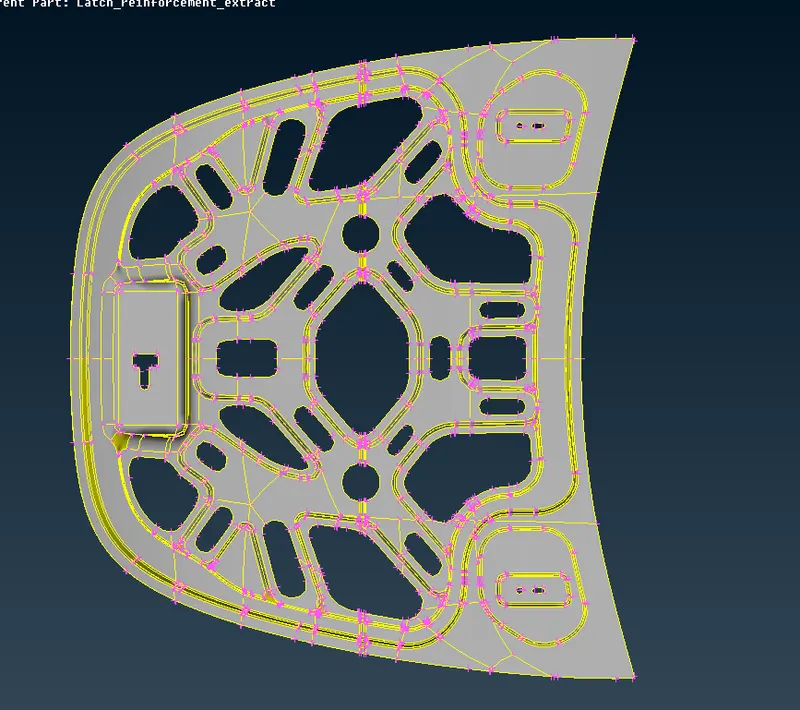
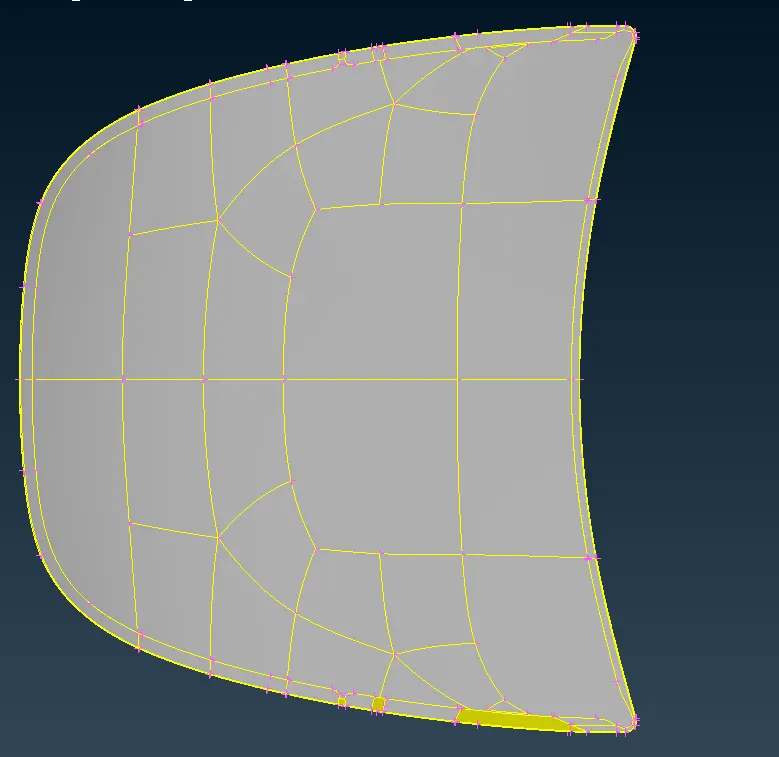
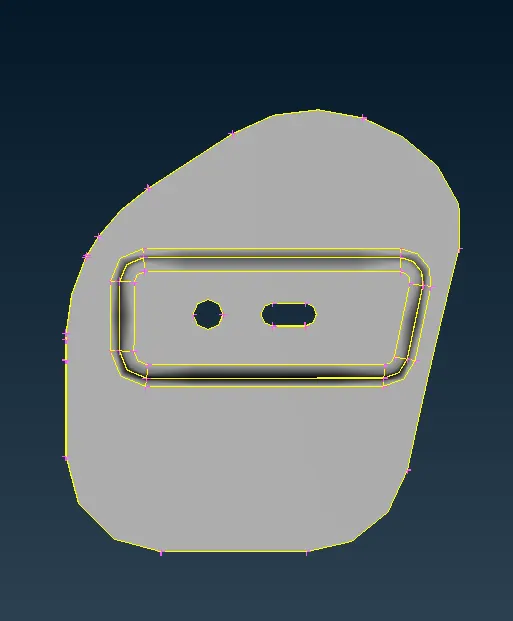
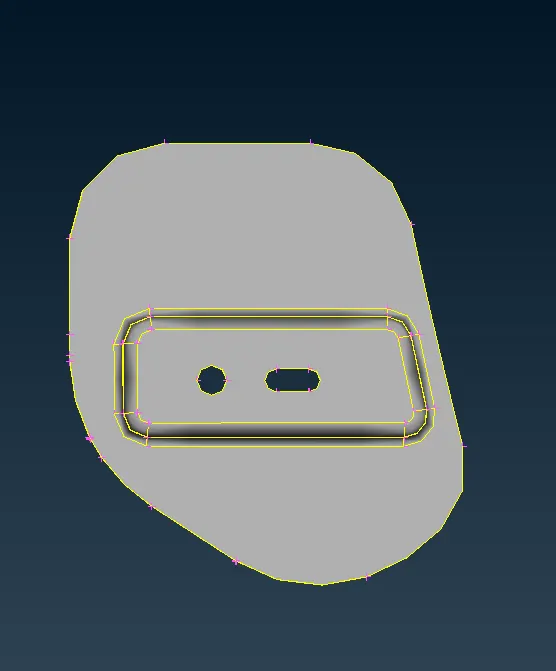
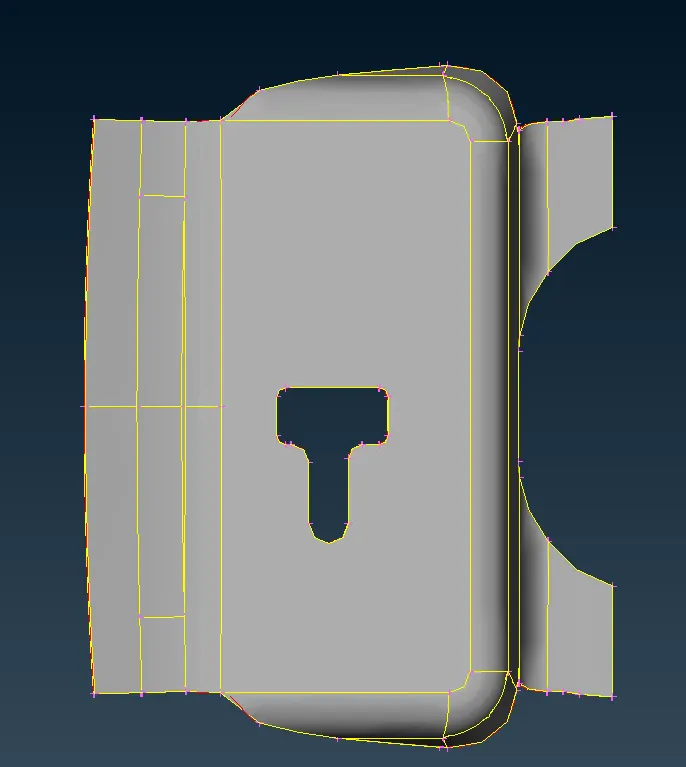
The above images hood components
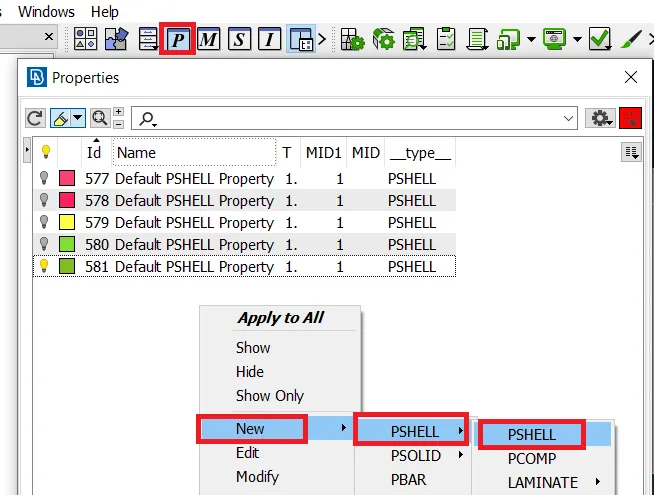
2.Next create the new property for one component select Properties→New→PSHELL→PSHELL as shown below.
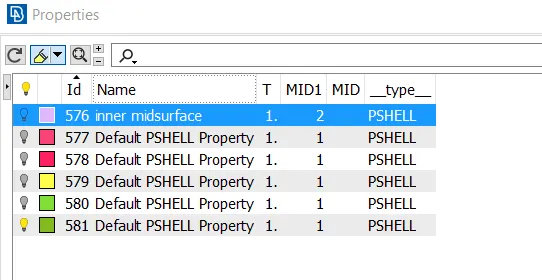
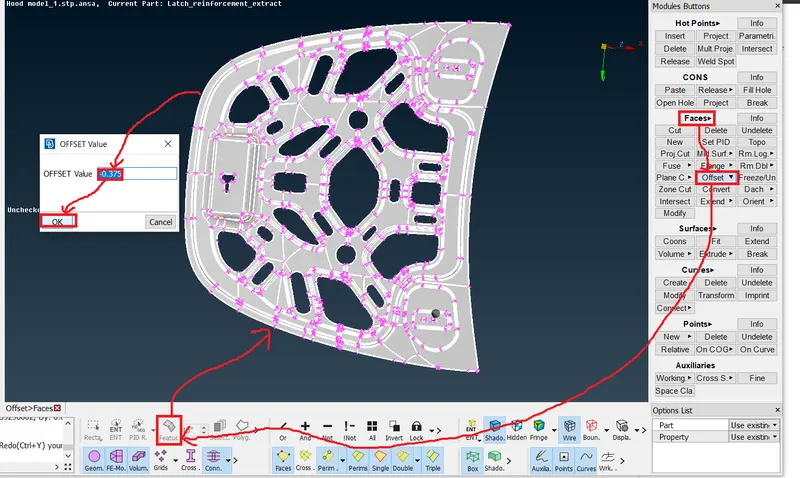
3.Next take the mid surface on the inner component goto Faces→Offset→Feature→face→offset value 0.375→ok.
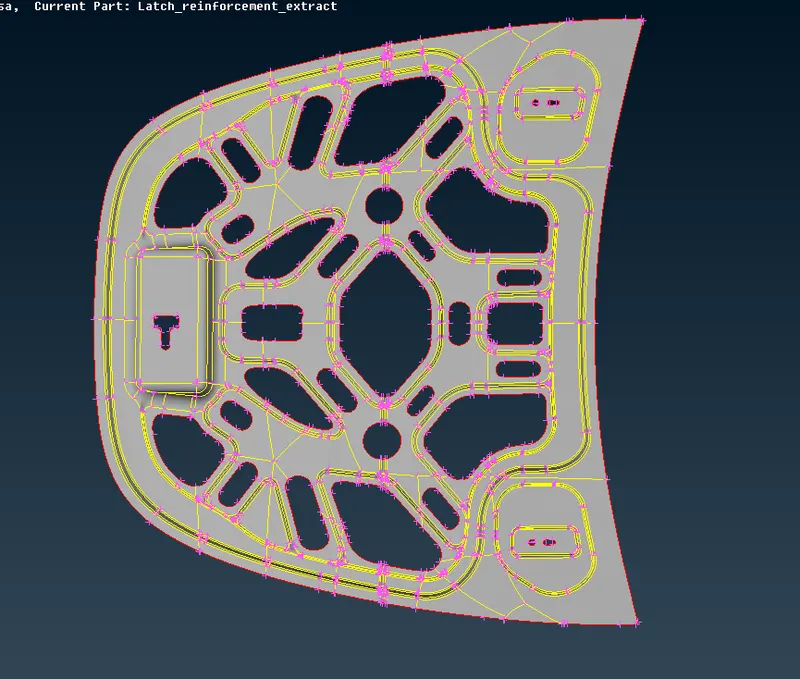
4.Mid surface is extracted as shown below.
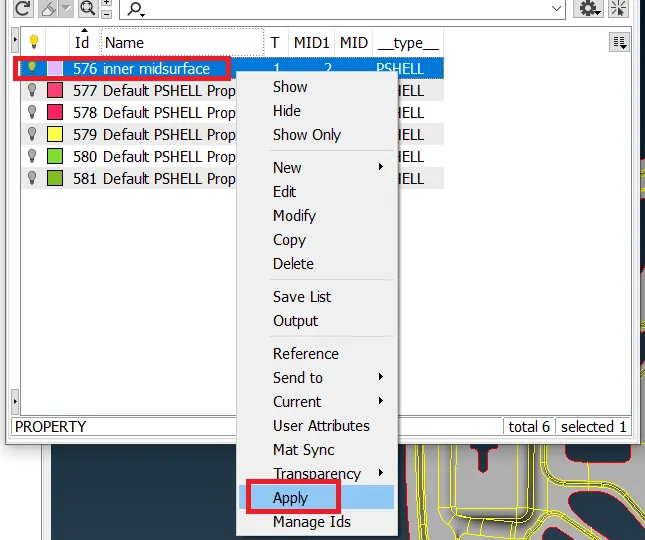
5.The mid surface is assigned to the created property as shown below.
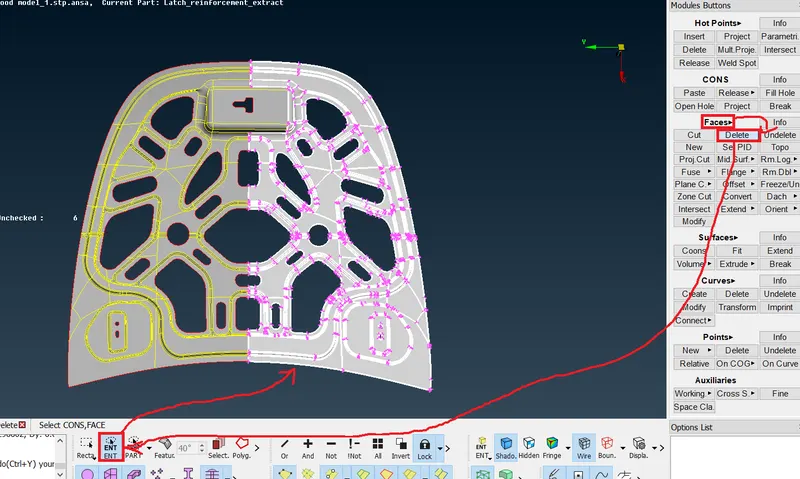
6.Observe the component it is symmetrical so I am taking the half part meshing next using translate the command it is fixed.
7.Delete the half part select Faces→delete as shown below.
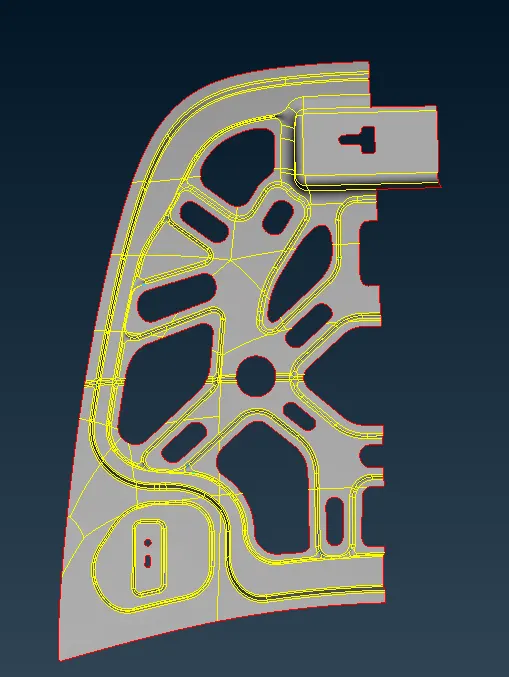
8.Next go to the geometry clean up by using Faces→Cut as shown below.
→Before geometry clean up.
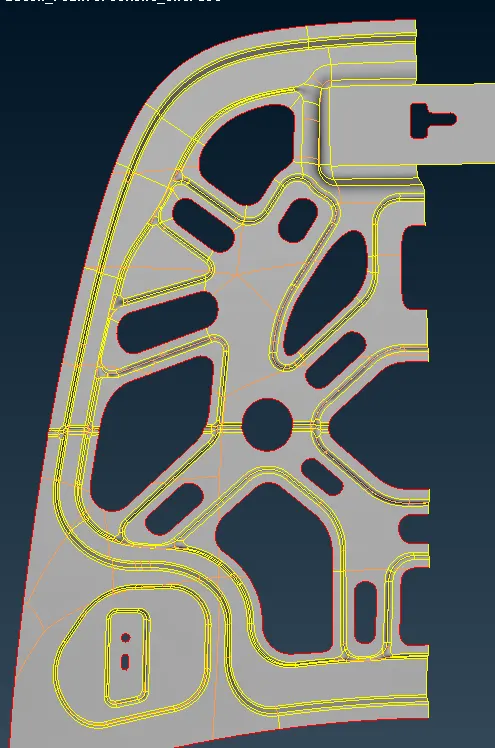 →After geometry clean up.
9.Next go to the meshing first give the given quality parameters press F11 the quality criteria is open as shown below.
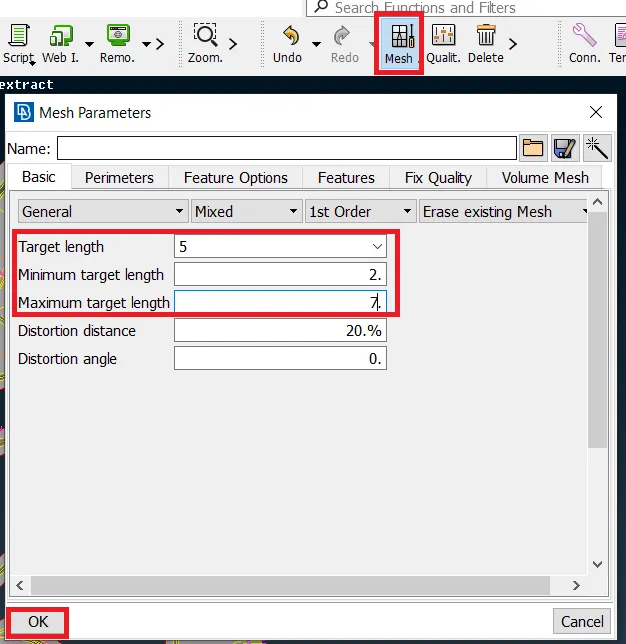
10.Next go to mesh parameters and set the target length as shown below.
11.Next mesh the component.
12.First go to the Mesh→Perimeters→length as shown below.
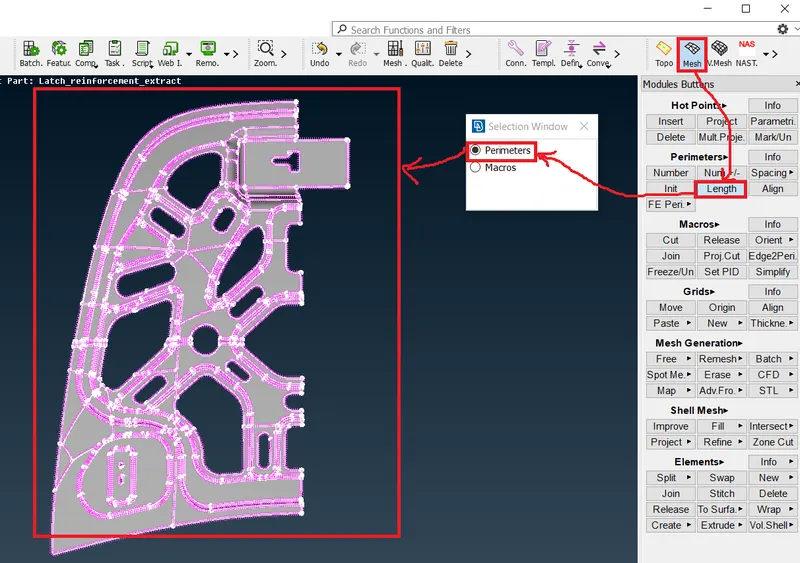 Press the middle mouse button
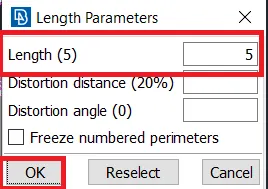 we observe the distance of the hot point is 5.
13.Next go to Mesh→Mesh Generation→Best.
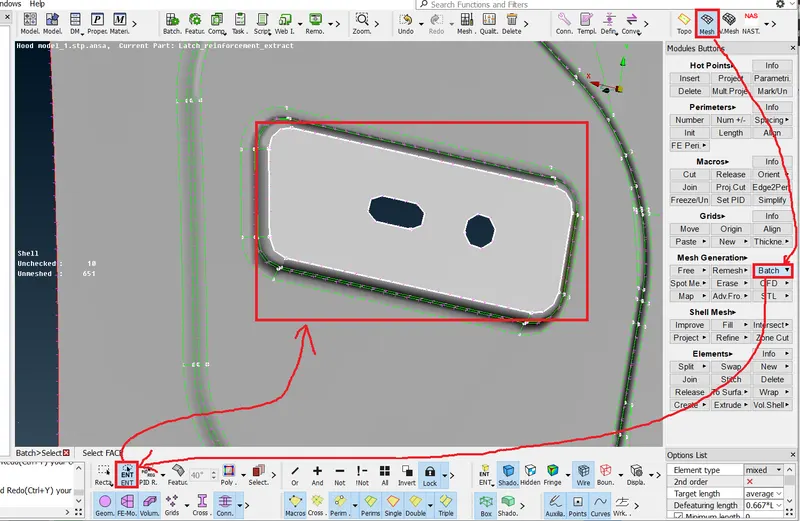
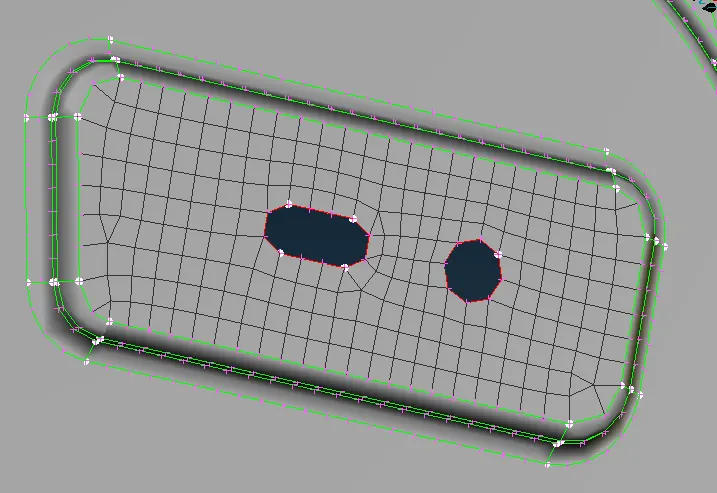
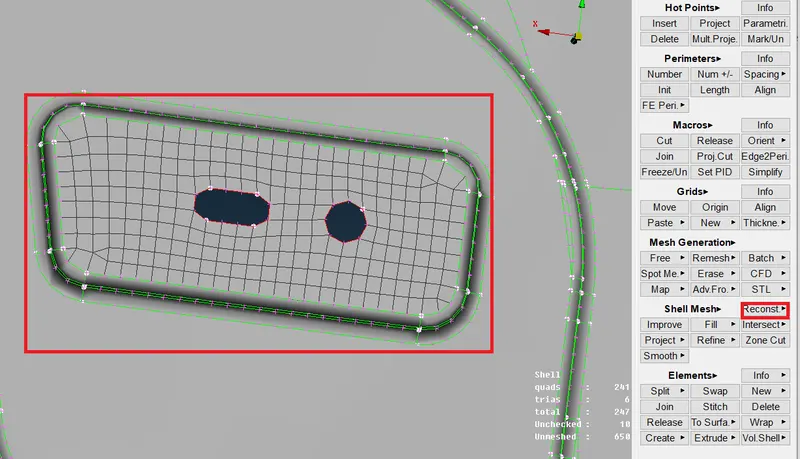
14.The above mesh is not satisfied so I am trying the reconstruct the mesh as shown below.
15.Next check the quality of the elements goto drawing styles select Hidden to see the quality of the elements as shown below.
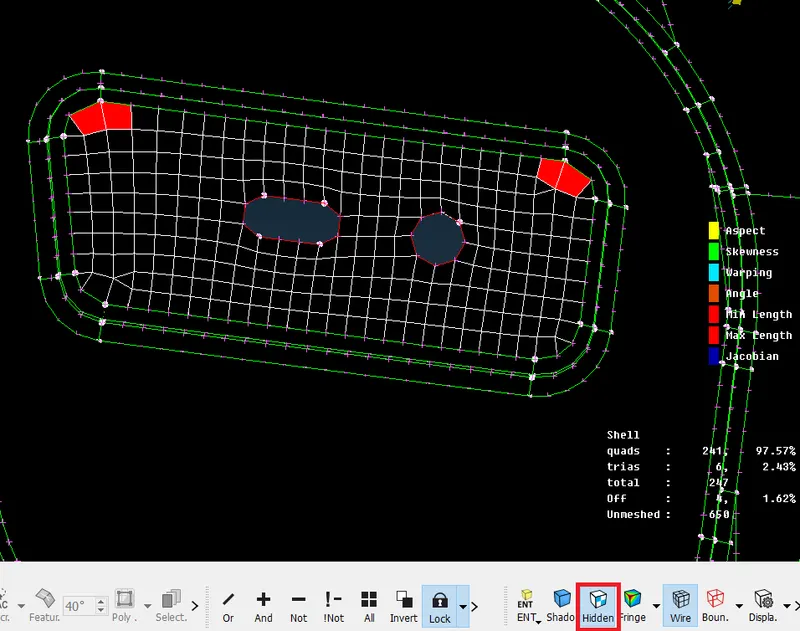
in the above mesh fail in maximum length so, I am trying to smooth the elements as shown below.
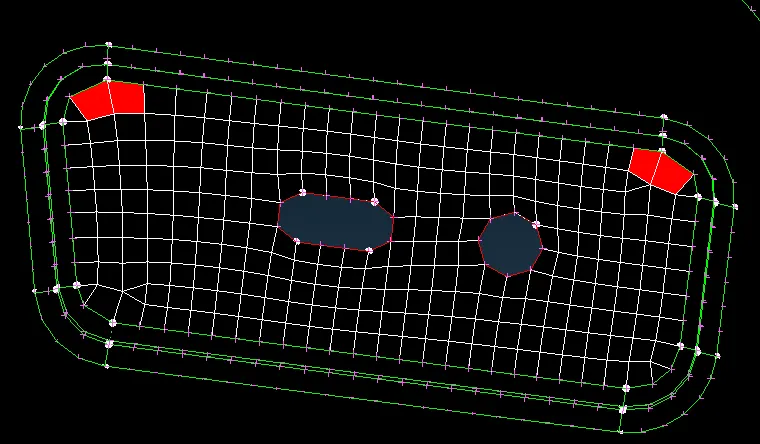 before smoothing
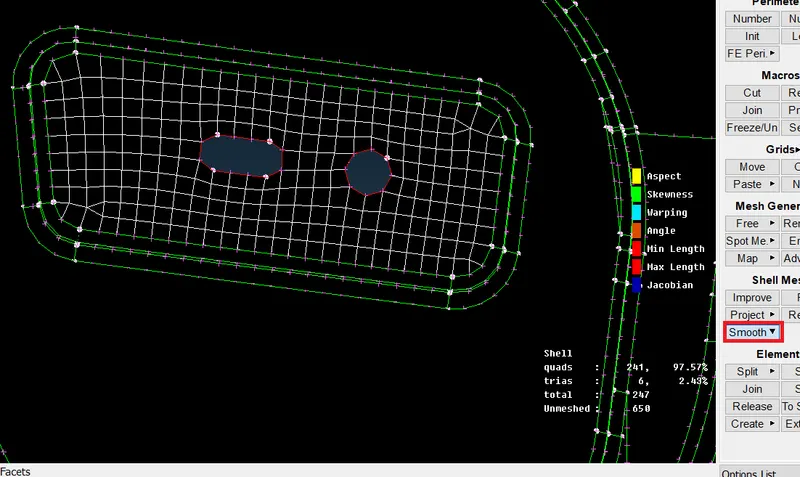 After smoothing.
there are no failure elements.
16.Repeat the above steps for all faces the mesh is completed as shown below.
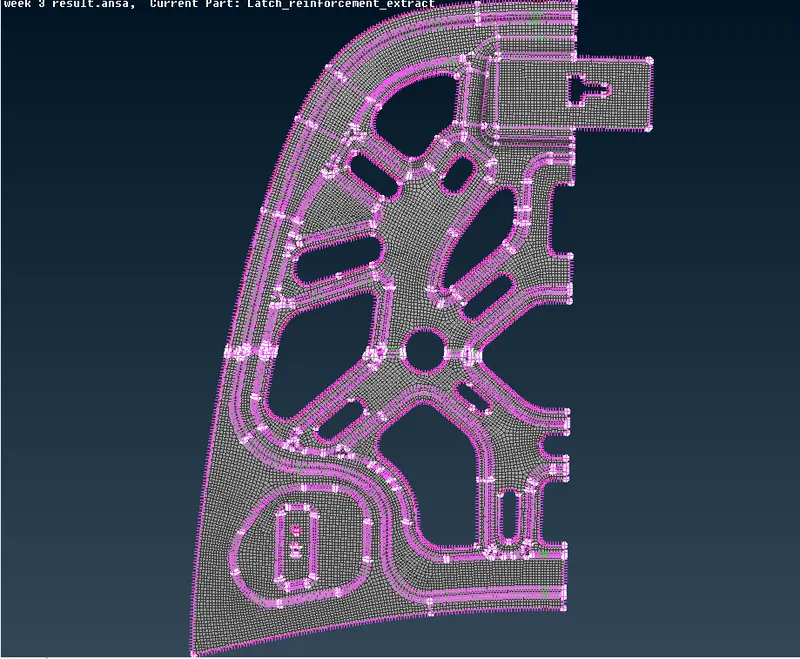
17.Next go to the utility→Translate→Copy→Entity→Symmetry→Apply.
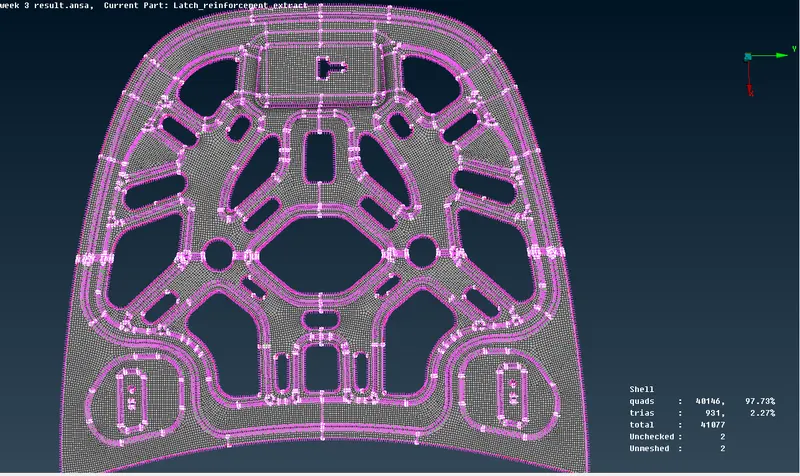
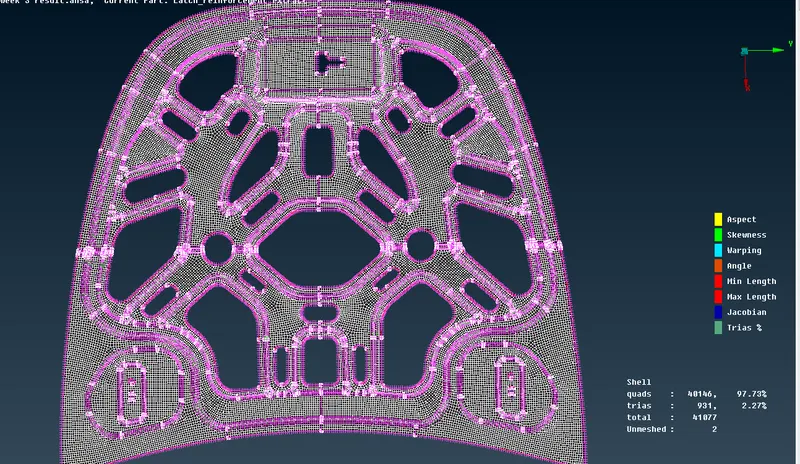
18.Similar procedure as been performed on the respective components as shown below.
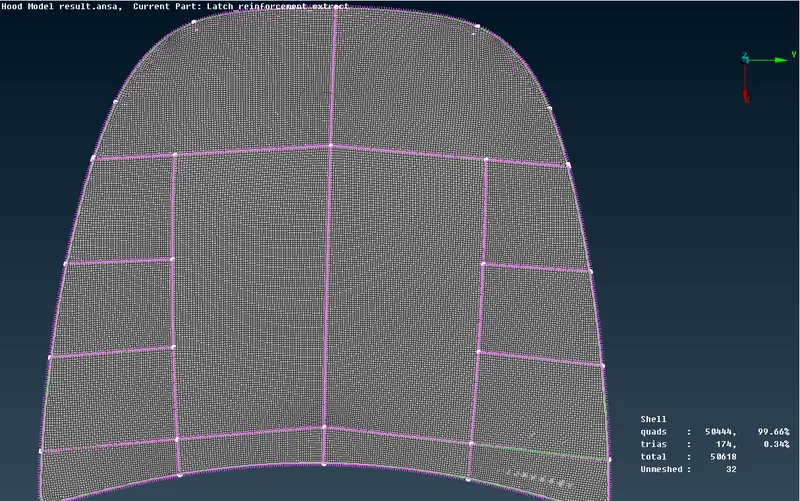
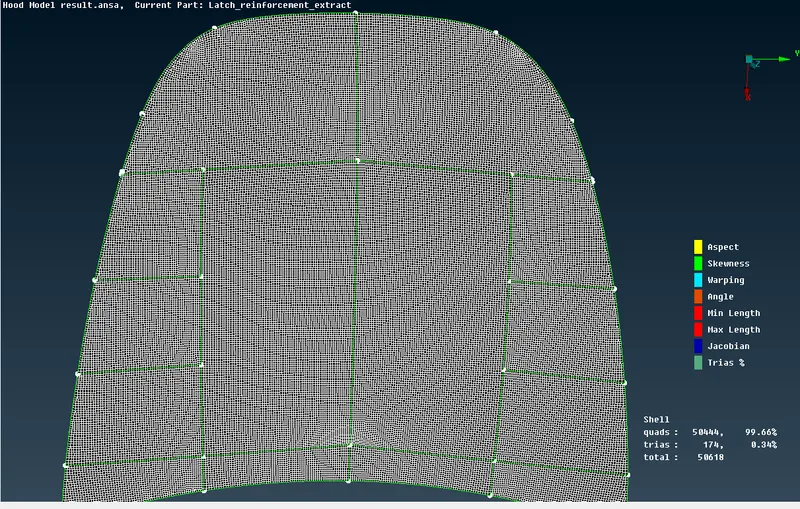
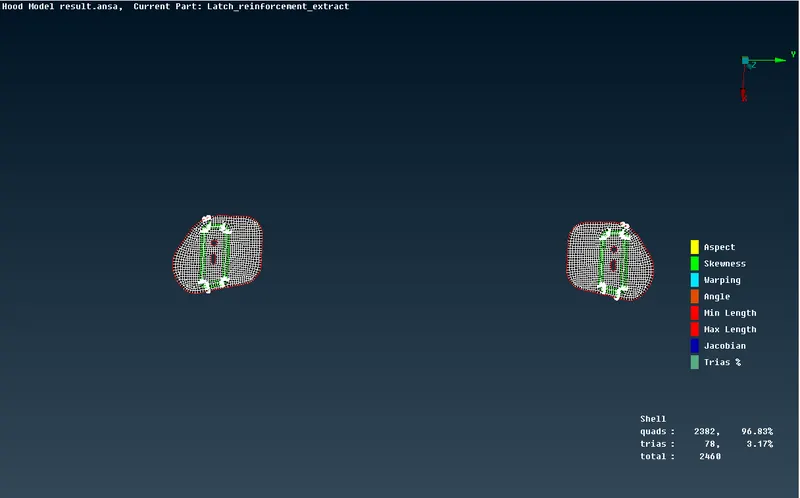
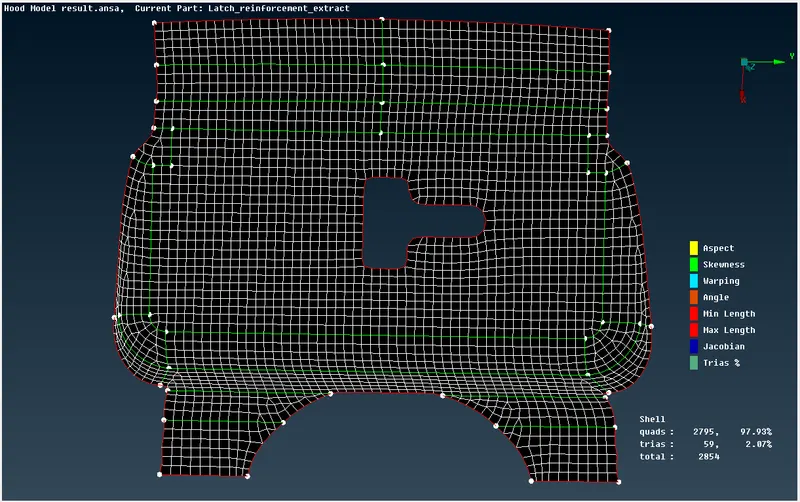
19.Next assign the thickness for each component as shown below.
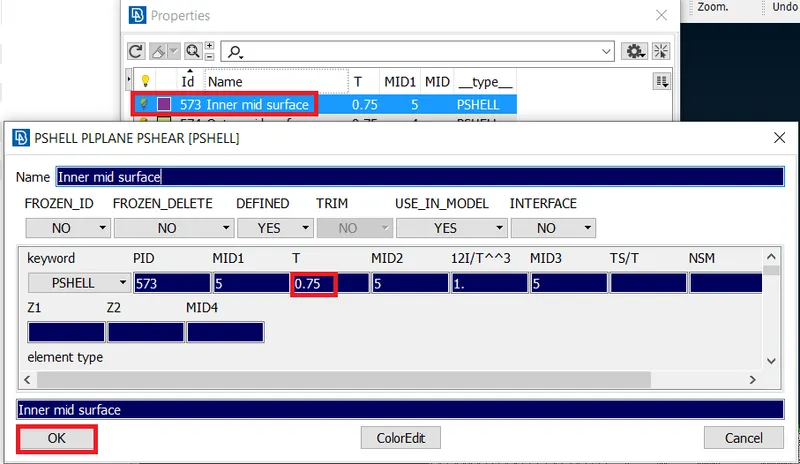
20.Similarly giving the thickness for all components.
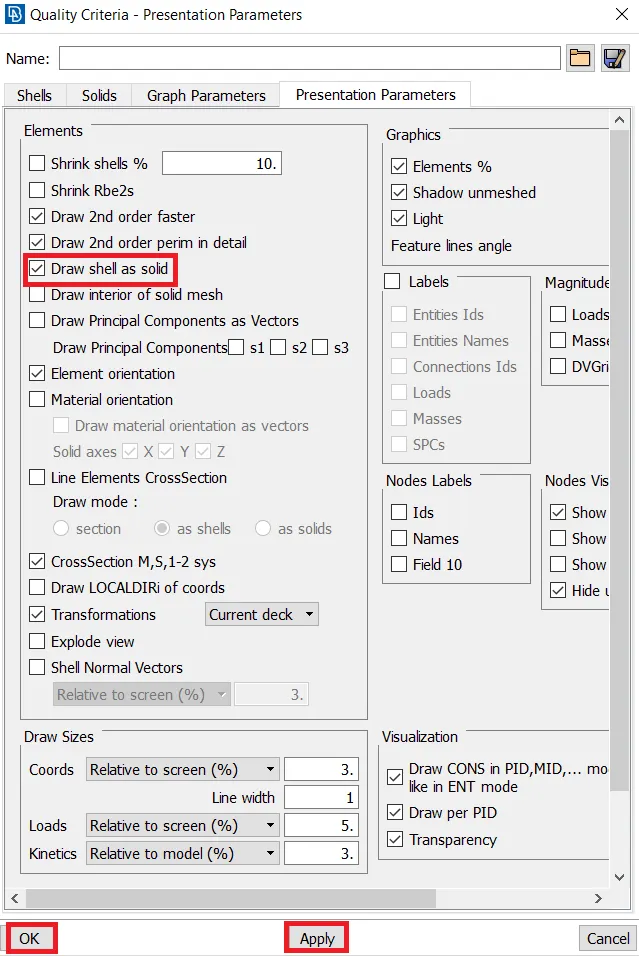
21.Next goto the Quality the mark on the draw shell is as solid as shown below.
LEARNING OUTCOMES:-
1.Fixed the geometrical errors manually.
2.Learned to extract the mid surface for the component.
3.Assign the property and material specification to the component.
4.Studied to do meshing according to the quality criteria and mesh rules.
5.Used the transform option to do meshing effectively and saved much time.
CONCLUSION:-
The hood meshing is successfully completed without any element failure by using ANSA.