Week 3 - 2D meshing for sheet metal
Aim : 2d meshing for sheetmetal : hood Model
Part
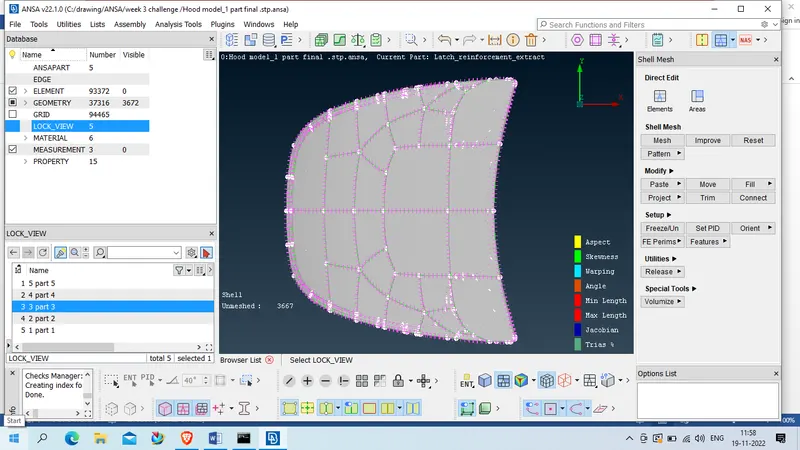
Procedure :
1. check all the parts and thickness of respective
2. we found 5 parts , 2 parts are of 0.75 mm thickness other 3 are 1.2 mm thick
3. do the geometry cleanup first ( with selecting single corn also)
4. fix all the errors in geometry.
6. creat lock view for all 5 parts
7. select part 1 with show only option , check again geometry , do oreint ( we are in topo mode )
8. creat mid surface using ( midsurface - Skin ( delete original faces - must be cross )
9. selecte mid surafce using and /not or !not command.
10. do a topo once , and checked geometry cleanup again ( without single corn)
11. assign the property for mid surface using ( faces- set PID- selected drop down box to the mid surafce - middle click - new - Pshell - assign and mid surface name & thickness - ok )
12. switch to the classic mesh mode
13. now we clean of work area like removing all the unrequired lines( micros), hot point
14. now we assign lenght of perimeter and micros using - ( perimeter- length - perimeter - dropdown box selection - middle click - assign our required length i.e. 5 - ok, similar for micros and close )
15. if any punch or silimar kind of cuts/hole available , we make sure that have even nos of node and there edges will be paraller to the nearest mircos
16. assign the quality criteria parameters given from challenges , also slected graphiocs elements % to yes , details on demand effet to minimum- apply - ok )
17. assign mesh parameter ( utilities - mesh parameter- assign the parameters in basic - ok )
18. next we will generate mesh using ( mesh generation - best - select the portion where mesh required )
19. improve the mesh flow if any ( quality criteria must be pass )
20. repeated same for the other portion of same part.
21. in case of symetrical geometry we will delete half faces using ( topo- faces - delete- select the half of symetric parts - middle click - ok)
22. after creating mid surafce on half parts, we will do symetric operation using ( Utilities- transform - copy - selected the required portion which should be copy - middle click - select symmetry - use default symmetry plane or mirroe 3 point symmetry - ok )
23. after completed all the portion on same parts we save the work using save as with proper name .
24. now we will fo to lock view and work for 2nd parts - as show only and will repeat all the procedure from point 7 to point 23.
25 after completeing all 5 parts we will go the the property manager and click on only 5 property which we had created
26. we will save this as final result
IMAGES
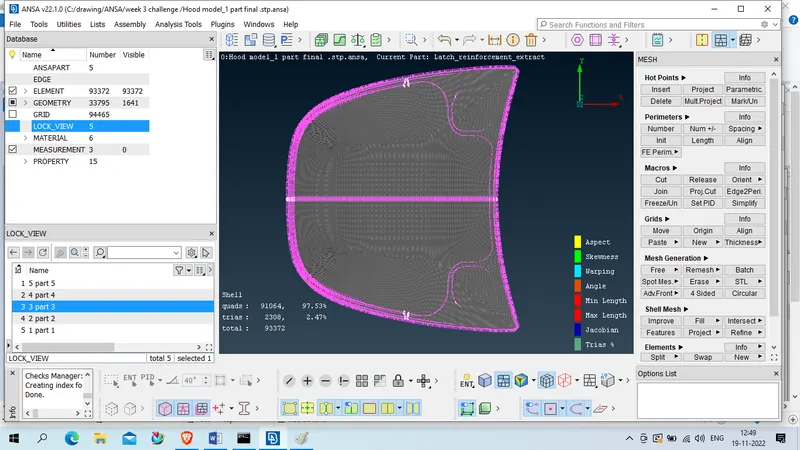
1 parts 1 ( after meshing )
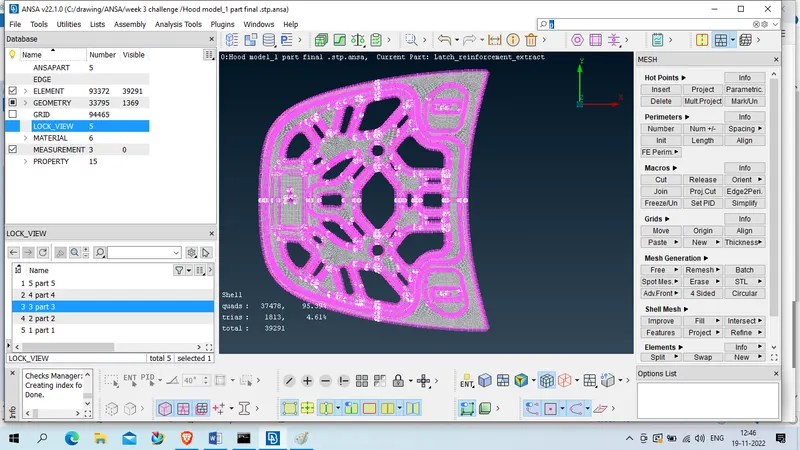
2. part 2 ( after meshing )
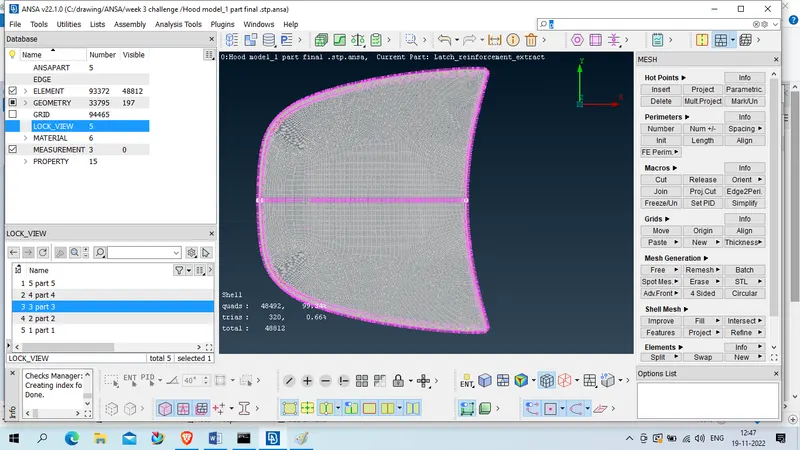
3 part 3 ( After meshing )
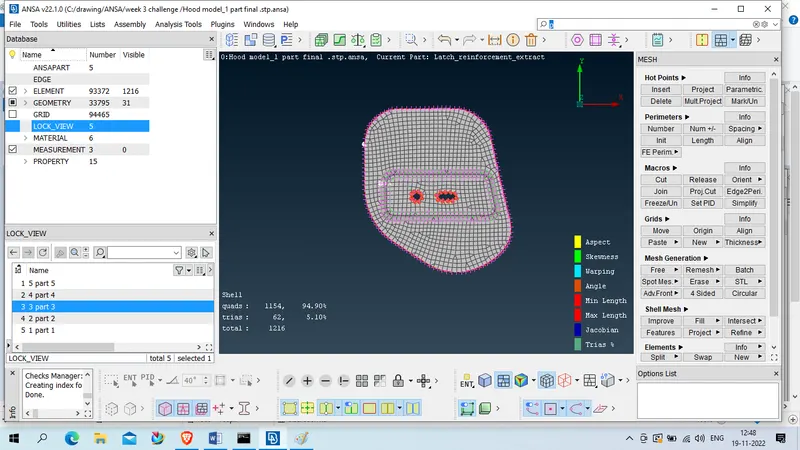
4. part 4 ( after meshing )
5. part 5 ( after meshing )
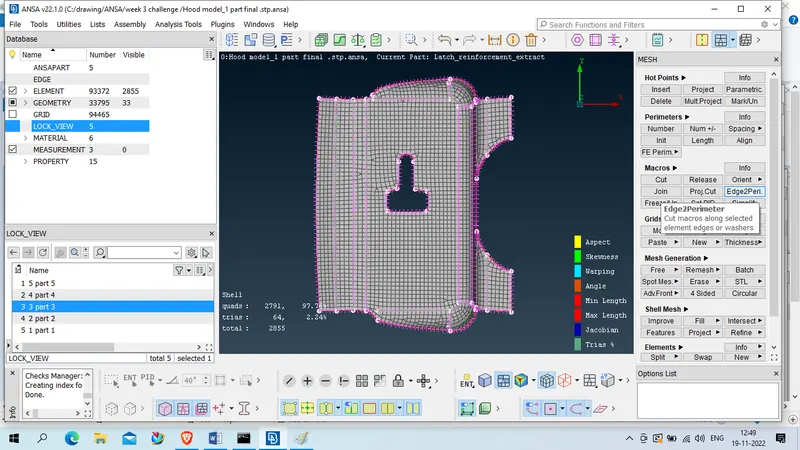
6. final Result