Week 3
Procedure- Open the Hood geometry in ANSA for meshing. The geometry has four different components. Go to properties to see individual parts. Geometry has each part individually to extract the middle surface and mesh the component.
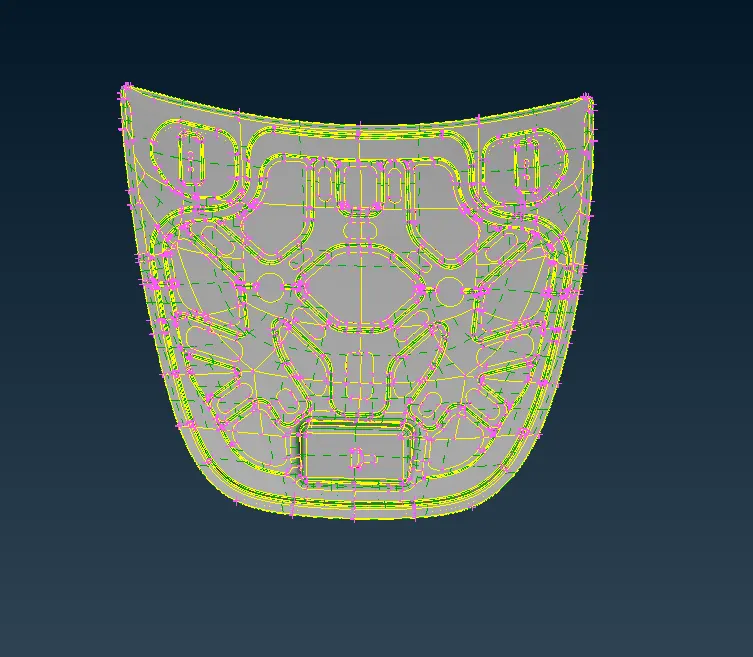
Fig 1: Hood Panel
Command: {Inot+select the surface+middle mouse click+Neighbour(All)+create store Lock}
Repeat the same command for creating a store lock for all components.
Give topo to the whole model for checking unnecessary cons in the parent component, crack in geometry, deform faces.
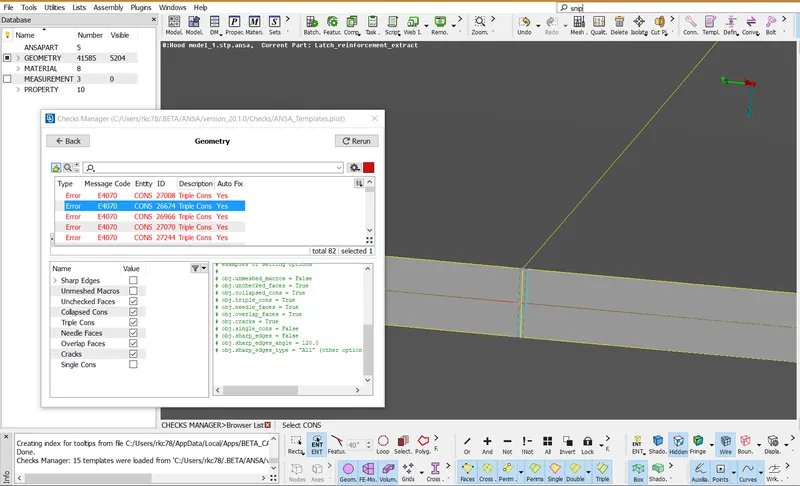
Fig2: Hood Model
Command:{Checks+Geometry+Except Single cons tick on all+Execute+Auto Fix}
After giving TOPO to the model, follow the above command. After checking the errors in checks that can be fixed Auto but here we need to take care while using AUTO fix option after auto-fix go and check if there any changes occur in the component. Some of the errors can be fixed manually.
Set PID for different Components as per your convenient
Middle Surface: Middle surface is the middle part of Geometry which has two surfaces.
Hood geometry has five parts in which three of them have the same thickness of 1.2mm and the remaining two parts have a thickness of 0.75mm
Here we have two options for Mid surface extraction, (1) Auto (2) Manually.
So, here I go for a manual option for extracting mid surface.
Command:{ offset > select single face > give offset value> Extract}
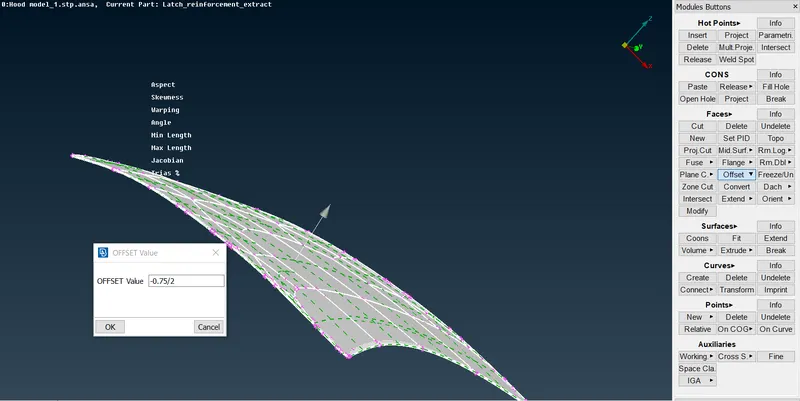
Fig3. Mid Surface Extraction
After mid surface extraction, Go to set PID and assigned properties to each mid surface as per your convenience.
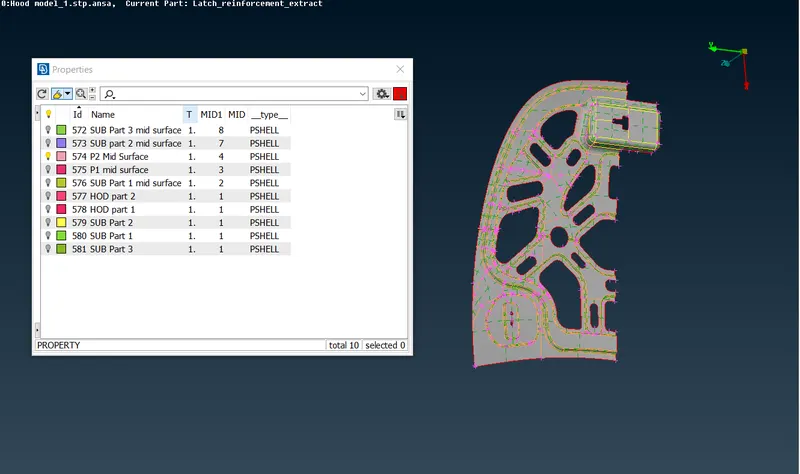
Fig4. Property to Inner part of the hood
Before starting Meshing give perimeters, macros, and other quality criteria as mentioned.
Go to perimeters select length then select the whole model give perimeter and macros accordingly.
Go to Quality criteria and give value accordingly.
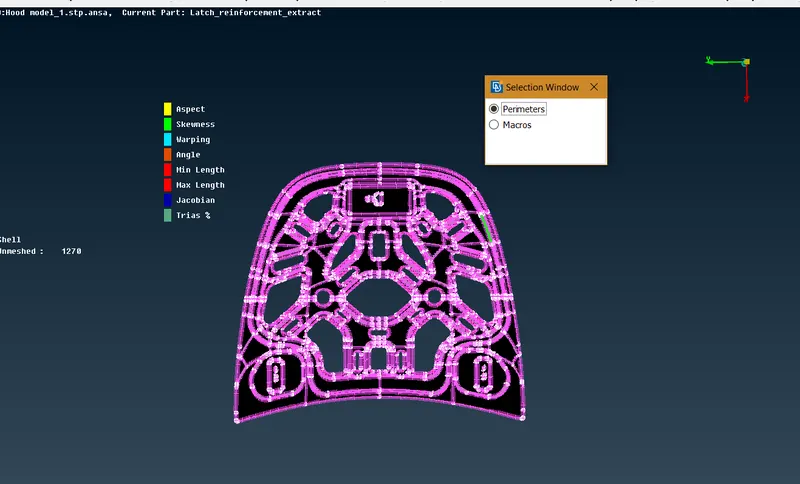
Fig 5. Perimeter and macros
Go to Quality criteria and give value accordingly.
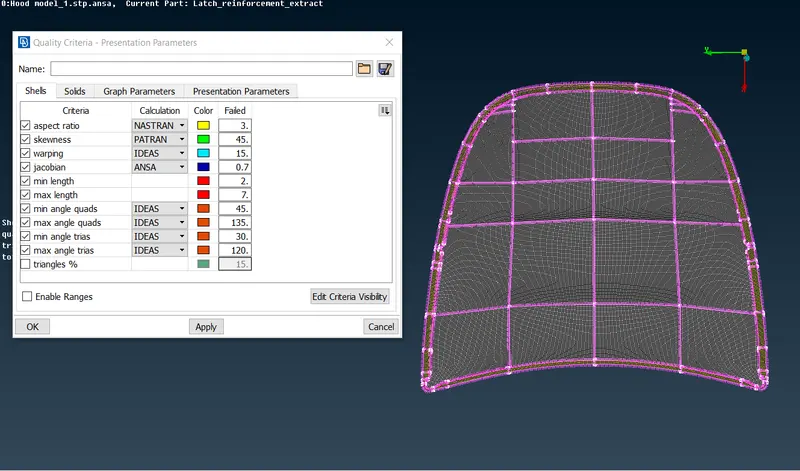
Fig 6. Quality criteria
Meshing: Meshing is an integral part of the engineering simulation process where complex geometries are divided into simple elements that can be used as discrete local approximations of the larger domain. The mesh influences the accuracy, convergence, and speed of the simulation.
Before meshing divides the surface into many parts, use the cut or Project cut option to divide mid surface for better mesh formation.
For meshing use BEST in Mesh Generation.
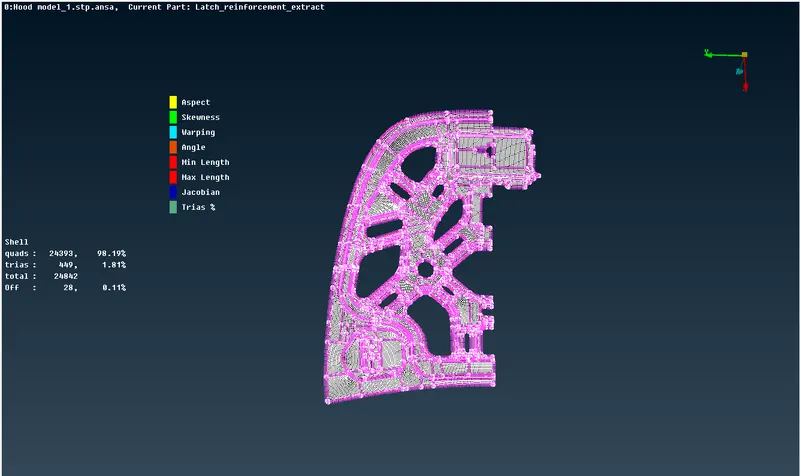
Fig 7. Inner part of the hood
In the above figure, I delete the half portion because it's similar, so going that way decreases your meshing time.
So cut into two parts if the geometry is similar across one plane.
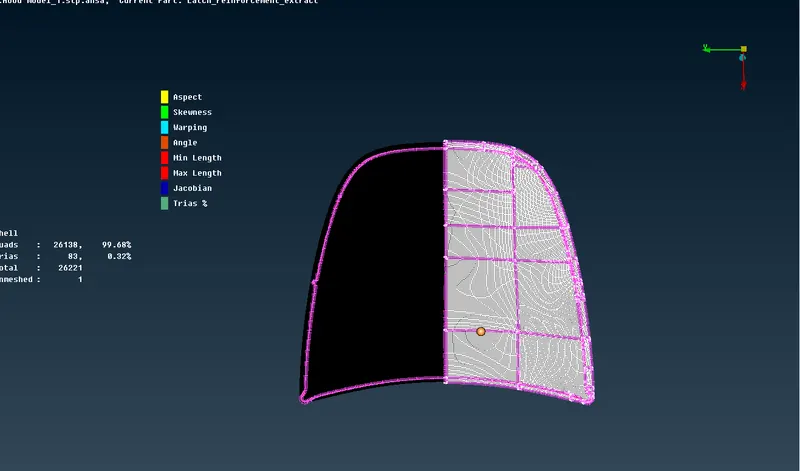
Fig 8. Meshed Upper Part of Hood
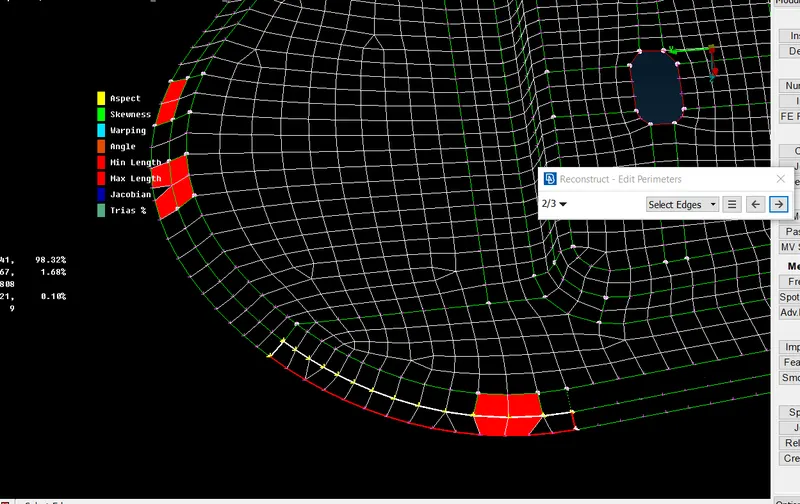
Fig 9. Fixing Trias and Different quality parameters
In fig(9), There was an error relating to max length and other quality parameters.
After giving mesh to the component mesh flow doesn't get proper, so use reconstruct option and the smooth option to get a proper mesh flow and smooth mesh flow, try to avoid trias at the edge of the geometry.
Use the reconstruction option to reconstruct the mesh try 2 or 3 times to get a proper mesh without any error. To smoothen the mesh use the Smooth option. Fixed trias by splitting them. Sharp edges and trias should be moved out of the edges.
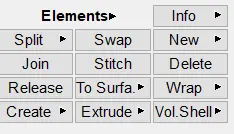
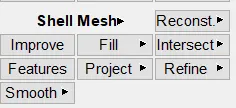
In the above two figure, we have different options
Use reconstruct to reconstruct the mesh and smooth option for smoothening the mesh.
The smooth options help to achieve proper mesh flow.
Use Split, swap, join to remove trias. the sharp edges element should be moved to a particular distance or reconstructed again. tria element should be moved out of edges to get a proper mesh flow.
Learning.
Result: The mesh is obtained on each part of Hood geometry. we got a perfect & smooth mesh with 99.26% quad 0.74%tria.
Learning outcome: After doing all this
we learn how to remove unnecessary triple coons
how to extract mid surface.
How to remove trias.
Conclusion: The Hood component is extracted with mid surface. We get refined and smooth mesh with less than 1% trias.