Week 2 Challenge : Surface meshing on a Pressure valve
Surface meshing on a Pressure valve
Aim:
For the given model, check for the geometrical errors and perform Topology cleanup accordingly. Set three different target lengths as three different cases and mesh the model.
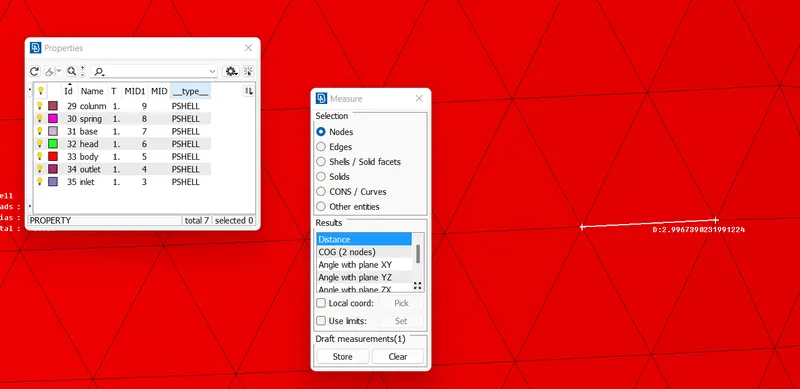
- Target length = 1mm, 3 mm and 5 mm (i;e. 3 cases)
- Element type = Tria
Objective:
Apply any one target length from the above at a time for the entire model as One case. Submit 3 different models for 3 cases.
Steps:
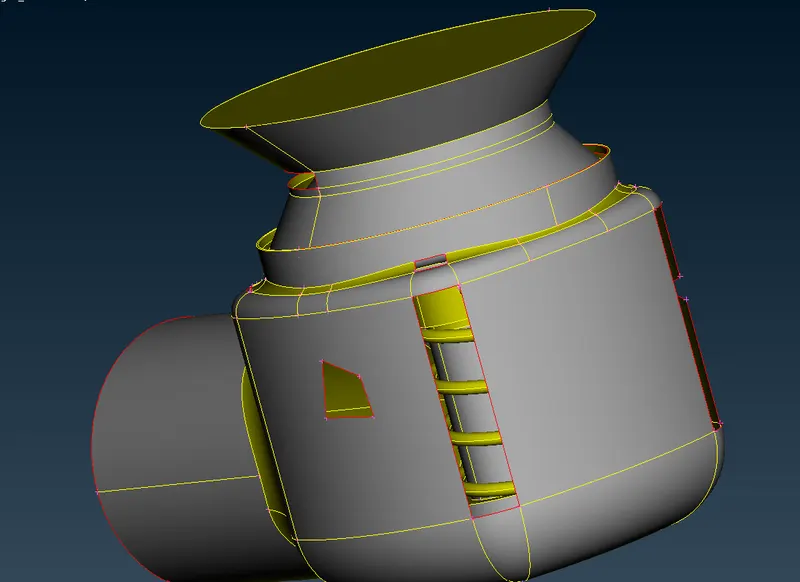
You can obesrve in the geometry there are more errors patches holes to identify the more minute errors check-geometry and see the errors.
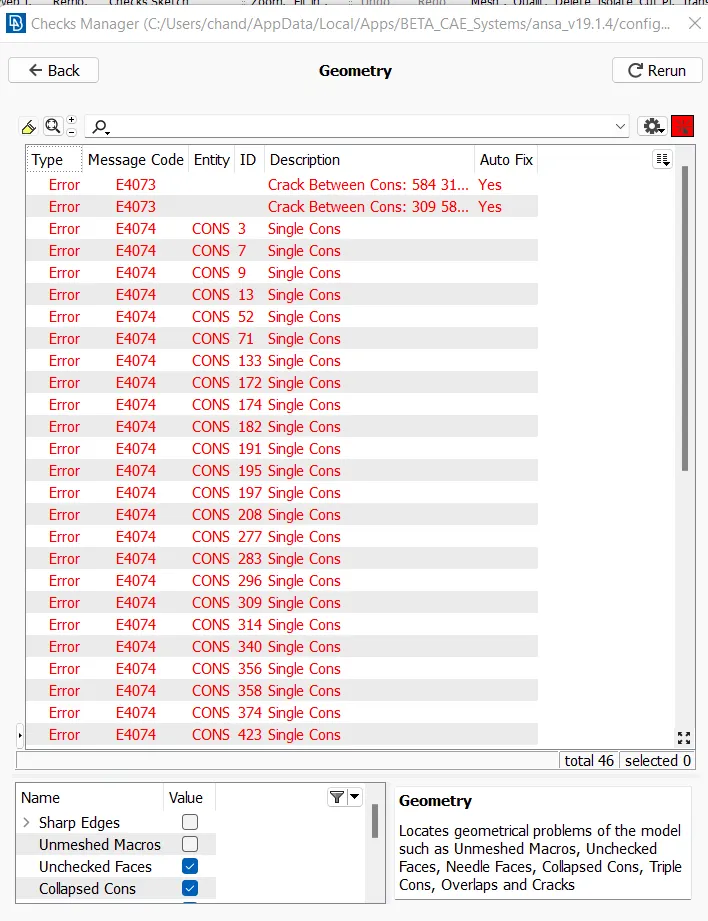
there are more single cons double cons and craks
before meshing the geometry wee need to clean up the geometry
use topo options
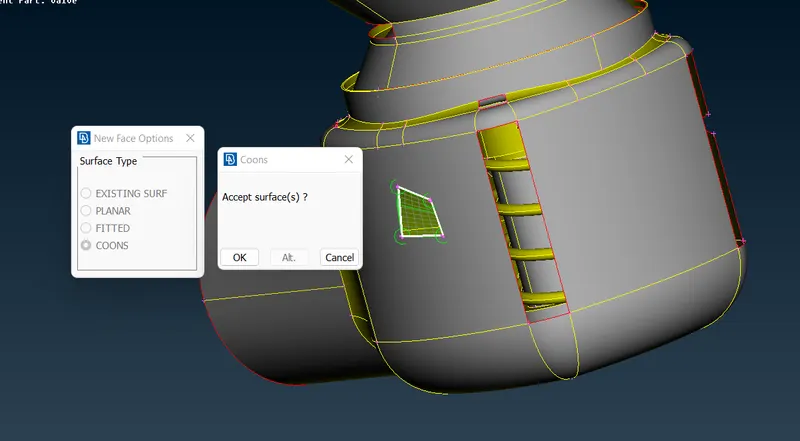
by this options we can fill the patche this geometry
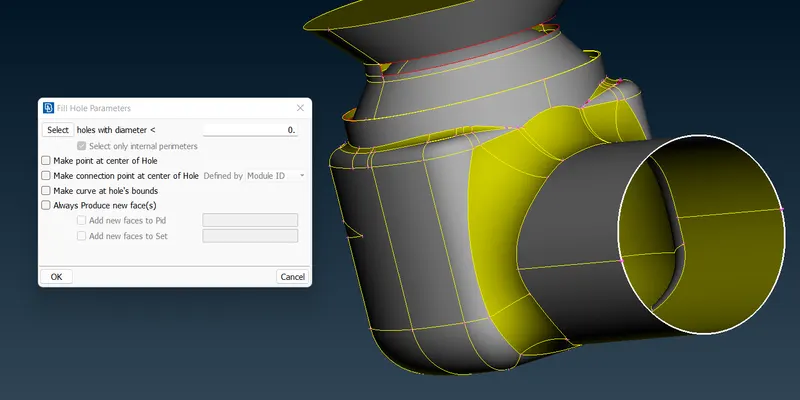
we can use fill hole option to fill the circular hole
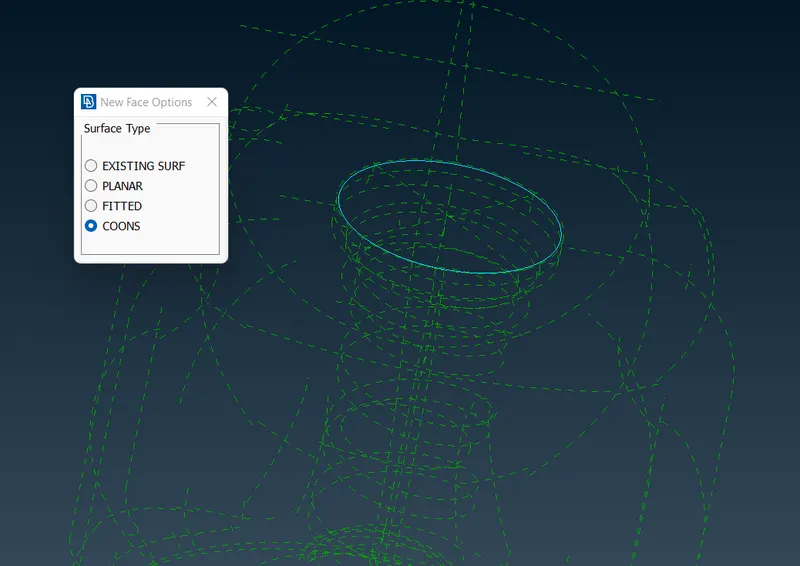
The triple cons are not errors we can mesh easyl
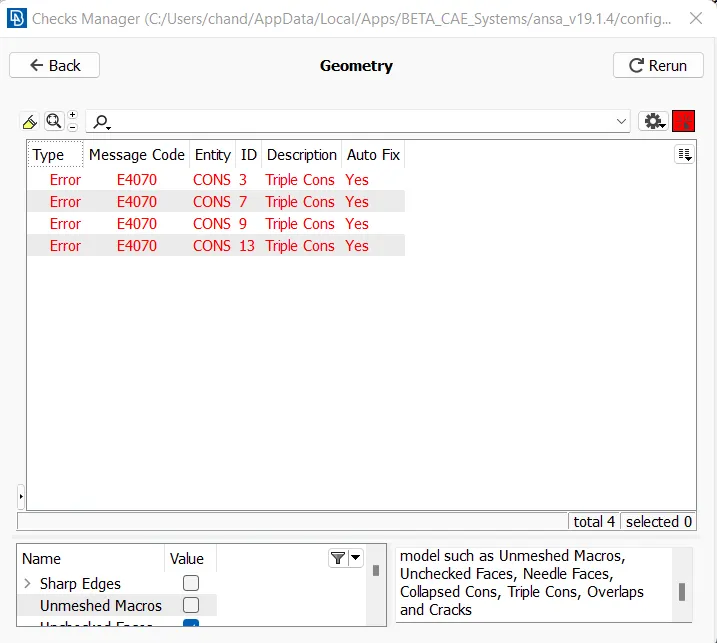
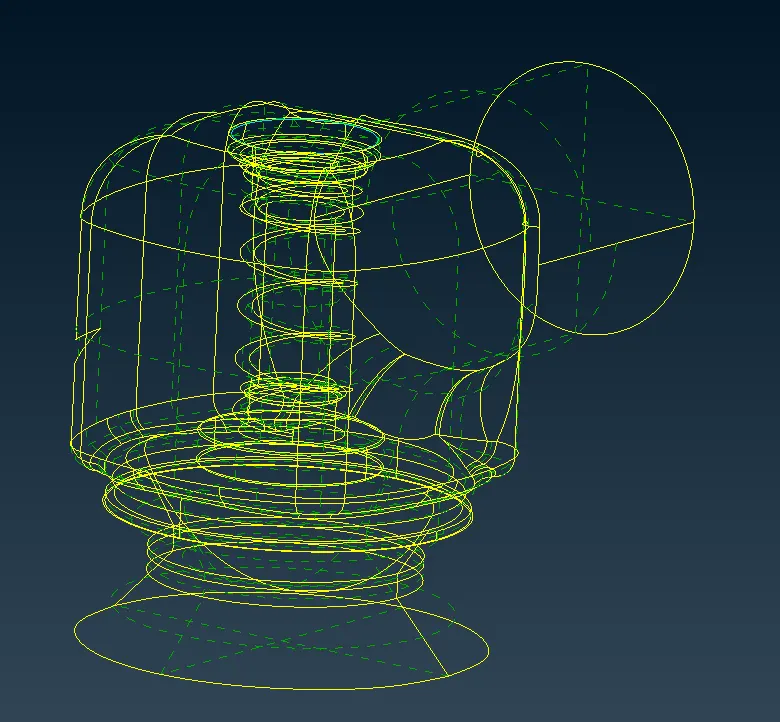
there are no single cons in geometry
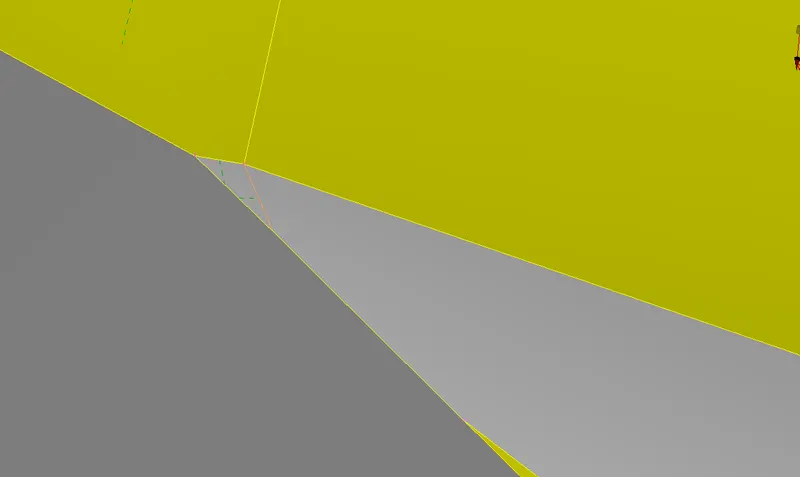
remove small area of cons which make difficulty to make a mesh by using cut options
remove as much as possible.
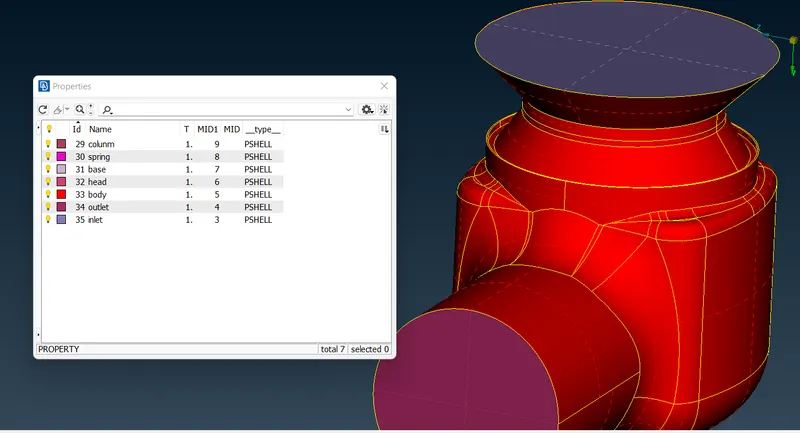
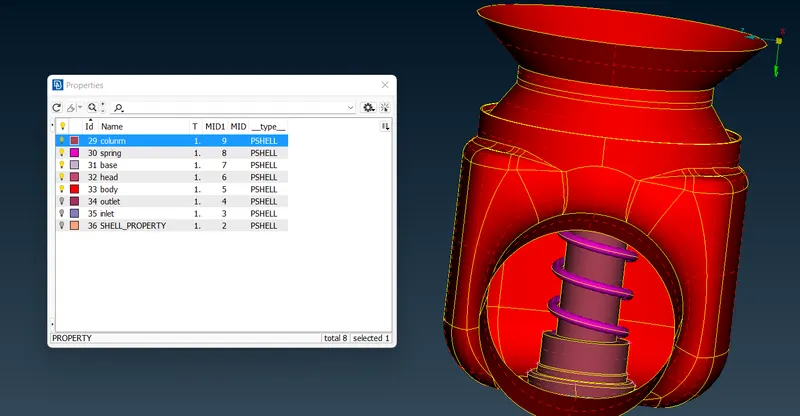
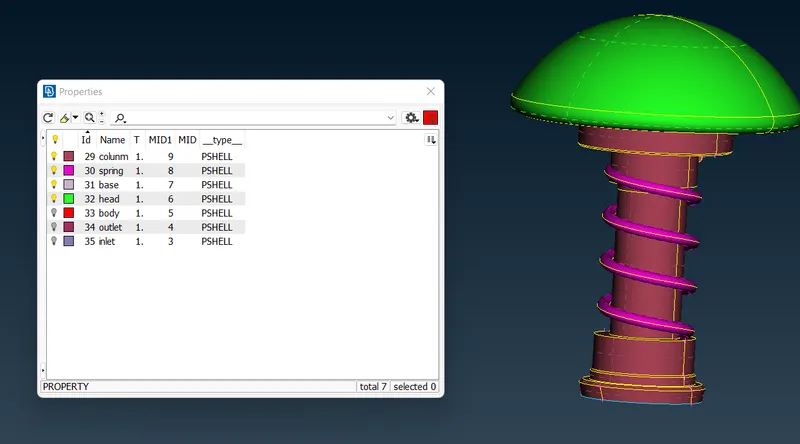
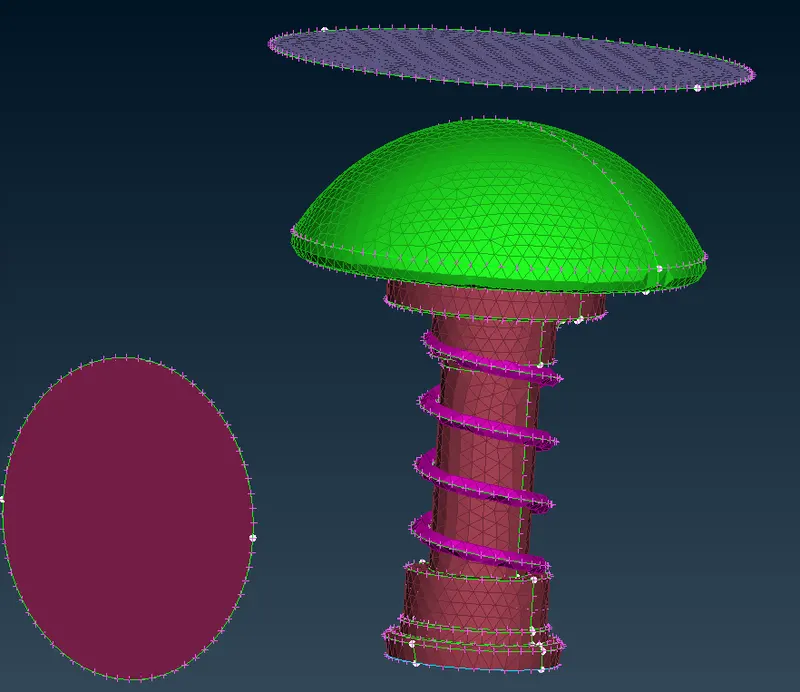
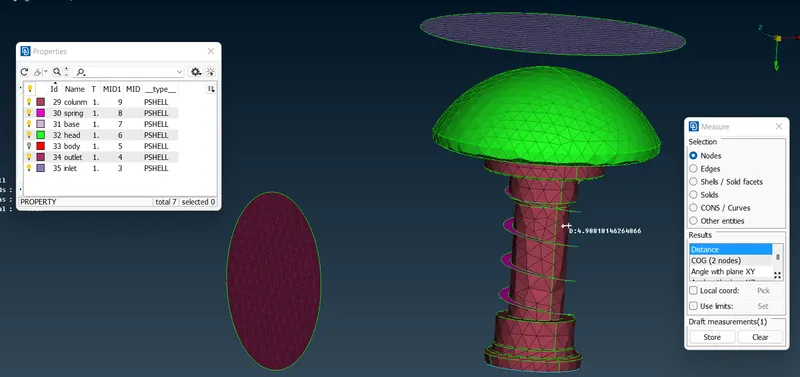
Mark the PDI for the pressure valve
make PDI for differnt parts of the pressure valve as shown
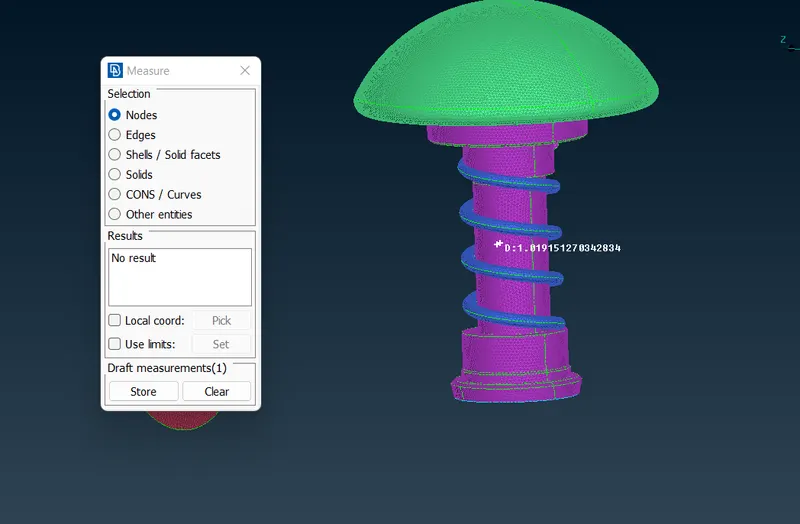
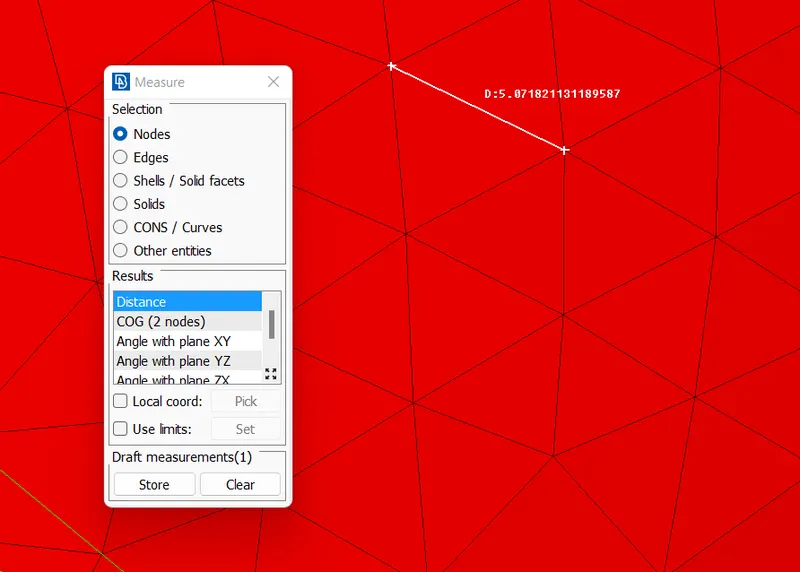
Case1 1mm:
Case2: 3mm
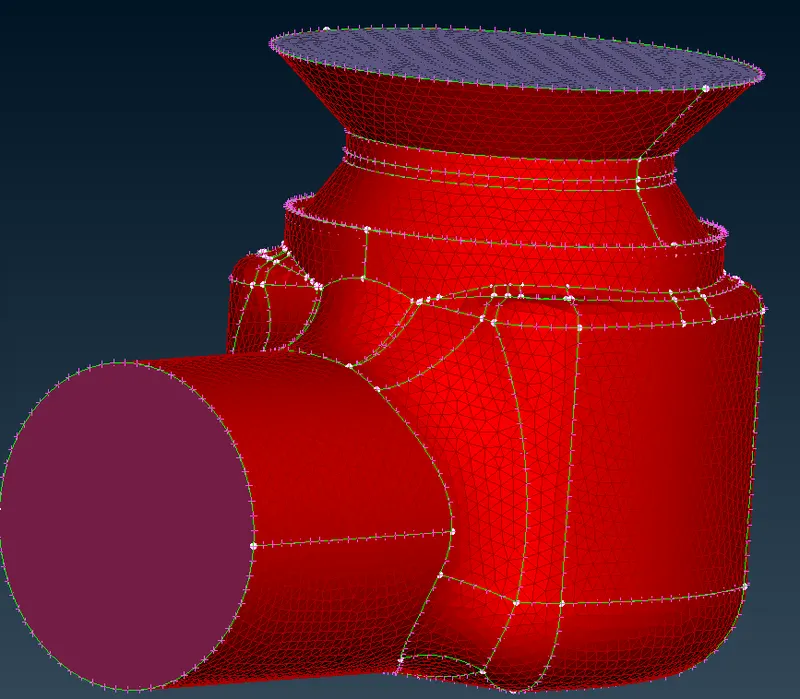
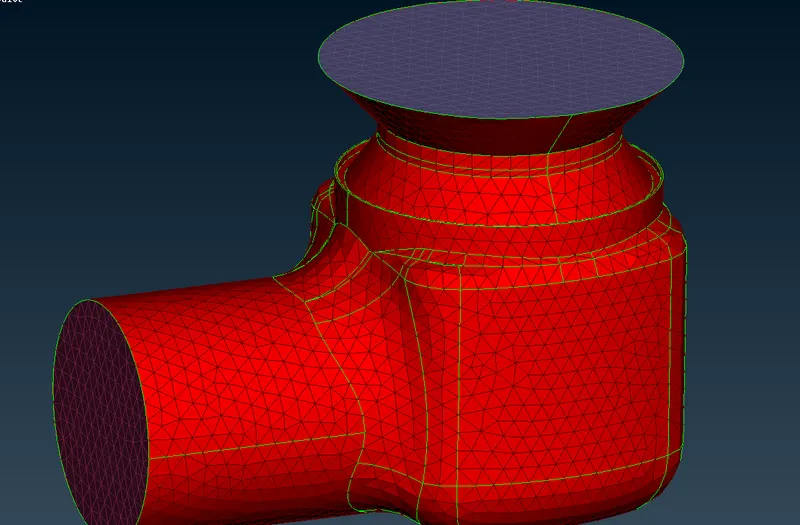
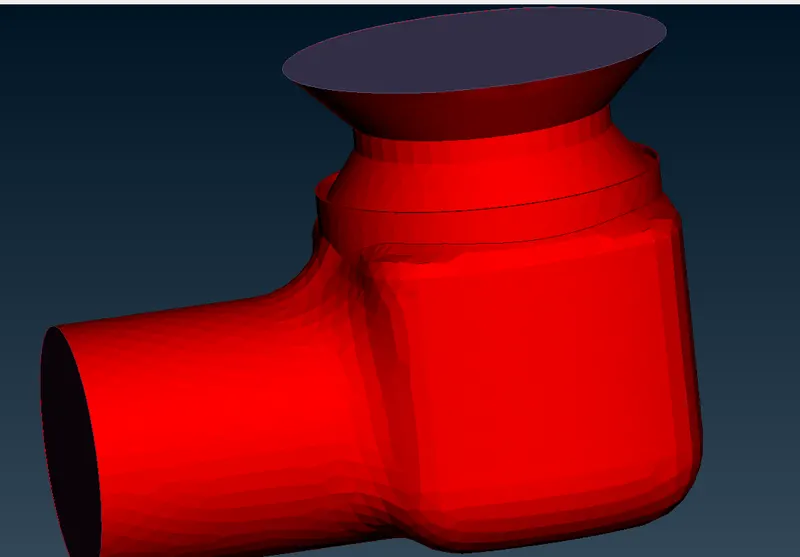
Case3: 5mm
Conclusion:
By concluding all the above three cases (1mm,3mm,5mm)
1mm mesh gave a fine geometry without changing the sketch of the geometry in case3 i;e 5mm the head of the pressure valve has uneven surface
By the finer mesh the results will also will be accurate in the simulation
From the above 3 cases it is concluded that the case 3 with 1 mm target length has little to no defeaturing and has retained the geometry of all components.
even though case 2 is giving the best results. But the catch is that it increases the computational time. To achieve this the components need to be meshed individually with different target lengths.
**************************************************************************************************************************