Week 2 Challenge : Surface meshing on a Pressure valve
OBJECTIVE
- To check for the geometrical errors and perform topology cleanup accordingly and set three different target lengths (5mm, 3mm and 1mm) for three different cases and finally mesh the model.
PROCEDURE
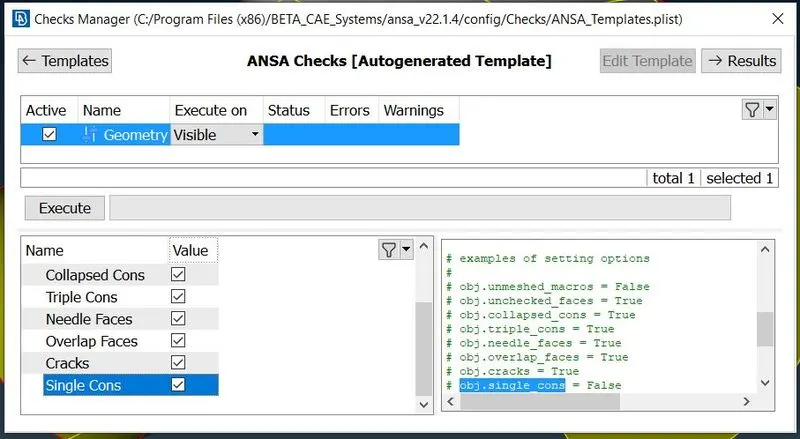
- First thing to do is to check the geometrical errors of the given model (Check>Geometry>Execute) as shown in the figure below.
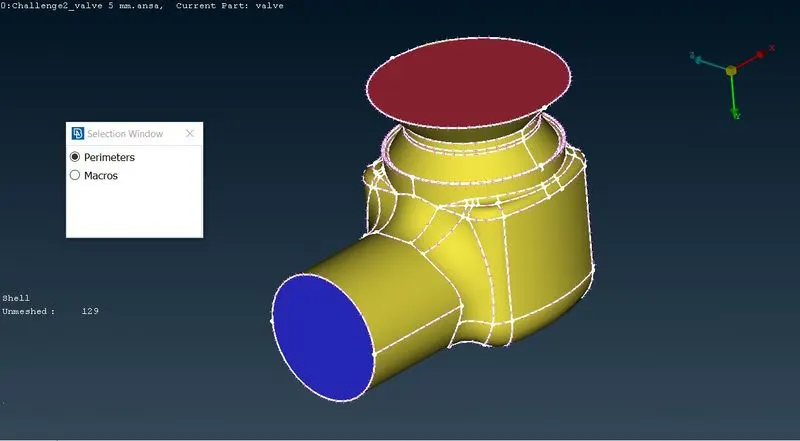
- After executing the checks, the possible errors will pop up in the next window.The possible errors will be highlighted as white colour on the geometry when every errors are selected simultaneously as shown in the figure below.
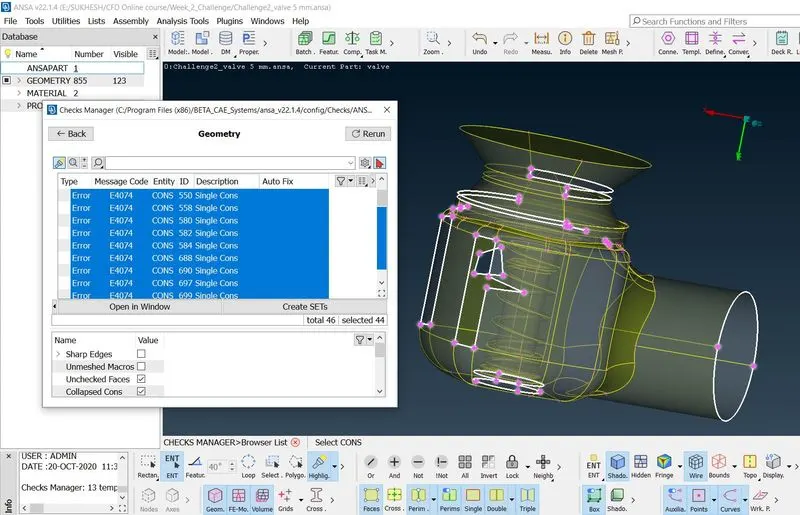
- Now remove the errors or patch the geometry where ever single cons are present.
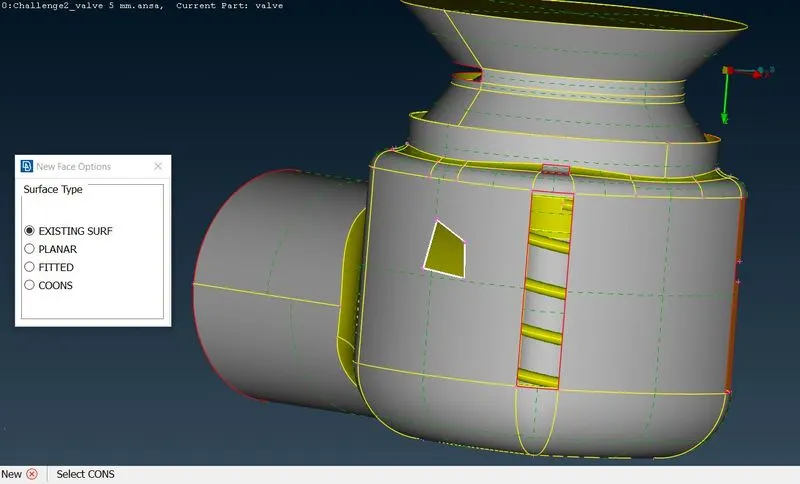
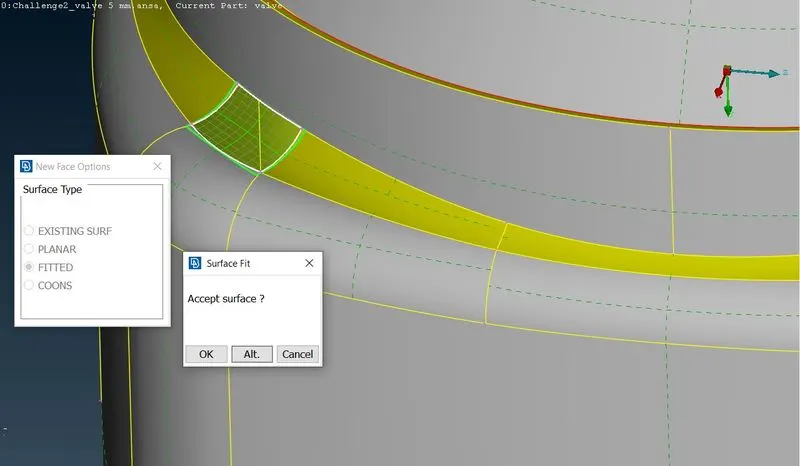
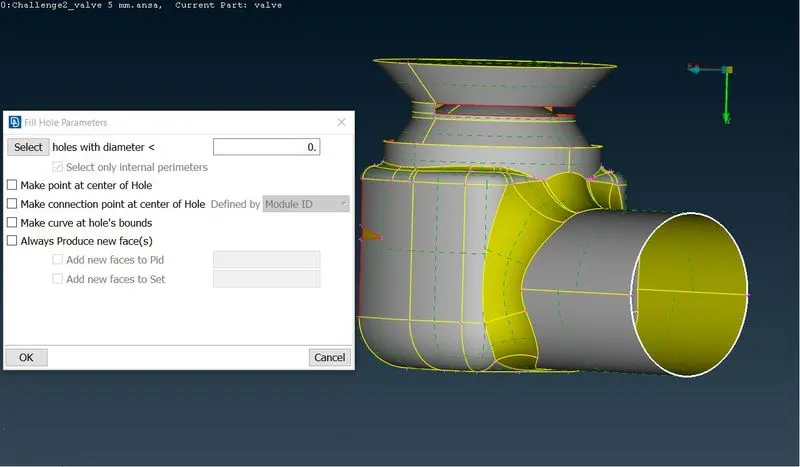
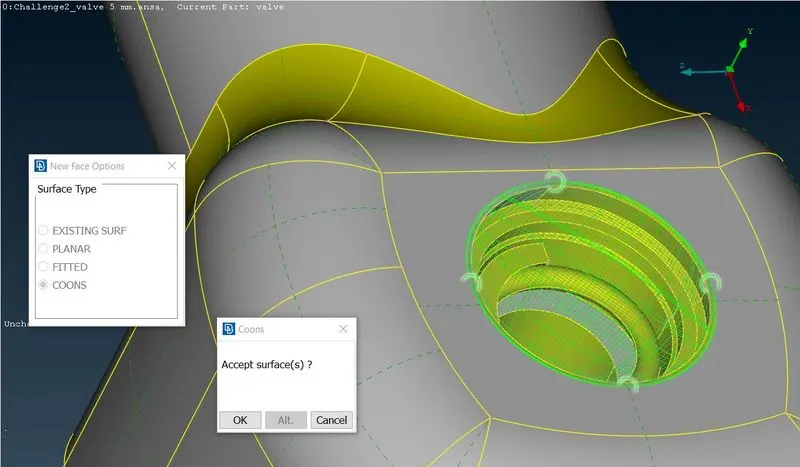
- Cleanup the surface of geometry by filling the gaps present by creating new surfaces (Topo>Faces>New>Existing Surf/Fitted/Coons). Fill Hole function can also be used for filling the holes presents (Topo>Cons>Fill Hole) as shown in the figures below.
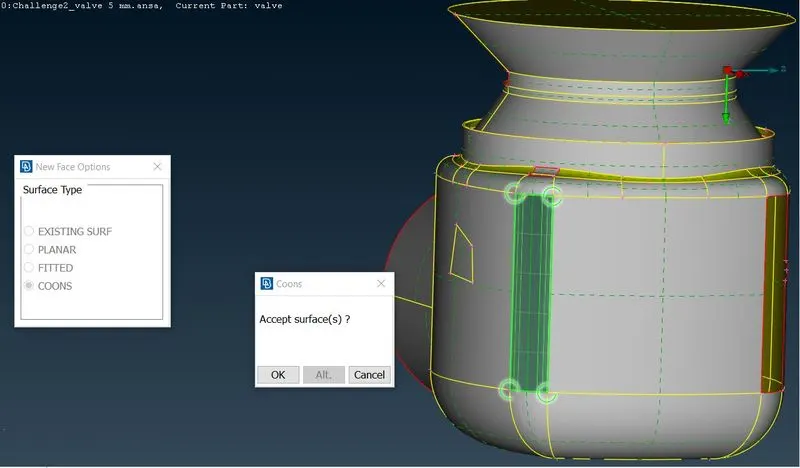
- After the topology cleanup i.e., after creating the new surfaces where ever required on the model, the model looks like as shown in the figures below.
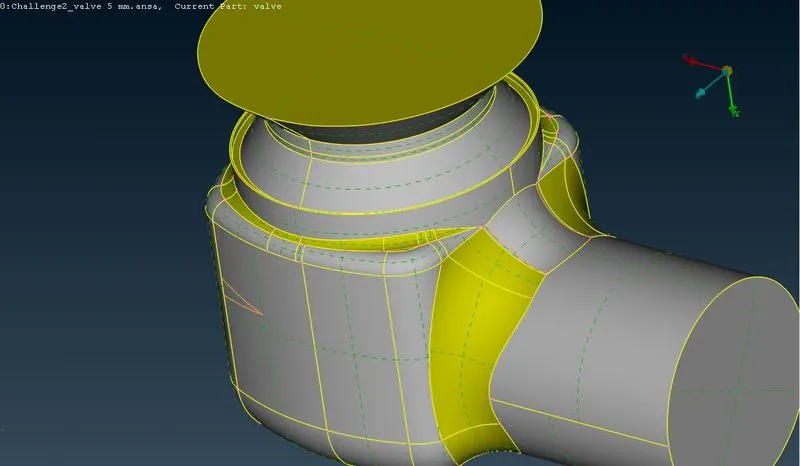
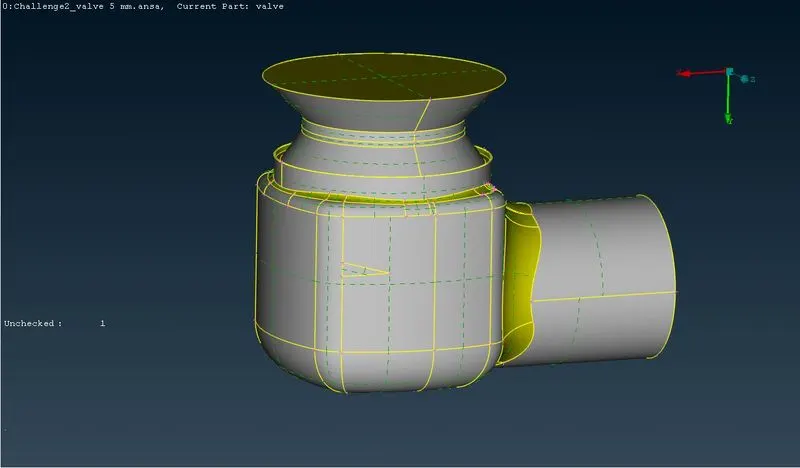
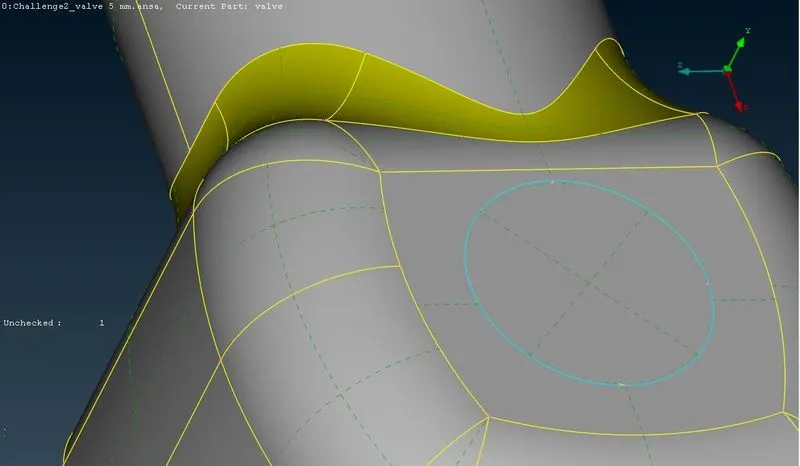
- After creating new surfaces by filling the gaps and holes, eliminate small surface that are difficult to mesh by using Cut function (Topo>Faces>Cut) as shown in the figure below.
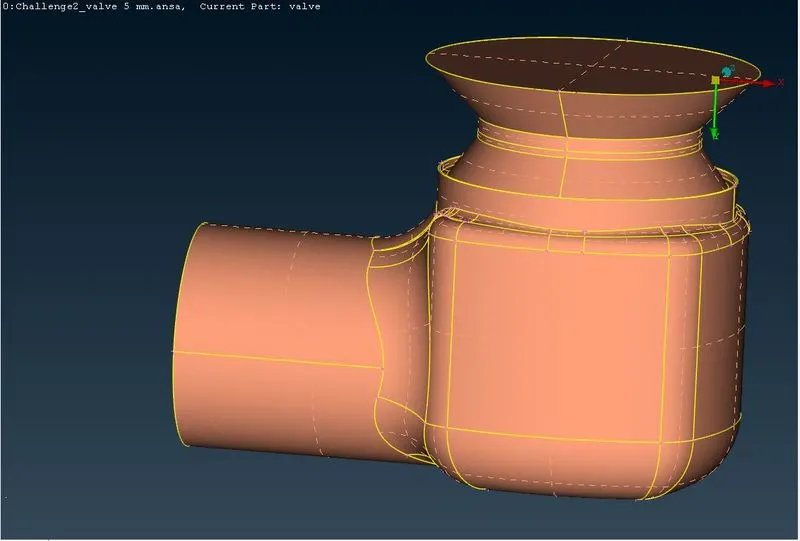
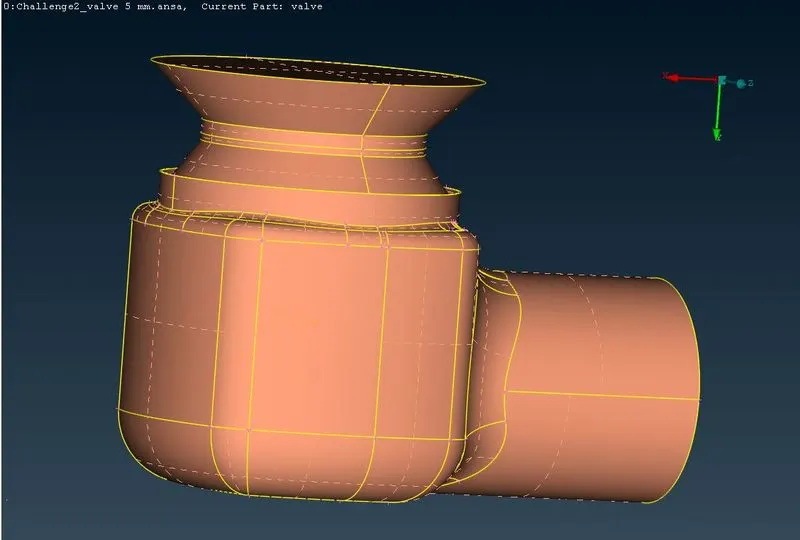
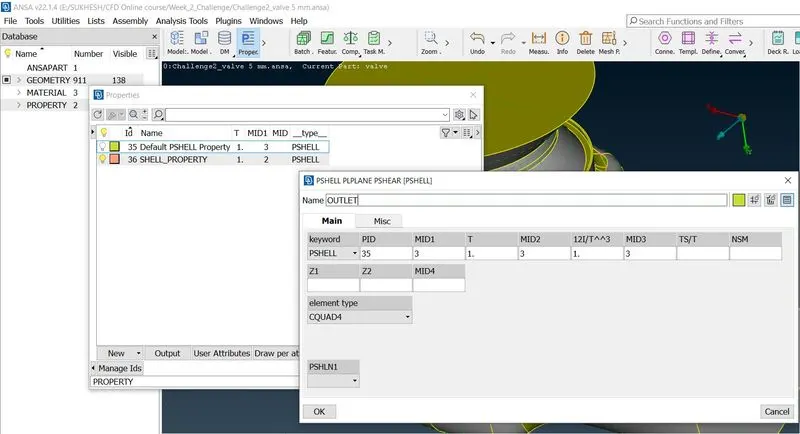
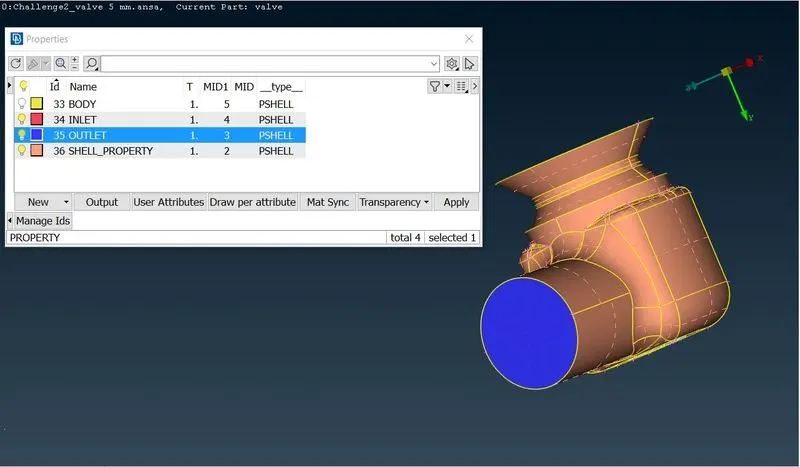
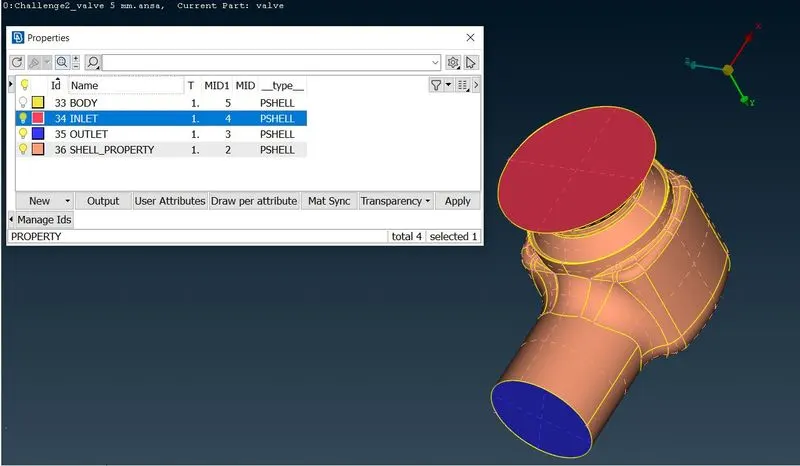
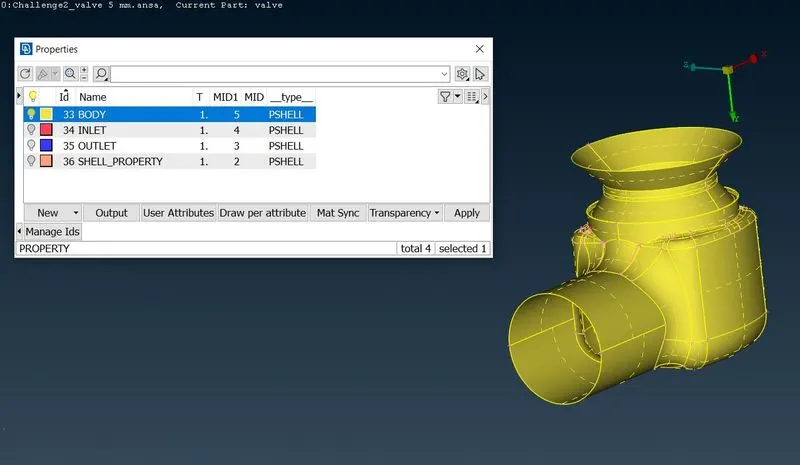
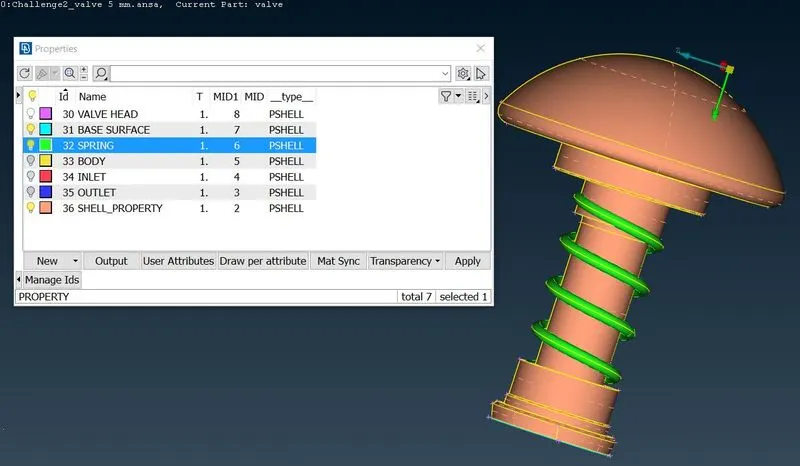
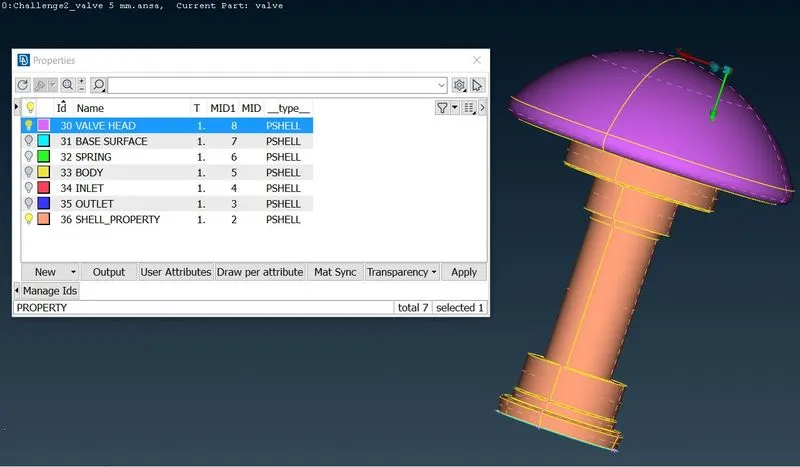
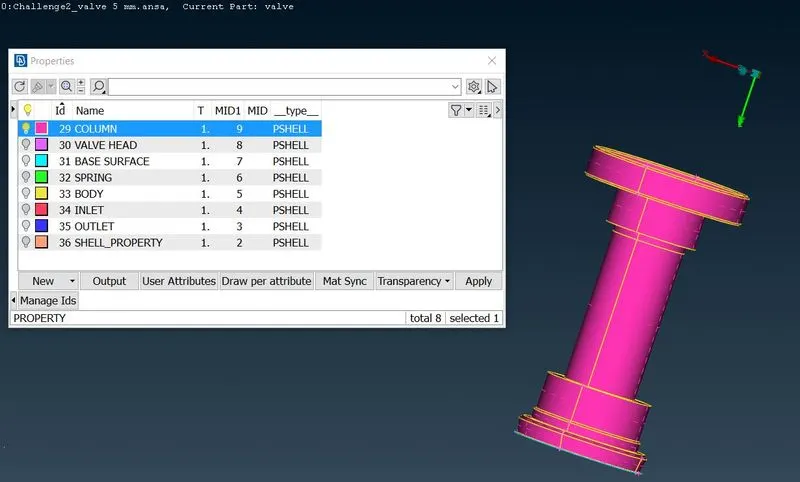
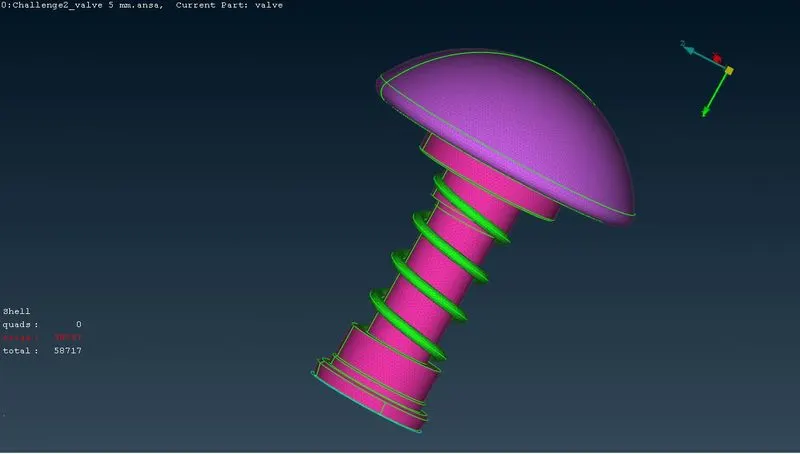
- After completing the cleanups name each part with suitable PIDs by selecting the Property tab from top column and creating new PIDs like Inlet, Outlet, Column, Valve head,Base surface, Body and Spring. Applying each PIDs to requisite parts as shown in the figures below.
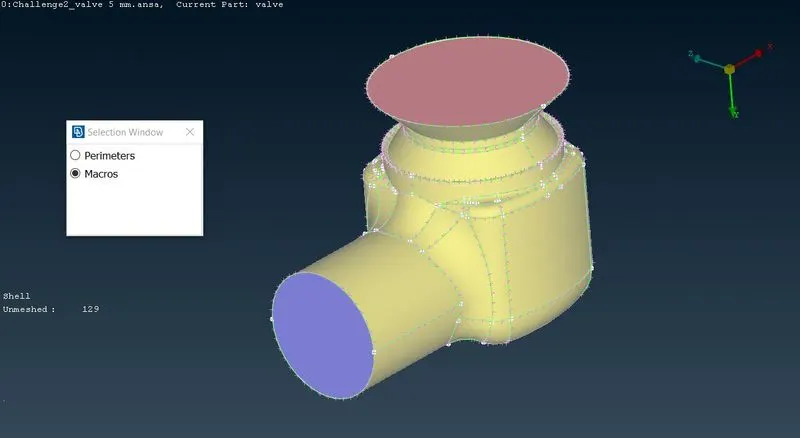
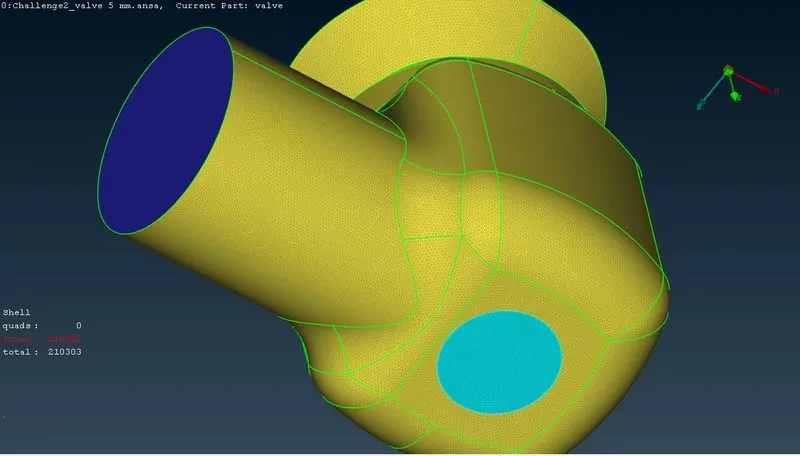
- To generate mesh, first specify the mesh length for both perimeters and macros as 5mm (Mesh>Perimeters>Length>Perimeters and Macros) as shown in the figures below.
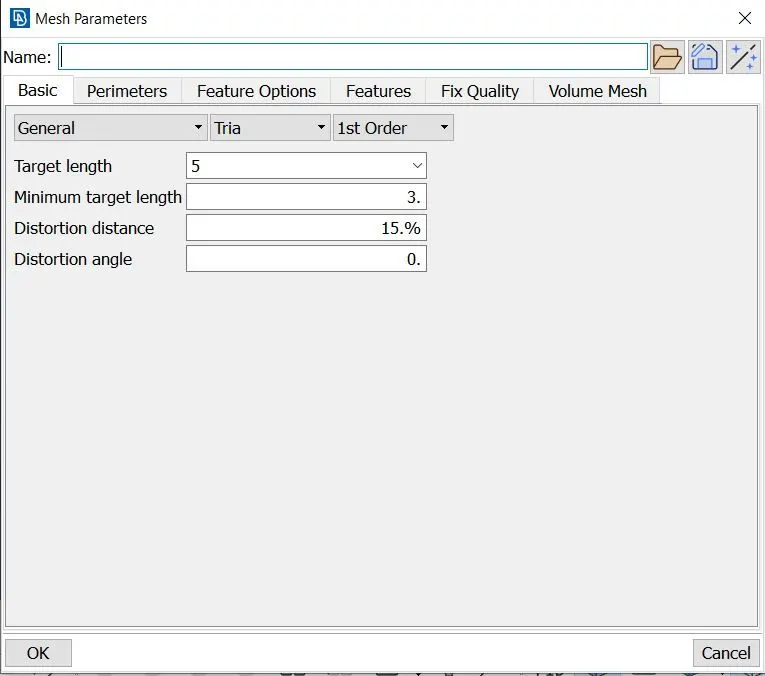
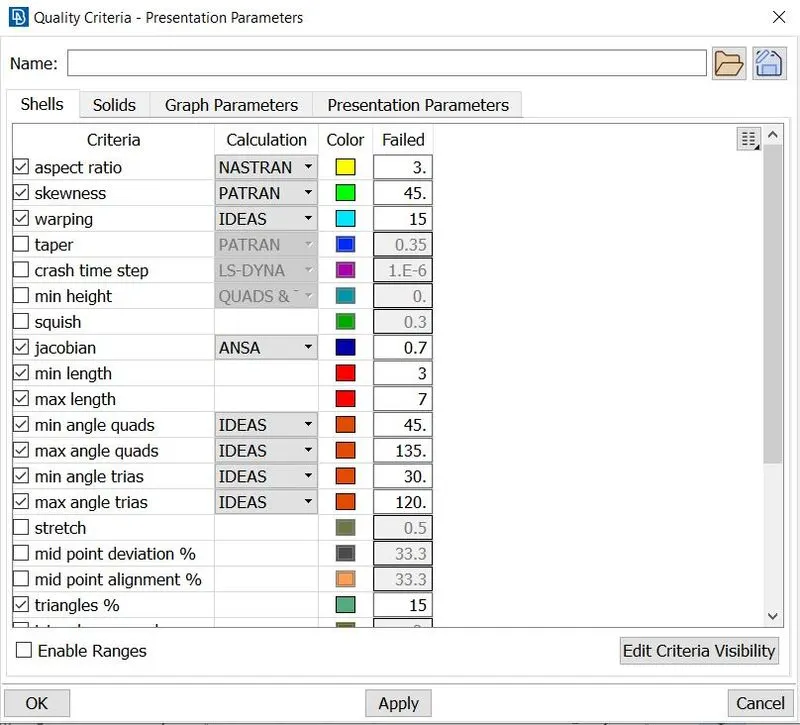
- Asign Target length=5mm, minimum length=3mm, maximum length=7mm and Element type as Tria in the Mesh Parameters tab and also asign the minimum and maximum length in the Quality Criteria tab as shown in the figures below.
- To generate mesh, follow (Mesh>Mesh Generation>Spot Mesh).
- Similarly generate mesh for Target lengths of 3mm and 1mm.and also keep the Element type as Tria.
LEARNING OUTCOMES
- Always check for the geometrical errors before generating mesh for any model.
- Any small surfaces having length less than the desired mesh length are necessary to be removed using the Cut function (Topo>Faces>Cut) otherwise it may result in mesh failure at that location.
RESULTS
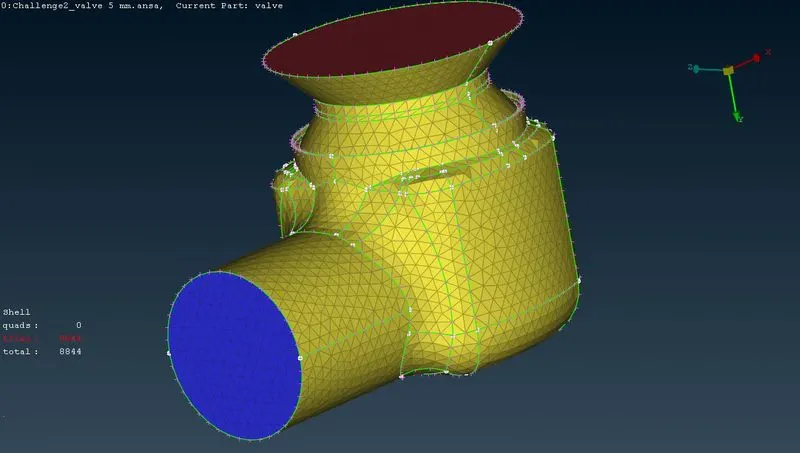
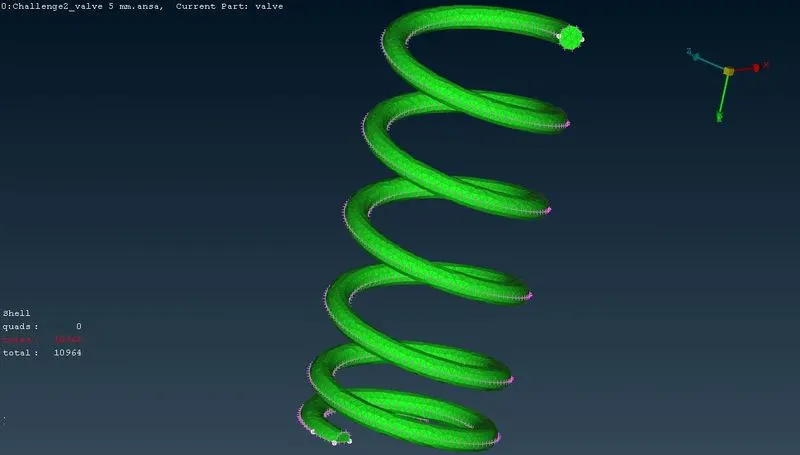
- Case 1: Target length = 5mm
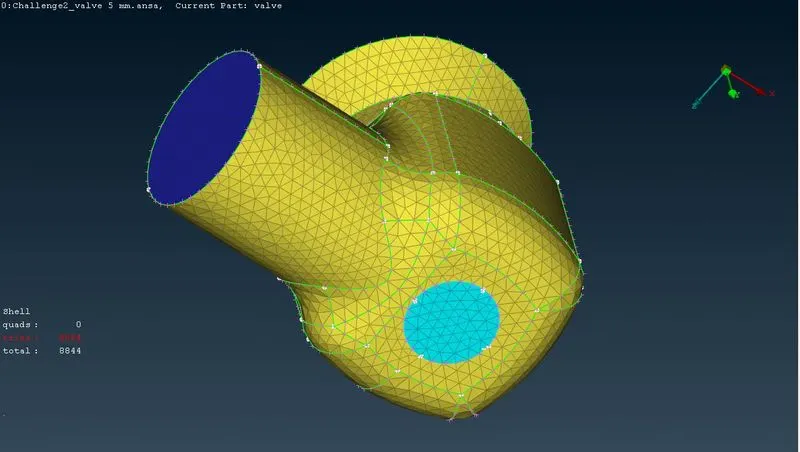
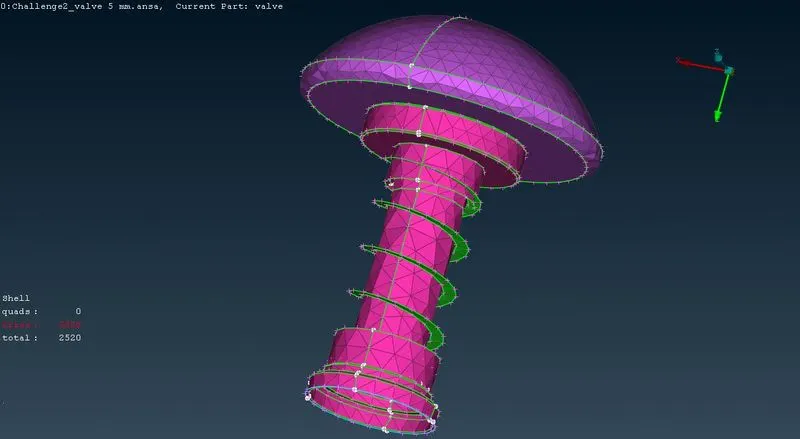
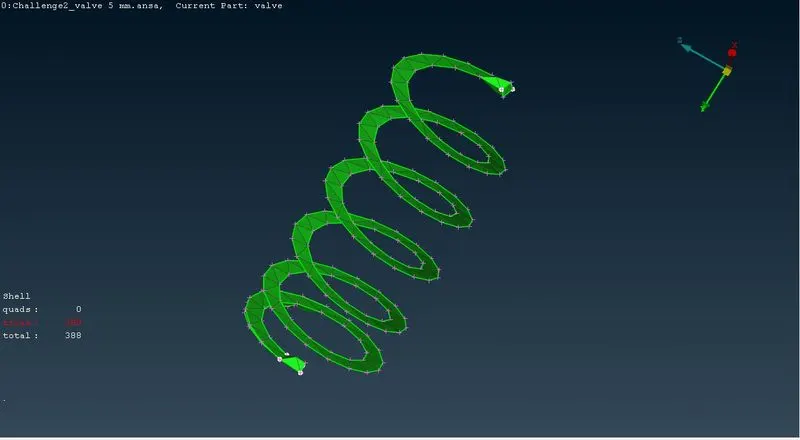
- Case 2: Target length = 3mm
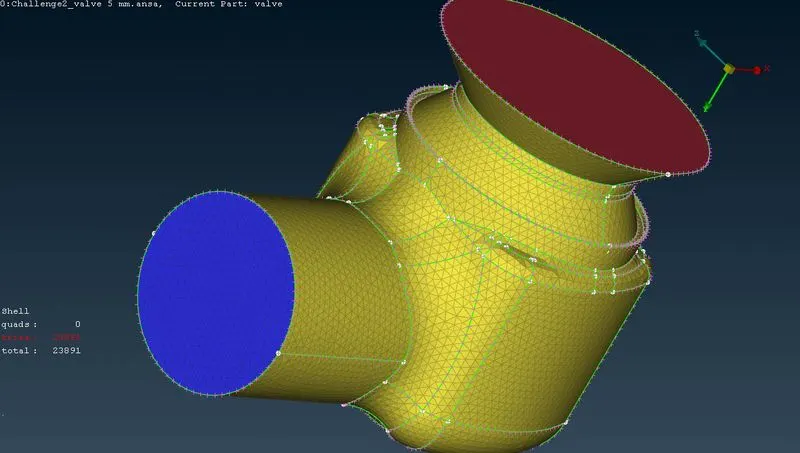
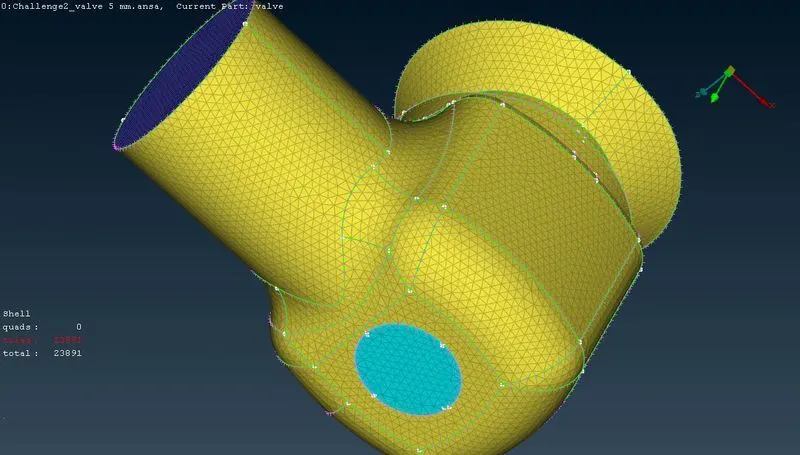
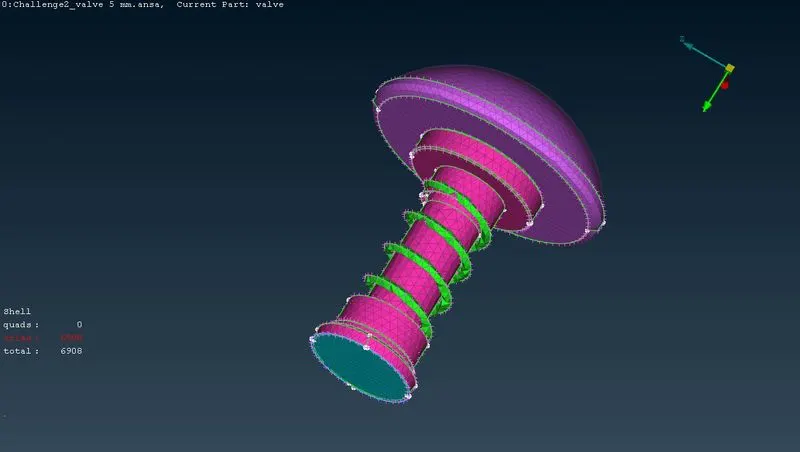
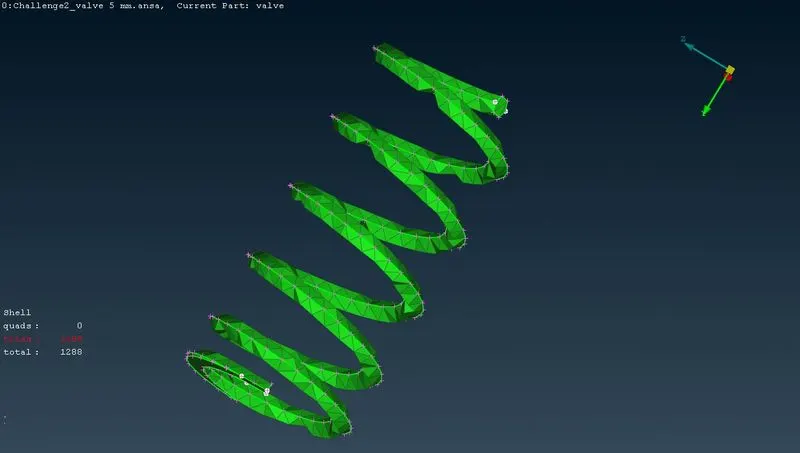
- Case 3: Target length = 1mm
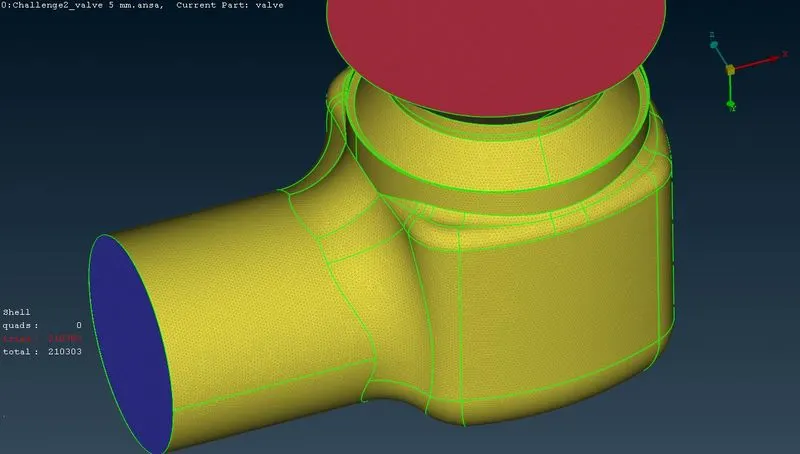
CONCLUSION
- Geometrical errors are checked and topology cleanup are performed for the target lengths of 5mm, 3mm, and 1mm for the given model.
- The three cases of target lengths are then compared.
- Mesh length of 1mm will be more accurate when compared to the other two mesh lengths of 3mm and 5mm for capturing the exact profiles of the model. This can be easily visible when meshed models of spring of mesh length 1mm, 3mm and 5mm are compared.
- When mesh length is high, the geometry becomes distorted and hence it will lead to the wrong conclusion of the model as in the case of mesh length of 5mm.
- When mesh length is fine, the number of elements increases and hence it will result in more accurate understanding of the model.