Week 2 Challenge : Surface meshing on a Pressure valve
Aim/Objective : Creating surface meshing on Pressure valve.
Procedure : There have few steps to complete the surface meshing. Steps are mention bellow,
- Surface geometry execute and result
- Surface repair using TOPO cleaner
- PID creation and assignment with specific colour
- Meshing
1.Surface geometry execute and result:
Take provided model, run model integrity checks, providing automatic error fixing option, using CHECKS features
Process :
Click on check in Tool Box, and select geometry.
Templates will be used default ANSA checks
Select Execute on - Visible
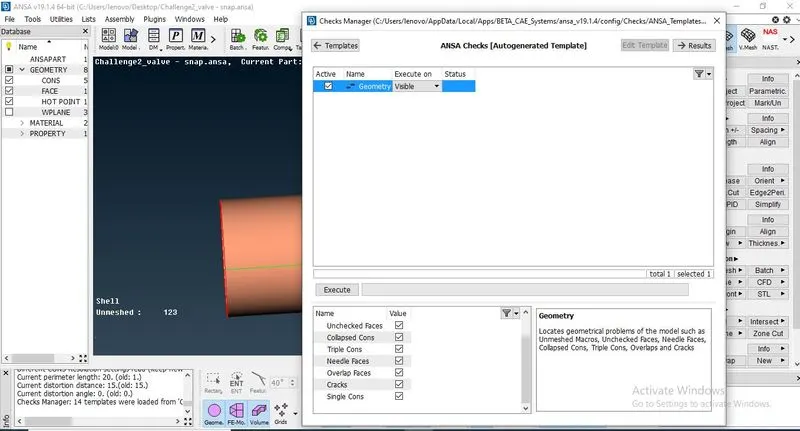
Now, locates geometrical errors in models such as Unchecked faces, Needle Faces, collapsed cons, Single cons, Triple cons, overlaps and cracks.
Now, click Execute and run the Checks, I get some error such as Single cons, Triple cons.
Select on all single cons error to highlights on model.
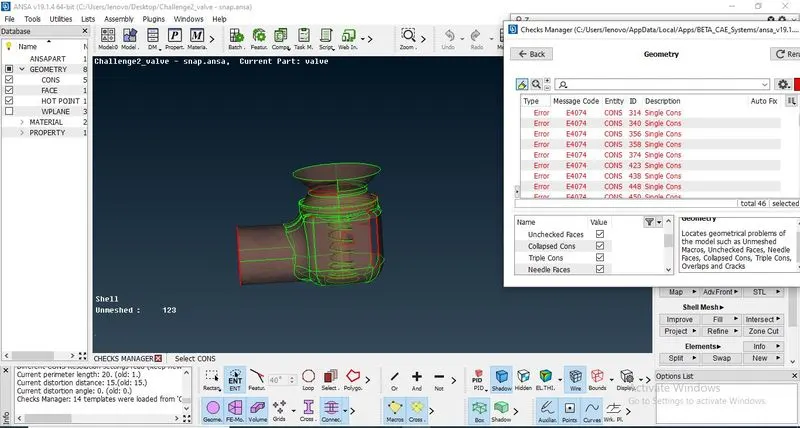
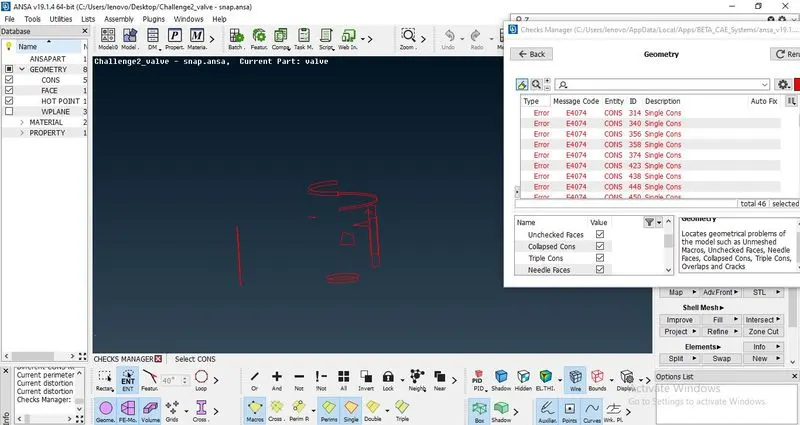
All errors are to be fix by using TOPO cleaner.
- Surface repair using TOPO cleaner:
Highlighted single cons need to be fix by two method.
- Fill hole
- Creating face/surface
- Existing surface
- Planar
- Fitted
- Coons
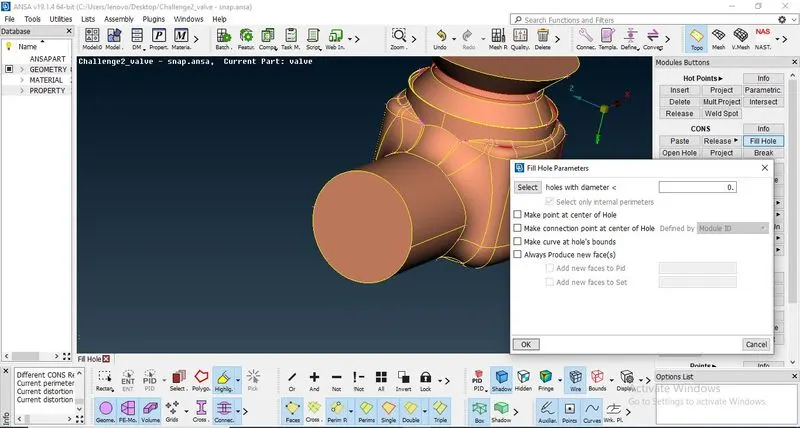
- Fill hole : Select any close loop.
Select the close loop. And middle click. It has been fill by new surfaces.
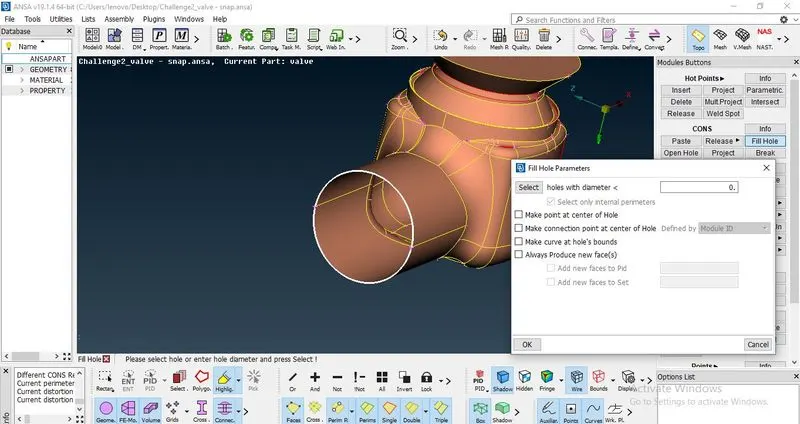
B.a. Existing surface: Select the single coons, after that click on side cross edge.Now surface has been created in that area.
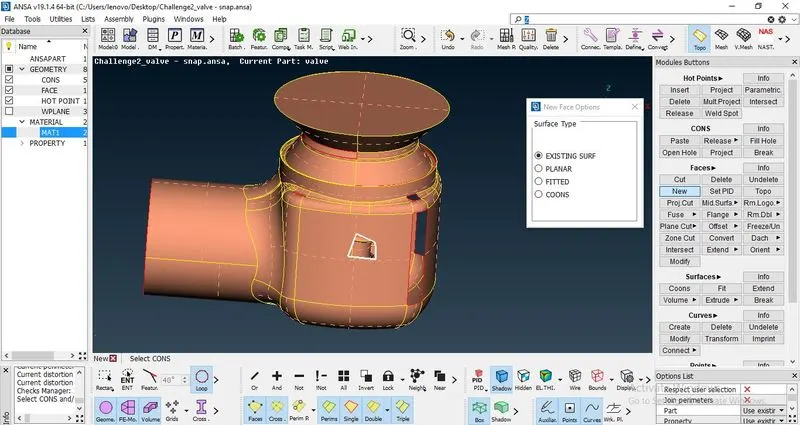
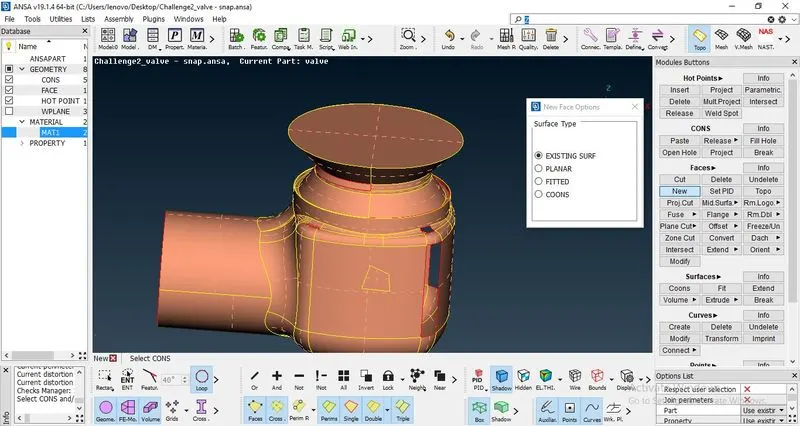
B.b. Planar: It is also a defferent algorithem to creat the surface.it will works on flat area.
B.c. Fitted:It is also a defferent algorithm to creat the surface.Select loop and select the single coons to creat the surface.
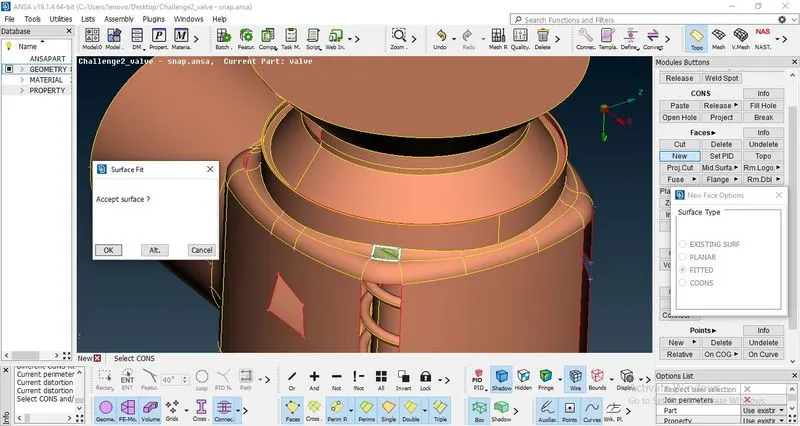
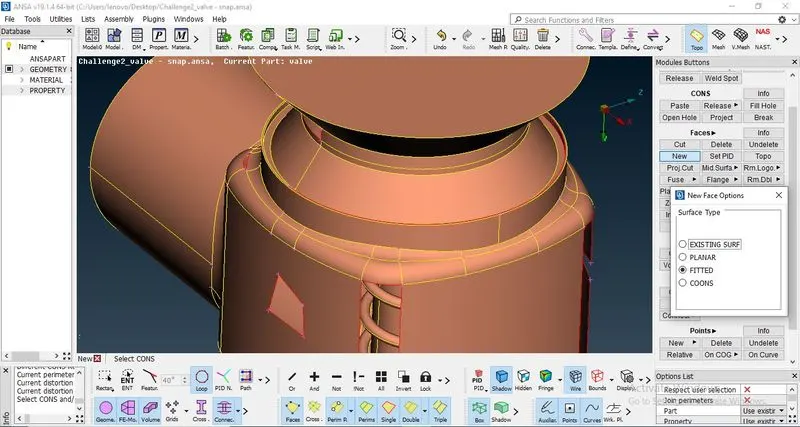
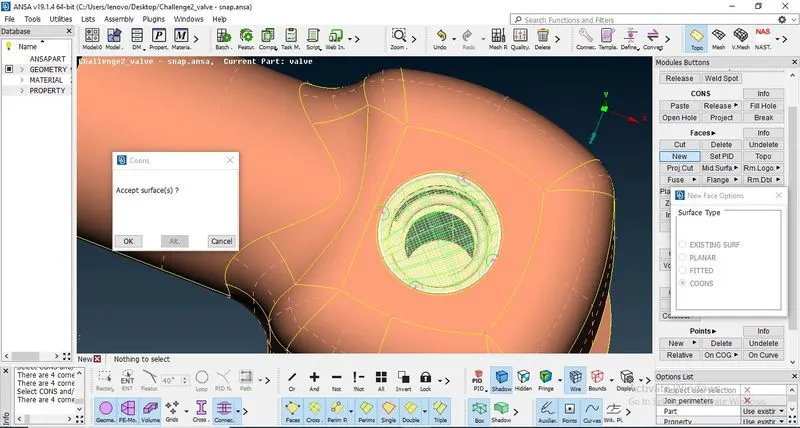
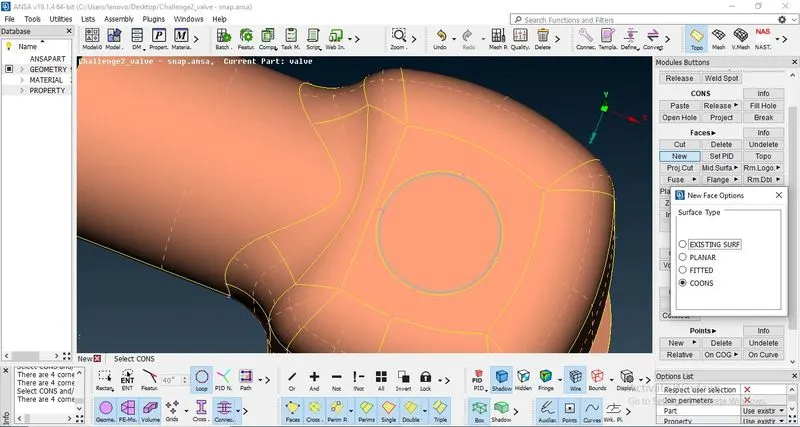
B.d. Coons: It is also a defferent algorithm to creat the surface.Select loop and select the single coons to creat the surface.
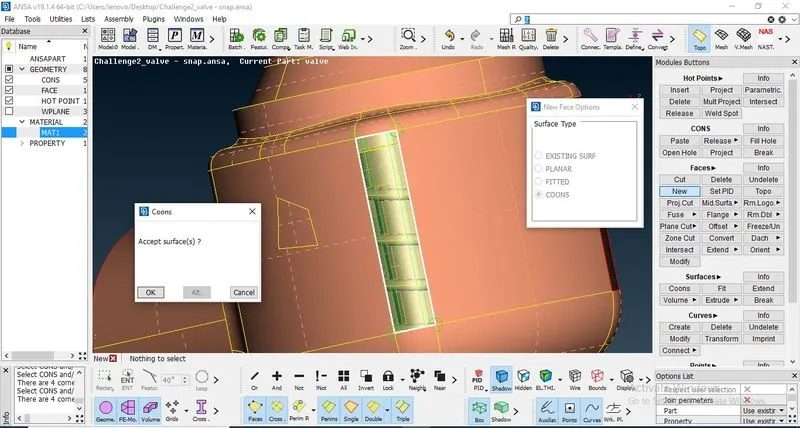
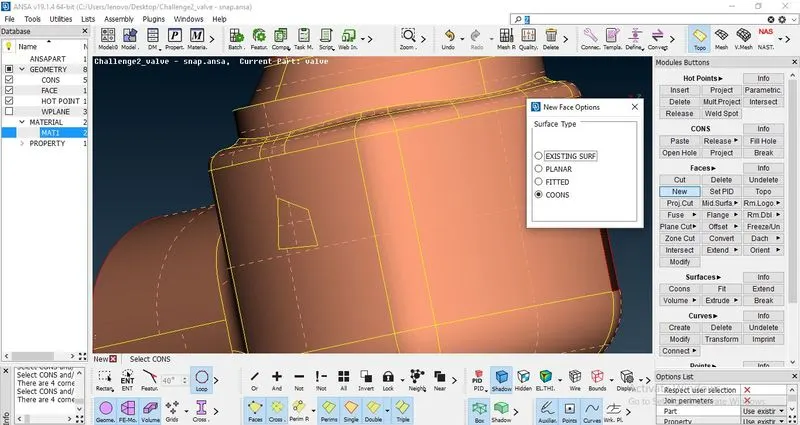
We can creat a small surface by using COONS tool.Select only two cons and middle click, now creat a small surface.
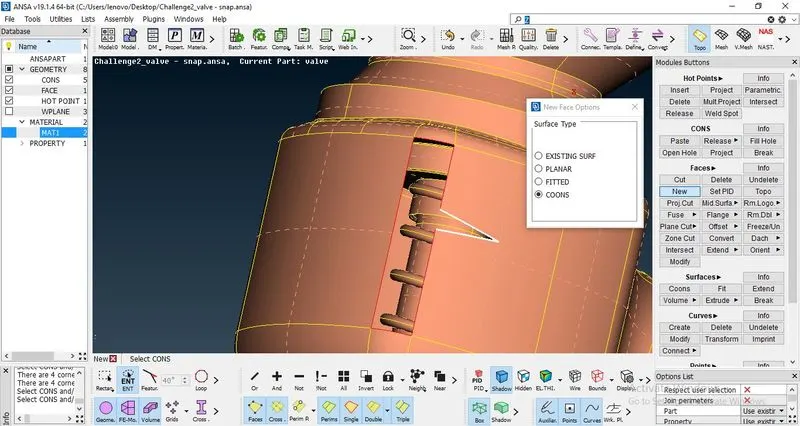
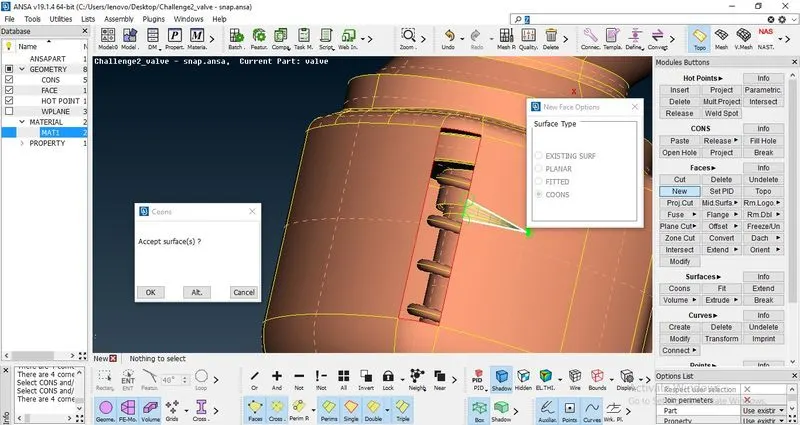
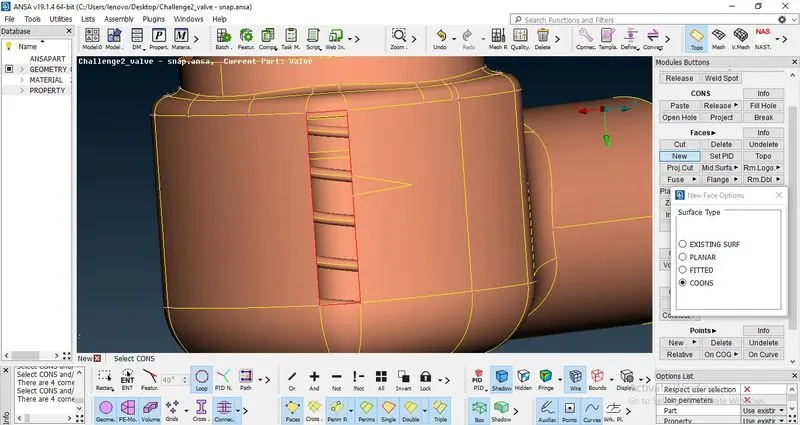
We can creat a small surface by using COONS tool. In this case, selected two cons length will be same.and creat the surfaces.
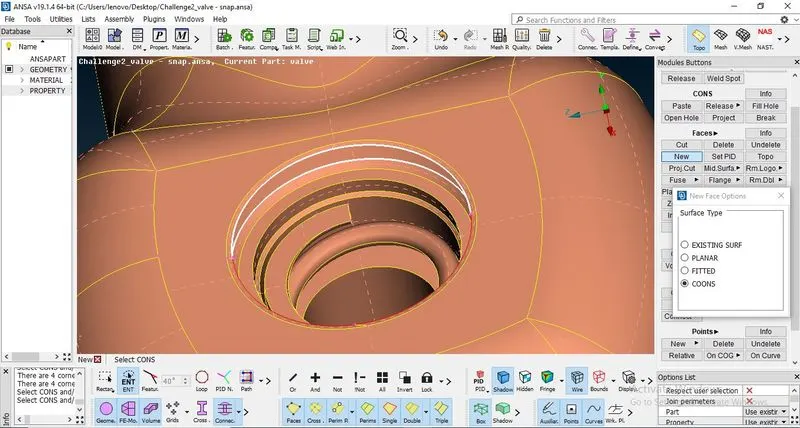
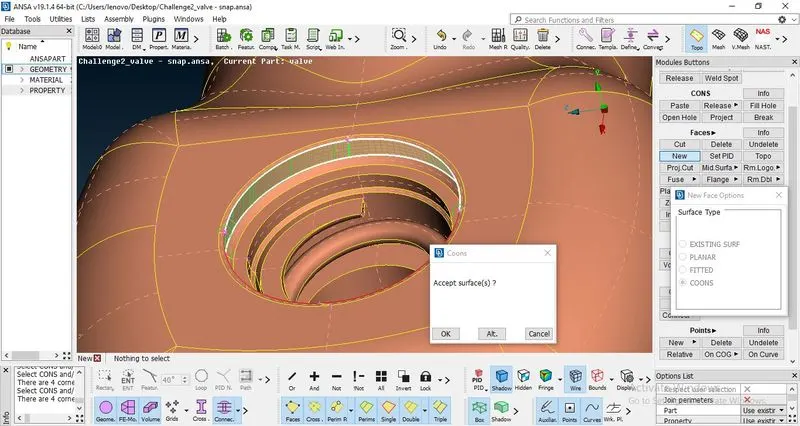
Creat and fill the surface for volumetric mesh. For this, tripple cons has been created.There are three surfaces conected in one cons.
- PID creation and assignment with specific colour :
Now, we will check Properties of the model
Create new PID.
Open properties, Click Right of mouse -> New -> PSHELL -> PSHELL -> Create a new name - > OK
Double click on colour and creat a new colour.
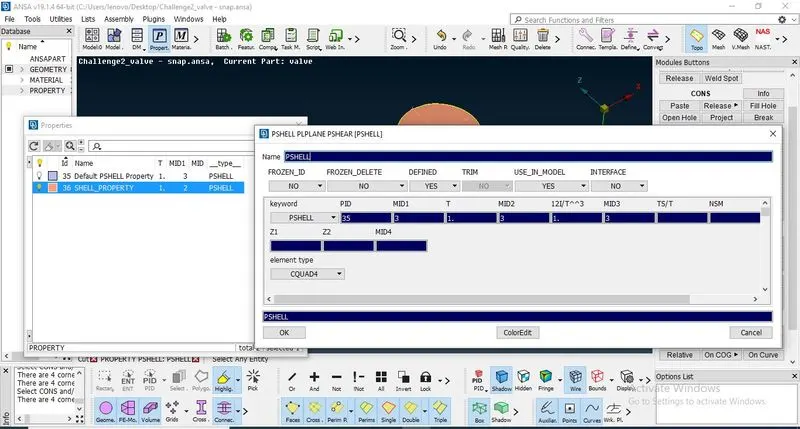
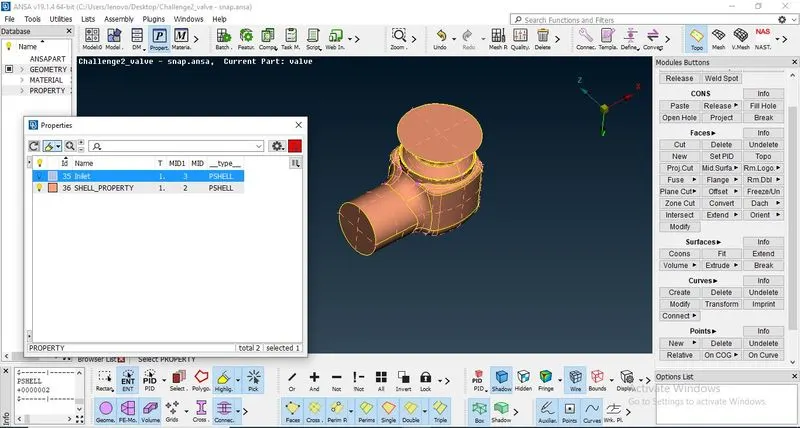
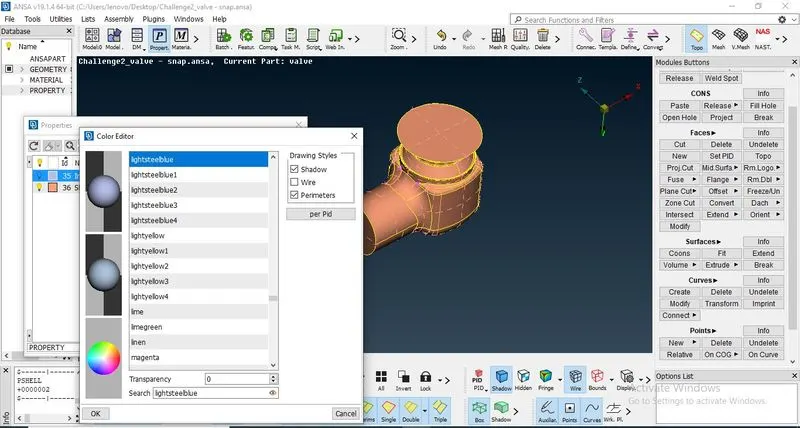
In this way, i have created PID for different surfaces.
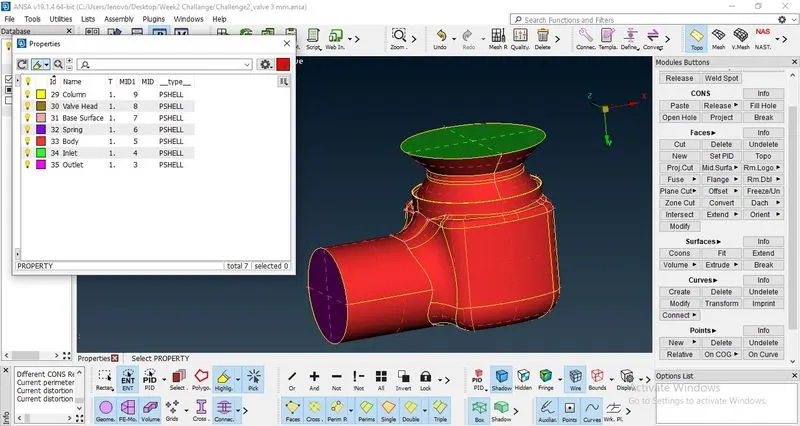
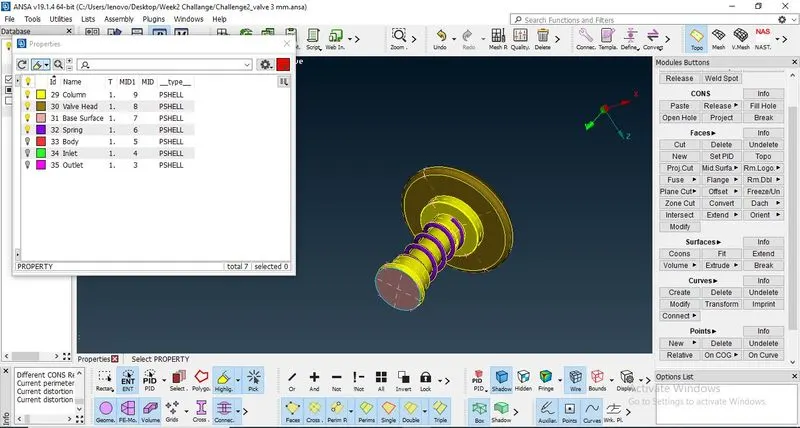
And create each PSHELL to different colour.
Step 3 - Mesh Module
- Select the Mesh Module
- Now every pink colours points should be consider as a NODES.
- For creating mesh, i need to give mesh length.
- Select, PERIMETERS -> LENGTH -> PERIMETER
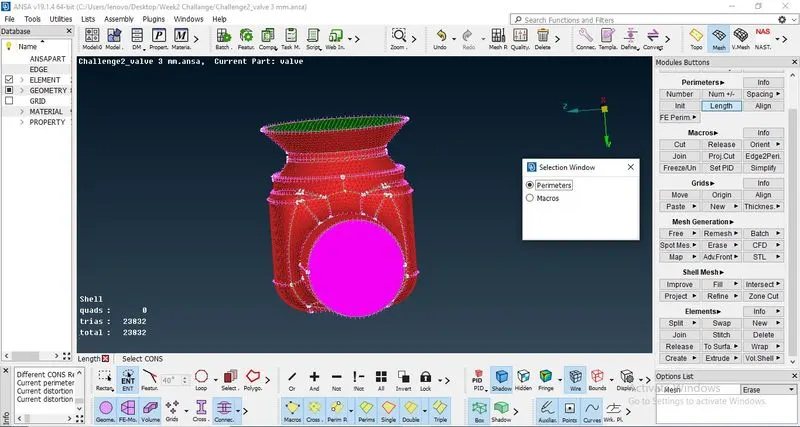
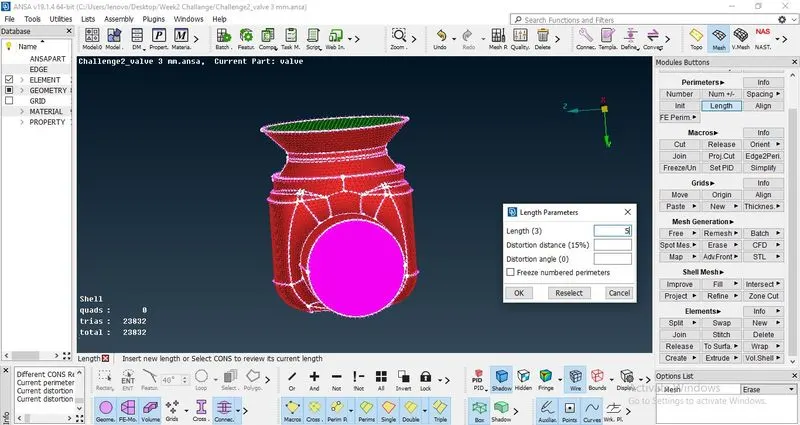
By using BOX SECTION, select the every NODES and press mouse middle click, put the value 5mm and click ok.
- Now, select, PERIMETERS -> LENGTH -> MACROS
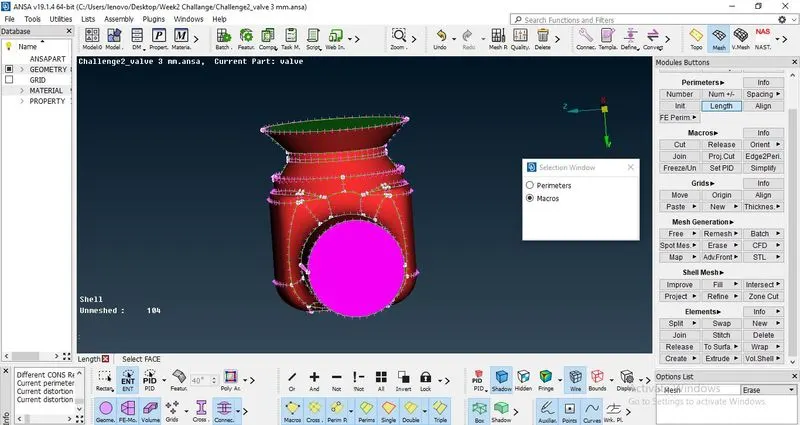
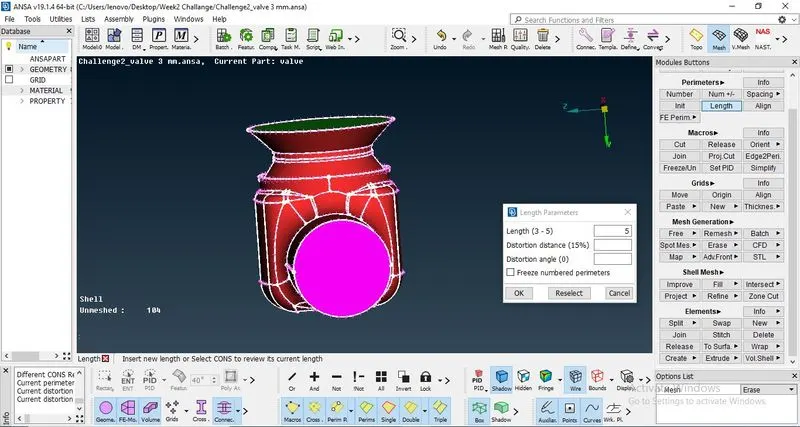
By using BOX SECTION, select the every NODES and press mouse middle click, put the value 5mm and click ok.
- Now, Select, MESH PARAMETERS -> Put the TARGET LENGTH is 3mm, Max target length -7mm, Min target length -3 and select ELEMENTS TYPE is TRIA.
- Now, select, Quality parameter -> Put Max target length -7mm, Min target length -3
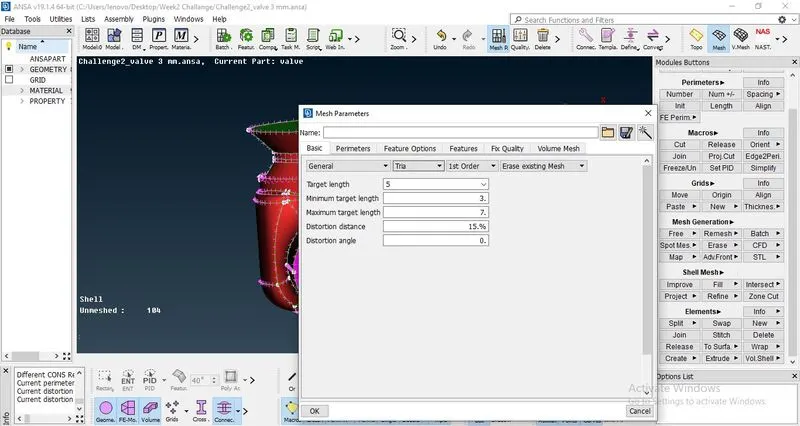
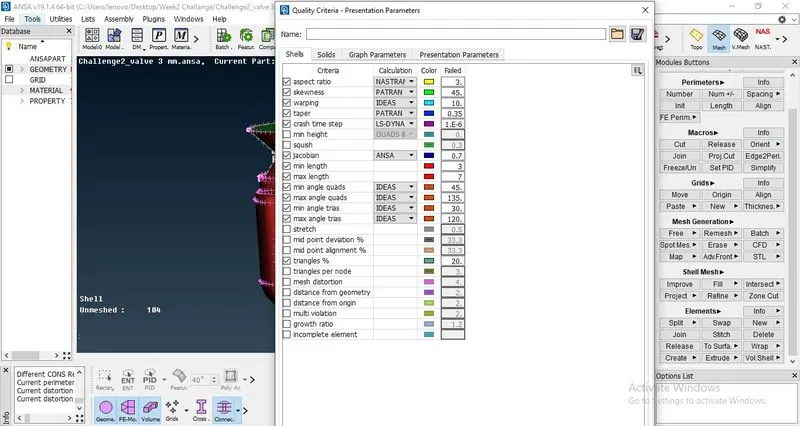
- Now, it is ready for surface meshing
- Select , MESH GENERATION -> SPOT MESH, select the model by using box section and press mouse middle click.
- Now mesh has been created on cylinder surfaces.
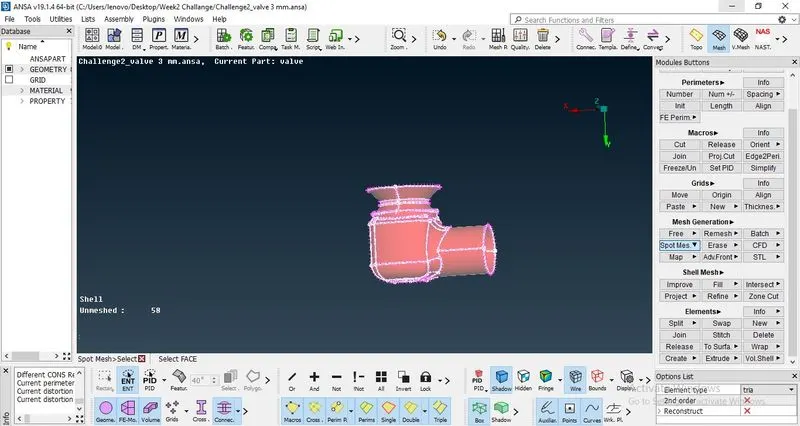
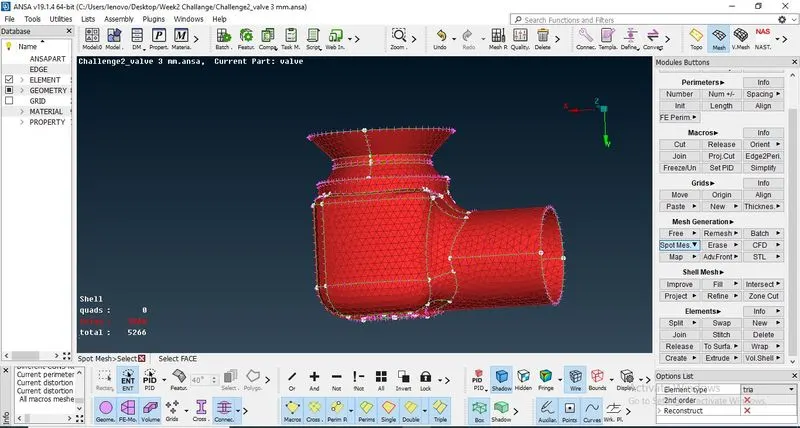
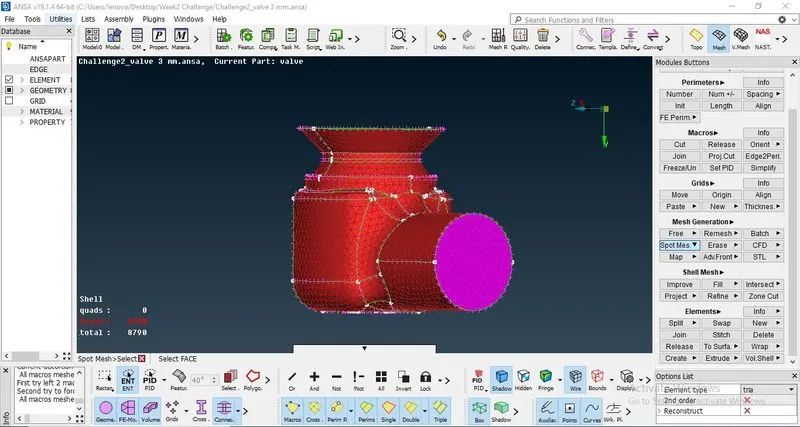
Result :
- After meshing ,checked by measuring tool, found mesh length is 5mm.
CONCLUSION :
- When target length is 5 mm there less somther surface, when target length is 1 mm then i get more smother surface.