Week 2 Challenge : Surface meshing on a Pressure valve
AIM:
To mesh a pressure valve using three different mesh sizes using ANSA.
OBJECTIVES:
- Check for the geometrical errors and perform Topology clean-up.
- Set three different target lengths as three different cases and mesh the model. Target length = 1mm, 3 mm and 5 mm (i.e. 3 cases).
- Triangular element type is used.
- Apply any one target length from the above at a time for the entire model as One case thereby creating 3 different models for 3 cases.
A pressure relief valve is a type of safety valve used to control and maintain the pressure inside the system. This helps the system to be within the safety limit of operation. The pressure is relieved by allowing the pressurized fluid to flow from an auxiliary passage out of the system. Relief valves are designed to protect compressed air systems from over-pressurization by releasing excess pressure.
Procedure:
At the very outset, we import the geometry to ANSA and increase the resolution of the geometry in this case it is specified as 5 mm. The model provided has many flaws which are to be corrected before meshing. We begin with the geometry clean up. First we delete the unnecessary hot points in the geometry, then we use several tools available in ANSA to convert the single CONS to Double CONS.
As we can see there are many problems there are many single cons and open holes in geometry. We need to solve those single and triple coons issues by creating new surfaces or by using fill hole options.
To fill the holes, we can use new command from the face dropdown, in which we can new faces on the holes in the geometry. As shown below we can fix all the gaps in geometry, also ANSA shows alternative options in all the faces to create a face according to our requirement.
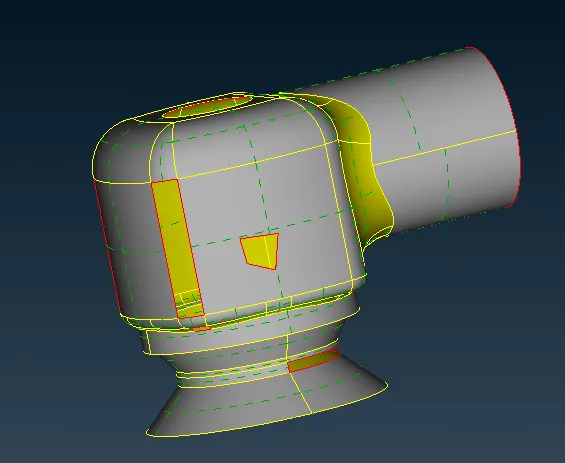
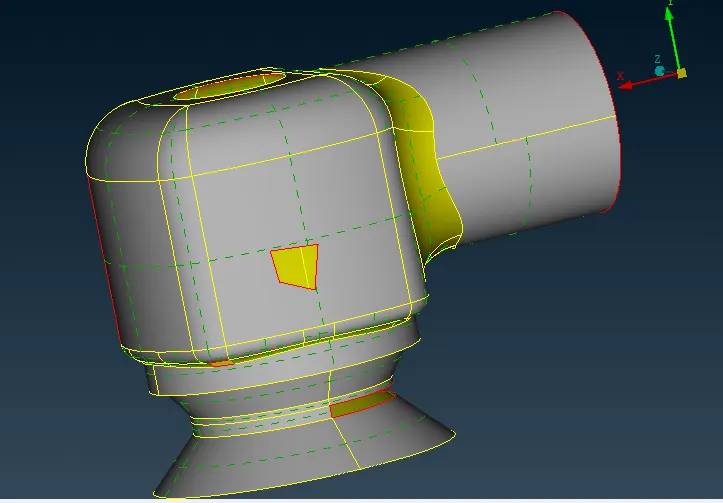
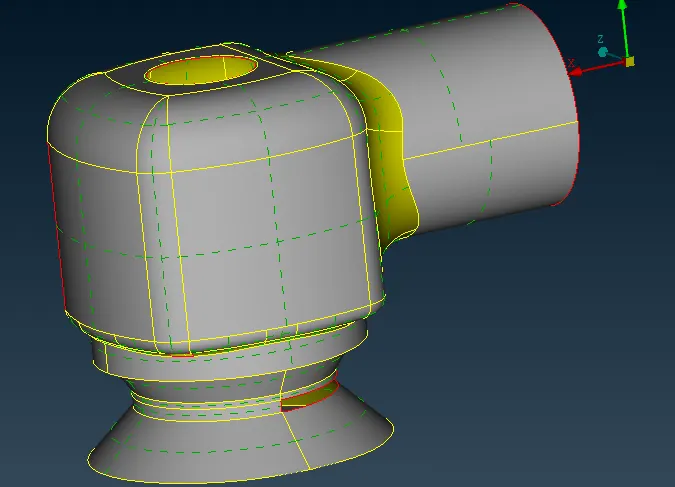
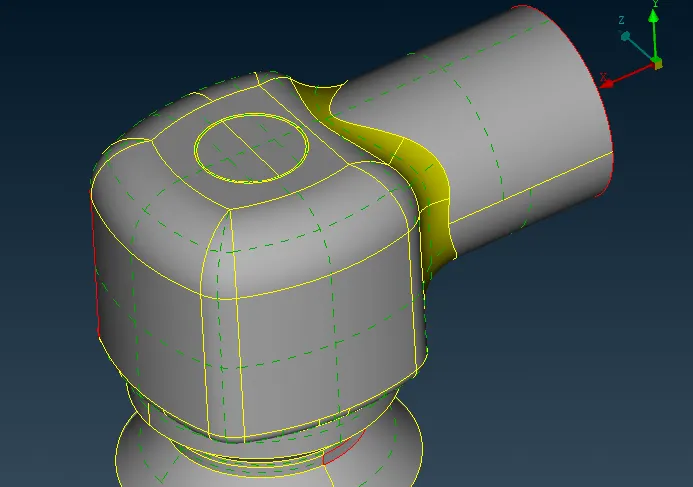
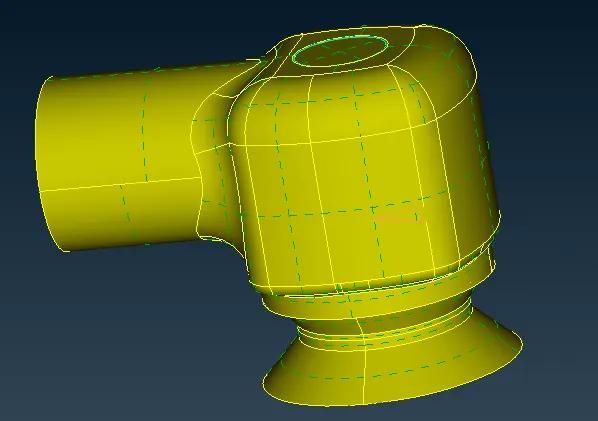
After fixing all the holes, single coons and also the Inlet and Outlet the geometry looks like this.
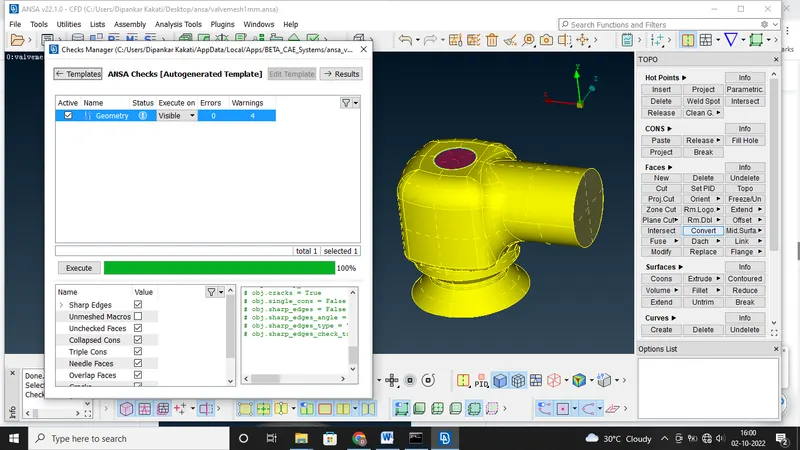
Now, we run a topology check and it will give a green signal as shown in the figure below. The 4 errors that are being shown there are the triple cons that we created when we sealed the valve head. This triple con is required as the geometry need to be watertight.
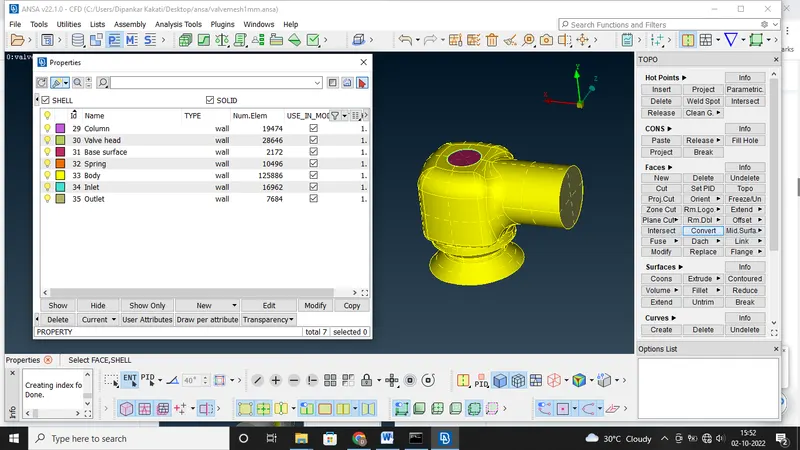
Now, the clean-up of the geometry is done so we can start with meshing and a complex geometry like this we need to assign PID to each component to facilitate the meshing part and also regulating any new clean up or selection of geometry, by doing this it becomes very easy to handle the complex geometries while meshing.
After assigning PIDs we move to meshing
In this project, we consider 3 cases of target lengths. We have examined each case individually as shown below.
Case-I: Target length=5mm
1) In the meshing parameter give the target length as 5, Maximum target length as 7 mm and Minimum target length as 3 mm, for mesh type select Tria.
2) In the quality criteria give Maximum target length as 7 mm and Minimum target length as 3 mm.
3) To mesh select the meshing module, select the autocfd under Perimeters.
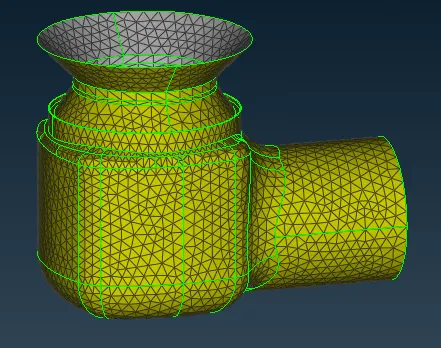
Results for case I (5mm) study-
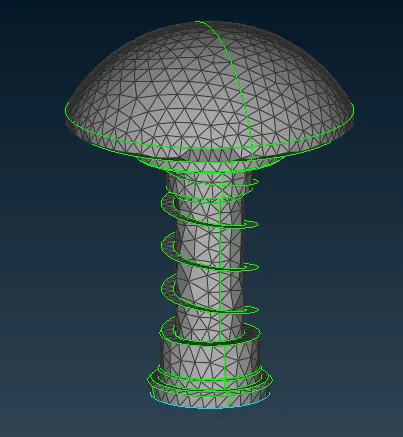
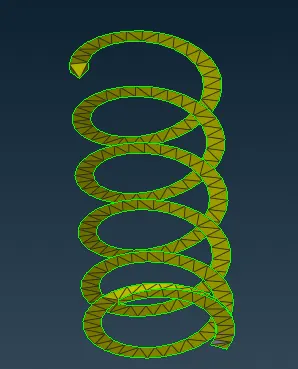
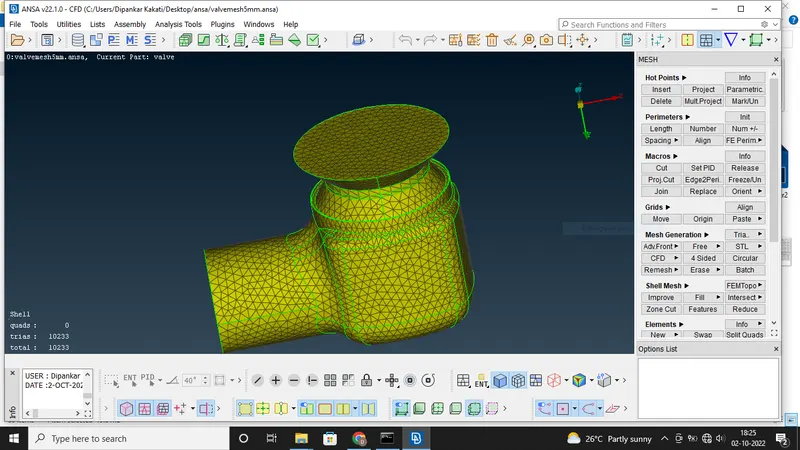
Case- II: Target length=3 mm
1) In the meshing parameter give the target length as 3, Maximum target length as 5 mm and Minimum target length as 1 mm, for mesh type select Tria.
2) In the quality criteria give Maximum target length as 5 mm and Minimum target length as 1 mm.
3) To mesh select the meshing module, select the autocfd under Perimeters.
Results for case II (3mm) study-
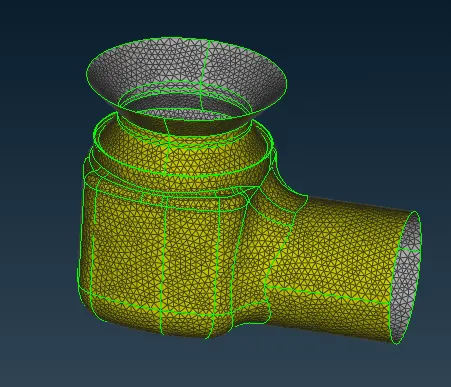
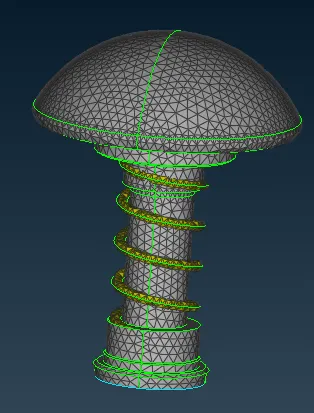
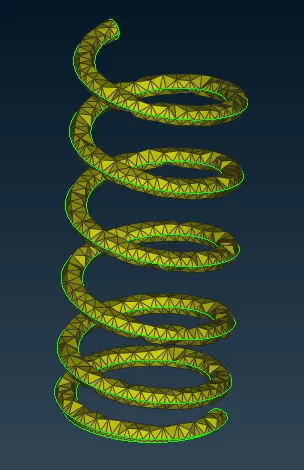
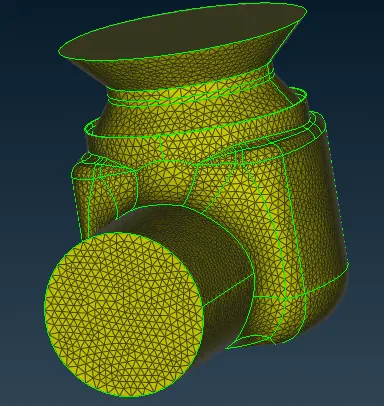
The total number of elements generated are 28309 and no unmeshed or quad cells. The external surface of the pressure valve is well captured but the internal components such as spring and the base head was defeatured because the minimum target length was larger than that of coil diameter and the fillet radius of the valve head. The column is captured correctly with less defeaturing.
Case- III: Target length=1 mm
1) In the meshing parameter give the target length as 1, Maximum target length as 2 mm and Minimum target length as 0.5 mm, for mesh type select Tria.
2) In the quality criteria give Maximum target length as 2 mm and Minimum target length as 0.5 mm.
3) To mesh select the meshing module, select the autocfd under Perimeters.
Results for case III (1mm) study-
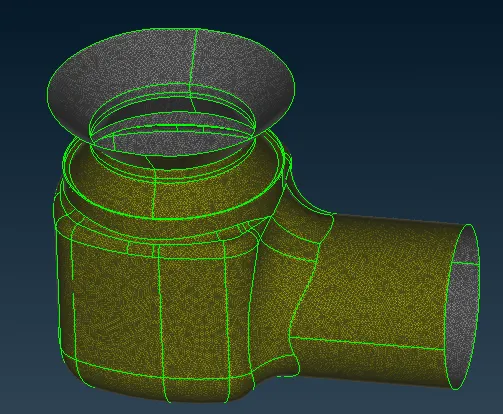
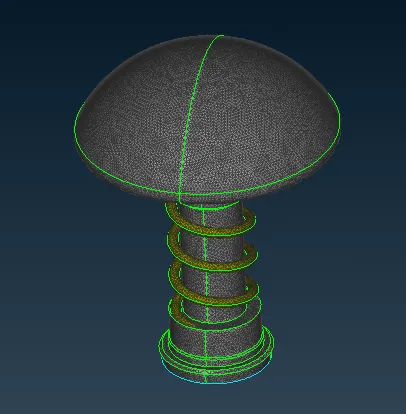
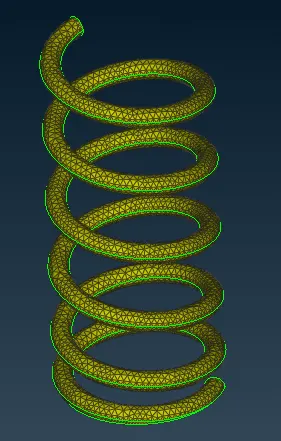
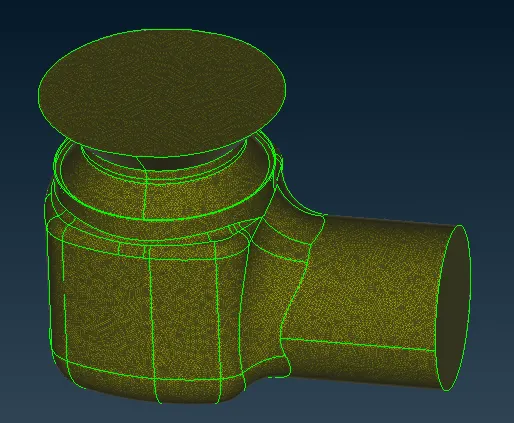
The total number of elements generated are 202931 and no unmeshed or quad cells. The external surface and the internal components (spring) of the pressure valve is captured well when compared to the other two cases.
Conclusion:
- With fine mesh size the accuracy increases but the time for calculation also increases
- We can make two different target length according to the size of parts and required accuracy, in this case the outer casing mesh size can be 3mm which is not so large and not that fine earthier for good and accurate result
- For the smaller parts like the spring and the column head the mesh length can be 1mm so the accuracy for smaller parts increases too.