Week 2 Challenge
1st ans)
BIM stands for building information modeling.It is more of a concept than process.
It is divide into 2 categories
Coordination and Computation
coordination is for different engineers to coordinate to make the project, whereas computation deals with material schedules , wuantity schedules and few more.
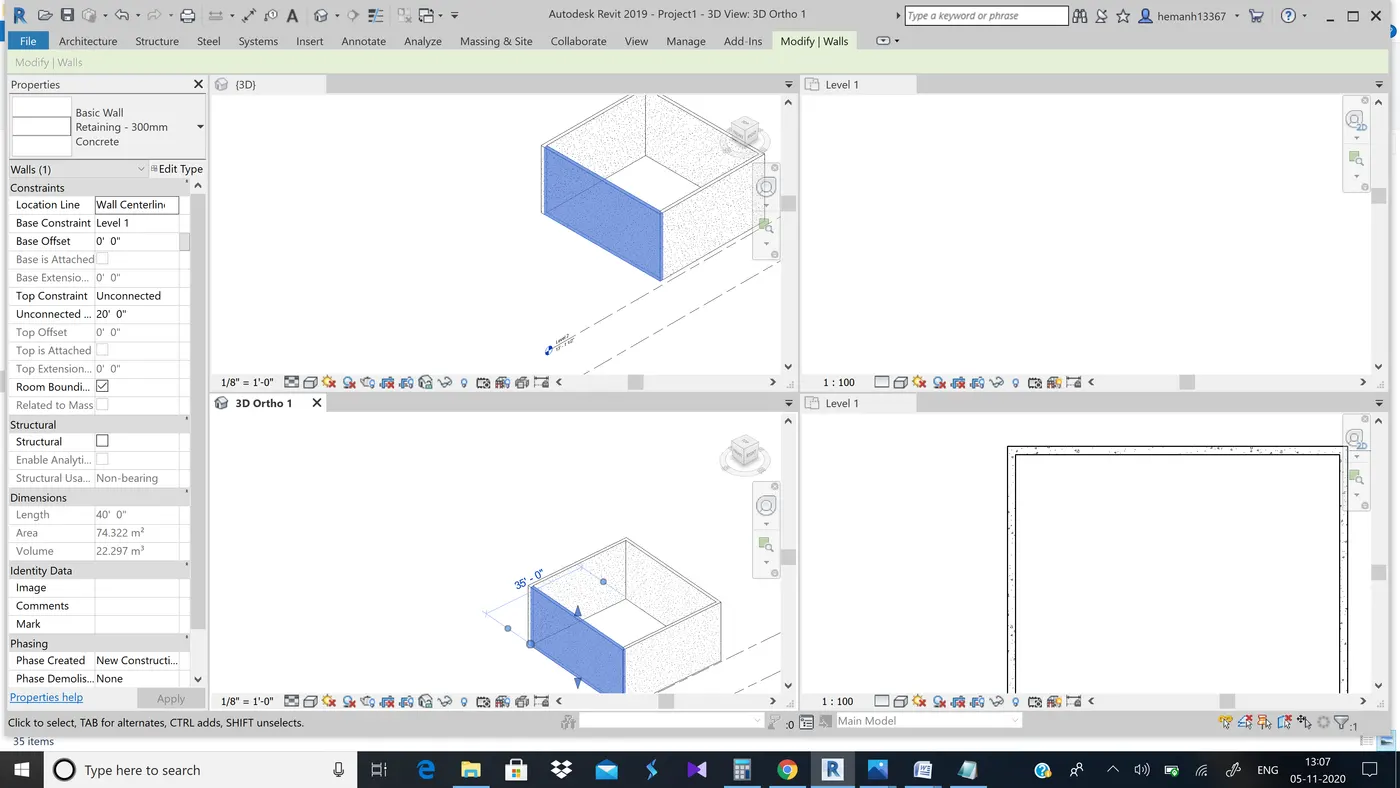
The main benefit over 2D is the ability of use real time . It wont limit us to make changes only in 2D.
You can see the benefit in the below screenshot attached
2nd ans)
Aim:-
To understand the concept of Categories, Families, Elements, Instances in Revit.To choose a categor, Pick a family and element. To Understand the instances and insert it to Revit model
Procedure:-
Step 1:-Click insert menu and open load family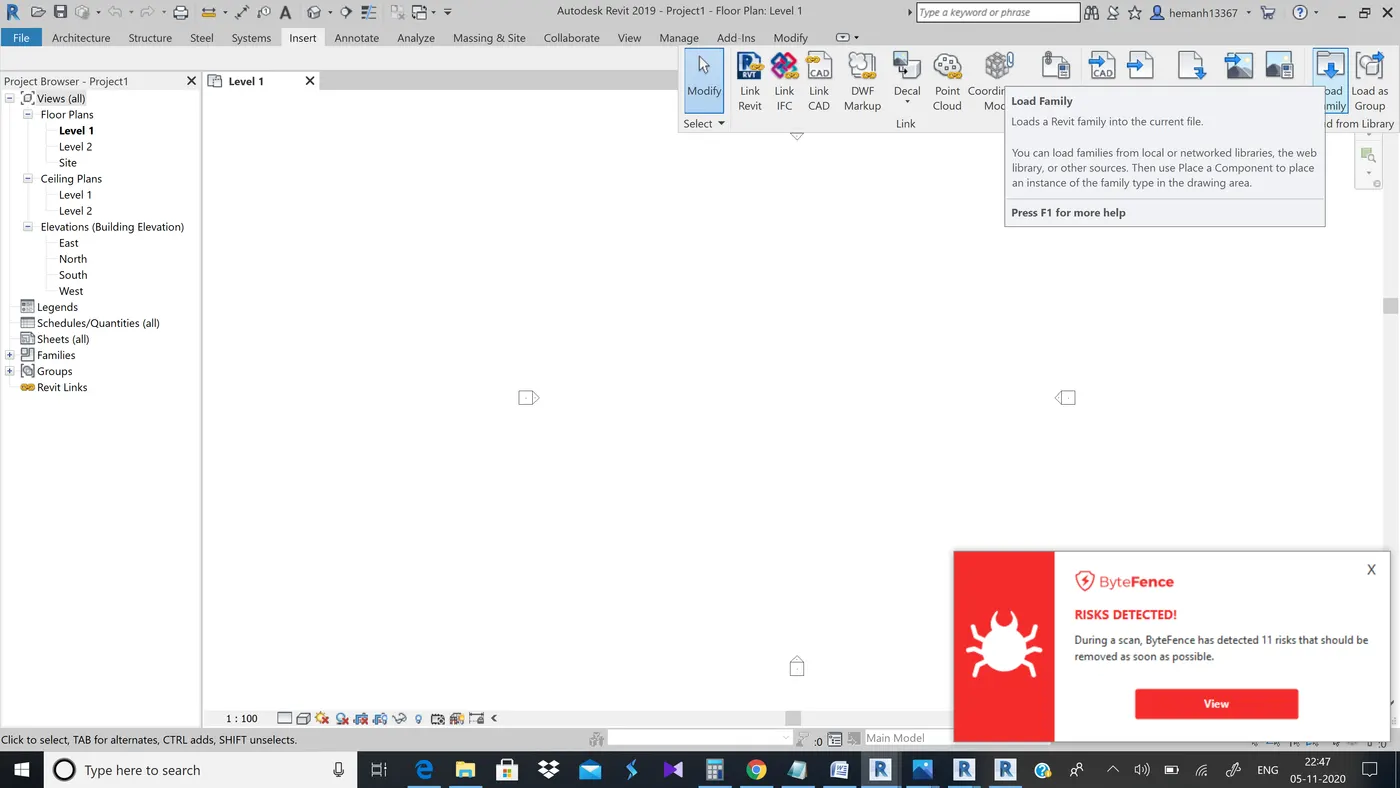
Step 2:-Now you can see the following popup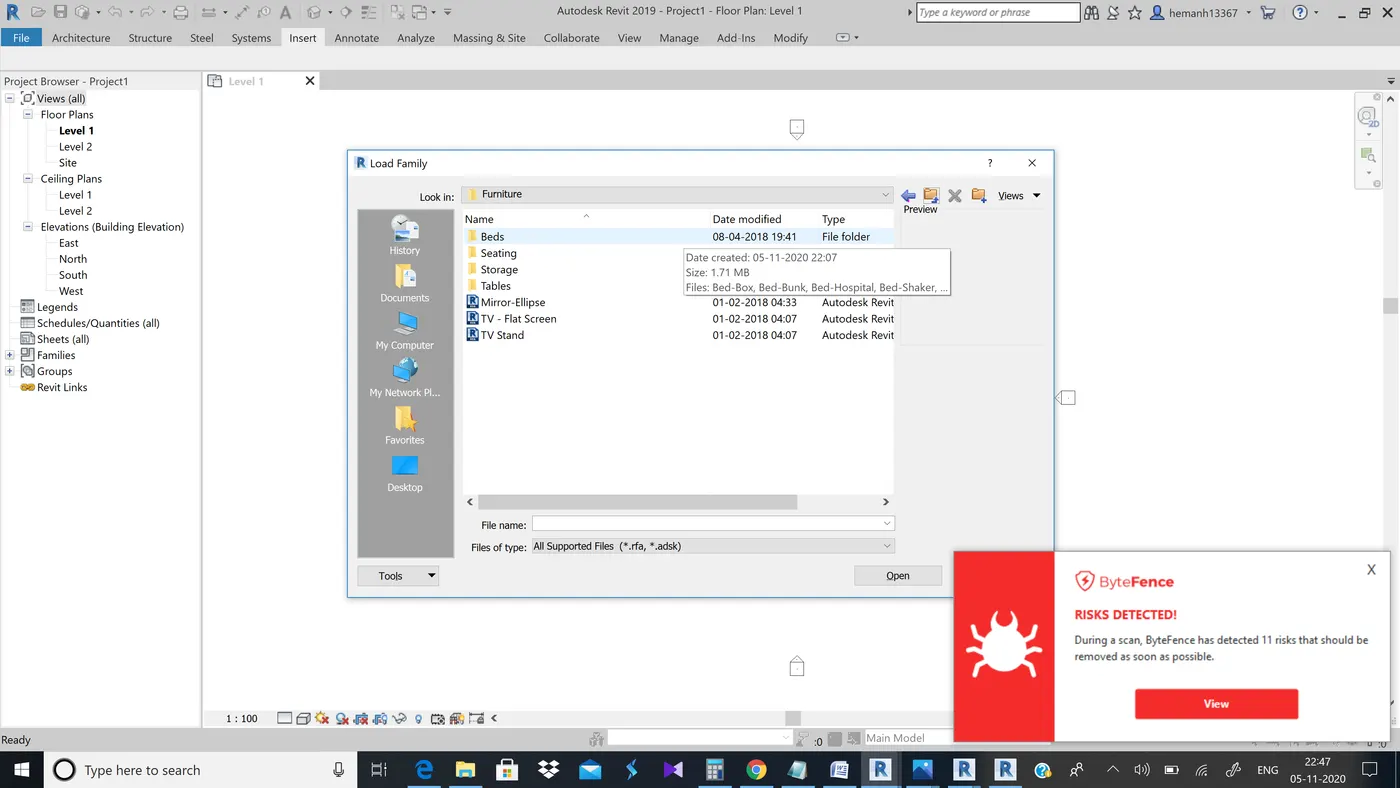
Step 3:-So we can understand that categories(doors and walls) are made up of families(same type of material used) , and families consist of elements.To apply the furniture use components from architecture tab
Result:-Understood the concept
3rd ans)
Aim:- To open a project file with architectural template and Save the file with appropriate name and also Set up the project units to Imperial / Metric based on our convenience of modelling. Complete the project information under Manage tab and Set up the maximum backups for project file to 3.
Tools used:-
Procedure:-
Step 1:-Open the revit software, select architectural template which is present on the left side under projects.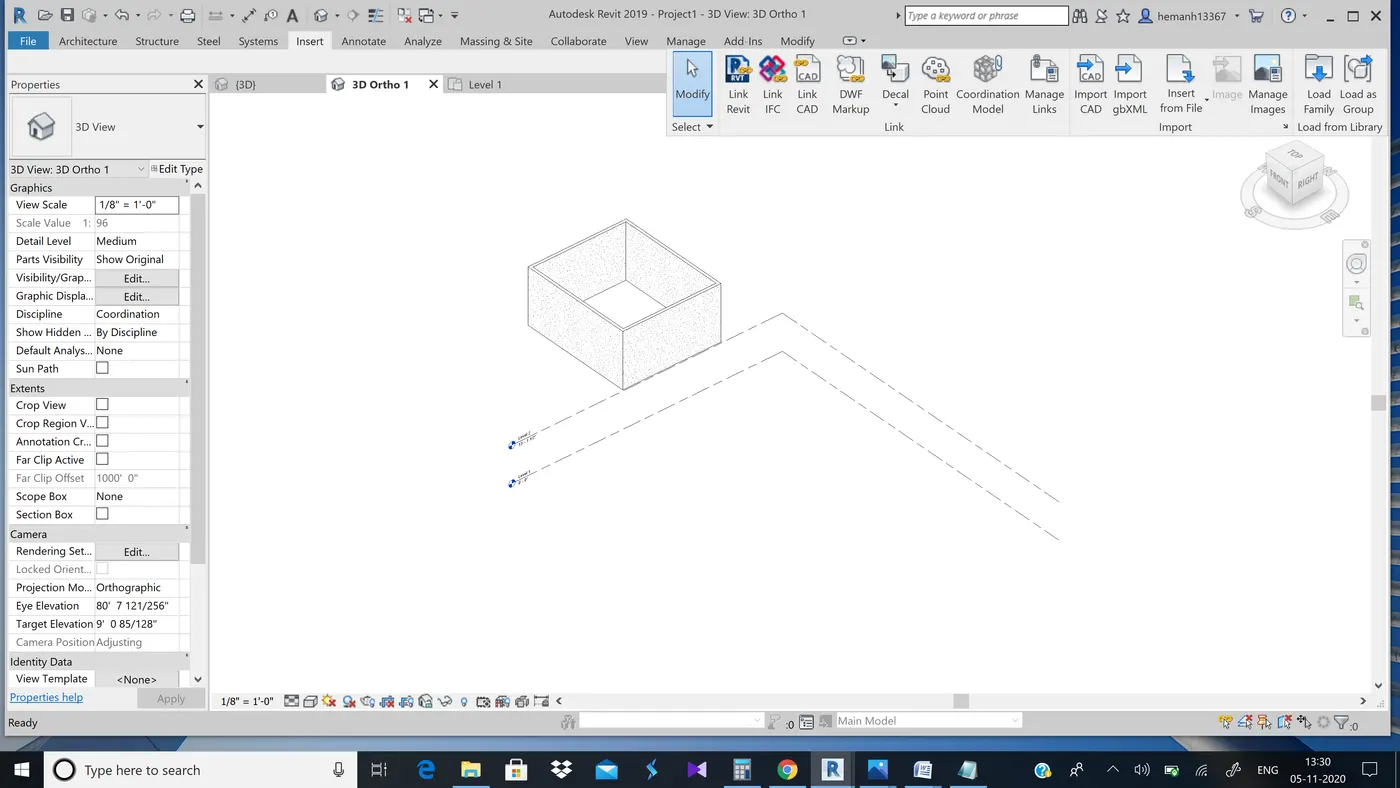
Step 2:-Save the file in desired location using save tab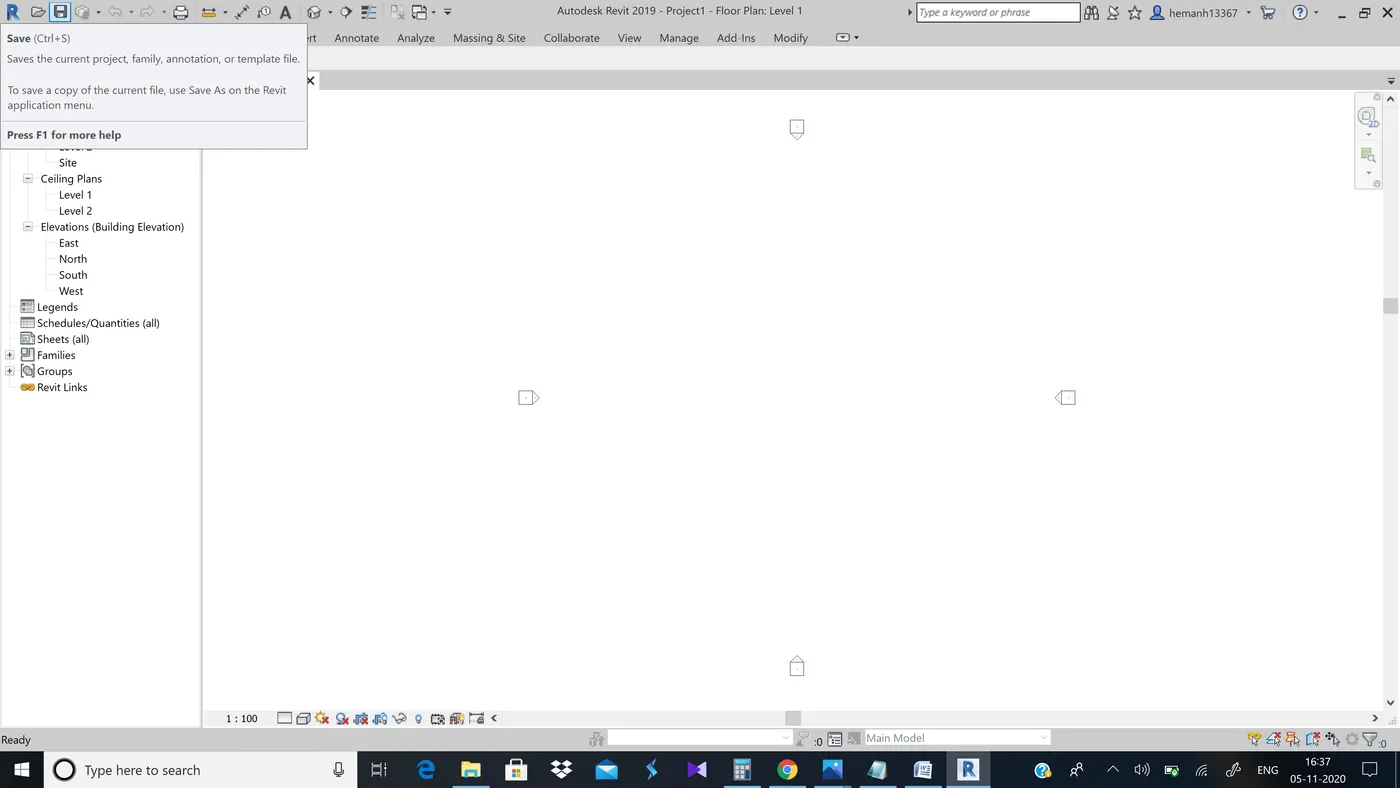
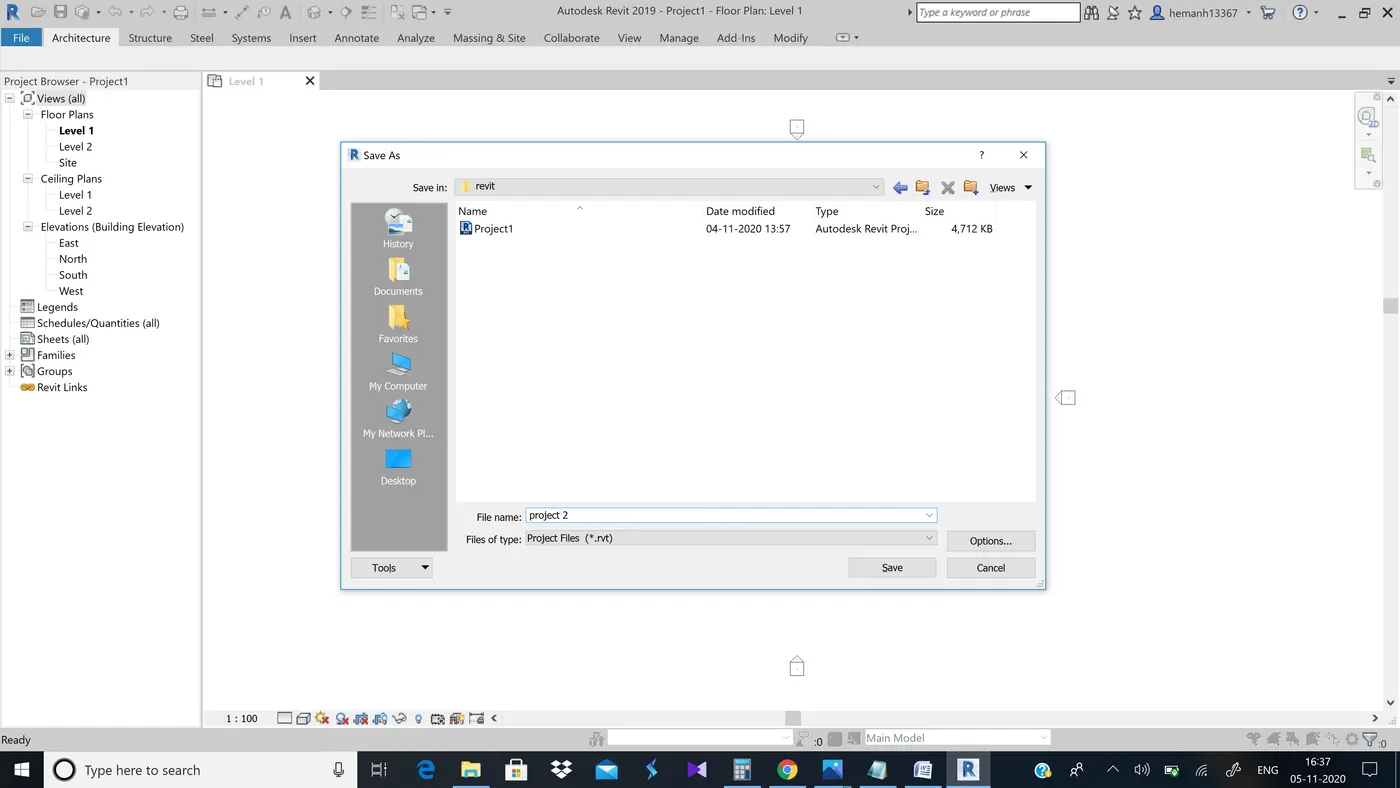
Step 3:-Now to change the units type "un" on the keyboard and you can see a pop up of projects unit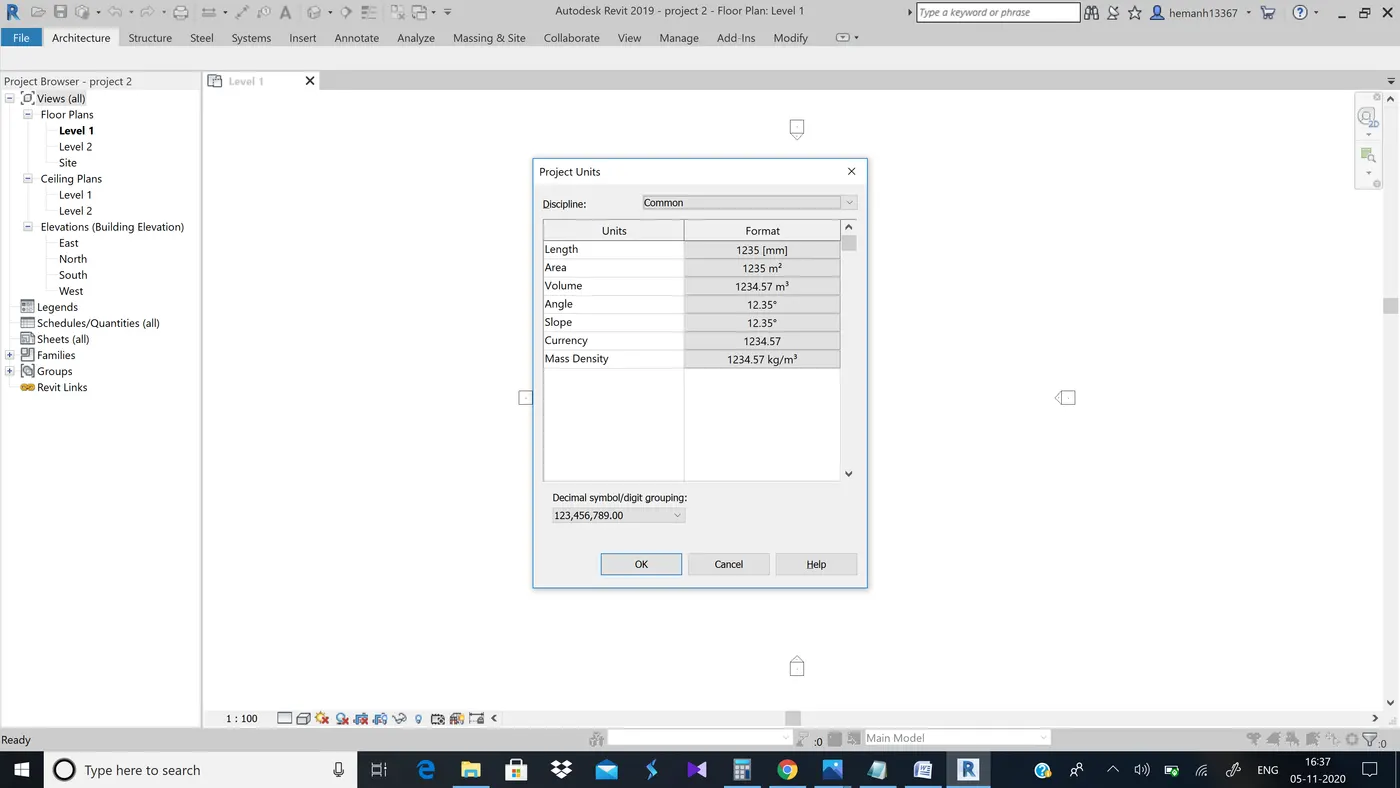
Step 4:-Now change the length units from millimetres to feet and fractional inches.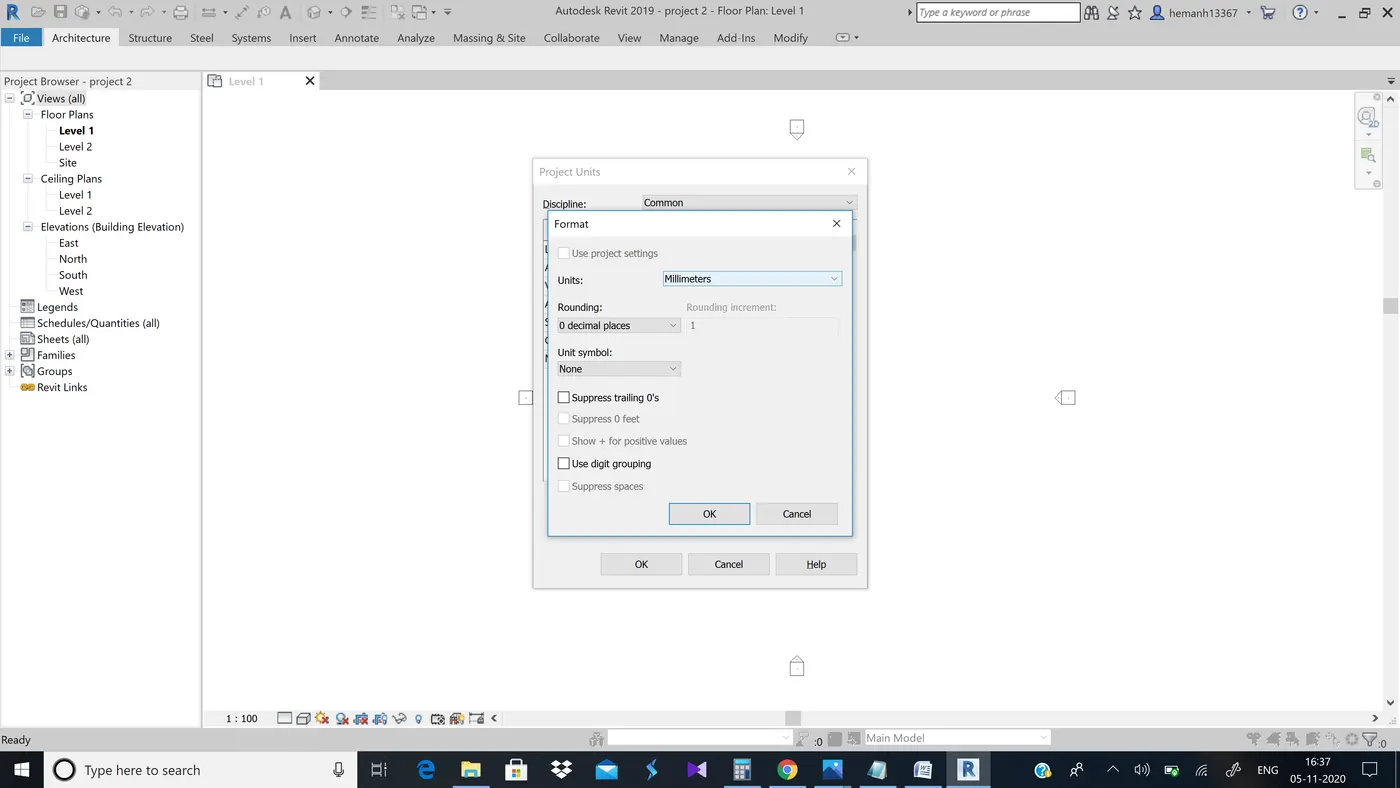
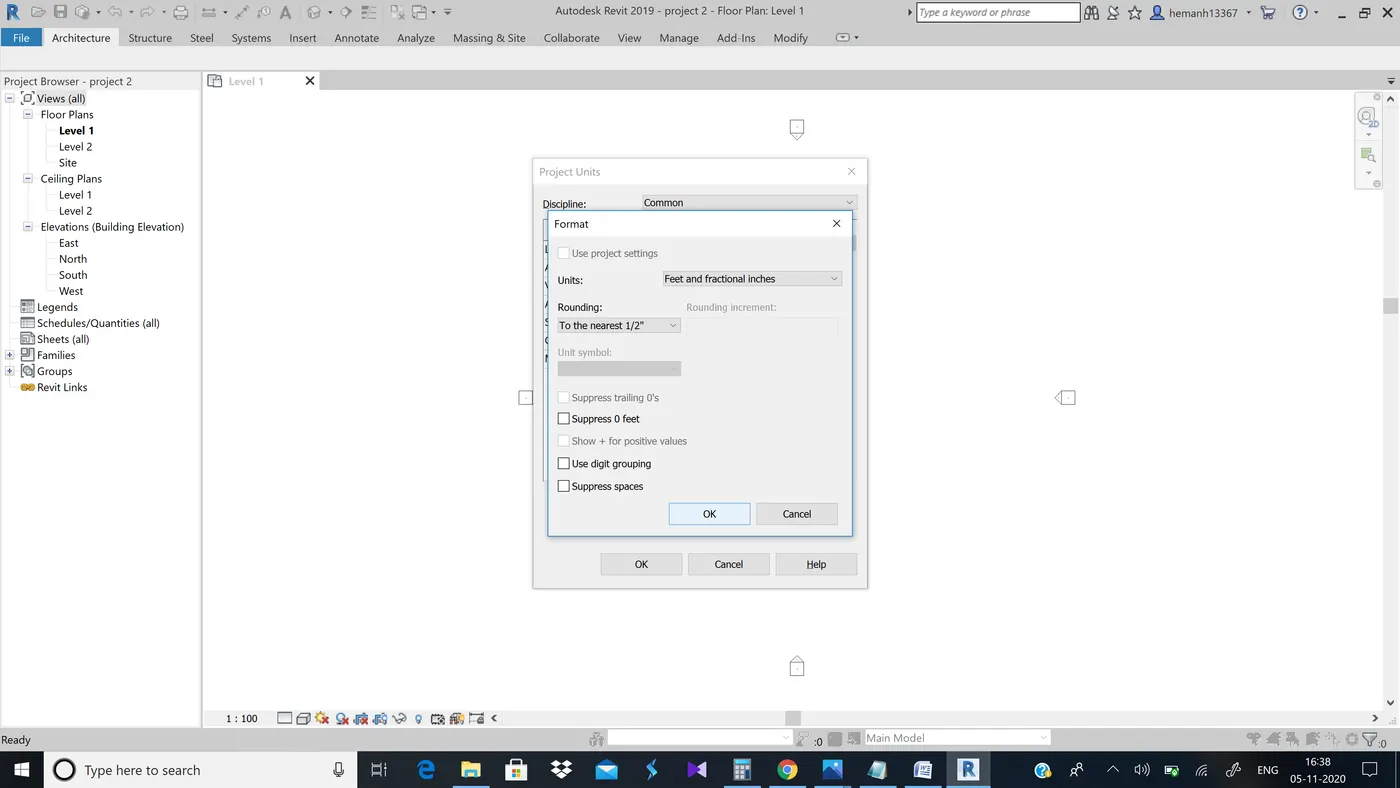
Step 5:-Now select manage tab and select project information which is present beside materials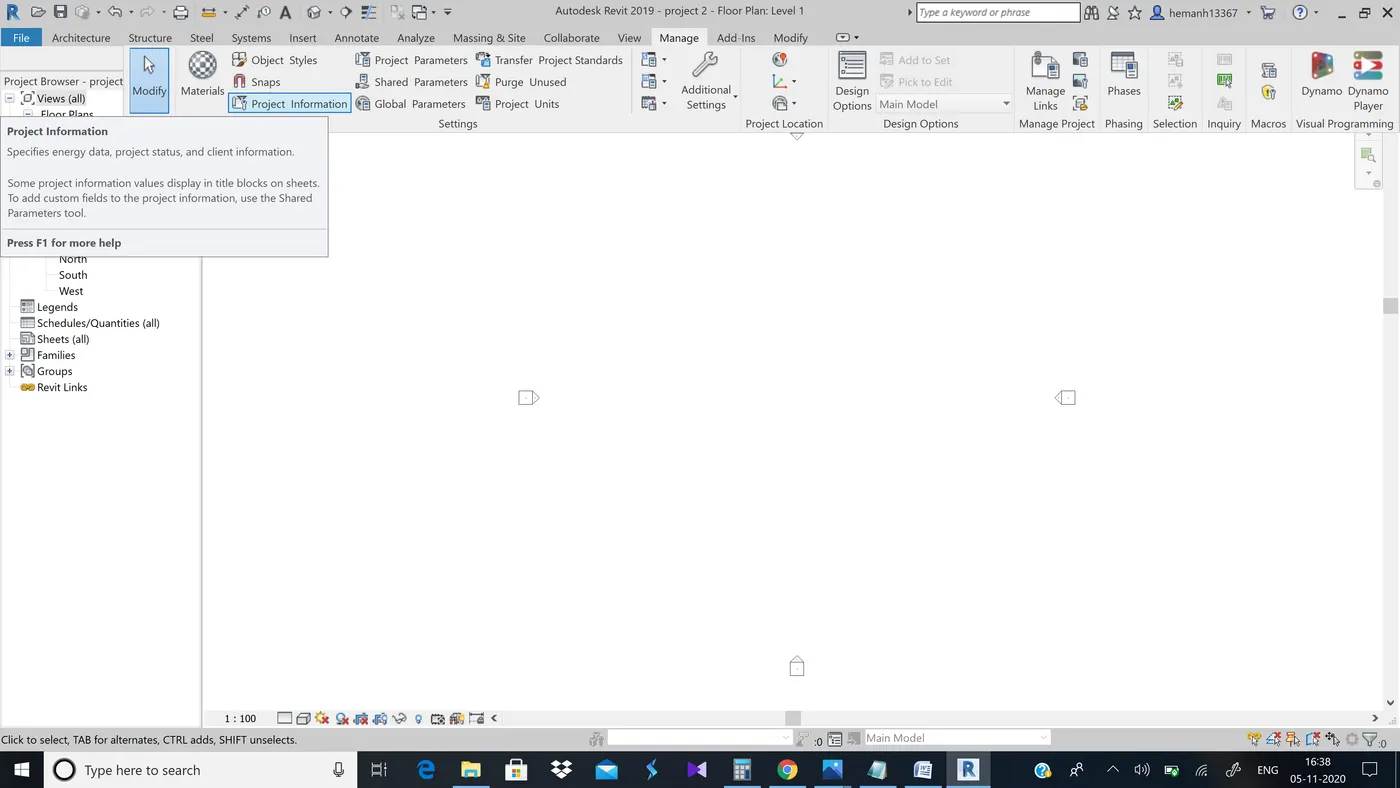
Step 6:-Now change the required information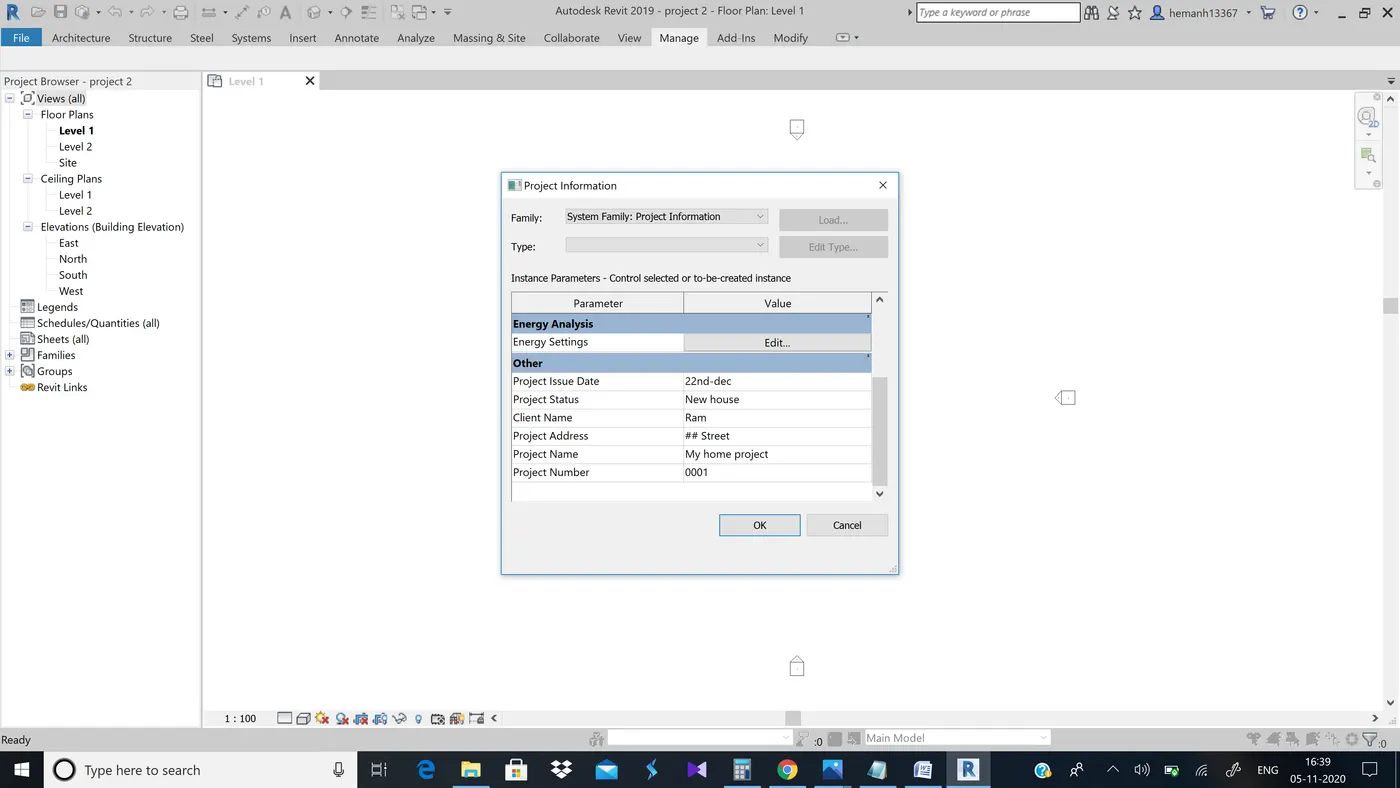
Step 7:-Select file option and select save as and click projects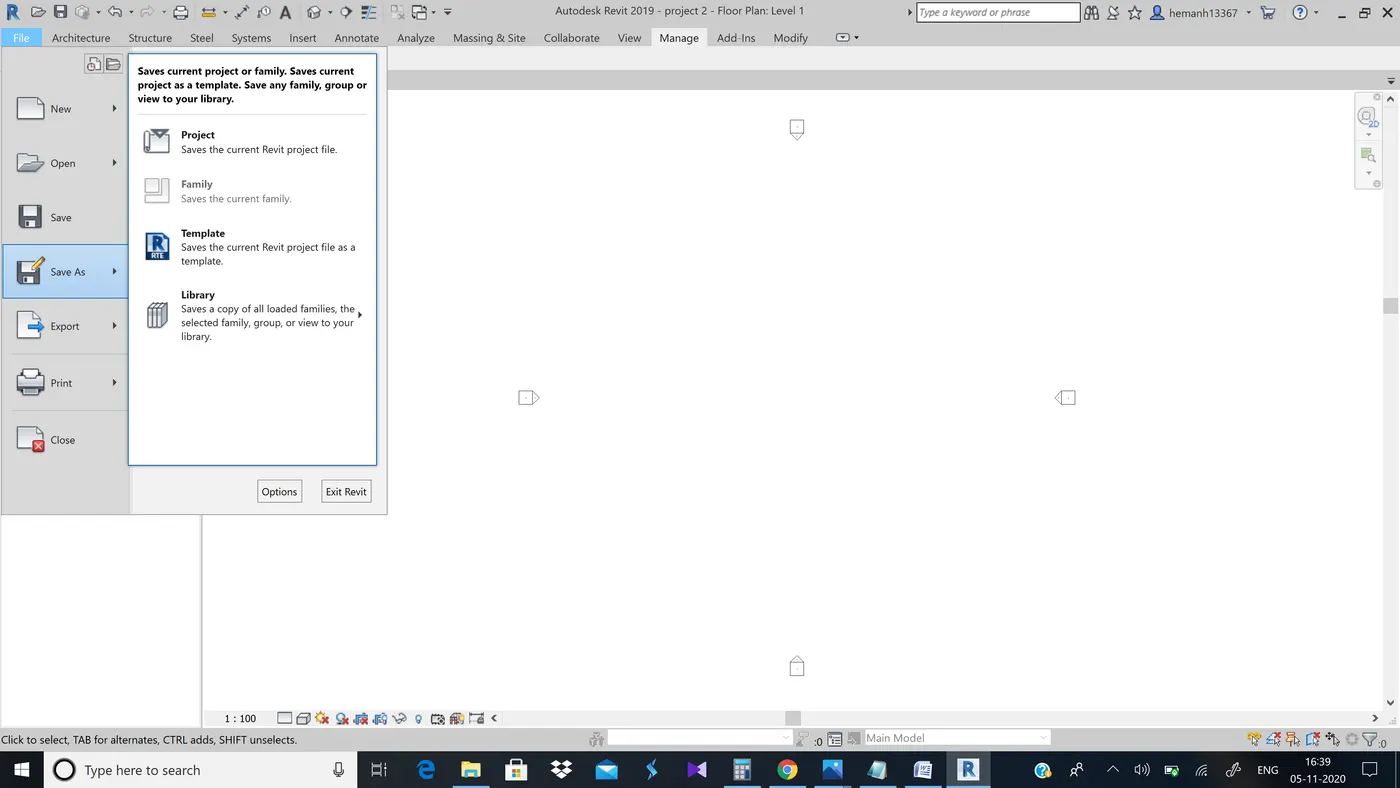
Step 8:-Now change the maximum backups to 3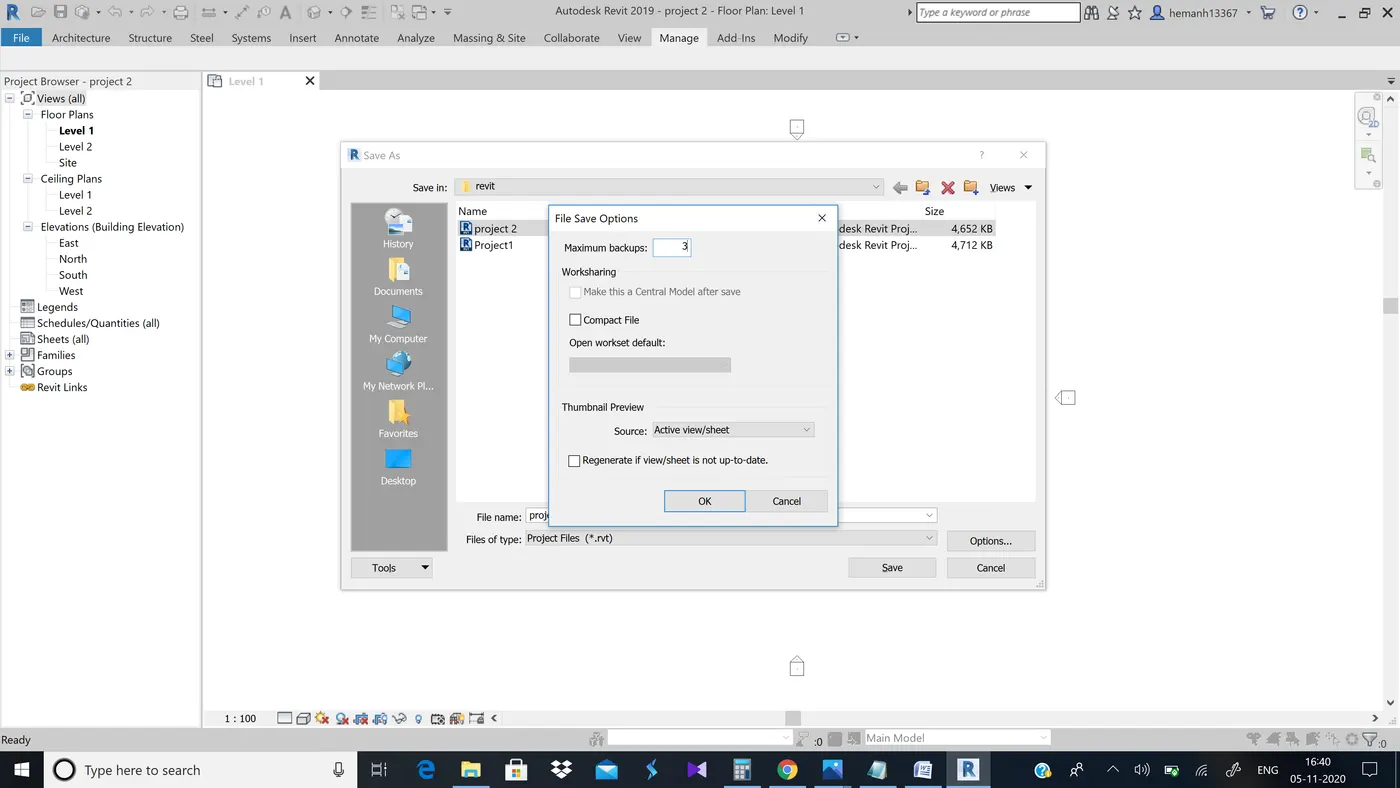
Result:-Opened a file with architectural template and saved the file with appropriate name.Chhanged the units to inches, added the project information.Set up the maximum backups for project file to 3.
4th ans)
Aim:-To create the given levels and grids(longitudinal and transverse)
Tools used:-
grids
levels
Procedure:-
Step 1:-As we have selected architectural template, in the project browser select elevation view as east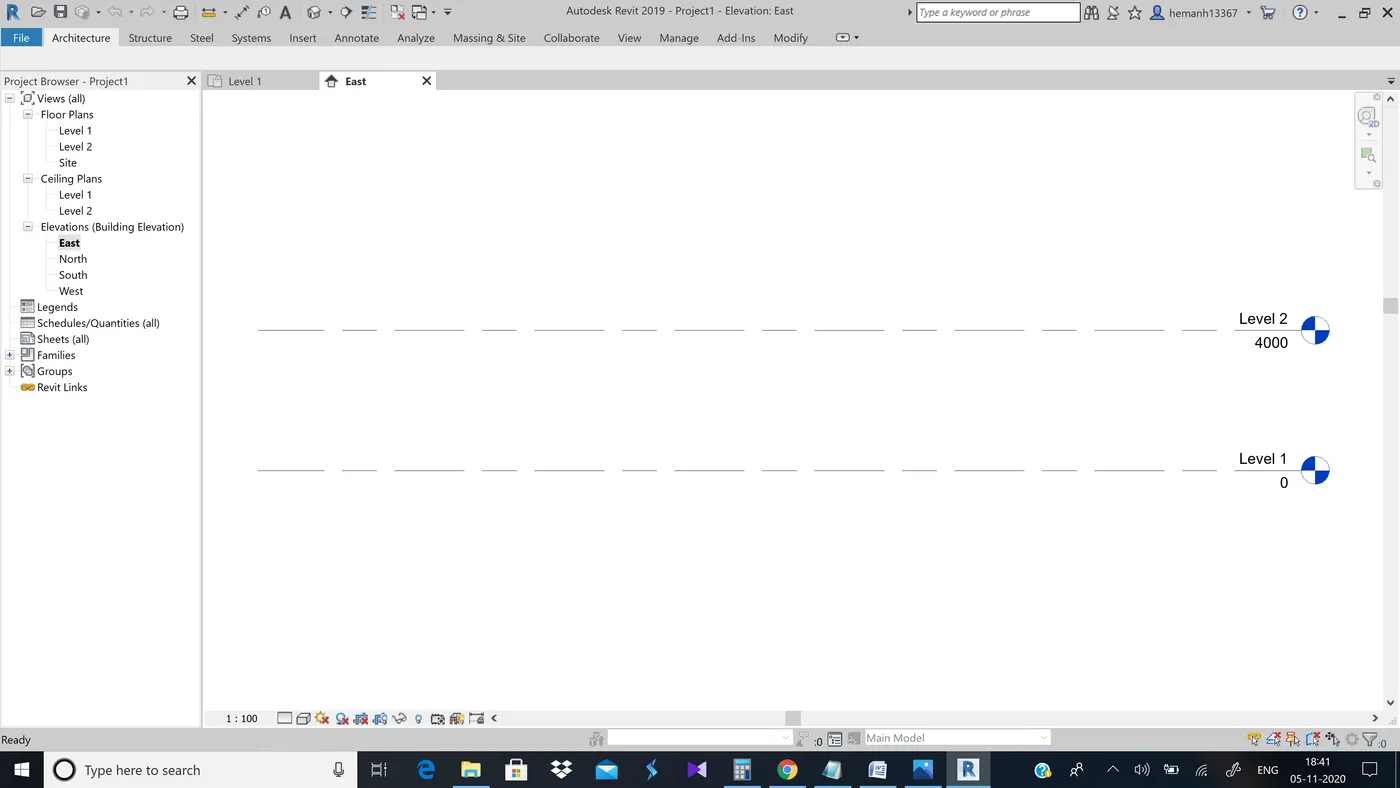
Step 2:-Change the units to inches from metres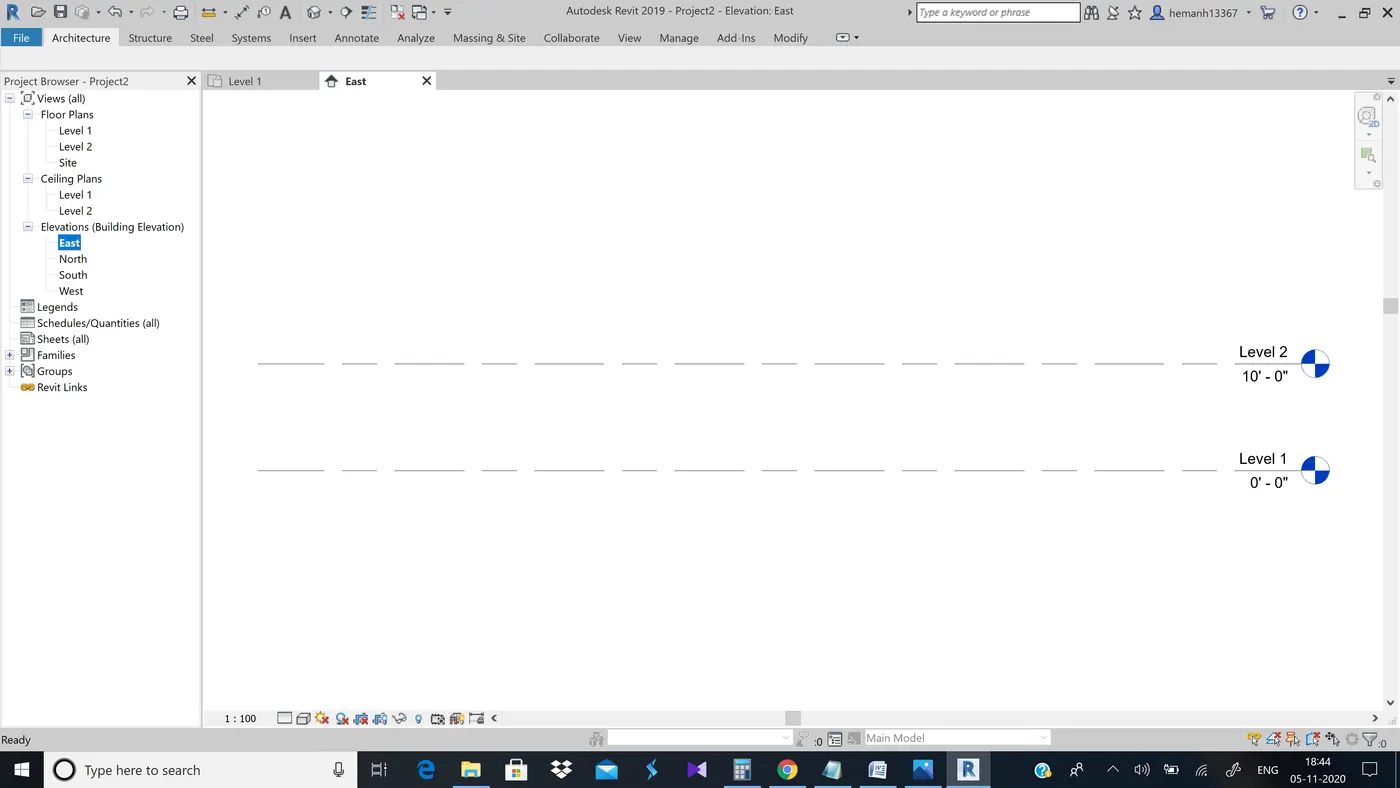
Step 3:-Now rename level 2 as first floor and level 1 as ground floor.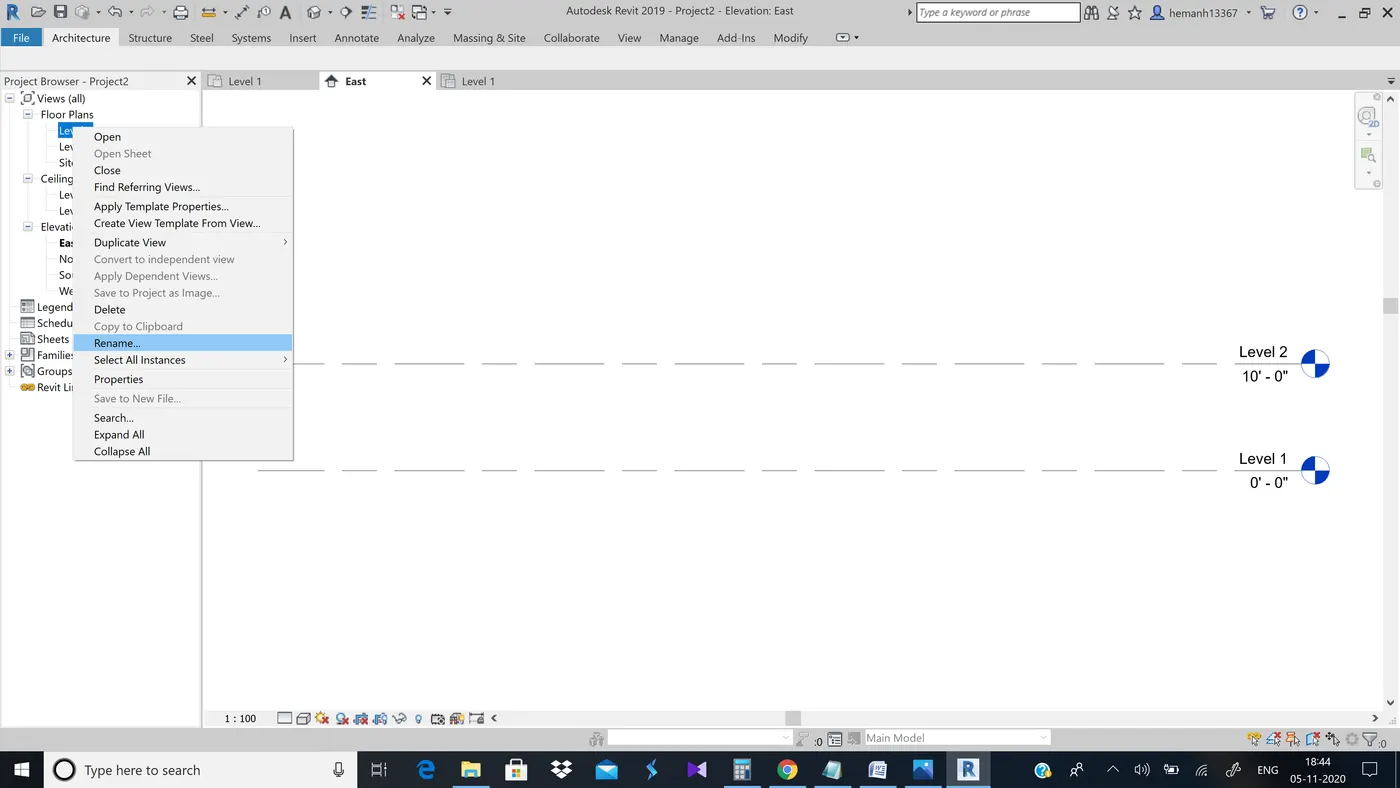
Step 4:-Use "LL" and draw level 3 and level 4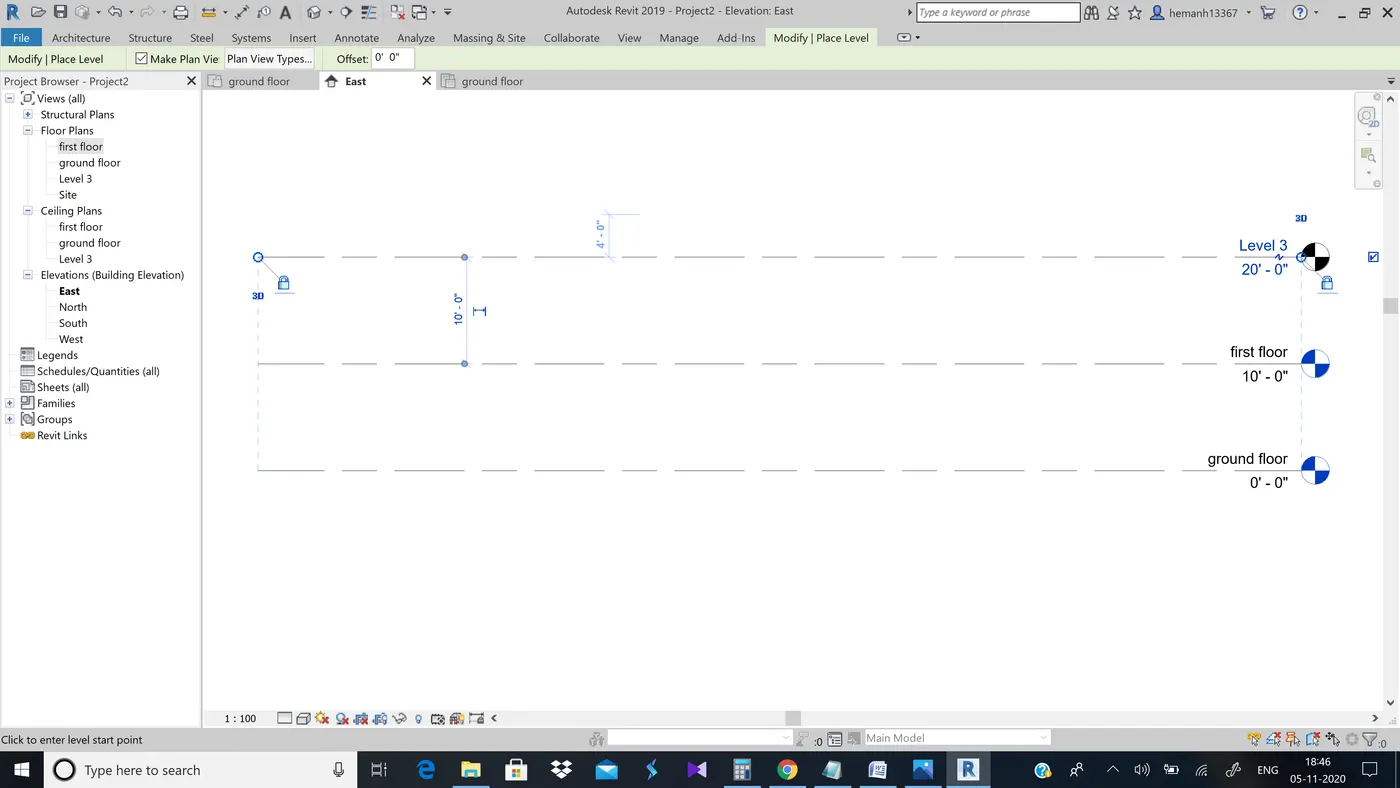
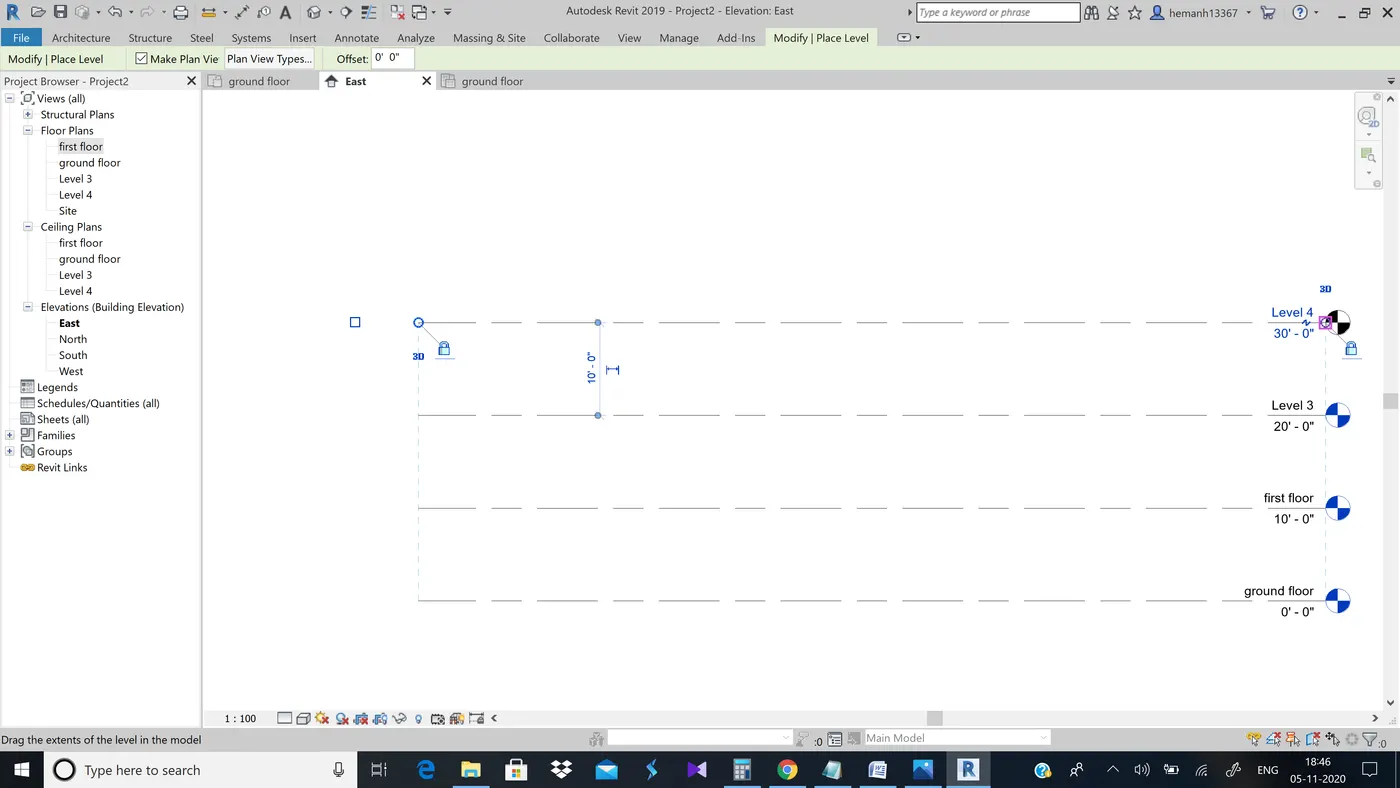
Step 5:-Now change them asroof and second floor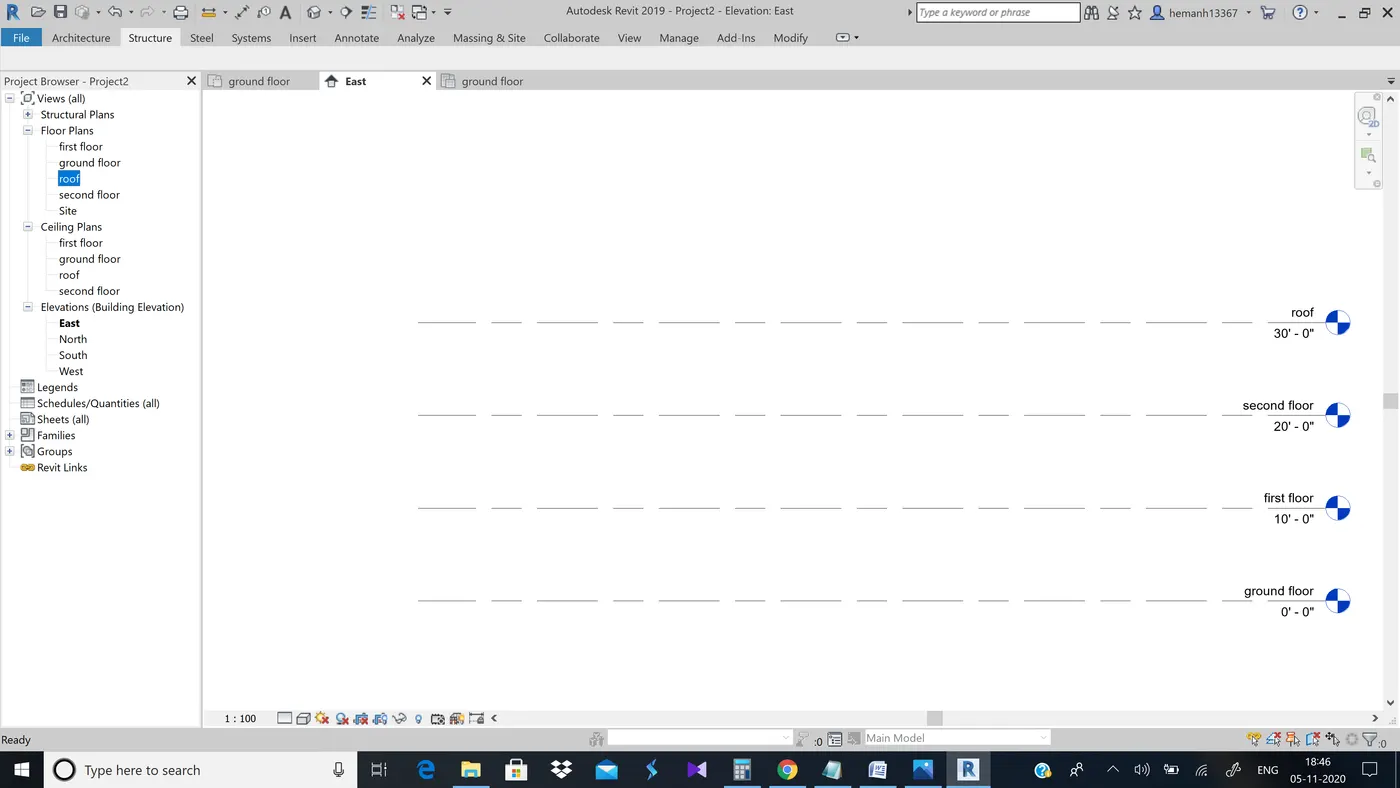
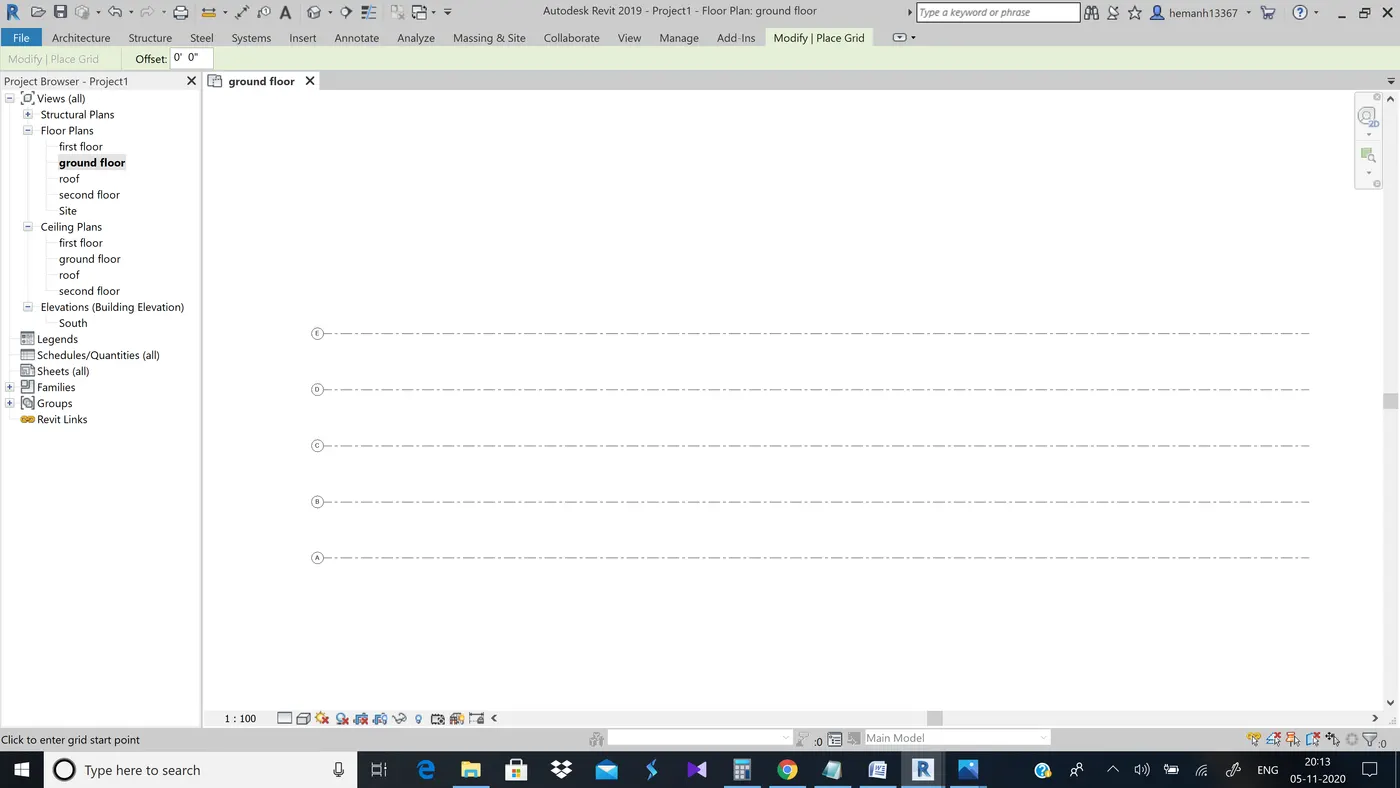
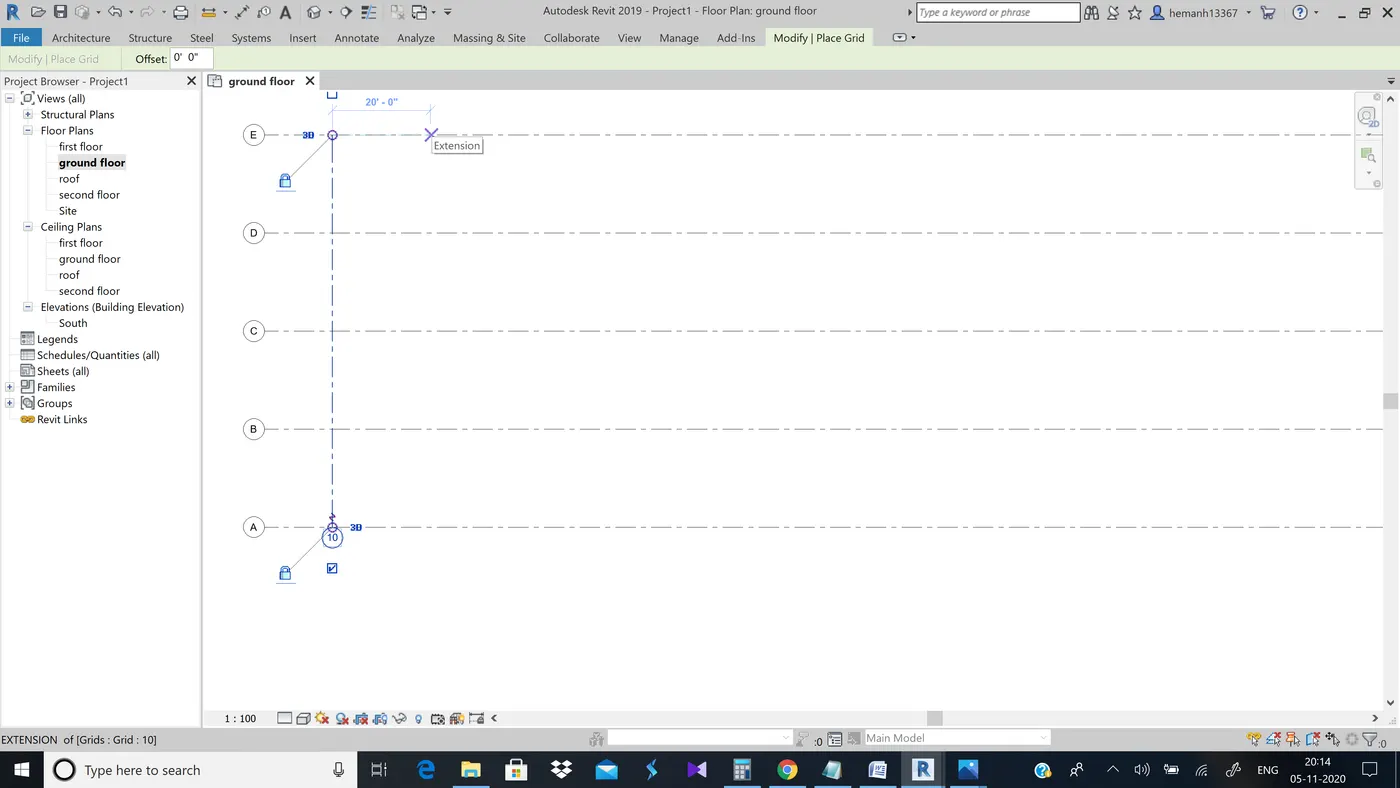
Step 6:-Now with the help of grids symbol in structres draw
longitudinal grids with 10' spacing from 1 to 10
Transverse grids from A to E with 20' spacing
(Note:-According to the course we are naming alphabets from top to bottom and numbers from right to left)
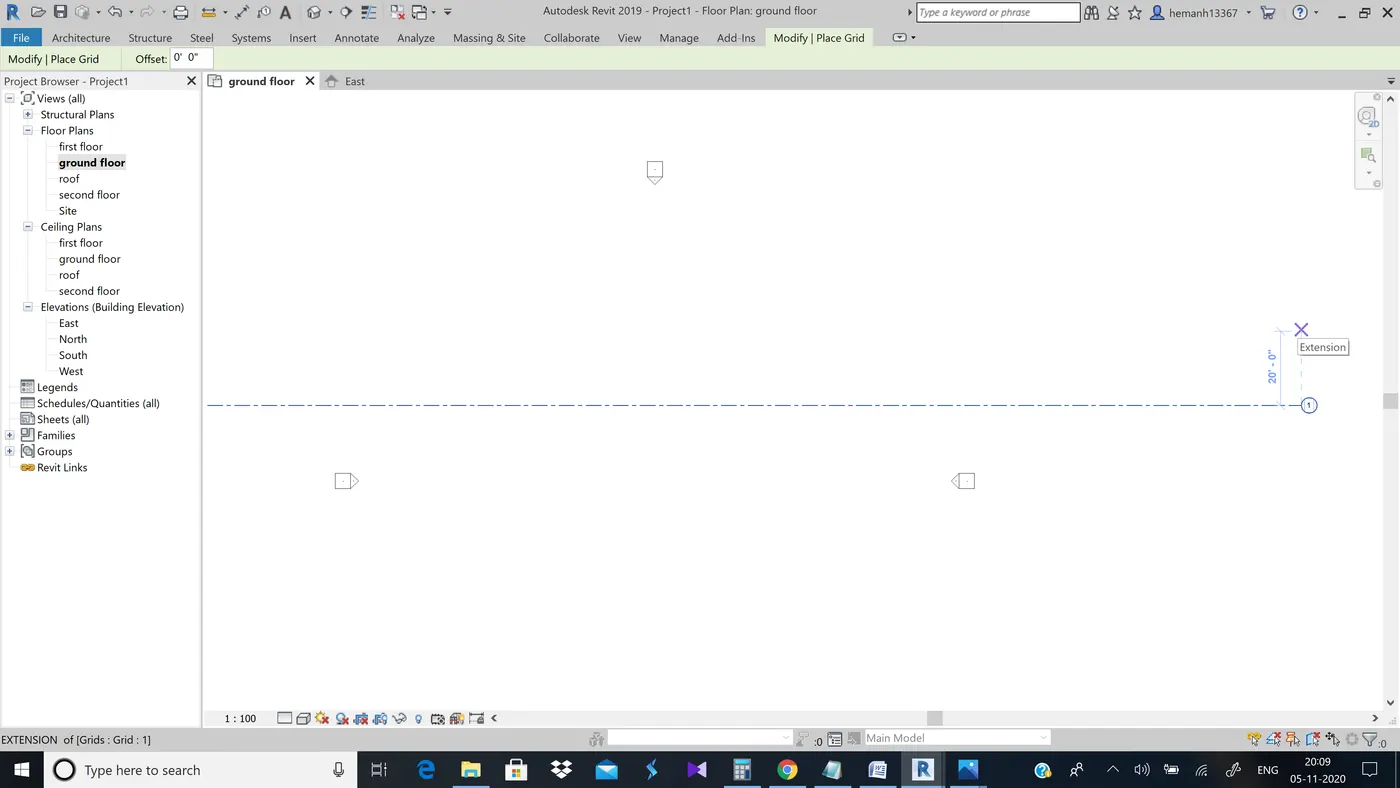
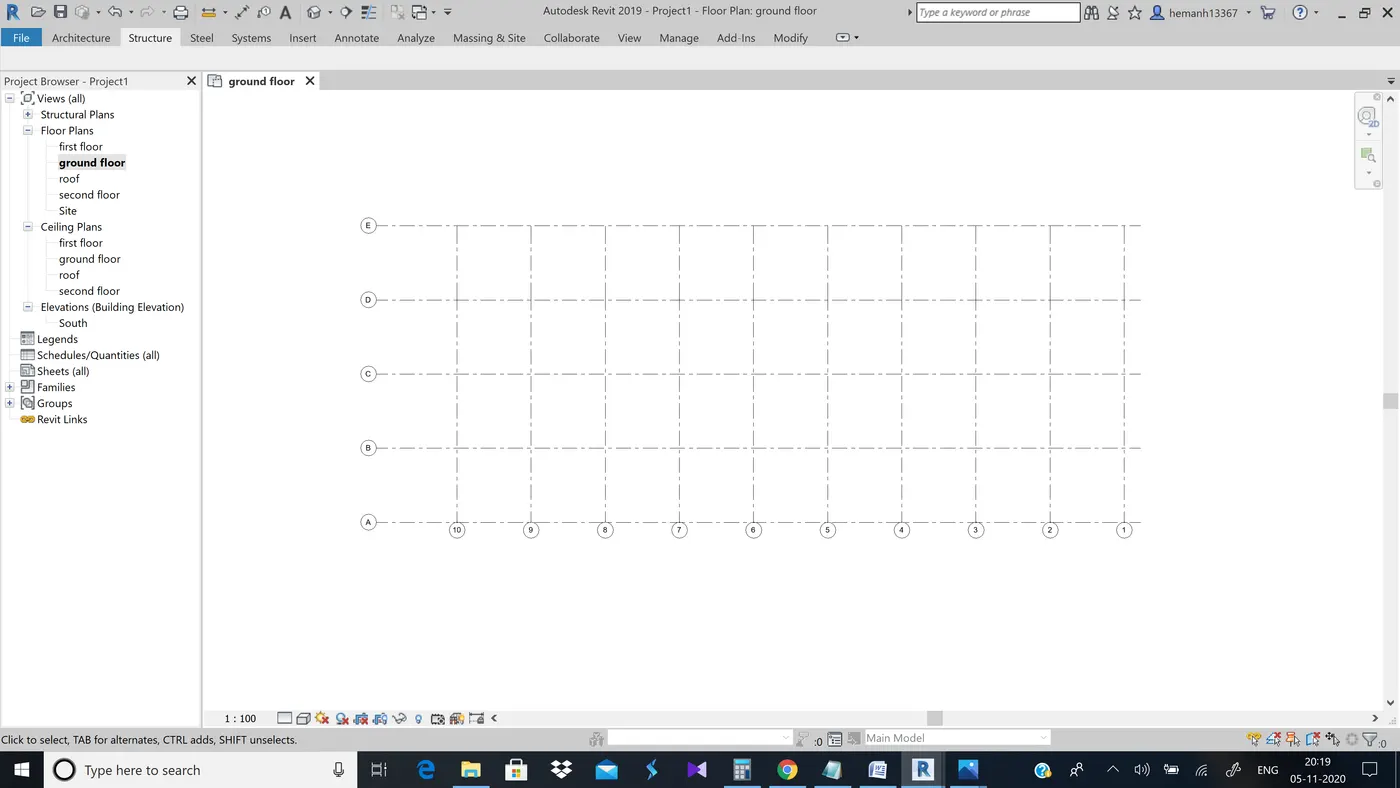
Result:-Created the asked concept using levels and grid
5th ans)
Aim:- To create a conceptual layout of the residential unit.
Procedure:-
Step 1:-select walls option from architecture 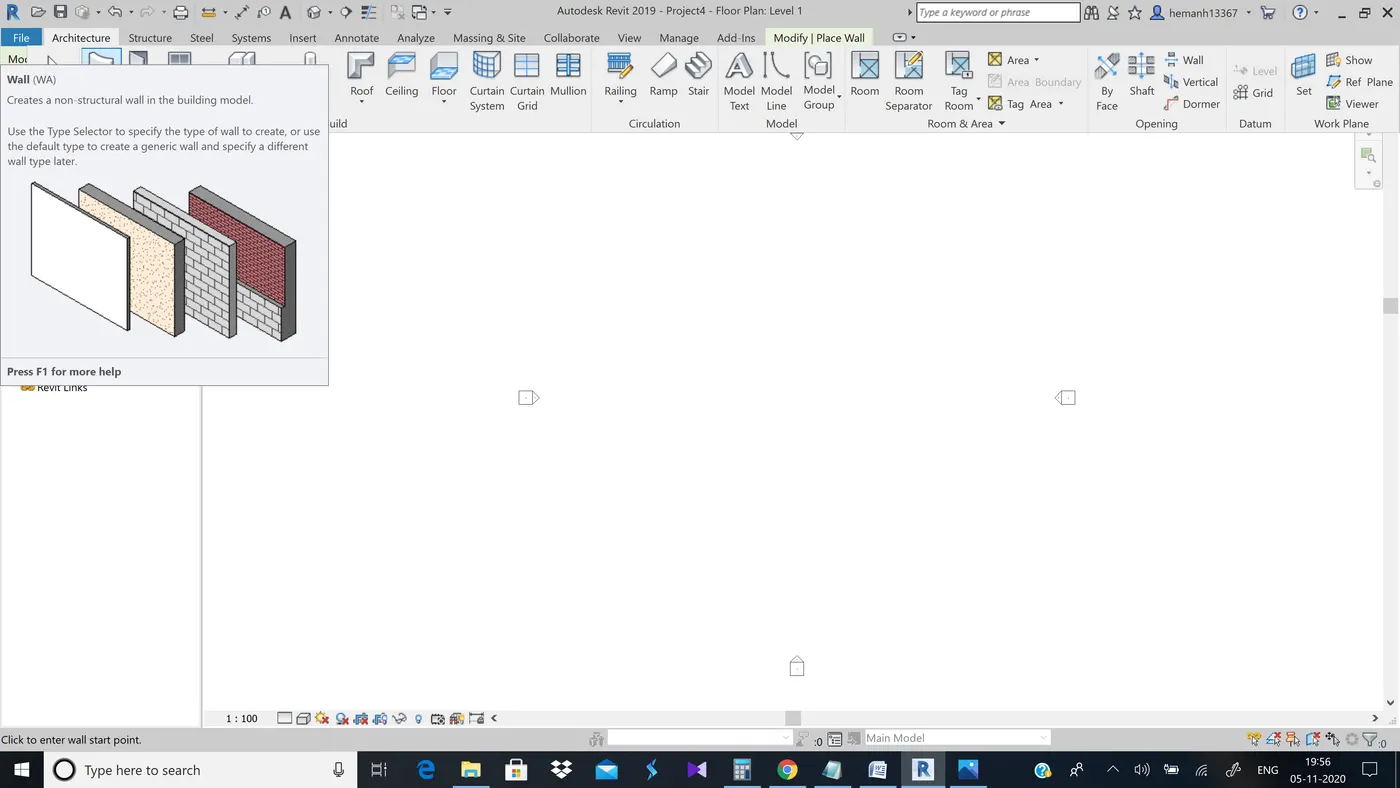
Step 2:-Draw the walls as you desire the layout to be.
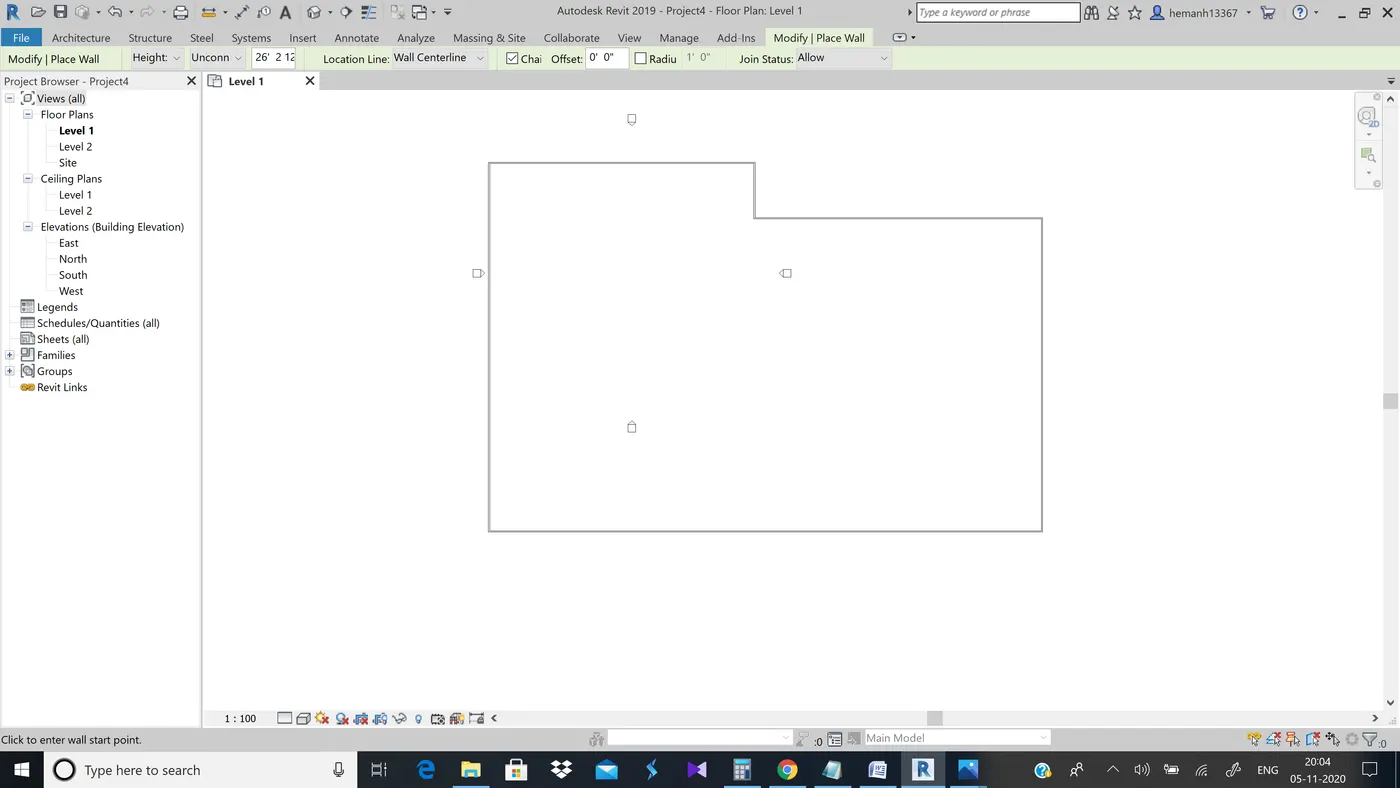
Result:-created a conceptual layout.
6th ans)
Aim:-To add dimensions of room , components planned to add in the layout.
Tools used:-
wall
linear dimensions
Procedure:-
Step 1:-Start adding the walls(interior)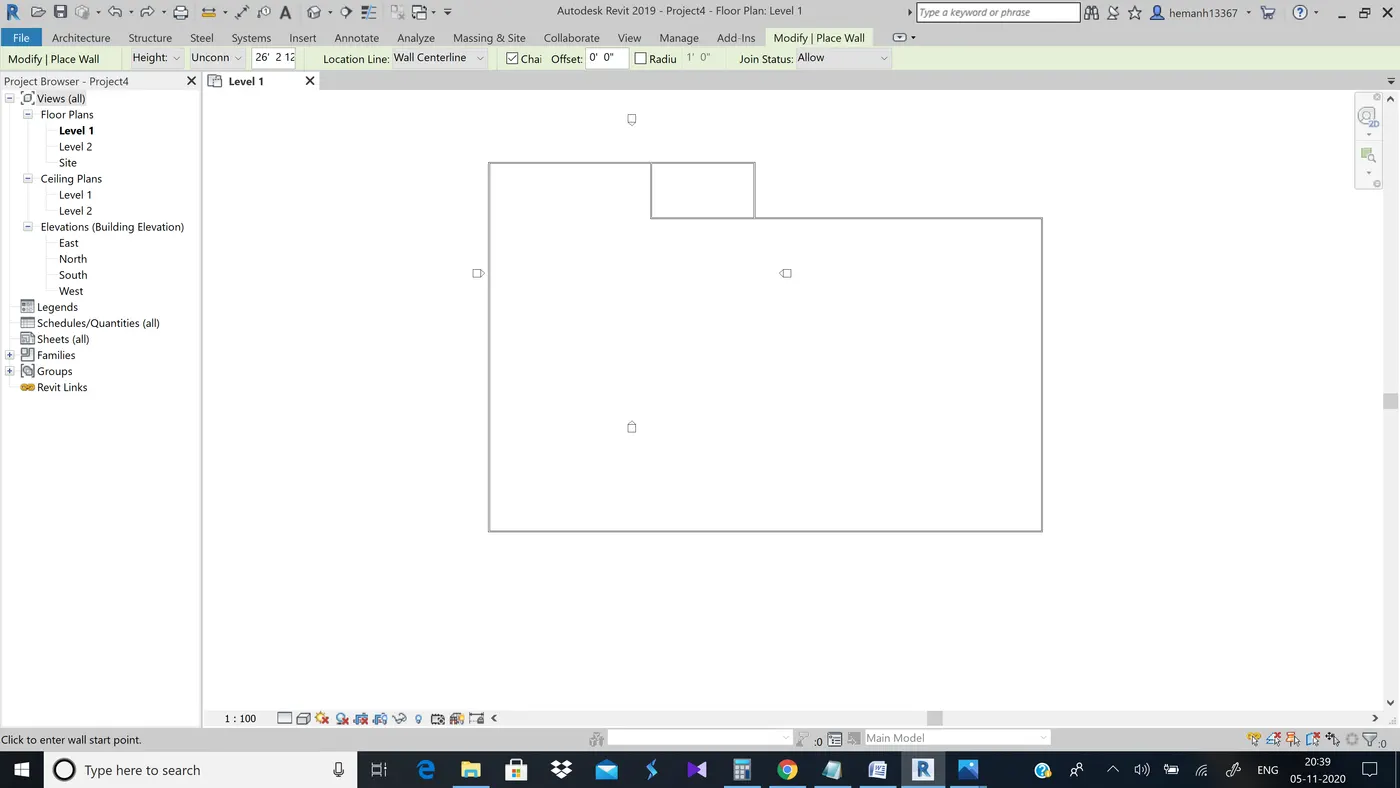
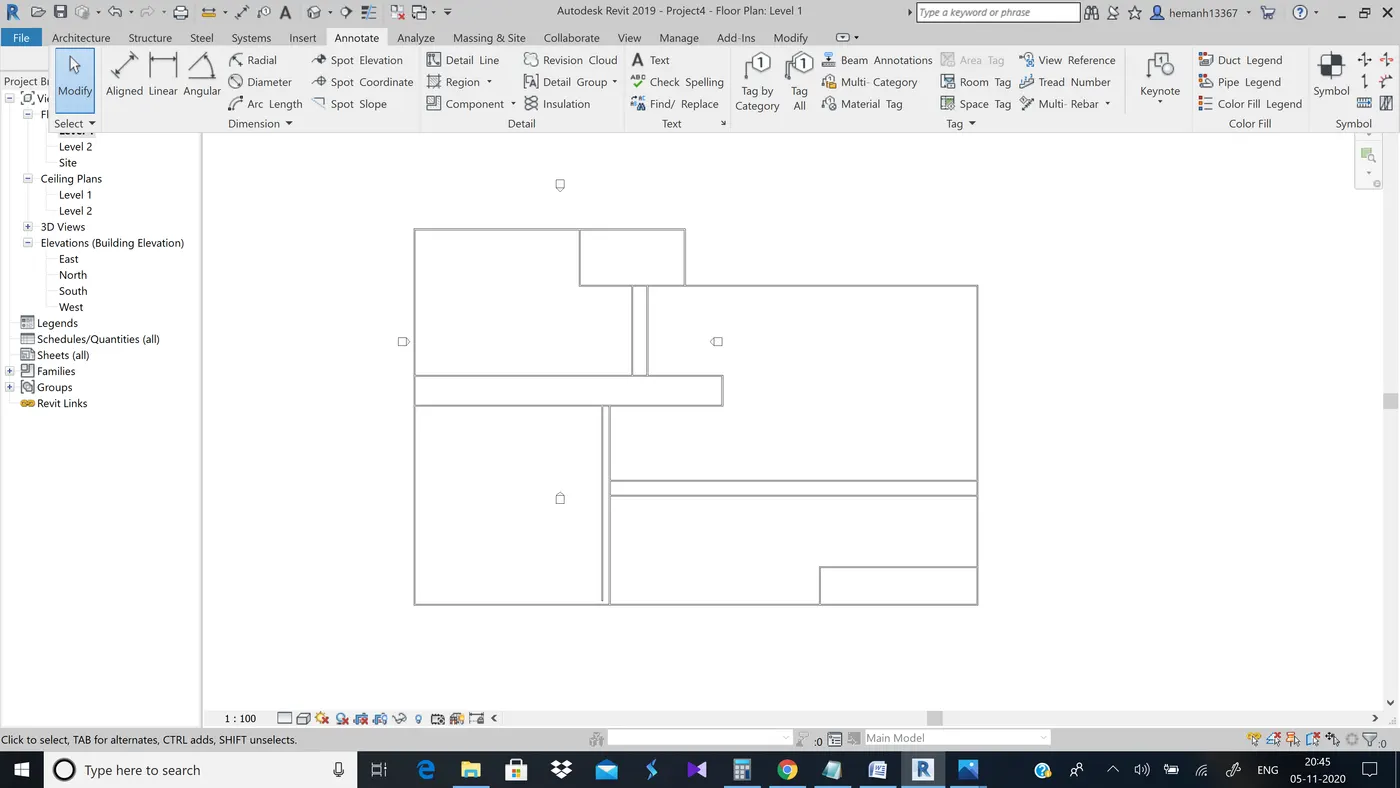
Step 2:-Now from architecture use the tag room tool and name the rooms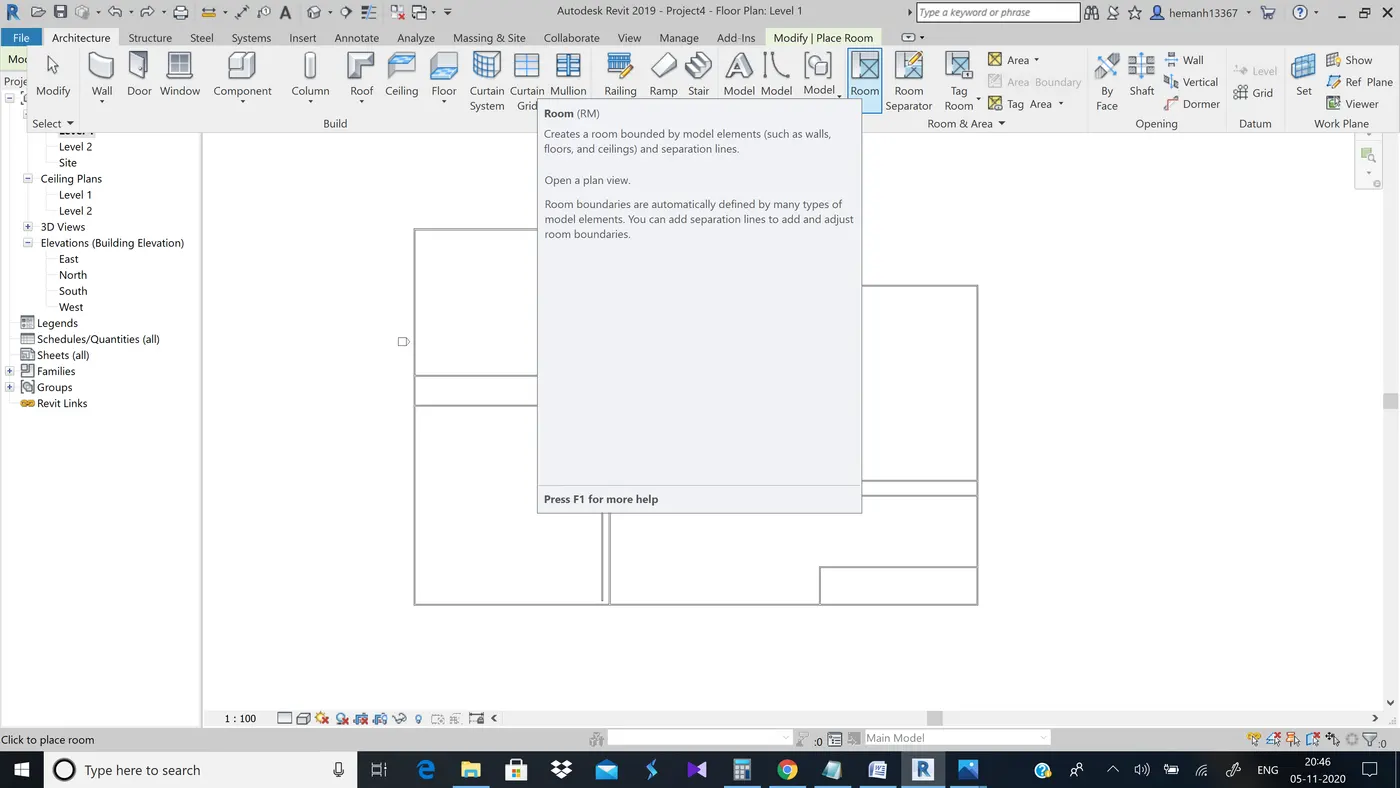
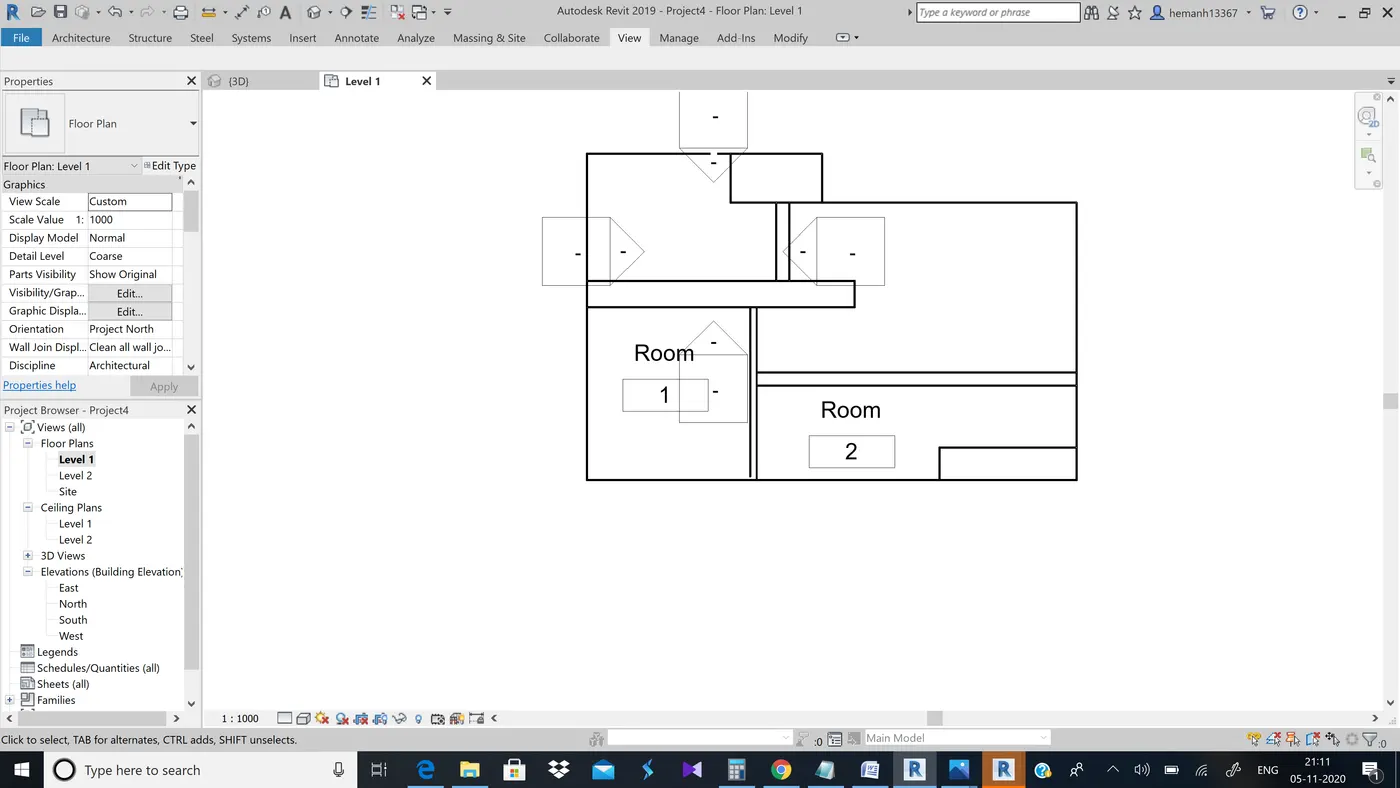
Step 3:-Now from annotate use linear dimensions and mark them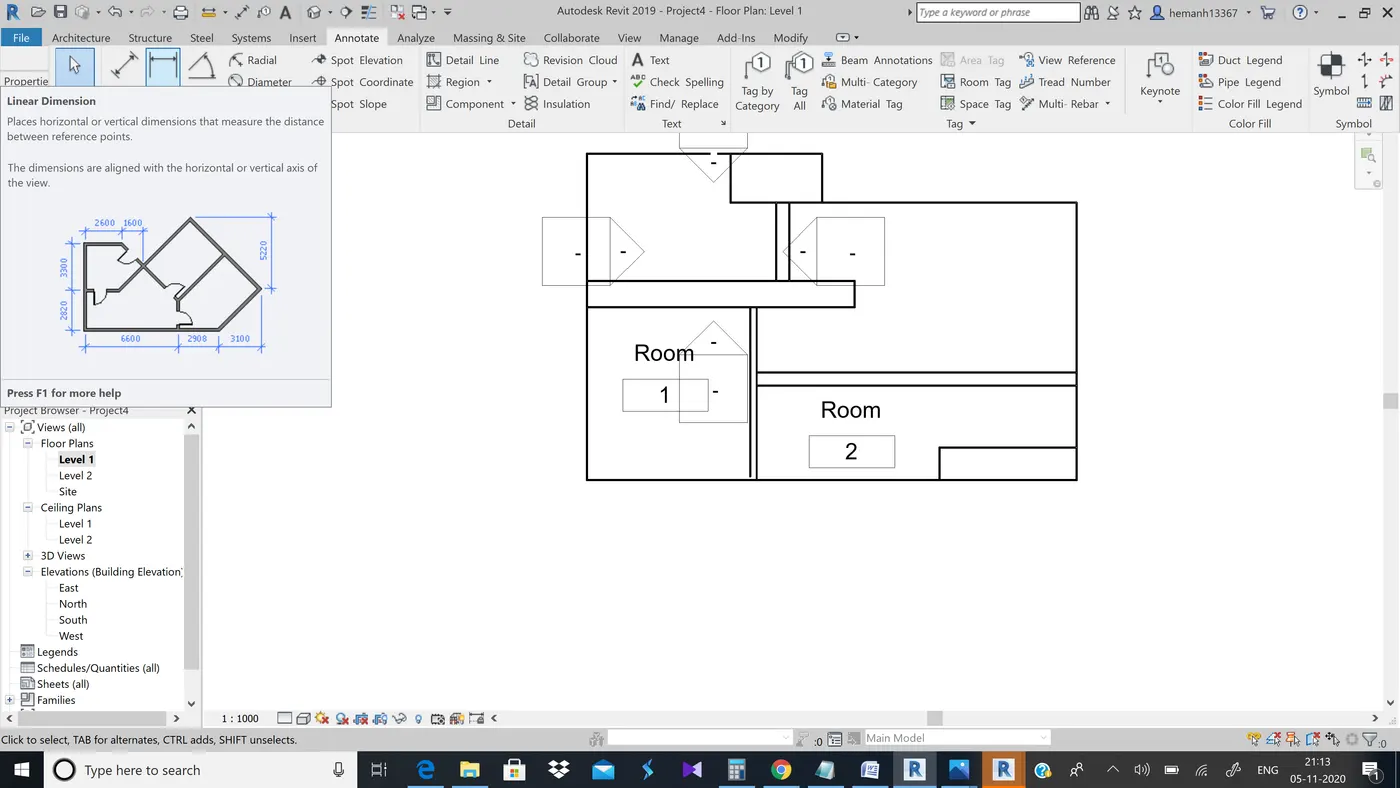
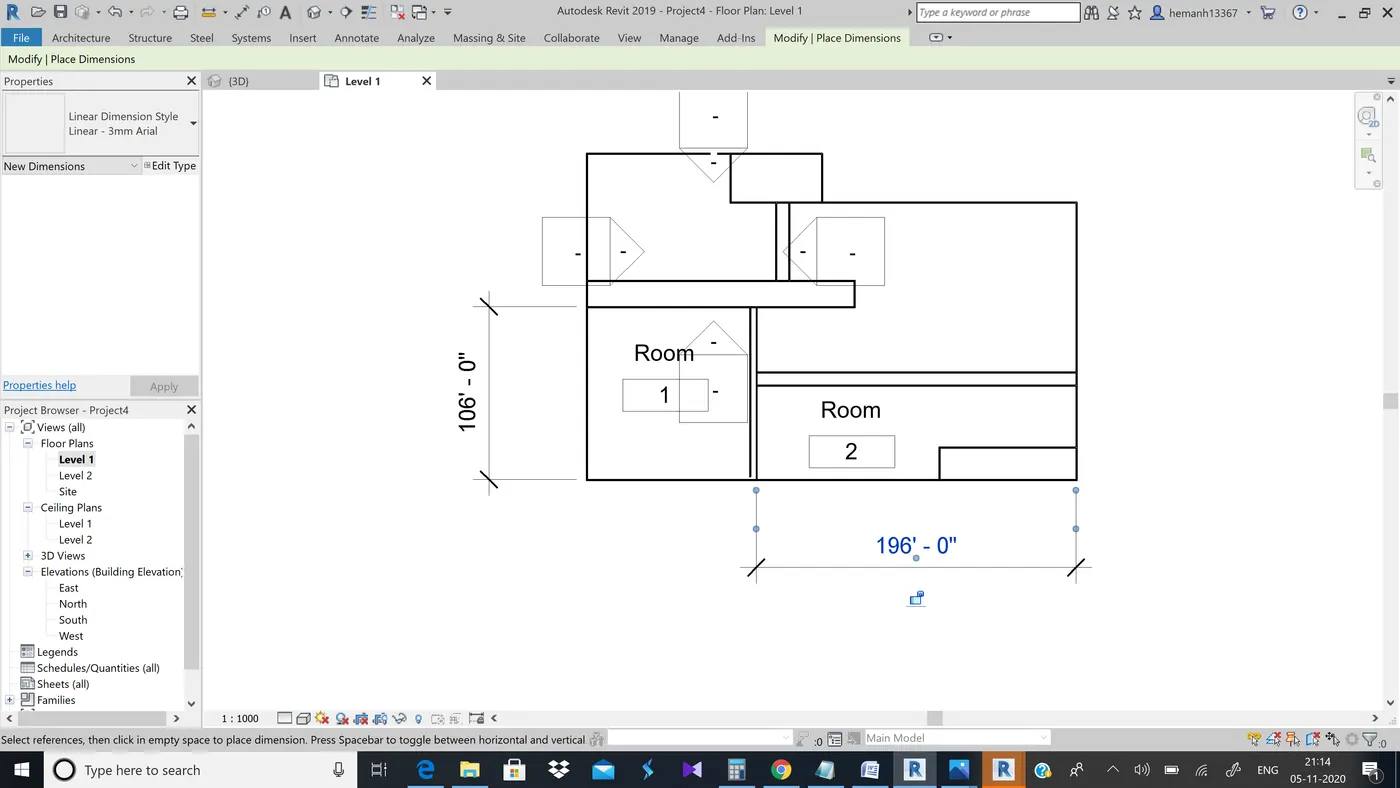
Result:-Drafted the details in the layout
7th ans)
Aim:-To identify the residential model elemts such as door , windows , tables , chair couch , etc.. from library and insert them in the model
Tools used:-
components
libraries
Procedure:-
Step 1:-Select insert tab and open load family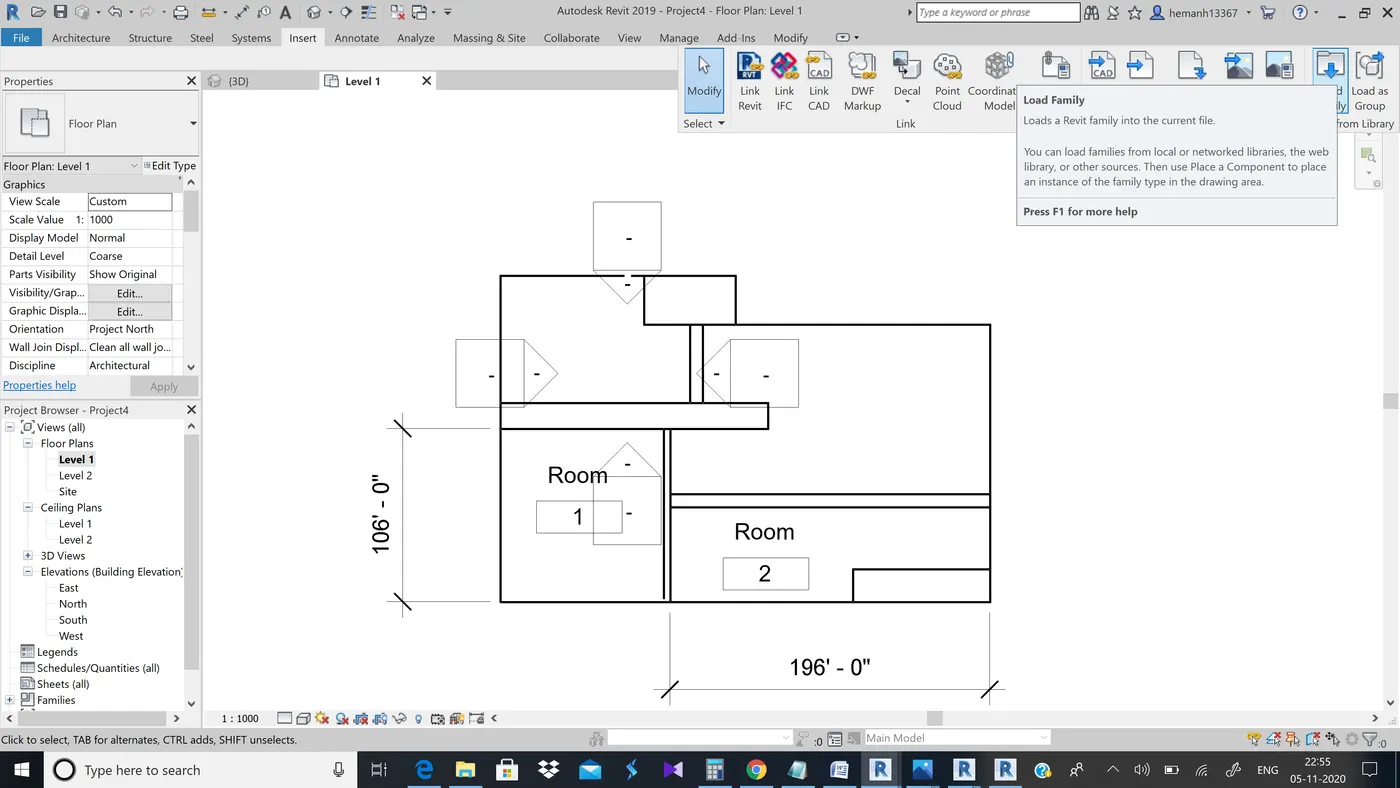
Step 2:-now select the desired table
and open it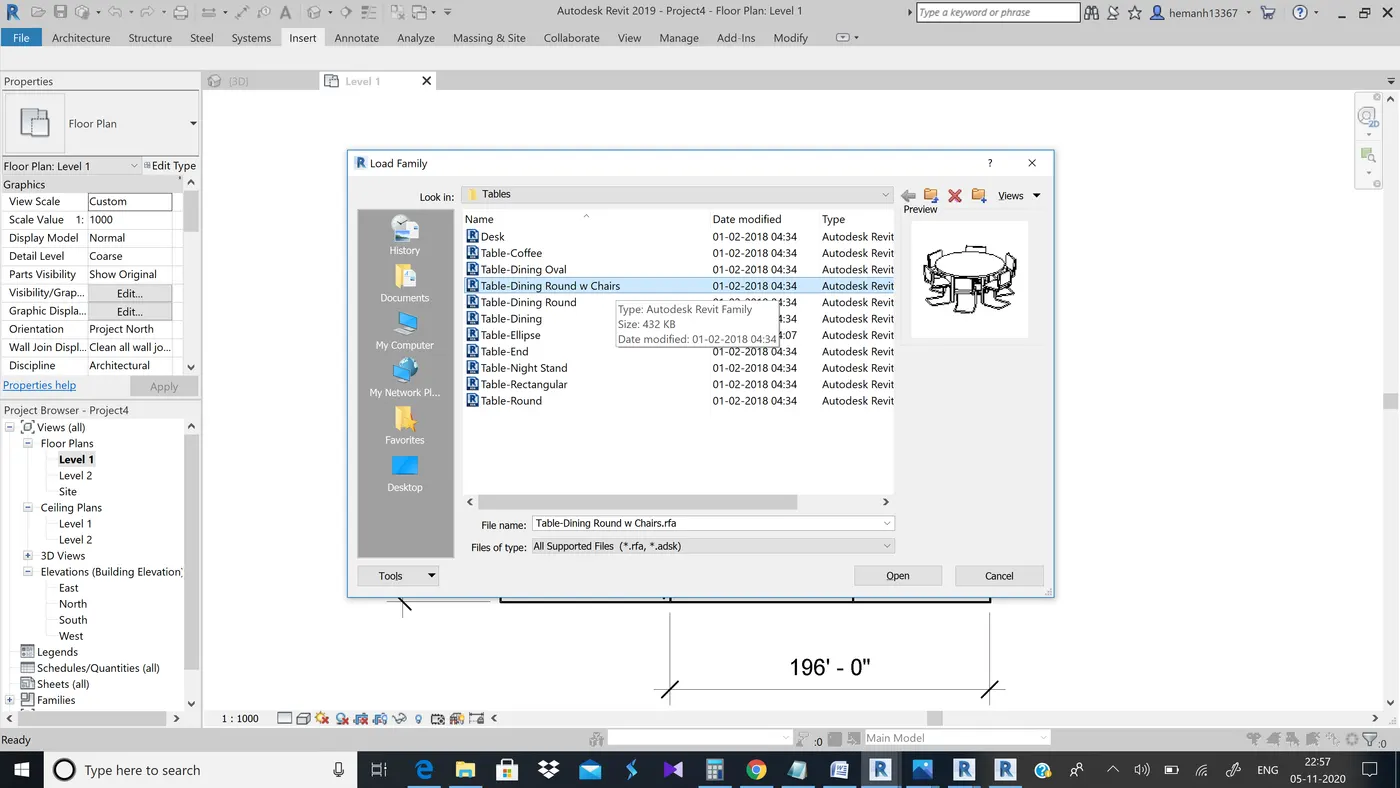
Step 3:-Now select component (place component)from architecture tab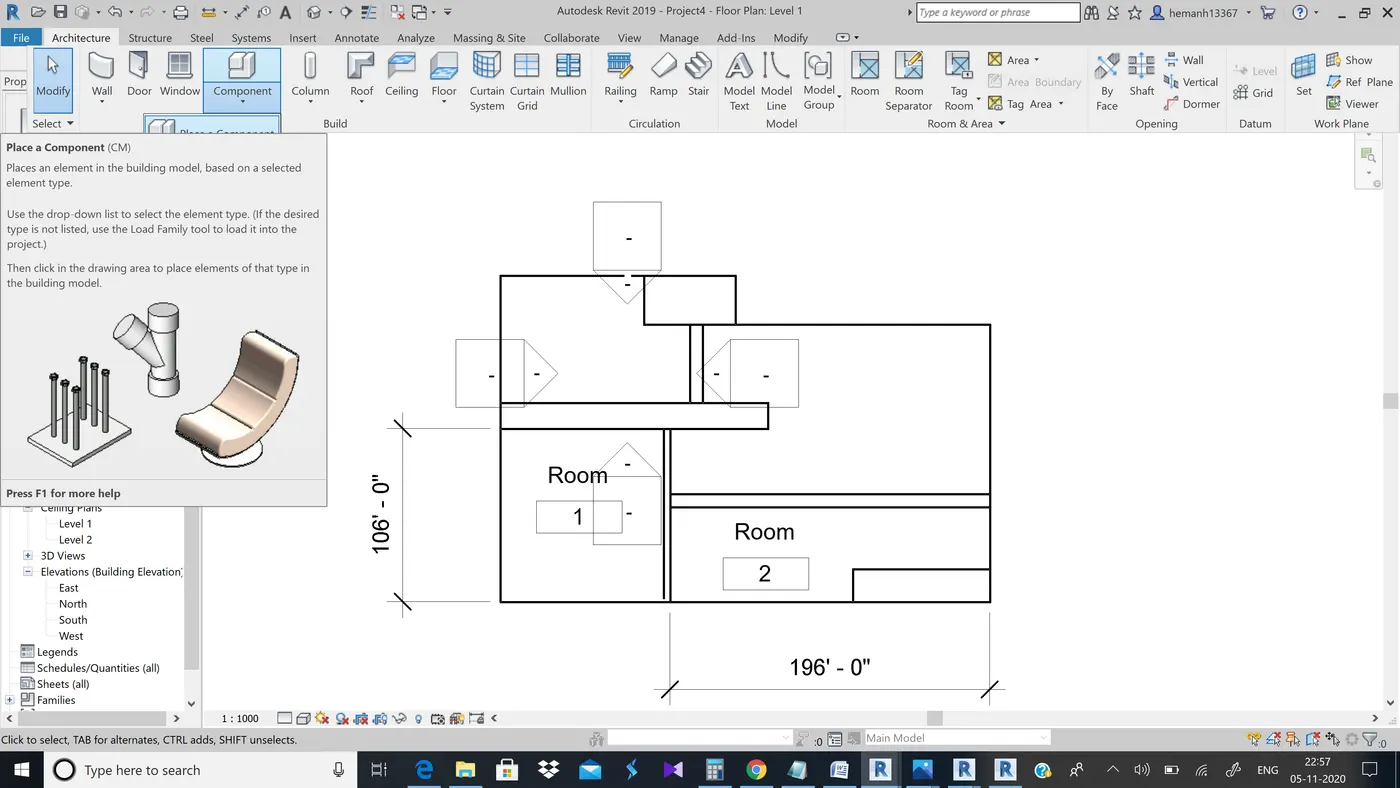
Step 4:-Now place the table in desired place
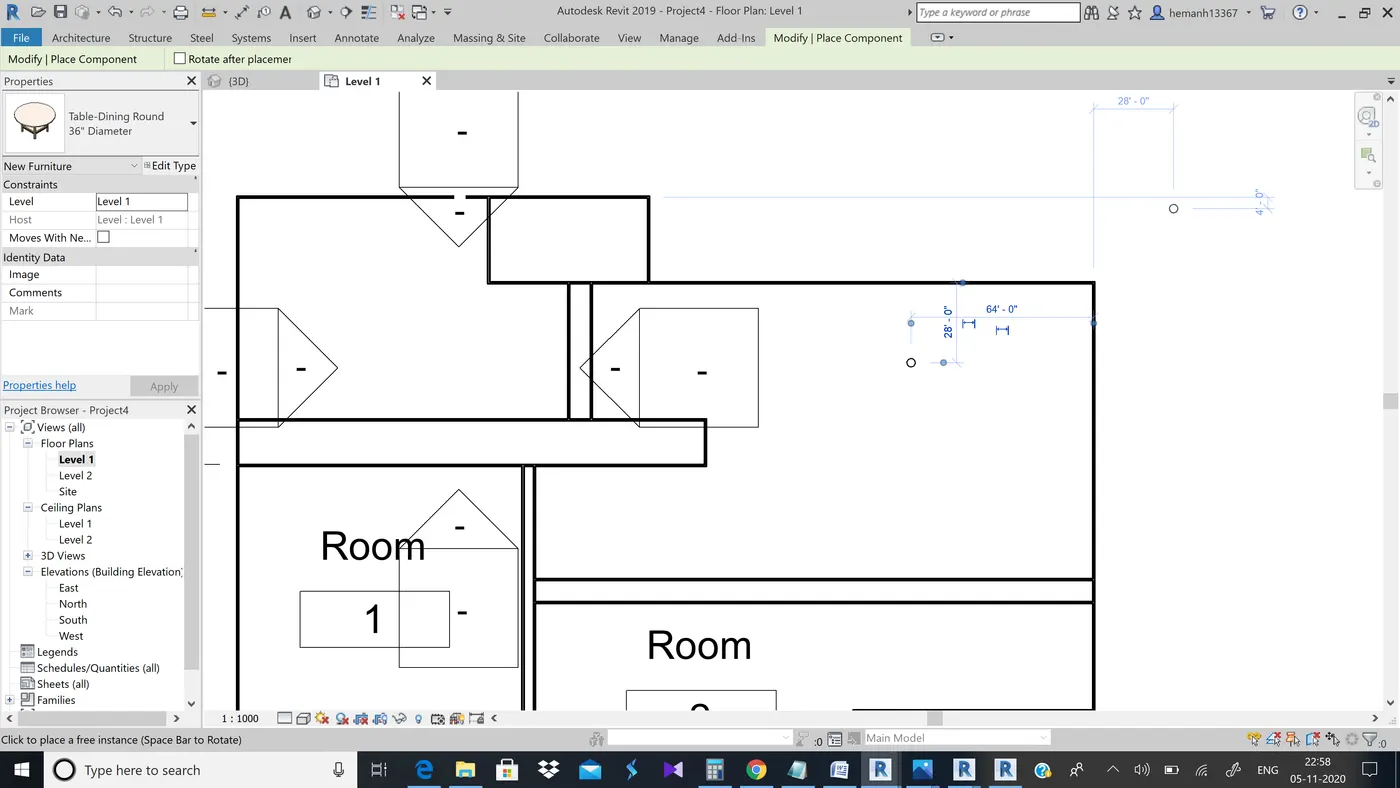
Step 5:-similarly apply other furnitures using components from architecture tab
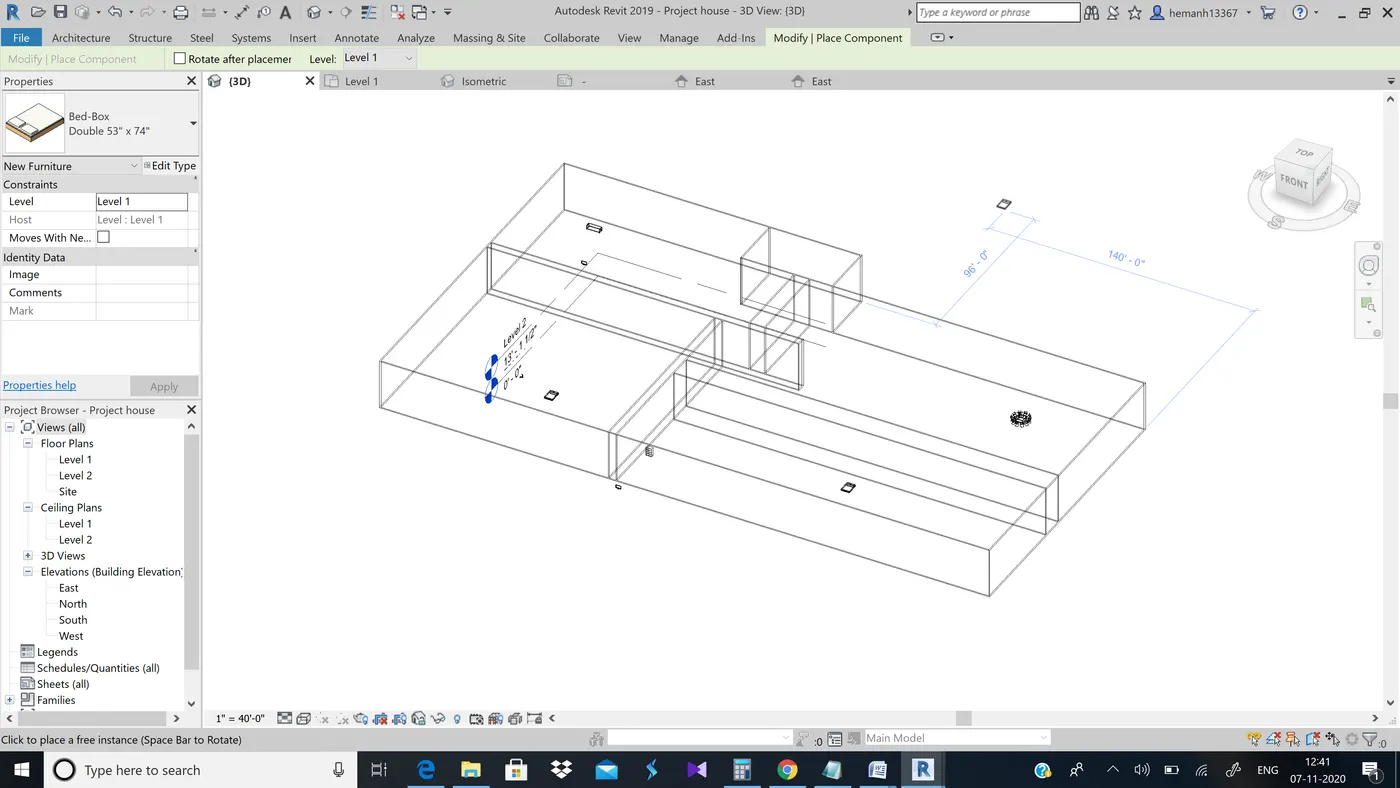
Result:-applied all the furniture