Week 14 challenge
AIM: Assemble all the part body to butterfly valve.
Objectives: In this project we are going to model a butterfly valve and to apply GD&T to the different parts of the butterfly valve and make the assembly.
Software tool used: NX-Cad (12)
Parts of Butterfly Valve :
- Body of Butterfly Valve
- Shaft
- Retainer
- Disc Plate
- Lever Handle
- Nuts
- Screw/Pin
- Butterfly Assembly
Butterfly Valve
A Butterfly valve is a quarter-turn rotary motion valve that is used to stop, regulate, and start the flow. Butterfly valves are a quick open type. A 90 degree rotation of the handle can completely close or open the valve. Normally, they are used in systems where a positive shut-off is not required.
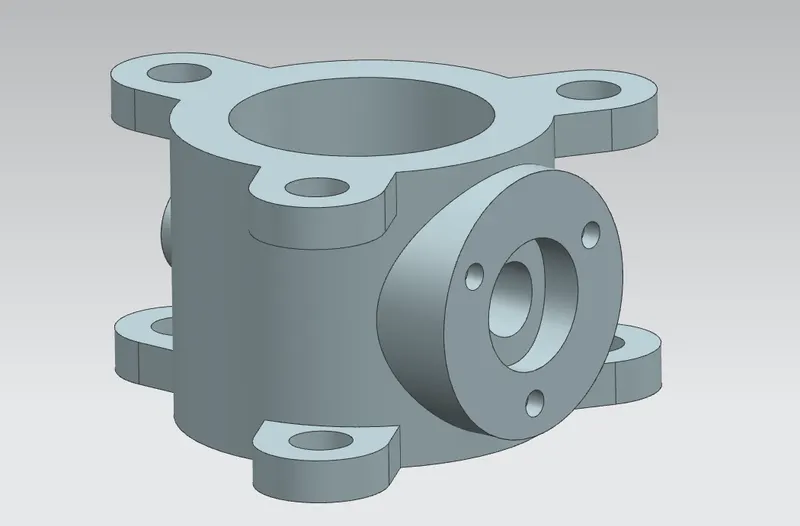
Body of Butterfly Valve
- Initially, the sketch for the body of the butterfly valve is drawn using the circle tool in NX software.
- After extruding the sketch which is drawn,the ears of the Butterfly valve is drawn and then it is copied on both sides of the cyclindrical portion.
- Now, the datum plane option is used to create cyclidrical portion and the counter bore option is used to provide a counter bore to the part with the specified dimensions.
- The hole is provided for the mounting of the body
- Finally, Save with an appropriate name in required folder.
SHAFT:
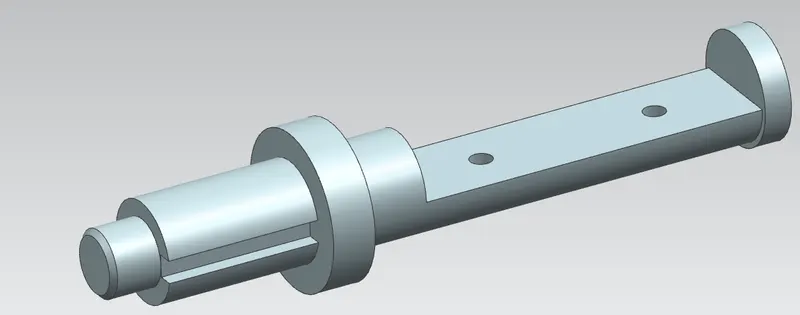
- The 2D drawing given in the figure is used to convert the Sketch into 3D model with different operations (Basically it is a shaft so it revolve around its axis.
- The revolve option is used to create the shaft by rotating it through 360°.
- Now the extrude option by using subtract command from body is used to provide the slot in the front and rear portion of the shaft.
- Finally,the two holes of 12.5mm diameter is provided in the rear slot portion of the shaft and the part is saved in the required folder with an appropriate name.
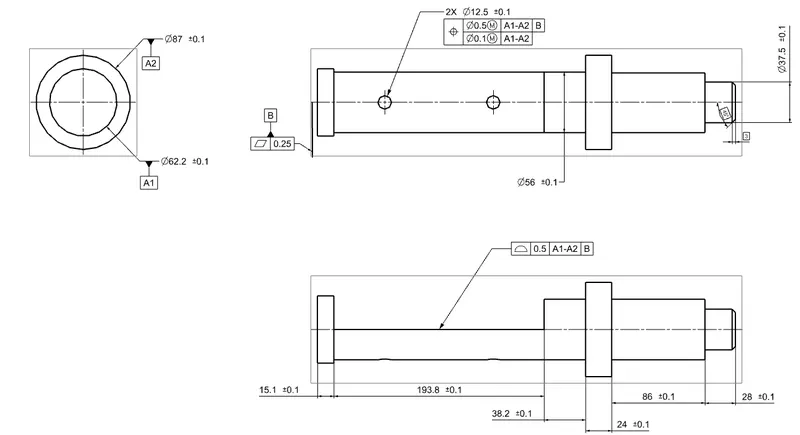
Drafting of a SHAFT in a drawing sheet
- Here,Only two datums A and B are given since the movement of shaft in one direction is required as per it's function.
- Datum A1 and A2 are given which comes in contact with the body of the butterfly valve.
- Datum B is provided at the base of the shaft.
- All the other tolerances like profile of a surface,flatness, composition position tolerance and the size tolerances are given to the other features.
RETAINER (DISC):
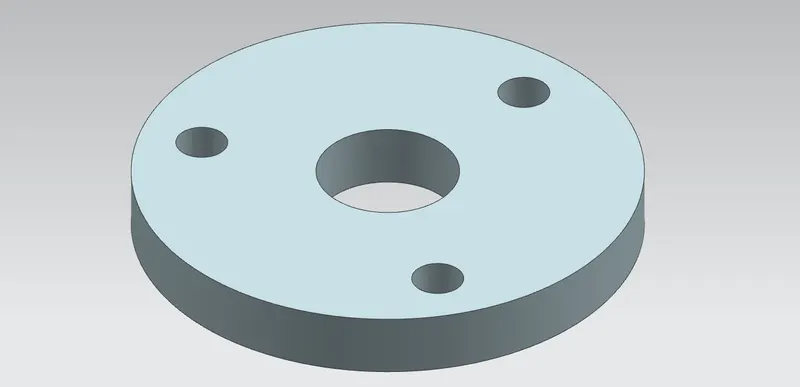
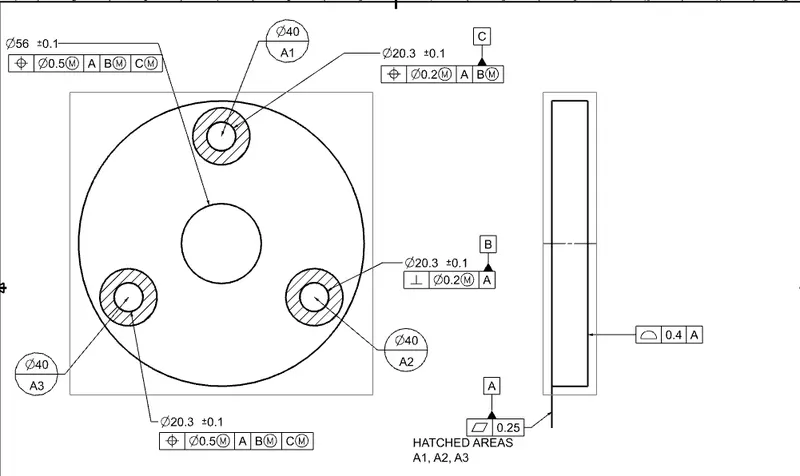
- The 3D model of the Retainer is created with the help of given 2D dimensions.
- Initially,the concentric holes of 200mm and 56mm diameter are drawn and the other 3 circles of 20.3 mm diameter is drawn with the help of 150mmBCD by using Pattern command.
- Finally, the 2D sketch is extruded upto 25mm and the part is saved with an appropriate name in the required folder.
Drafting of a Retainer in a drawing sheet
- Once the modeling is done, the part is taken to the drafting portion where the three datums A,B,C are applied.
- Here, Datum target areas A1,A2,A3 (Primary Datum-A) is applied to one side of the Retainer which comes in contact with the upper portion of the body.
- Datum-B is applied to one of the holes of the retainer where the bolt is inserted to constrain 2DOF.
- Datum-C is applied to the other hole of the retainer which constrain 1 DOF.
- Finally, the other tolerances like Perpendicularity,position,profile of a surface are applied to the other holes and the surface of the retainer, the drawing is saved with appropriate name in the required folder.
DISC PLATE:
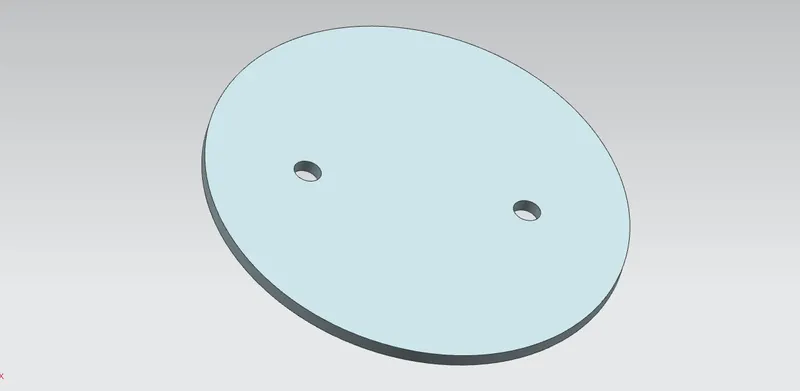
- Initailly, with the help of 2D drawing the disc plate is designed.
- The ellipse with a minor and major radius is created and then the two holes of 12.5 diameter is created.
- Finally, the sketch is extruded upto 6mm and the part is saved with an appropriate name in the required folder.
Drafting of a Disc Plate in a drawing sheet
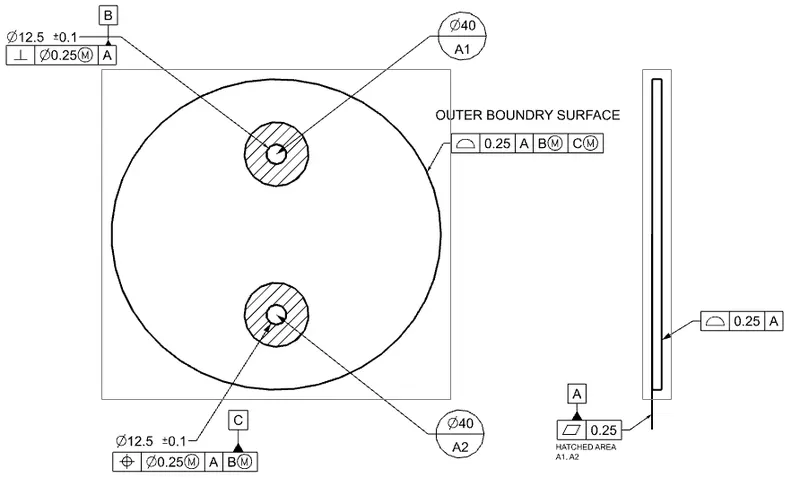
- After the modeling, the part is taken to the drafting where the datums are applied to the disc in the drawing sheet.
- Datum target Areas A1,A2 (Primary Datum-A) is given to one side of the disc which comes in contact with the Stem/Shaft.
- A datum B is given to one hole of the disc and the other datum C is given to the other hole.
- All the other tolerances like Perpendicularity tolerance to datum B and position tolerance to datum C and profile of a surface tolerance is given to the outer boundary surface and also give profile surface which control the corrosponding surface.
LEVER HANDLE:
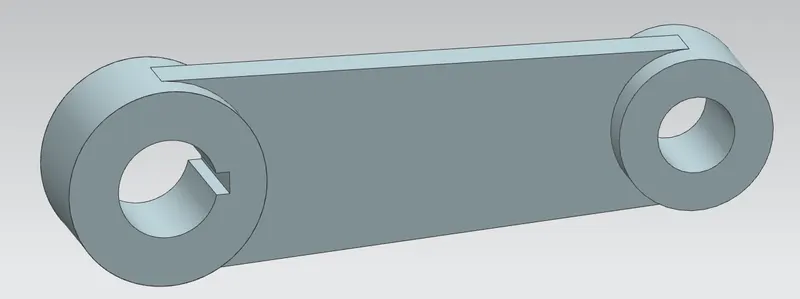
- Sketch the 2D drawing with the help of given drawing of the lever handle, the 3D model of the lever is designed with the help of different operations.
- The different operations used are Trim, Extrude, Circle, Tangency etc.
- And also use UNITE command to make one solid body
- Finally,the part is saved with an appropriate name in the required folder.
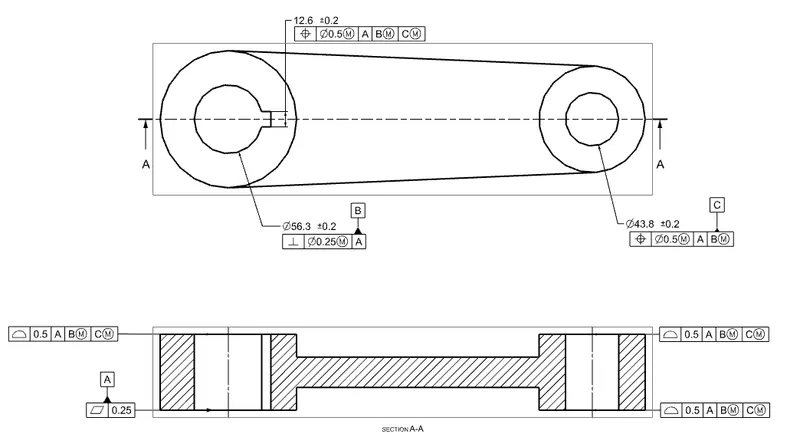
Drafting of a Lever Handle in a drawing sheet
- Three datums A, B, C are applied to the part.
- Datum A - To the bottom surface of the lever that comes in contact with the other surface.
- Datum B - It is applied to the hole where bolt comes in contact and provide perpendiular tolerance w.r.t Datum A.
- Datum C - It is applied to the other hole to completely constraint the part.
- Finally, all the other tolerances like position,Flatness,Profile of a surface are applied to the part.
NUTs:
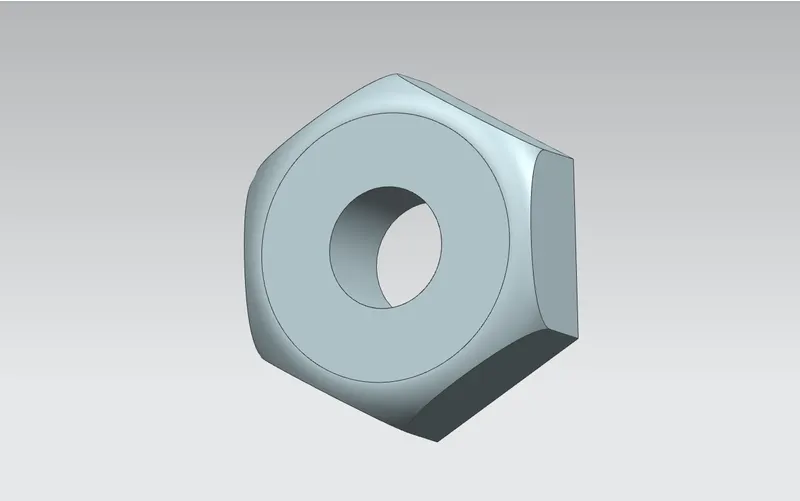
- Initially the hexagonal shaped nut is sketched and then it extruded with a depth of 25mm and a hole of 37mm diameter.
- The 3D modeling of the Nut is created with dimensions.
- Fillet of radius 10mm is provided by using the revolve option.
- Finally, save the file with an appropriate name in the required folder.
Drafting of a Nuts in a drawing sheet
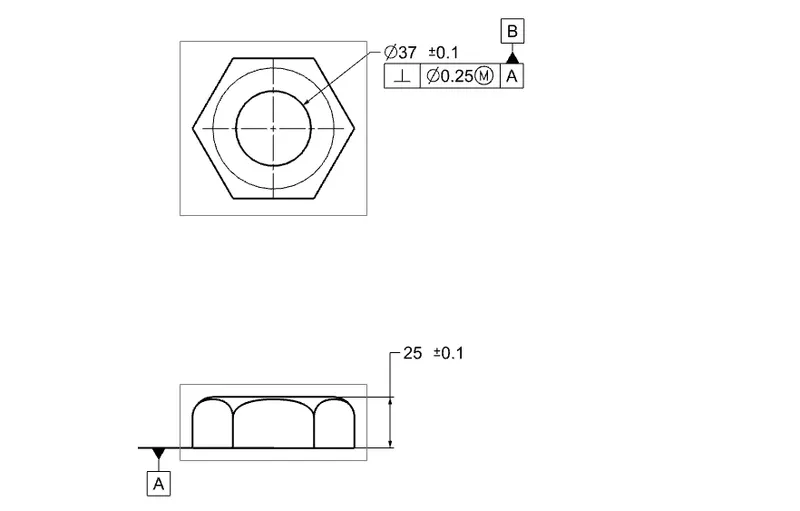
- After finished creating the design of nut, the drafting portion is opened for applying GD&T to the nut.
- Now, the datums A and B are applied to the base of the nut and the hole of the nut. Perpendicularity Tolerance of 0.25 is given to the hole of the nut. we do not need datum C here.
SCREW/PIN:
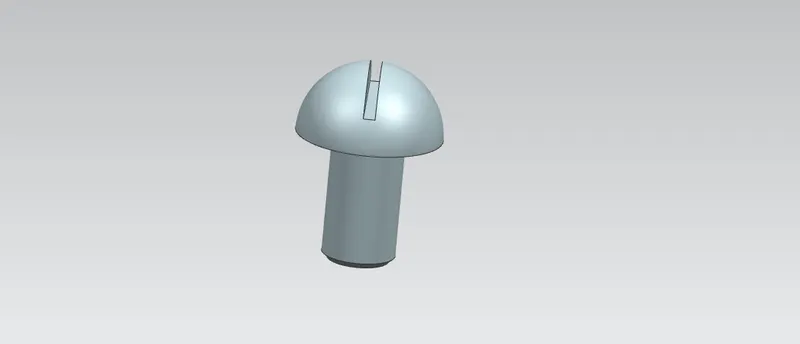
This Screw helps to retain or to fix the Disc with the Shaft of the butterfly valve. It prevents the shaft from coming out of the body and keeps it in position for the proper functioning of the disc inside the body.
ASSEMBLY OF BUTTERFLY VALVE
- Import all the part file into a assembly workbench (All the part file must be save in one propogate directory).
- Explode all the part body but keeping in mind butterfly valve body must be remains same location where we assemble other part body into a main body.
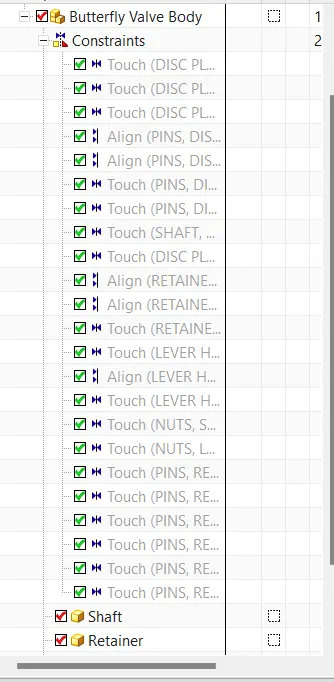
- Now using the Move command and Assembly Constraints command the different parts are joined together with the help of Align,touch,infer/Axis operations.
- Finally,the assembly of butterfly valve is saved in the folder where the other parts were saved with an appropriate name (Assy of Butterfly Valve).
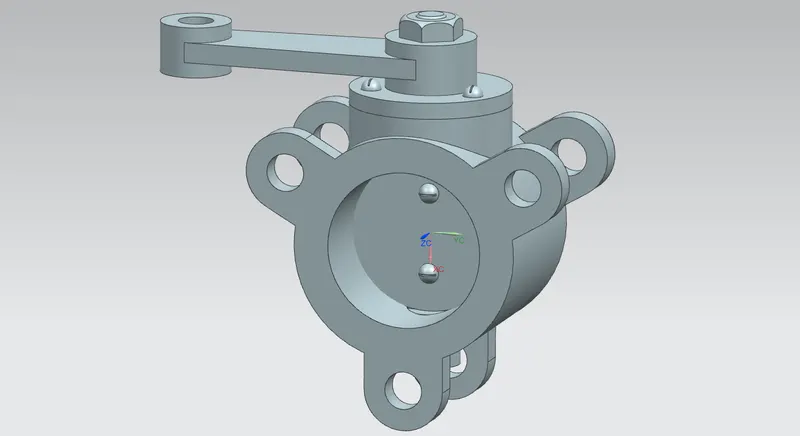
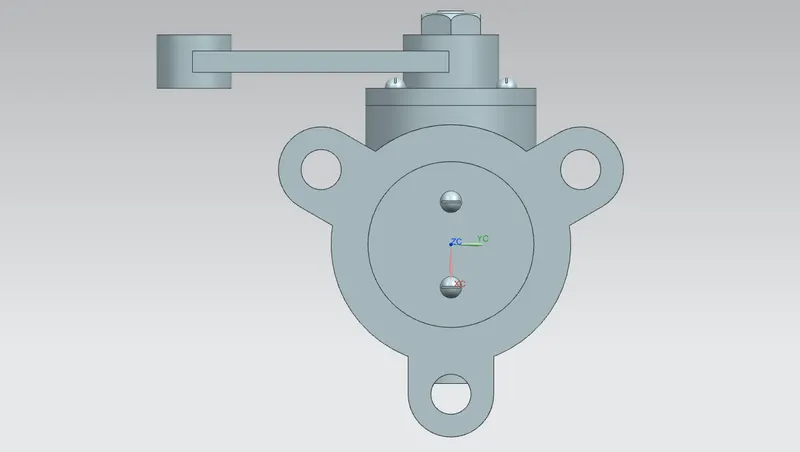
Drafting of a Butterfly Valve Assembly in a drawing sheet
- Once the Assembly of Butterfly valve is done, the part is taken to the drafting where the three datums A,B,C,D are applied.
- Datum target areas A1,A2,A3 (Primary Datum A) are given to the ears of the butterfly valve body.
- Datum B assumed as one of the circular hole of the ear of the body with perpendicularity tolerance.
- Datum C assumed as rest of the ear hole with position tolerance.
- Position tolerances with respect to the axis of datum B,C,D are given corresponding to the ears of the body.
- Other tolerances like profile of a surface,flatness are given.
- Finally,the GD&T of assembly is saved in the required folder.
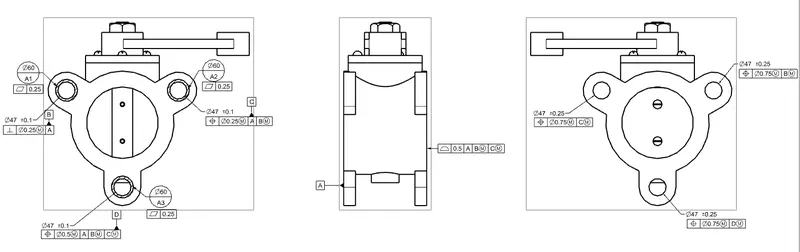
NOTE: There are some other surface and feature of size that we can see in the drafting drawing sheet we haven't consider becouse if surface or feature is not functional so it doesn't matter if its 1mm up or down, left or right becouse it doesn't affect the functionality of the form of the object. Here i gave GD&T symbol which is functional, if any surface or feature that are not the part of the functionality so we haven't consider it.
Model Tree Structure:
Assembly Navigator
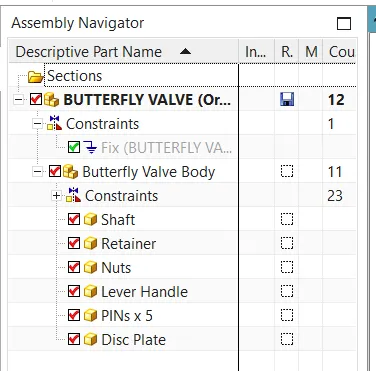
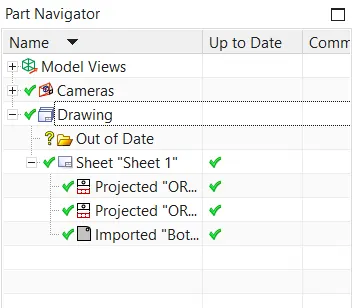
Part Navigator
CONCLUSION: Therefore, the Butterfly valve assembly is created and the GD&T Symbol are applied with the help of using NX-12 software.