Week 14 challenge
WEEK 14 BUTTERFLY VALVE CHALLENGE
Once, the parts have been modelled the next step is assembling the model. Assembly are of 2 types,
1. TOP DOWN ASSEMBLY
2. BOTTOM UP ASSEMBLY
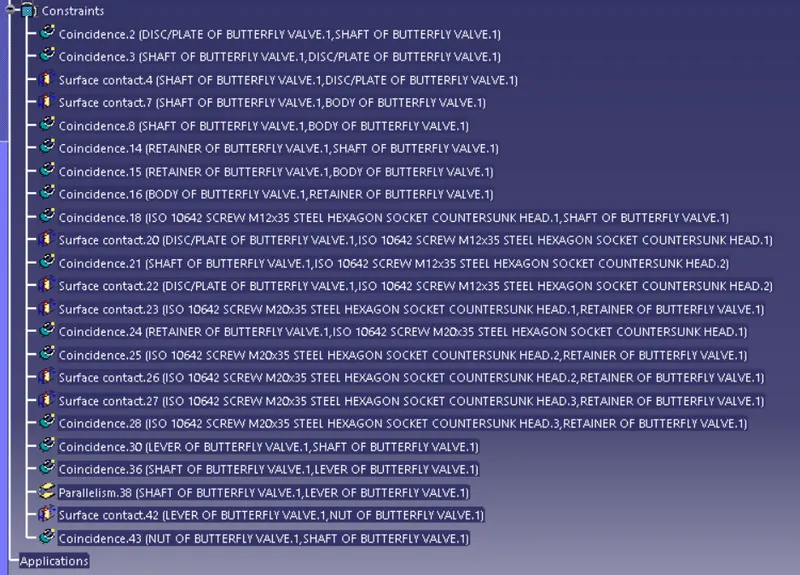
Here in this, we are following BOTTOM UP ASSEMBLY. Bottom-up design is the traditional method. You first design and model parts, then insert them into an assembly and use mates to position the parts. To change the parts, you must edit them individually. These changes are then seen in the assembly. For an example selecting a particular fastener, such as a bolt, and designing the receiving components such that the fastener will fit properly.
Oreintations
Isometric view
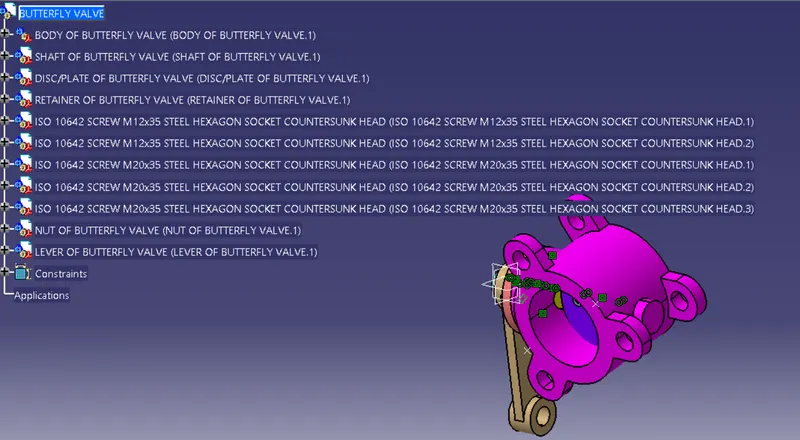
Front view
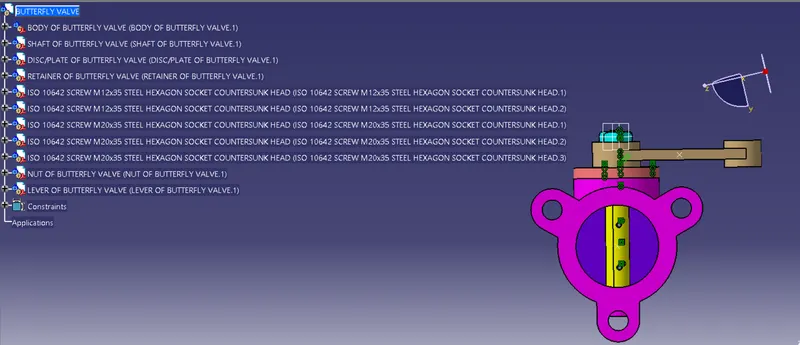
Top view
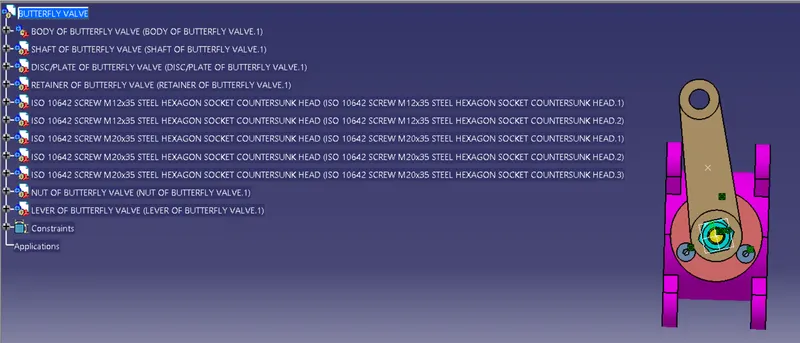
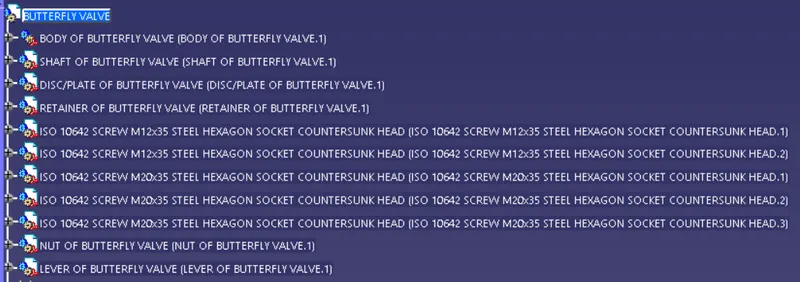
Non detailed model tree
Geometric dimensioning & tolerancing (GD&T)
Datums used are A1, A2, A3, B, C & D
The front surface of the valve has three holes which will contact the counterpart are given datum A. Since, whole surface is not necessary it is enough to take datum target areas of 60mm diameter. The flatness tolerance of 0.25 is given to the surface. One hole is given as datum B and other as datum C with perpendicular tol. of 0.25 MMC with drf A and position tol. of 0.25 MMC with drf A, B at MMB respectively.
To control the coaxiality of the back surface w.r. to the front surface datum D is assigned to the bottom hole with position tol of 0.5 MMC at datums A, B & C at MMB. Similarly for the other holes, we are giving position tol. w.r.to A, B & C.