Week 12:Project-1-Meshing of Door Inner Panel Challenge
Project-1-Meshing of Door Inner Panel Challenge
Objective: Meshing of inner door panel using hypermesh and assigning suitable thickness to them.
OBJECTIVE-
- Import cad model
- Clean up the geometry until no topological error is found.
- Extract Mid-Surface for the geometry.
- Meshing according to given quality criteria.
- Assign thickness to the component.
- Conclusion
- Learning outcomes
- Final image
- Import cad model:-
(Files-> import-> geometry-> iges format -> select required file-> import)
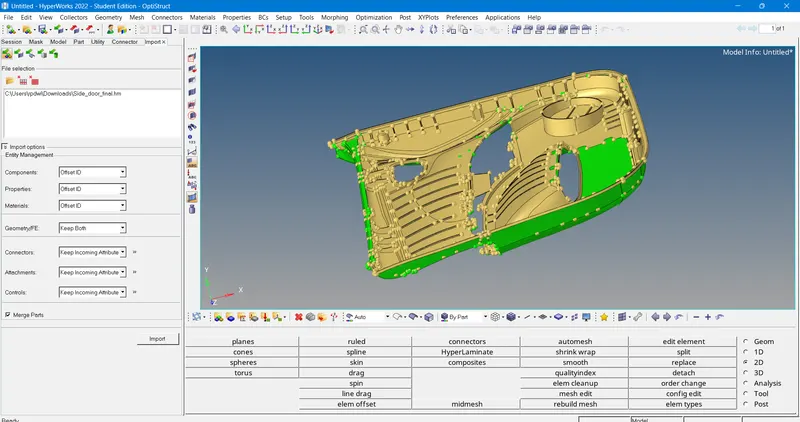
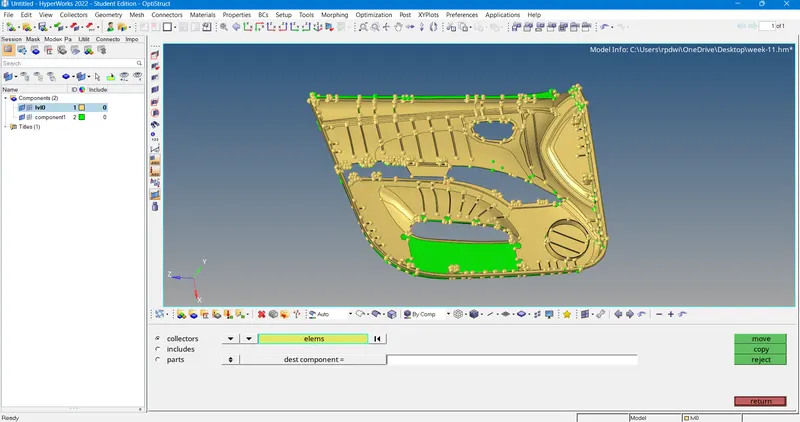
In above image having two part sof first attatched two parts into one by using (Tool>Orgainse>Surfaqceby displayed>male current component>Move)
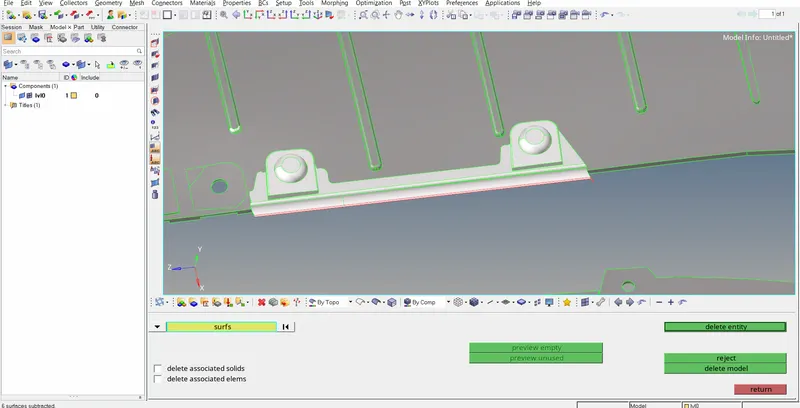
Also deletre unwanted surface by using (Delete>Select Surface >delete)
2) Clean up the geometry until no topological error is found:-
- Check for the damaged surfaces and try to fix them manually.
- To fix the required damaged surfaces use the surface tool option and choose the surface through lines option select the required lines to make the proper surface.
(Geom-> surfaces-> ruled->select the lines -> create)
Or
(2D-> spline->lines->surface only ->select the lines->create)
- For fixing the surface damage quickly use the quick edit tool and use the filler surface option to fill the open or damaged surfaces.
(Geom-> quick edit-> filler surf)
As below image to see gemoterycal error by using wireframe on.
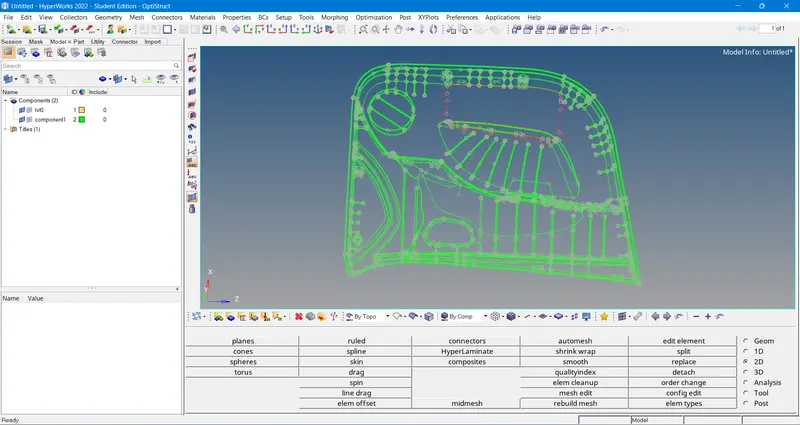
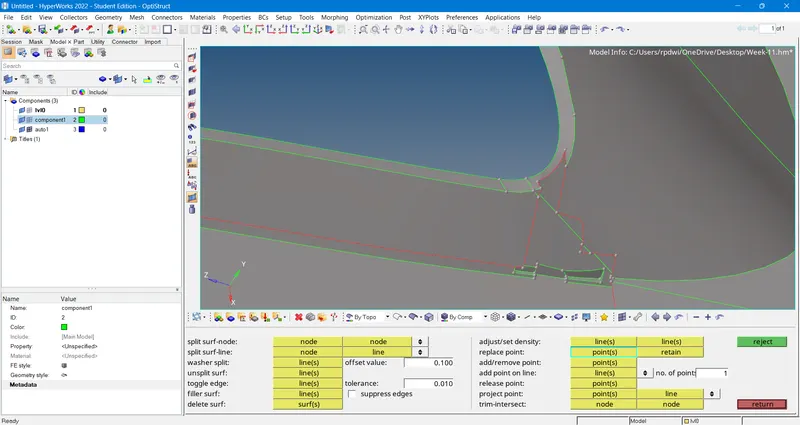
Note-clean this error if mid surface not extracted properly.
3) Extract Mid-Surface for the geometry:-
Midsurface extraction is the next step after geometry cleanup and for that, goto (Geom > midsurface > extraction options > skin offset > auto extraction > surfs > displayed > extract)
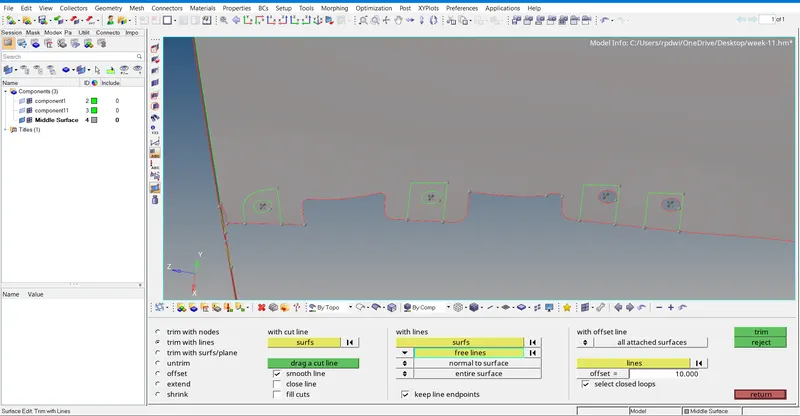
after extraction of mid surfae some area mid surface not extract properly so created those area mid surface by mannual method.
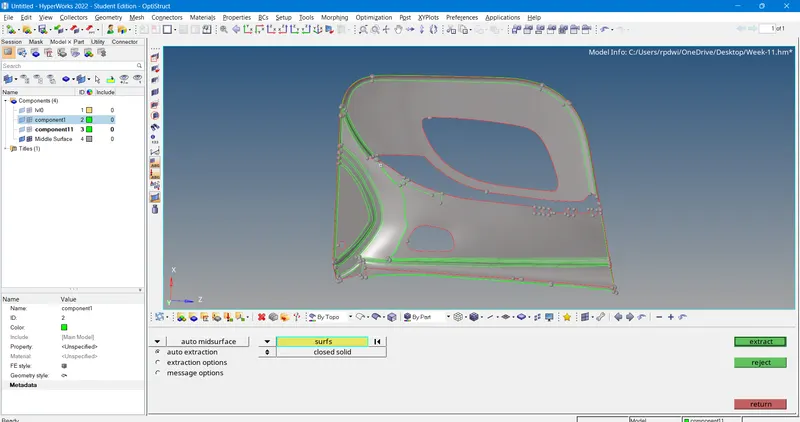
below image extraction mid surface by using (Geom>Surface edit>Offset>select surface>enter value>offset)
once midsurface extraction move these into the midsurface part by using (Tool>Orgainse>Surfaqceby displayed>male current component>Move)
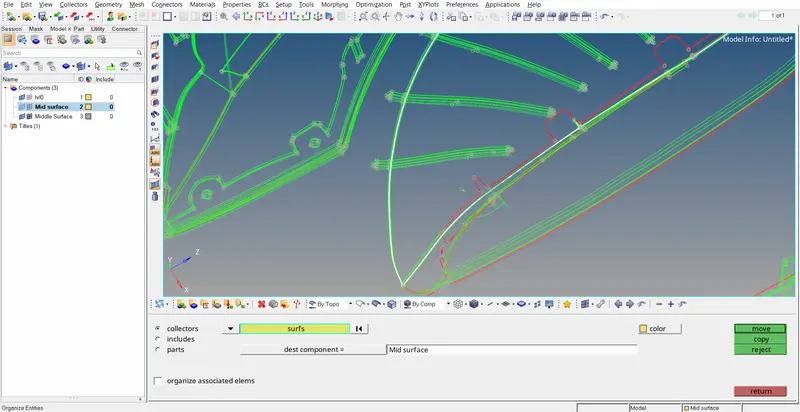
Midsurface extraction for ribs-
(Geom-> surface edit-> offset-> select surface -> duplicate -> current component-> offset value-> vector normal/colour normal-> extract)
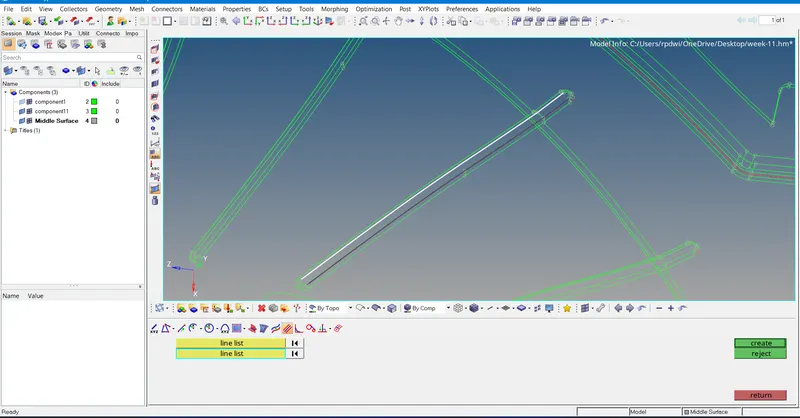
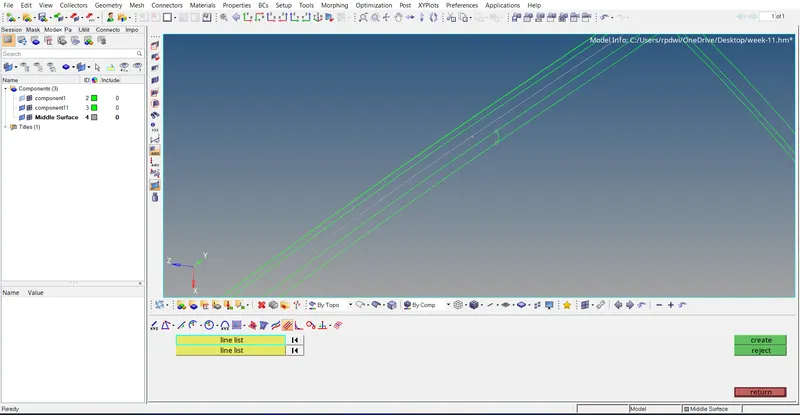
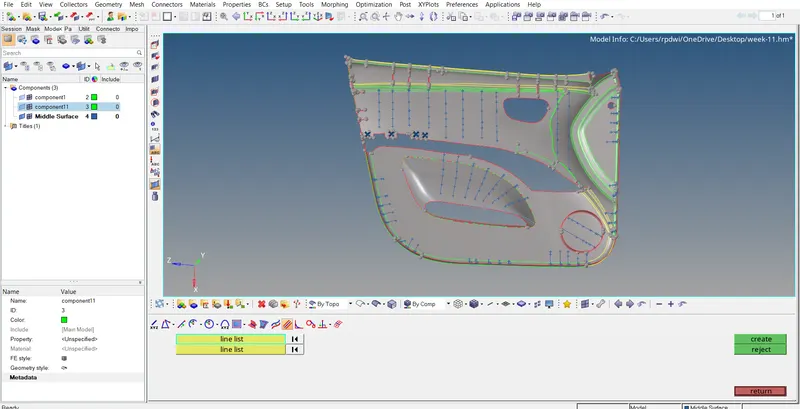
as below image for extraction of mid surface by create middle line on upper surface buy using (Geom>Line>middle>Select 1st line>select second line>create)
Once operation done middle line created than project this line (Tool>Project>select line>Project) into the midsurface than create surface between two line by using (Geom>Surface>ruled>select two line>create)
In this type of rib extraction midsurface by using (geom>Midsurface>Final edit tool>select one and two surface>Extract)
 c
c
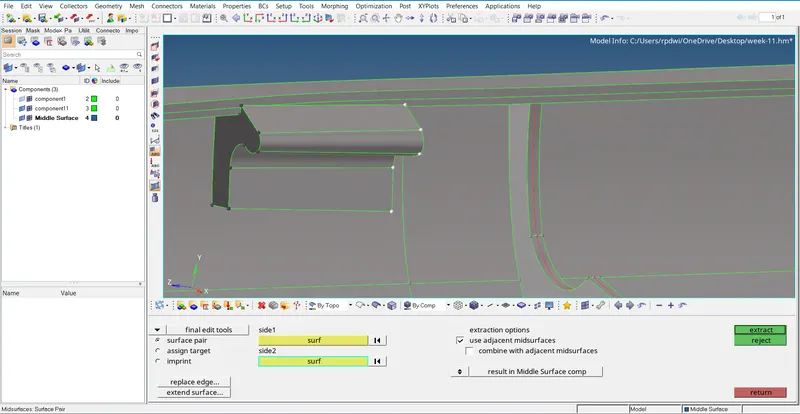
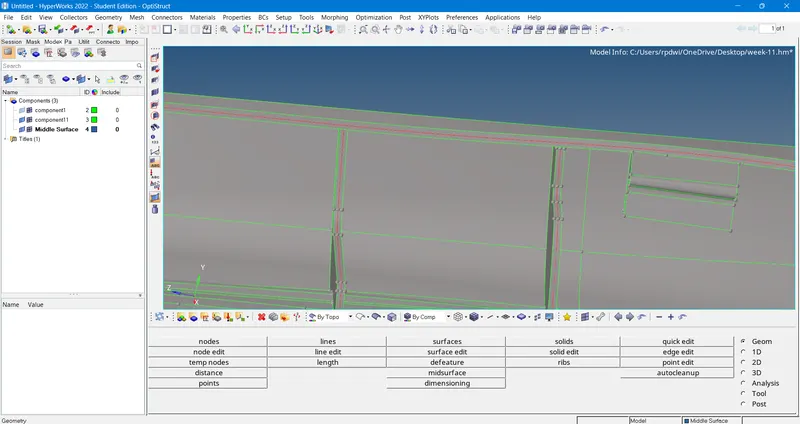
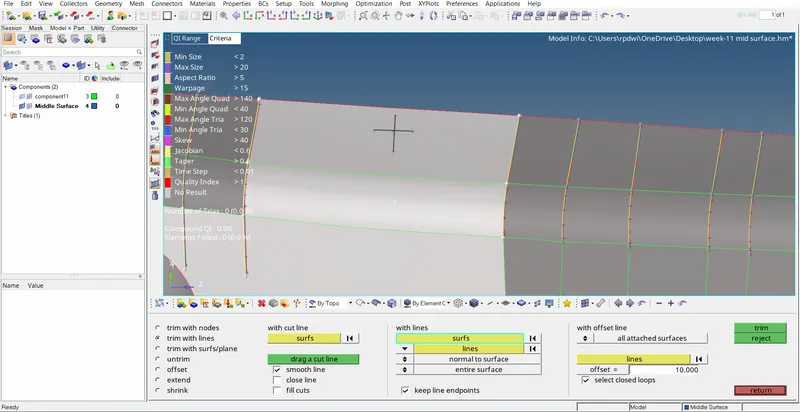
As Below image all the rib part midsurface has extracted after that all the rib extanded into the midsurface.
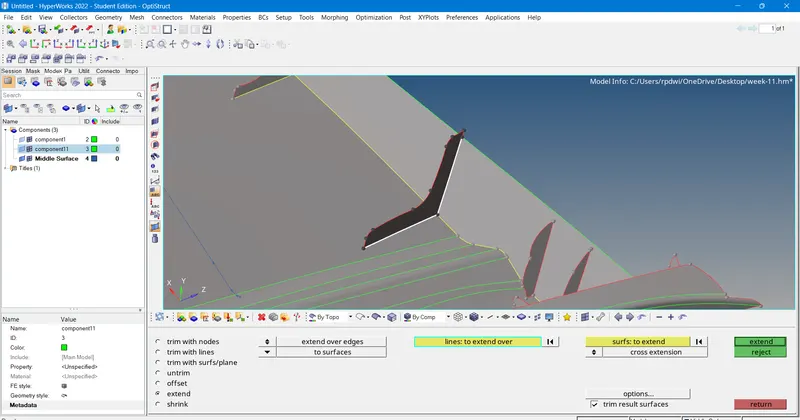
Extand these midsurface in to the midsurface by using (Geom>Surface edit>Extand>Select line>Select the surface>Extand)
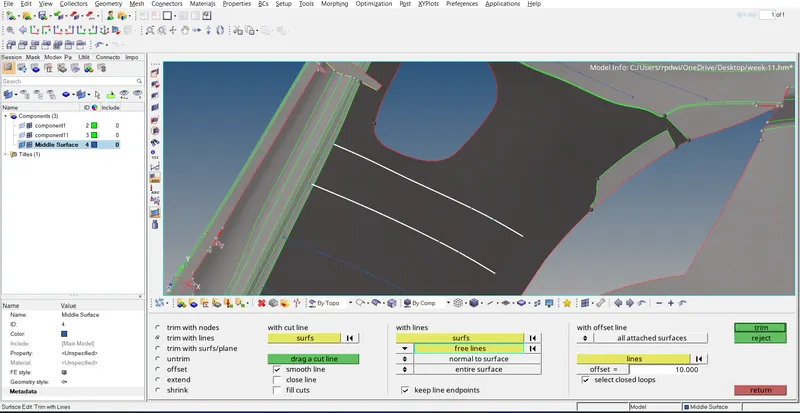
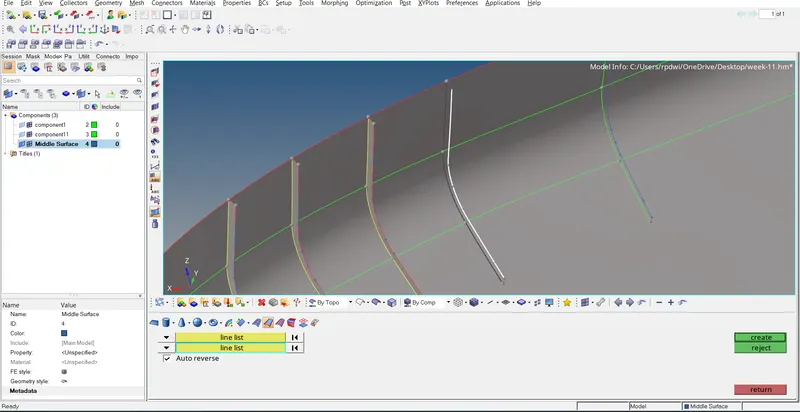
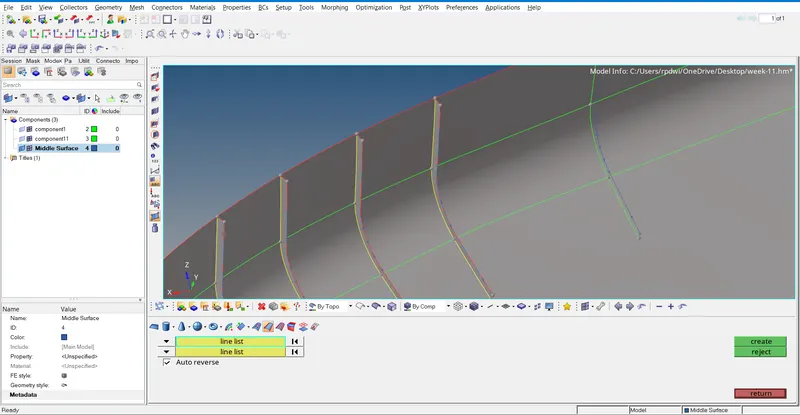
in dog area extraction midsurface following below stages-
- Fill the hole area by using Surface Tool
- tolgle the line
- Create line on the parant geometery
- Project this line into surface
- create new surface
- Extand the surface into the midsurface
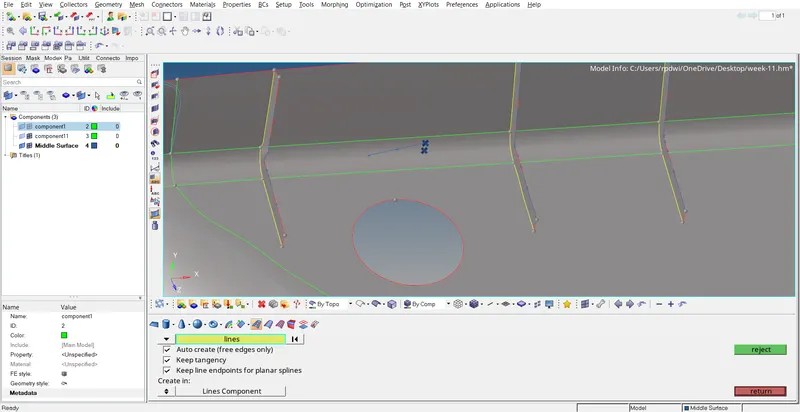
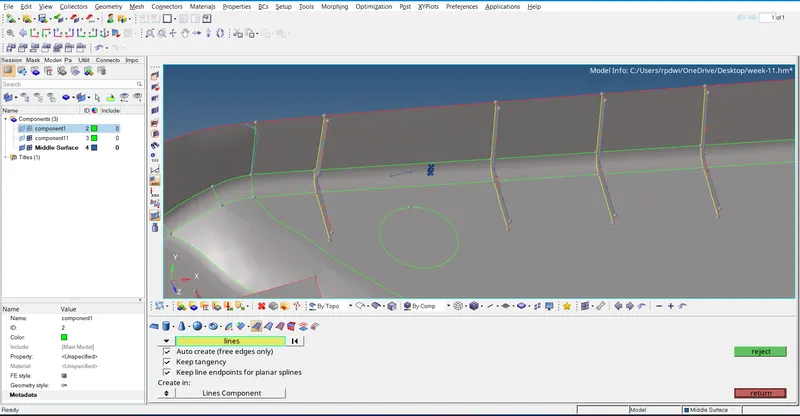
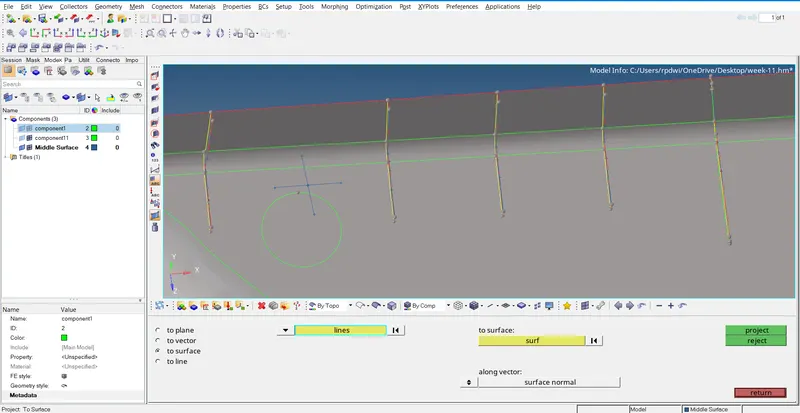
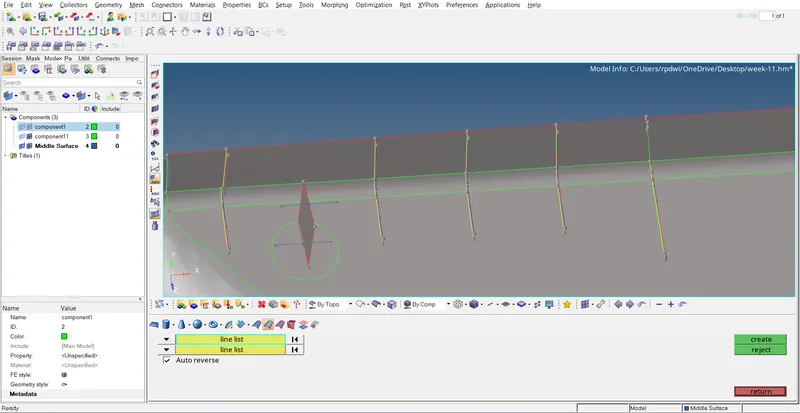
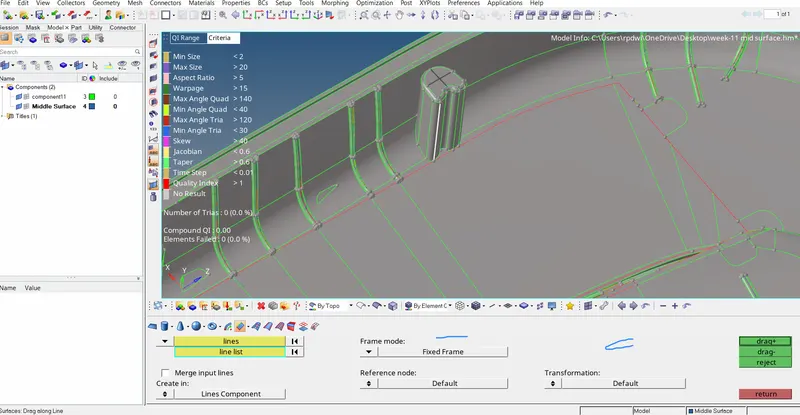
in other dog house creating midsurface by using line drag tool by using (Geom>Surface edit>Drag along the line>Select the line >Select the direction of the line>Drag-/Drag+)
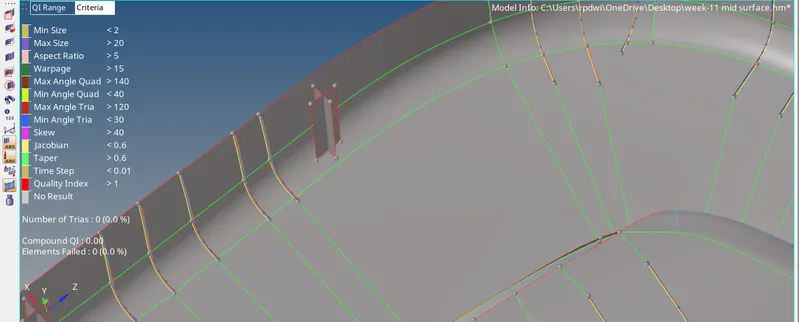
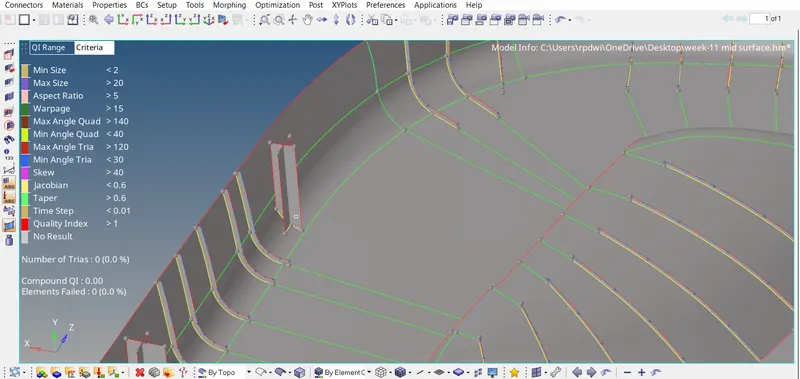
4) Meshing according to given quality criteria:-
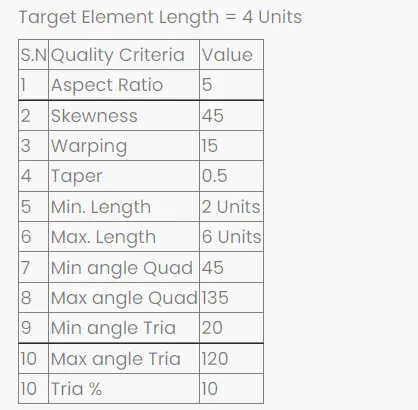
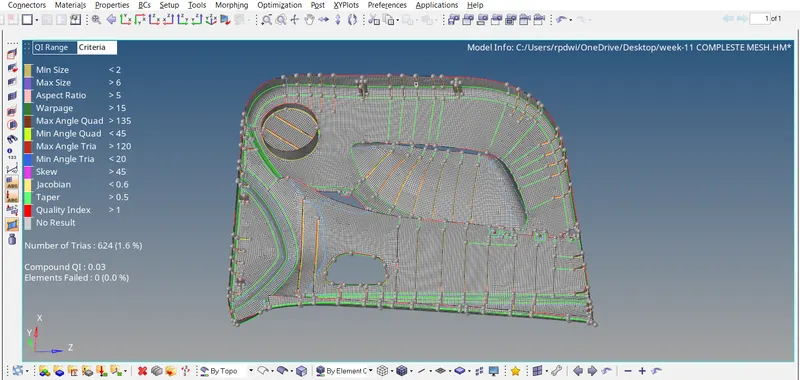
Before meshing, ww have to make sure that quality criteria values are properly entered and quality criteria is applied. Now go to (2D > automesh > surfs > element size - 5 > element type - mixed > mesh). This will mesh the selected target surface with average element length of 5mm. Adjust the number of nodes on the either of sides, to get a good mesh flow and to make sure that rotational quads are not formed on the surface.
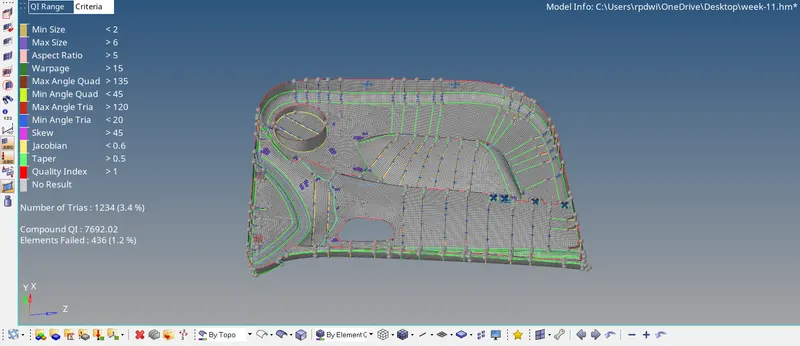
We have to try for getting as less numbers of trias as it can get and also there should not be any failing element present in the mesh if it is there, then it needs to get resolved. Some cleanup tools like split, swap, combine, replace, drag tria can be used to perform quality error cleanup and for this, go to (2D > qualityindex > cleanup tools)

The above given procedure is followed till all the elements fall within the specified quality range.
5) Automatic thickness assign to the component:-
The above given procedure is followed till all the elements fall within the specified quality range.
(Manu bar>Mesh>Assign> midmesh thickness)
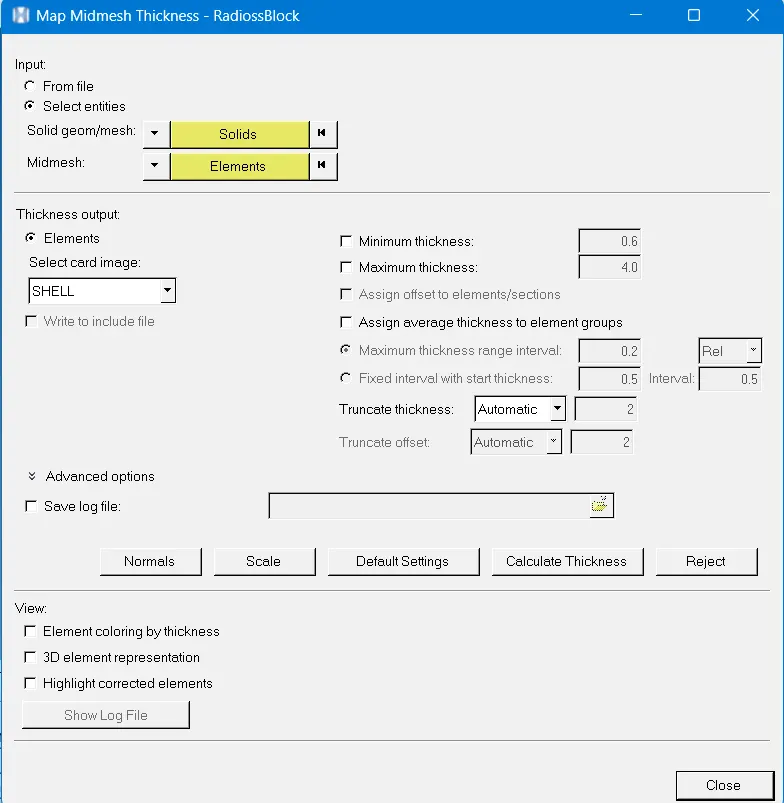
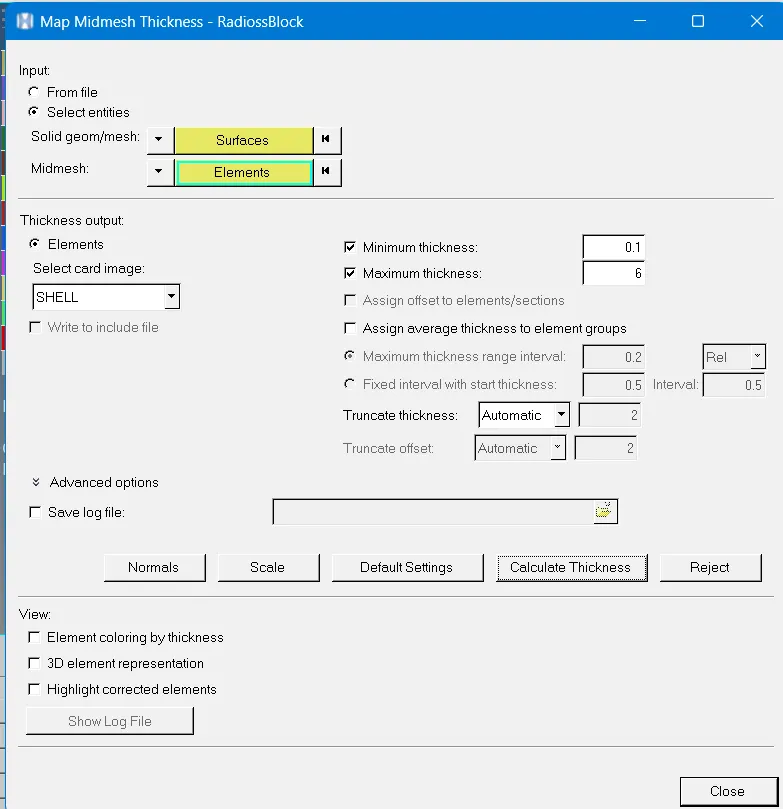
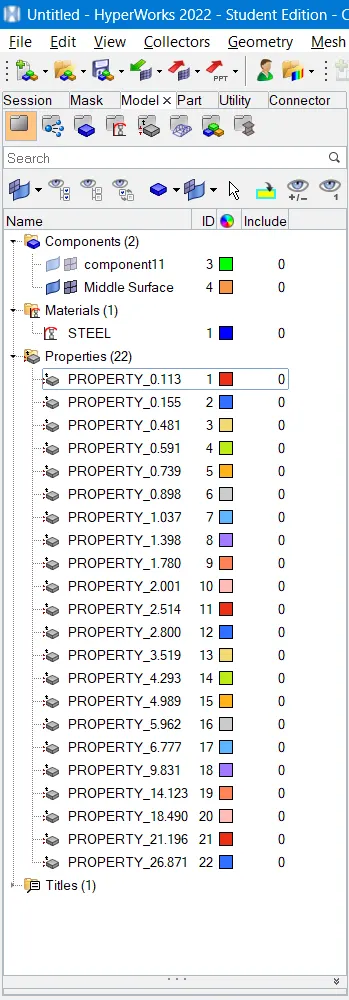
As showing above image as created property by automatoic but it create very much theckness like 26.871 mm,21.196mm so on so that frist mesure the thicknes from parent geometry part by part and than create propert as thickness accordin. Also delete all the empety property.
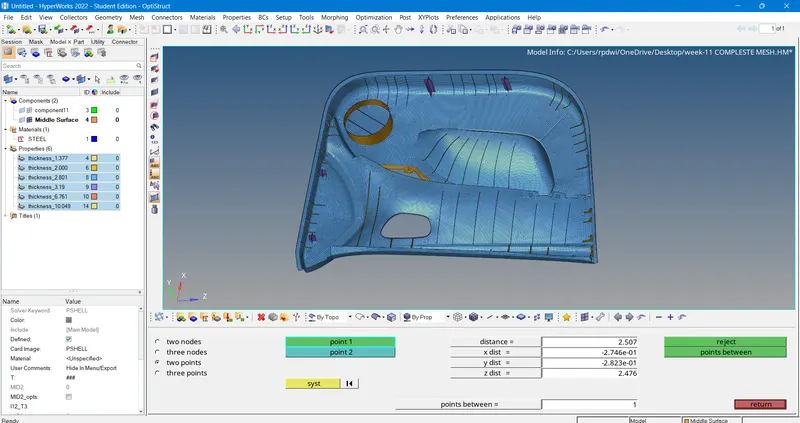
6) Conclusion:
- Therefore, Mid surface is extracted and performed the geometry clean up on the given component(Door inner panel).
- Generated the mesh on the given component with low tria concentration and proper mesh flow. By following the given quality criteria.
- Finally, Assigned the thickness for given component.
7) Learning outcomes:
By doing this project, the following things can be learned:-
- Extracting the mid surface manually (Because, the given component is a plasic model).
- cleaning up the geometry.
- Generating the proper mesh flow.
- Reducing tria concentraion.
- Assigning the thickness to the sub-components iin the given model.
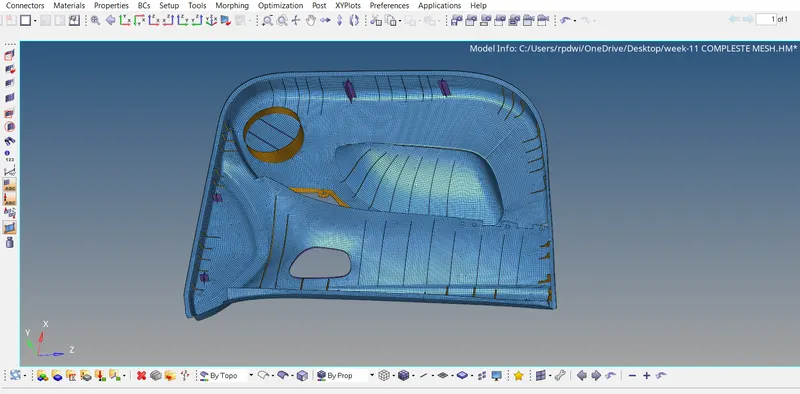
8) Final image:
- No element faliour.
- Image by Property.