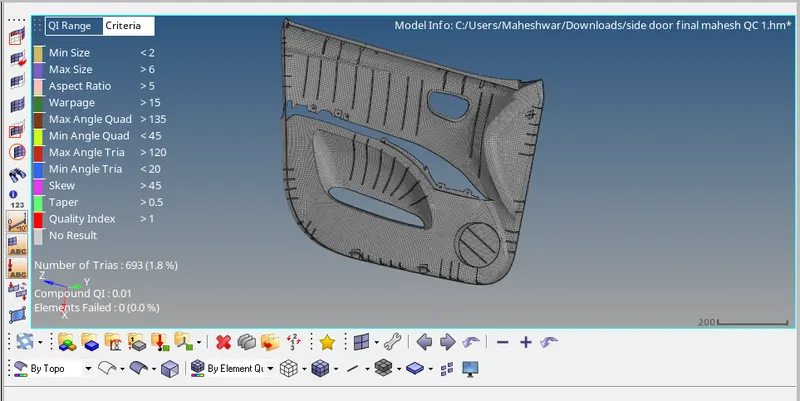
Week 12:Project-1-Meshing of Door Inner Panel Challenge
Mid surface extraction, meshing of inner door panel and assigning varying thickness in hypermesh.
AIM:
To generate mid surface and perform 2D mesh on inner door panel with nil quality criteria and assign of thickness.
PROCEDURE:
Automobile door panel has varying geometry on its boundary to hold electronic console and also for aesthetic purpose. The door panel has to attach in between the A and B pillar of the car. Thickness of the door panel has varying section and it has to be sectioned properly and I has to be assigned properly. The following steps are done to extract mid surface and meshing of door inner panel.
- Door inner panel CAD has to be imported in the graphical user interface and the model has been visually inspected to check for free edges and for solids in the model
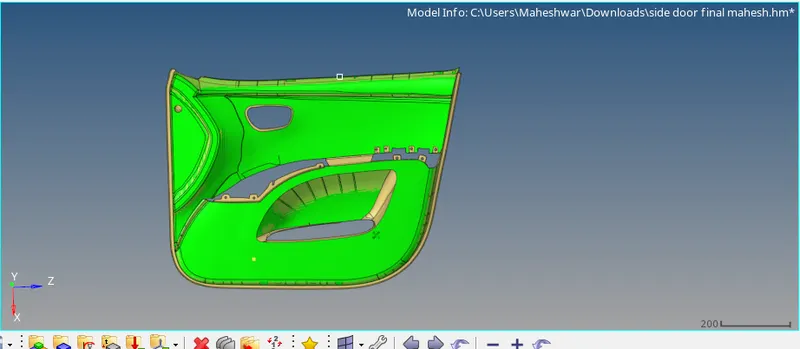
-
Figure imported side door model
- Due to the geometry constrains auto mid surface will not give good results in the mid surface extraction. Hence manual mid surface has to be done for the whole model.
- For the manual mid surface extraction and for assigning the thickness the inner distance between the outer and inner surface has to be measured. This can be done by creating nodes on the surface by using the option geometry>>temp nodes>>node>> add. Followed by which the distance is measured by geometry>>distance>>two nodes>>N1>>N2.
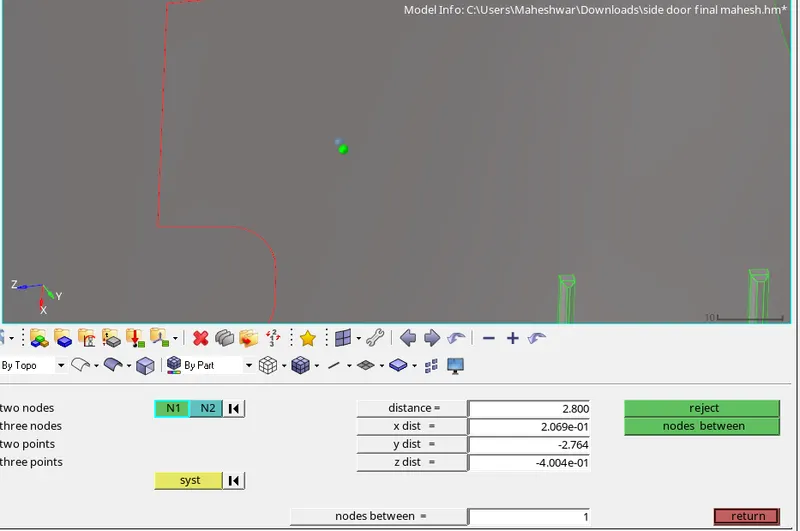
-
Figure measuring the distance between inner and outer surface
- Mid surface has been extracted by using the option geometry>>surface edit>>offset>>surface>>offset. Individual collector will be assigned for the newly generated surface.
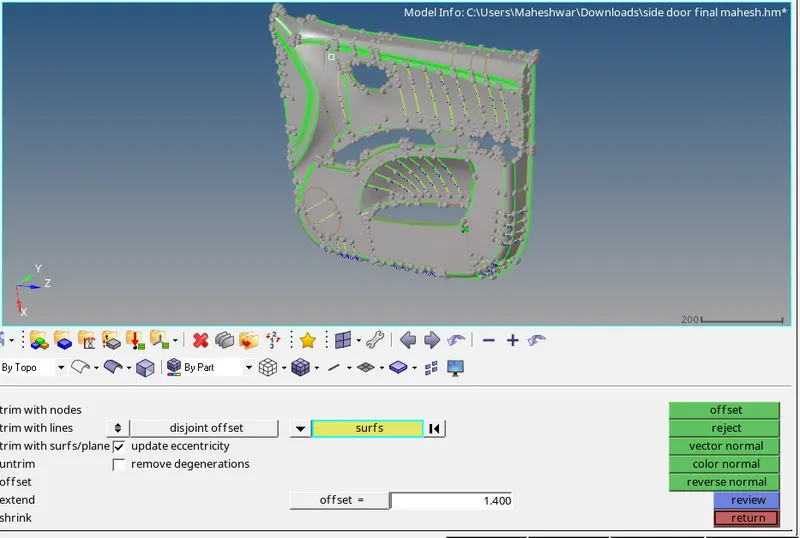
-
Figure extracting mid surface from outer surface
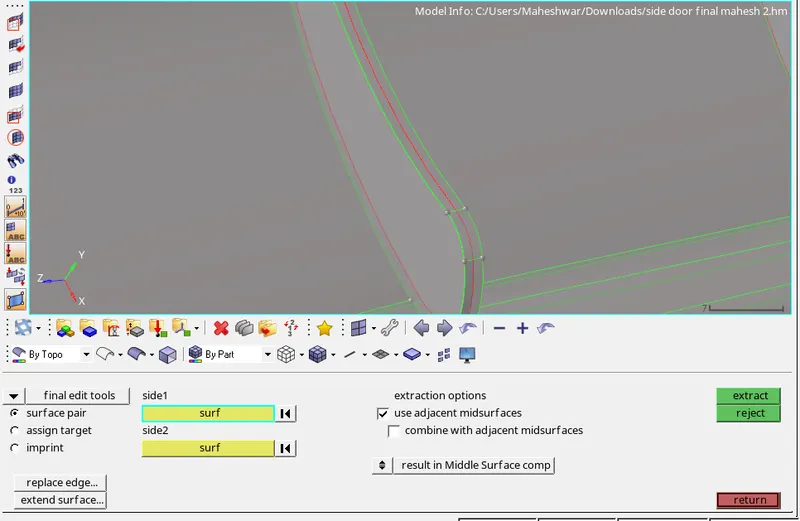
- For the uniform geometry we can use auto mid surface on the rib section by using option geometry>>midsurface>>final edit tools>>side1>>surface>>side2>>extract.
-
Figure extraction of mid surface in rib by final edit tools option
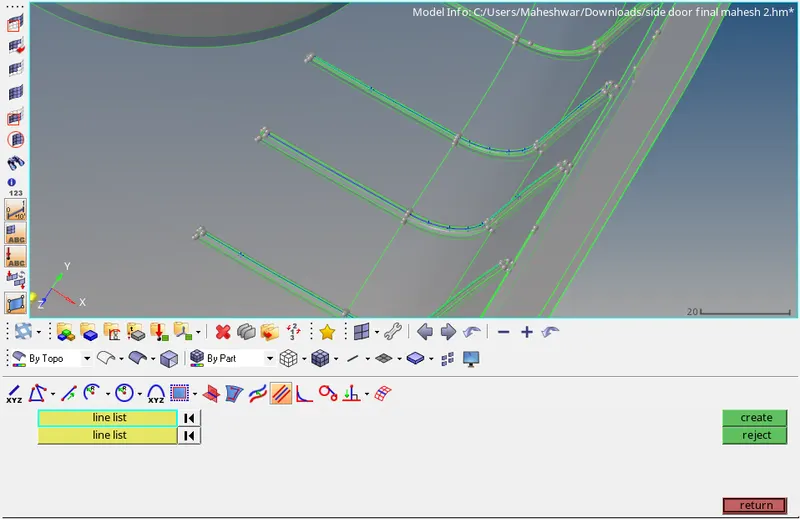
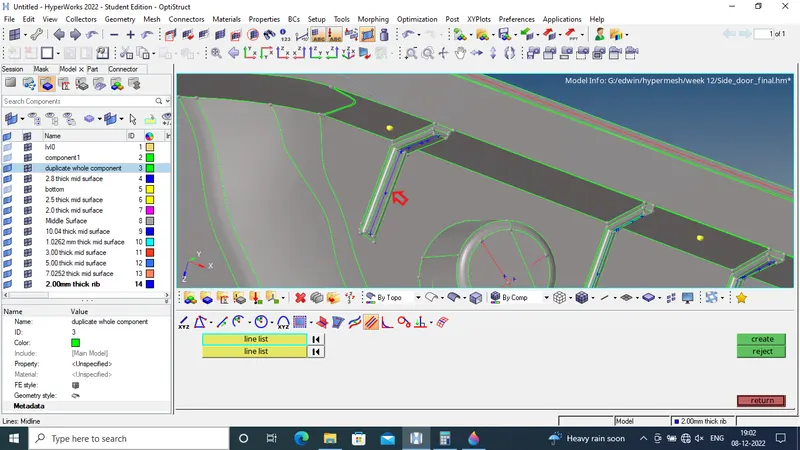
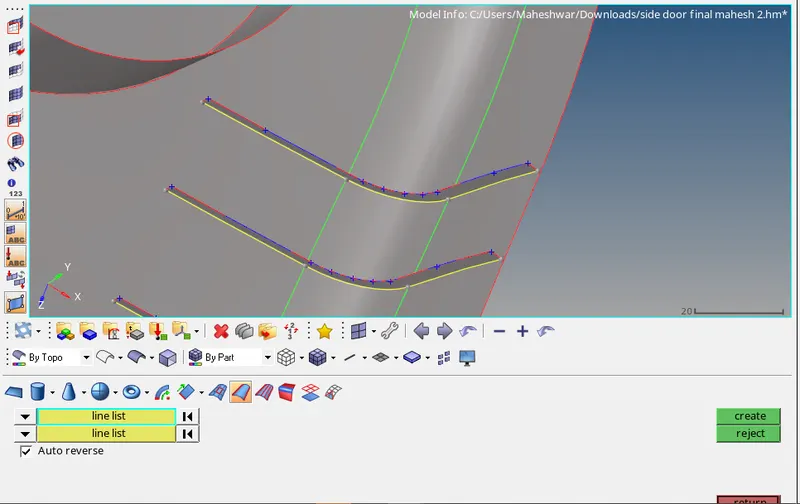
- For extracting the mid surface on the filleted rib section we can use the option geometry>>lines>>midline>>linelist>>create. After creating the mid line it has to be projected to the base surface and by the reference of mid line and projected line new surface will be created and followed by which thickness and new collector will be assigned.
-
Figure extraction mid surface for rib by using mid line
-
Figure extracted mid surface for the whole ribs and inner surface
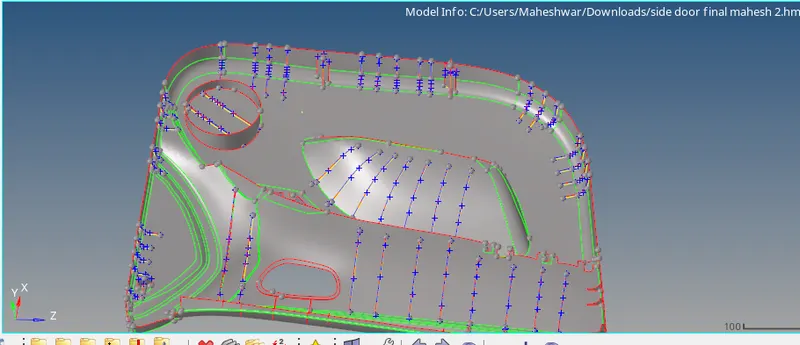
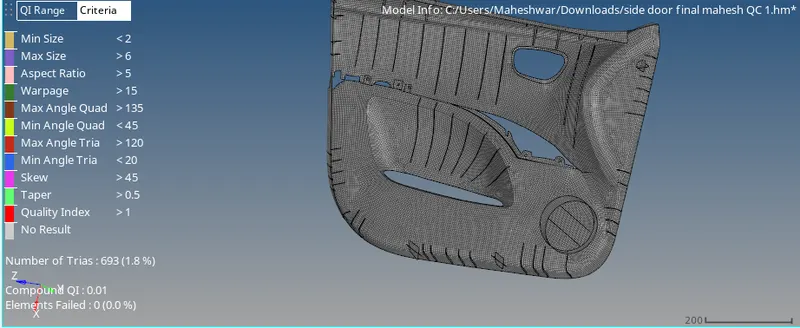
- After mid surface extraction 2D meshing is done on the surface by using the option 2D>>automesh>>surface>>element size=4>>mesh. Quality criteria has been uploaded in the criteria file settings.
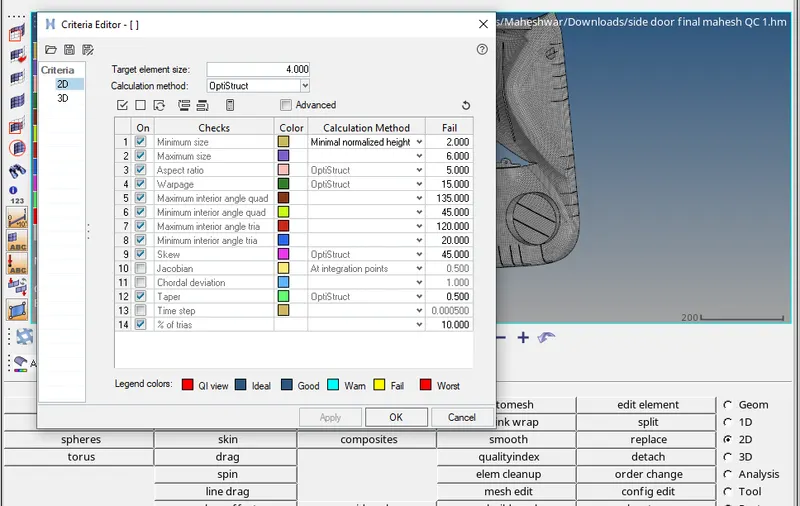
-
Figure modelling of dog houses
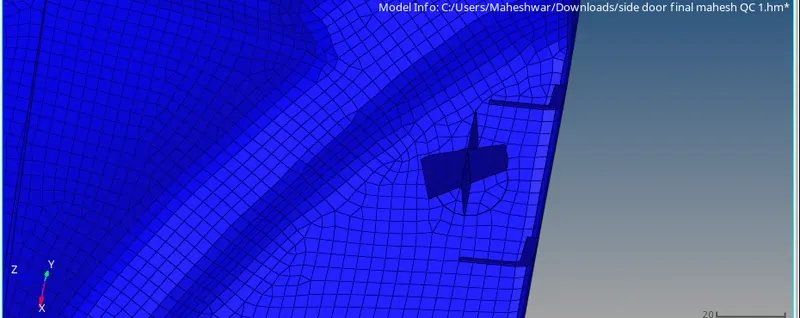
-
Figure meshing of ribs
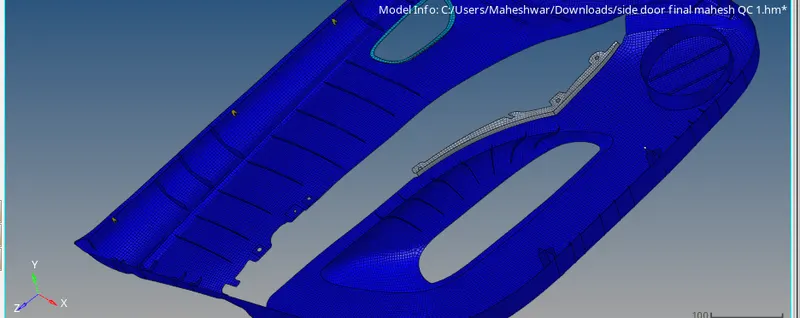
- The elements which have been failed are masked individually and it had been cleared for error.
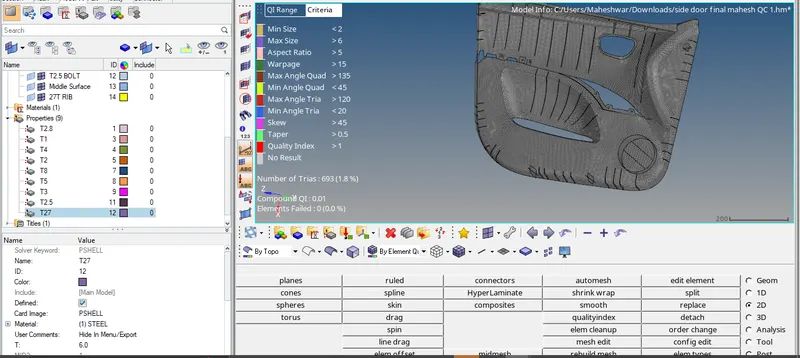
- The individual surface has been assigned individual collector and thickness has been assigned in the property card.
RESULT:
Mid surface has been extracted from the inner door panel and 2D mesh has been performed with nil quality criteria and thickness for the individual thickness has been assigned. The below image shows the final model.
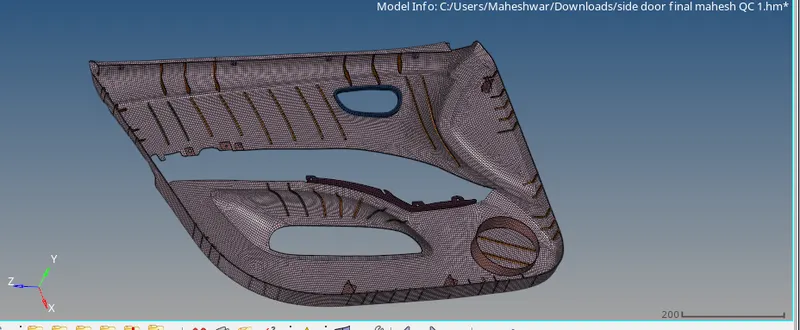
FINAL MESHED MODEL