Week 12:Project-1-Meshing of Door Inner Panel Challenge
AIM: to extract mid surface and check the quality of the elements and asign the thickness to different component
Follow the Quality Criteria and mesh the following component and assign thickness:
Target Element Length = 4 Units
| S.N | Quality Criteria | Value |
| 1 | Aspect Ratio | 5 |
| 2 | Skewness | 45 |
| 3 | Warping | 15 |
| 4 | Taper | 0.5 |
| 5 | Min. Length | 2 Units |
| 6 | Max. Length | 6 Units |
| 7 | Min angle Quad | 45 |
| 8 | Max angle Quad | 135 |
| 9 | Min angle Tria | 20 |
| 10 | Max angle Tria | 120 |
| 10 | Tria % | 10 |
Important Points to Remember
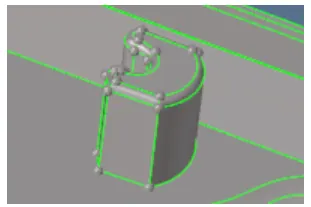
- The area which is having more than 6mm thickness should not model in 2D. You can capture them like in the Below-mentioned picture
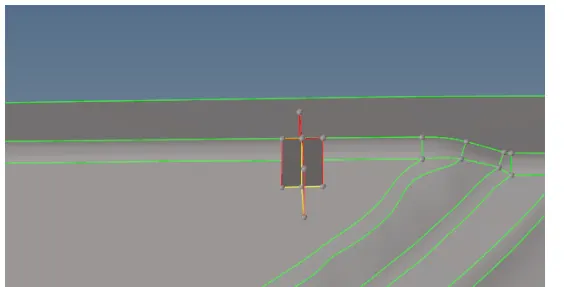
- The below image has some geometrical issue on it so modeling them in the 2D will be difficult.
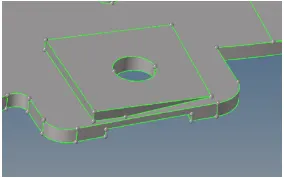
- In those areas, the main objective is to capture the hole so we can take a mid surface by creating a flat surface with a hole like an image below.
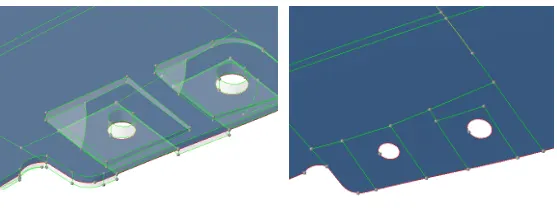
- No need to model the below-mentioned area. The mentioned area does not have a proper attachment to the model.
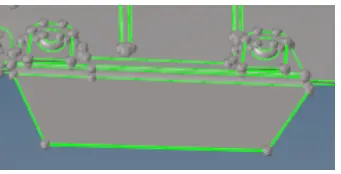
- For variable thickness areas, Assign the thickness taking an average value of the cross-section
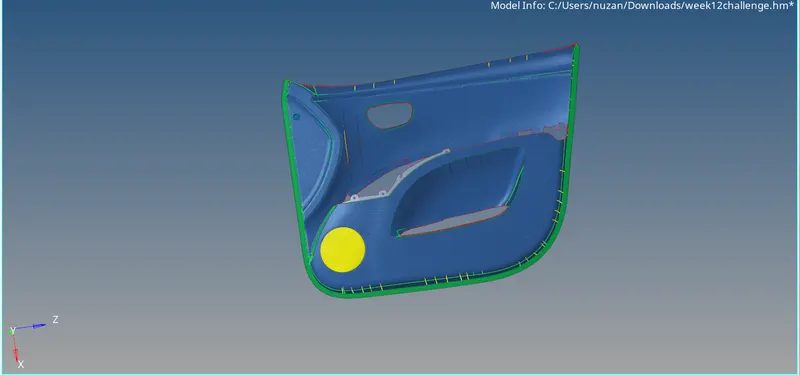
intially we are going to import the model from drive the model is inner pannel of door of the passenger car
process to import the model
click on import option from the main menu>click on import geometry >select file from drive >and click on import option
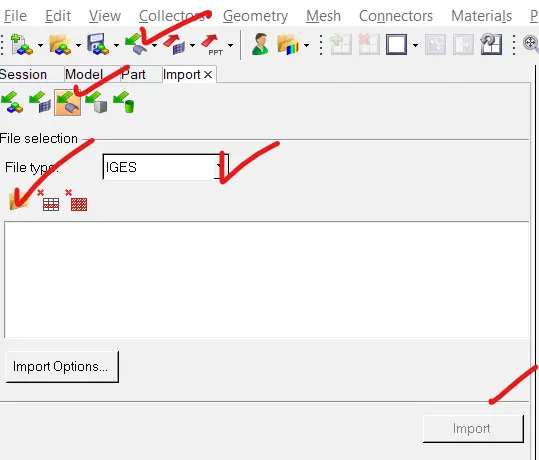
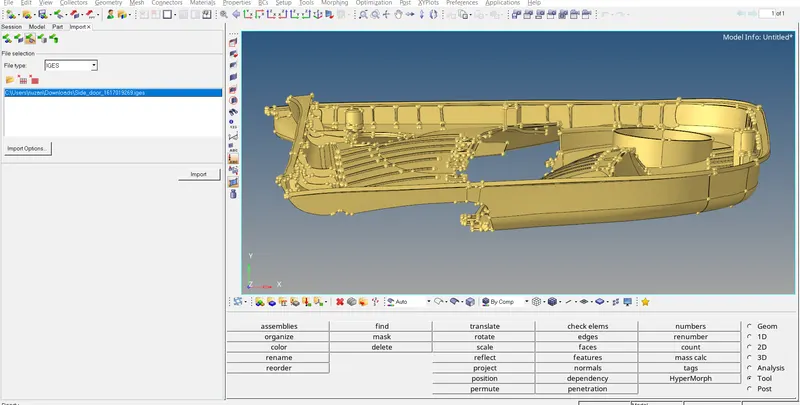
the geometry has been succesfully imported into the GUI
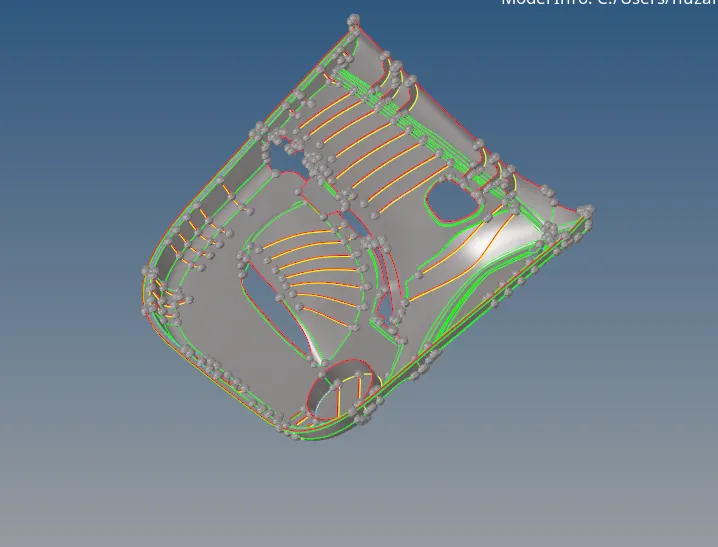
the next step is to check the model for any free edges or ony missing surface ,if any missing surface is found the we need to fix that surface
in this model their are lot of free edges and missing surface and we succesfully fix those errors
the next step is to extract mid surface .in this model we are going to extract mid surface by auto midsurface
click on F12 select >select ofsect+swipe+plane >select the surface >select displayed all>click extract
there are lot of surface that need to be fix ,we have used different tools to overcome those errors
we delete sum surfaces and create new surfaces
we create new ribs by taking ofset
steps to take ofset
click on geometry>select surface edit>select ofset >select the surface >select its duplicate >assign ofset value >click on vector normal >hit the ofset

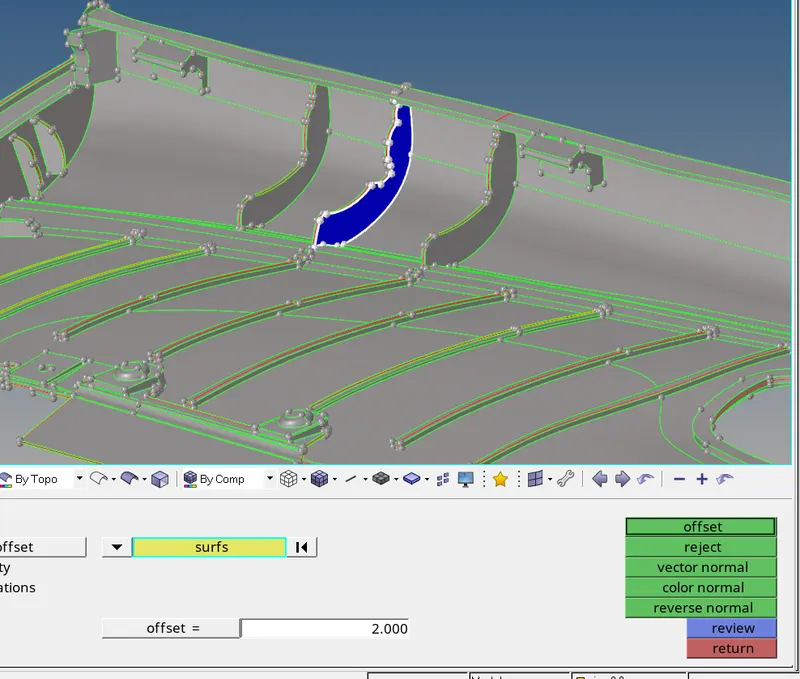
now we are going to mesh the component by 2d shell meshing
before meshing the component we are going to set the quality criteria
procedure to set the quality creteria
click on preference >select creteria file editor>set the quality parameters
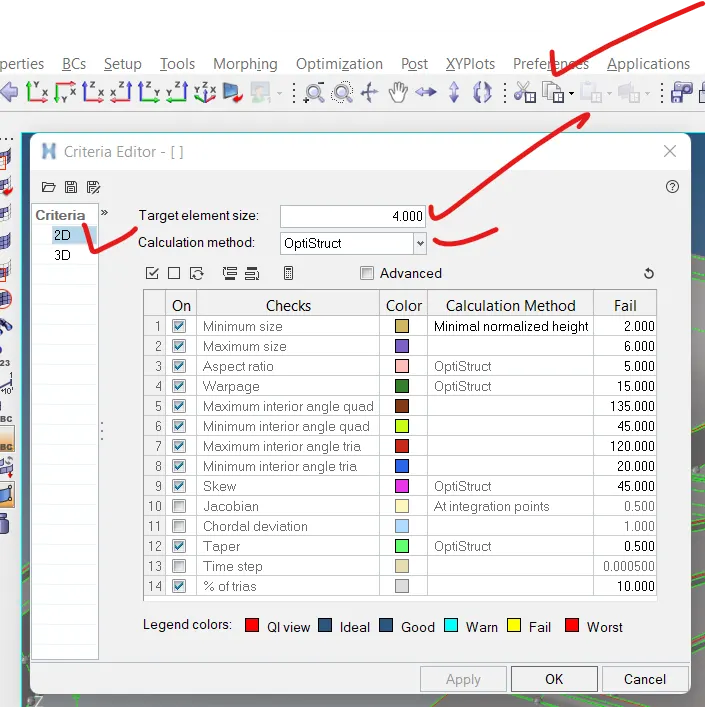
we have set the quality creteria now we are going to mesh the component with the given quality parameters
procedure to 2d automesh
press F12 >select surface from the drop down arrow>element size=4>mesh type=mixed>click on mesh
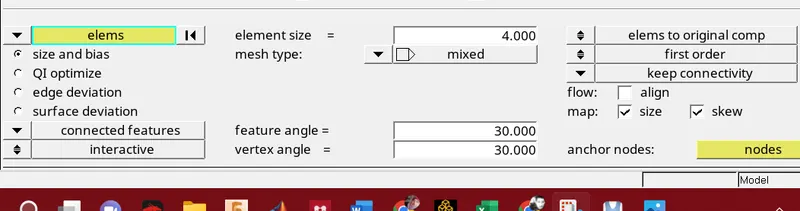
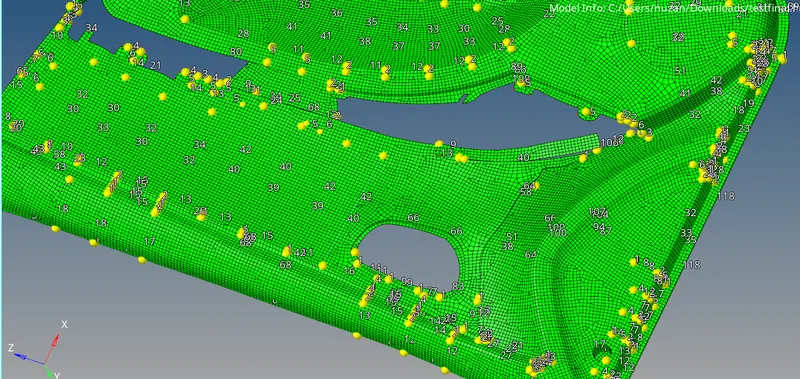
we can improve the mesh flow by left and right click to increase or decrease the no of nodes
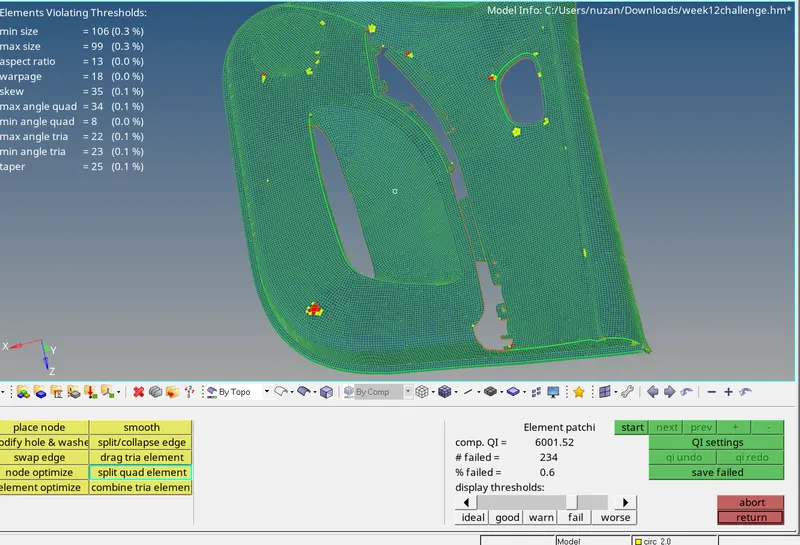
we have done 2D meshing on the component succesfully now we are going to check the quality of the elements
click on 2d select quality index
in the below image we have many tools to clean the failed elements

from the below image the elements that voilates thresholds ,we have to fix these elements by using different tools
once the elements has been cleaned the next step is create components and we have to assign matterial and property
for that we need to click on the left tab are and click right >select creat option >select component
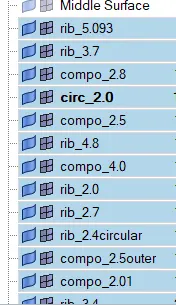
we have created different components
now we are going to create property and material
right click on tab area >select create >select property and assign the thickness and card image
since we have create different components having different thickness and thus we have to create different properties having different thickness
similar is the procedure for material but we can create a single plastic material for all the components
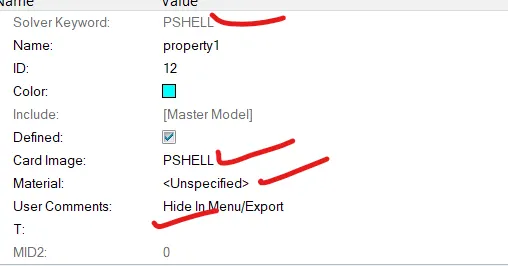
now we have to assign the property and material to each component
click on every component one by one and assign the corresponding properties and material
click on component >select assign >a window will open we have to assign the property
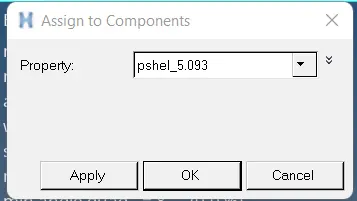
now we have succesfully assigned the material and property to each and every component
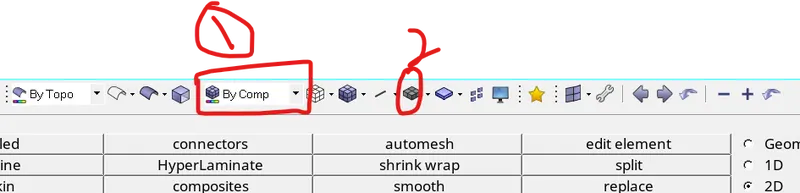
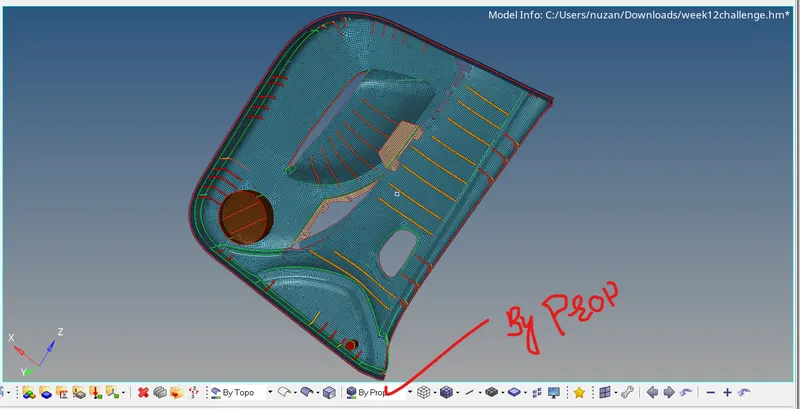
now we are going to conform whether we have assigned the material and property perfectly for that we need to click element colour mode
1 from the below image the default is by component we need to click on drop down arrow and click by property
2 we need to click on 2D detailed element representation
snap by property
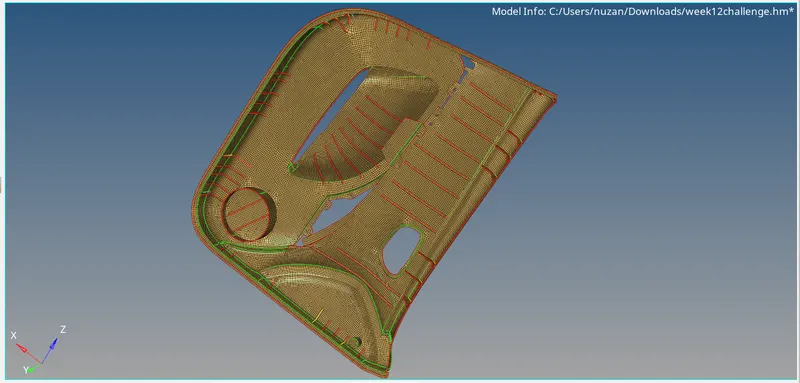
snap by material
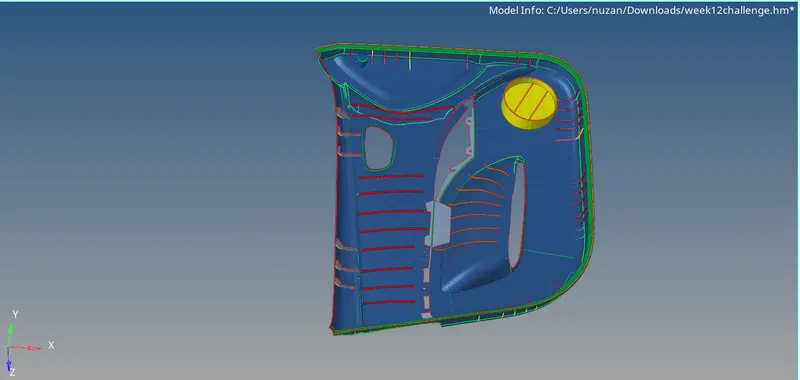
final view of the component
1.in this project we have learn how to assign the property and material to component
2 . we have learn how to extract the mid surface from complex plastic components
3. we have learn how to extent the surfaces that are not attached to the component
4.we have learn hoe to refine the mesh quality