Week 12:Project-1-Meshing of Door Inner Panel Challenge
AIM: To extract the mid surface of the given component and to mesh the component with given quailty critera and mesh parameter.
PROCEDURE:
Step 1: To import the given model into the GUI.
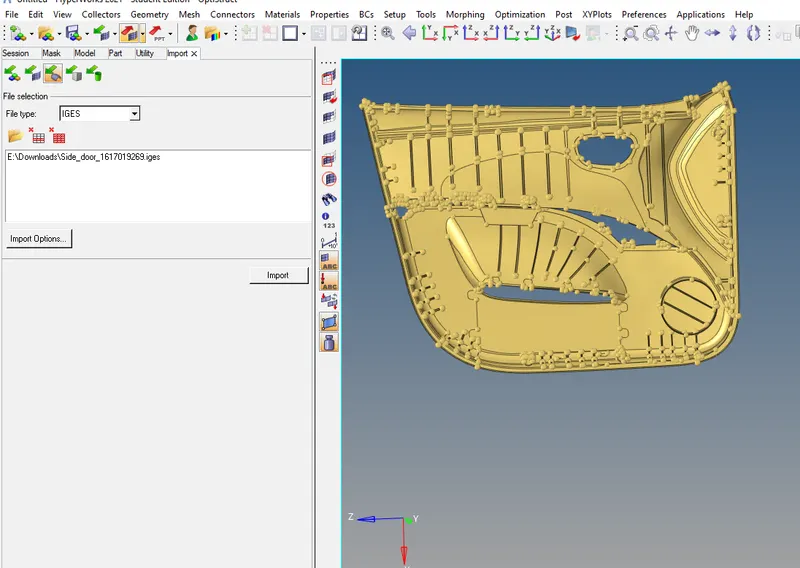
- Import solver deck> model> file type>import.
Step 2: To extract the midsurce of the given component.
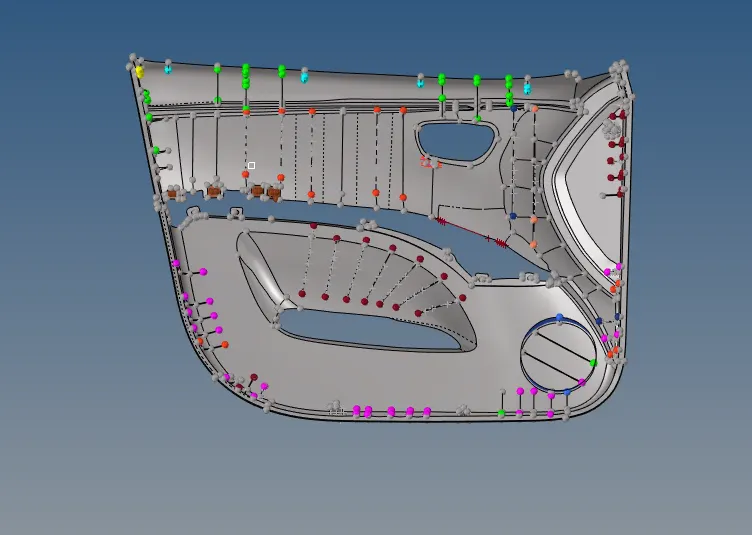
- Geom> Midsurface> displayed>mid-surfaces is extracted.
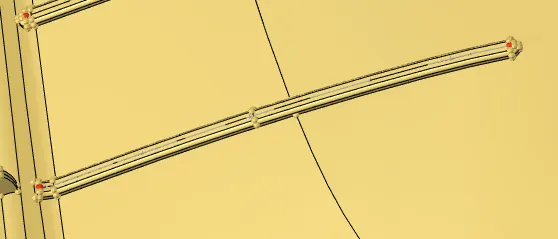
- To extract the mid surface for the ribs
- Using the Line > middle option.
- Using trim with lines to extract the midsurface for the ribs.
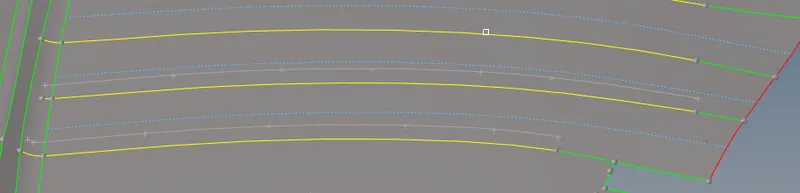
- The lines has been projected to the surface.
- Using surface> ruled option selecting the two lines midsurface for ribs is created.
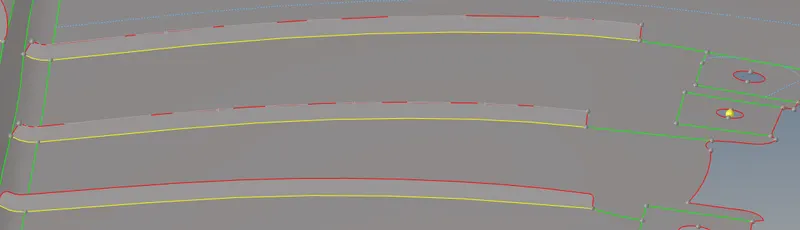
- Projecting the ribs to the surface.

- Surface edit> selecting the lines> selecting the surface to extend.
- The rib has been extended.
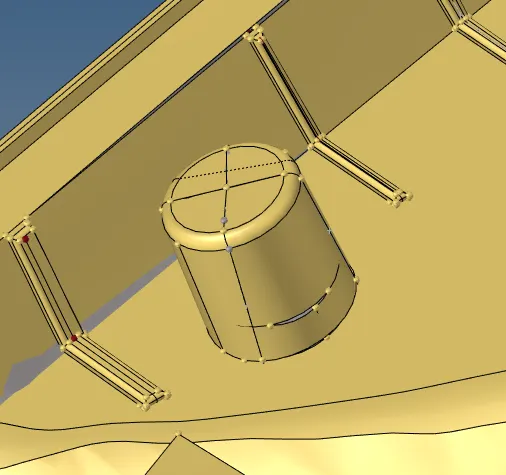
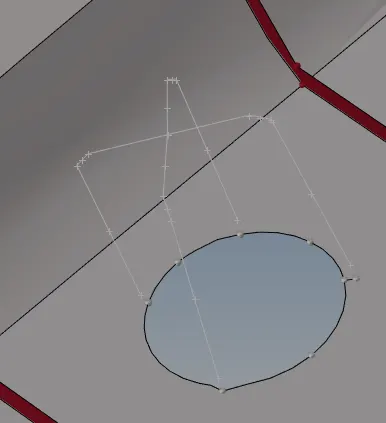
- To extract the midsurface for the locater.
- Using lines option to create the midsurface as shown.
- Using surface ruled option to create the mid surface.
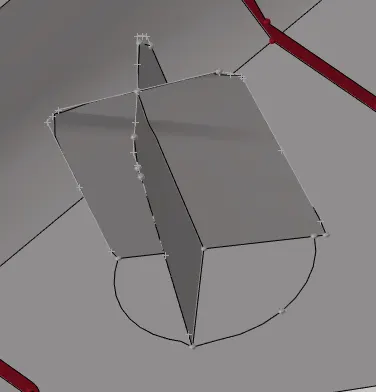
- Using intersecting option to intersect the 2 surfaces.
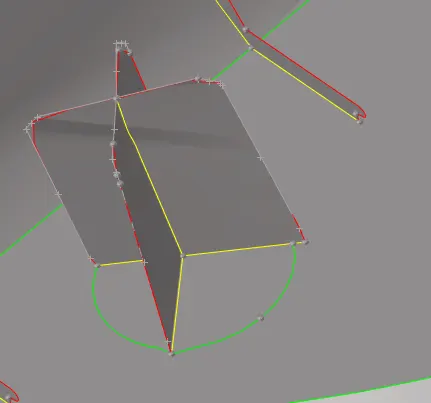

- Geom> Trim with surface/ plane>selecting the surface>Trim option.
Step 3: Now meshing the midsurface
- 2D>Automesh selecting the element size> mesh.
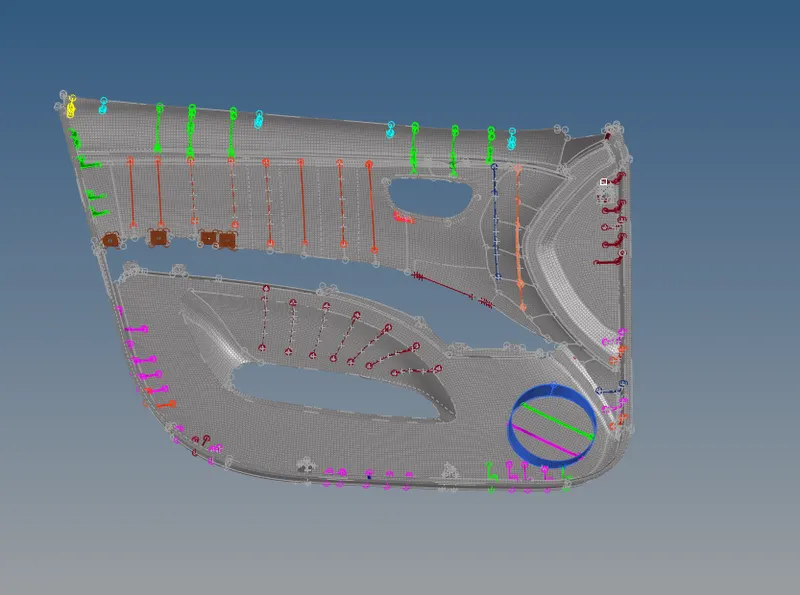
Step 4: To clear the element quality and mesh flow.
- By using translate option to remove the warpage quality
- By using the distance option to increase or decrease the distance between the nodes to clear the minimum and maximum element quality criteria.
- using align nodes and rebuild mesh to improve the mesh flow.
- Also using edges option to check the connectivity of the elements.
PICTURES OF THE MODEL:
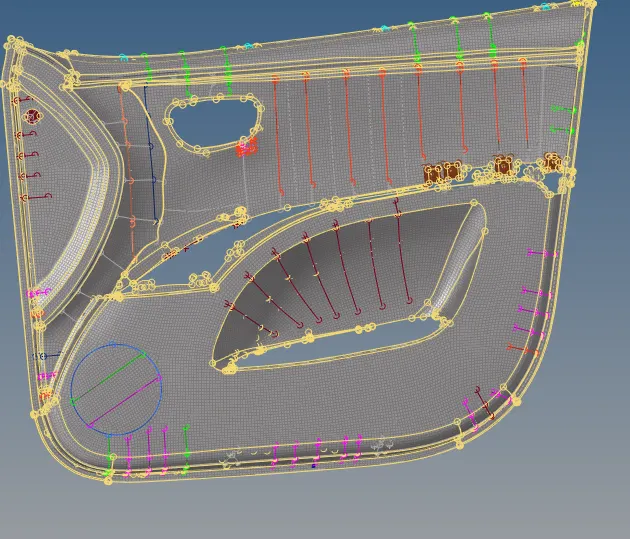
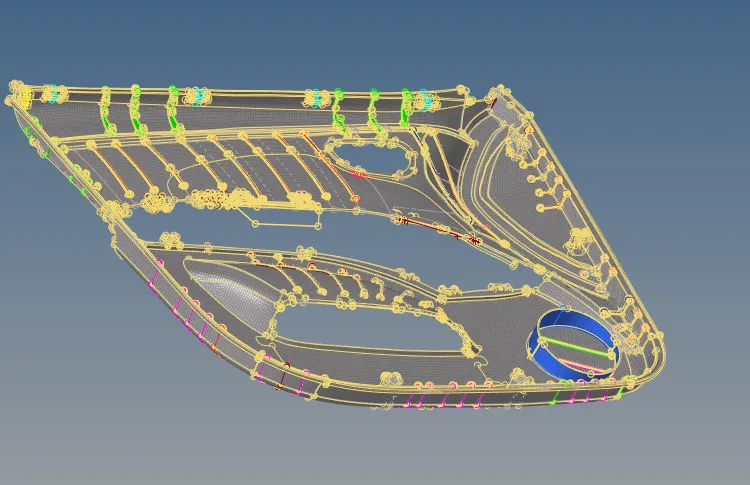
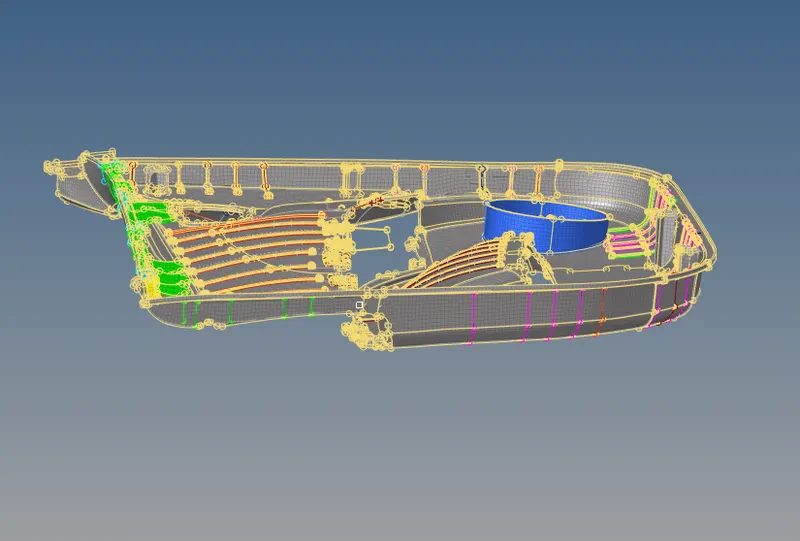
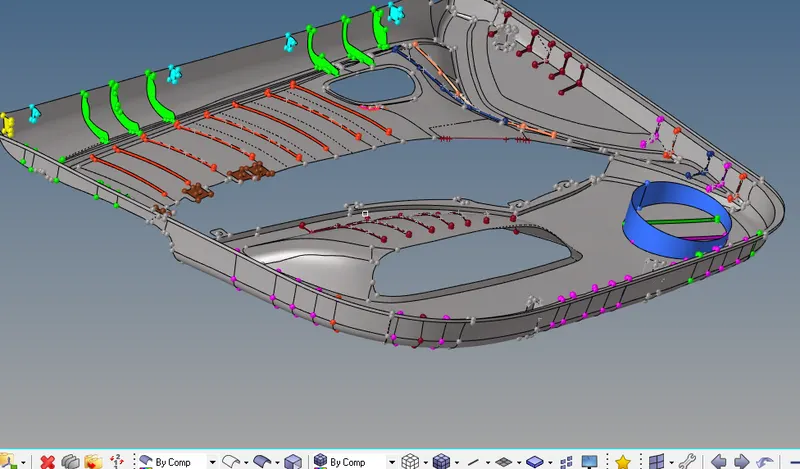
RESULT: Sucessfully extracted the Midsurface and meshed the component with the given quality criteria and mesh parameter.