Week 12:Project-1-Meshing of Door Inner Panel Challenge
WEEK-12 PROJECT-1 - MESHING OF DOOR INNER PANEL CHALLENGE
In this challenge we are going to done the geometry cleanup, extracting mid surface , meshing with proper flow, checking quality criteria & assigning thickness to components.
STEP-1 EXTRACTING MID SURFACE:- imported the component into hypermesh, the component was plastic component, it has two components in it. checked for the thickness on the component at various edges, found each edge has different thickness. checked the outer surface thickness found 2.5mm, to generate mid surface of the outer layer on the component command 1d- mid surface- auto mid surface - skin offset selected the outer layer of the component and it generated the mid surface of the outer layer only.
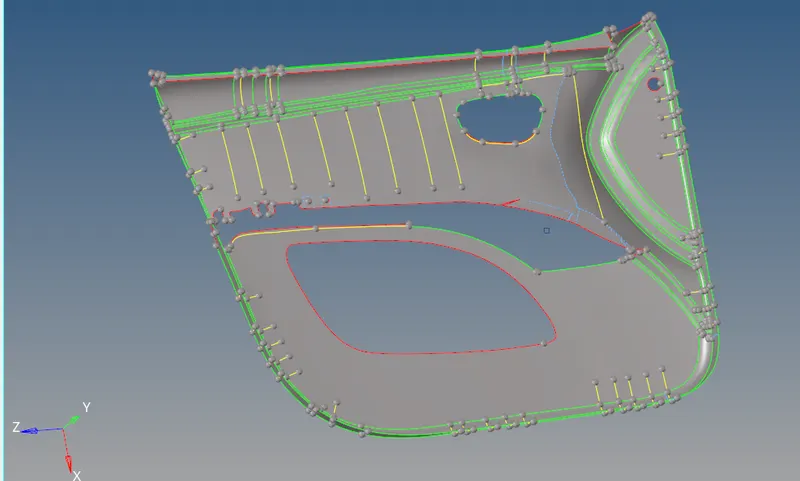
for remaining surfaces need to offset to generate the mid surface according to the surface thickness.
. if the surface has uniform thickness from one end to another end offset will be the best option to get the mid surface.
. create new component according to the thickness to save the mid surface in to this component
. checked the thickness of the component found 2mm, to get the mid surface command 1d - surface edit - offset - selected the surface - duplicated to currant component - and given the offset distance has 1mm, checked for the vector normal and processed offset.
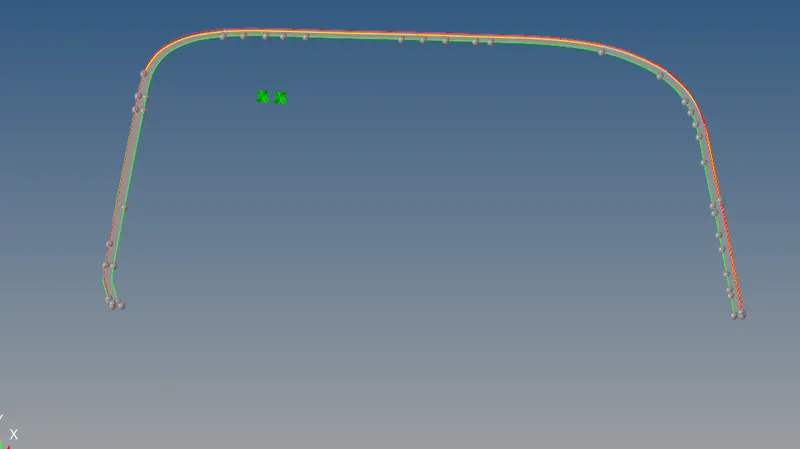
this surface was not having contact with previous generated mid surface to attach both, command 1d - surface edit (shif f9) - extend - changes to extend over edges - selected the lines which need to be extend - selected the surface to extend . now need to select the outer layer surface to extend to contact. now both components are connected.
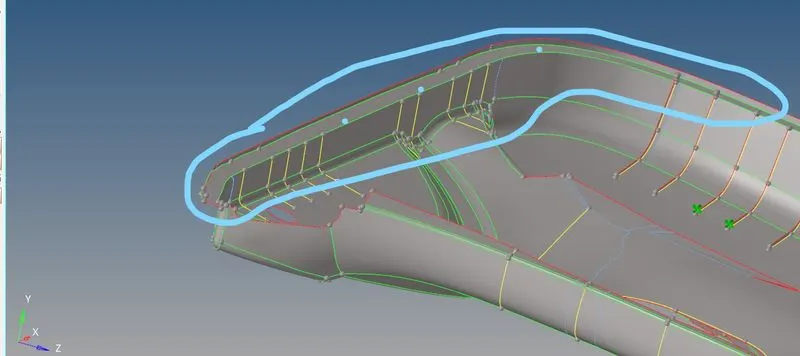
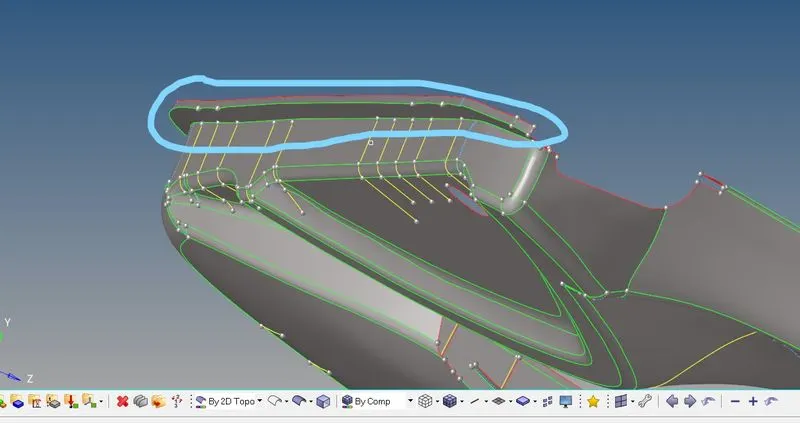
. if the surface was not having uniform thickness for those surfaces need to create the mid line between two lines.
. after mid line creates need to trim the surface command 1d - shif f9 - trim with lines - select surface - select free line - normal to surface - and trim.
. it create the another line with respect to free line and surface.
. to create the surface between the line 1d - surface - ruled - select lines - and surface was created.
if the surface was not having contact with base mid surface need to use surface extend tool.
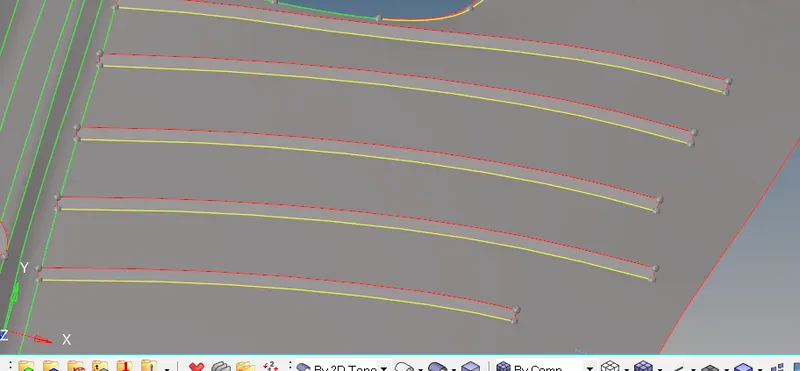
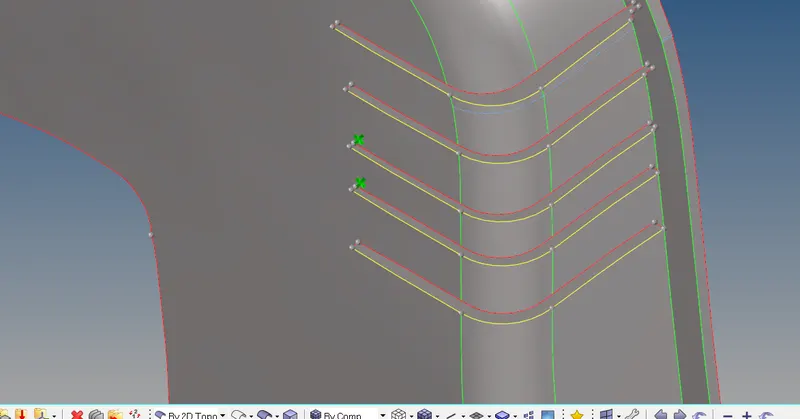
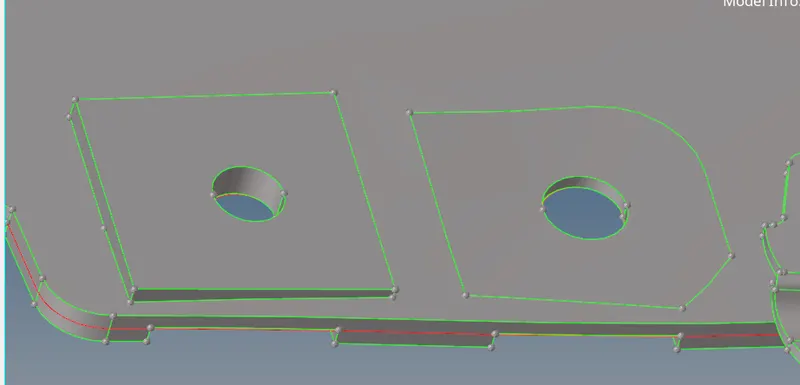
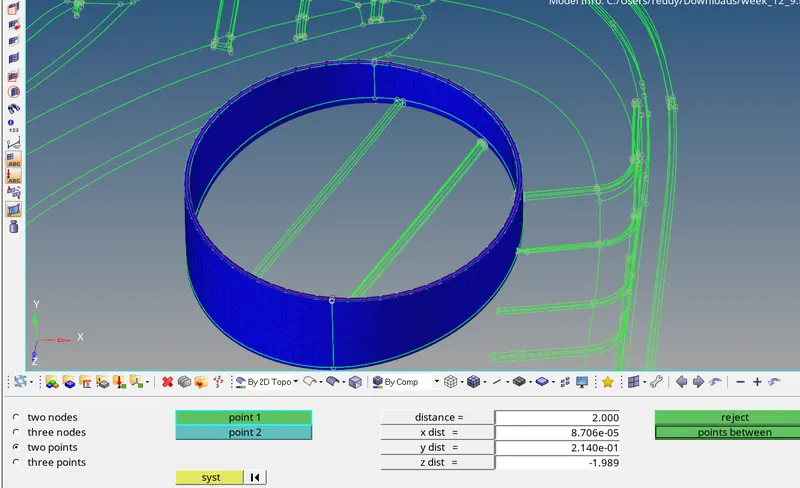
. surfaces like above considered as flat surface and extracted the surface with respect the distance between the upper hole and inner hole , then trimmed the base mid surface with circle line and deleted the circle surface on base mid surface and square surface. result will be visible like below picture.
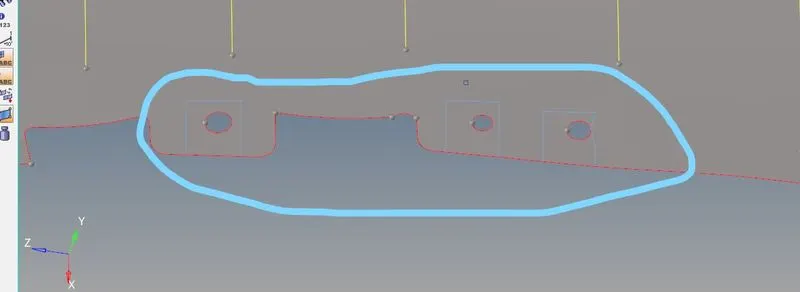
above 6mm thickness surface captured the midsurface like shown in the challenge.
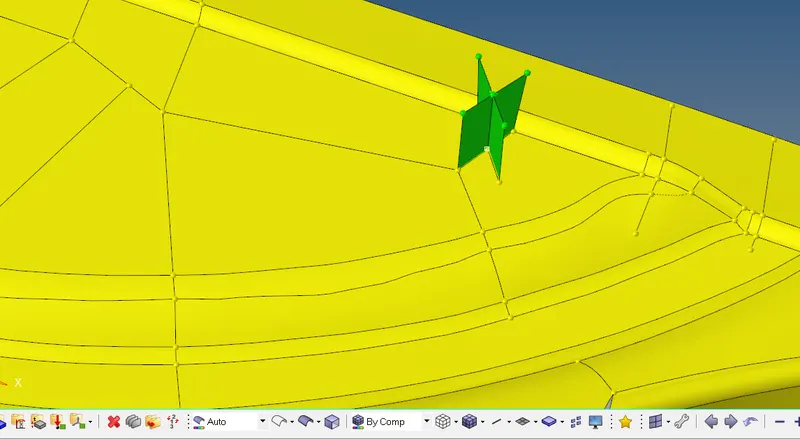
mid surface extraction was completed.
step-2- geometry cleanup :- checked the mid surface found some lines are near to each other, also found some sharp edge lines which will fail the elements at that area, so toggled those lines.
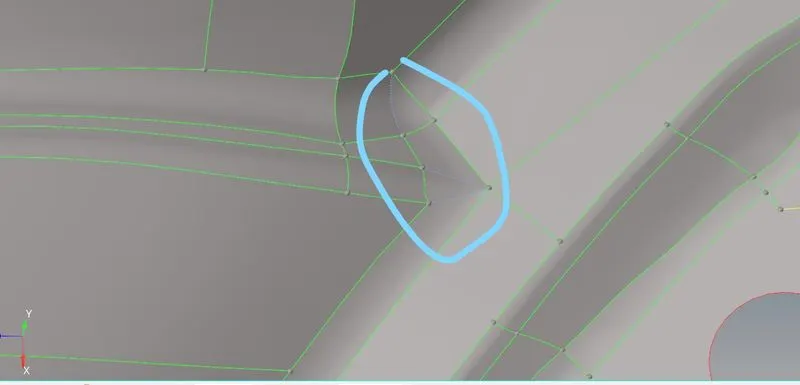
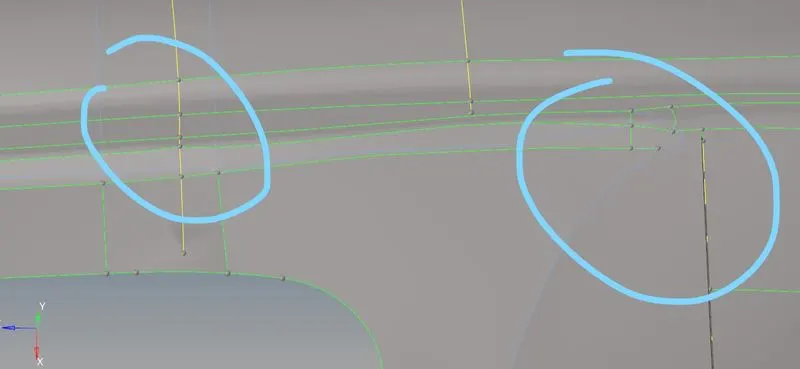
after geometry cleanup need to mesh the component.
step-3-meshing:- split the surface to capture the mesh flow, checked for all fillets and circle surfaces are projected to the outer mis surface. selected the mesh type to mixed- element size 4mm- selected the flow to align to connect the mesh of all surfaces. started with the outer mid surface and completed the meshing.
after done the meshing need to check the element quality criteria. found some elements are failing at the connections of two surfaces. except at that locations no elements are failing.
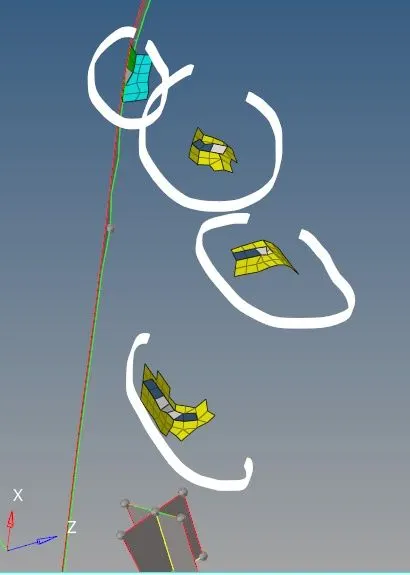
in above image warpage criteria failing where to surfaces are contact.
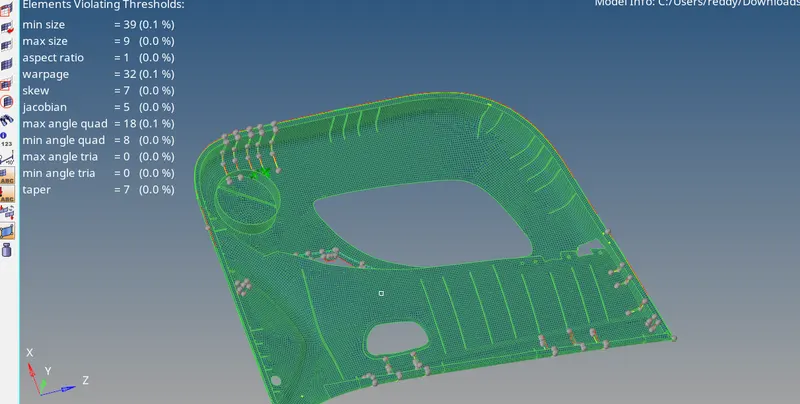
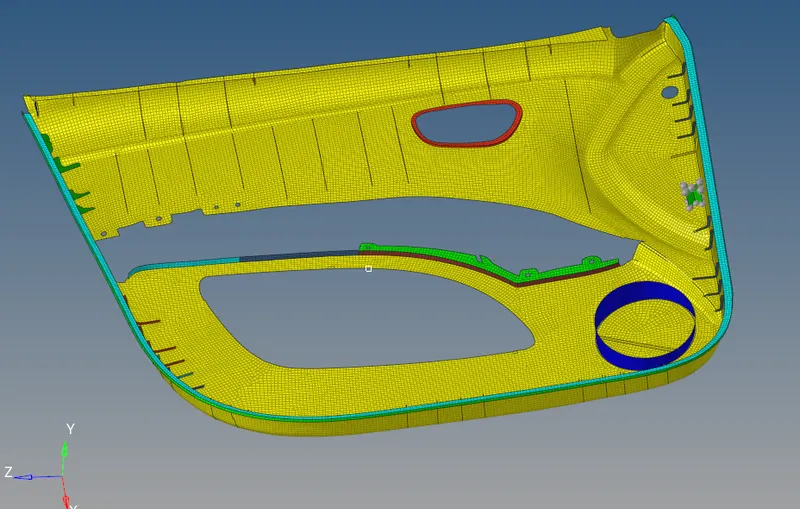
after checking the element quality criteria, assign the thickens to surface by creating property's according the thickness of the component. checked in the wireframe mode for the elements are fit in the same component, like below image.
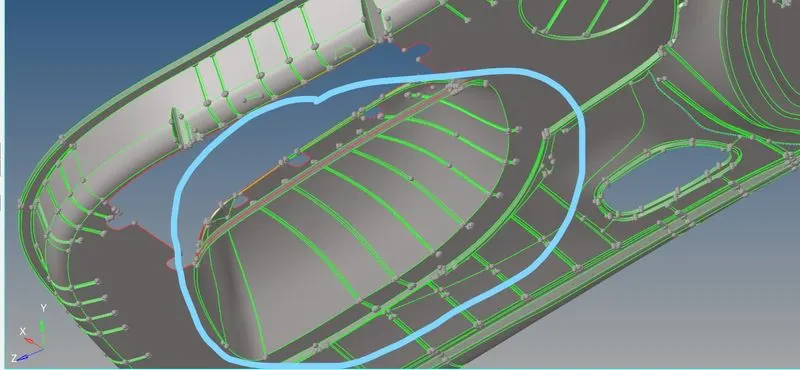
note:- while doing the auto mid surface some surfaces are deleted, image attached below, offset of this surface was not in this model. for that model done offset separately in new model.
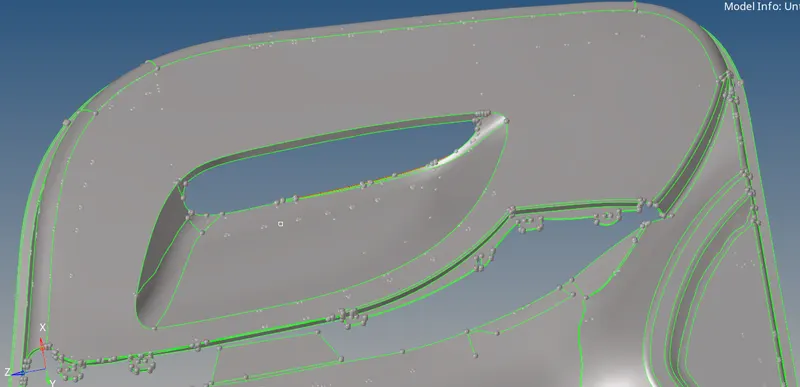
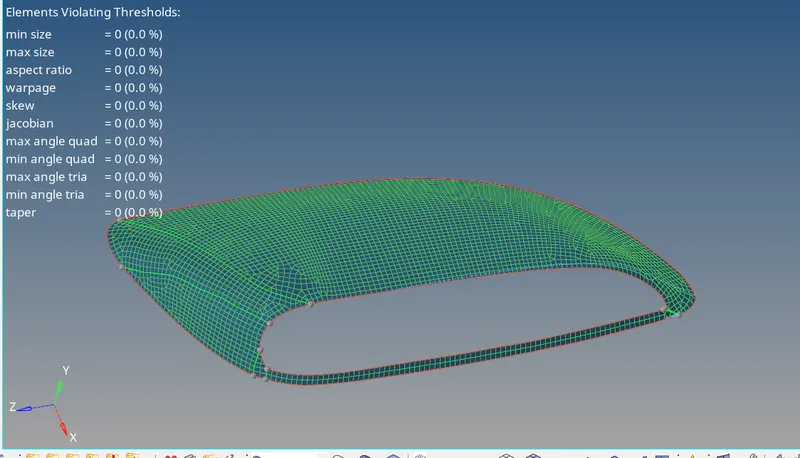
final images of the complete model.
Conclusion:- in this challenge got the idea about the uneven surface components, how to the off-set for those components, and what are the errors will come in the auto mis-surface.