Week 12- Final project
Door Trim Design
Objective -
Creation of CAD model considering following inputs as like in OEM and tier1 companies
- a) Class A surface
- b) Nominal thickness : Refer master sections
- c) Attachment strategy :
Find a attachment strategy for the door panel complete work.
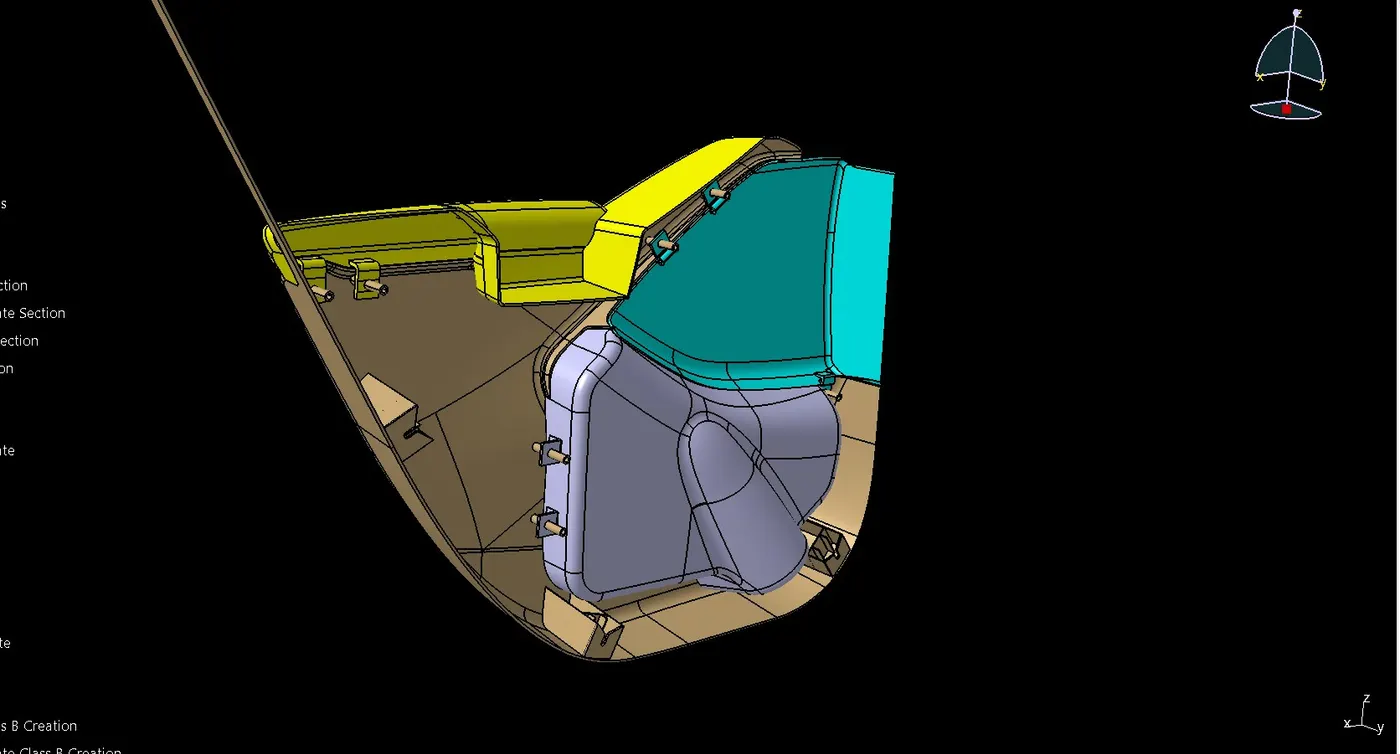
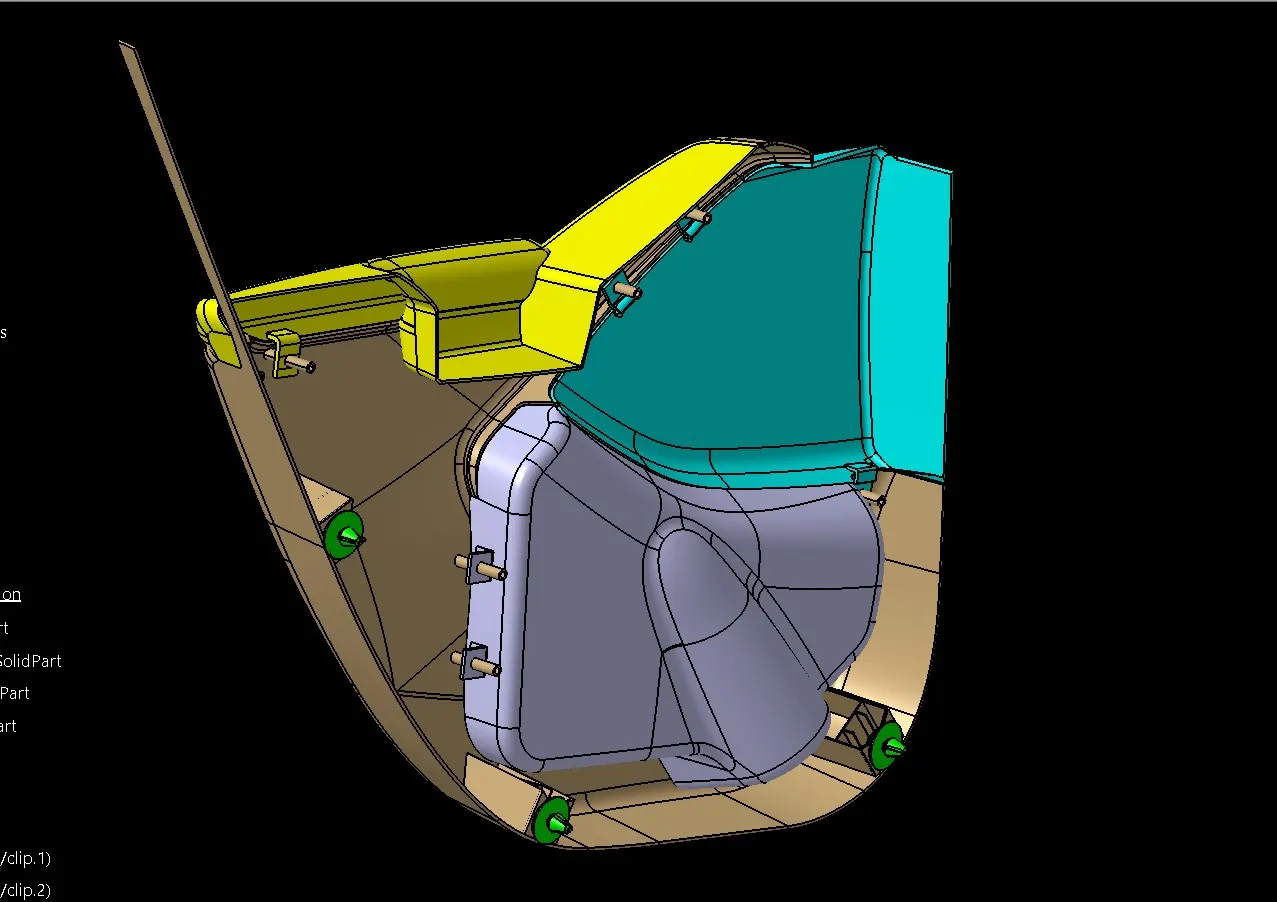
Use Push pin with Dog house for Lower substrate – Door panel attachment
Use heat stakes for part to part attachment
Methodology
- We have received input that includes Class A surfaces for various components of the door trim, such as the Main Substrate, Lower Substrate, Map Pocket, and Armrest
- Additionally, the master sections for flanges and heat stakes are provided along with the Class A surfaces
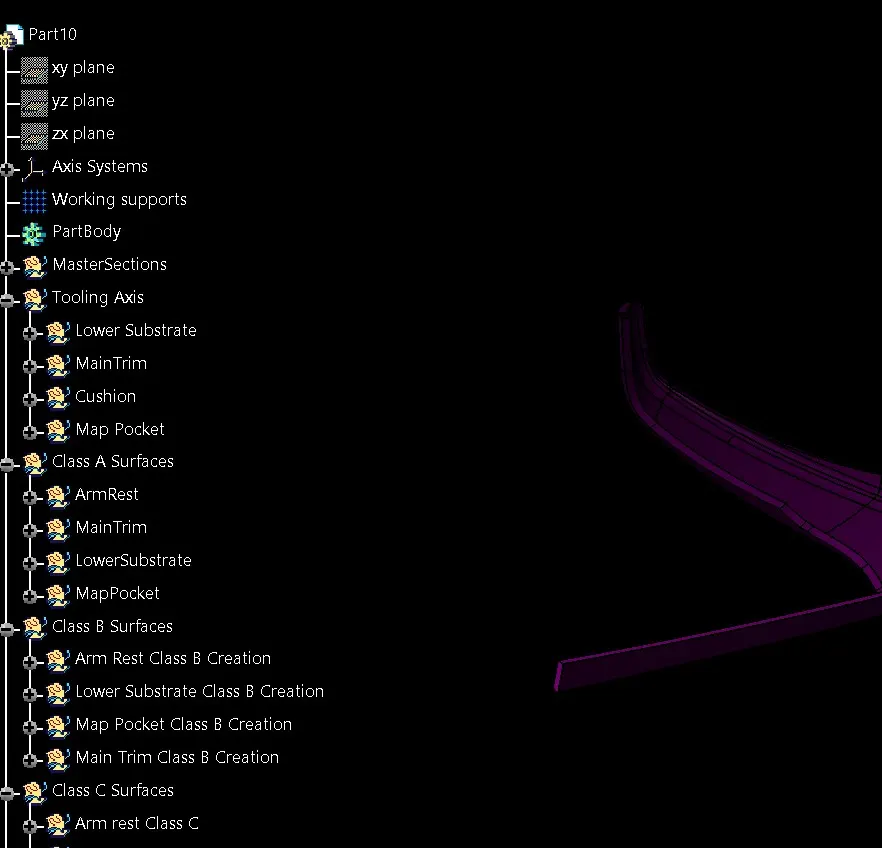
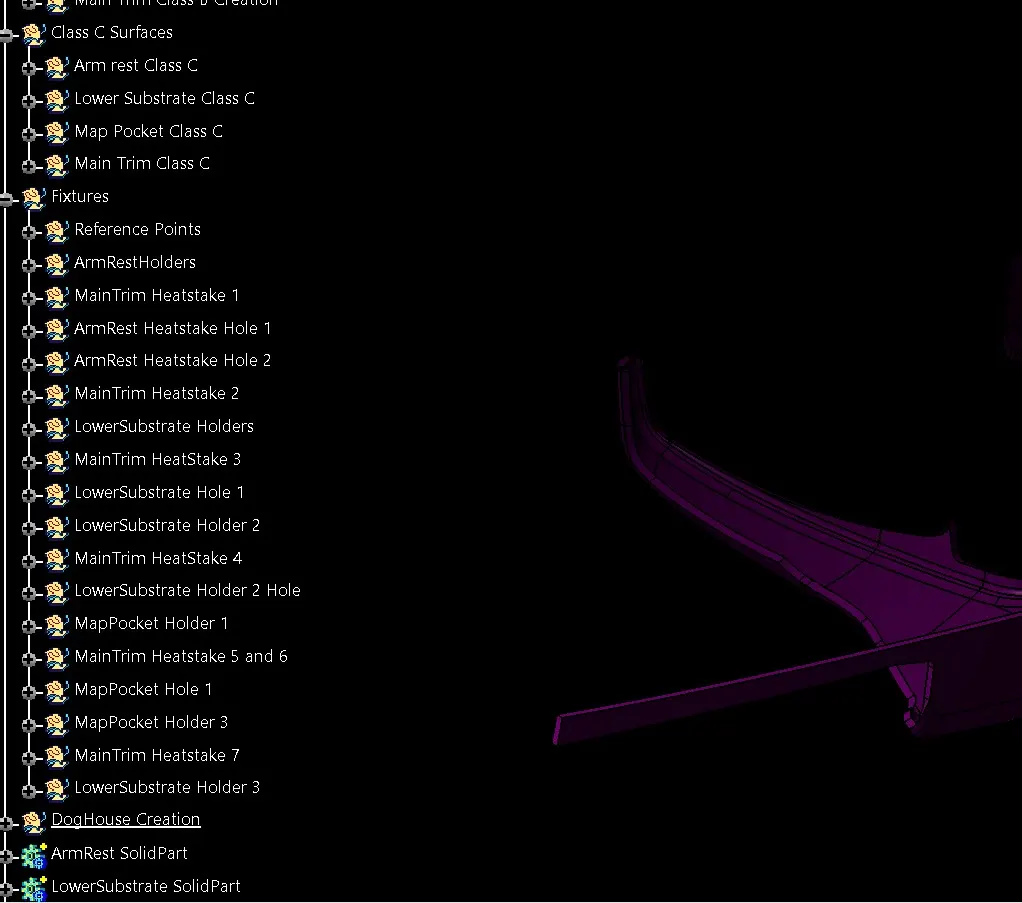
- Given the complexity of the project, we will organize all the files in a geometrical set to ensure simplicity and orderliness
Tooling Axis
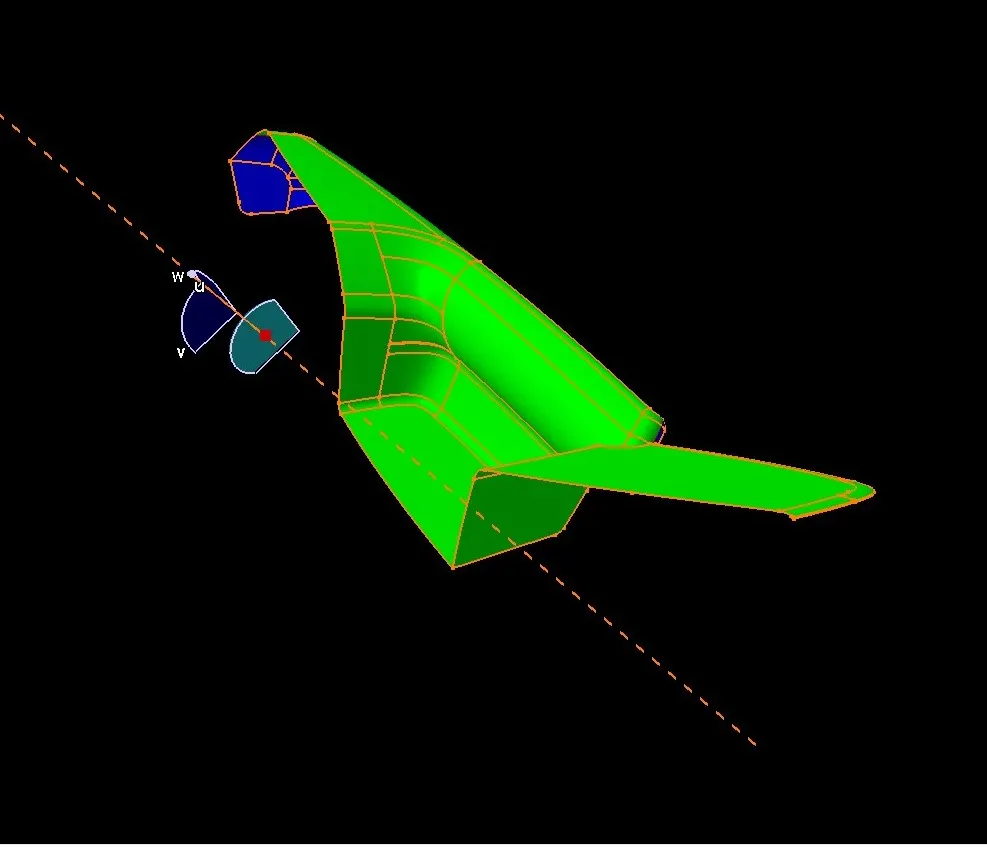
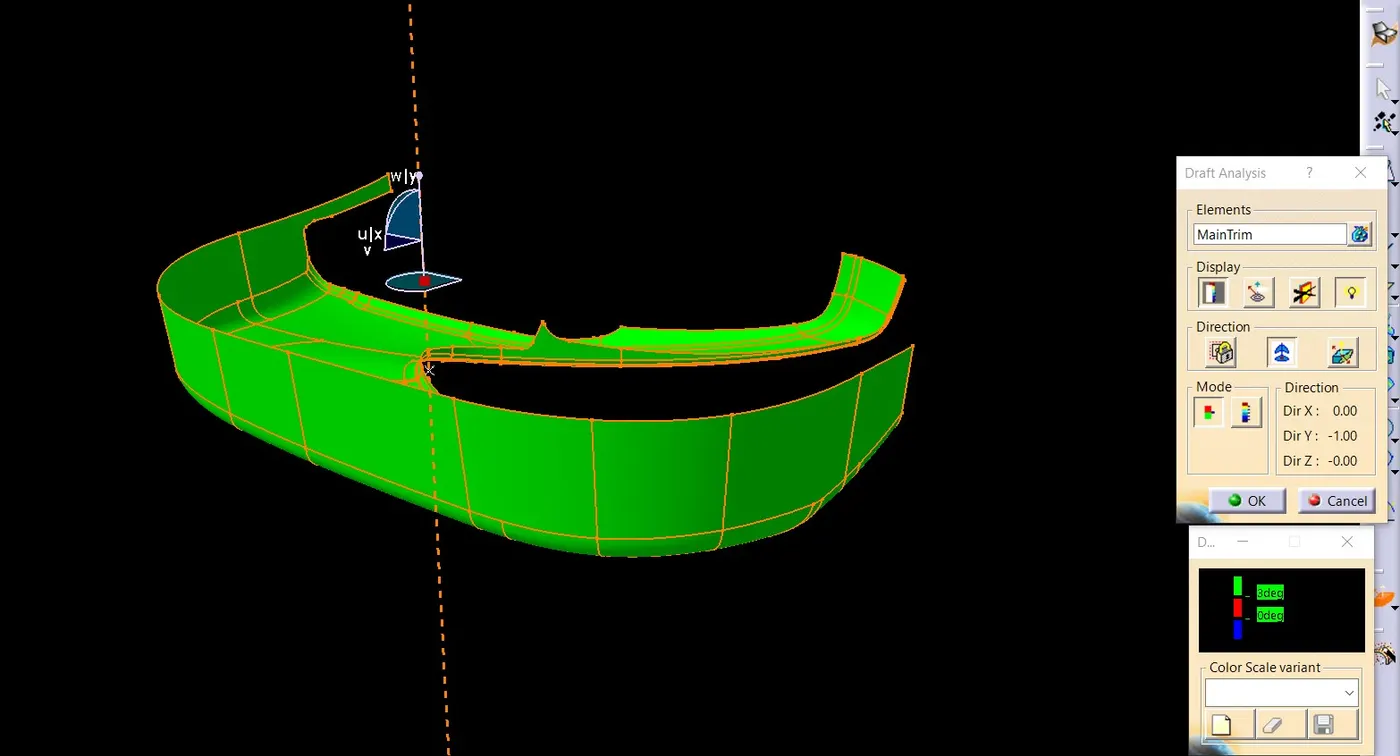
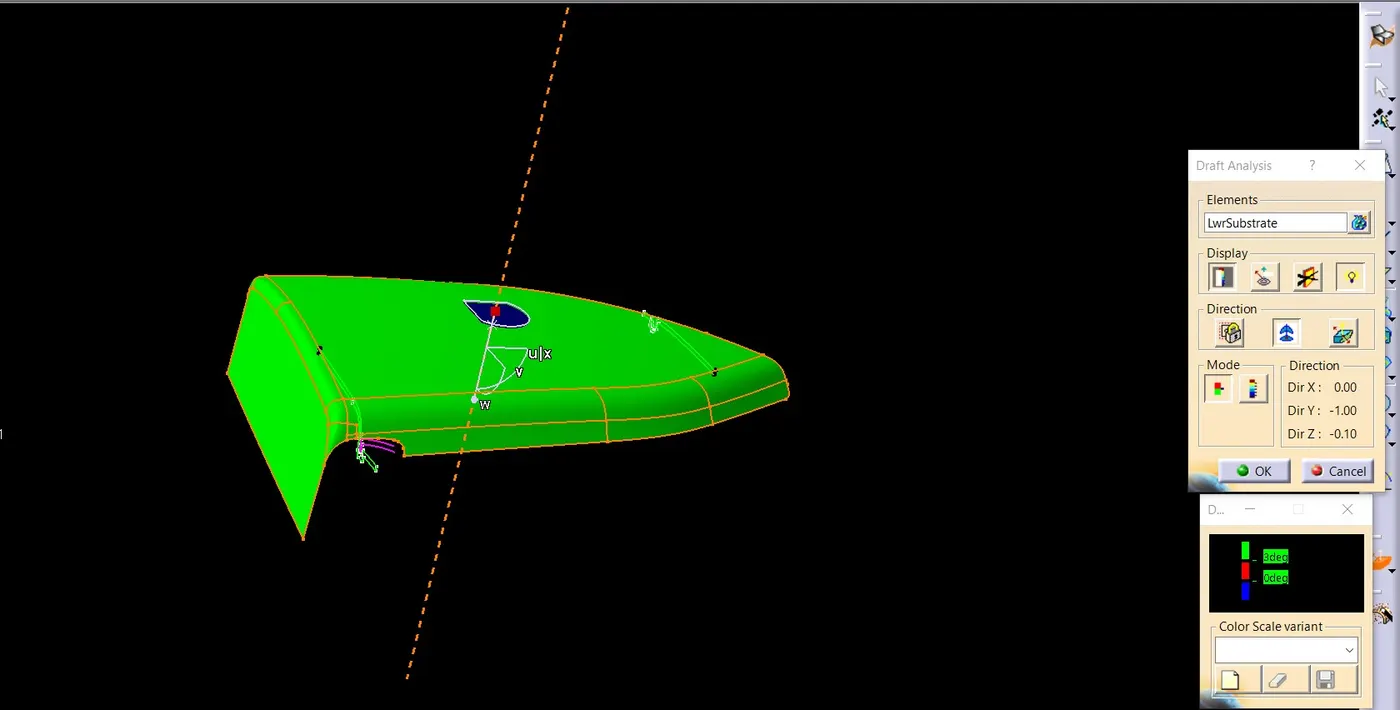
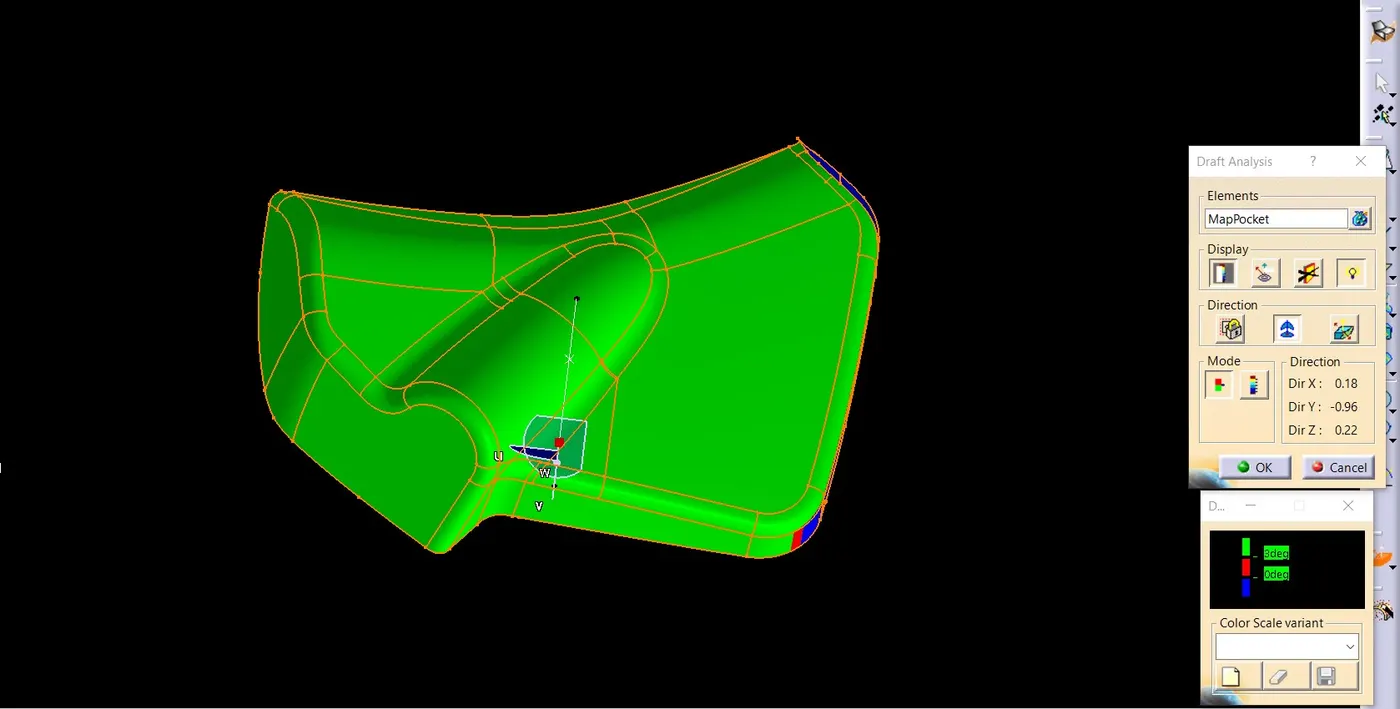
- Our initial steps involve the creation of tooling axes and conducting draft analysis for the provided Class A surfaces
- The tooling axis can be determined using either the bisection method or by positioning a compass through the center of mass, allowing us to identify the appropriate tooling axis
- the following are tooling axis and draft analysis for the given class A
Class B Surface
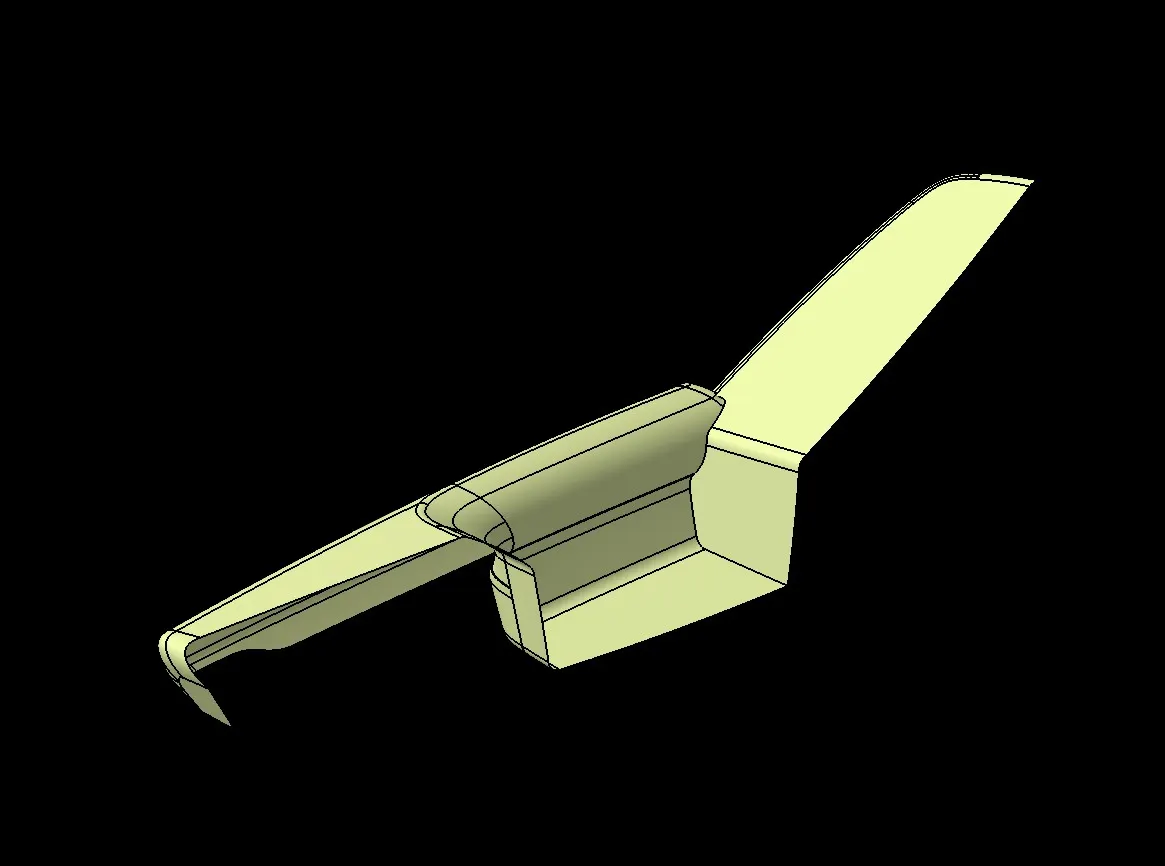
- Once the tooling axis has been established, the next step involves generating Class B surfaces for each of the provided surfaces
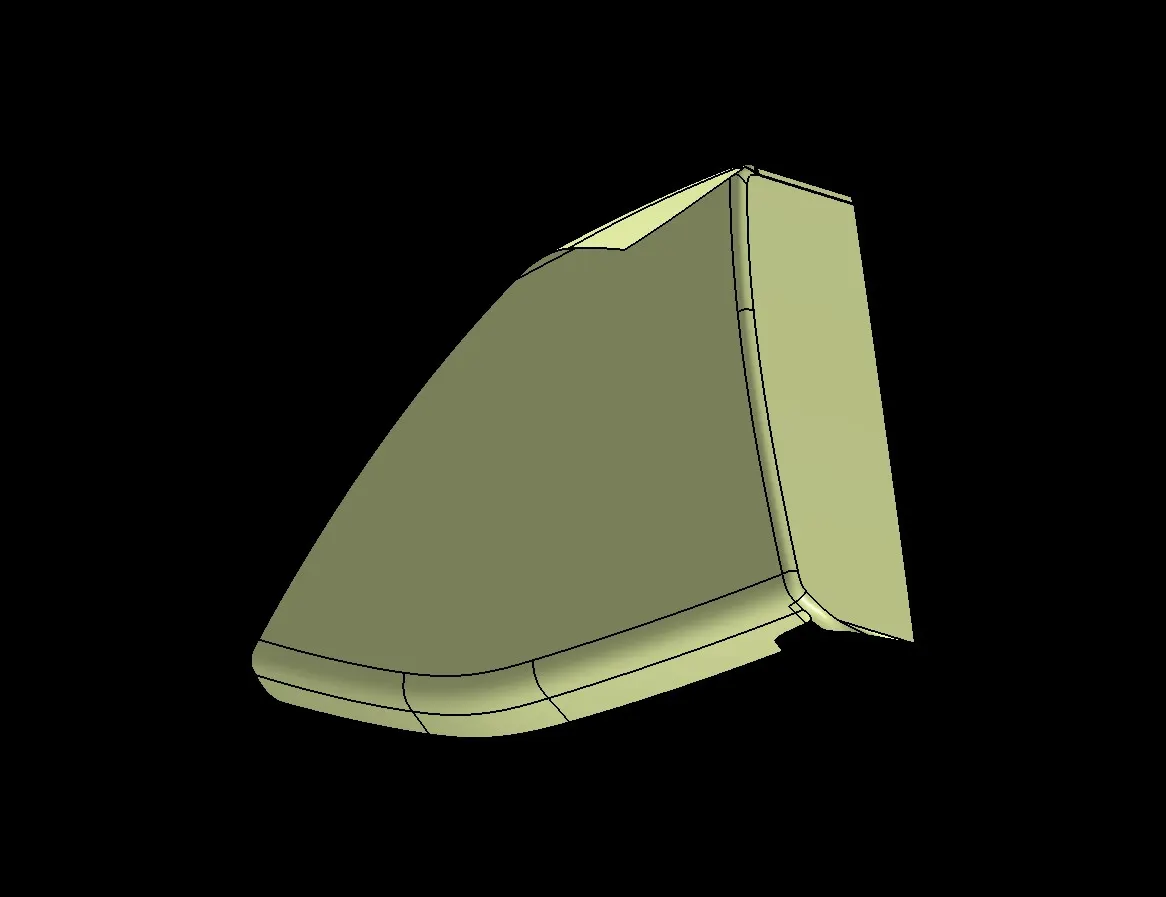
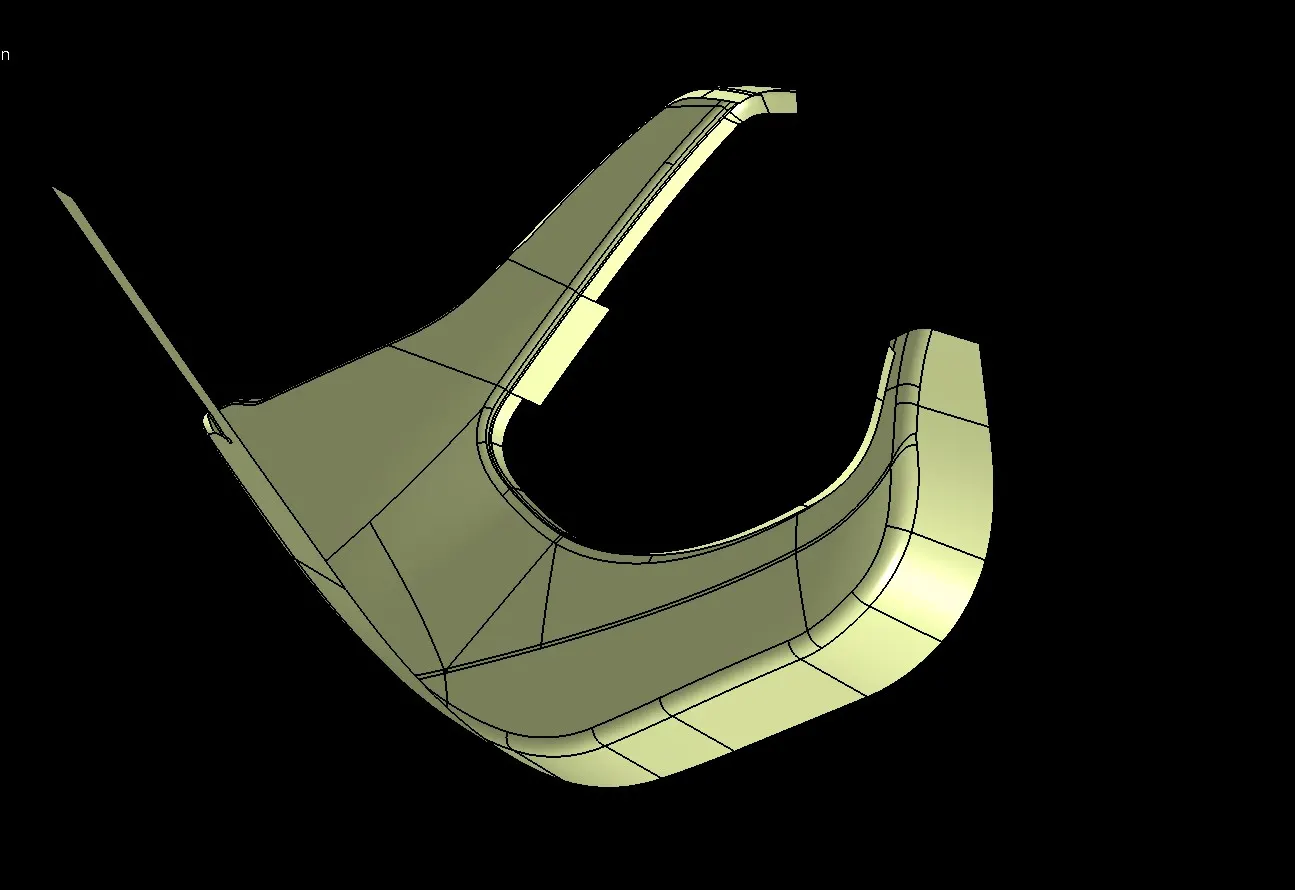
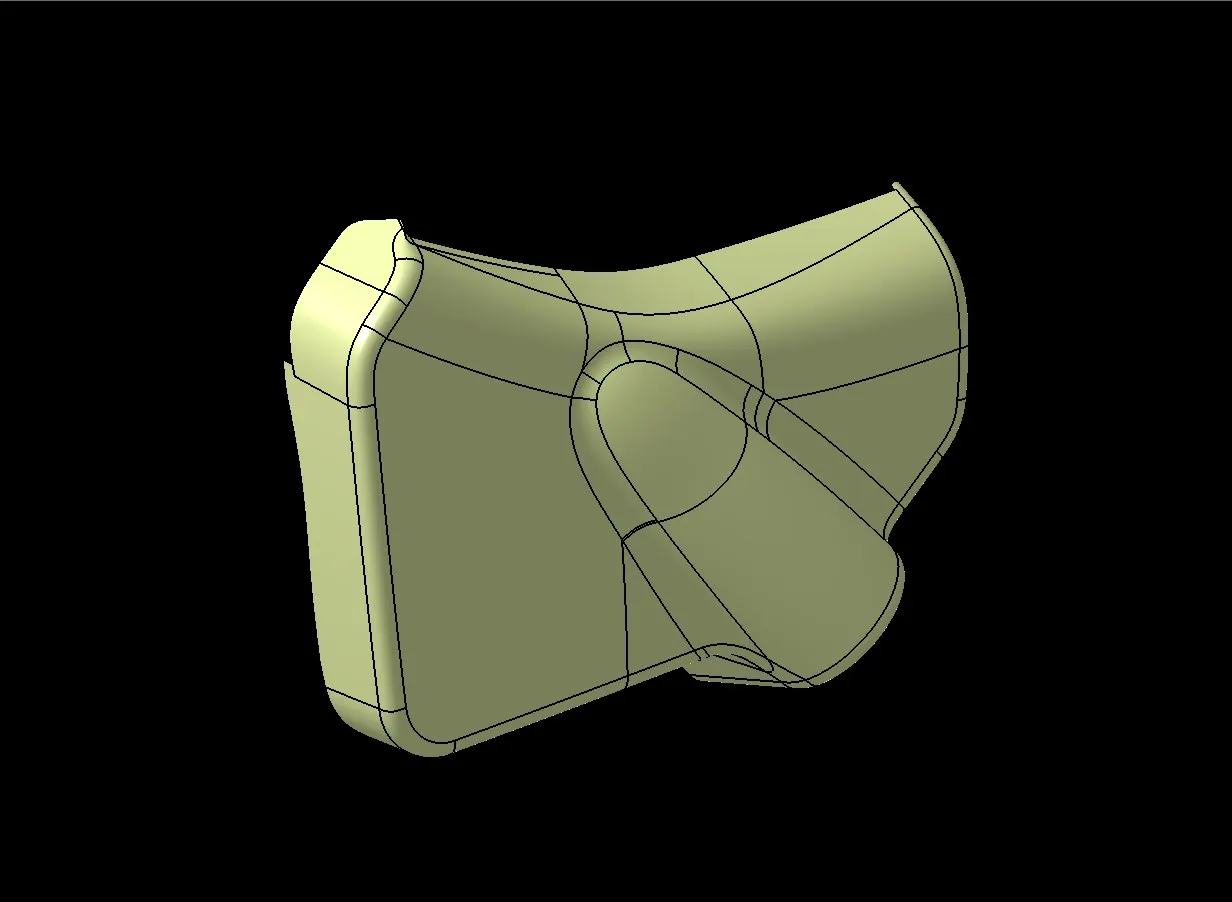
Class C Creation
- After creating class B, we create class C surface by sweeping Class A along the tooling Axis
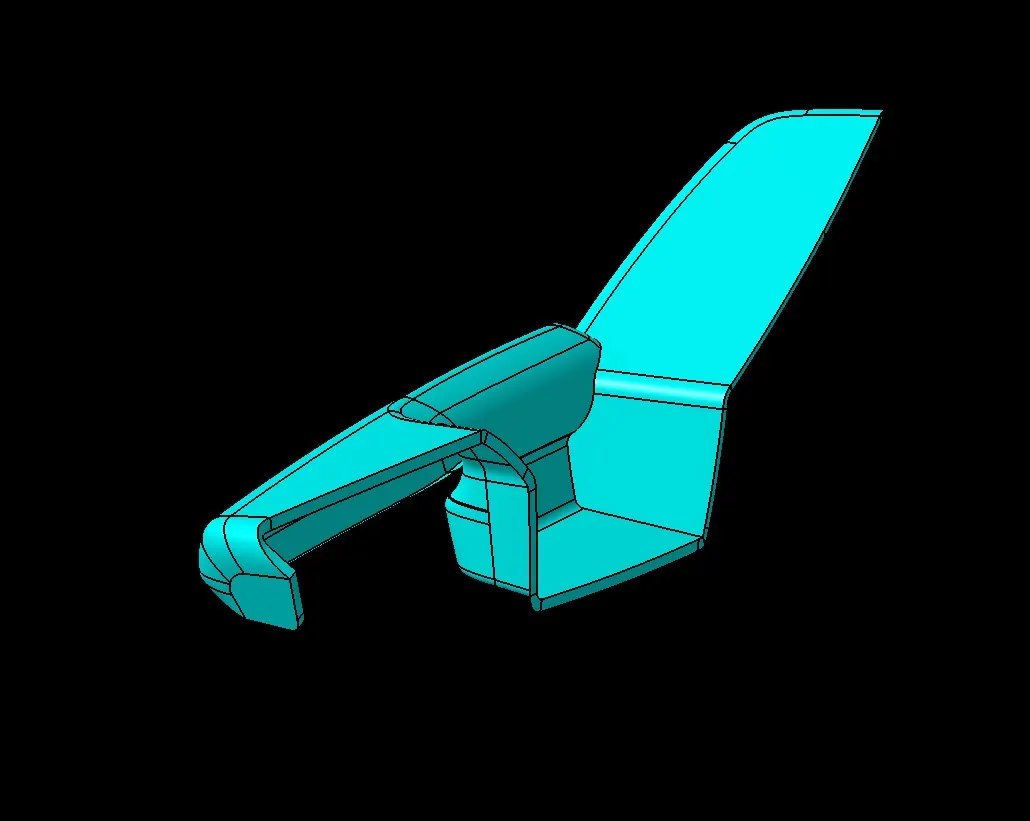
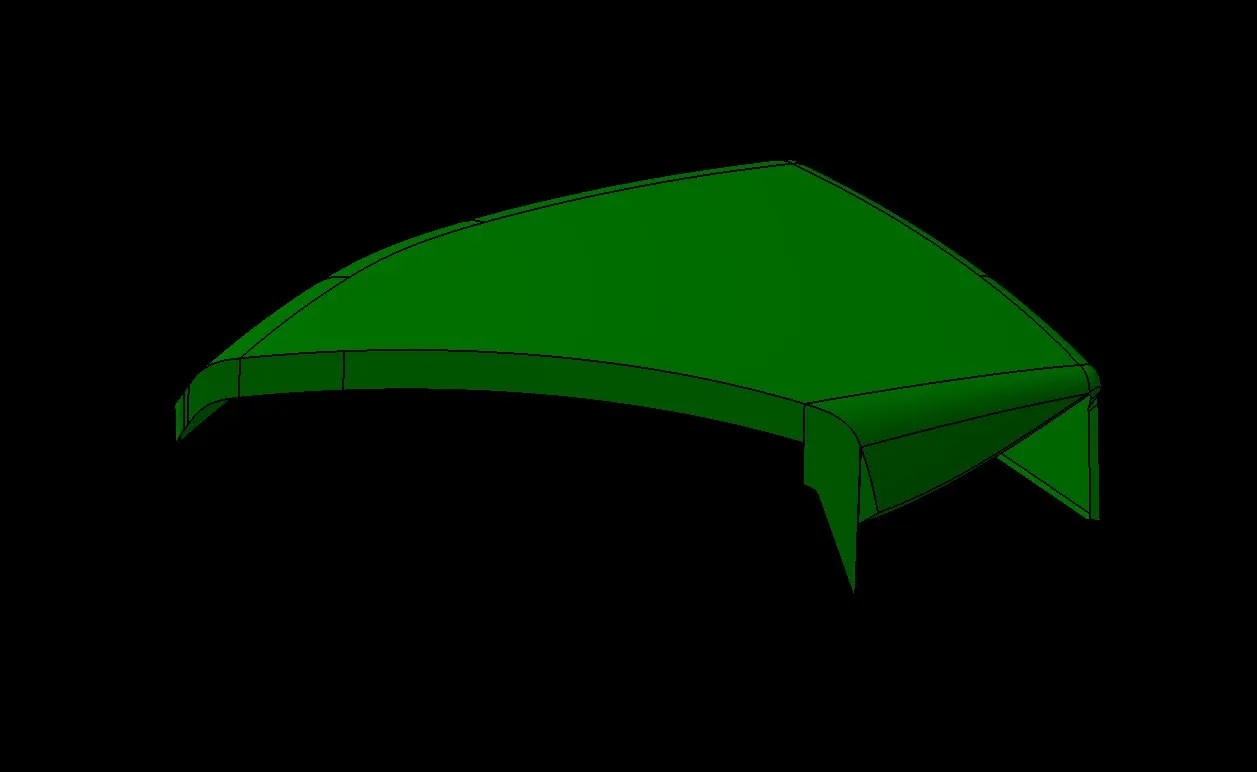
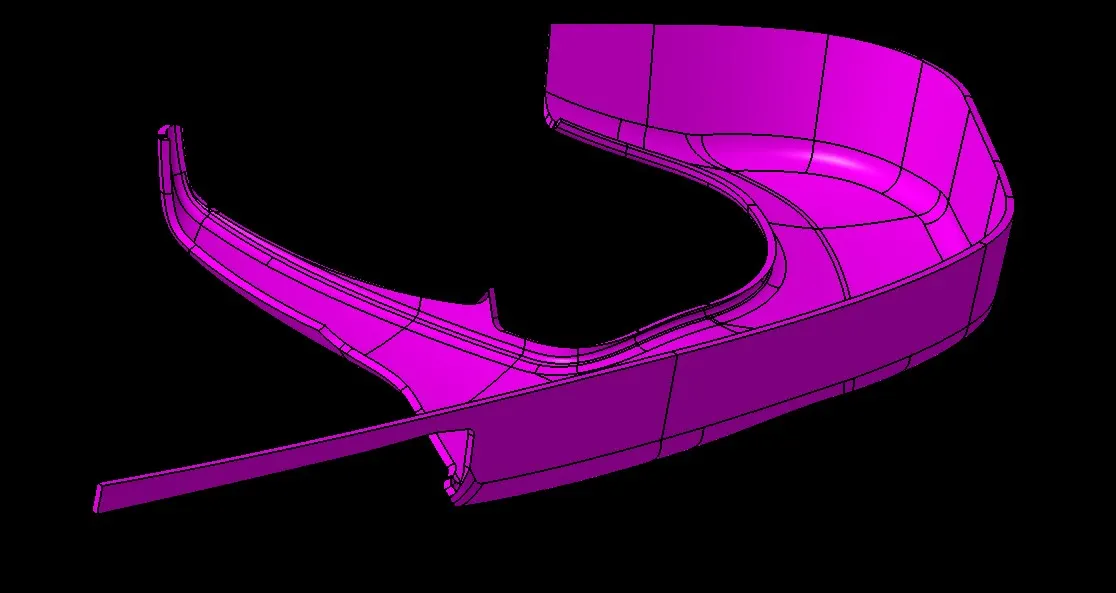
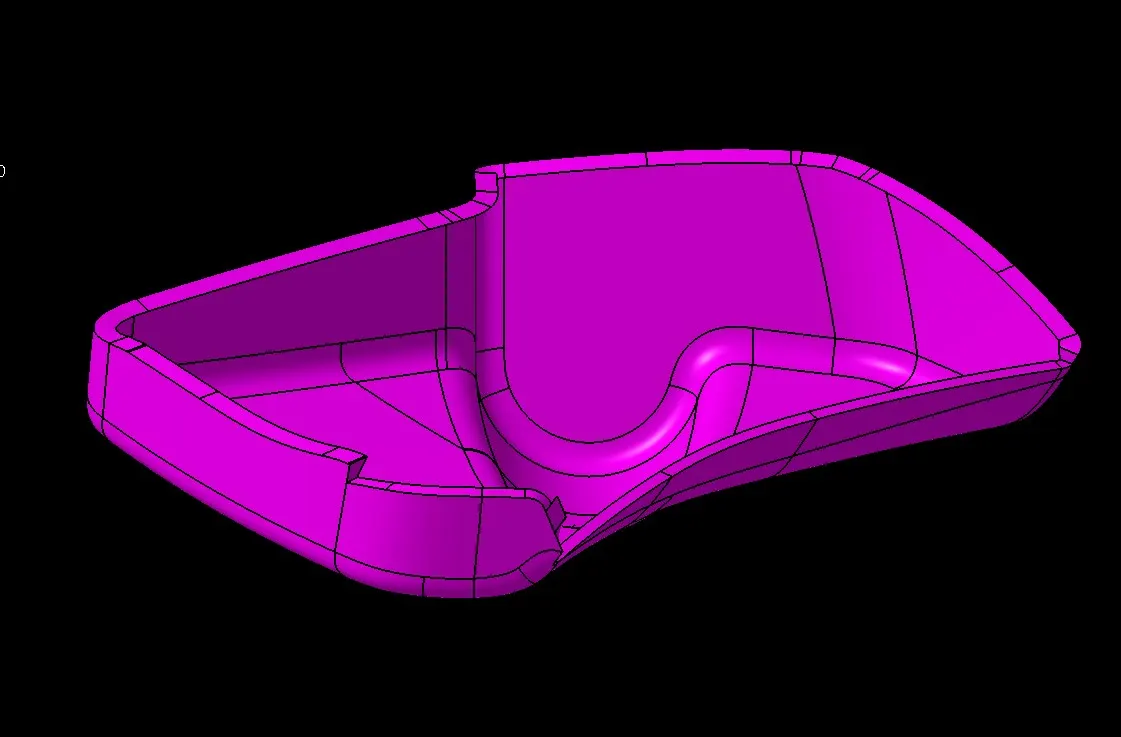
- Finally the class C is trimmed with class A to obtain a Solid body
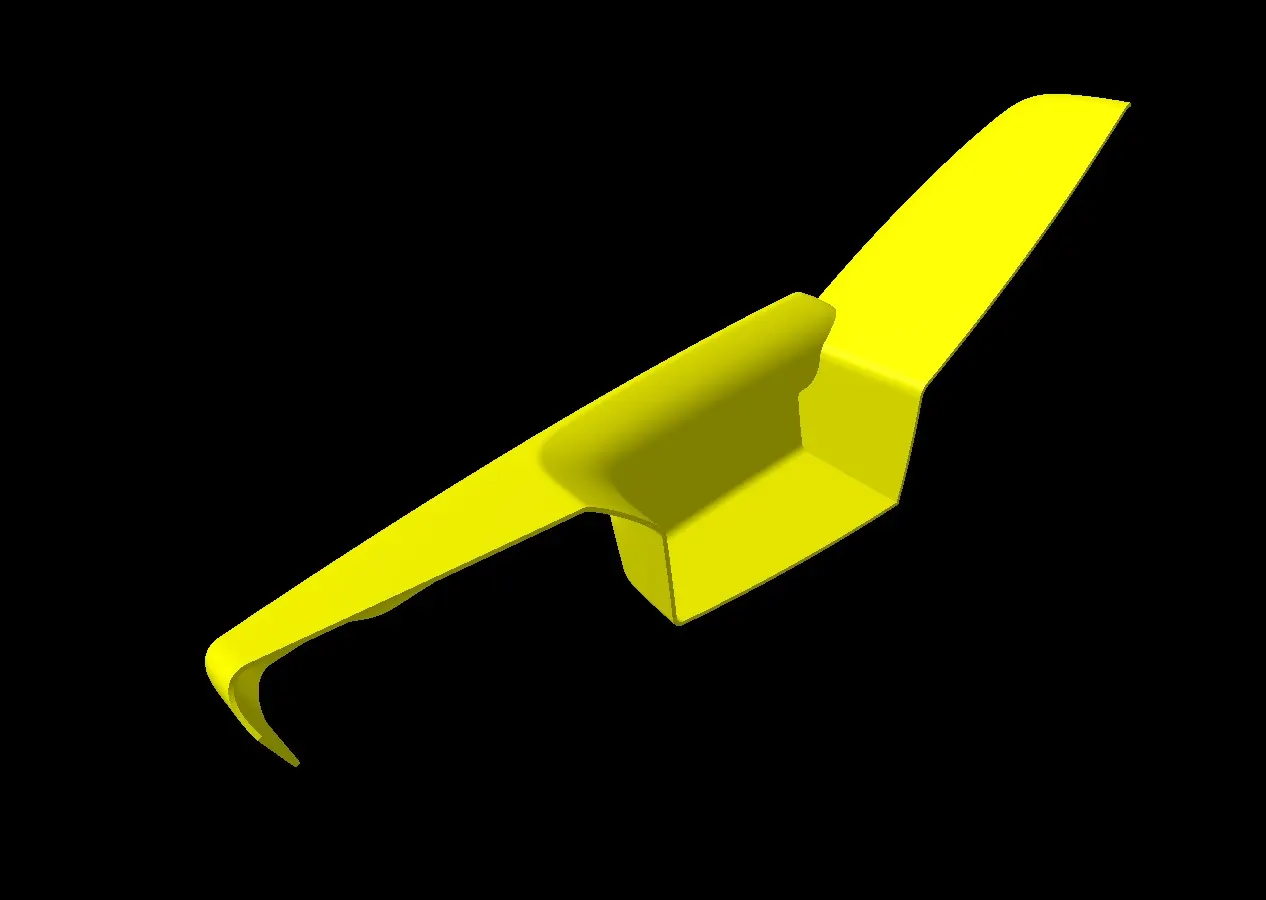
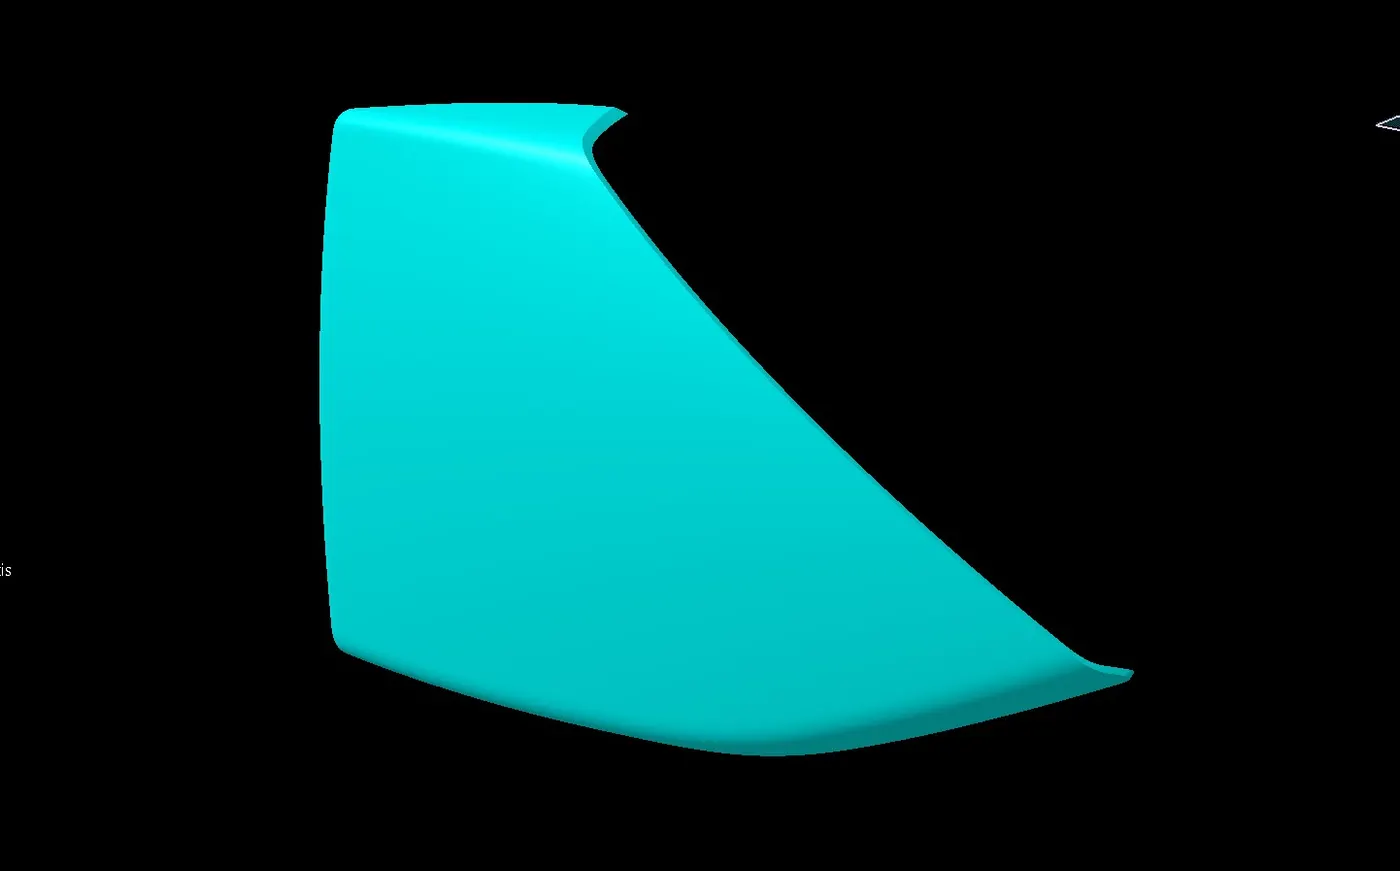
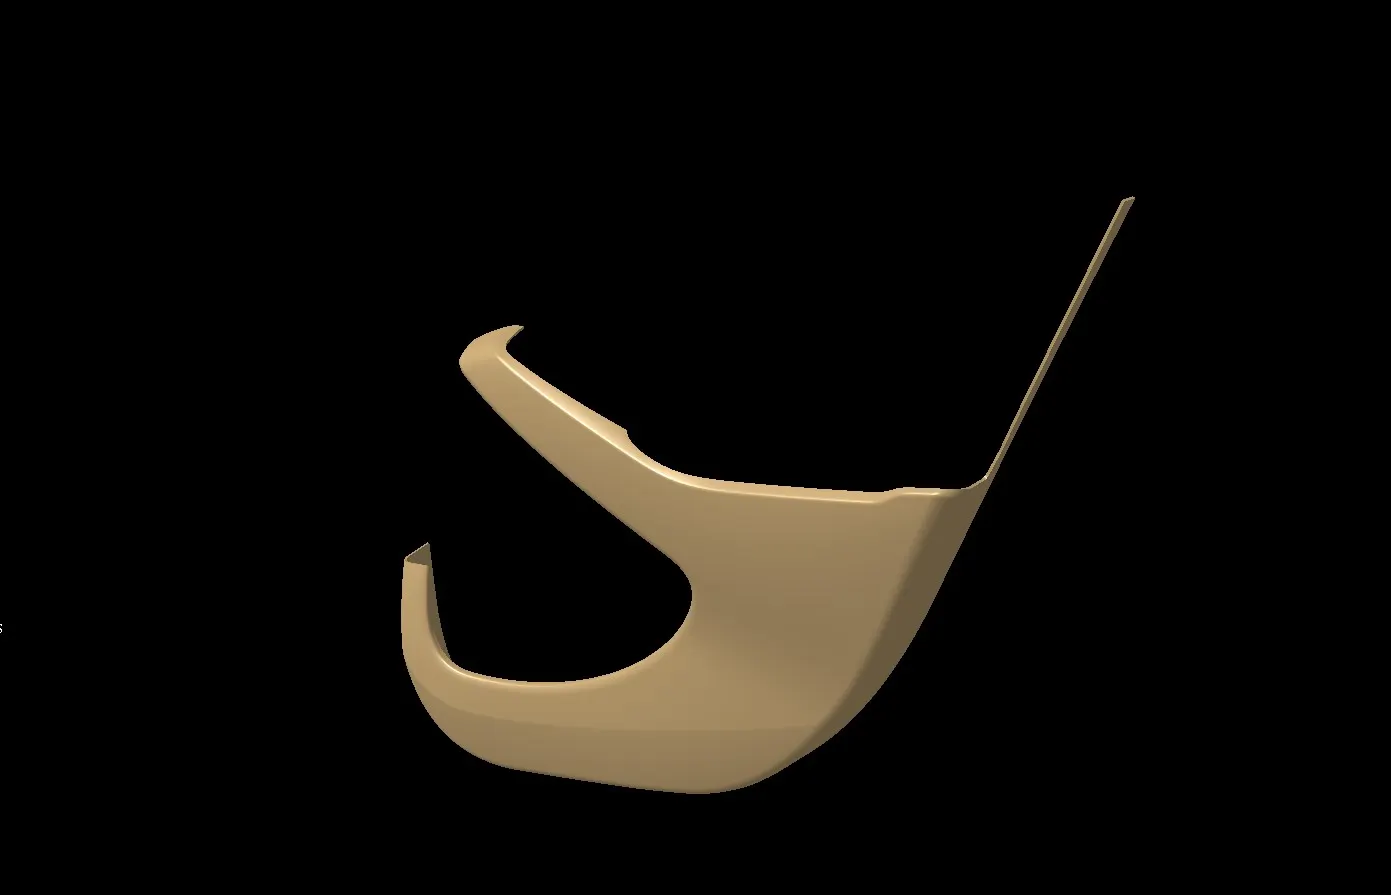
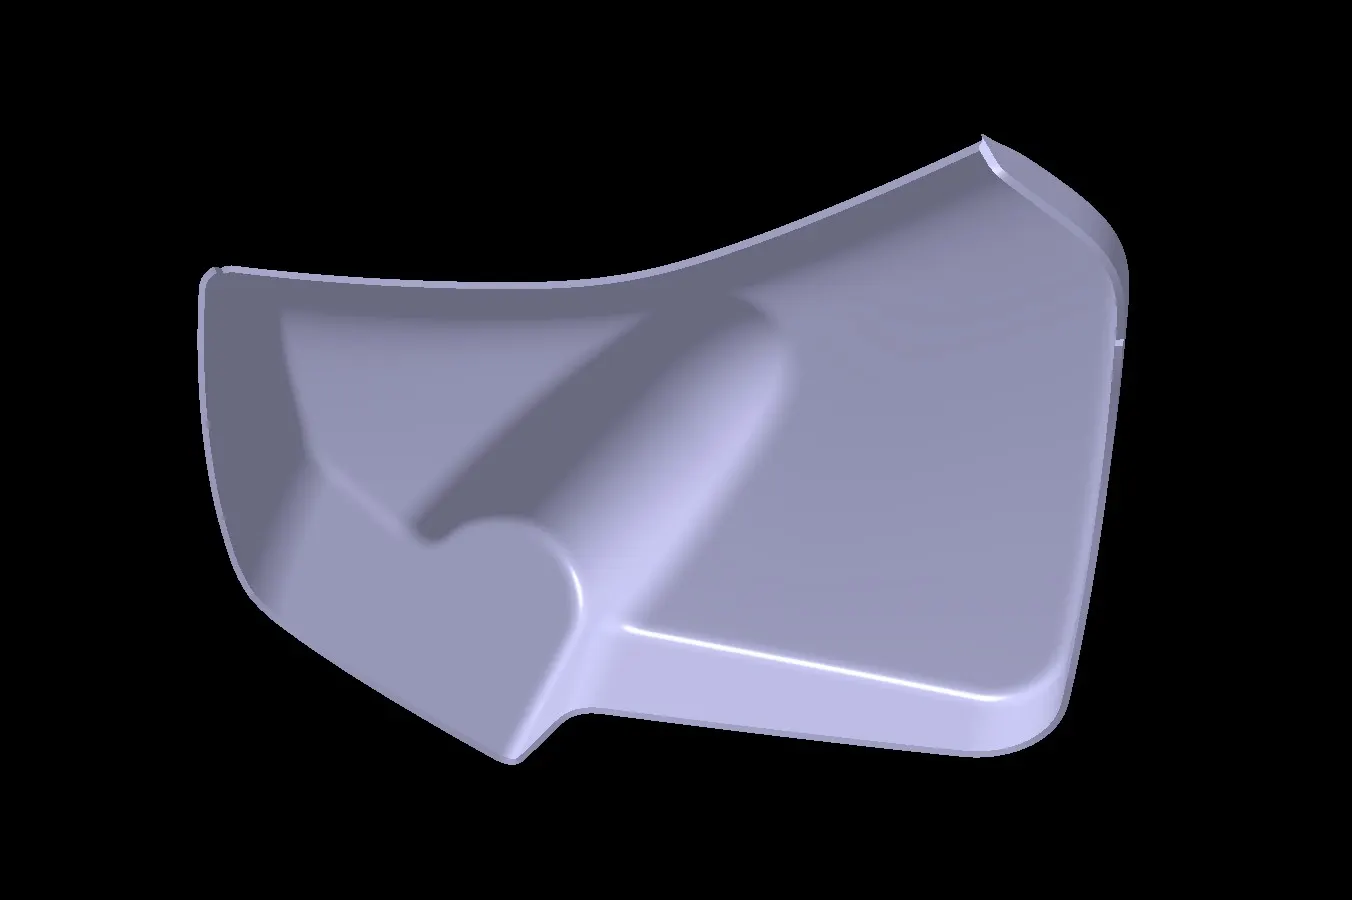
- After Obtaining the solid body, we work on the fixtures and heat stakes with respect to the master section obtained
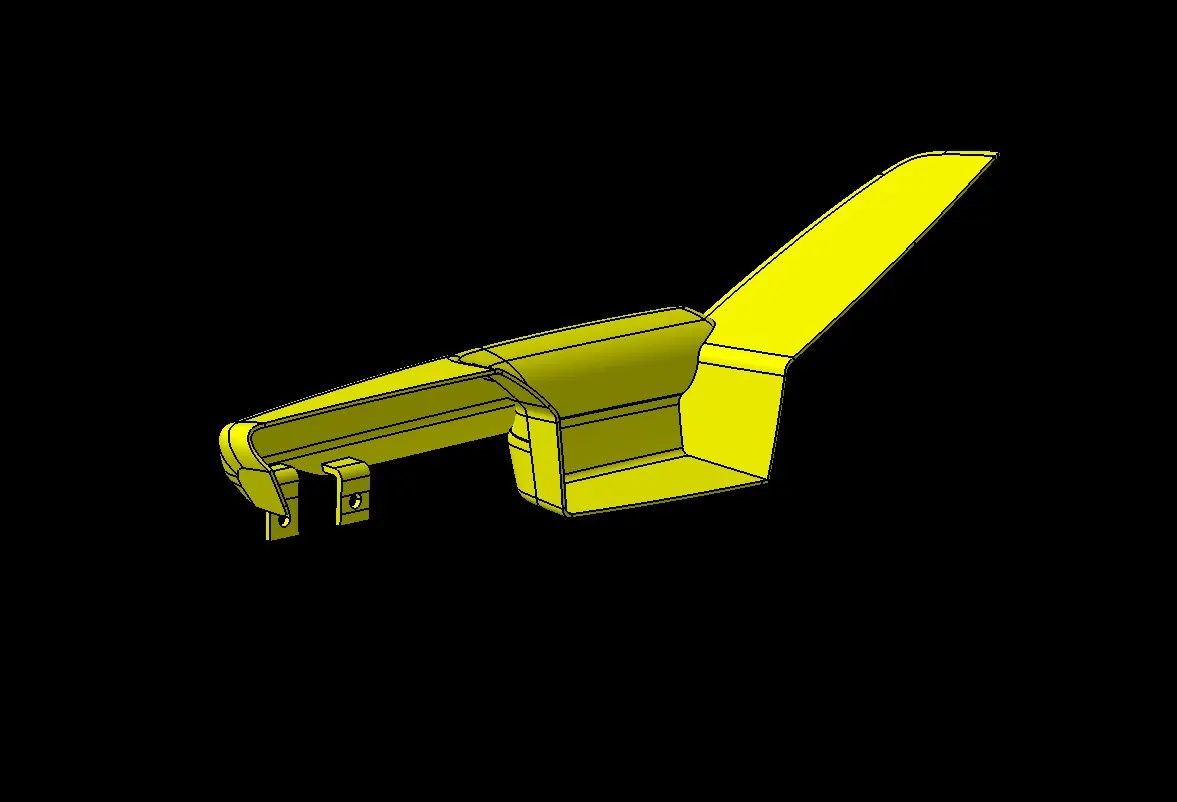
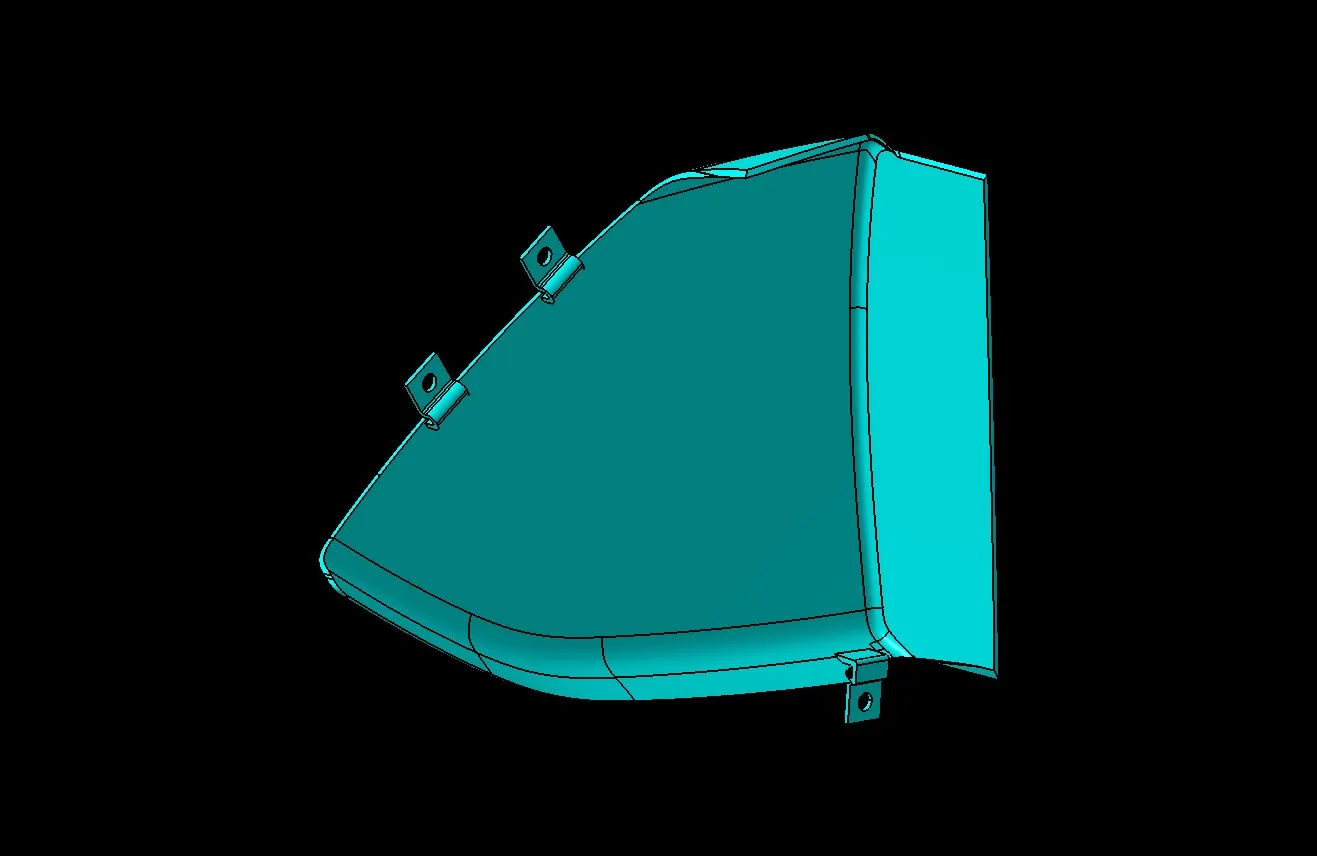
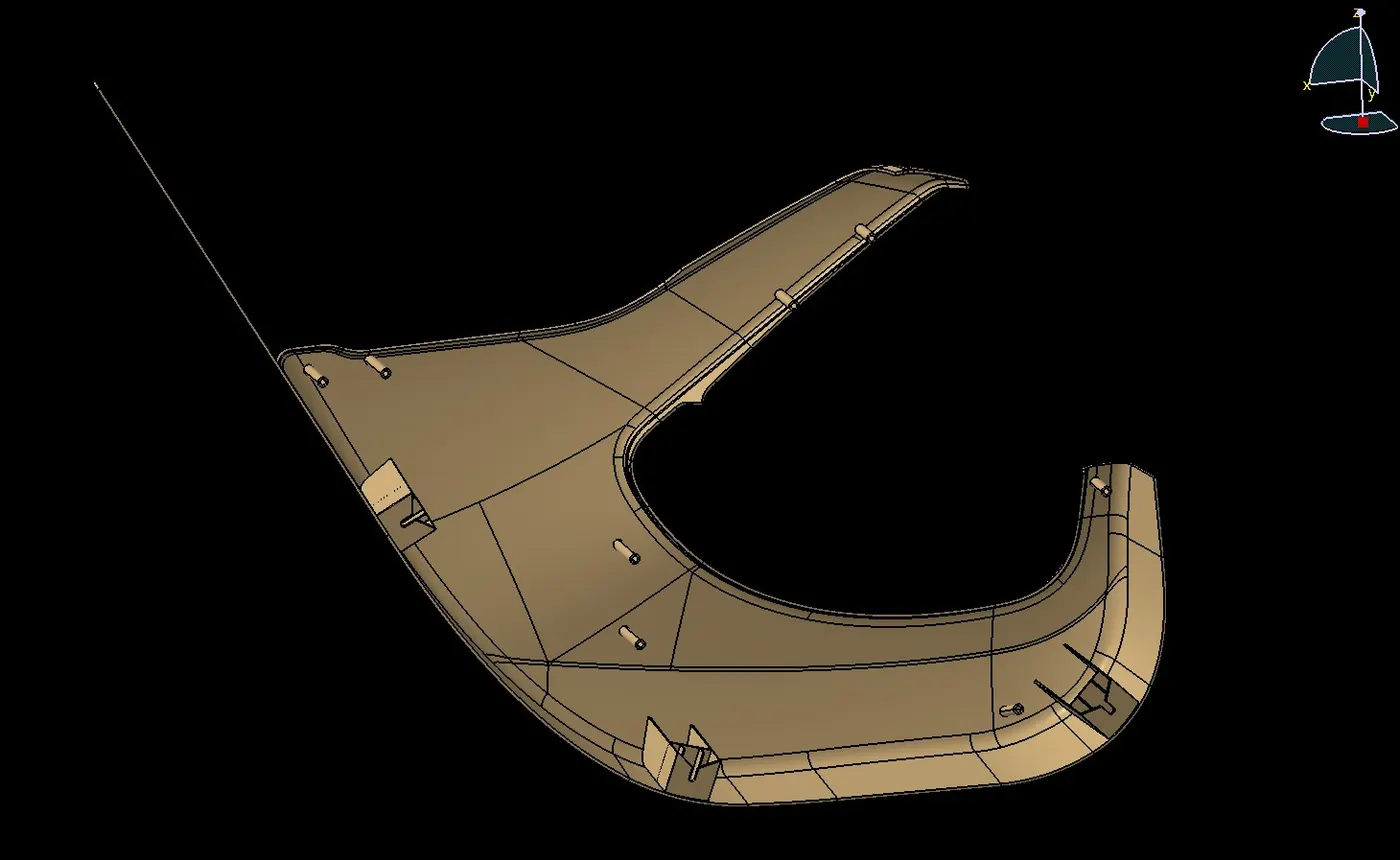
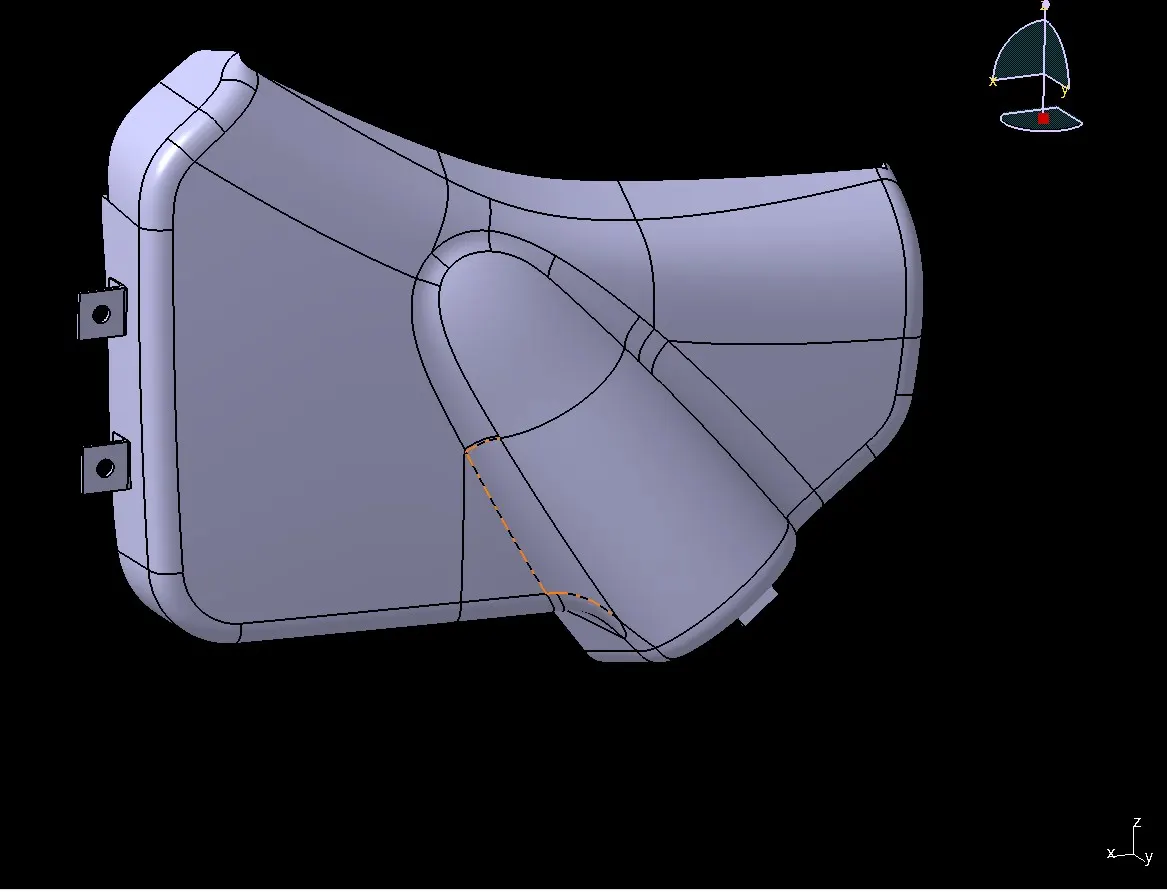
- Finally we Create dog house and assemble the pushclips to the dog house as specified
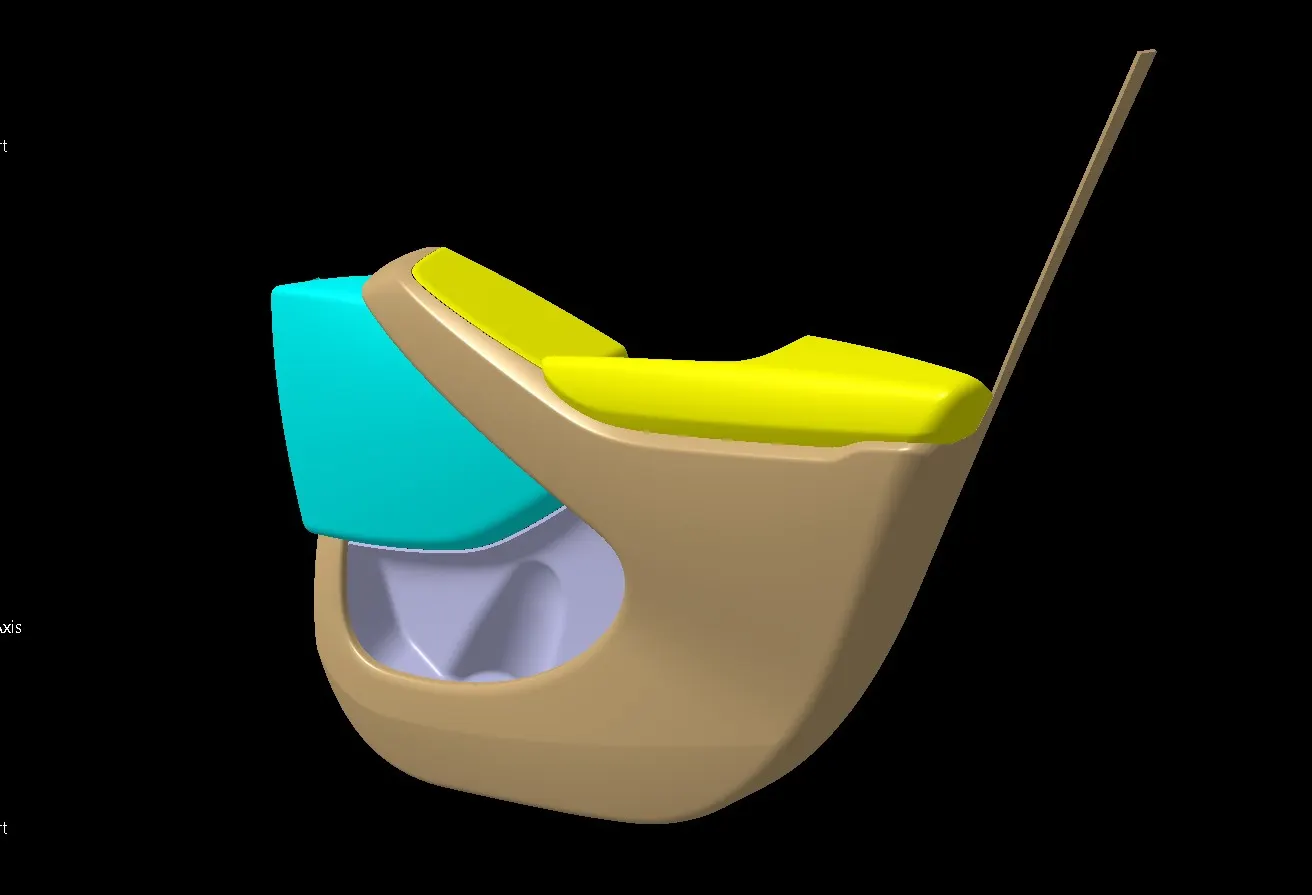
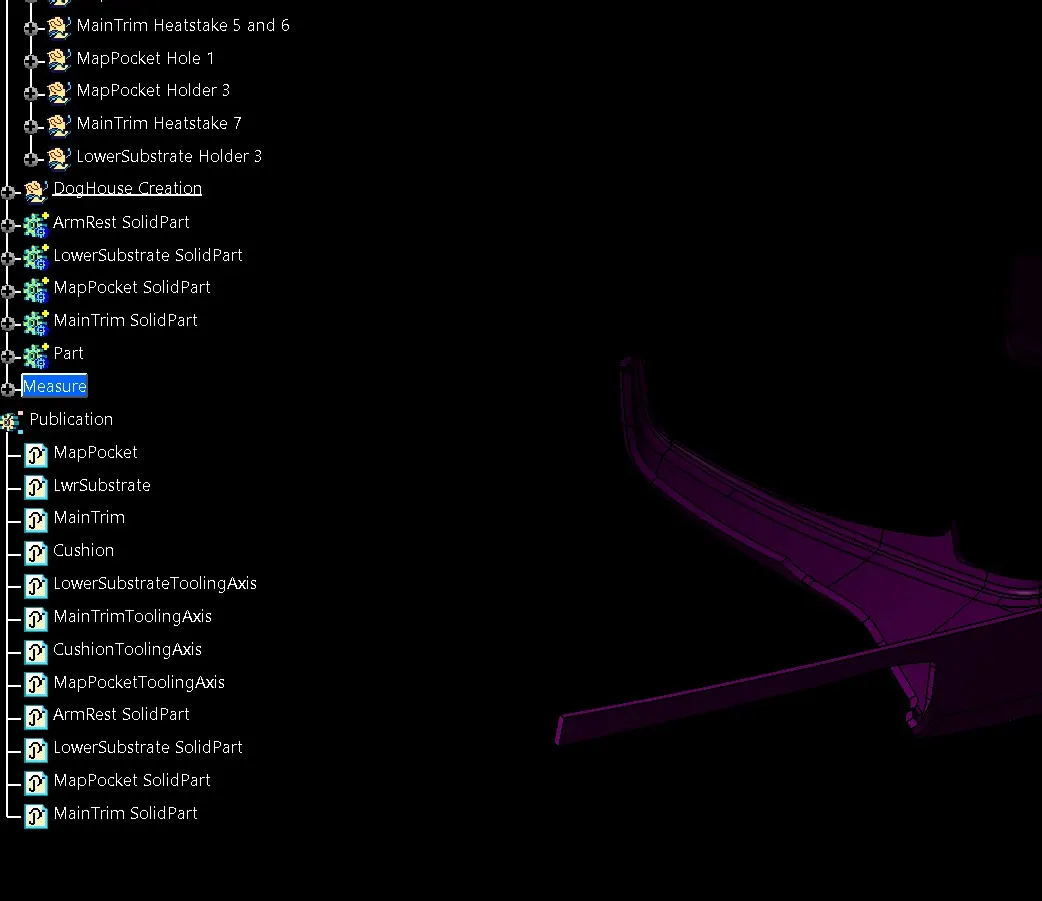
Tree Structure (collapsed)