Week 12- Final project
Door trim lower panel-Final project
Aim: In this project, we create the door trim panel Components that is (Lower subtract,Armrest, Bottle holder, map pocket) with the necessary input surfaces provided and generate the necessary B side features ( heat stakes, 4-way locators, Dog houses, push clips, Ribs, screw bosses, etc) thereby assemble the individual components of the door trim by providing proper constraints thereby performing the proper draft analysis using catia V5 software
Objective :
The main objective is to create the individual components of the door trim with input class A surface provided and generate the class B and class C surface and produce the solid surface body out of it and perform the proper draft analysis with the required draft angle of 3 degrees for the body and continue the procedure for the remaining components . Then start creating the B-side features of the components by following the reference of the master sections provided and perform the draft analysis with an input draft angle of .5 degrees and assemble the components for the final door trim panel on the assembly workbench by providing necessary constraints using catia V 5 software
The procedure followed for the creation of the components:
- Analyze the input surface provided
- Class A surface as the input surface
- Tooling axis creation
- Draft analysis of class A surface
- Class B surface creation
- Class C surface creation
- Solid surface body generation
- Draft analysis of the solid body
- creating the B-side features
- Draft analysis of the solid body along with the B side features.
Class A surface:
Class A surface is an aesthetic surface that is visible to the customer in the component
Class B surface:
Class B surface is an engineering surface where the B side features of the components like heat stakes, screw bosses, Ribs, and doghouses are situated
Class C surface:
Class c surface lies as an intermediate surface between the class A and the class B surface thet means it generally accommodates the thickness of the whole plastic component
The input provided for the design is
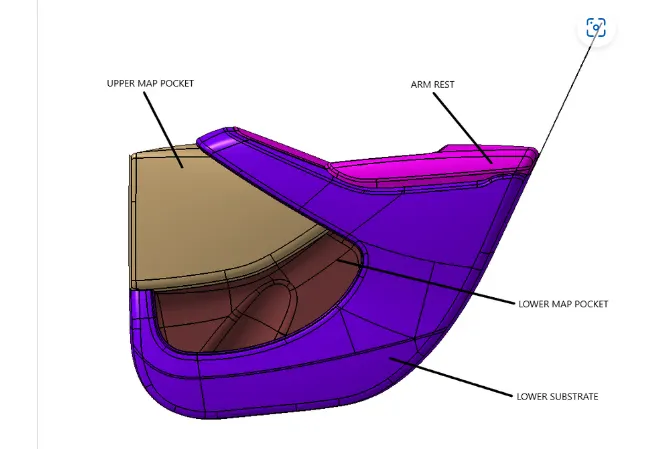
1. ARMREST CREATION
- WE IMPROVE THE CLASS A SURFACE OF ARMREST
Door Arm Rest :-
- In this case,first we need to improve the Class A,which is we’re not authorized to do in the Industries,rather it’s a Class A Stylist’s job for creating and doing any modifications to the Class A.
- Class A (given) :-
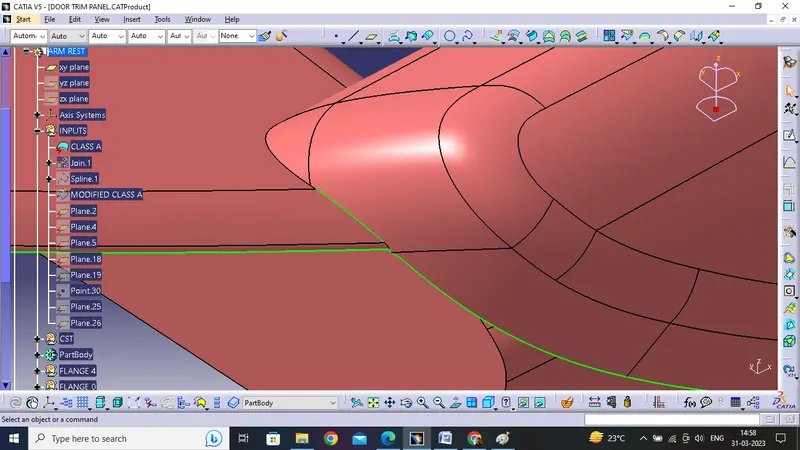
- Class A (improved) :-
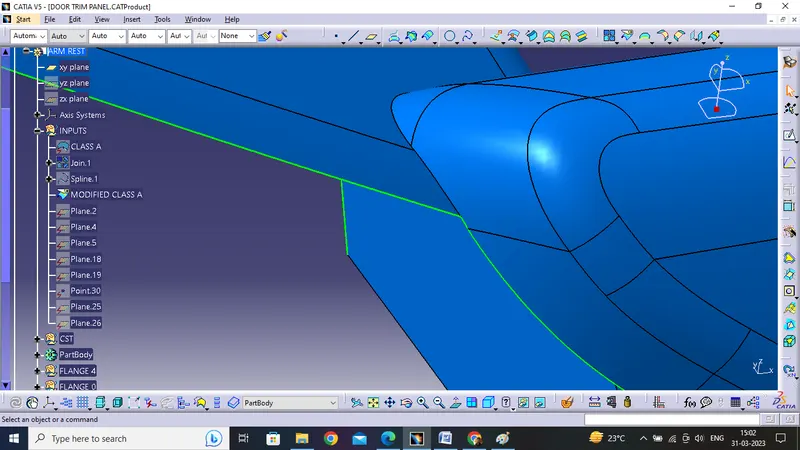
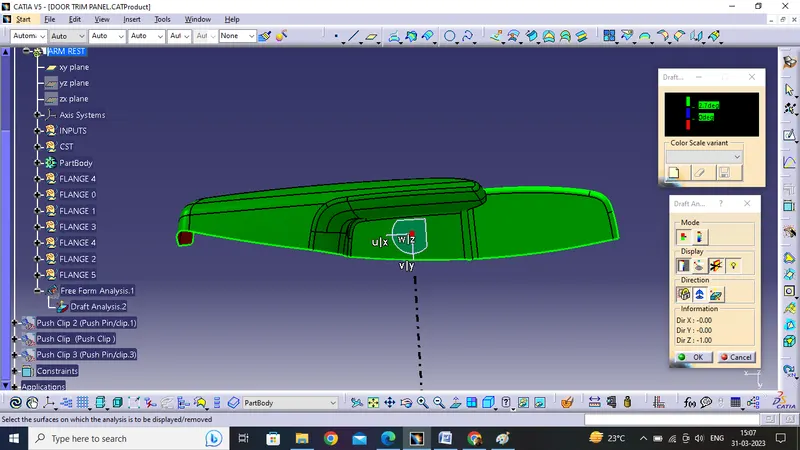
- In this case we won’t be able to clear all the faces in the Main Tooling and we require a Side Tooling as well.
- Draft Analysis (Main Tooling) :-
- Draft Analysis (Side Tooling) :-
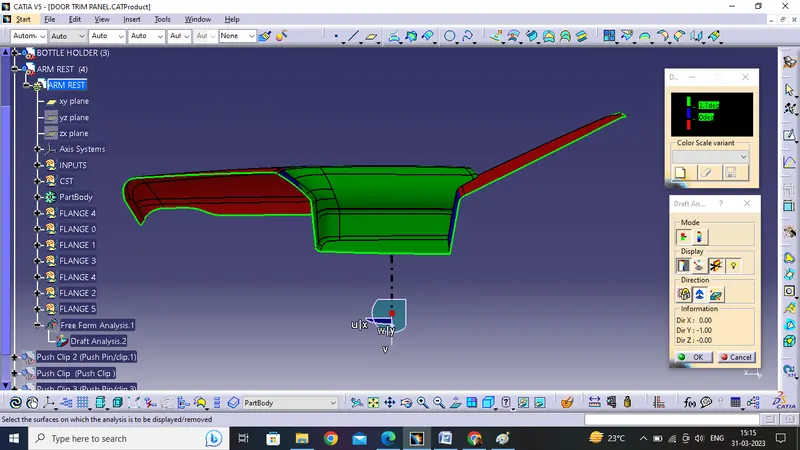
- After checking the tooling feasibility we proceeded with the Class B & C surface creation and finally generating a Solid Body out of it.
- Draft Analysis on the Solid Body (Main Tooling Axis) :-
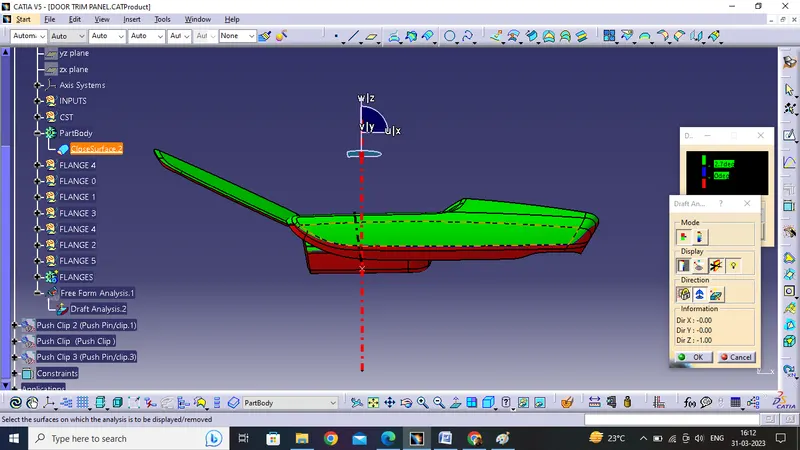
- Draft Analysis (Side Tooling Axis) :-
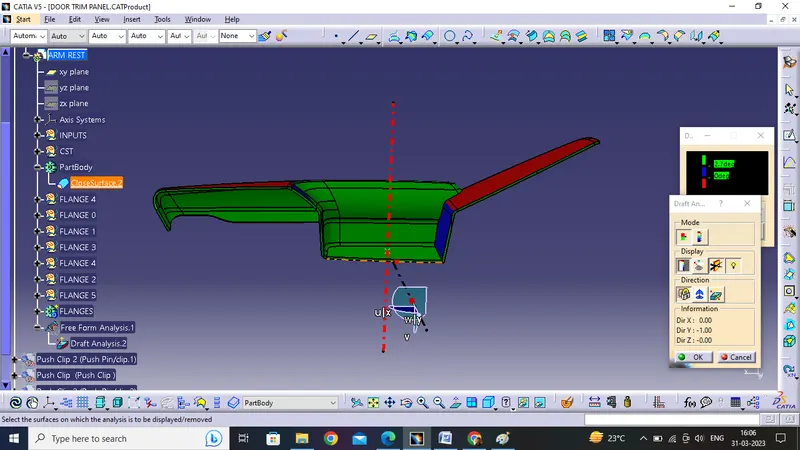
CREATING MAP POCKET
CLASS B SURFACE
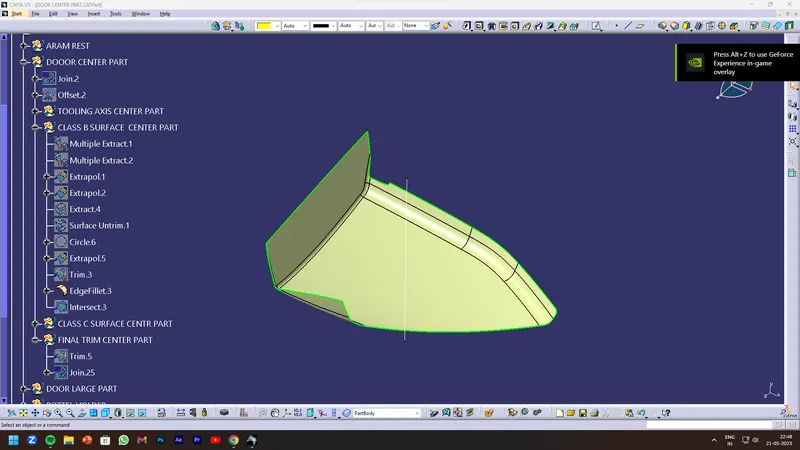
CLASS C SURFACE
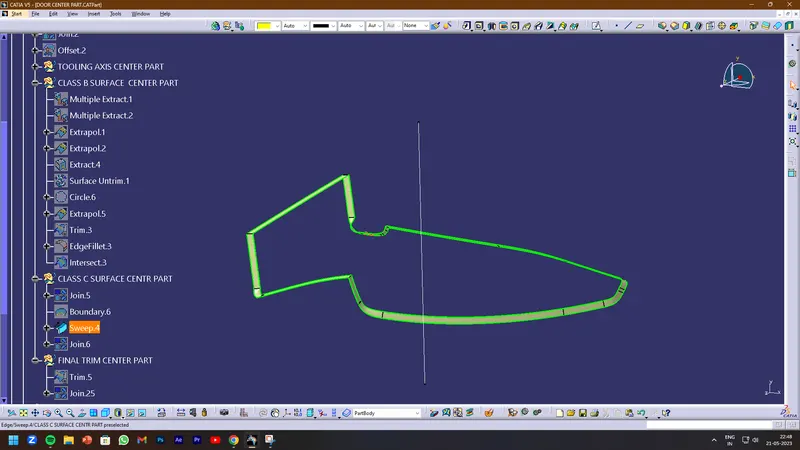
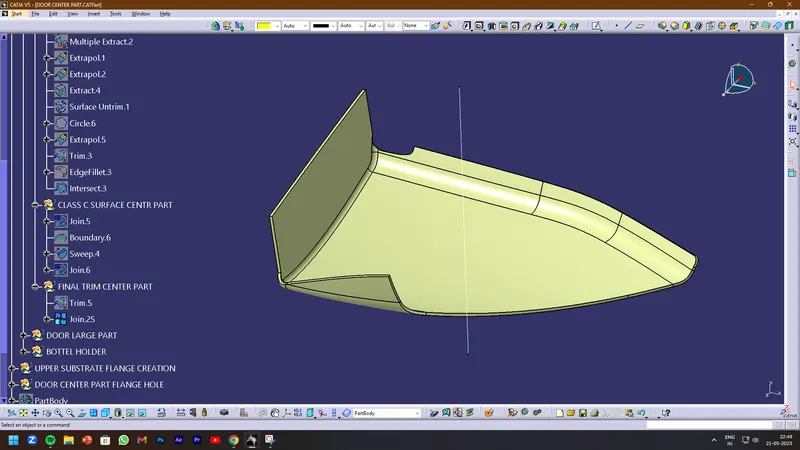
CLOSED SURFACE
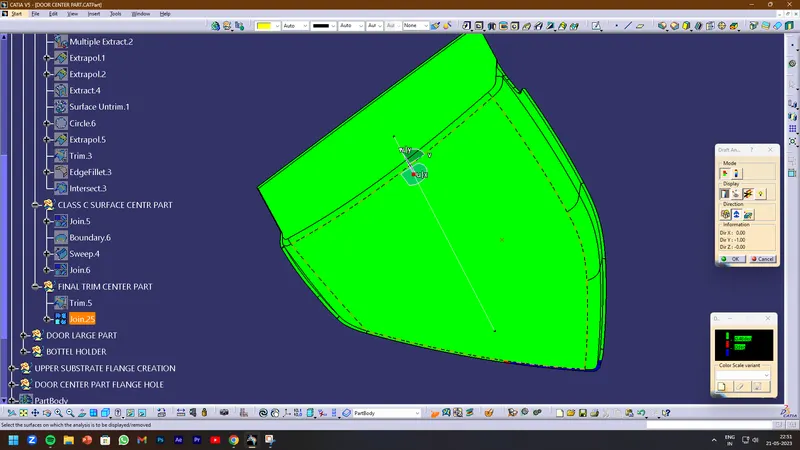
DRAFT ANALYSYS
ENGINEERING FEATURES
FLANGE SKTCH
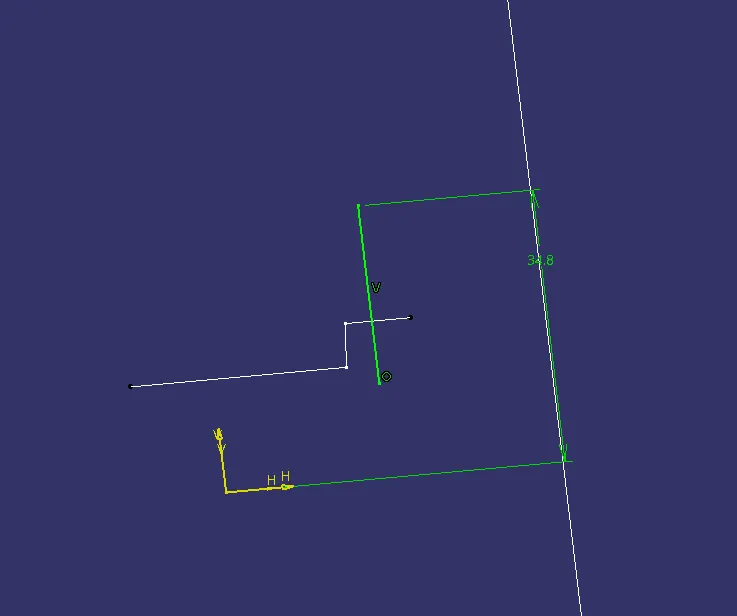
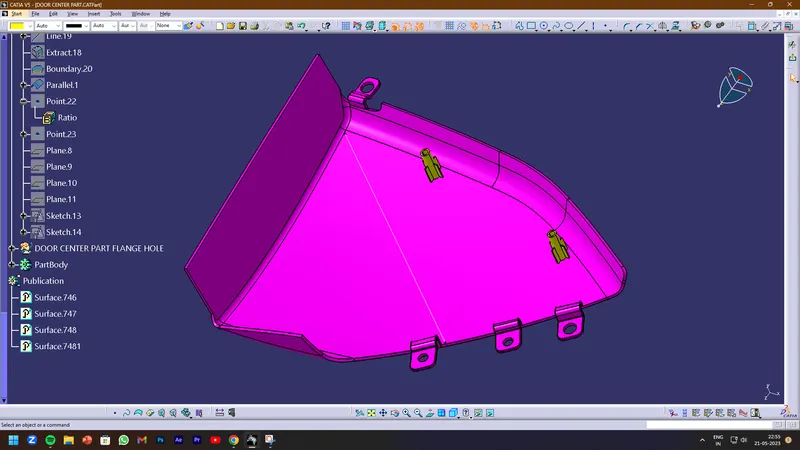
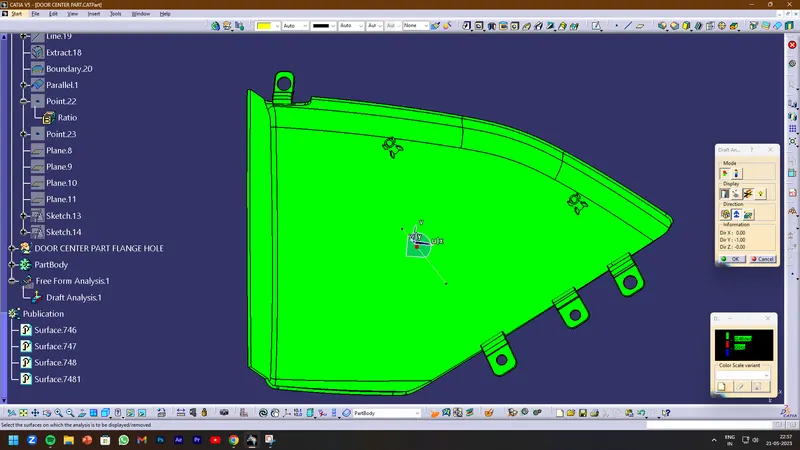
BOTTEL HOLDER
CLASS A SURFACE
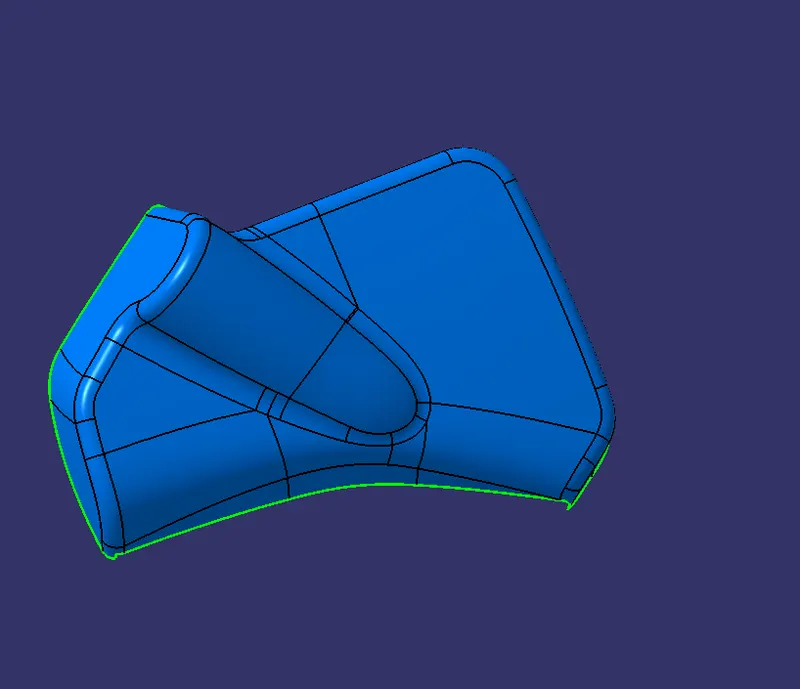
CLASS B SURFACE
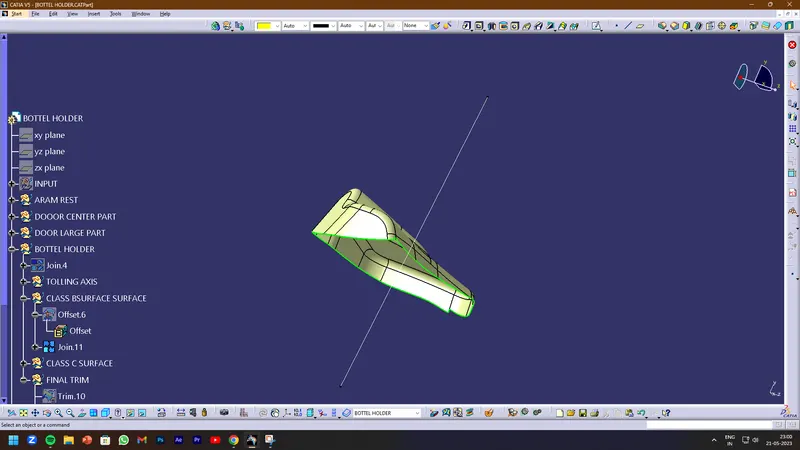
CLASS C SURFACE
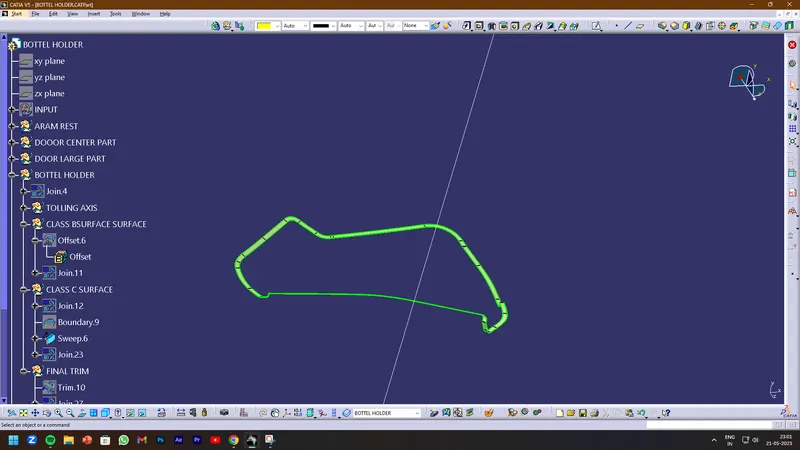
FINAL TRIM
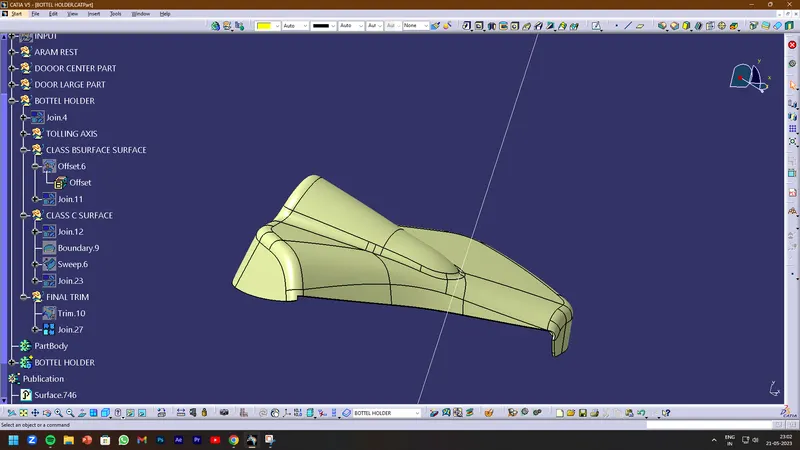
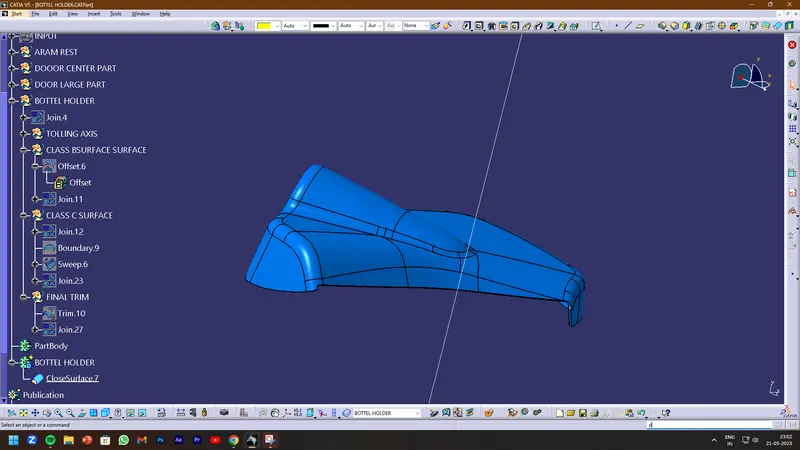
CLOSED SURFACE
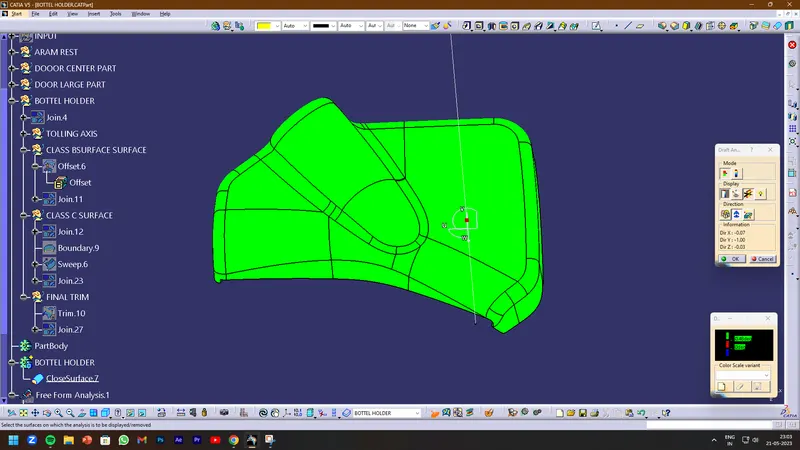
DRAFT ANALYSIS
ENGINEERING FEATURE
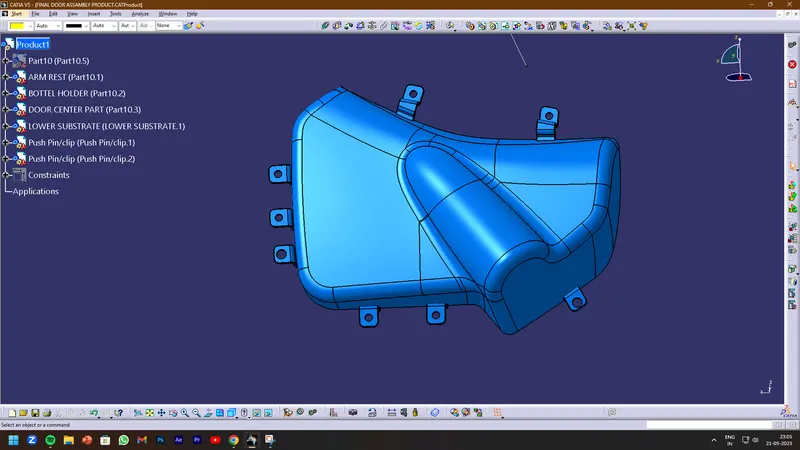
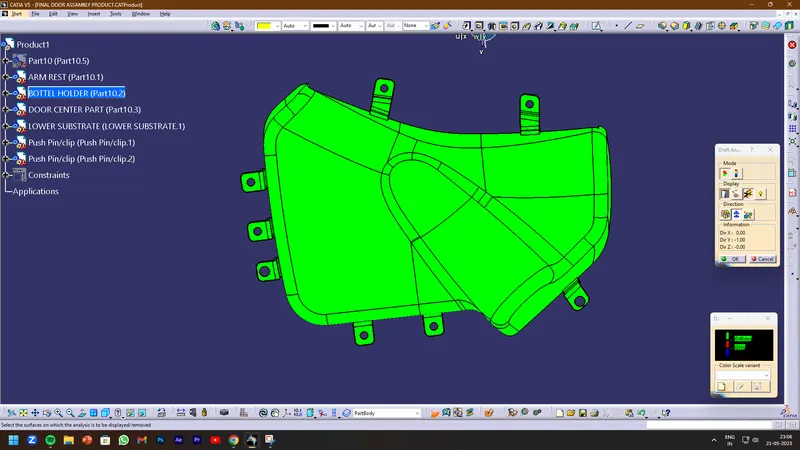
DOOR LOWER SUBSTRATE
CLASS A SURFACE
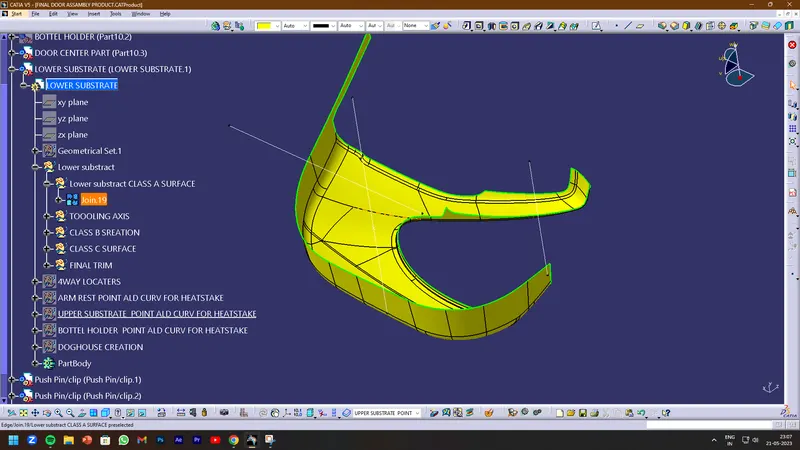
CLASS B SURFACE
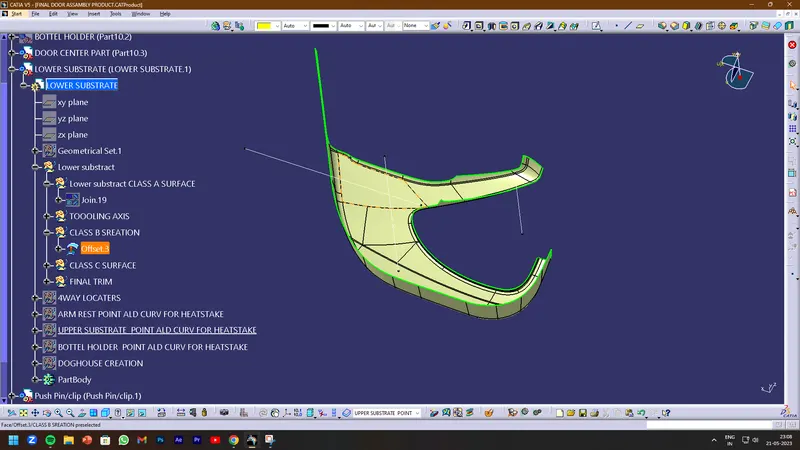
CLASS C SURFACE
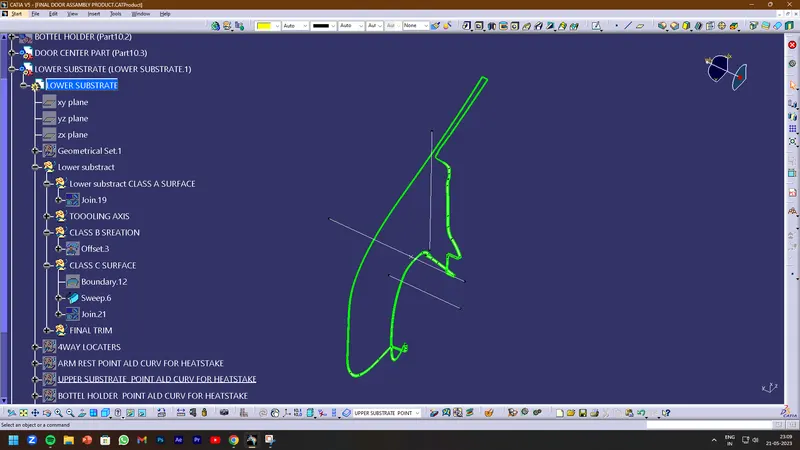
FINAL TRIM
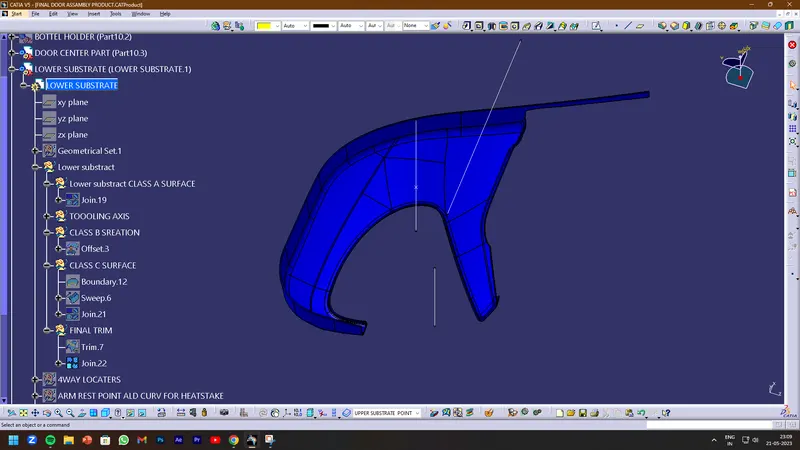
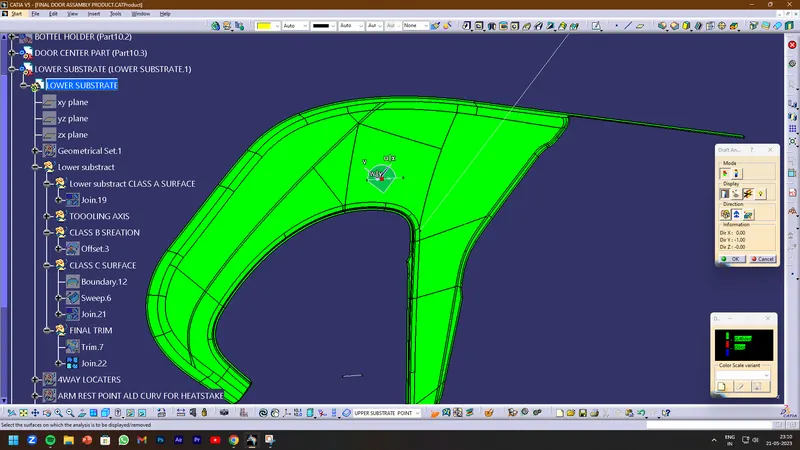
DRAFT ANALYSIS
ENGINEERING FEATURES
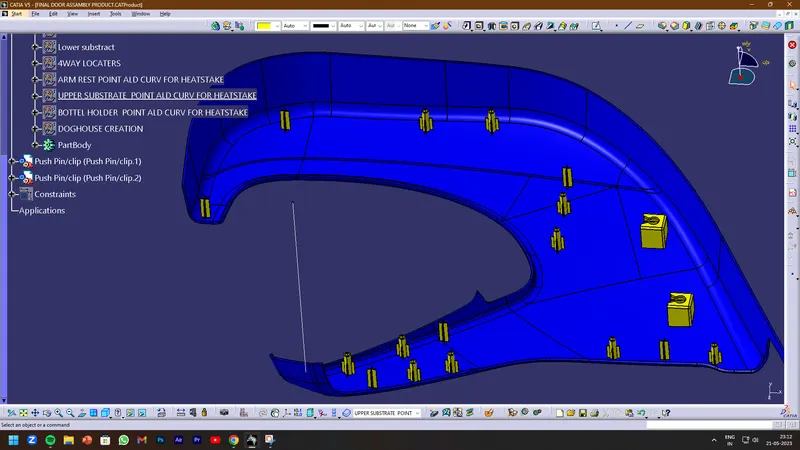
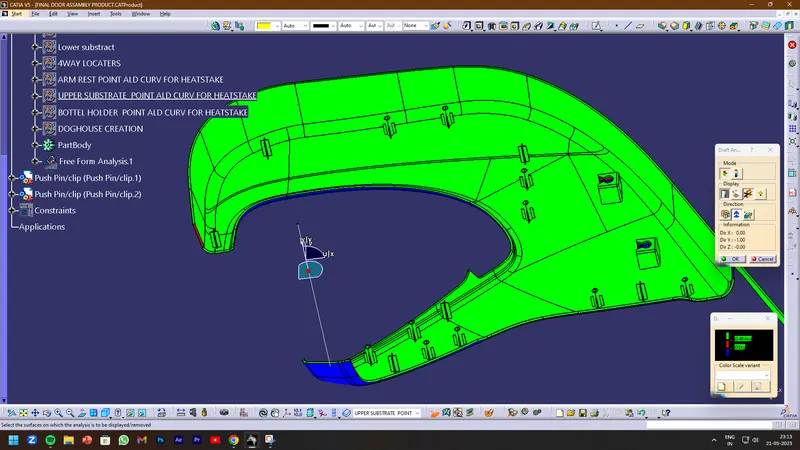
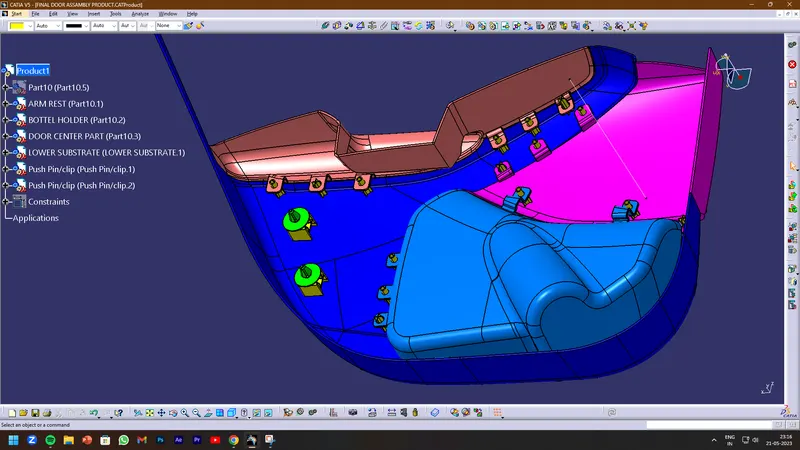
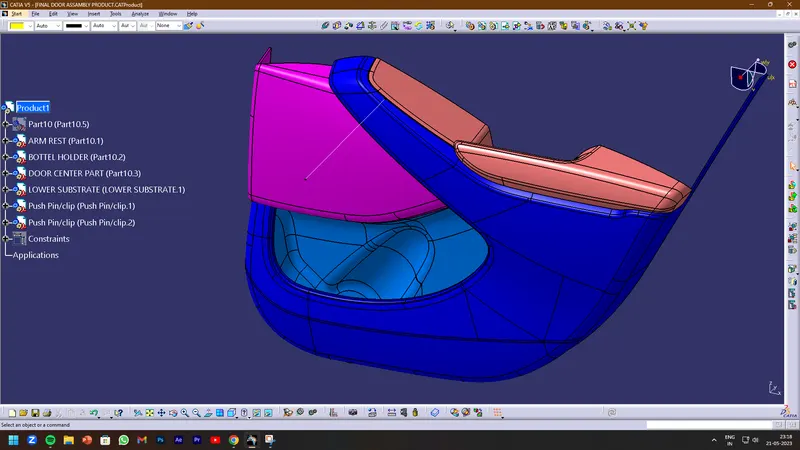
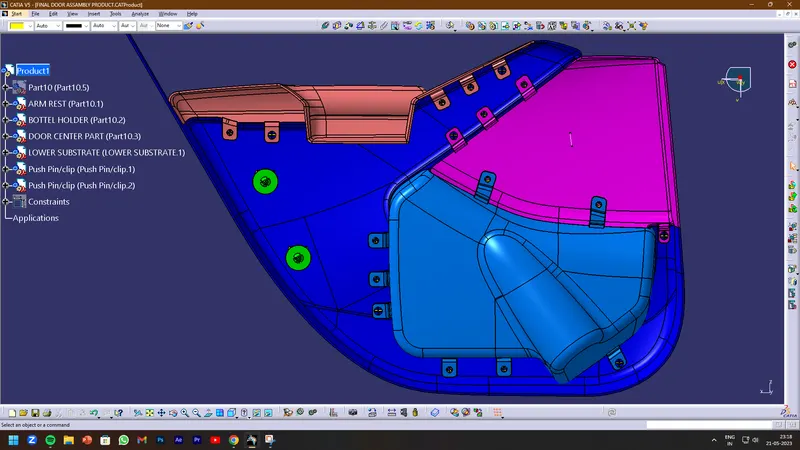
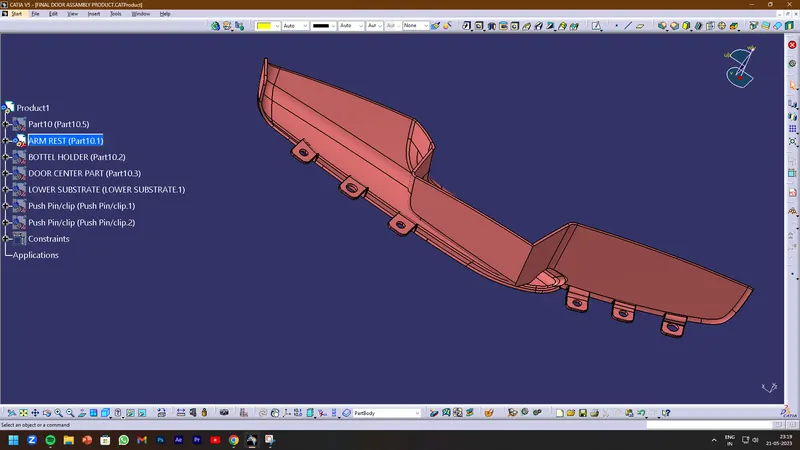
Final Assembly:-
- The below image shows the entire assembly of the Door Trim Panel complete work after attaching the Push Pins given.