Week 12- Final project
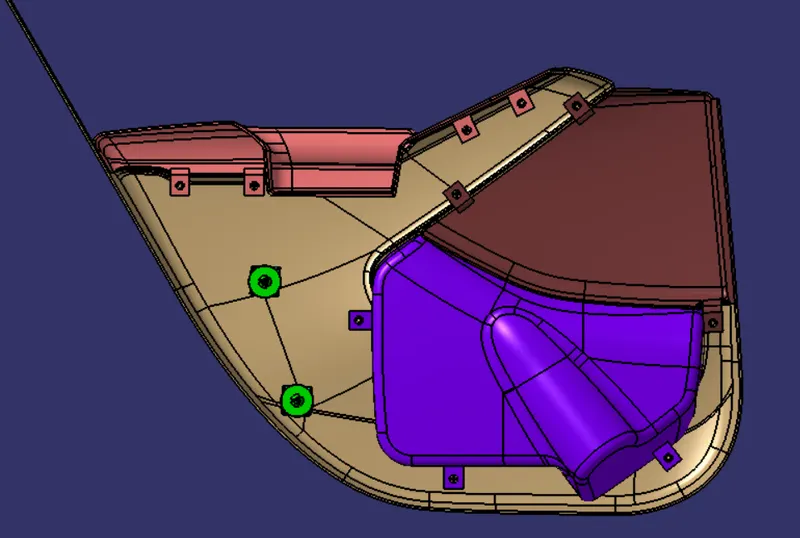
Development of a Door Trim panel
The given cad was split into five different parts under the Product category. Each part was worked on separately, creating the class b and c surfaces and the closed body. Later, the attachment features were added to the parts.
1. Armrest
Class A of the armrest had discontinuities and it was improved.
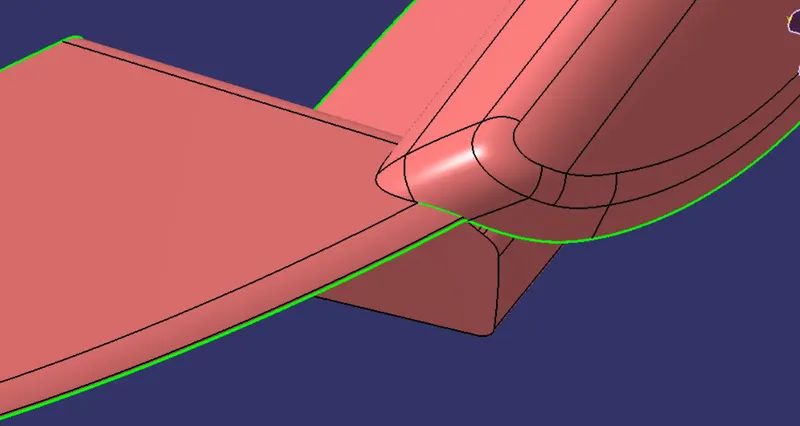
Improved Class A
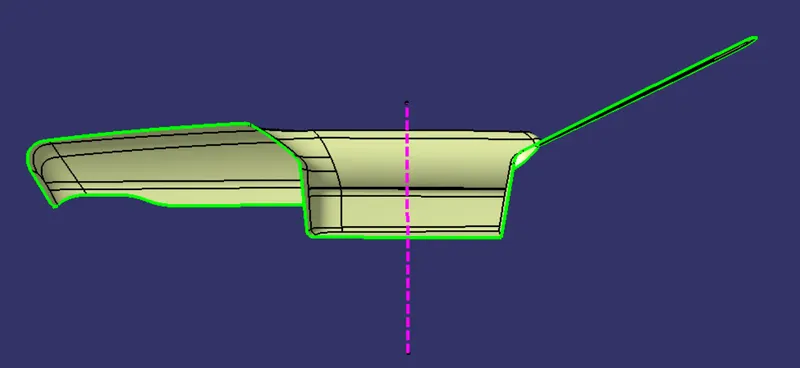
Tooling axis
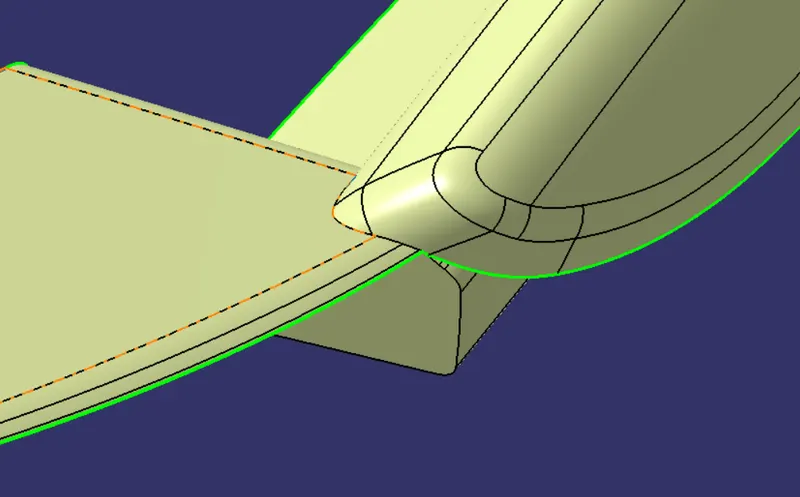
Class B is created by offsetting the improved class A surface by 2.5 mm following the master sections.
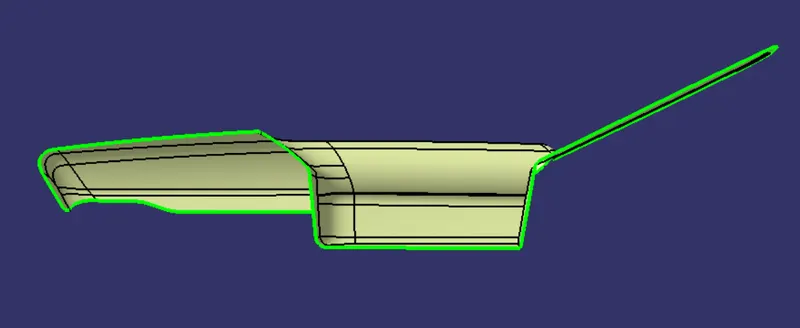
Class C is created by using boundary and sweep commands and then the class A and c are joined together. Later, they are trimmed with the class B surface. It is then converted to solid by using the close surface command.
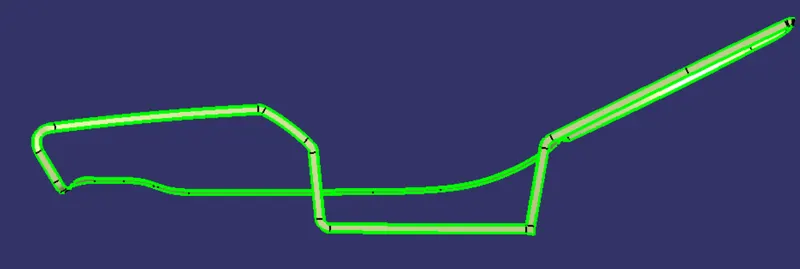
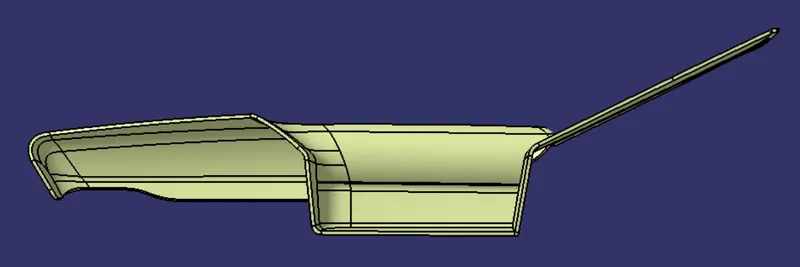
The flanges are created on the b side of the part using the master sections and translation commands.
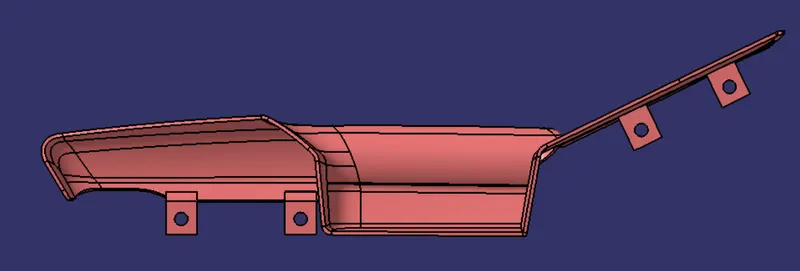
Draft analysis
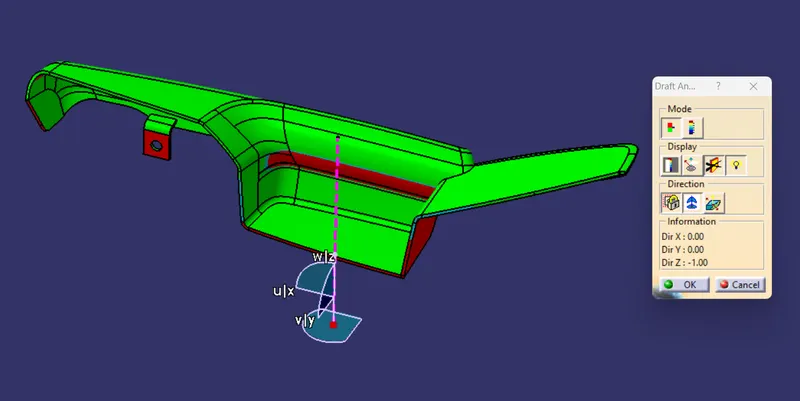
2. Lower Substrate
Since there are no discontinuities in class A, the tooling axis is created straight ahead.
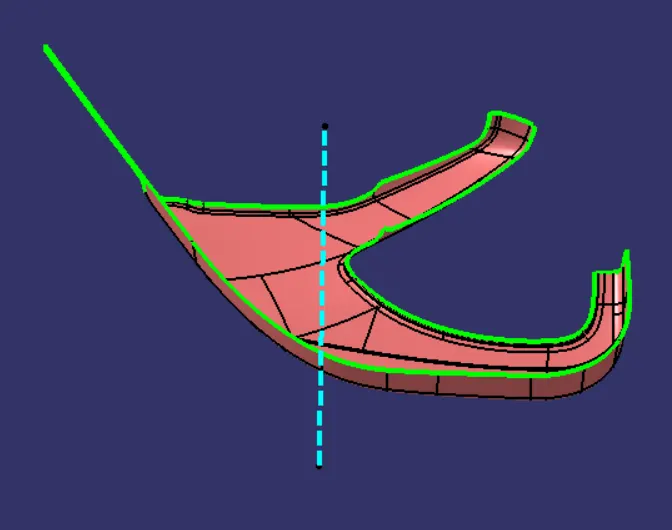
Class B is created by offsetting the surface by 2.5mm as per the master sections.
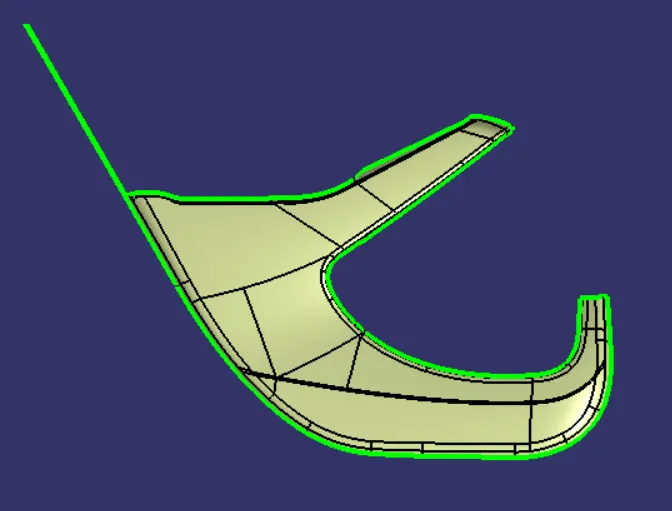
Class C is created by using boundary and sweep commands. Later they are joined with class A surface and trimmed with class C.
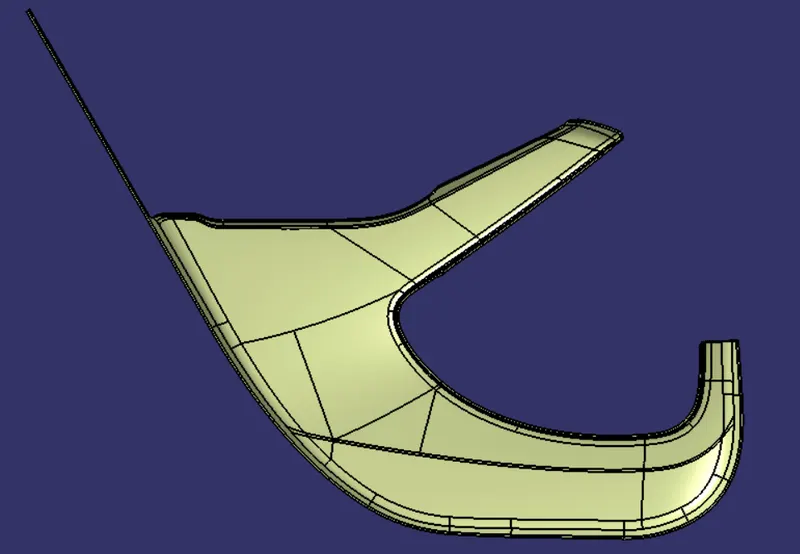
The B side features such as the heat stakes, 4-way locators, and dog houses are created on the solid.
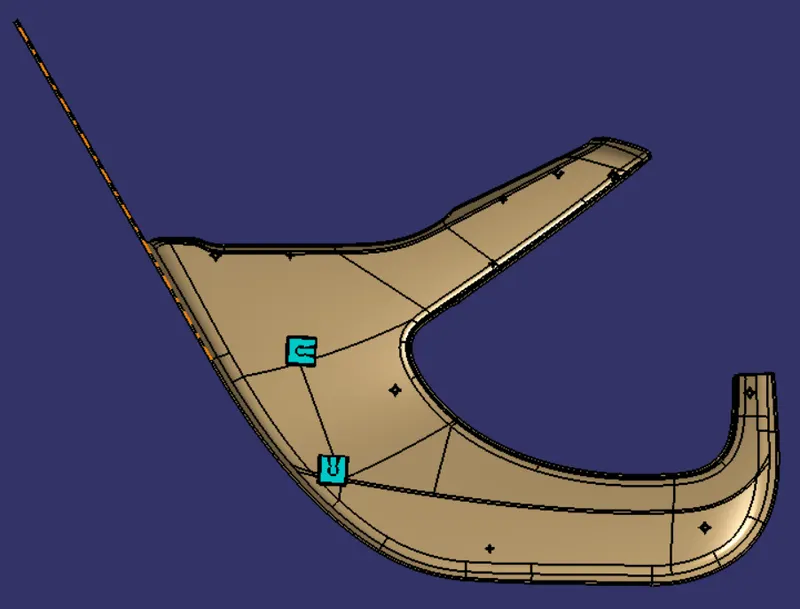
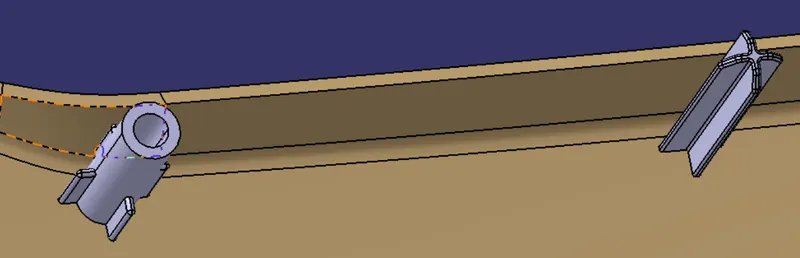
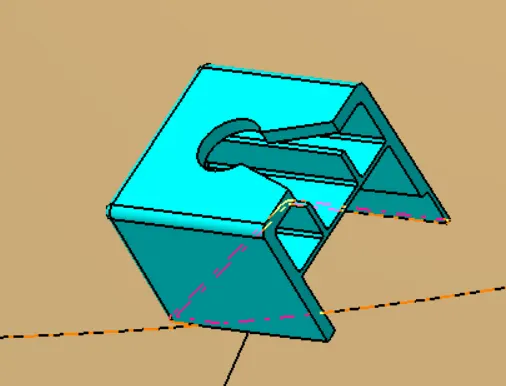
Draft analysis
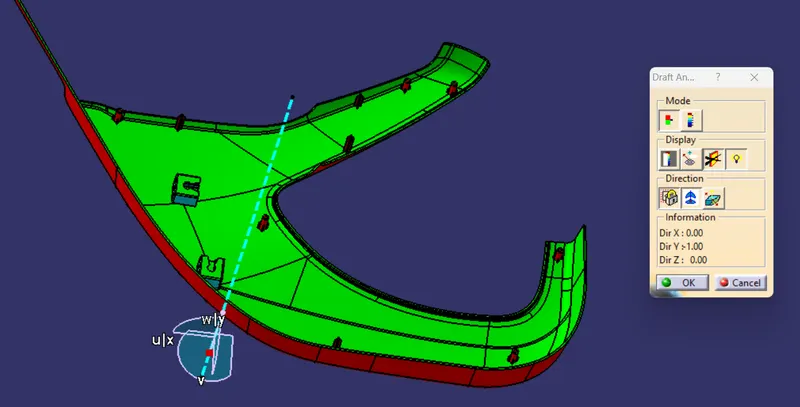
3. Map pocket
No discontinuities, so the tooling axis is created.
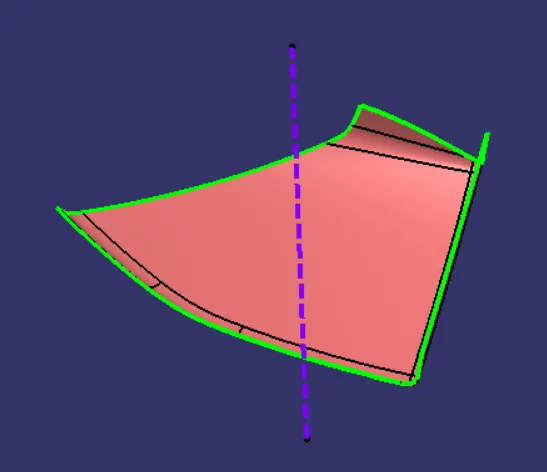
Class B is created by offset and the discontinuities are corrected by using the multi-section feature.
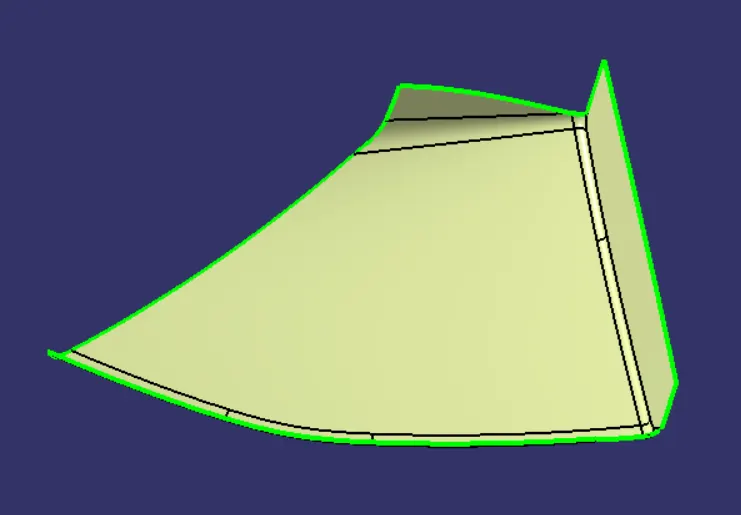
Class C is created by boundary and sweep features and then joined with class A. Later trimmed with the class B surface.
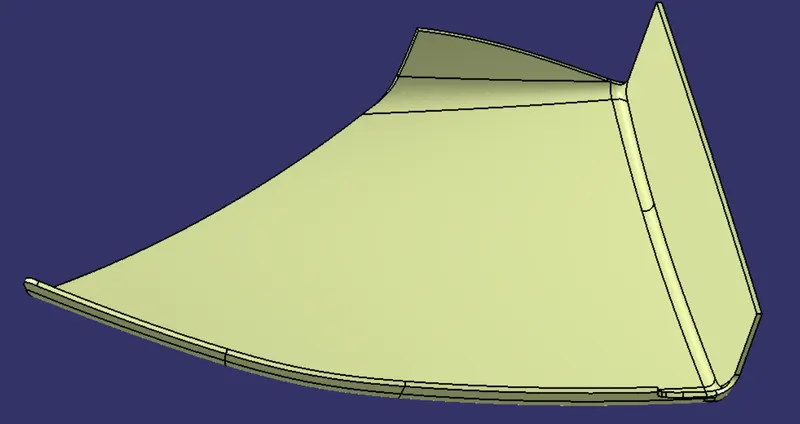
The flanges are created on the B side of the solid part.
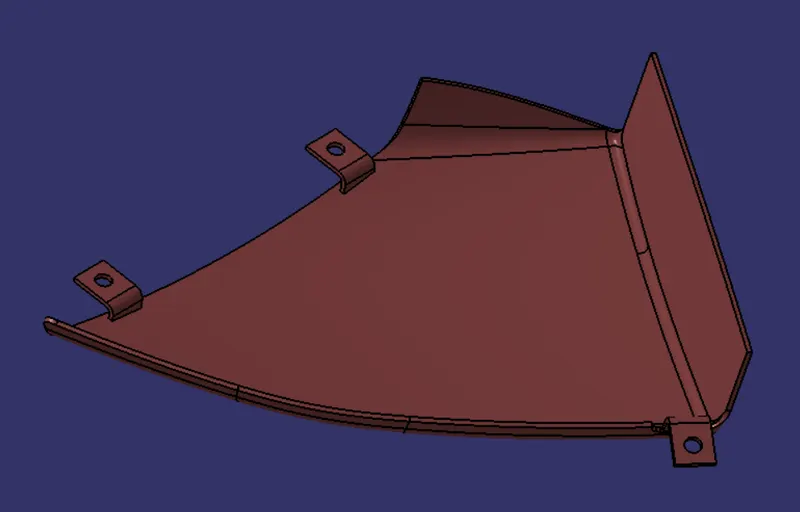
Draft analysis
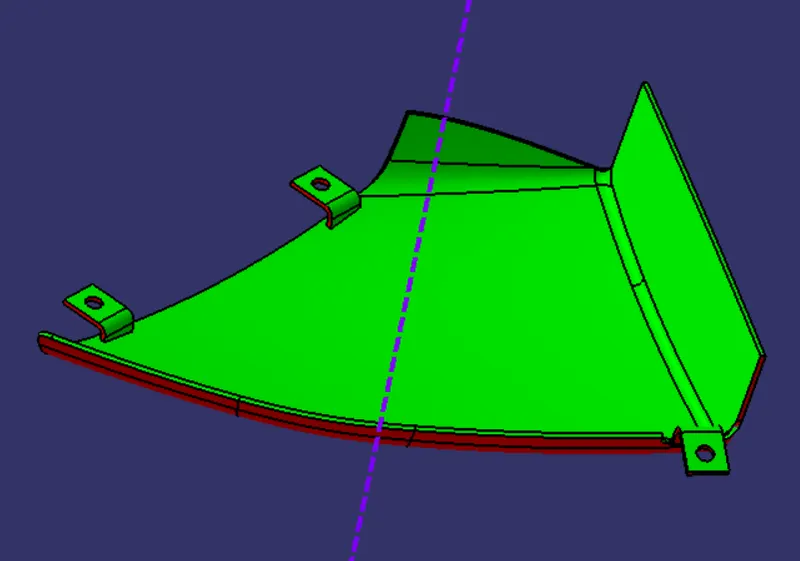
4. Bottle holder
The same procedure is followed in creating the tooling axis, class B and C surfaces.
Tooling axis
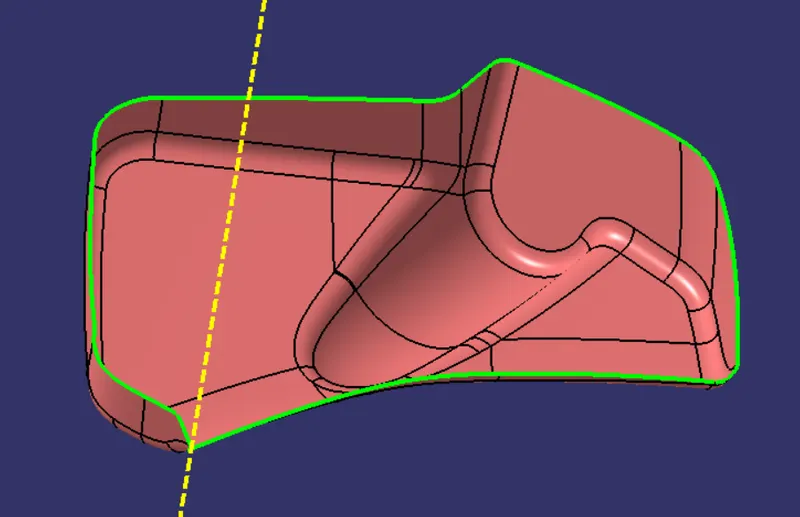
Class B
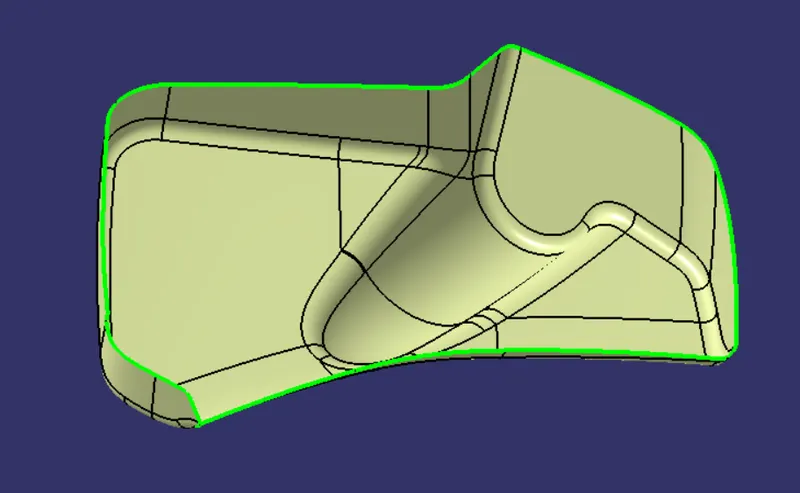
Solid part with flanges
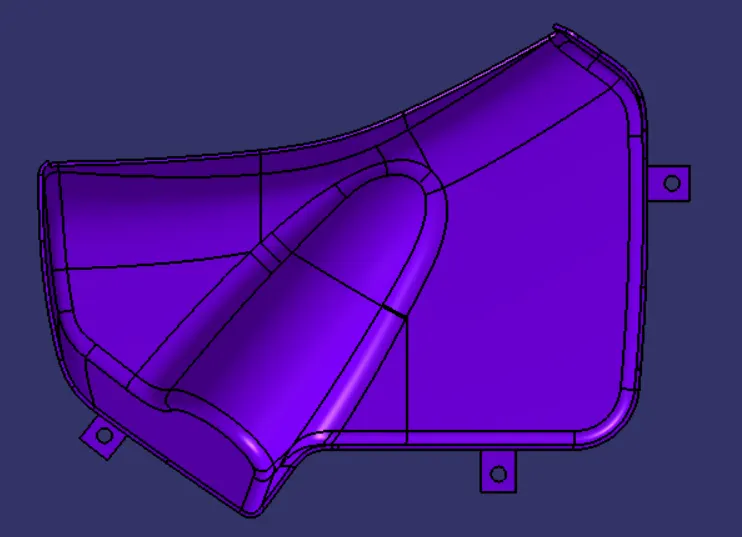
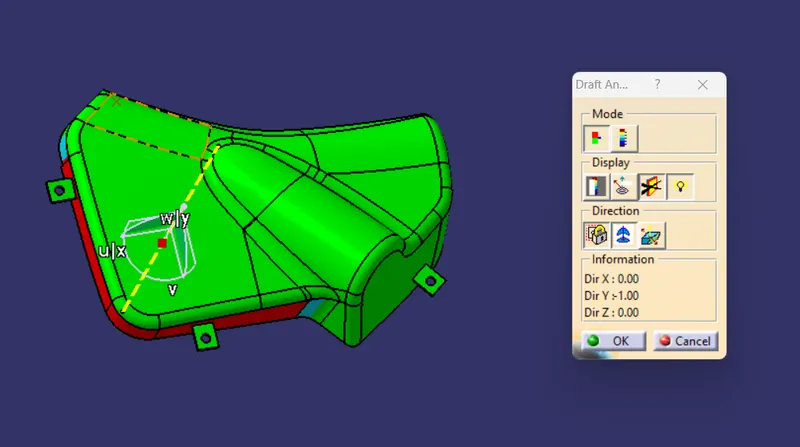
Draft analysis
5. Pushpin
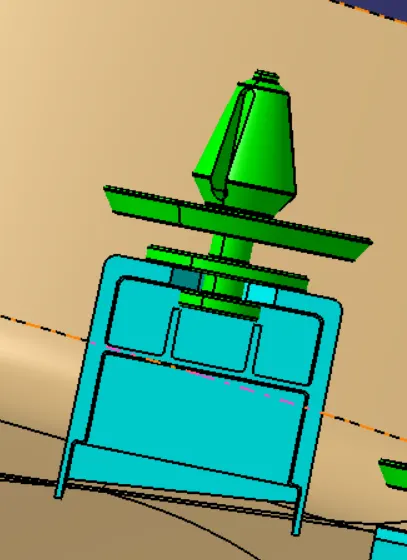
Finally, the push pin is assembled with the dog house.
6. Final Product