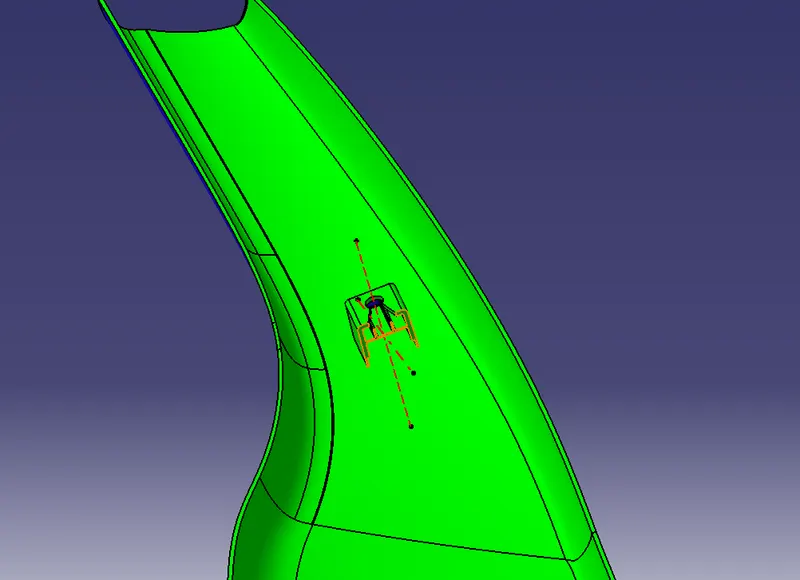
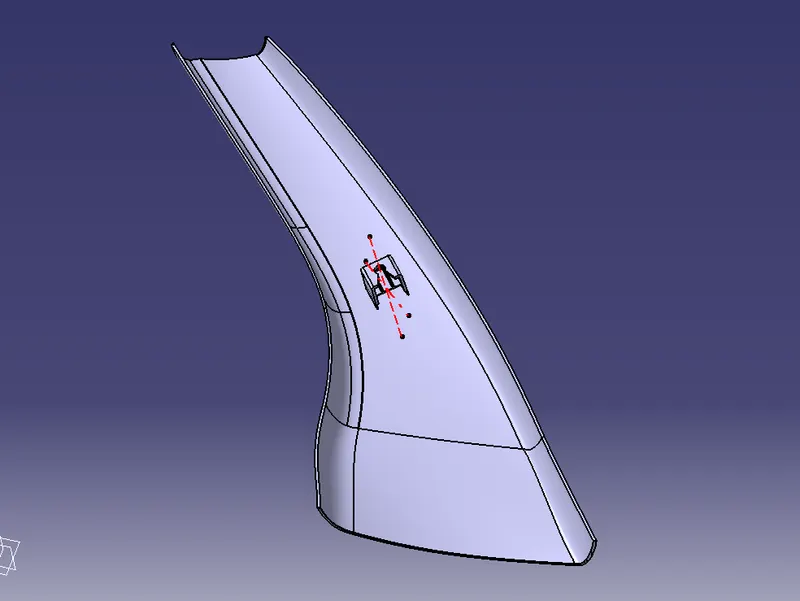
Week 11 - Project - A pillar Design with Master Section
A PILLAR CREATION FROM MASTER SECTION
- Identify the plastic feature , which direction it is facing.
- Insert a geometrical set and name its as construction.
- Insert a geometrical set for tooling axis
- when mastersection is given, some reference is given to create the tooling axis
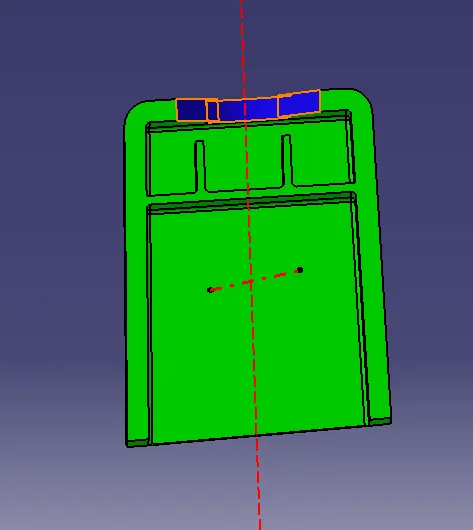
- So take 4 points from mastersectionn of dog house, isolate them and provide coordinates
- create a point in the middle of 2 points and connect the points and create 2 lines , this line should bisect so we can use bisecting method to create the tooling axis
- Conduct a draft analysis for class A , make sure it is clearing or not
- do the publication of A surface and tooling axis
- Insert a geometrical set for class B under construction
- Offset the class A by 2.5mm to form class B
- Extrapolate all the boundaries of class B using boundaries and extrapolate tool
- Start working on class C surface unhide the class A create a geometrical set for class C
- create boundaries and then sweep, provide multisection for some difficult surfaces
- provide a draft angle of 3 degree if the c surface is parallel to the tooling axis
- Extrapolate some edges
- Trim the surfaces
- create a geometrical set for A+c , use Join tool to join A surface with with c surface with a merging distance of 0.003mm
- intersect A+c surface with extrapolated B surface
- make sure there is no gap in between
- insert a geometrical set and complete it by trim
- change the work bench and closed surface and make it as a solid closed component
- Do the draft analysis
- Insert a geometrical set for dog house creation
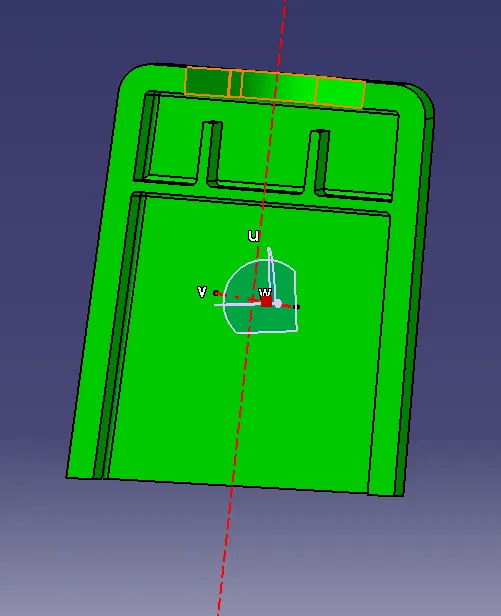
- Now it is the time to crate feature from the mastersection
- No need to consider any design rules hust follow the mastersection
- Create a plane using parallle through point method
- Create a sketch, use the 3D project element tool and project the outer walls
- isolate the references and extend the lines using trim and isoconstrain it
- Insert a new body , dog house and pad it provide a random value
- create a plane on the same point and and thenn a sketch using refrence , here sketch is a line, extend it , constrain it
- Extrude the line on the surface workbench'
- Copy the sketc and paste it and delete it
- take the oppositeline and project it, extend it, constrain it,, extrude it
- Once we got thethe front wall and back wall, check whether both surfaces are intersecting with each other or not
- use 3d spilt in part design work bench to split the unwanted parts
- once the solid is splitted , provide the shell , with shell thickness as 2.5mm
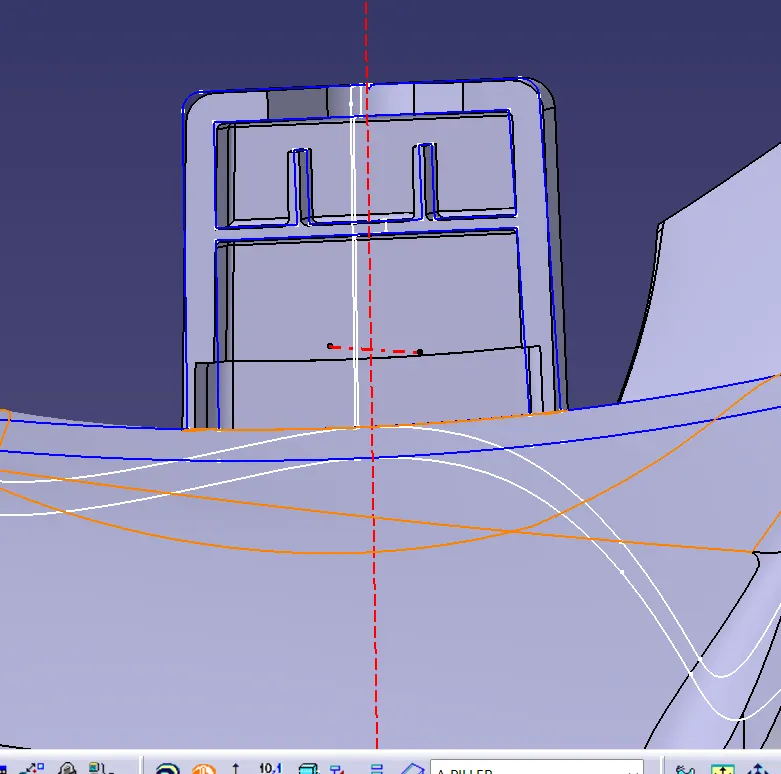
- So finally got the outershape of the dog house
- Create a side core tooling axis using normal to curve method, here normal to flat front surface
- provide the draft for inside walls with 0.5 degree
- do the draft analysis and check whether it is clearing or not
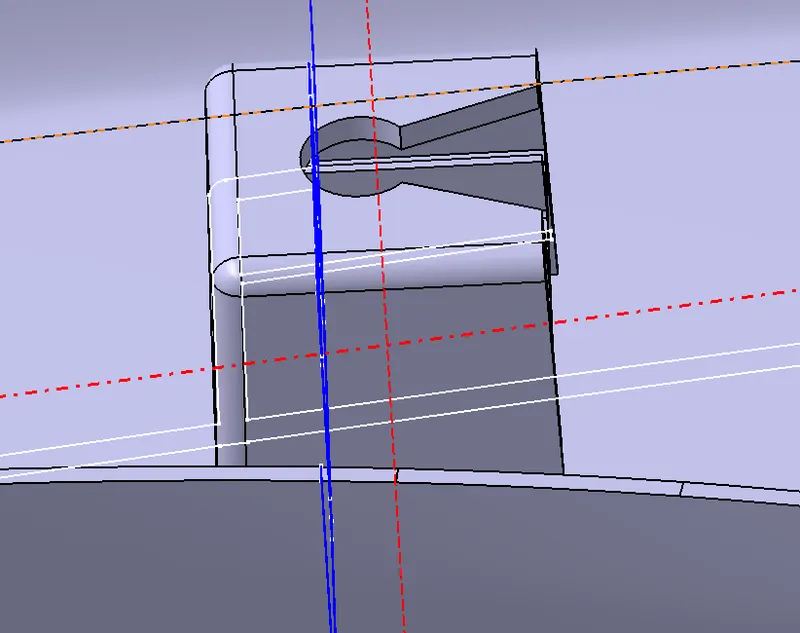
DOG HOUSE HOLE
- Now we need TO CREATE a hole a the top of the dog house to place the locators and push pins
- create a new geometrical set
- we need to create a plane paralle to zx plane , from that plane create another plane on the top surface aftre measuring the distance
- Measure the diameter of the hole
- sketch it and provide the dimension
- Extrude the line to a surface
- Define the dog house and use the 3d split to remove that unnecessary part
- Draft the hole with main tooling axis
- Do the fillet.
- Create a point for the second dog house, for that create it on the middle of the mastersection sketch of dog house, isolate it and provide the coordinates
- create a line on the same point for rotation of dog house
- Copy the dog house body and paste special on it
- Now translate the body and rotate it by 180 degree
- time to do the boolean operation , define the partbody and add the closed component
- Union trim the dog house one by one
- finally do the draft analysis with main tooling axis and side core tooling axis