Week 11 - Final project
REPORT
Aim : To create the Class A surface nominal thickness as per the master section provided.
DESCRIPTION
For developing the product and bringing it to life the product need to under go the following stages,They are
1.Concept Sketch
2.Class A styling
3.Feasibility Check
4.Concept Validation
5.New Product Design
6.Product Development
7.Proto Build
8.Design Validation
9.Pilot Production
10.Mass Production
NEW PRODUCT DEVELOPMENT :
It is a set of design, engineering and research processes which combine to create a new process and create a new product,Unlike regular product development NPD is specially used for developing the new ideas into the market and seeing it through the entire process development.
In todays market the ability to meet the customers needs have never been more important,Customers need and technology are developing rapidy and business cannot rely on existing products to stay ahead of the market they need to innovate and by means develop and successfully launch new products.
New prodcut refers to the complete process of bringing of bringing a product to the market,this can apply to the entirely new product improving an existing one to keep it attractive and competetive or introducing an old product to the market.
The emergence of new product development can be attributed to the needs of the company to maintain a competetive advantage in the market by introducing new products or innovative existing products
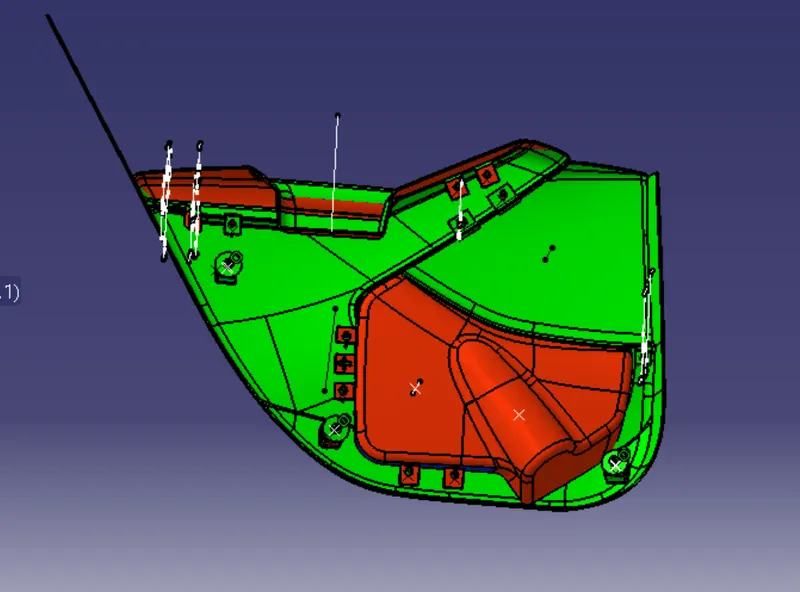
DRAFT ANALYSIS
1.Green color indicates that the degree is from 0 to 3 degrees
2.Red color indicates that the degree is from 0 to 2.9 Degrees
3.Blue color indicates that the degree is from 0 to negative
Class A :The surface is defined has the object that we can see with our eyes and it is said to be the aesthetic surface,this surface should be smooth and free from defects and the surface should be smooth
Class B : This surface is defined has the surface parallel to the class A or it is said to be the engineering surface where all the engineering features takes place.
Class C : This surface is defined has the surface that joins both the class A and C .
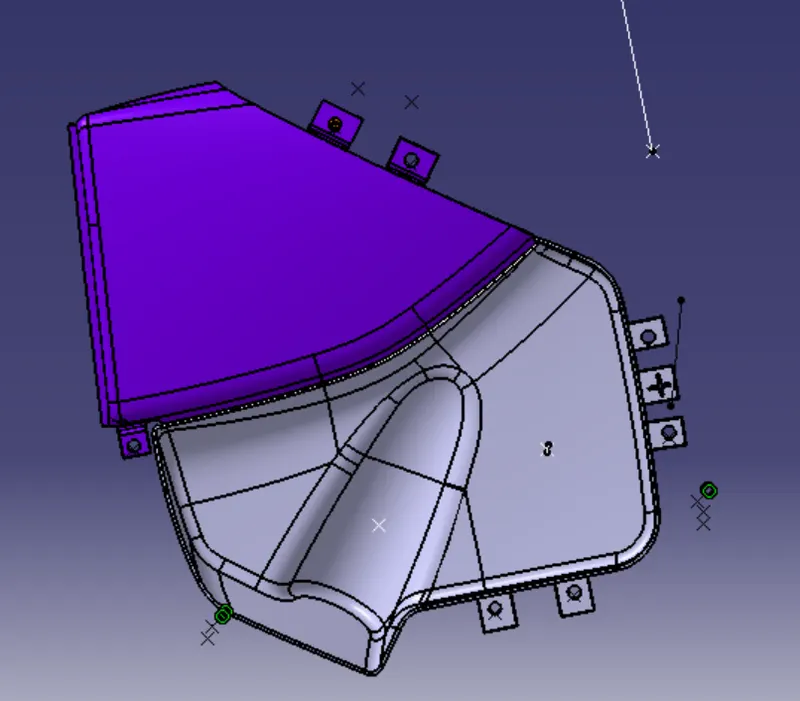
The Door trim Panel consists of the following parts
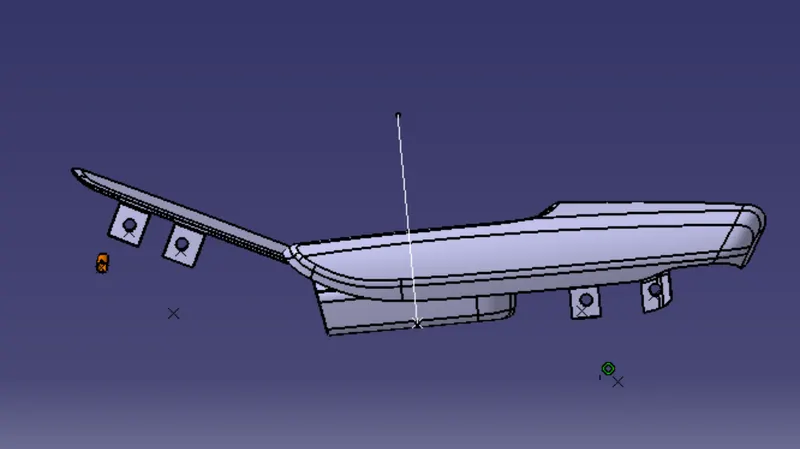
1.Arm Rest :
2.Lower Substrate :
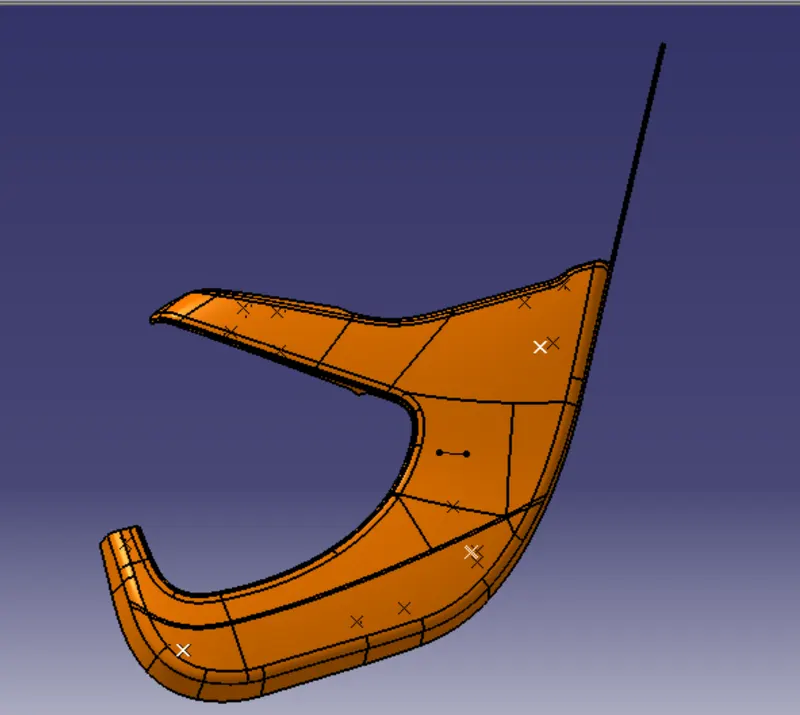
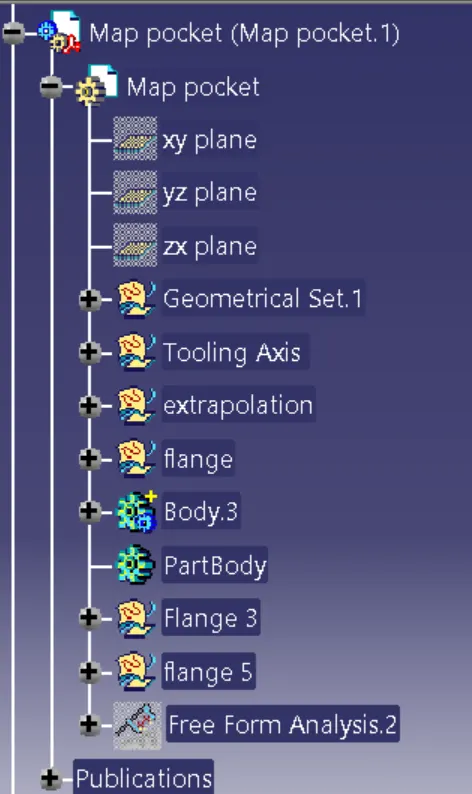
3.Map Pocket :
1.Lower Substrate:
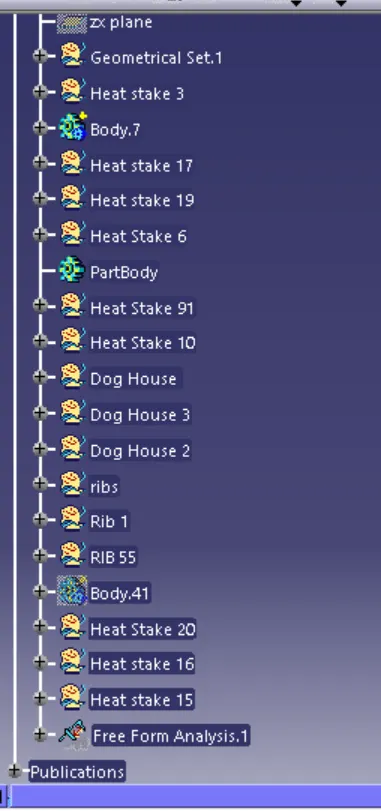
TREE STRUCTURE
2.
Class A surface of the Map pocket
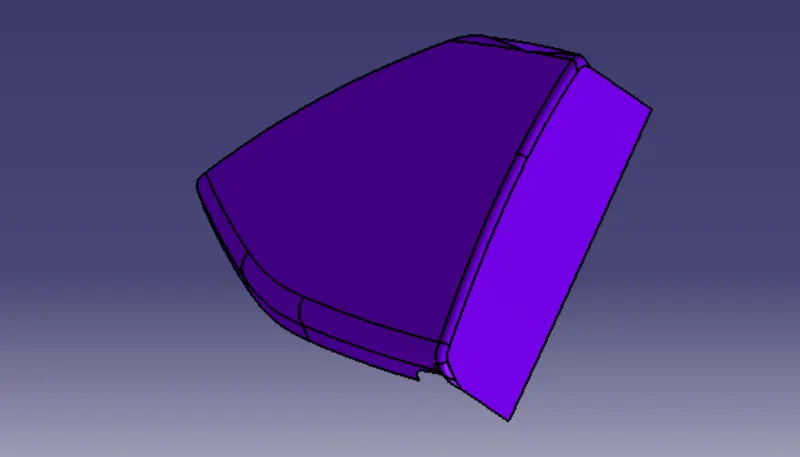
Class C surface of the Map pocket
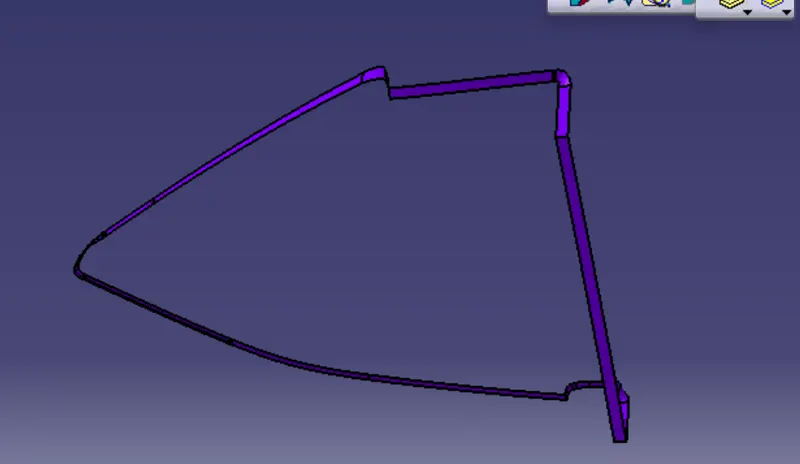
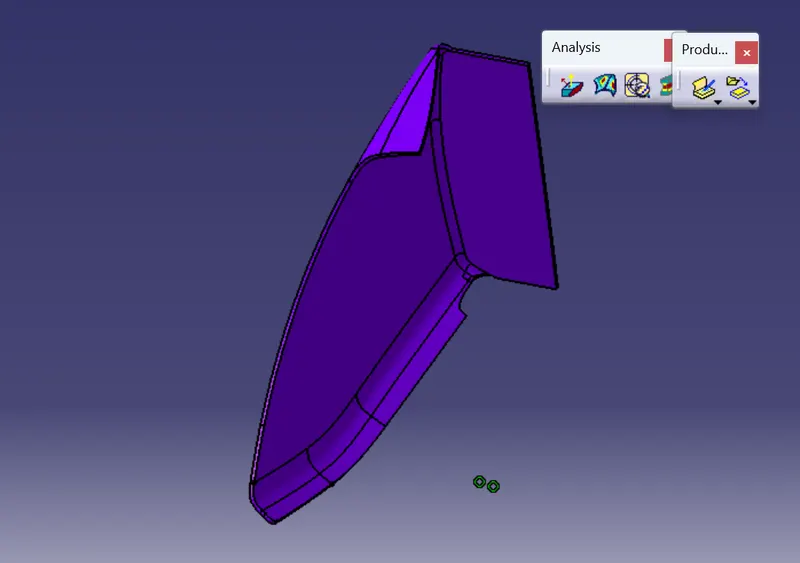
Class A+B+C surfaces
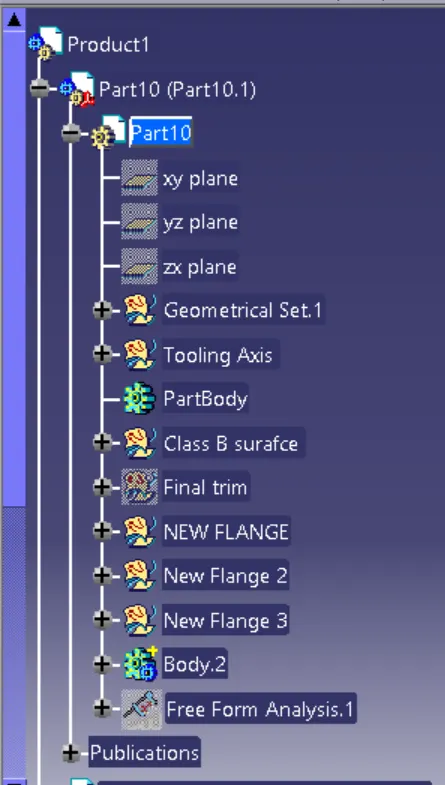
TREE STRUCTURE
3.
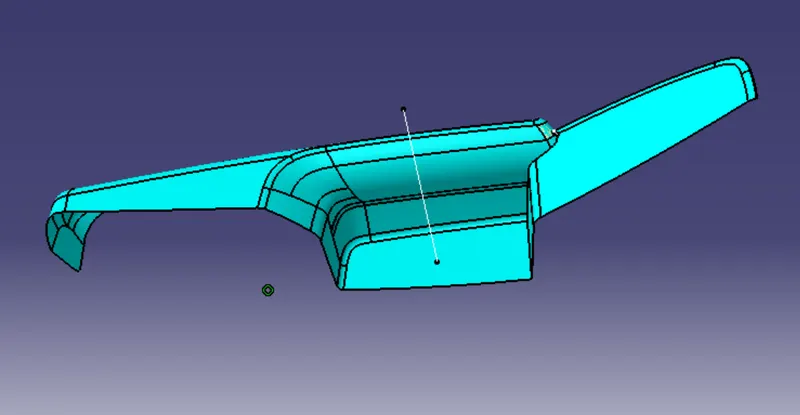
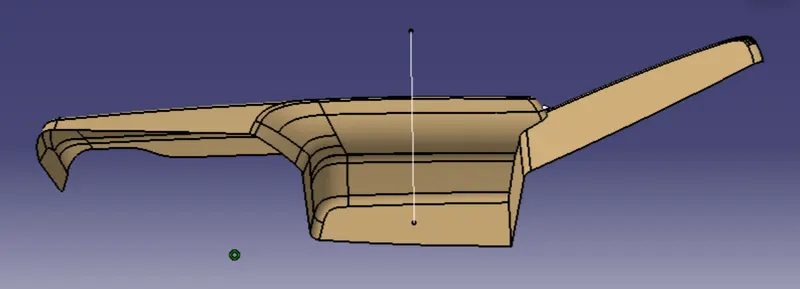
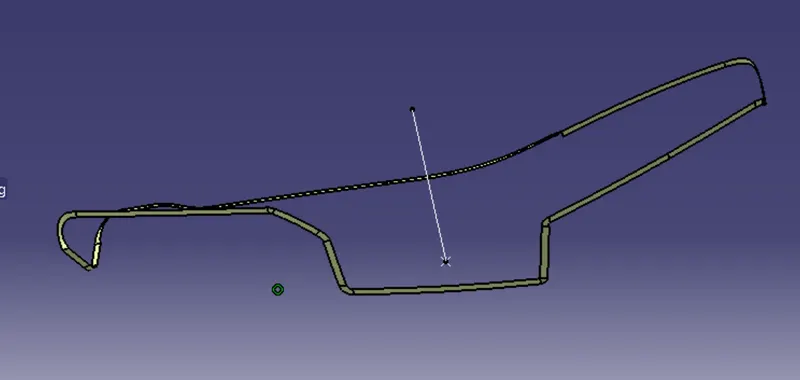
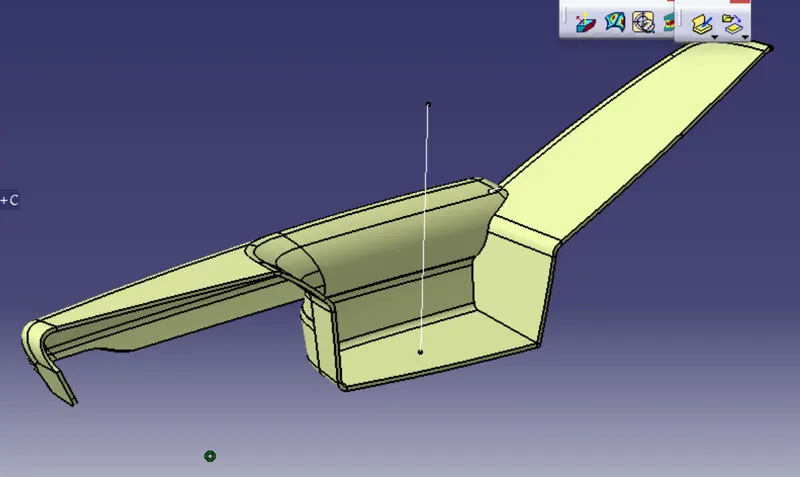
ARM REST
Class A surface of the arm rest
Class B surface of the arm rest
Class C Surface of Arm Rest
Class A+B+C surface
TREE STRUCTURE
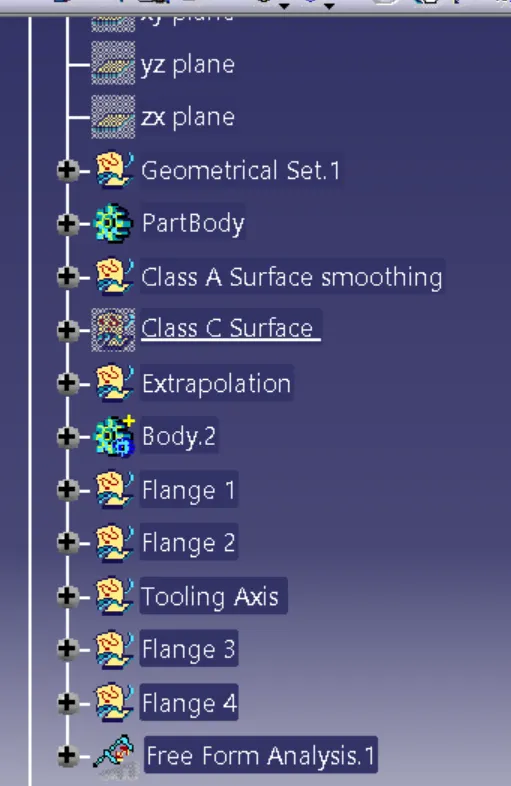
4.
Class C surface of the Map Pocket
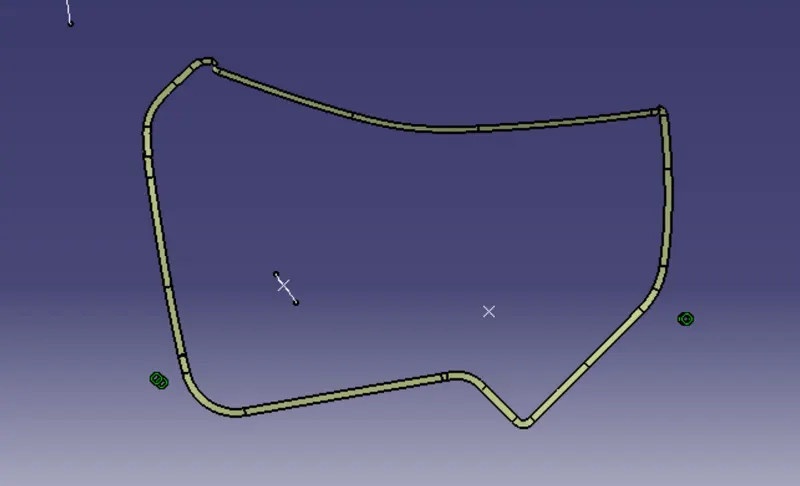
Class B surface of the Map pocket
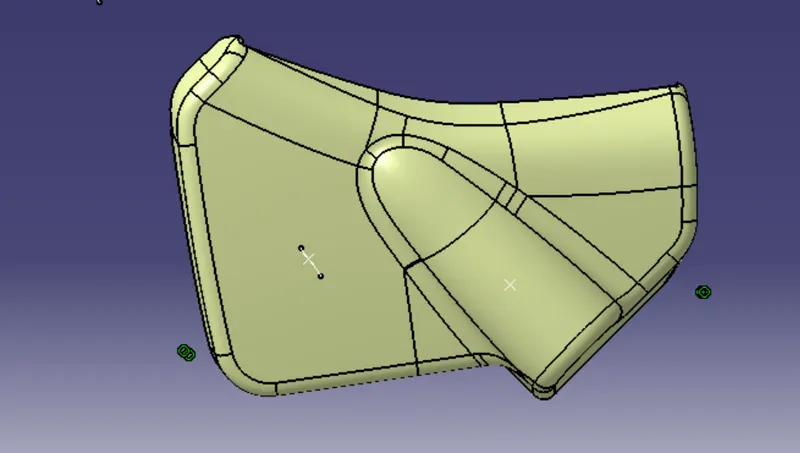
Class A+B+C surface
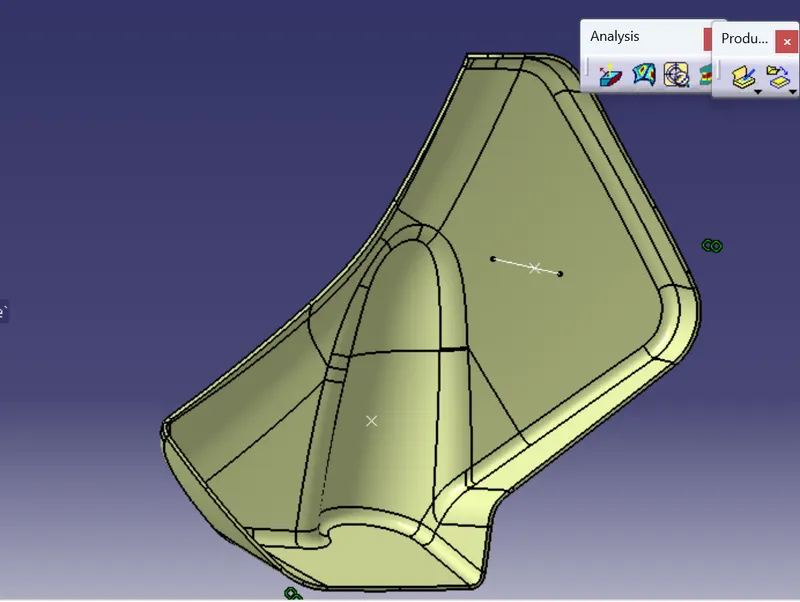
TREE STRUCTURE
PROCEDURE :
1.First create the individual files surfaces for the arm rest,lower substrate and the map pocket and the class A,B and C surfaces are developed individually.
2.Then now assemble all the individual model files in the assembly workbench and save the file,
3.Now mark the spaces for the ribs,locatores,flanges where ever necessary as per the guidelines and remember the ultimate aim of the project is to develope the door panel with out any errors and strength should be improved.
4.In the arm rest the flanges are developed with respect to the lower substrate and the flanges are fitted with respect to the ribs developed from the lower substrate so that the lower substrate and the arm rest are attached.
5. In the same way the map pocket flanges are attached with the ribs of the lower substrate.
6.The Dog houses are developed on the lower substrate and pushpin clips are attached to the dog houses it is used for the easy mounting and dismounting of the door panel.
7.Finally the drafting is given to all the individual ribs,locator ,dog houses and the flanges.
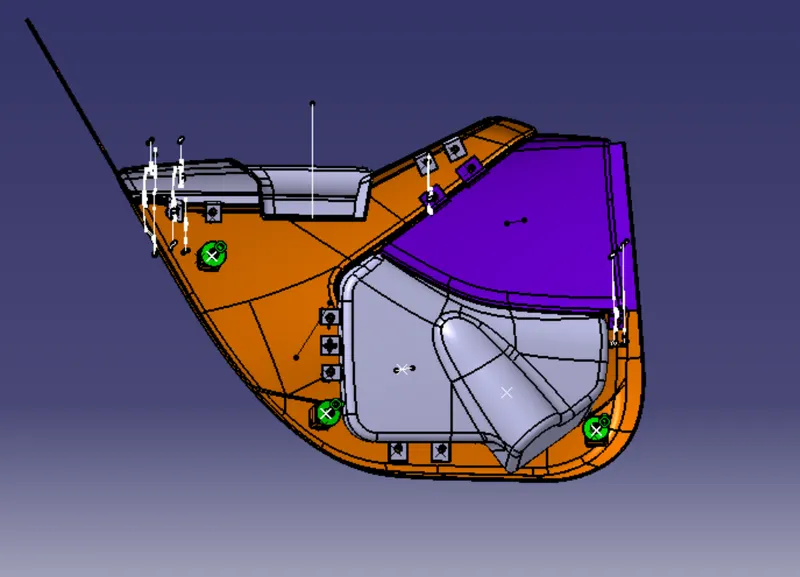
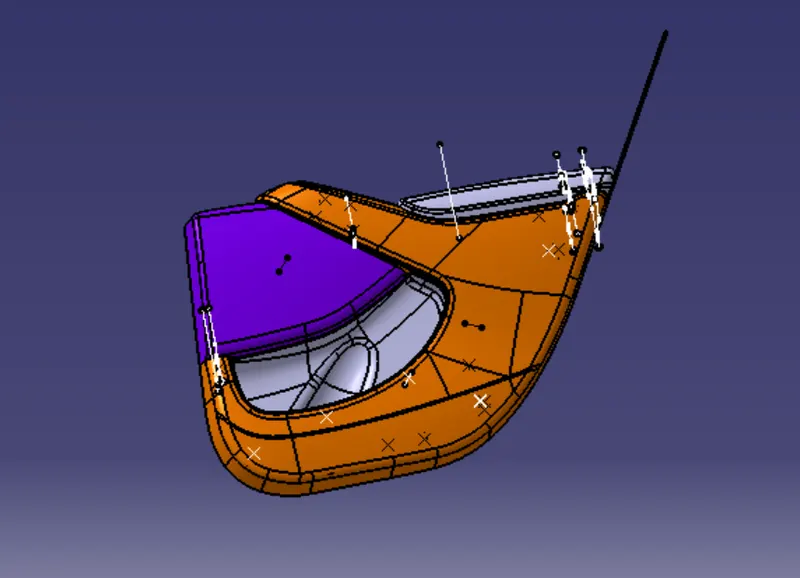
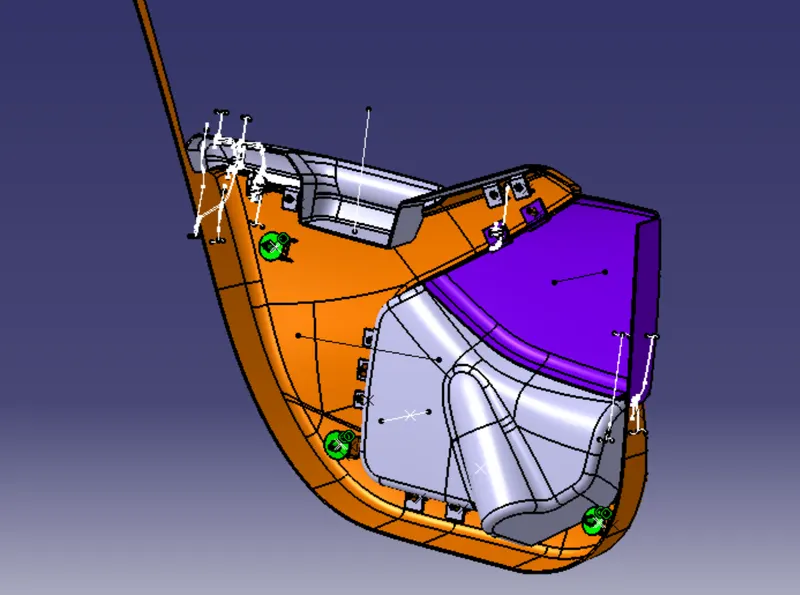
FINAL ASSEMBLY
DOG HOUSE
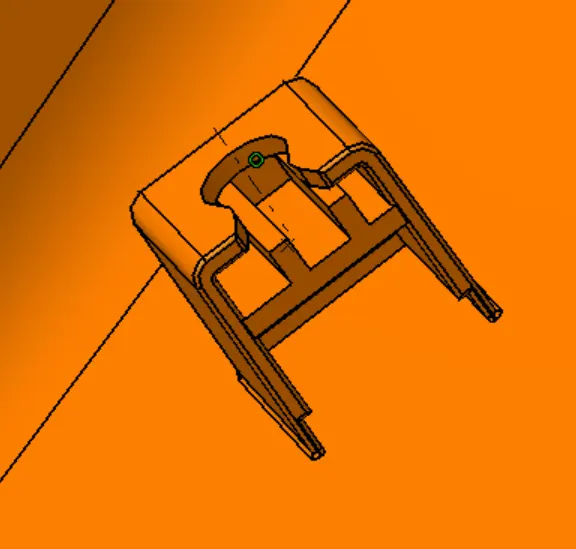
These are used as embossment for the screws to attach one piece of plastic to another one,for example you have a bumper cover and you want to add granish to it,you would use doghoused to do so.
Dog house is an engineering feature used in plastic trim design. Dog houses are used as supporting feature. Sometimes other engineering features like snaps; locators etc. are mounded on them to increase their strength
Heat stakes
These are the features that generally are added to the primary wall of a plastic part for structural purposes this could help the part to restrict deflection under load or to resist warpage.
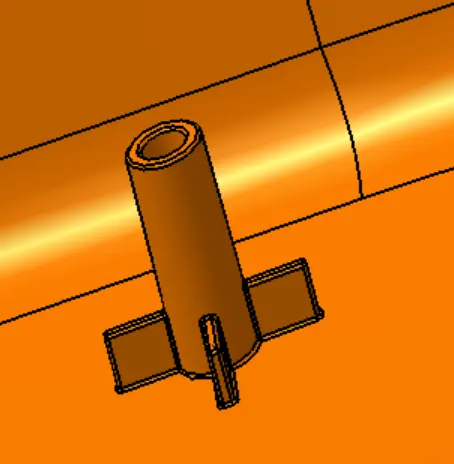
FOUR WAY LOCATOR
The most common application of the four way locator is to prevent the movement of 2 axes of the plane.The 2 way locator is also present that reduces the movent of 1 axes in the plane.

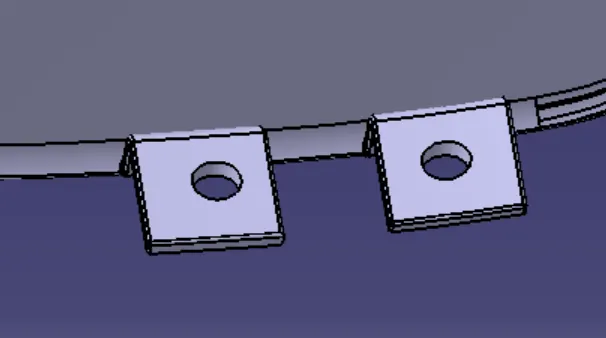
FLANGES
These flanges are used as the attachment feature for the ribs so that extra strength is created for the component.
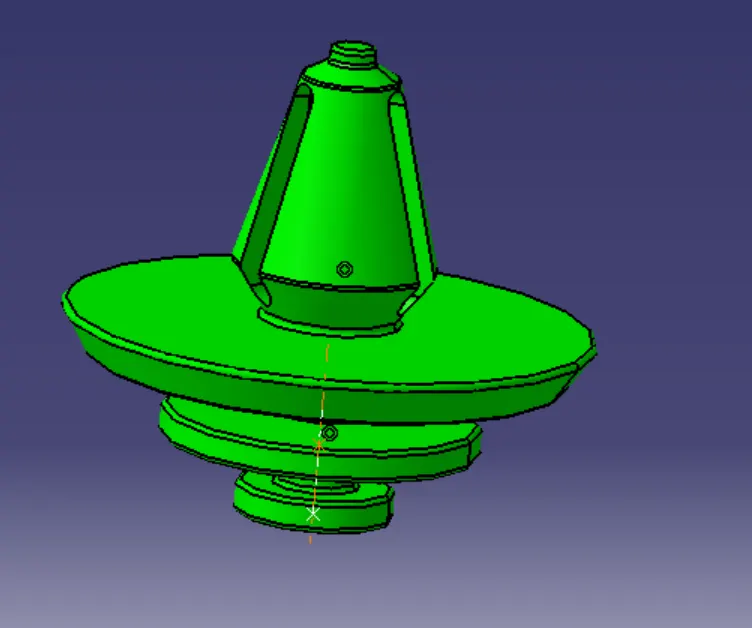
PUSHPIN CLIP
These push pin clips are used to hold the bumper together and mud skrits and hood shield these push pin clips are also used for in non automotive applications as they are versatiale cheap and are reusable.
DRAFTING :
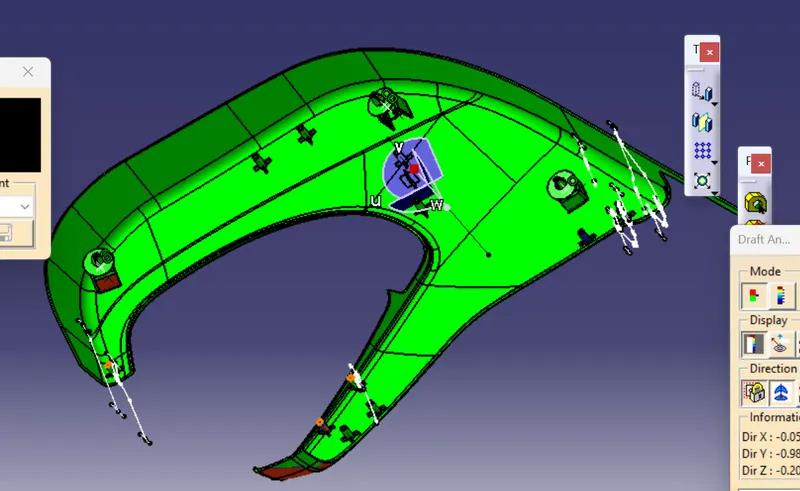
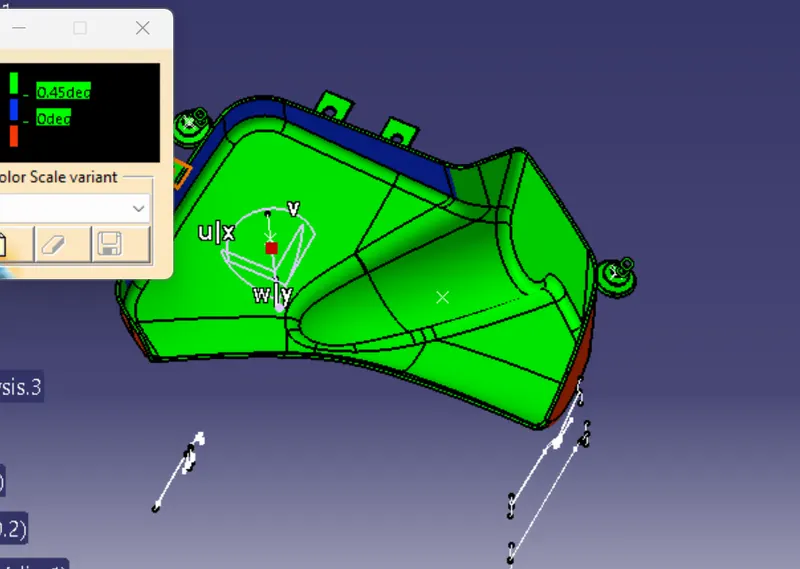
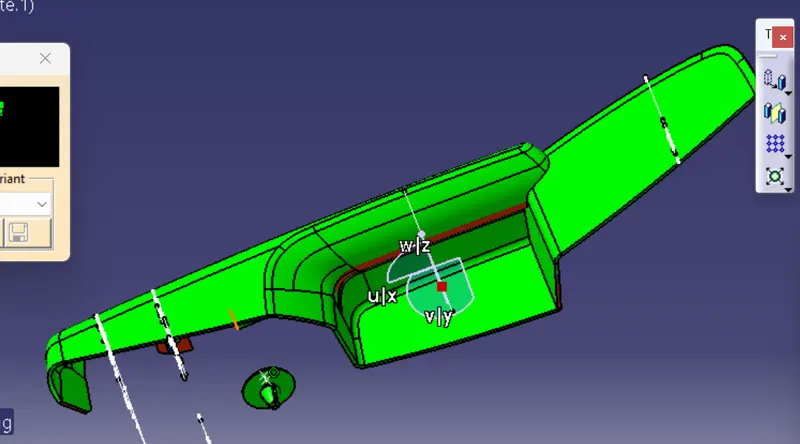
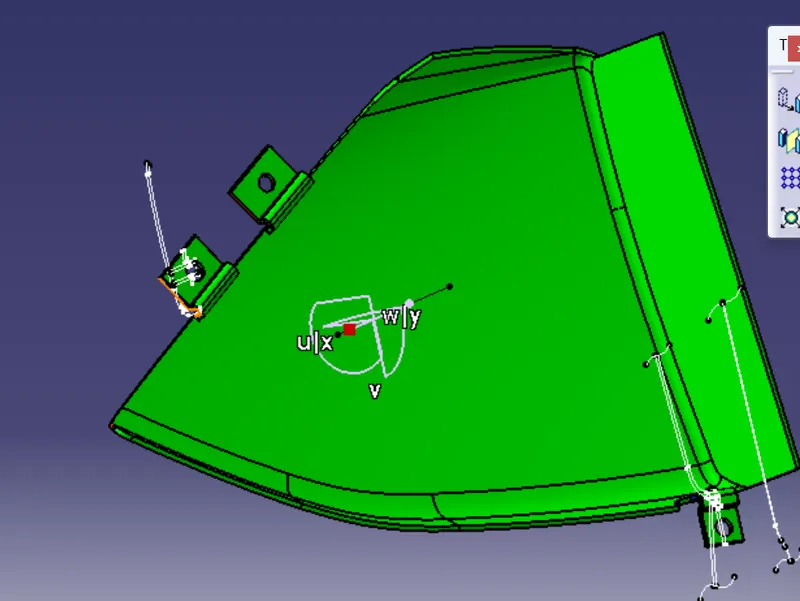
From the above figure the drafting is cleared in some parts the drafting is not clearing with respect to the tooling direction like the dog houses for dog houses another tooling axis should be created for clearing the draft.
Final Drafting Figure
CONCLUSION
Therefore the door trim panel is developed by considering the OEM s and the tier 1 guidelines.