Week 11 - Final project
OBJECTIVES:
- Creating a product file with all the parts
- creation of tooling direction
- creation of close surface
- Following master section
- creation of additional engineering features
- Report writing and file attachment
ANSWERS:
1) Creating a product file with all the parts:
- Product file created
- All the parts were seperated
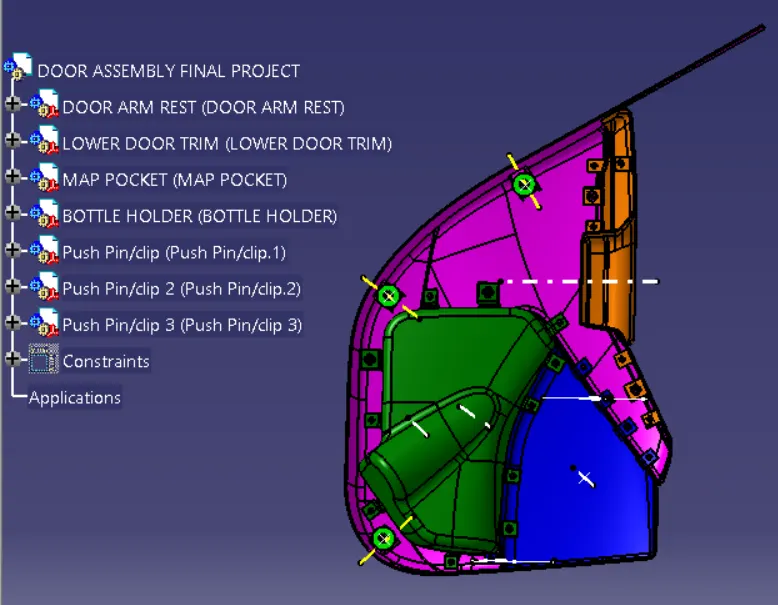
2) Creation of tooling direction:
TOOLING AXIS OF DOOR ARM REST:
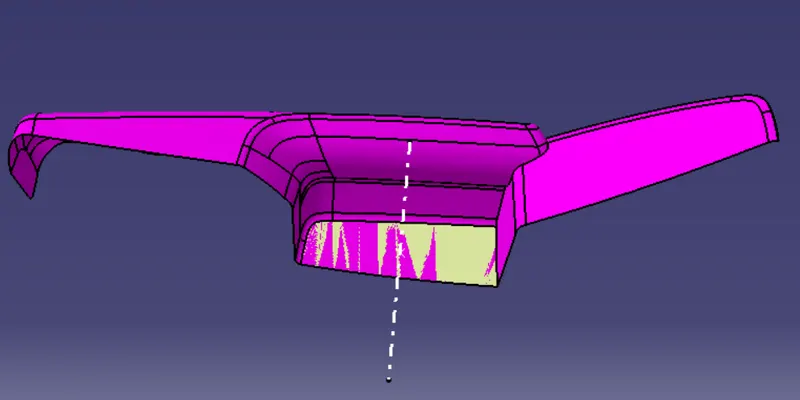
- Extract the surface of door arm rest and create a point on the surface
- create the line using normal to surface option with respect to extracted surface and the point
- This is our main tooling axis.
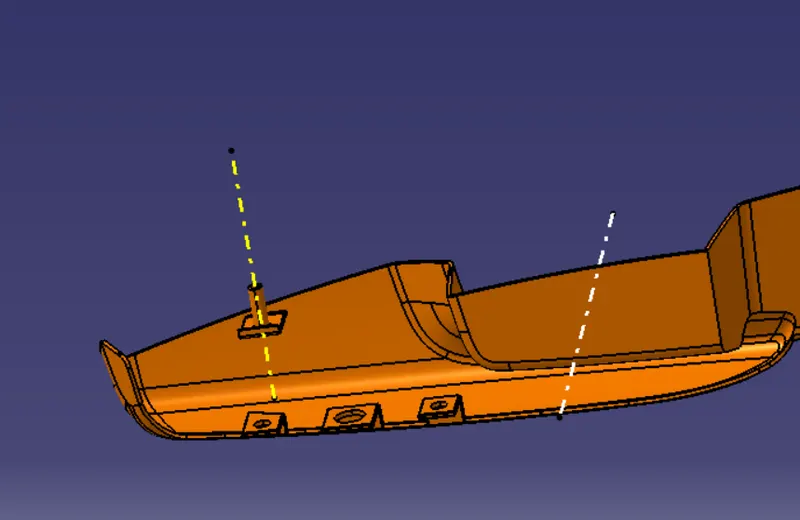
Side core axis creation of Door arm rest:
- Create a Line with respect to any point and Y direction.
- This is my Side core axis.
Main Tooling axis creation of Lower Door Trim:
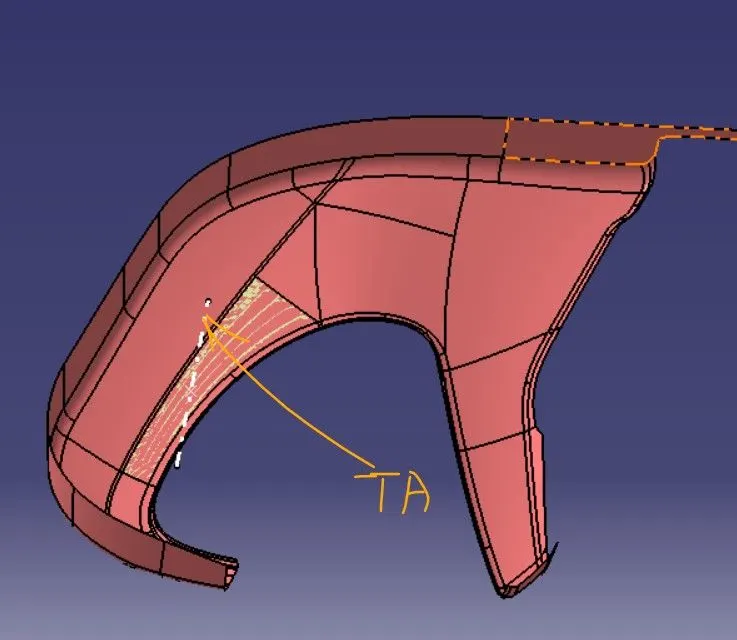
- Extract the surface from the class A.
- Then create a point using point on surface.
- Then create a line with respect to the point with y direction.
- This is our main tooling axis for lower door trim.
Dog House Side core axis creation of Lower Door Trim:
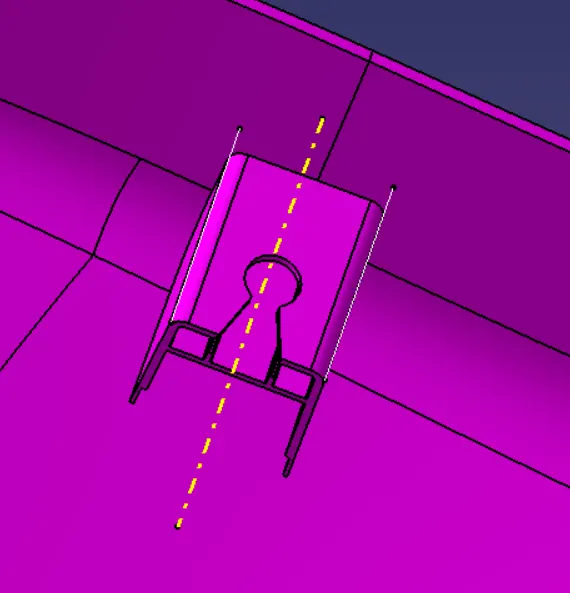
- Extract lines seperately from dog house
- create a line using both lines with respect to bisection line option.
- This is my side cire axis for my first dog house.
- Following the same methods to creating side core axis for other dog houses also.
Tooling axis creation of Map Pocket:
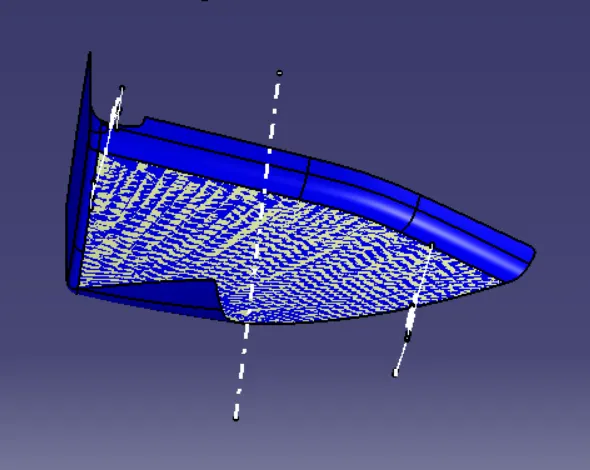
- Extract surface of the map pocket
- create a point on that extracted sufrace
- Create a line by using point-Direction with respect to Y component
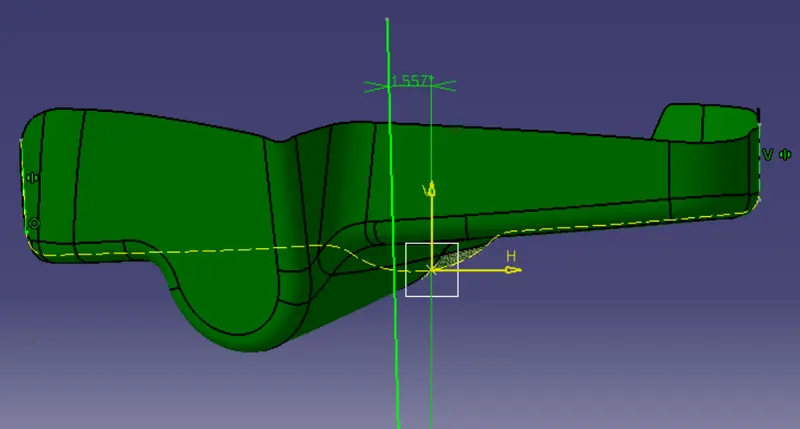
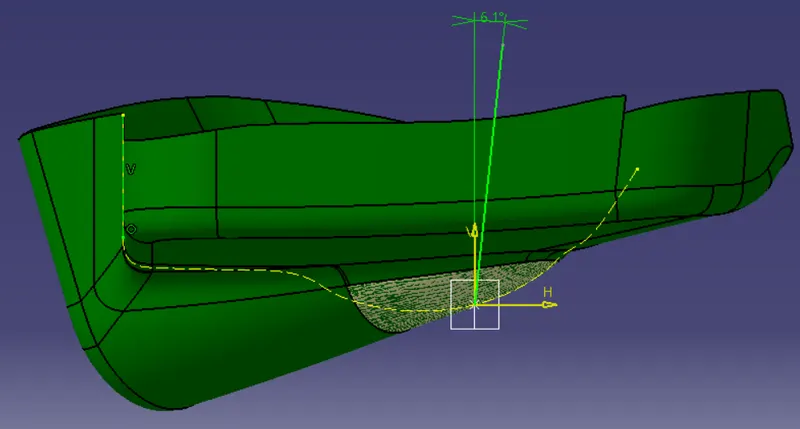
Tooling Axis creation of Bottle Holder:
- Extract surface from class A
- Create point on surace using point on surface option
- Create a sketch and draw a line with respect to xy plane at desired angle (The angle may be modified as per draft analysis).
- Create another sketch with respect to yz plane and draw a another line at particular angle (The angle may be modified as per draft analysis).
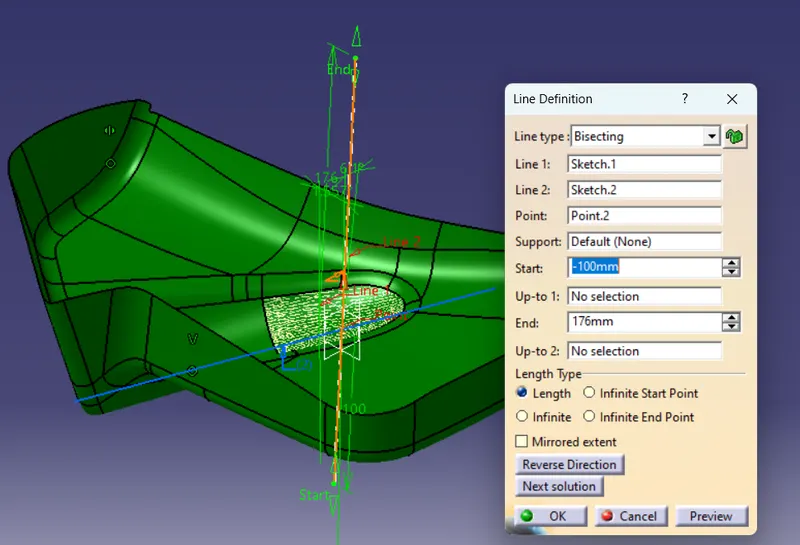
- Then create a bisecting line with respect to sketch 1, sketch 2 and point using bisecting line option.
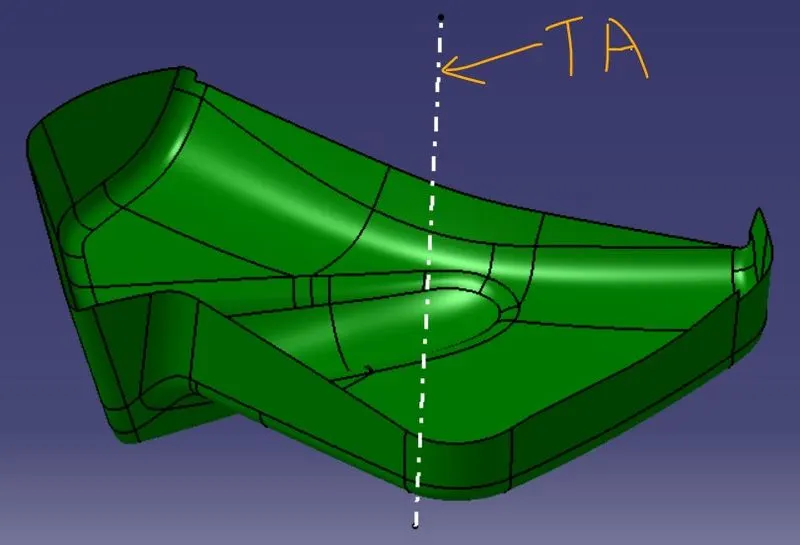
- This is my main tooling axis.
3) Creation of close surface:
- Creation of all the Parts using Closed surface commands.
4) Following master section:
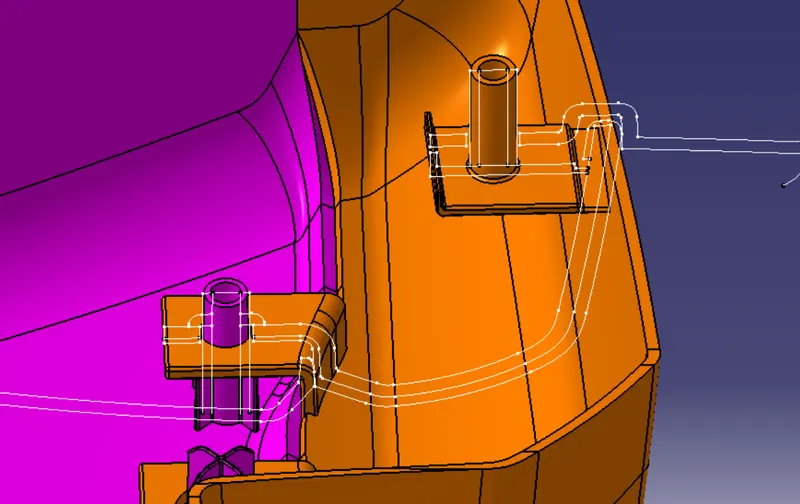
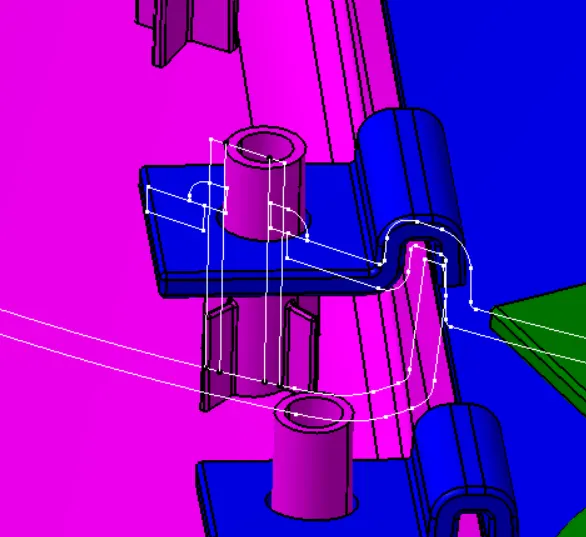
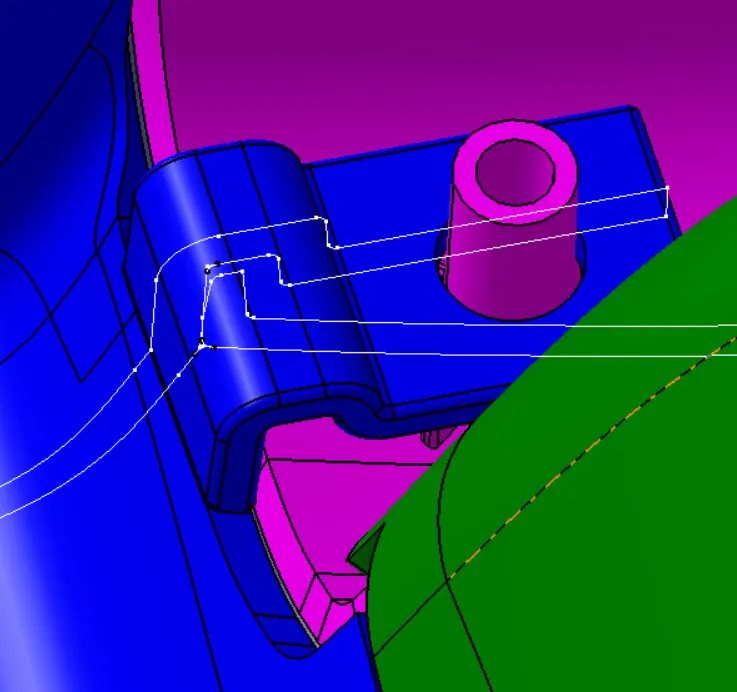
- Heat stakes and flanges were created as per master section.
5) Creation of additional engineering features:
Dog House creation:
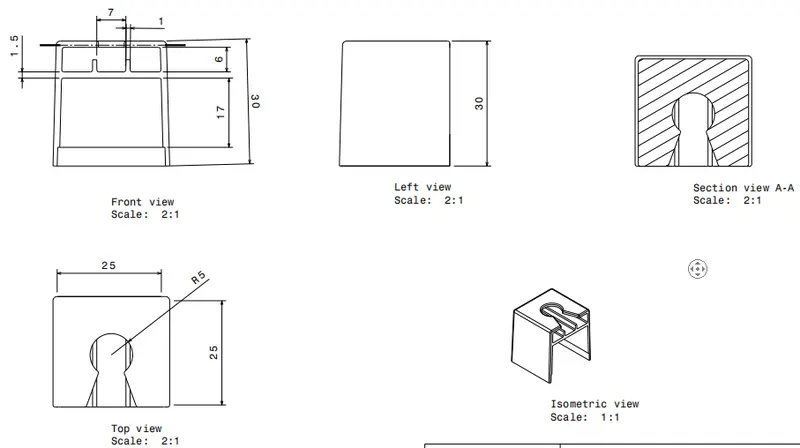
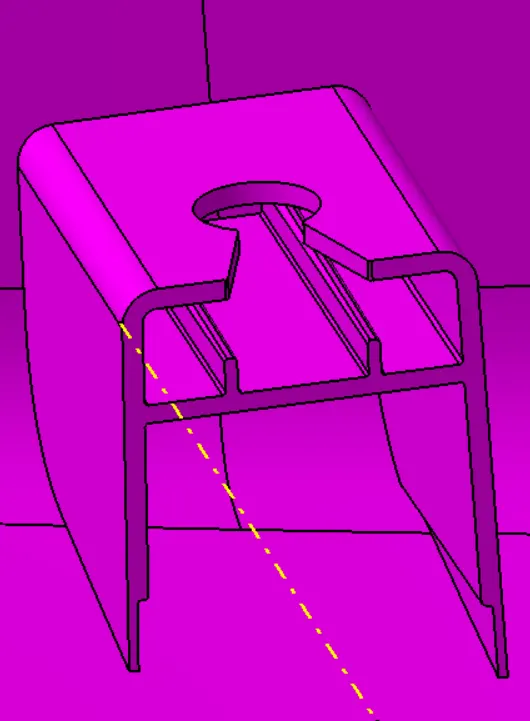
- Dog house were created as per above data.
Heat stakes:
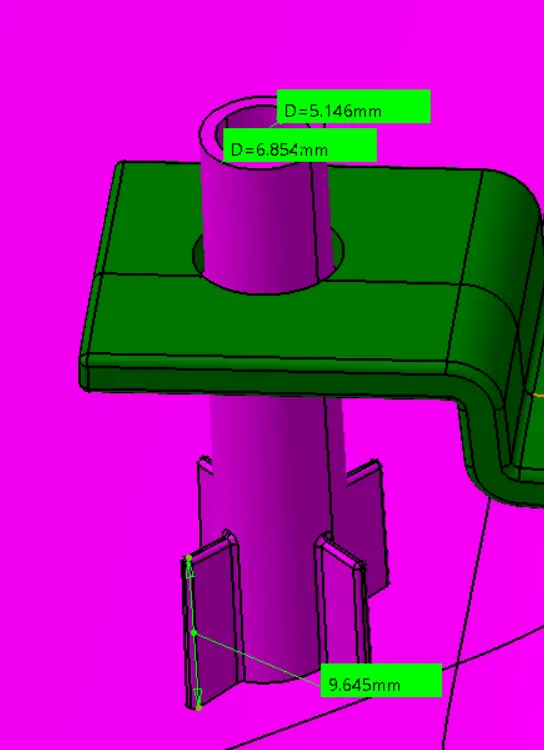
DOOR ARM REST:
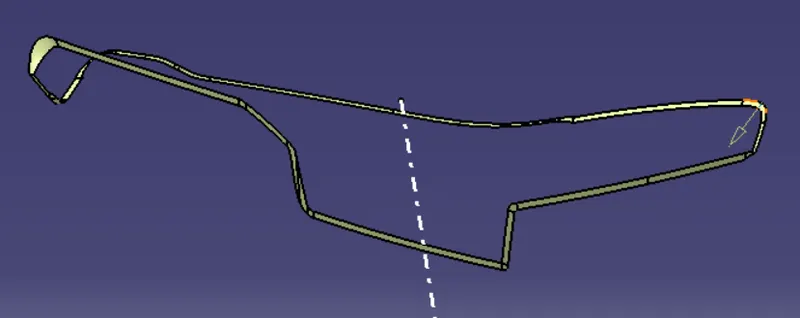
Class C surface:
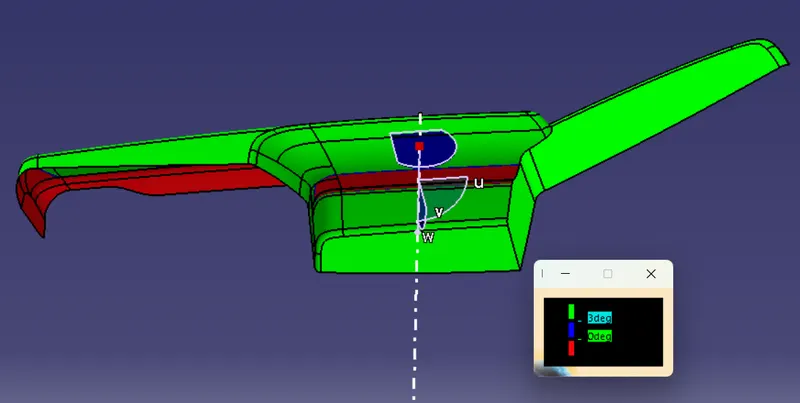
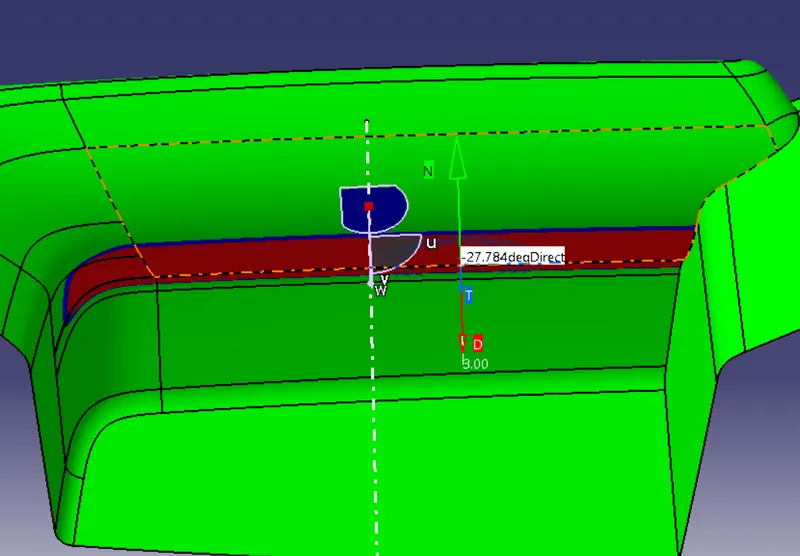
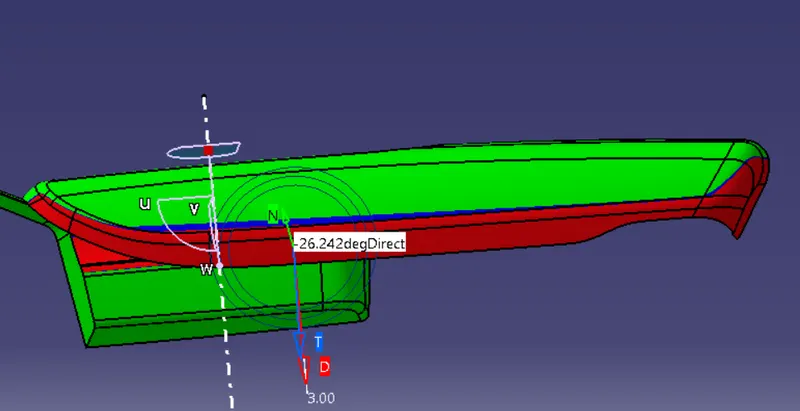
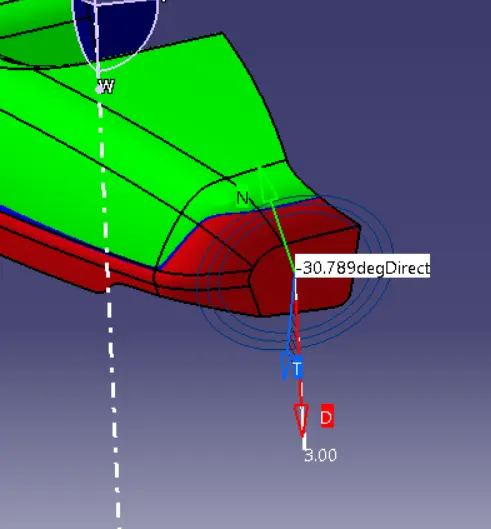
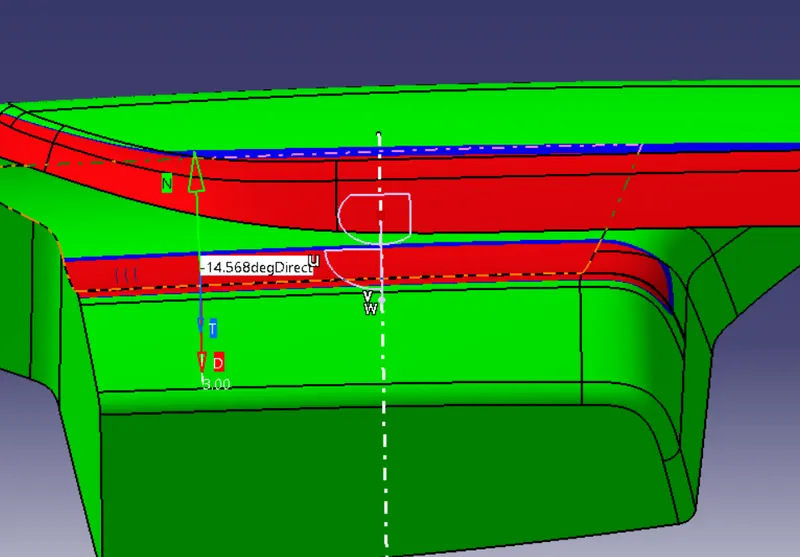
Class A surface draft analysis:
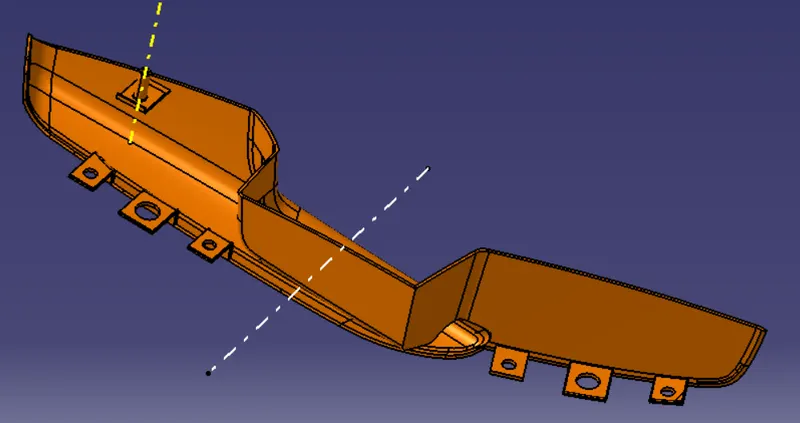
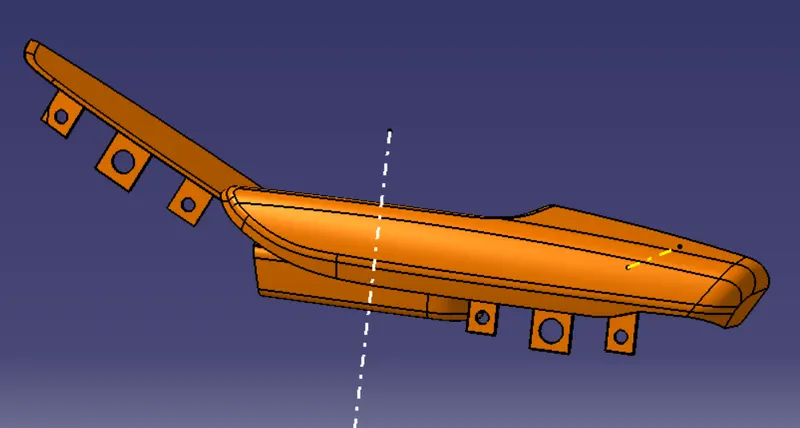
Solid Body:
Parting Line:
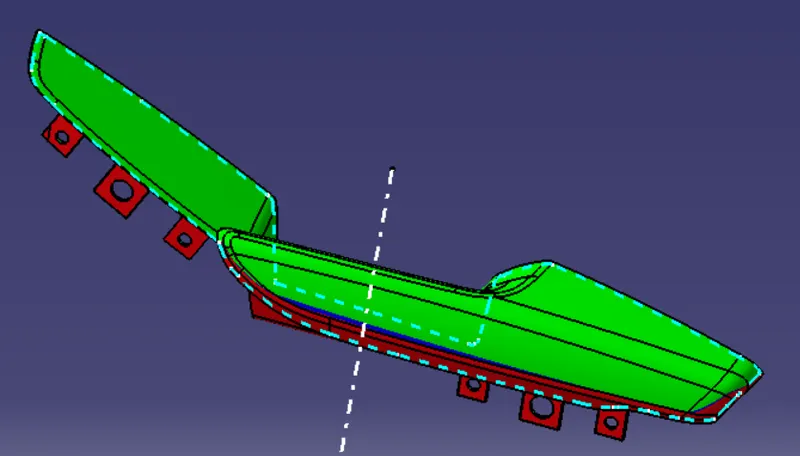
Draft Analysis of solid body:
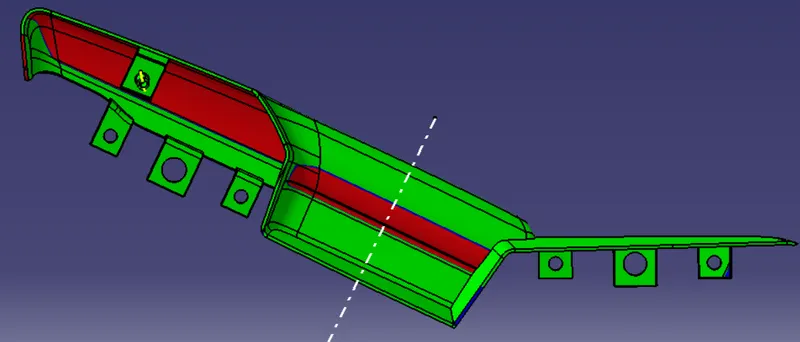
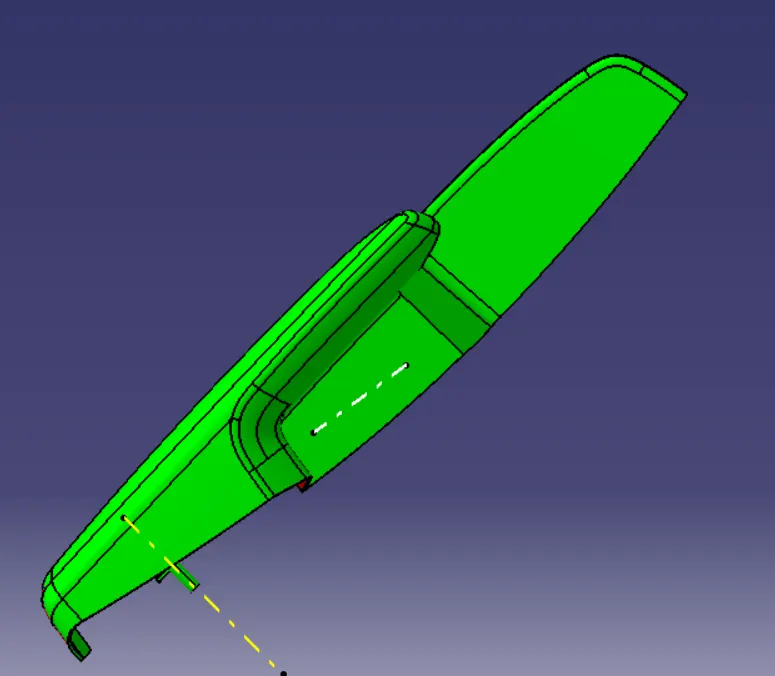
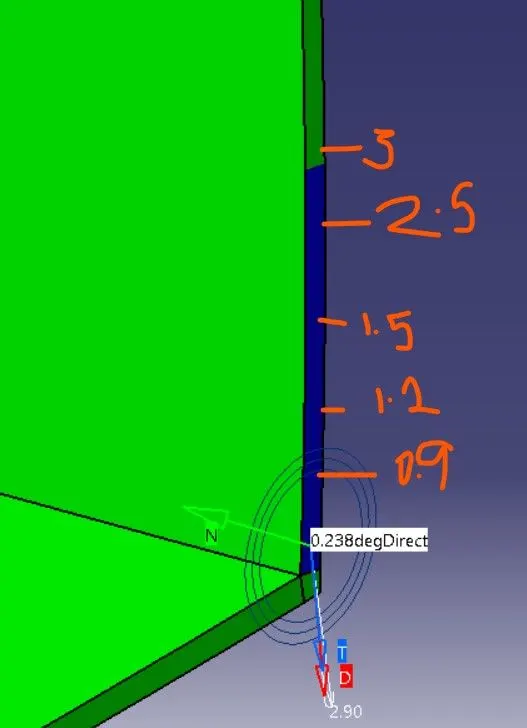
In the above region im not able to clear draft due to irregularity of the surface(curvy surface), thats the reason im not able to clear draft in this region.
Side core axis draft analysis for B side features:
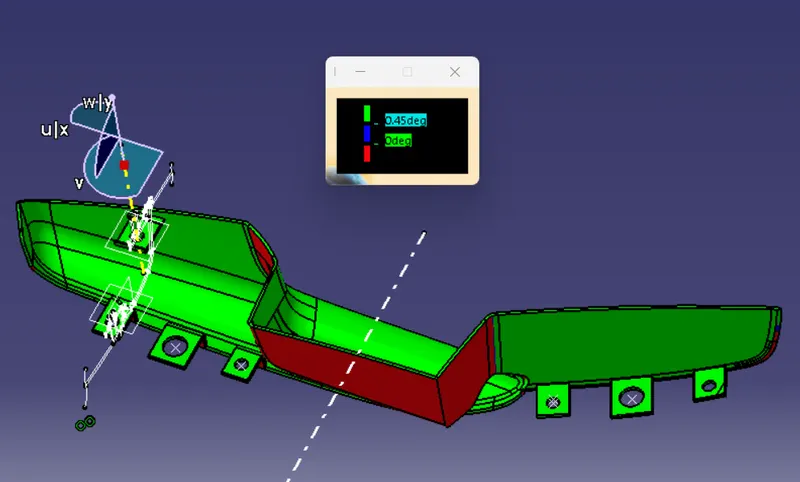
- B side features were cleared in draft analysis from side core axis.
- 4 heat stakes and 2 locators were cleard in draft analysis.
LOWER DOOR TRIM:
Class A draft analysis:
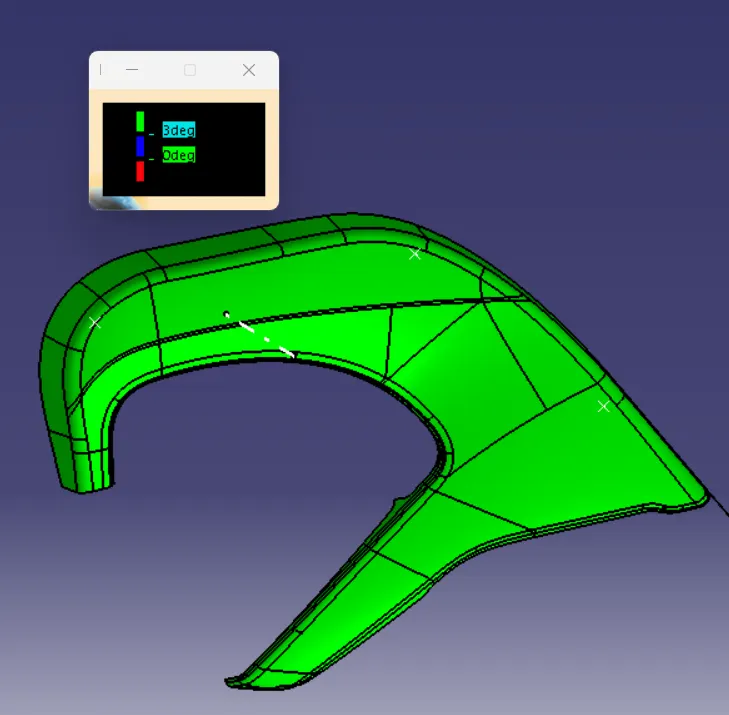
class A clears the draft analysis.
Class C surface:
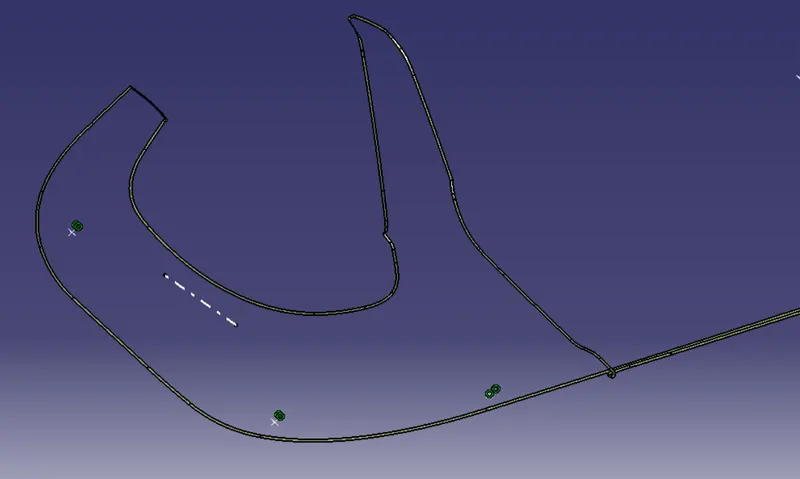
Solid Body:
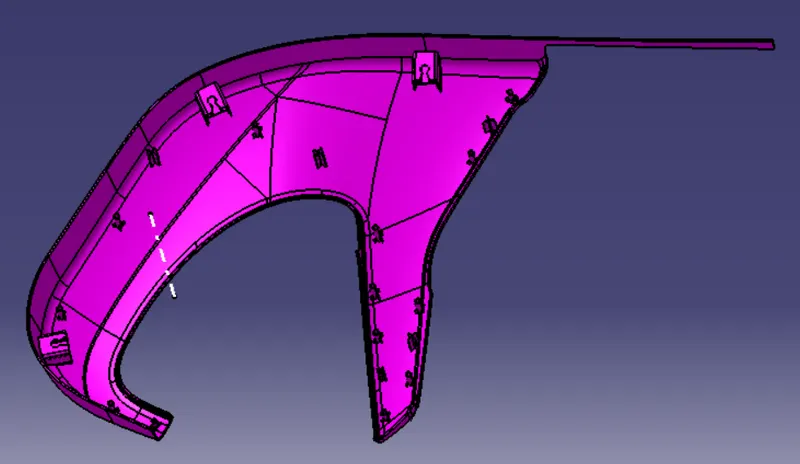
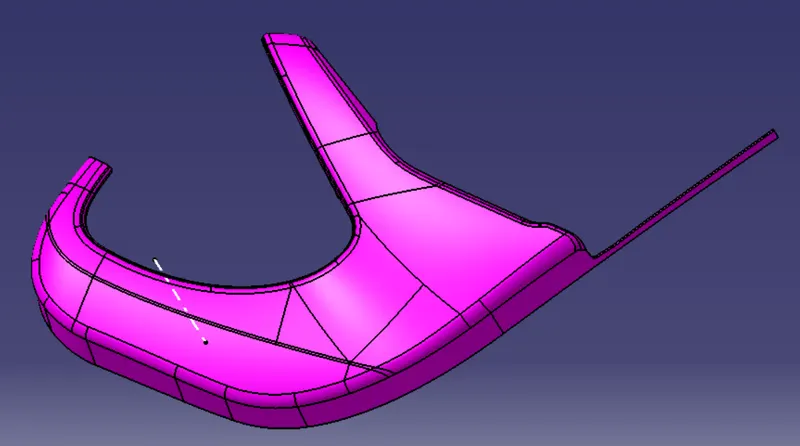
Parting Line:
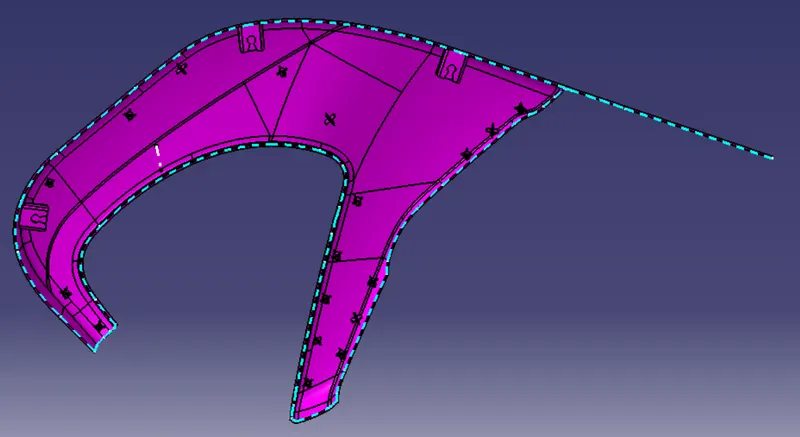
Solid body draft analysis:
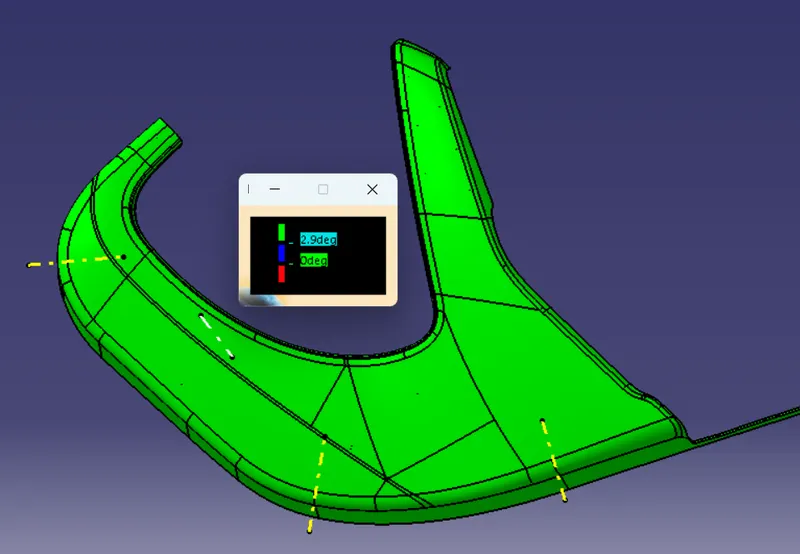
B side features draft analysis:
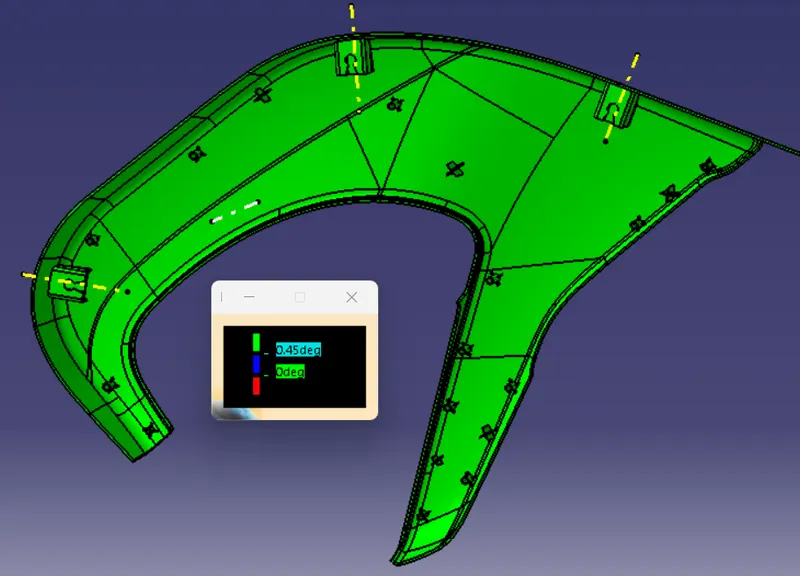
All the B side features were cleared in the draft analysis.
Dog house draft analysis:
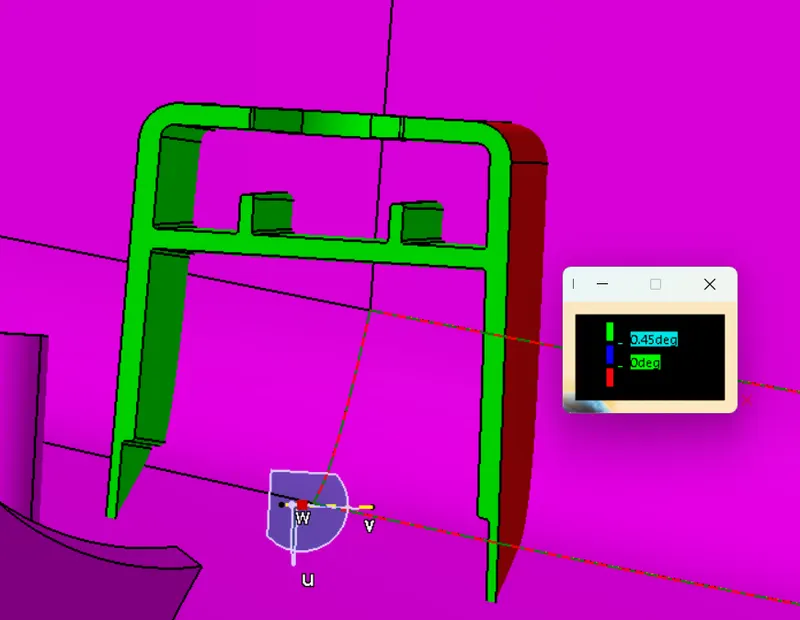
Dog house clears draft analysis from side core axis.
MAP POCKET:
Class c:
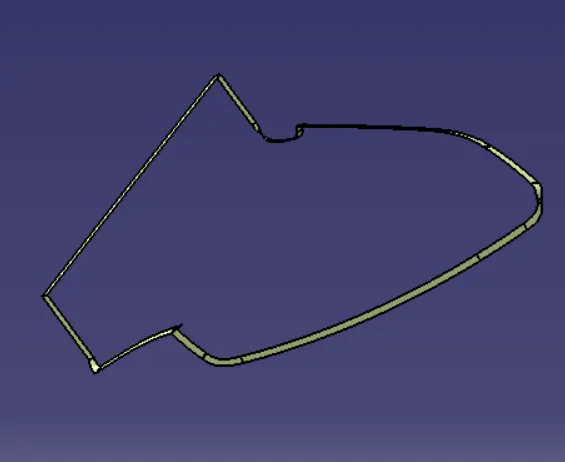
Draft analysis of class A:
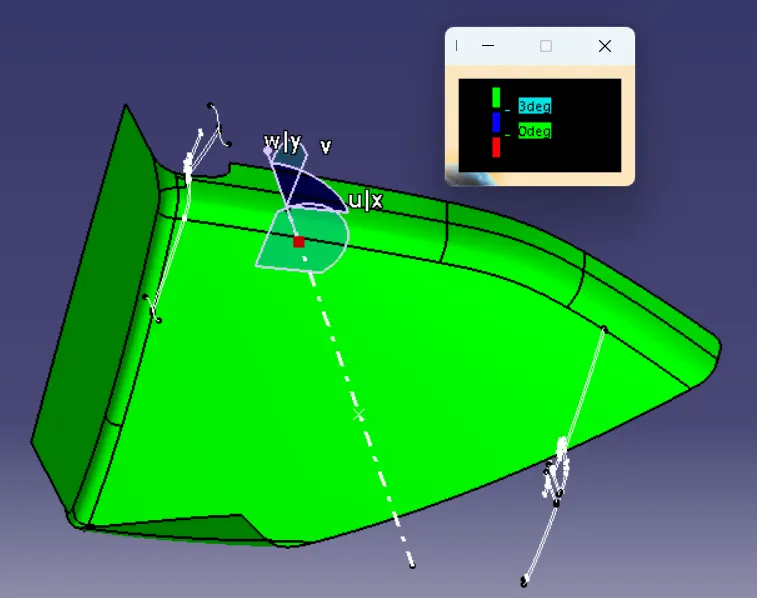
Class A clears the draft analysis.
Solid body:
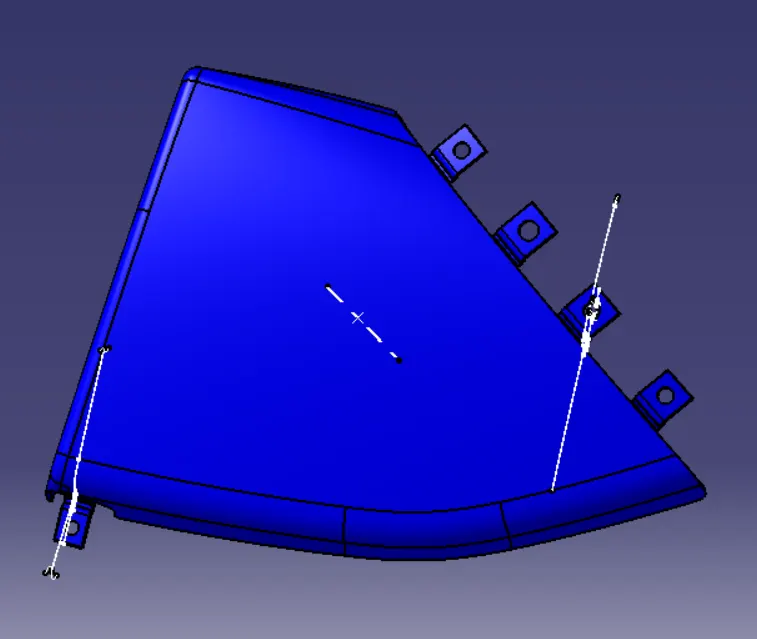
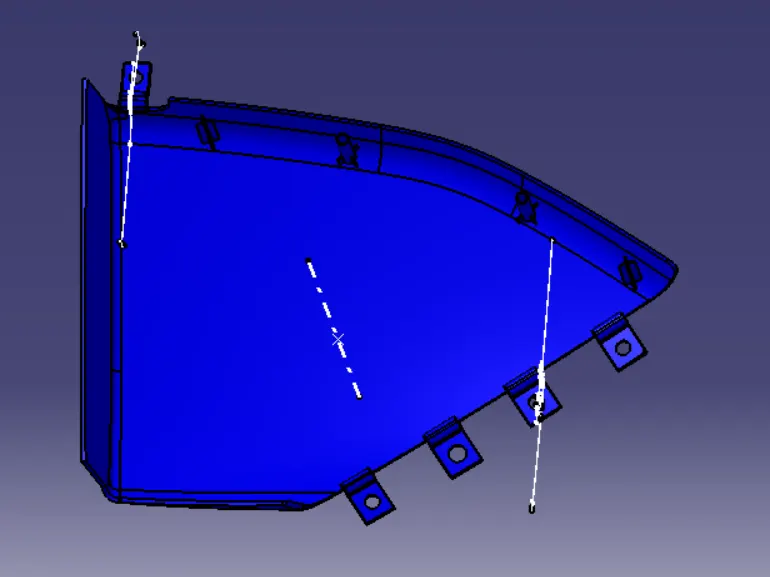
Parting Line:
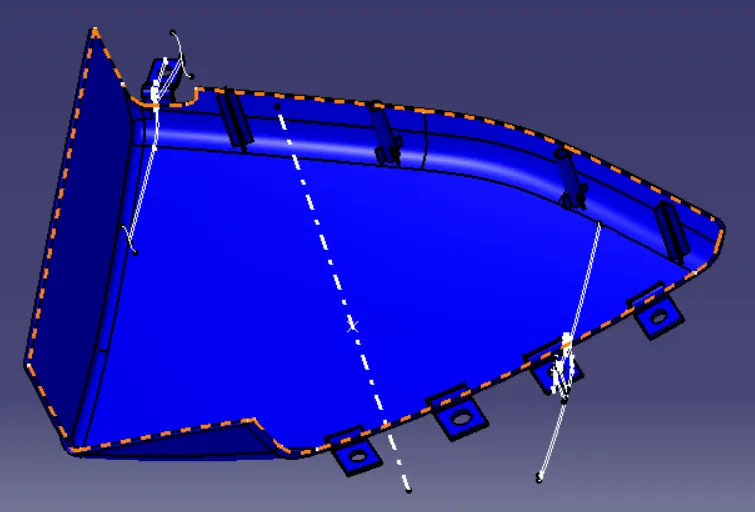
Draft analysis of solid body:
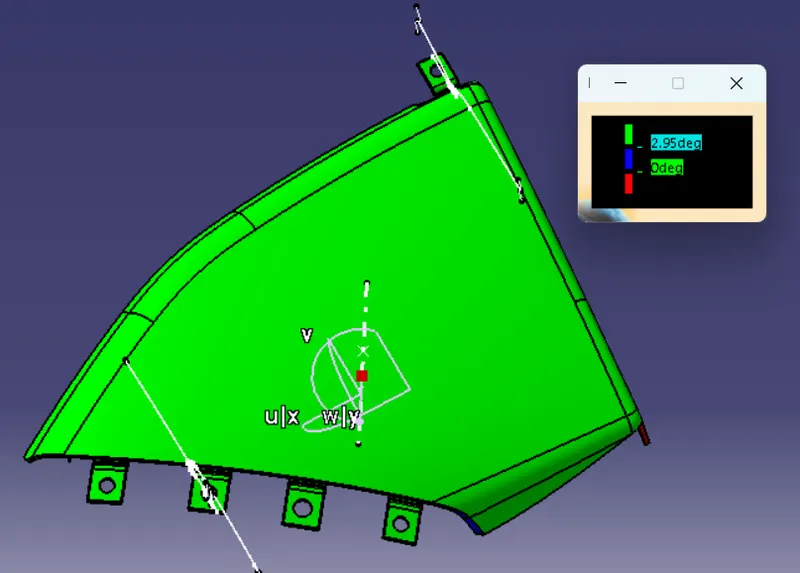
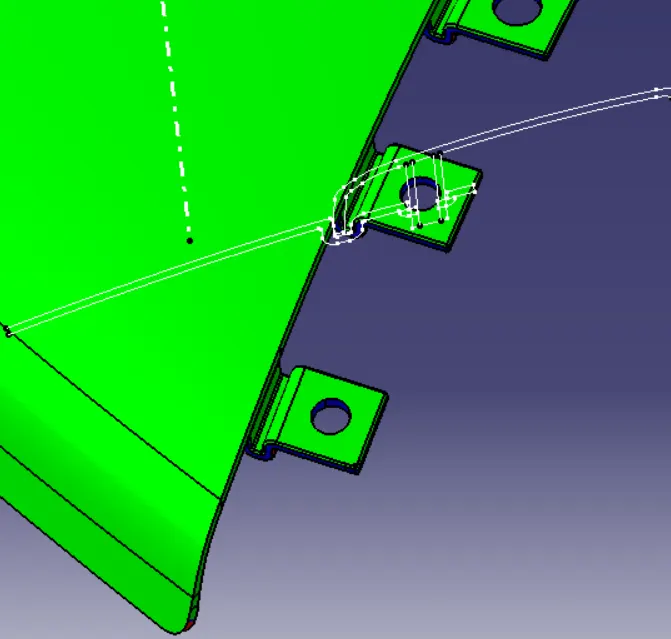
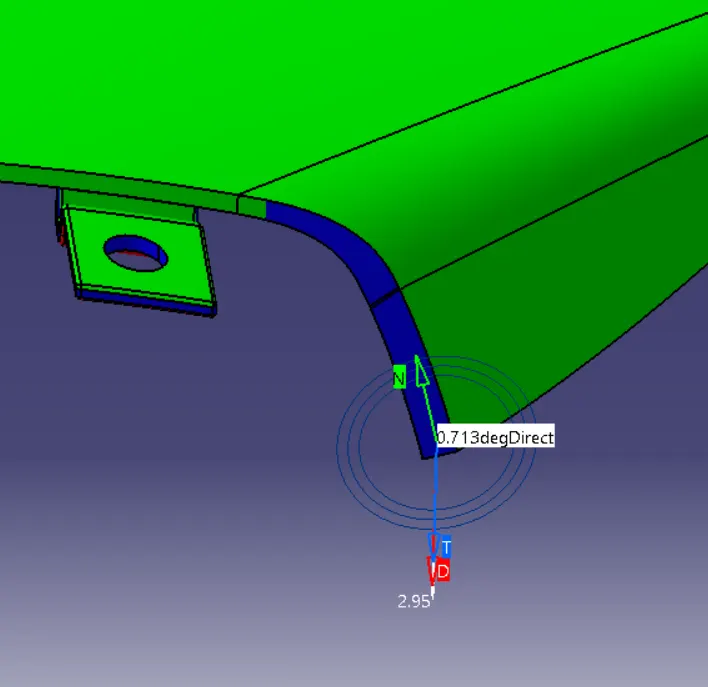
Note: For the above portion not able to clear draft due to class A curvy surface.
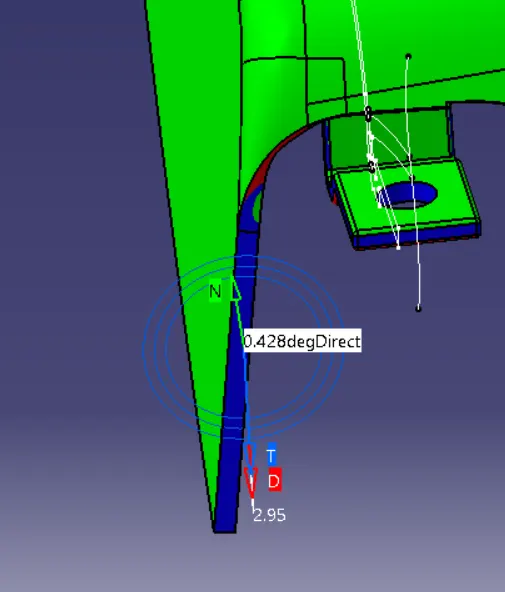
Note: For the above portion not able to clear draft due to class A curvy surface.
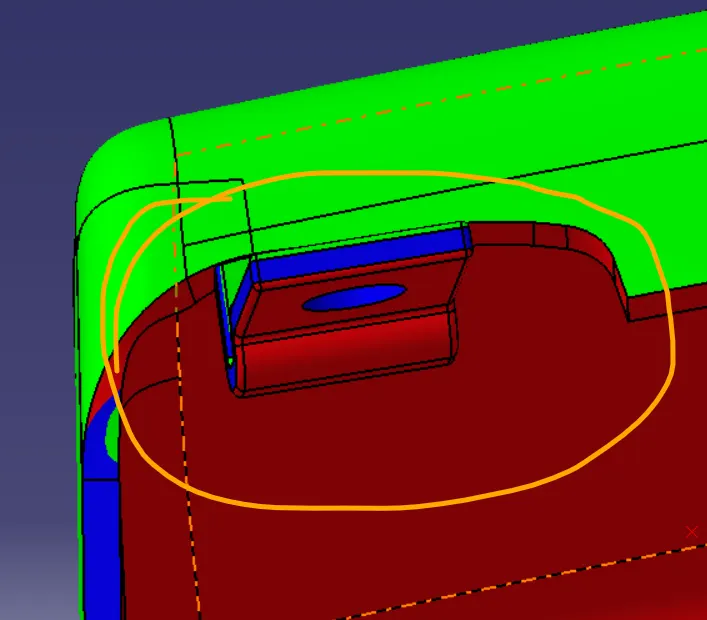
Above marked area not able to create smooth C surface due to complicated Class A.
BOTTLE HOLDER:
Draft analysis of class A surface:
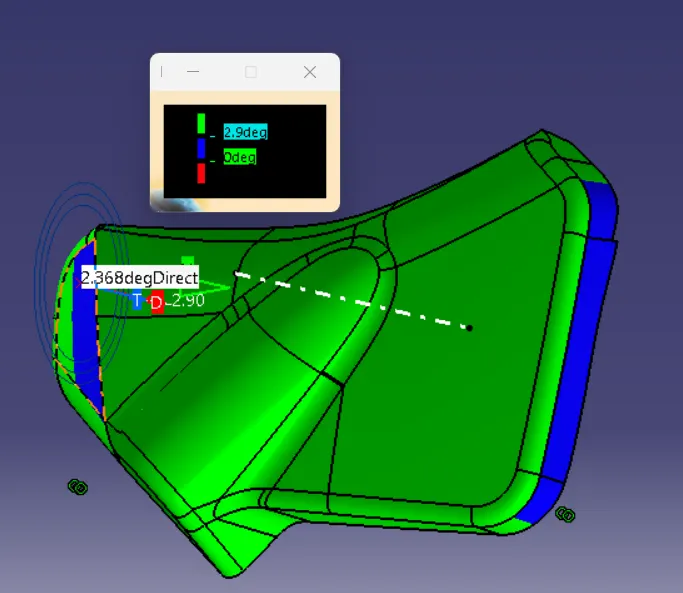
Note: Few areas were not cleared in draft analysis of bottle holder class A surface.
Class C surface:
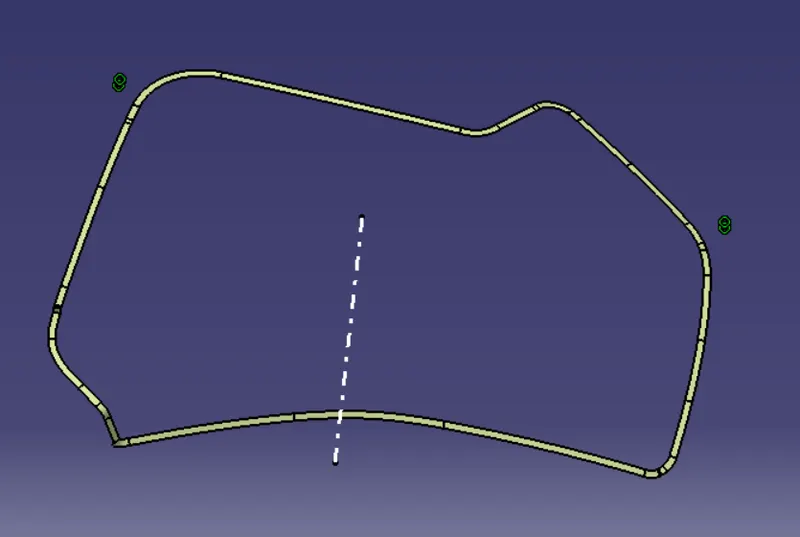
Solid body:
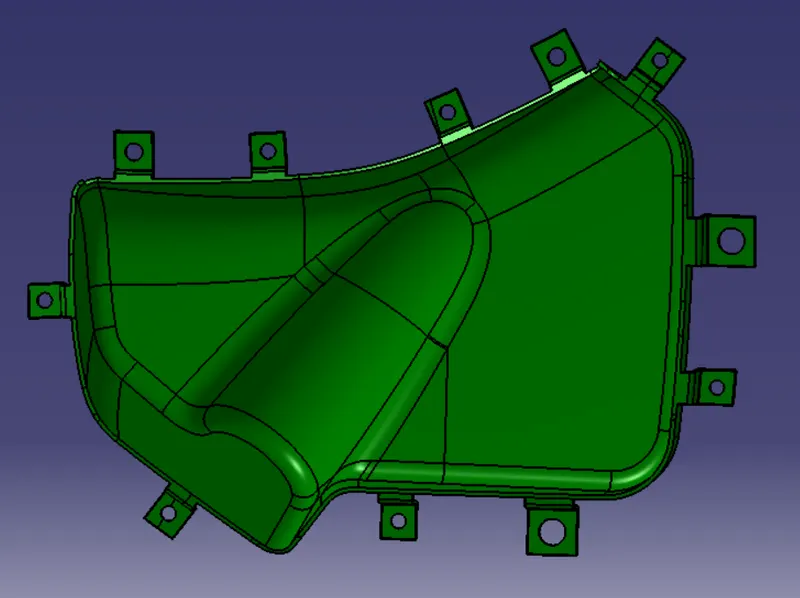
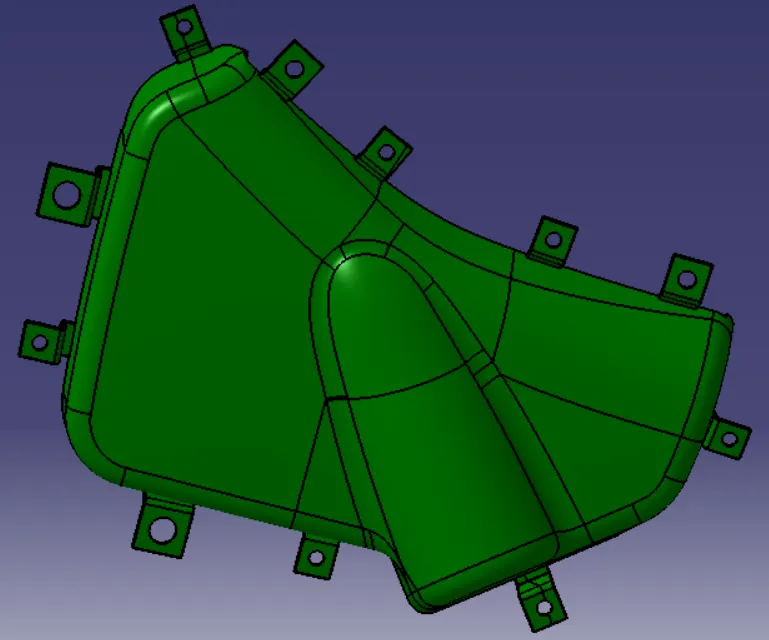
Parting Line:
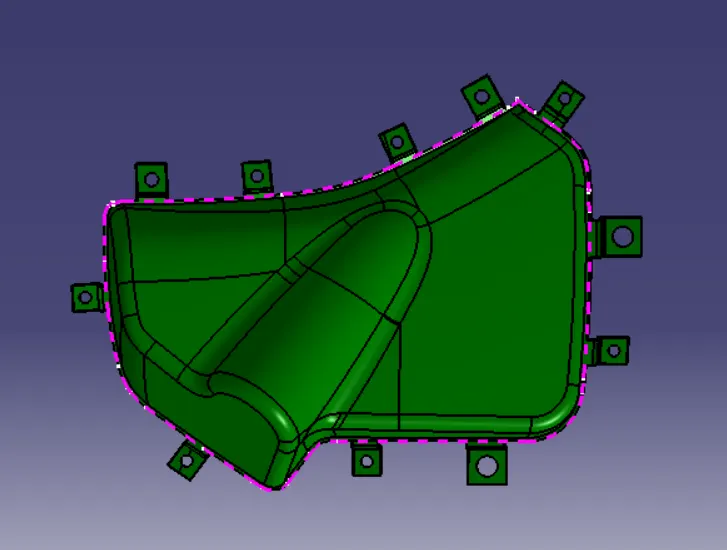
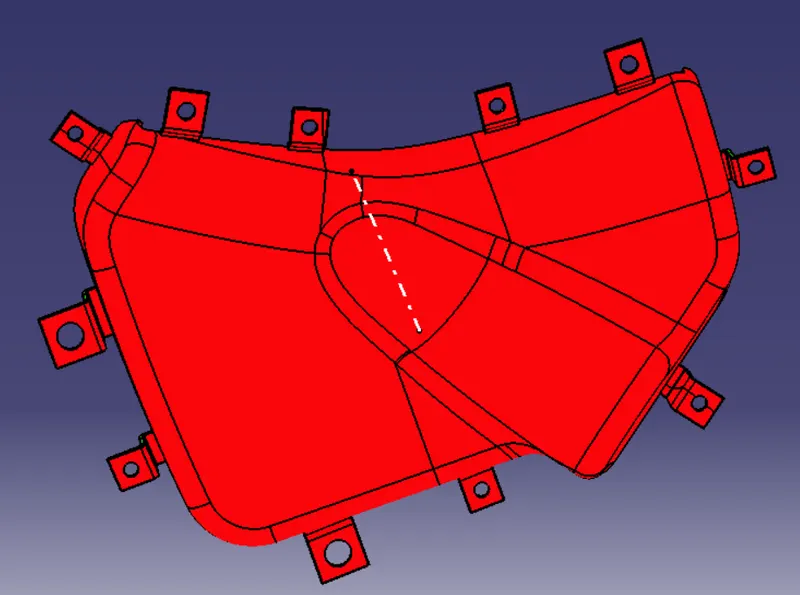
Draft analysis of solid body with B side features:
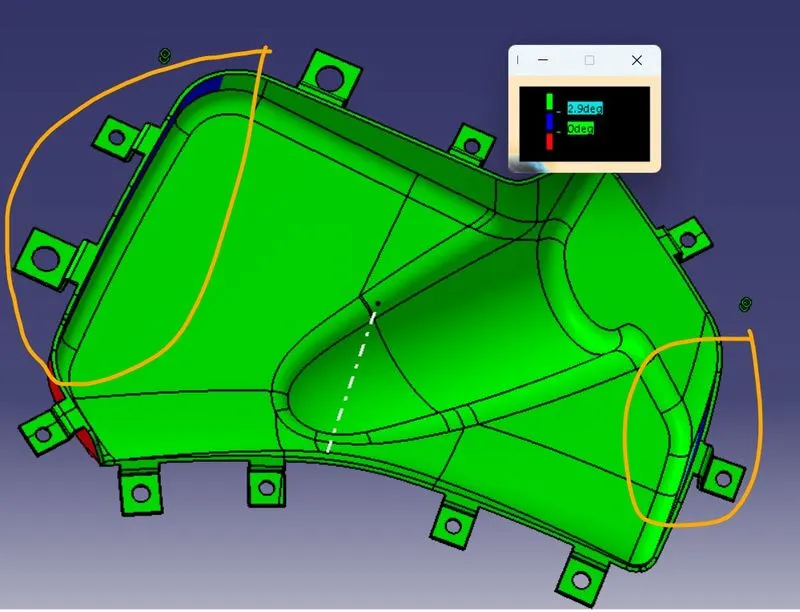
Note: Except marked portion mentioned above remaing all areas were cleared draft analysis including B side features. (There is a problem in the class A surface).
OVERALL ASSEMBLY:
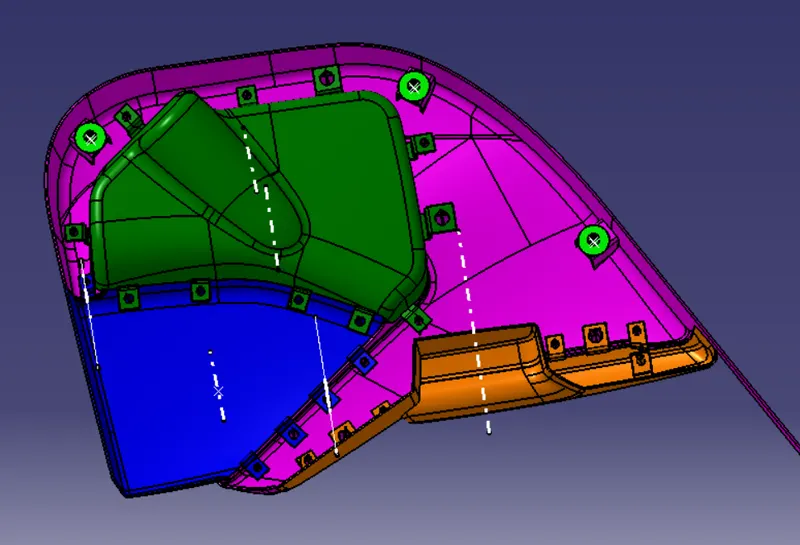
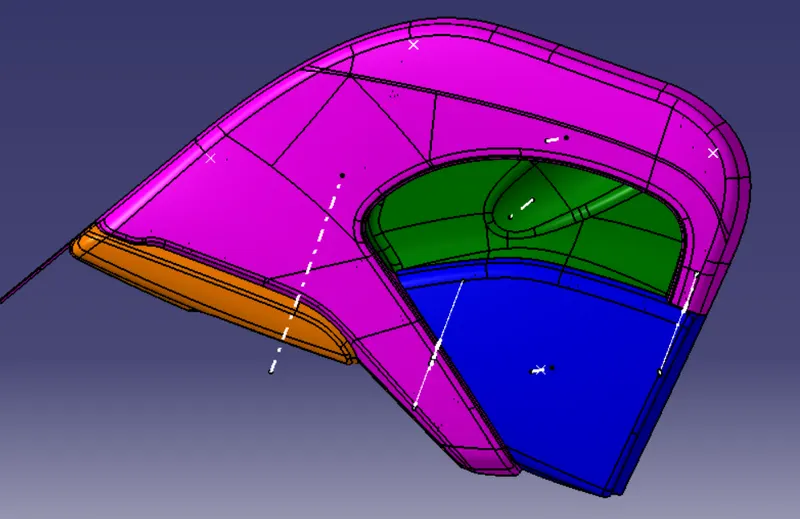
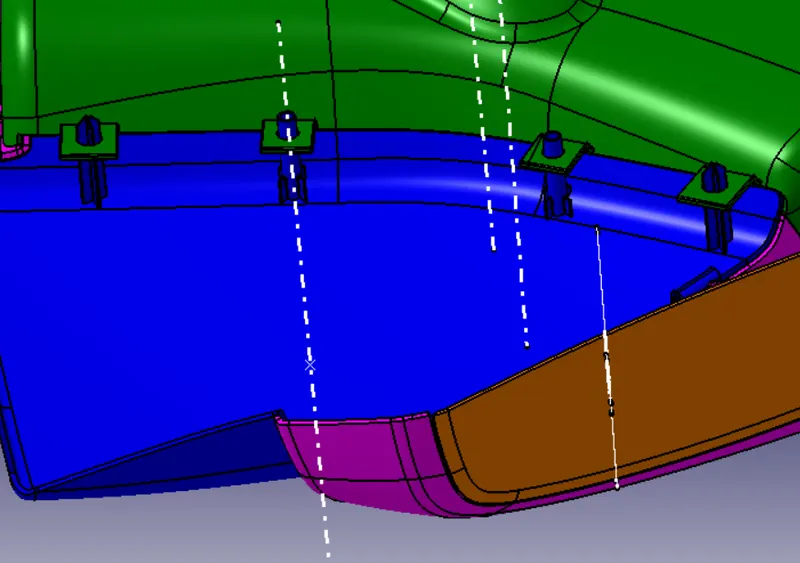
Note: There is no need for heat stakes and locators for the above portion, I have to given this for additional support to map pocket to bottle holder.
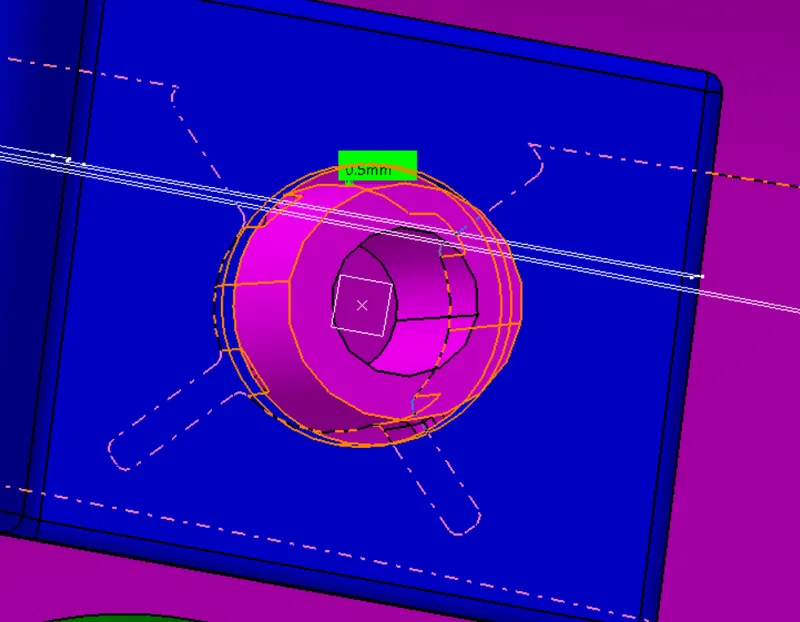
Clearance between flage and heat stakes are maintain 0.5mm in all areas.
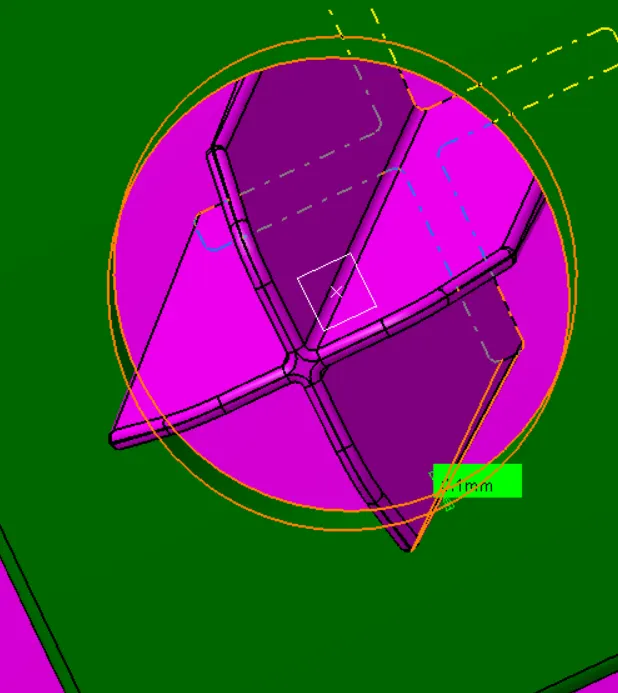
Clearance between flage and locatorss are maintain 0.1 mm in all areas.
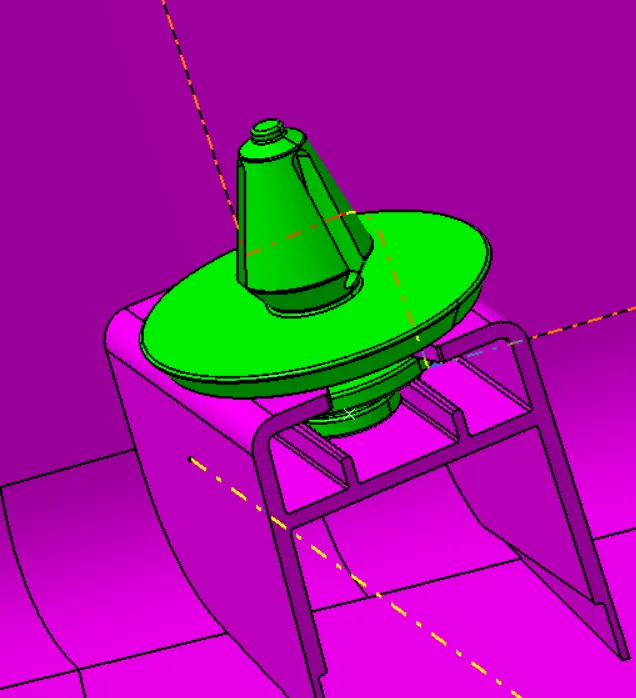
- Push clips were assembled in the top of the all three dog houses.
CONCLUSION:
Create a door panel complete works done from Class A surface and follow the mastersection to create solid body of each parts seperately, afterthat adding necessary B side features in the parts.