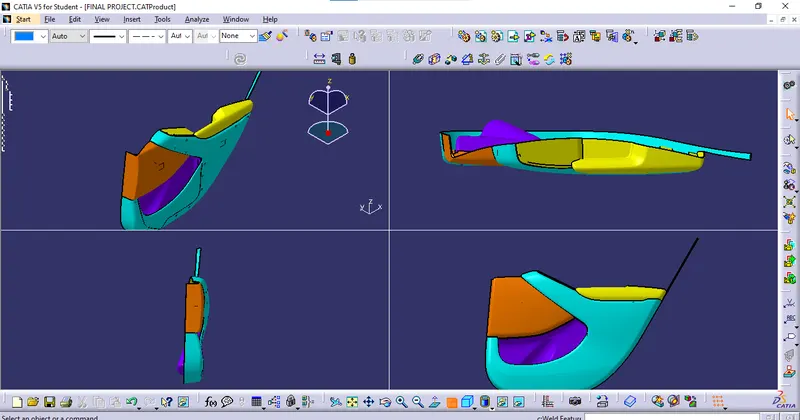
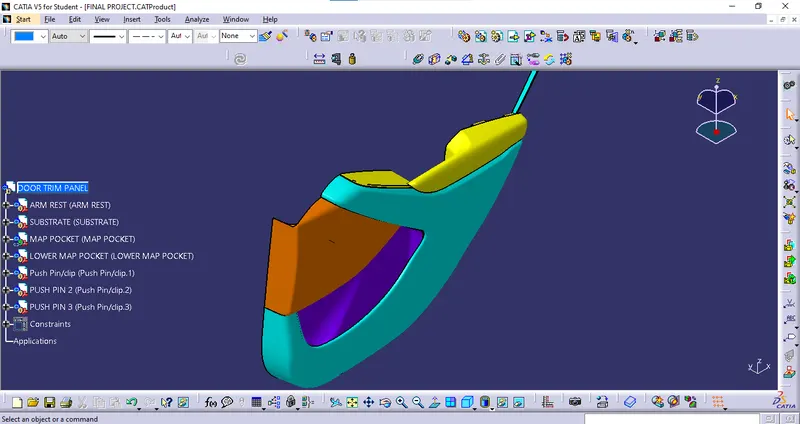
Week 11 - Final project
FINAL PROJECT (DOOR TRIM PANEL):
- OBJECTIVE:
- To Develop the Door Trim Panel with the help of the master sections, Class A, B, C, and other engineering features and also do a draft analysis of the Door Trim Panel.
DOOR TRIM PANEL:
- The door trim panel is the interior part of the car.
- It generally included the window regulator, the power window motor, and the wiring.
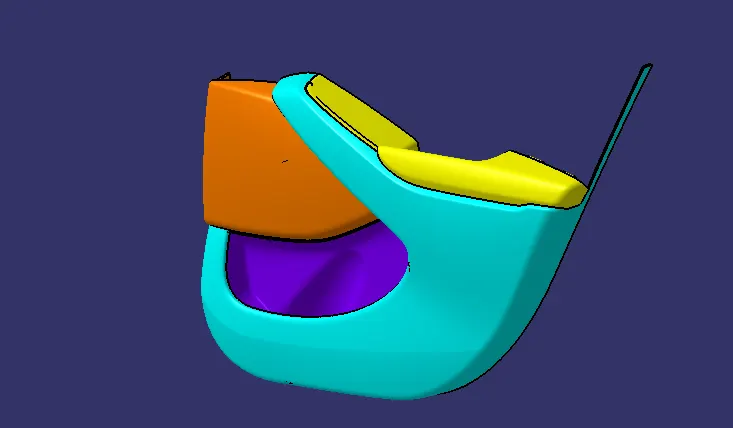
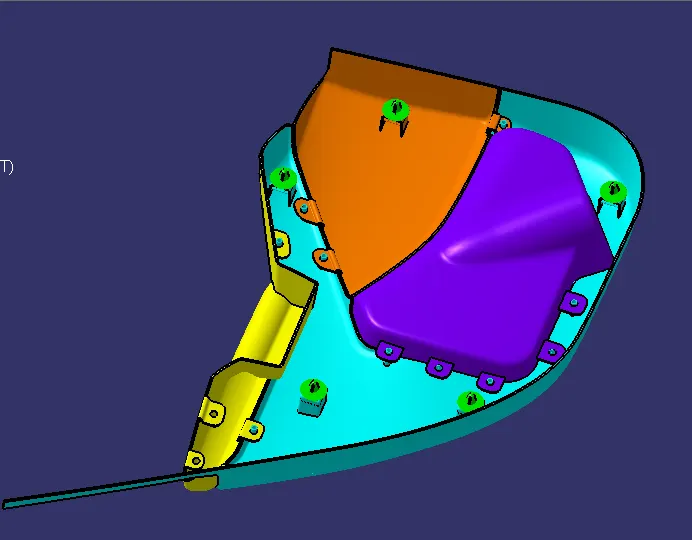
- Here, we are going to develop the Door trim Pannel which includes,
- DOOR ARM REST
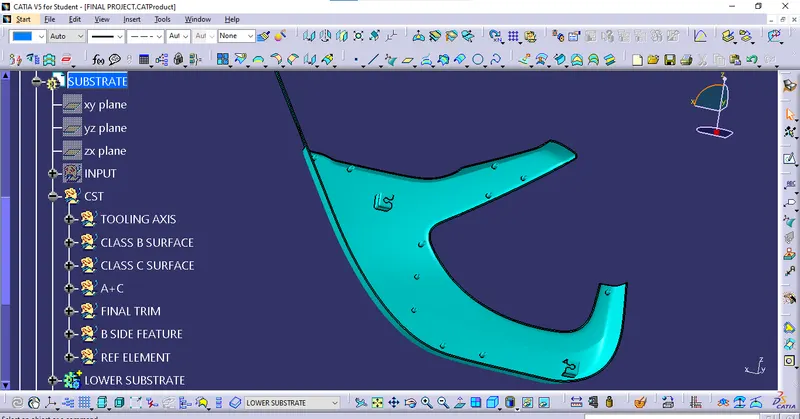
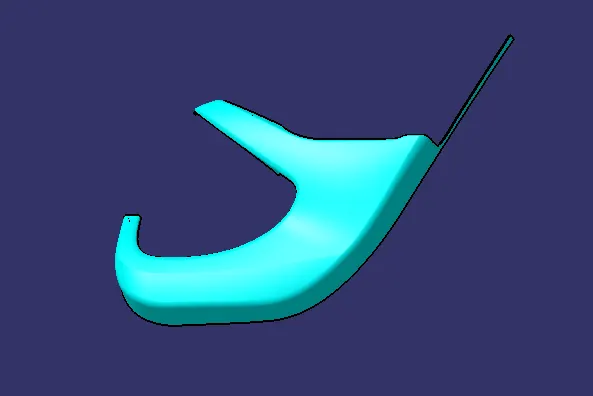
- LOWER SUBSTRATE
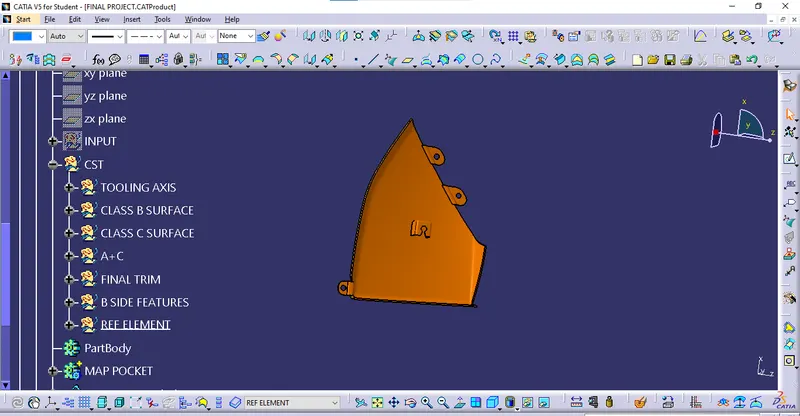
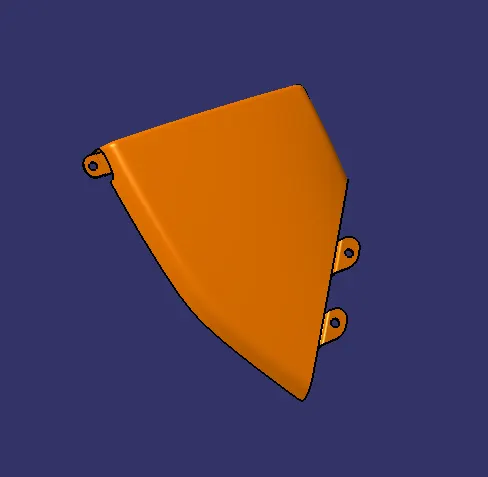
- MAP POCKET
- LOWER MAP POCKET
- To develop the above components, we have to develop the Tooling axis, Class A surface, class B surface, Class C surface, close body, and engineering features.
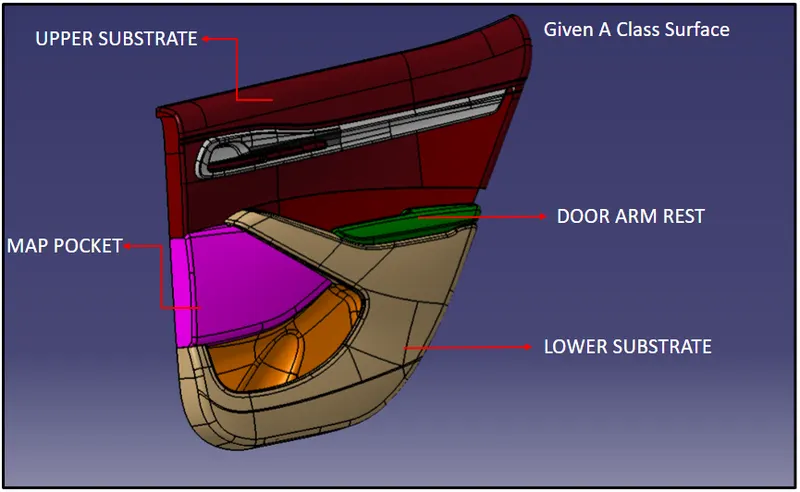
- For creating those surfaces, we will use the following commands which are given below they all are common steps and commands:
- TOOLING AXIS
- Firstly, we have to create a tooling axis which is essential for designing the component and also for draft analysis.
- To create the tooling axis, I'm choosing bisecting method.
- With the help of bisecting method and the Direct method, I created a tooling axis that probably clears all the surface of class A.
- Now, let's check the draft analysis of class A and the component Door Trim Panel.
2. CLASS-B SURFACE:
- Class B surface is used for plastic molding purposes. For providing the product, a Class-B surface is used mostly.
- After creating the tooling axis next, I will make the Class B surface.
- For making a Class B surface, I will use the following command:
- Boundary: Select the required boundary if required.
- Extraction: In this, no boundary is required, so go to extract the flat surface of class A.
- Untrim: After extraction, Untrim those surfaces.
- Extrapolate: extrapolate those surfaces.
- Trim: trim those extrapolated surfaces to get the desired surface.
3. CLASS-C SURFACE:
- Class C surface generally connects the Class-B surface to the Class A surface.
- Referring to the below pic, Class-C Surface is shown.
- To create a Class -C surface use the following command:
- Boundary: pick the boundary for the next operation.
- Swept: swept the selected boundary.
- Extrapolate: surface can't join properly, so I used to extrapolate those surfaces.
- Trim: trim those extrapolated surfaces and get the required surface.
- Join: now join those surfaces with each other and form a single surface.
4. Final Operation to get Door trim:
- Firstly, Select the join operation and join the class A and class C surfaces.
- Trim those join with the class B surface.
- After that, I got the final Door trim.
- As the surface is hollow from the inside, for this go to the part workbench and select the close surface.
- After that analyze the output surface with draft analysis.
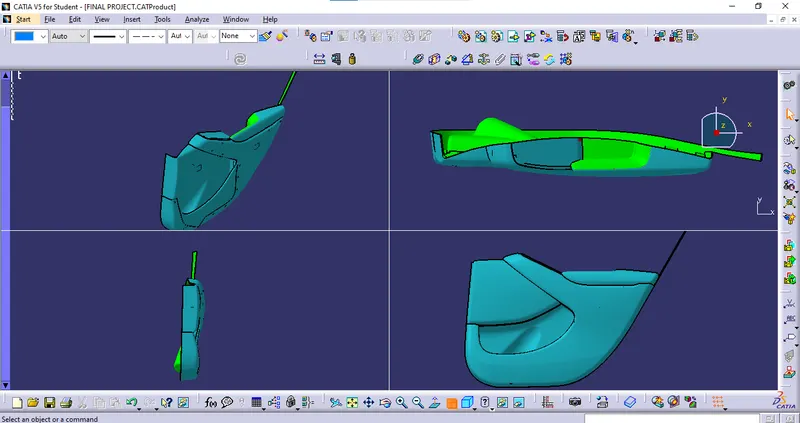
- So, in this way, we got our final design as a Door trim Pannel.
5. Flanges :
- With the help of the master section, we have to create the flanges.
- Firstly, we have to read the master section and find what information it provides to us.
- After reading or analyzing of master section and using the following commands I created the flange:
- Plane: with the help of three-point, I created the plane.
- Sketch: with the help of the master section just transfer those sections to sketch.
- Sweep: Sweep the sketch with the profile and guide curve.
- Edge fillet: provide fillet at the surface where it's in the master section.
- Thickness: insert a new body and thicken the surface.
- Extrude: extrude the line from the surface.
- Offset: offset the extruded surface at the required length of the flange.
- Split: split the thicker part with an offset surface.
- Draft: provide the draft on the thickened object where needed.
- So, in this way Flanges may be created.
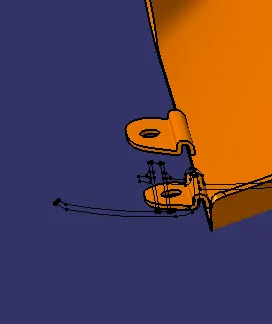
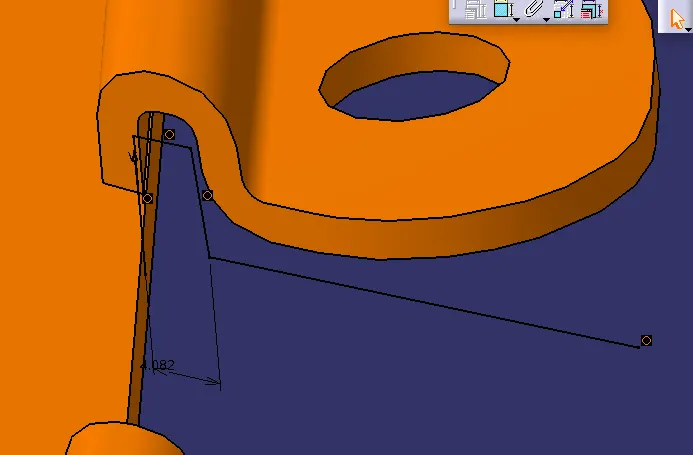
6. Heat Stakes:
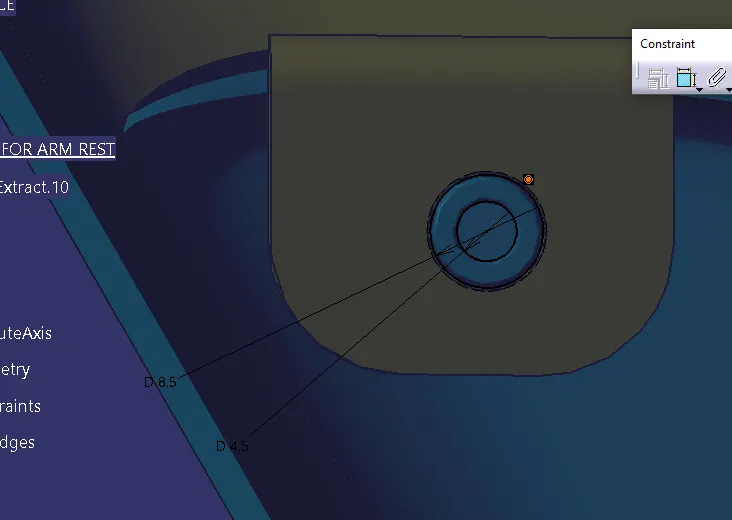
- Create the sketch, pad it, draft it and fillet it.
7. Dog House :
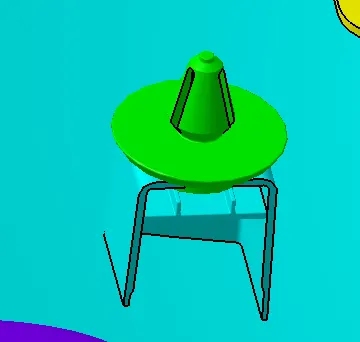
- With the help of dimension, we have to create the dog house.
1. Door Arm Rest:
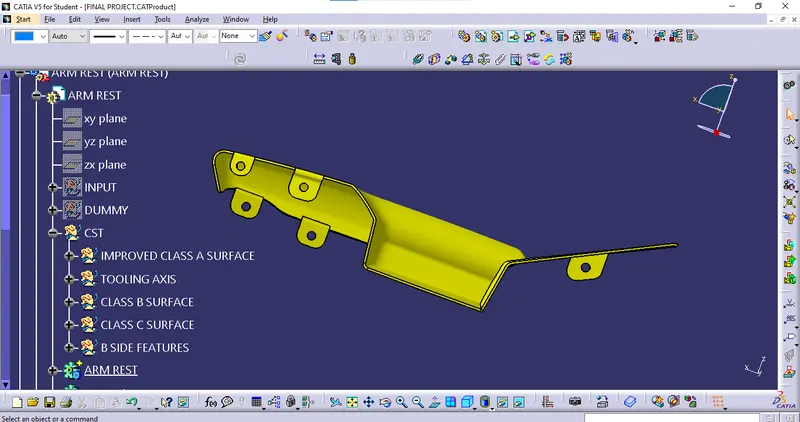
2. Lower Substrate:
3. Map Pocket:
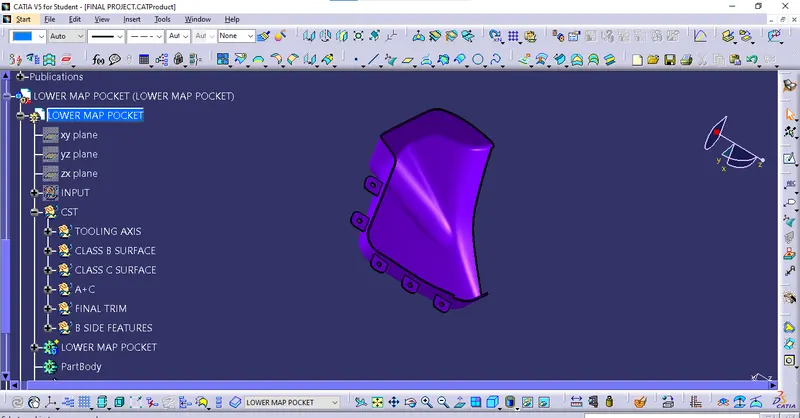
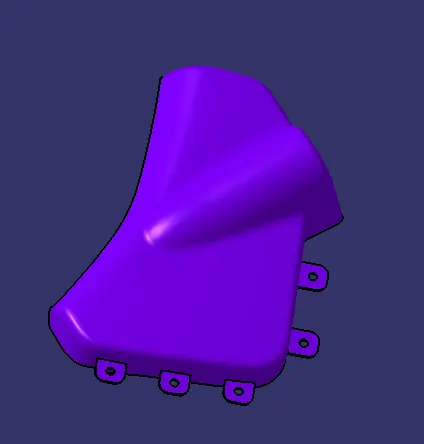
4. Lower Map Pocket:
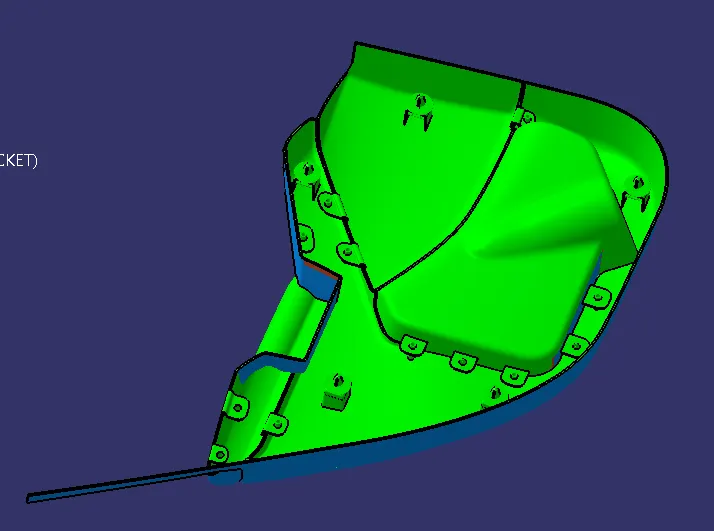
- DRAFT ANALYSIS OF DOOR TRIM PANEL AT 0.45 DEG.
- At 0.45 degree draft analysis, it seems some of the surfaces are not clearing the surfaces.
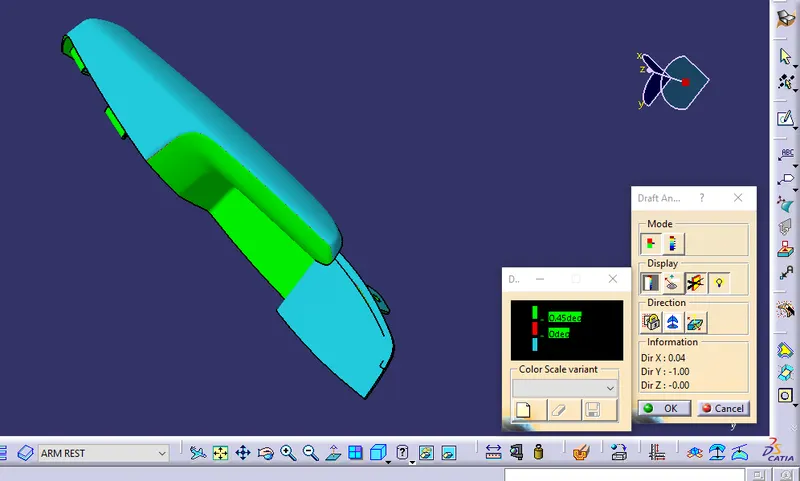
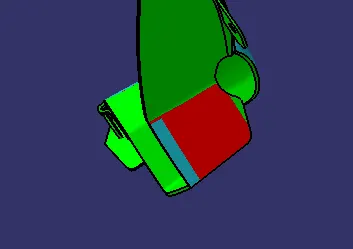
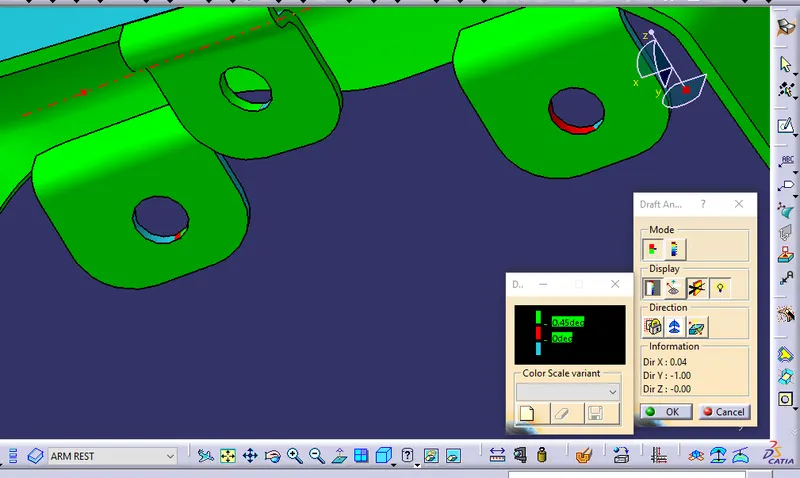
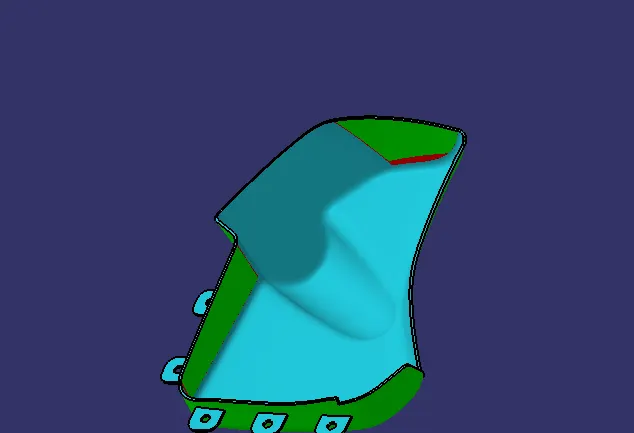
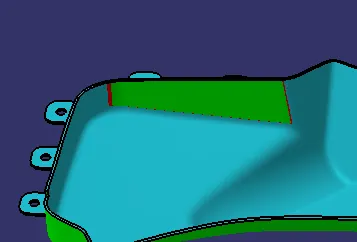
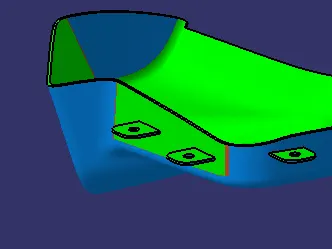
- So, this was the surface that seems not clear in the draft analysis.