Week 11 - Final project
AIM :
To create a closed solid body of Side Door plastic trim including with all the Engineering features and adding thickness to the given class A surface using CATIA V5 tool.
INTRODUCTION:
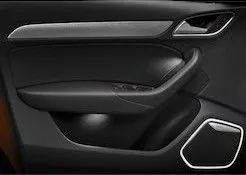
Side Door Plastic Trim :
An interior component attached to the inner side of the door. This product improves the asthetic appearance of the interior of vehicle. Rather it is a vital component that creates a more comfortable interior by providing a variety of functions.
OVERVIEW DESIGN LIFE CYCLE OF AUTOMOTIVE INDUSTRY:
Product Development Process:
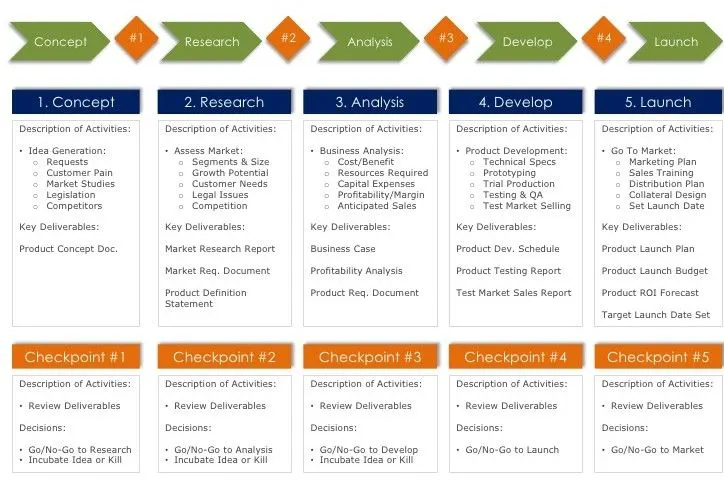
- Concept sketches : Sketches or diagrams shows the processes, concepts are interrelationships of the product and it is a easy way to convey the concepts to others
- Styling A class : its a better version of concept sletches this can be done in computers using softwares like ALIAS by Atodesk
- Feasibility checks : This comprises an investigation in order to find possibilities to implement the method or reuse of the existing components for new design rather then designing a each new component
- Concept validation : Test for the perticular product or service concept is intresting, inviting and functional for the customer
- New product design : It gets a reviews from the customer for the changes in the existing design and design according to that. It is a input for both feasibility and concept validation
- Development : It is a manufacturing team which forms a bridge between manufacting and design teams and also cordinate with the tools developer mold expers to prepare a prototype
- Proto built : It is a simple experimental model of a proposed solutions used to test or validate ideas.
- design validation : Is a testing process by which you validate that the product you have built works for the end user as intended
- Pilot production : A manufacturing or engineering production line set up during development, to test new methods, processes and system.
- Mass production : The production of large quantities of a standardized final design by an automated mechanical process.
The Stages of Design Life Cycle are:
concept sketches :
Concept sketches are a rough idea of free hand sketch obtained through styling team and will be used to prepare the Model. It is usually done through pen and paper and through the painting software. concepts are interrelationships of the product and it is a easy way to convey the concepts to others.
Class A Creation:
It is a better version of concept sketches this can be done in computers using softwares like ALIAS by Autodesk to create Class A surface.
Clay Modeling:
Clay modelling is any of a group of melleable substances used in building and sculpting.
Significance :
- It enables designers to create a models to visualize a product.
- Designers can add to and take away from any area of the car's exterior
- less costly
- It helps to spot flaws in digital renderings
NPD CAD:
This is where the development of surface to parts in CAD. The Designer will work on input Class A surfaces which are validated from the Feasibility team.
The procedure followed in creation of the plastic New Product Design are
- Tooling axis
- B surface creation
- C surface creation
- Closed body creation
- Draft Analysis
PROCEDURE:
1) Input given:
Geometrical set with Master sections:
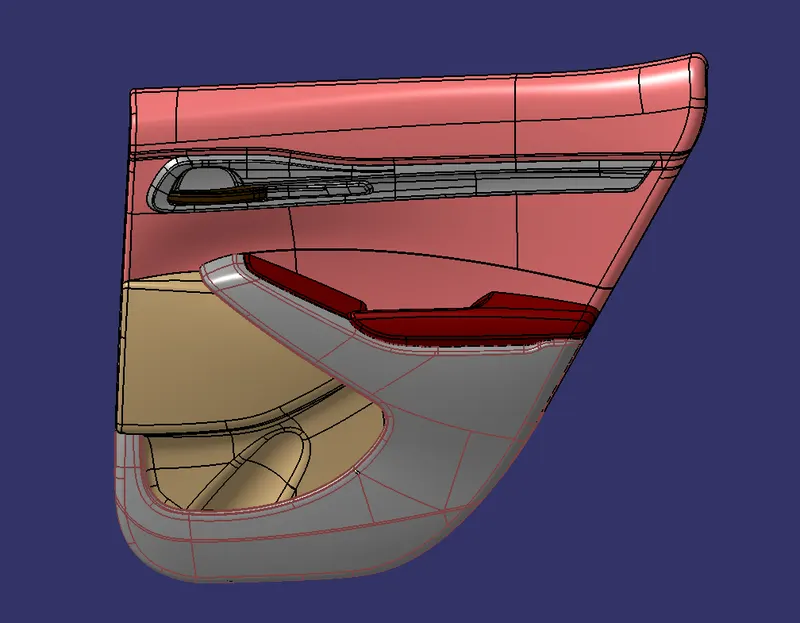
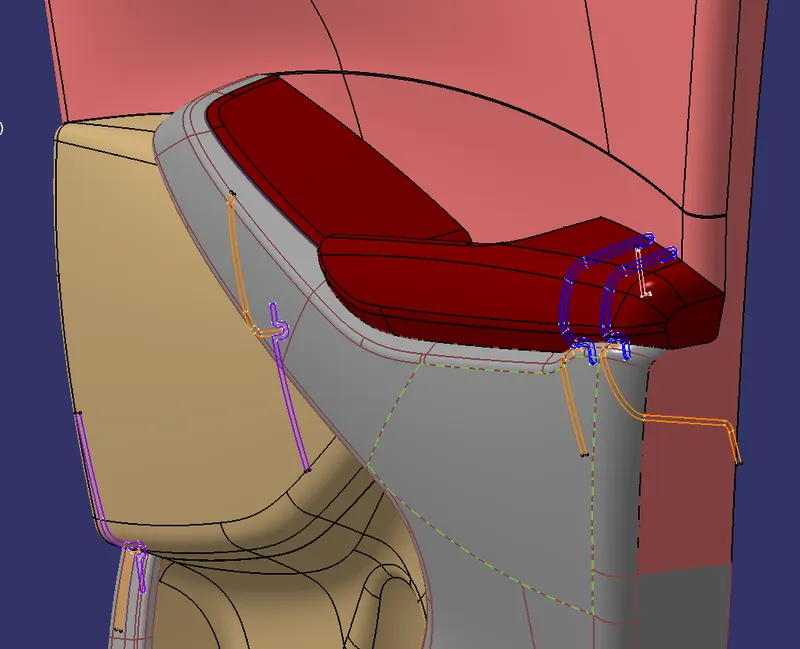
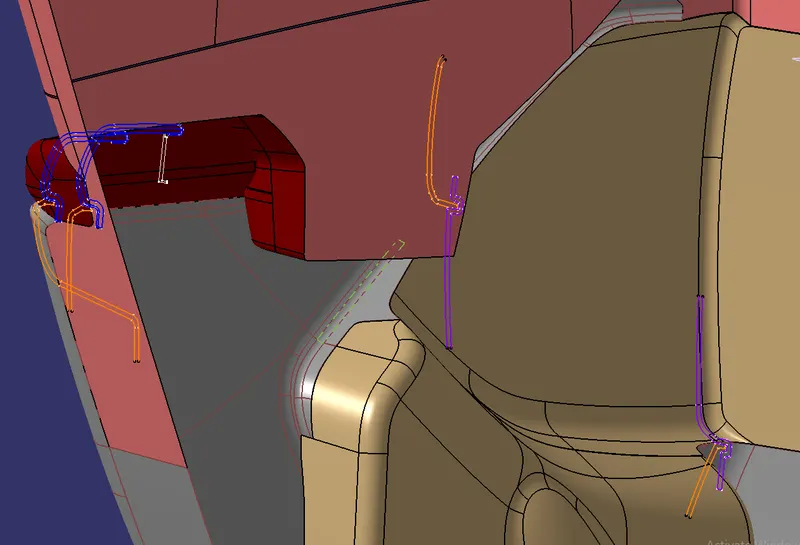
Design of interior door trim
Interior Door trim Consisit of four compponents
- Lower Substrate
- Upper Substrate
- Map Pocket
- Door Arm Rest
2) Class A Surface:
In automotive design, Class A surface is any of a set of freefrom surfaces of high efficiency and quality. Although, strictly, it is nothing more than saying the surfaces have curvature and tangency alignment to ideal aesthetical reflection quality, many people interpret class A surfaces to have G2 (or even G3) curvature continuity to one another.
Class A surfacing is done using computer-aided industrial design applications. Class A surface modellers are also called "digital sculptors" in the industry. Industrial designers develop their design styling through the A-Surface, the physical surface the end user can feel, touch, see etc.
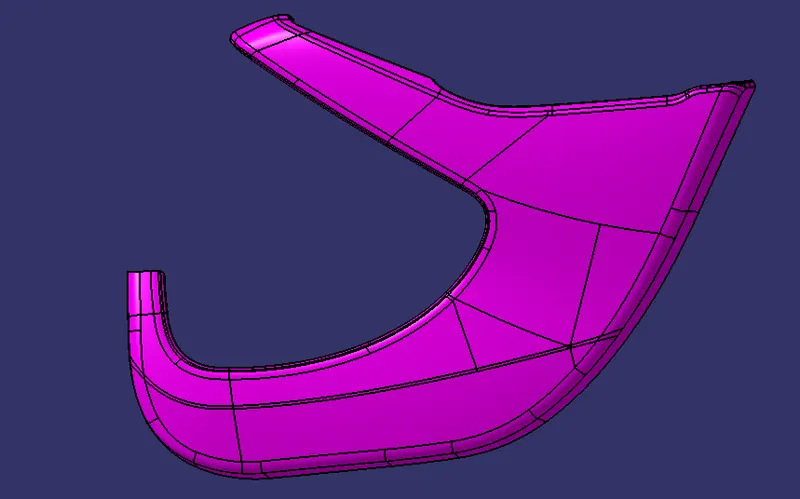
Lower Substrate
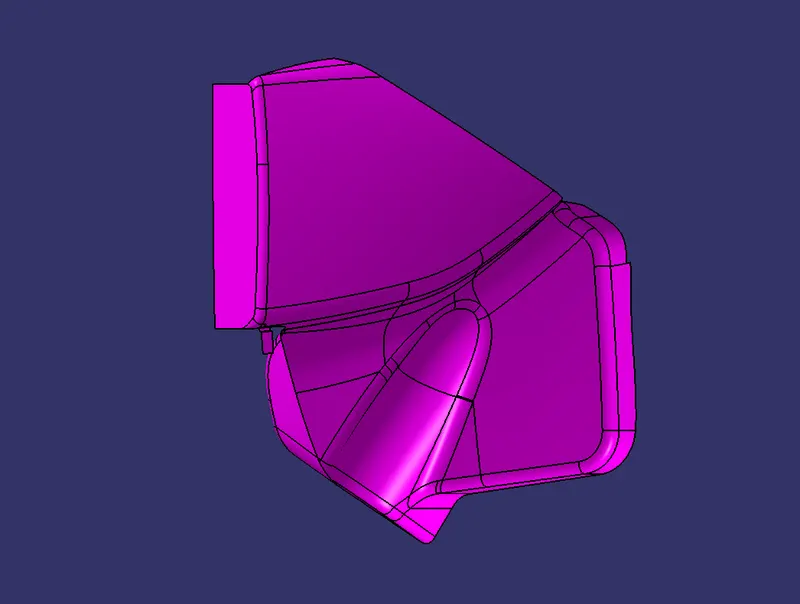
MAP POCKET
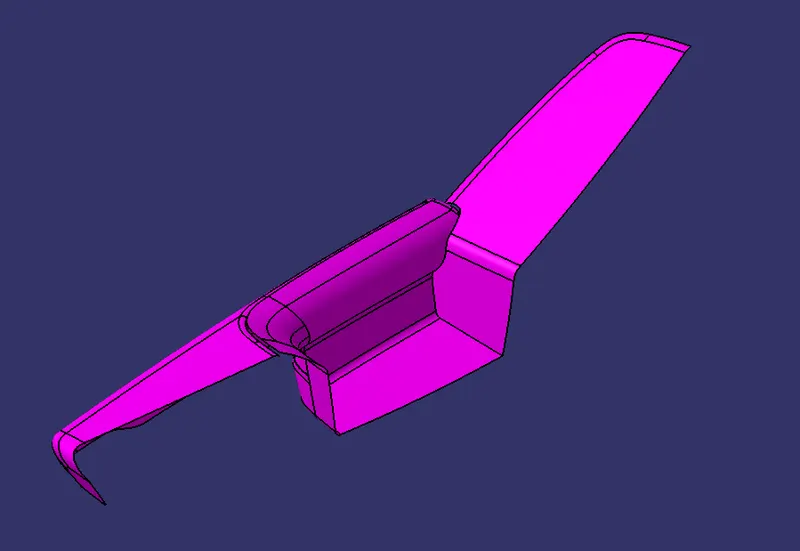
DOOR ARM REST
3) Tooling axis:
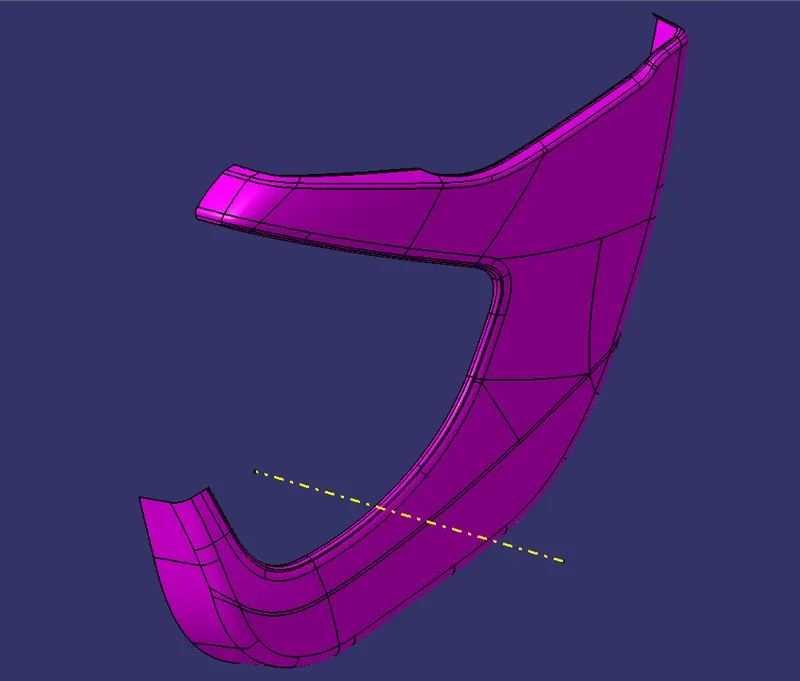
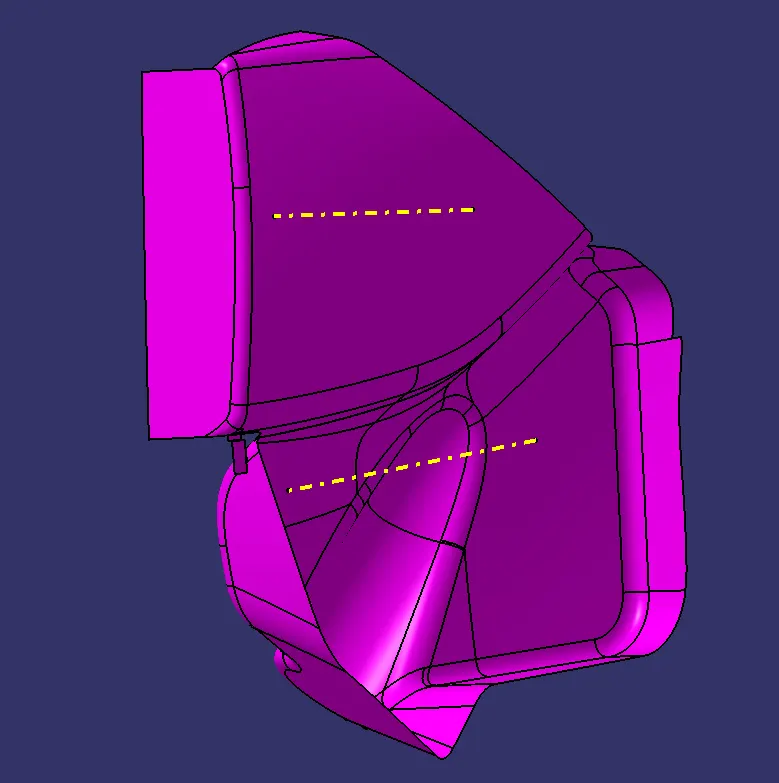
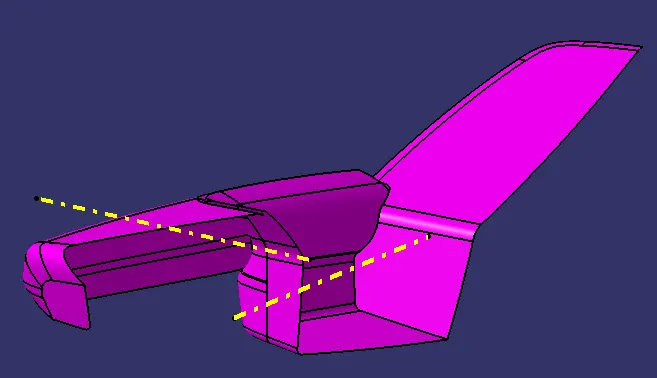
Tooling direction is basically the direction that mold pulls apart. The mold is built in two seperate pieces, basically you have a cavity side and you have core side, The core pulls apart from the cavity and that's the Tooling direction. While creating a Tooling direction make sure that waterver that is created that is going to be used as a reference to design it may also include Ribs, Pockets, Walls Bosses etc. All are going to be drafted with respect to Tooling axis to make sure that the core can pull apart from the cavity nice and clean.
LOWER SUBSTRATE TOOLING DIRECTION
MAP POCKET TOOLING DIRECTION
DOOR ARM REST TOOLING DIRECTION
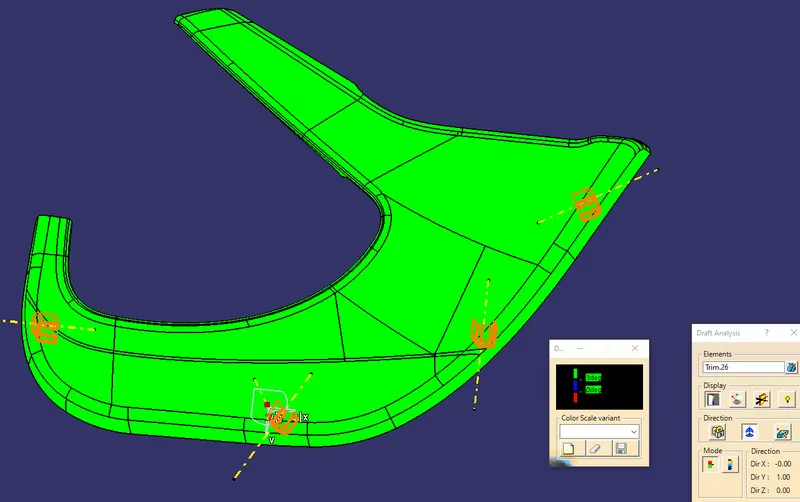
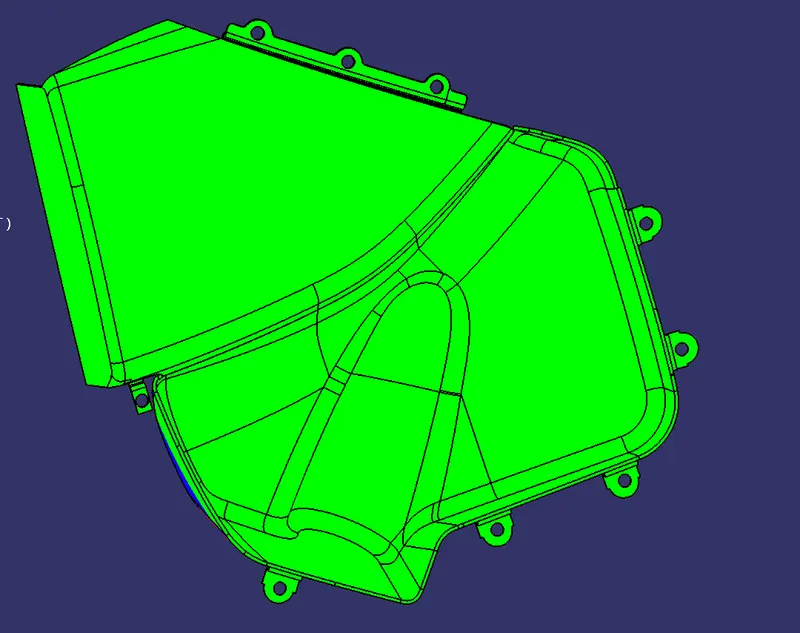
4) Draft Analysis:
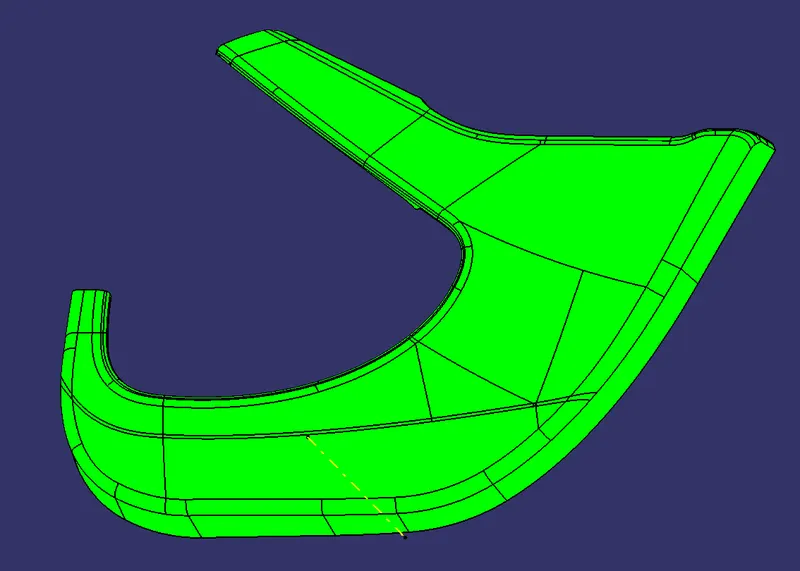
The Draft analysis command enables you to detect if the part you drafted will be easily removed. This type of analysis is performed based on colour ranges identifying zones on the analyzed element where the deviation from the draft direction at any point. corresponds to specified values.
Draft angles are very important in thermoforming product design. If the product is formed onto a female or negative mold, It shrinks away from the mold sidewalls. As a result, True female or negativer products can be thermoformed with vertical walls having zero draft angles. Parts cannot be ejected from the tool if it is at 90 degree surface. for the reason, A small draft angle is to be provide for each and every surfaces of the component in order to easy removal of components from the molds without any defects. Draft is the angle in which the part is tapered to allow it to release. Most of the part require minimum 0.5 degree to 1 degree however 3 degree are widley accepeted in plastic component design. Draft Analysis is the technique used to analise wheather our designed product are manufacturable with required conditions or not.
LOWER SUBSTRATE
MAP POCKET
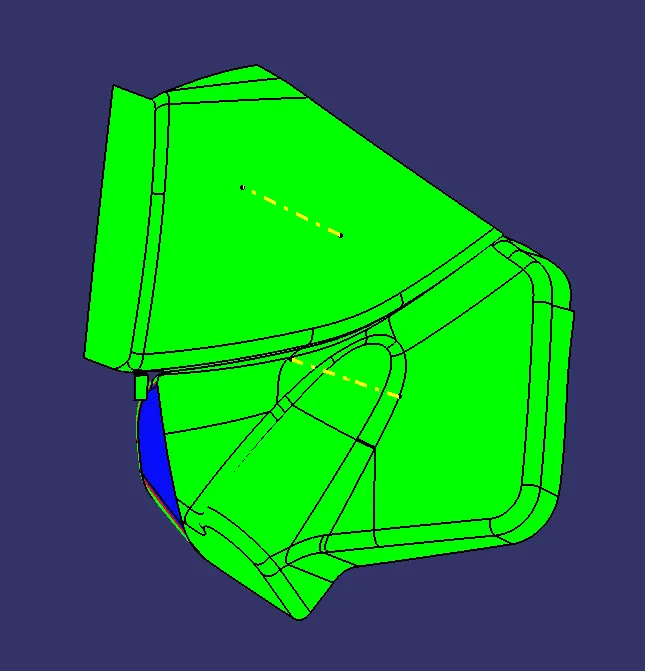
DOOR ARM REST
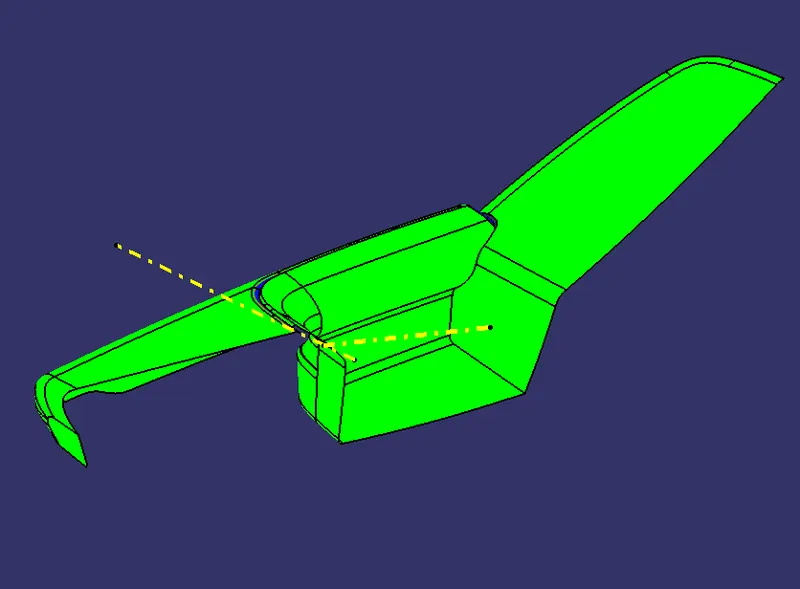
- Some surfaces which are not clearing the draft analysis needs improvement in the class A surface
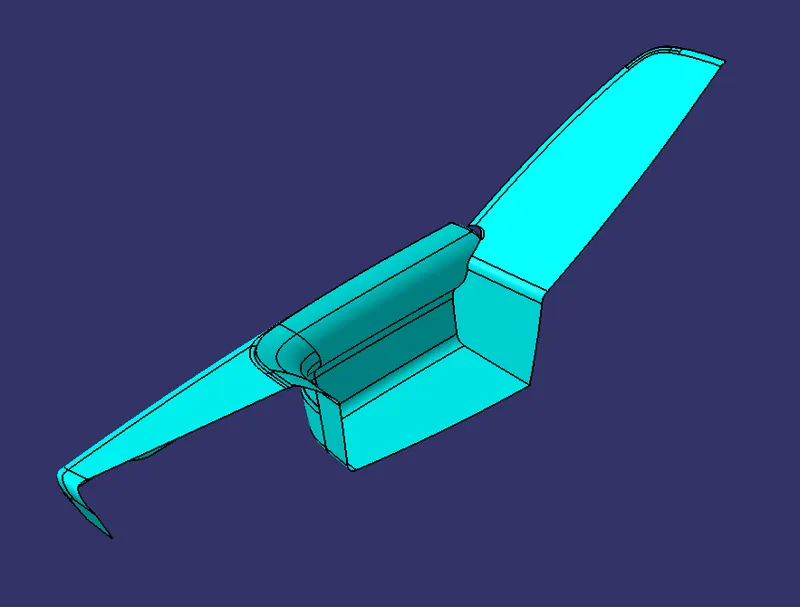
5) B Class Surface Creation:
Class B surface are the secondary surfaces that you may see sometimes or may not, but are less important. These must be smooth and "error-free" as well, but are not held to the standards that class A surfaces are. After creating the Tooling axis, B surface is to be created which is nothing but the surface parellel to the A surface. B surface contain all the fillets and the edges which the A surface contains.
LOWER SUBSTRATE
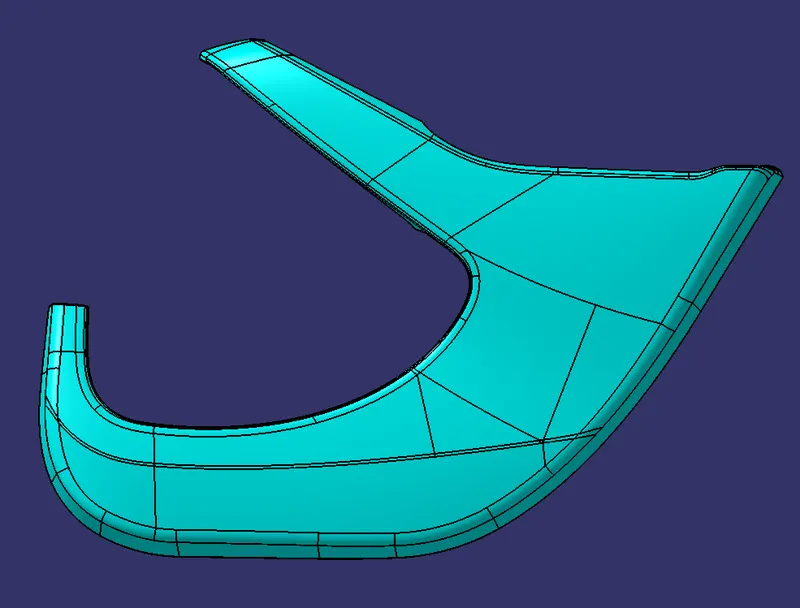
MAP POCKET
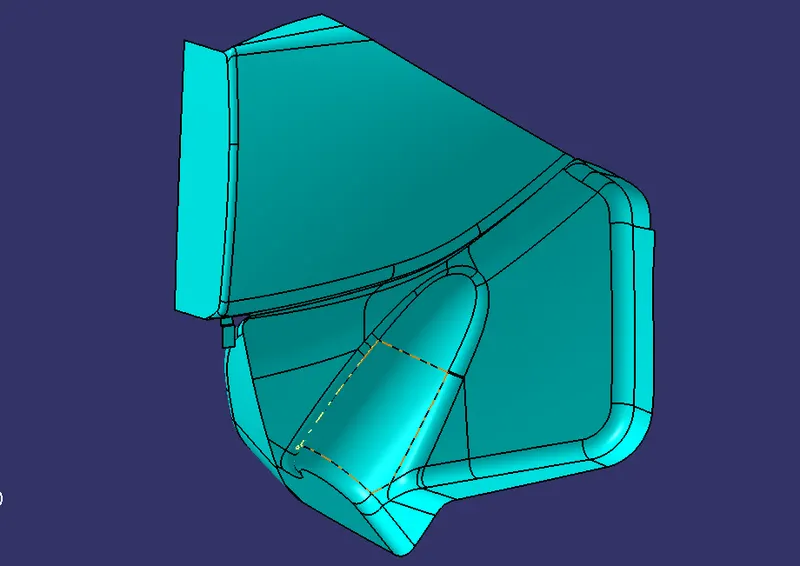
DOOR ARM REST
6) C Class Surface Creation:
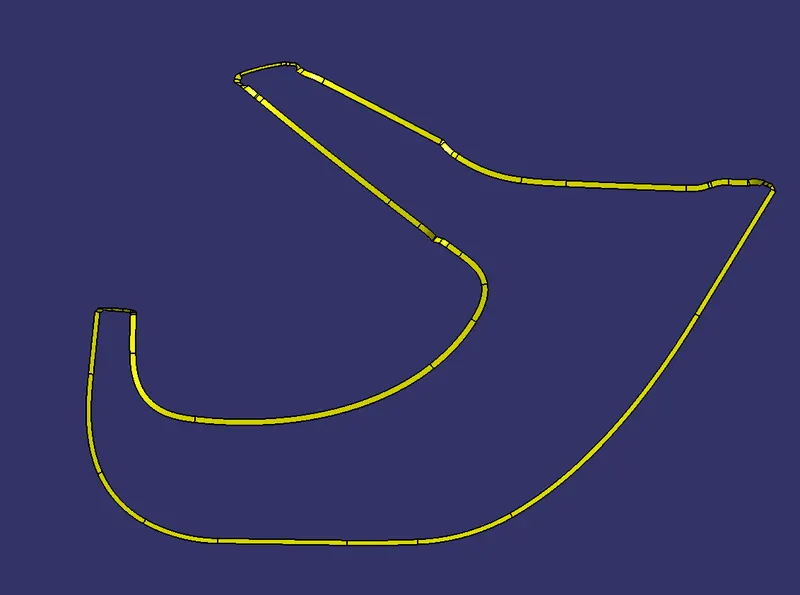
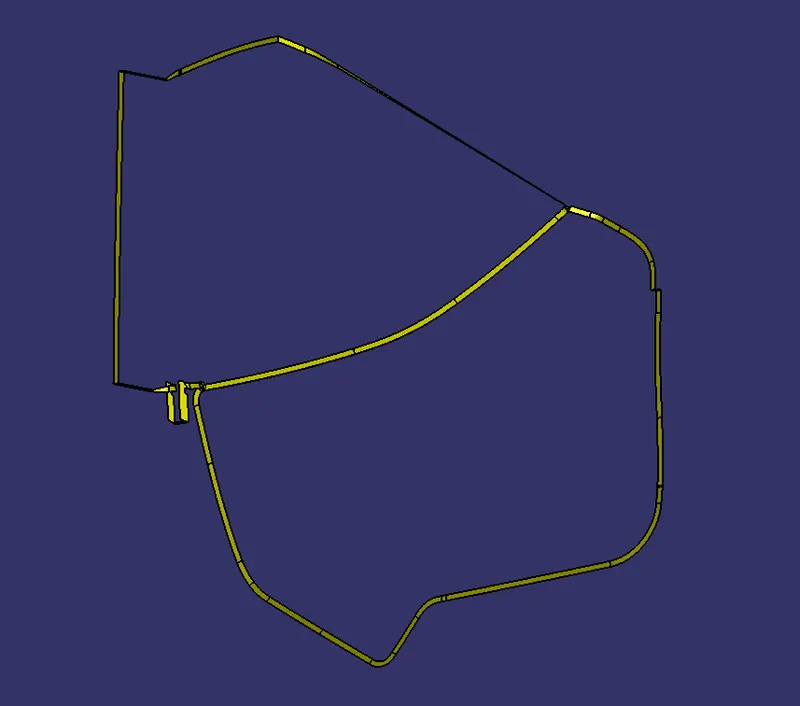
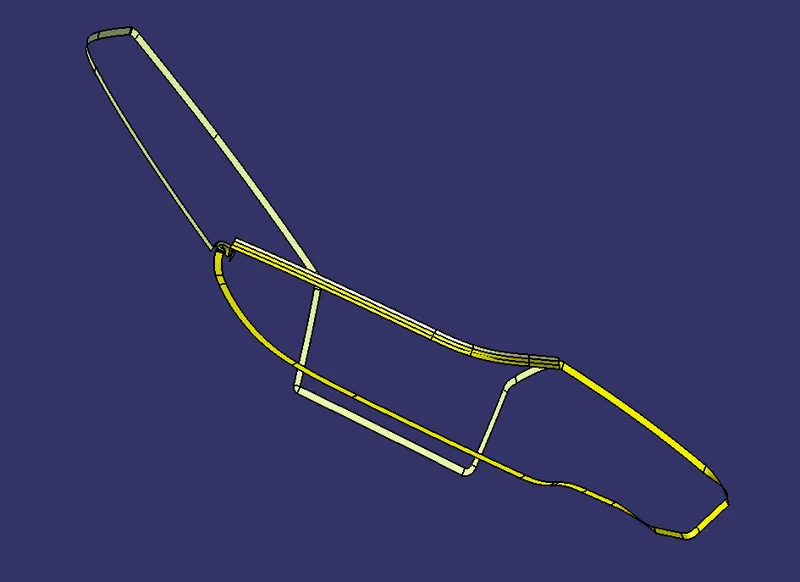
Class C surface are the backside surface that can have tool marks, flash and other imperfections without hurting appearance, function etc. Class C surface is swept perpendicular to the class A surface with respect to the Tooling axis direction with a draft angle of 3 degree.
LOWER SUBSTRATE
MAP POCKET
DOOR ARM REST
7) Final trim of CLASS A, B and C surfaces to get a Closed Surface:
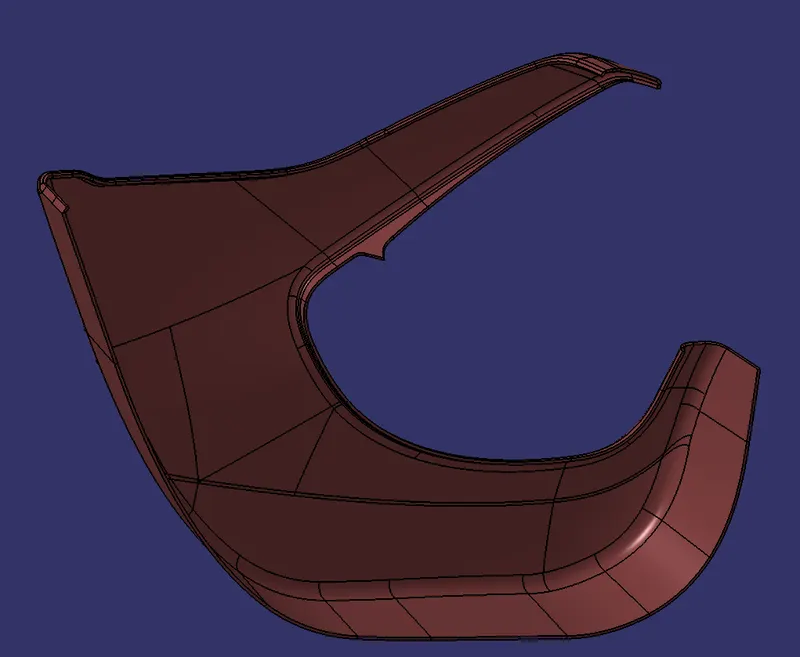
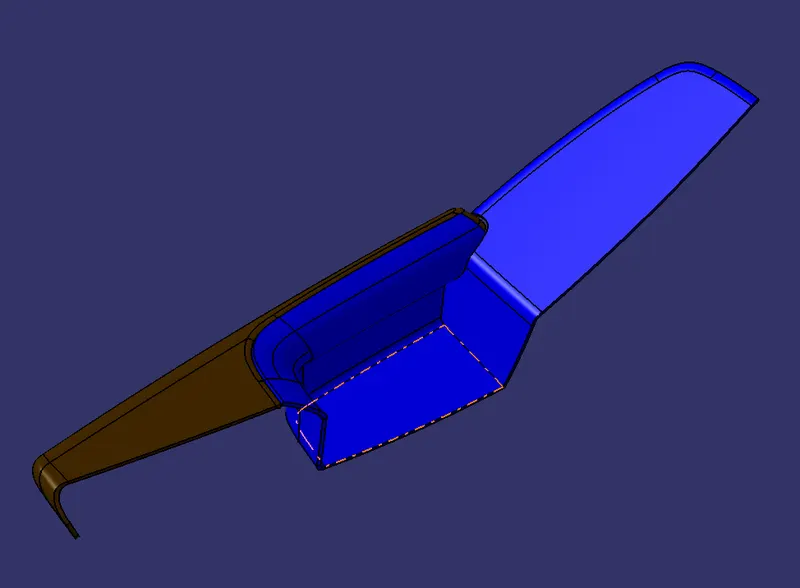
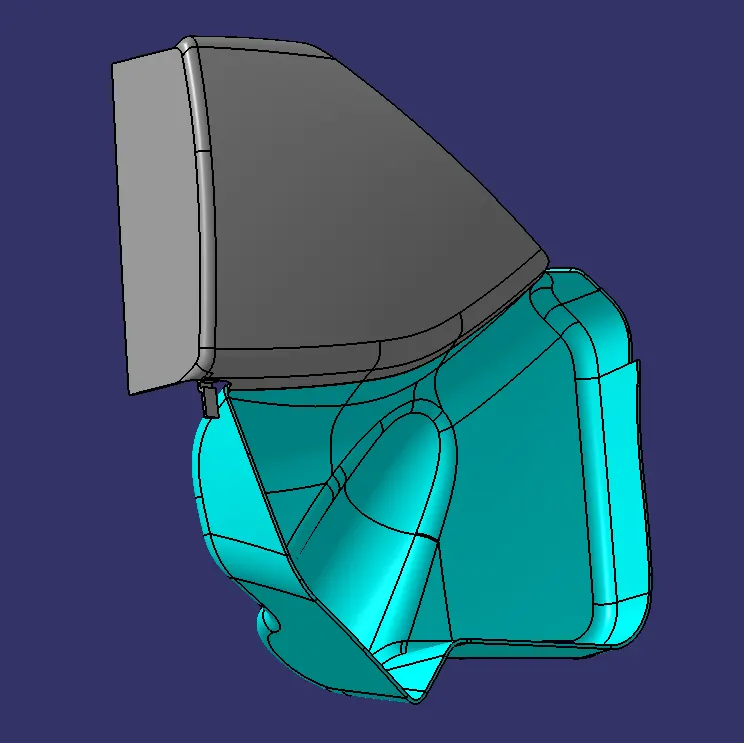
After Finishing all the 3 surfaces, join the class A and Class C surface together using the join command. The joined surface is now trimed with the B surface to get closed surface. By using closed surface command in part design workbench we can have closed part body.
LOWE SUBSTRATE
DOOR ARM REST
MAP POCKET
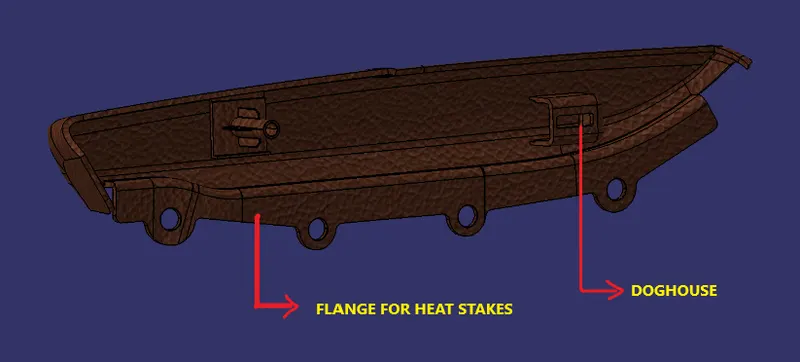
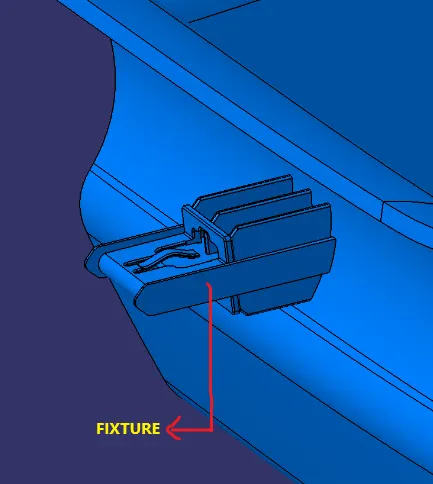
8) Creation of Flanges, Ribs, Dog house, Heat stakes and Fixtures:
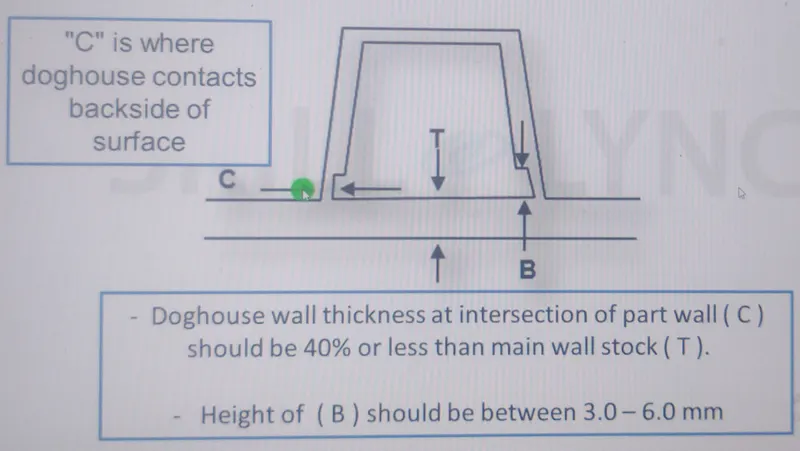
Dog House:
Certain design rules are to be considered while designing dog house.
RIBS :
Ribs are created to increase the stiffness and strenght of the surface
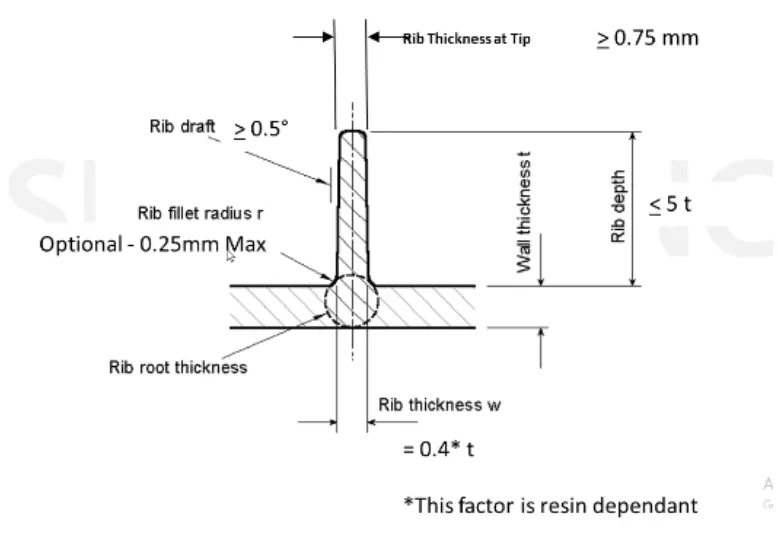
Design rule that should be considererd while desgining Ribs:
- Draft - minimum 0.5
- Thickness - 0.4* thickness of the plastic component
- Height - 5* thickness of the plastic component
- Thickness at the top should be > 0.75 mm minimum
- Fillet radius - 0.25mm or 0.125*thickness of the component
Heat Stakes:
Heat staking technology is quite simple in concept. Whenever two or more components need to be attached to one another, and at least one is made of a thermoplastic, a combination of heat and pressure can be used to reform the plastic to the many shapes or profiles to retain or join the parts together. This creates a solid, hardware-free bond that uses the plastic’s inherent strength to keep the finished assembly together.
LOWER SUBSTRATE
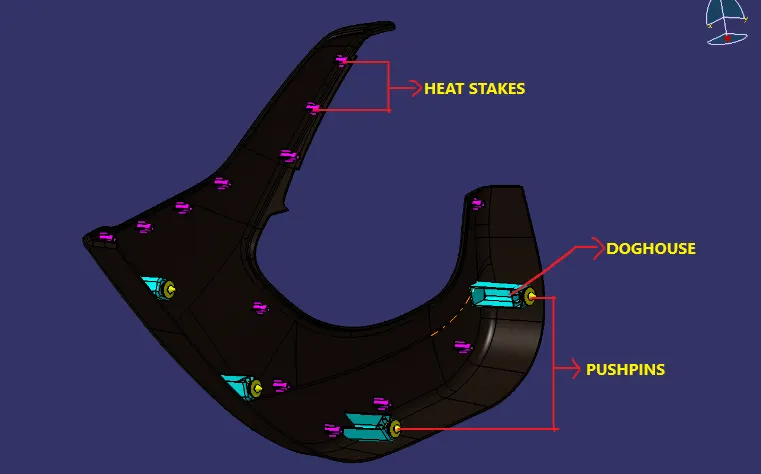
MAP POCKET
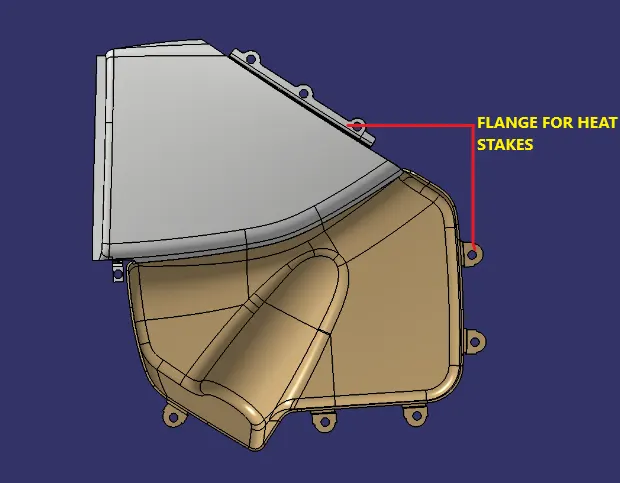
DOOR ARM REST
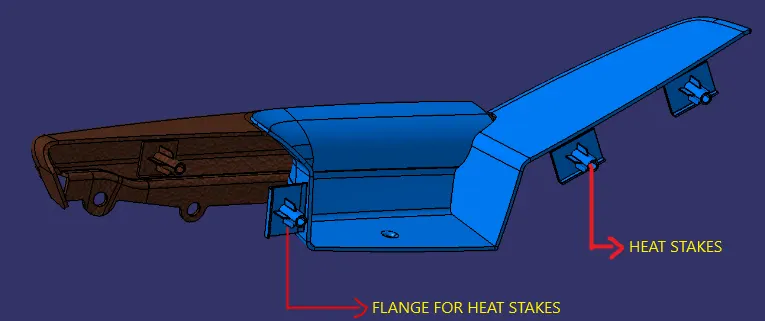
9) Draft Analysis of the Final Component:
LOWER SUBSTRATE
MAP POCKET
DOOR ARM REST
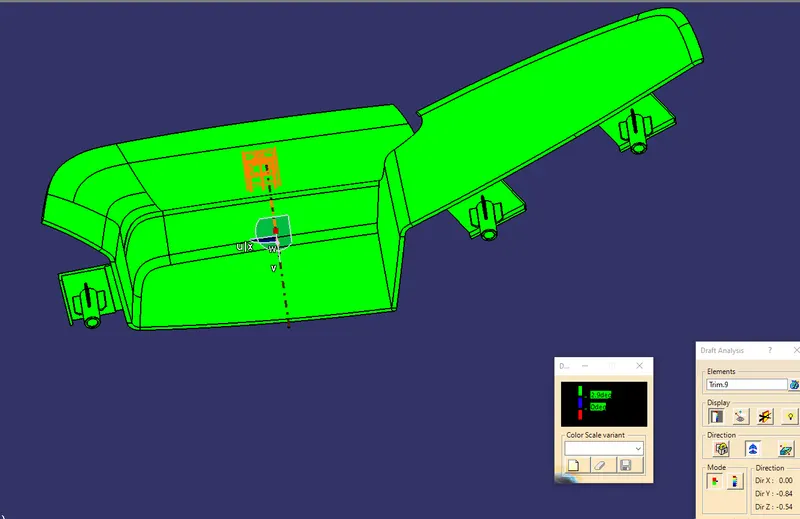
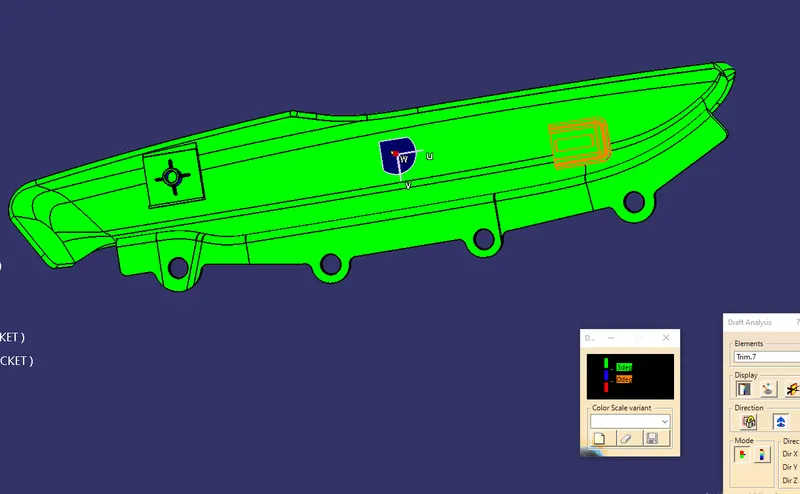
HEAT STAKES
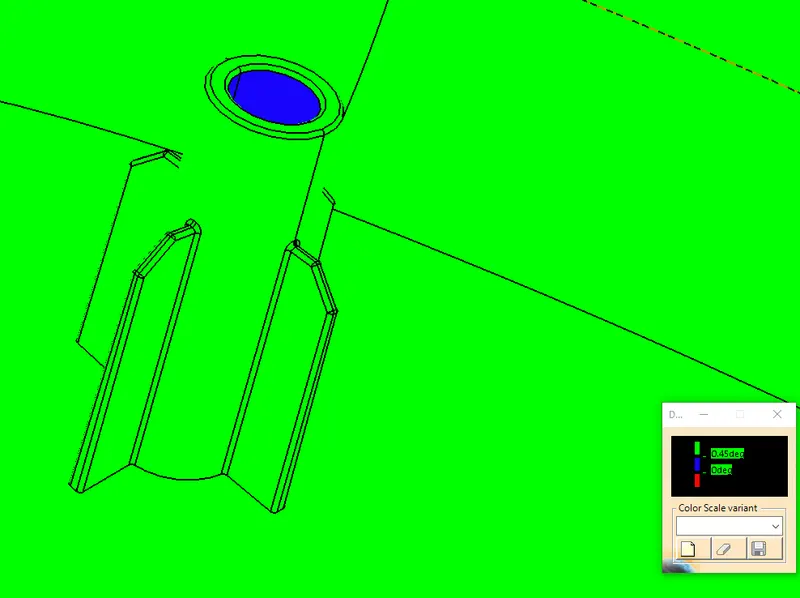
DOGHOUSE INSIDE WALLS
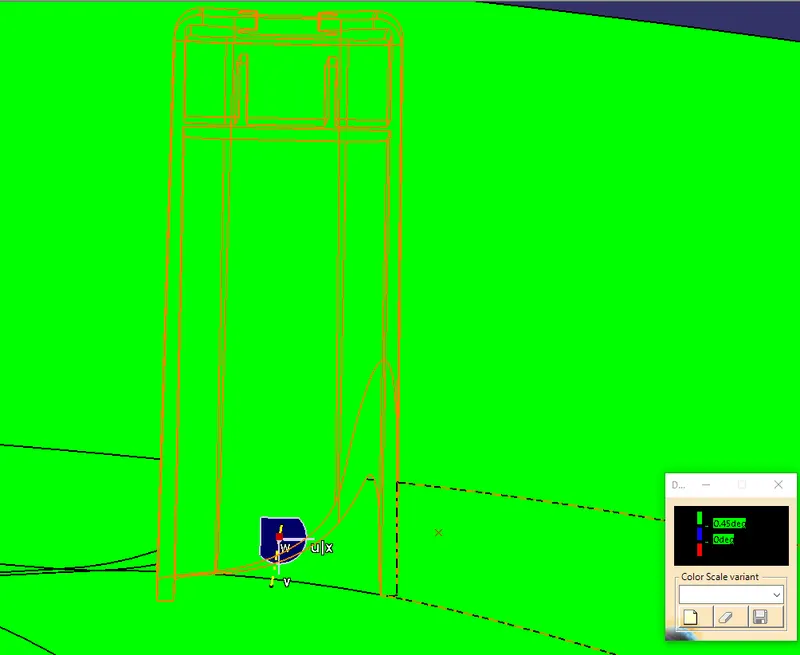
DOGHOUSE OUTSIDE WALLS
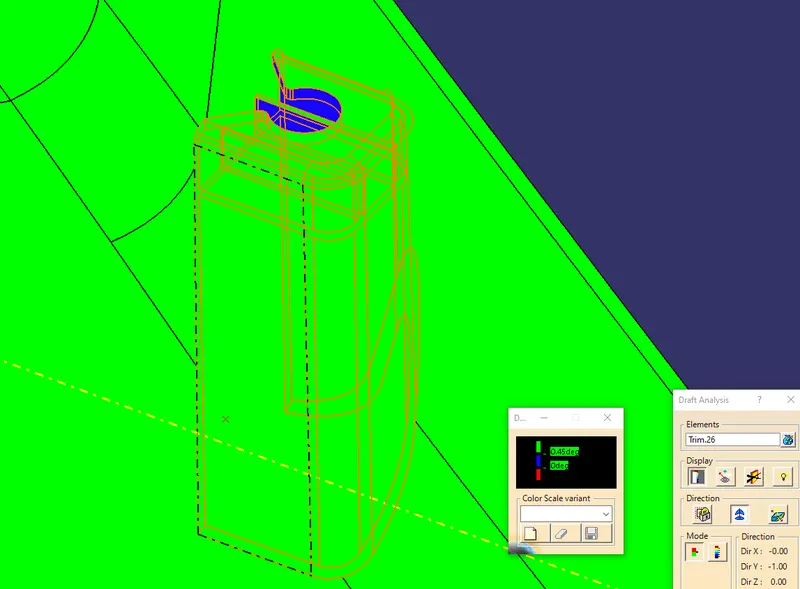
- Some surfaces which are not clearing the draft analysis needs improvement in the class A surface
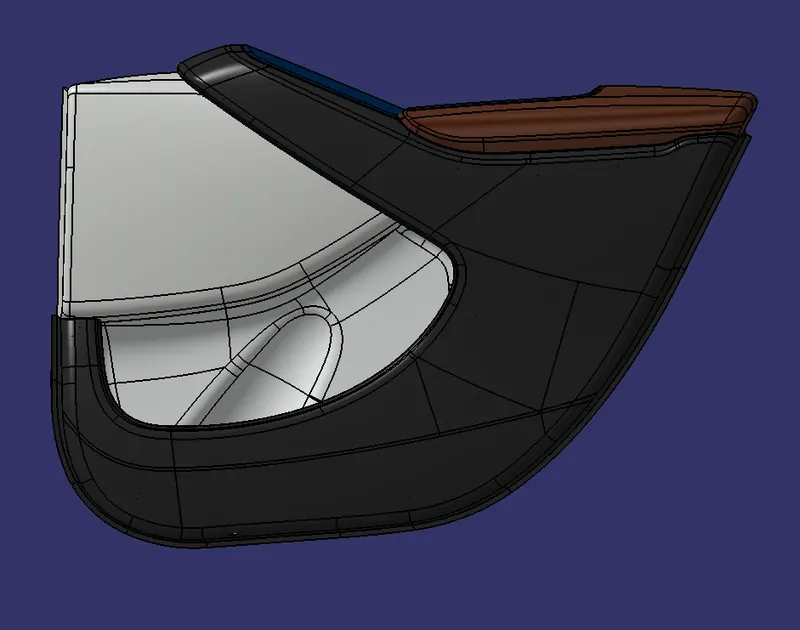
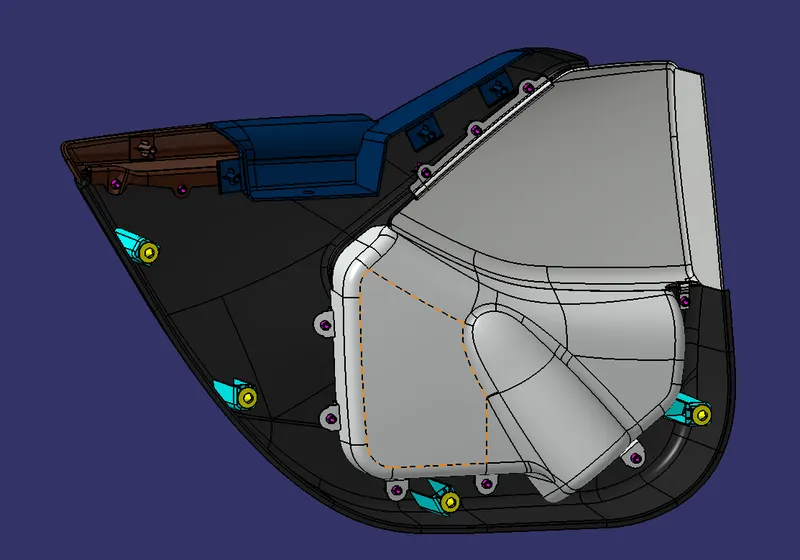
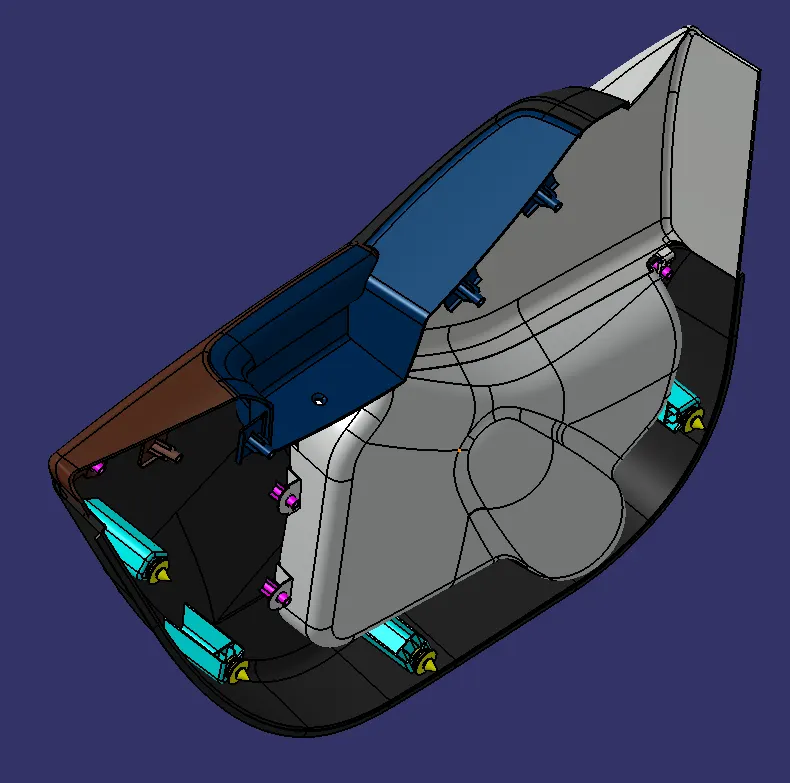
Final Model:
RESULT:
- Added thickness to the class A surface by using class B and class C surfaces. I have obttained a closed body with all the Engineering features like Ribs, Doghouse, Flanges, Heat Stakes Fixture pushpins etc. Attached to it. And also there is a clearance with the draft analysis which is performed with repect to tooling axis and Hence there will be no damage to the surfaces while ejection the component out from the core or cavity.